[ Start ] [ Index ] [ Parts List ]
In Which I Collect Parts and Modify The Frame
This weekend was 50% off at Pick-N-Pull. Picked up GMT400 C2500HD big piston front calipers to go with the GMT400 2″ spindles I bought a while back, along with the dust shields. Also picked up a GMT800 hydroboost and master cylinder. And an LS e-pedal and controller. So nice to have 50% off days. Forgot my $20 coupon at home though…..
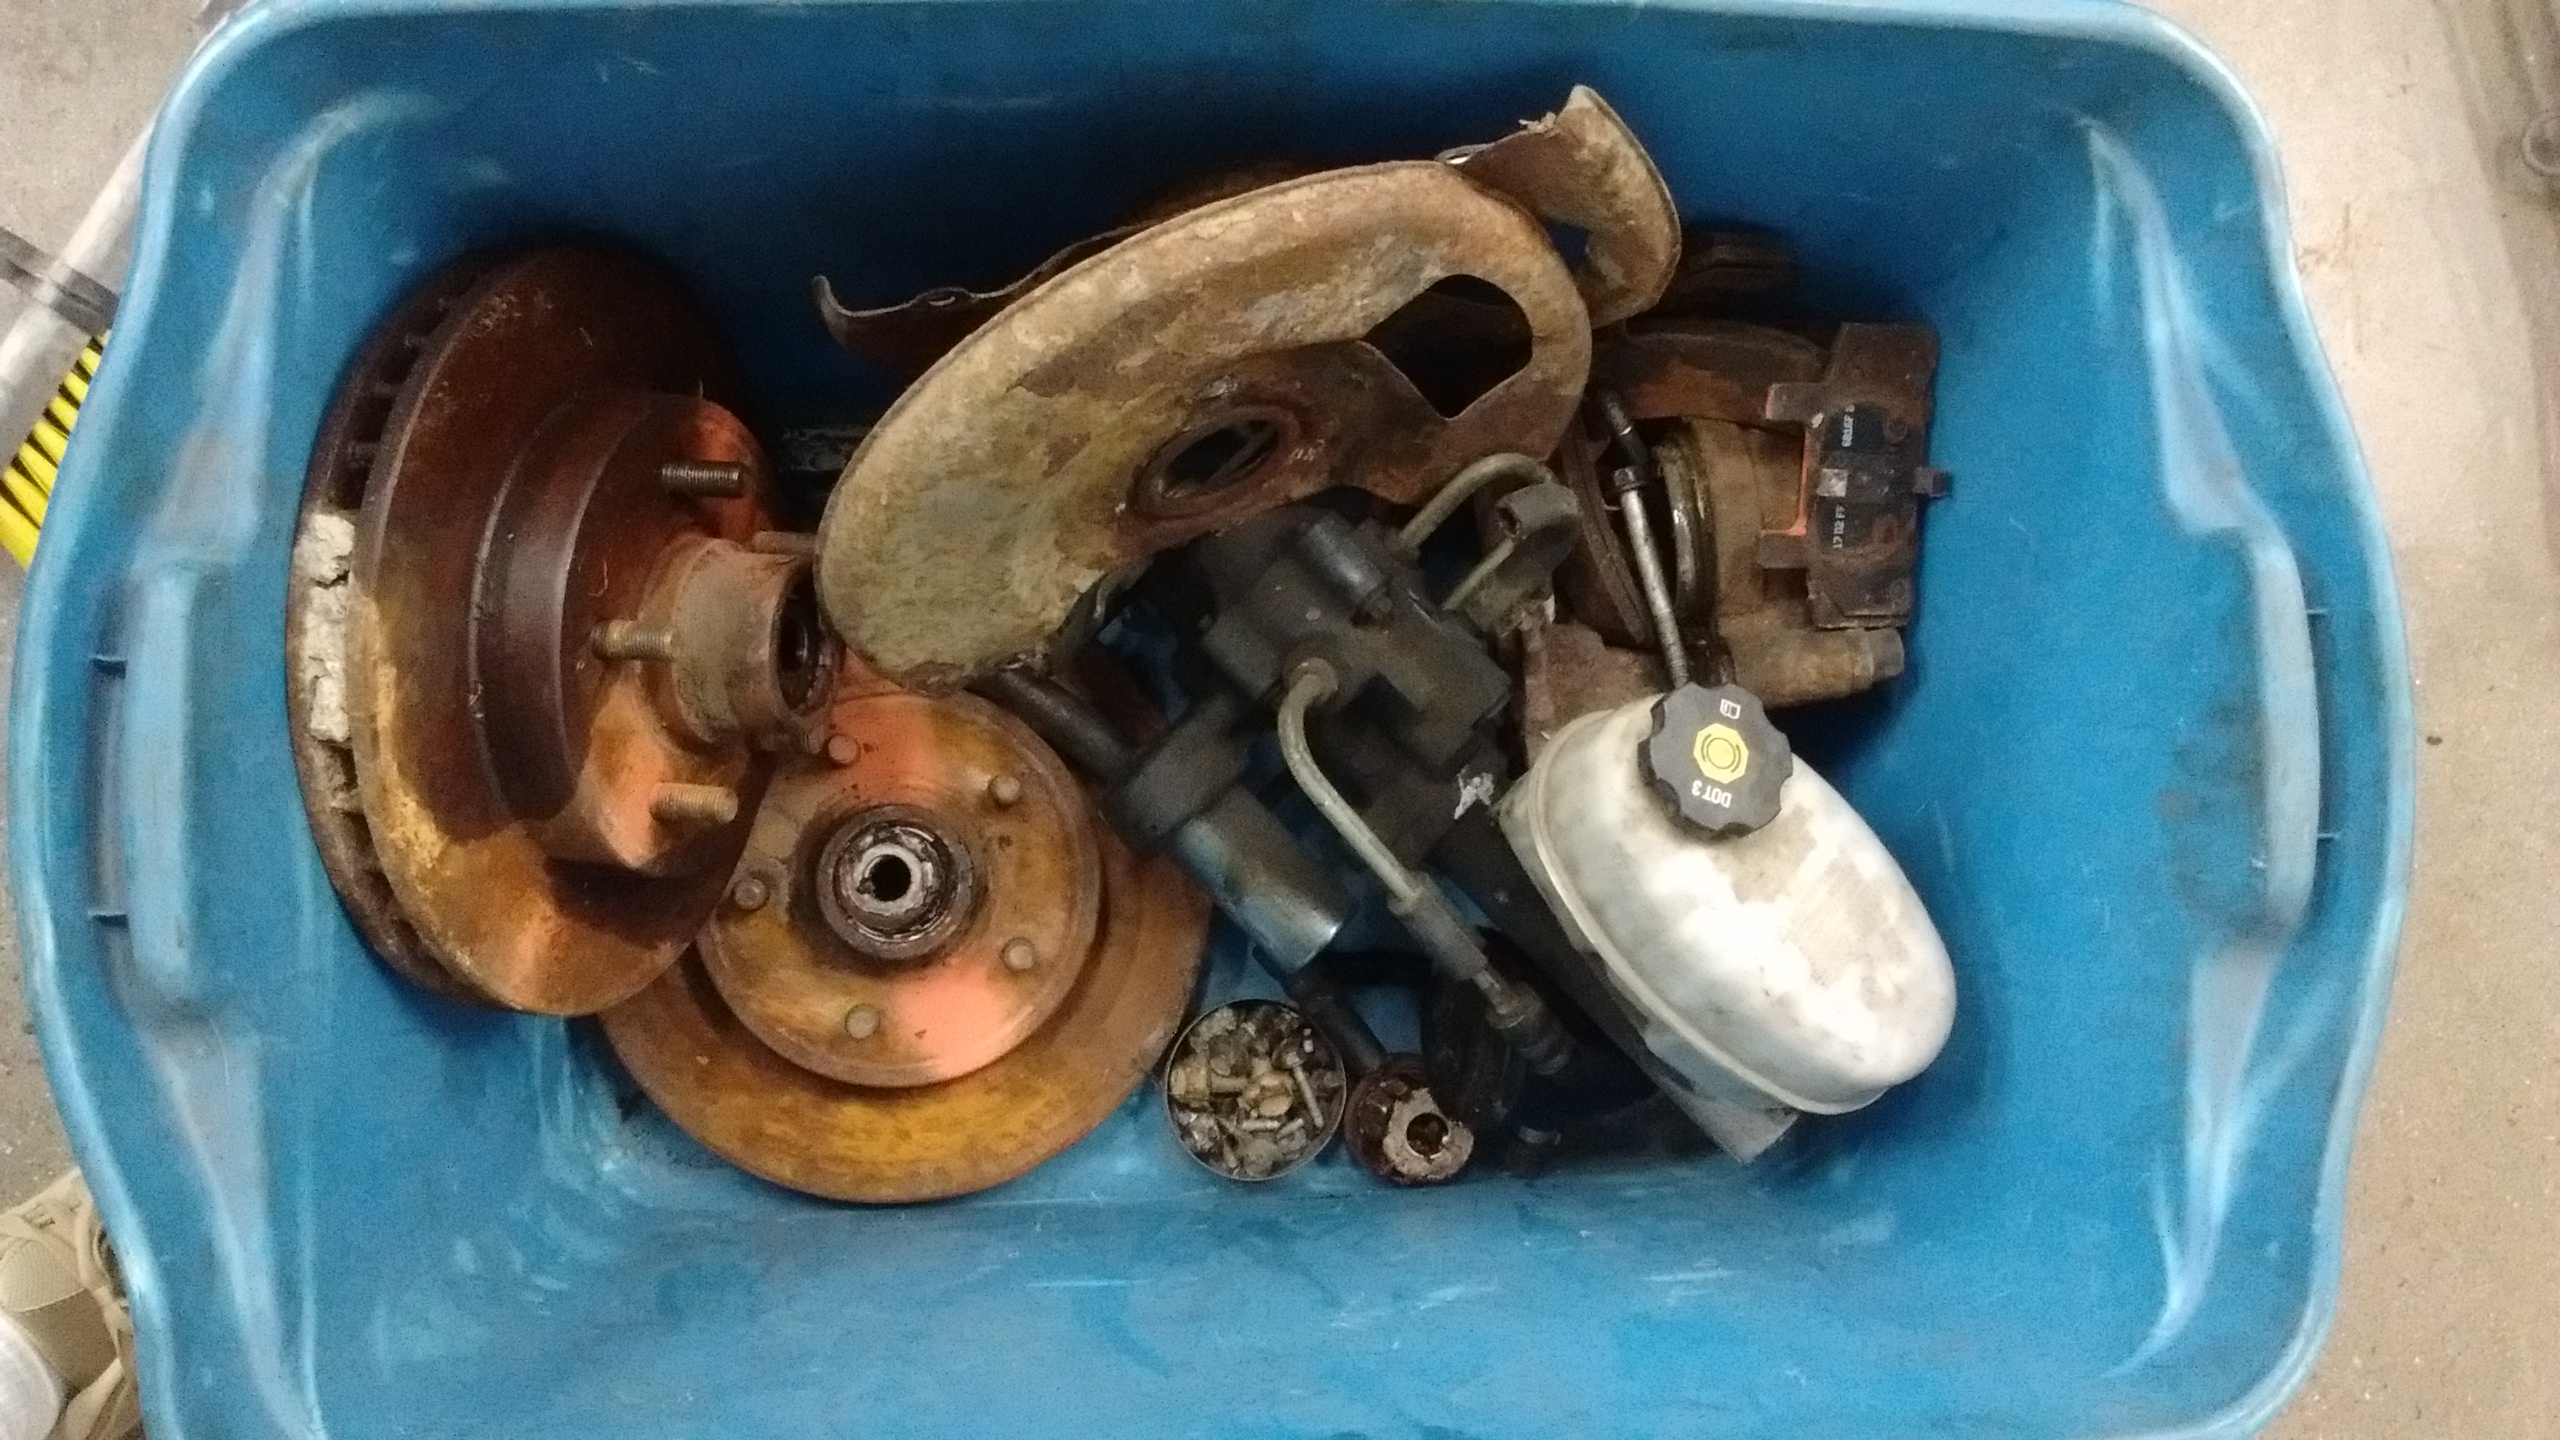
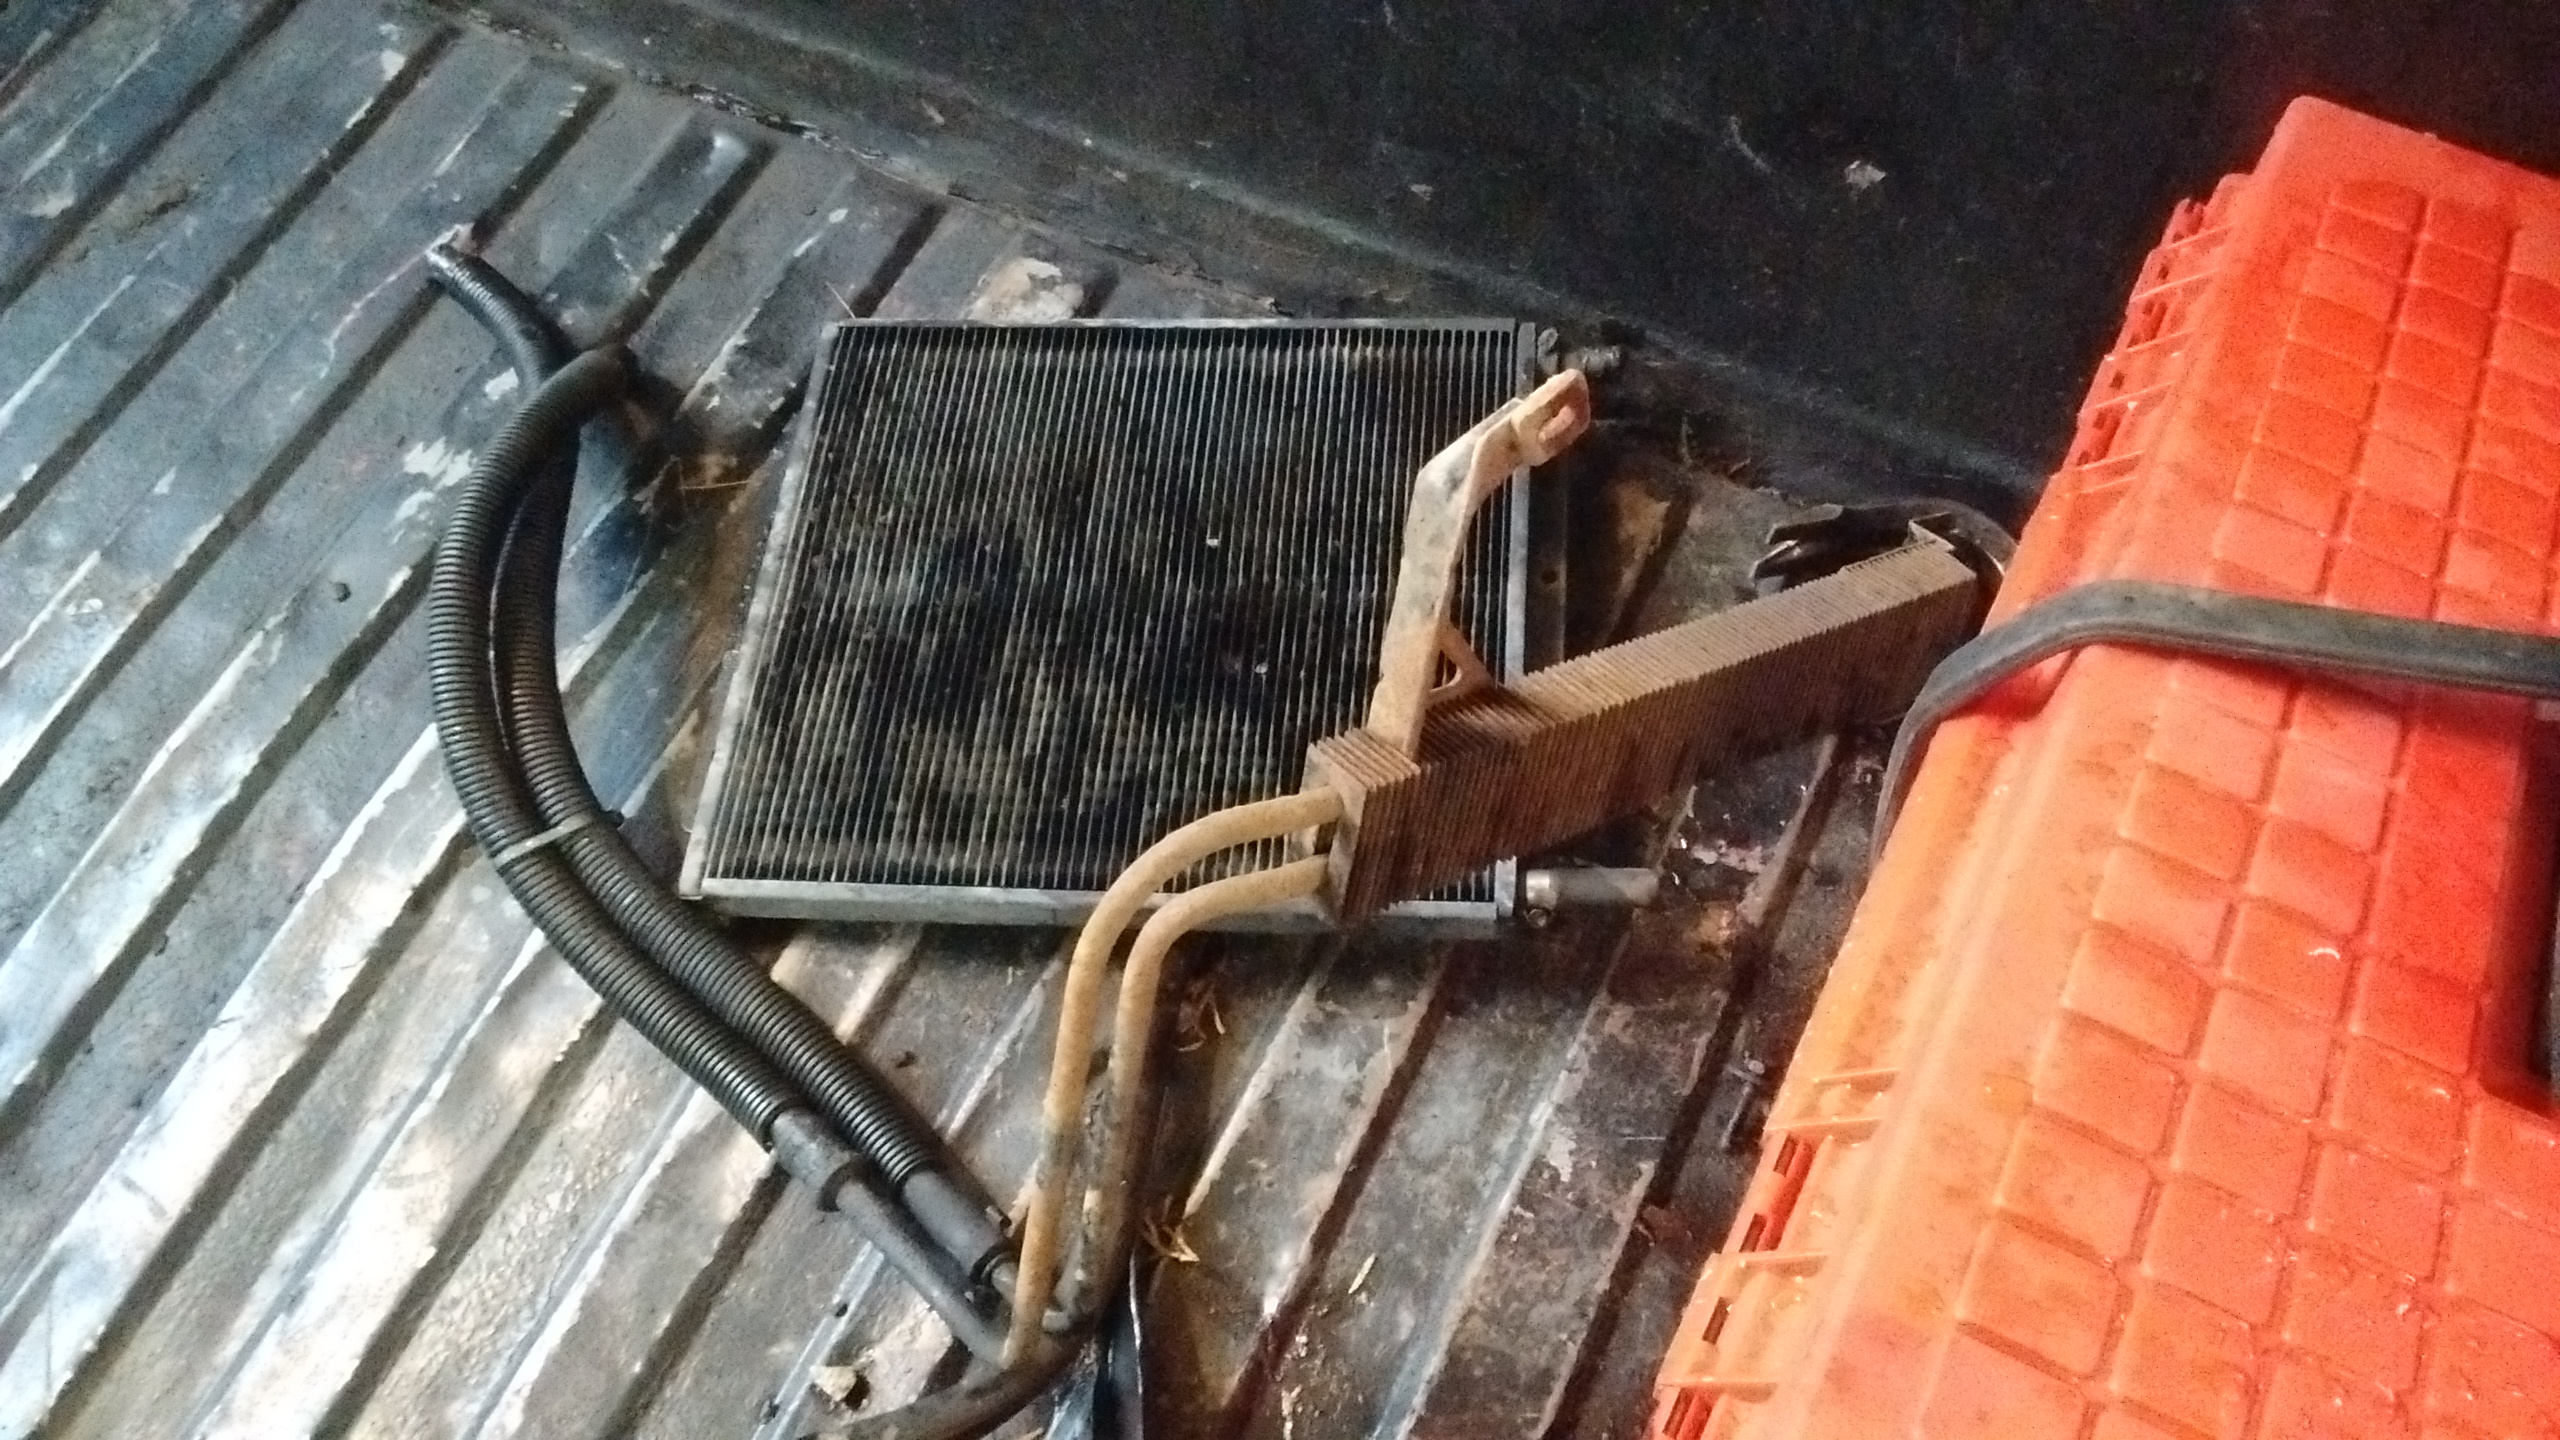
The next day, I went back to Pick-N-Pull to get a part I pulled off but forgot to put in the wheelbarrow, plus some other stuff: Trans and P/S coolers, 4L80E dipstick tube and stick, and a brake pedal pad since I’m going auto.
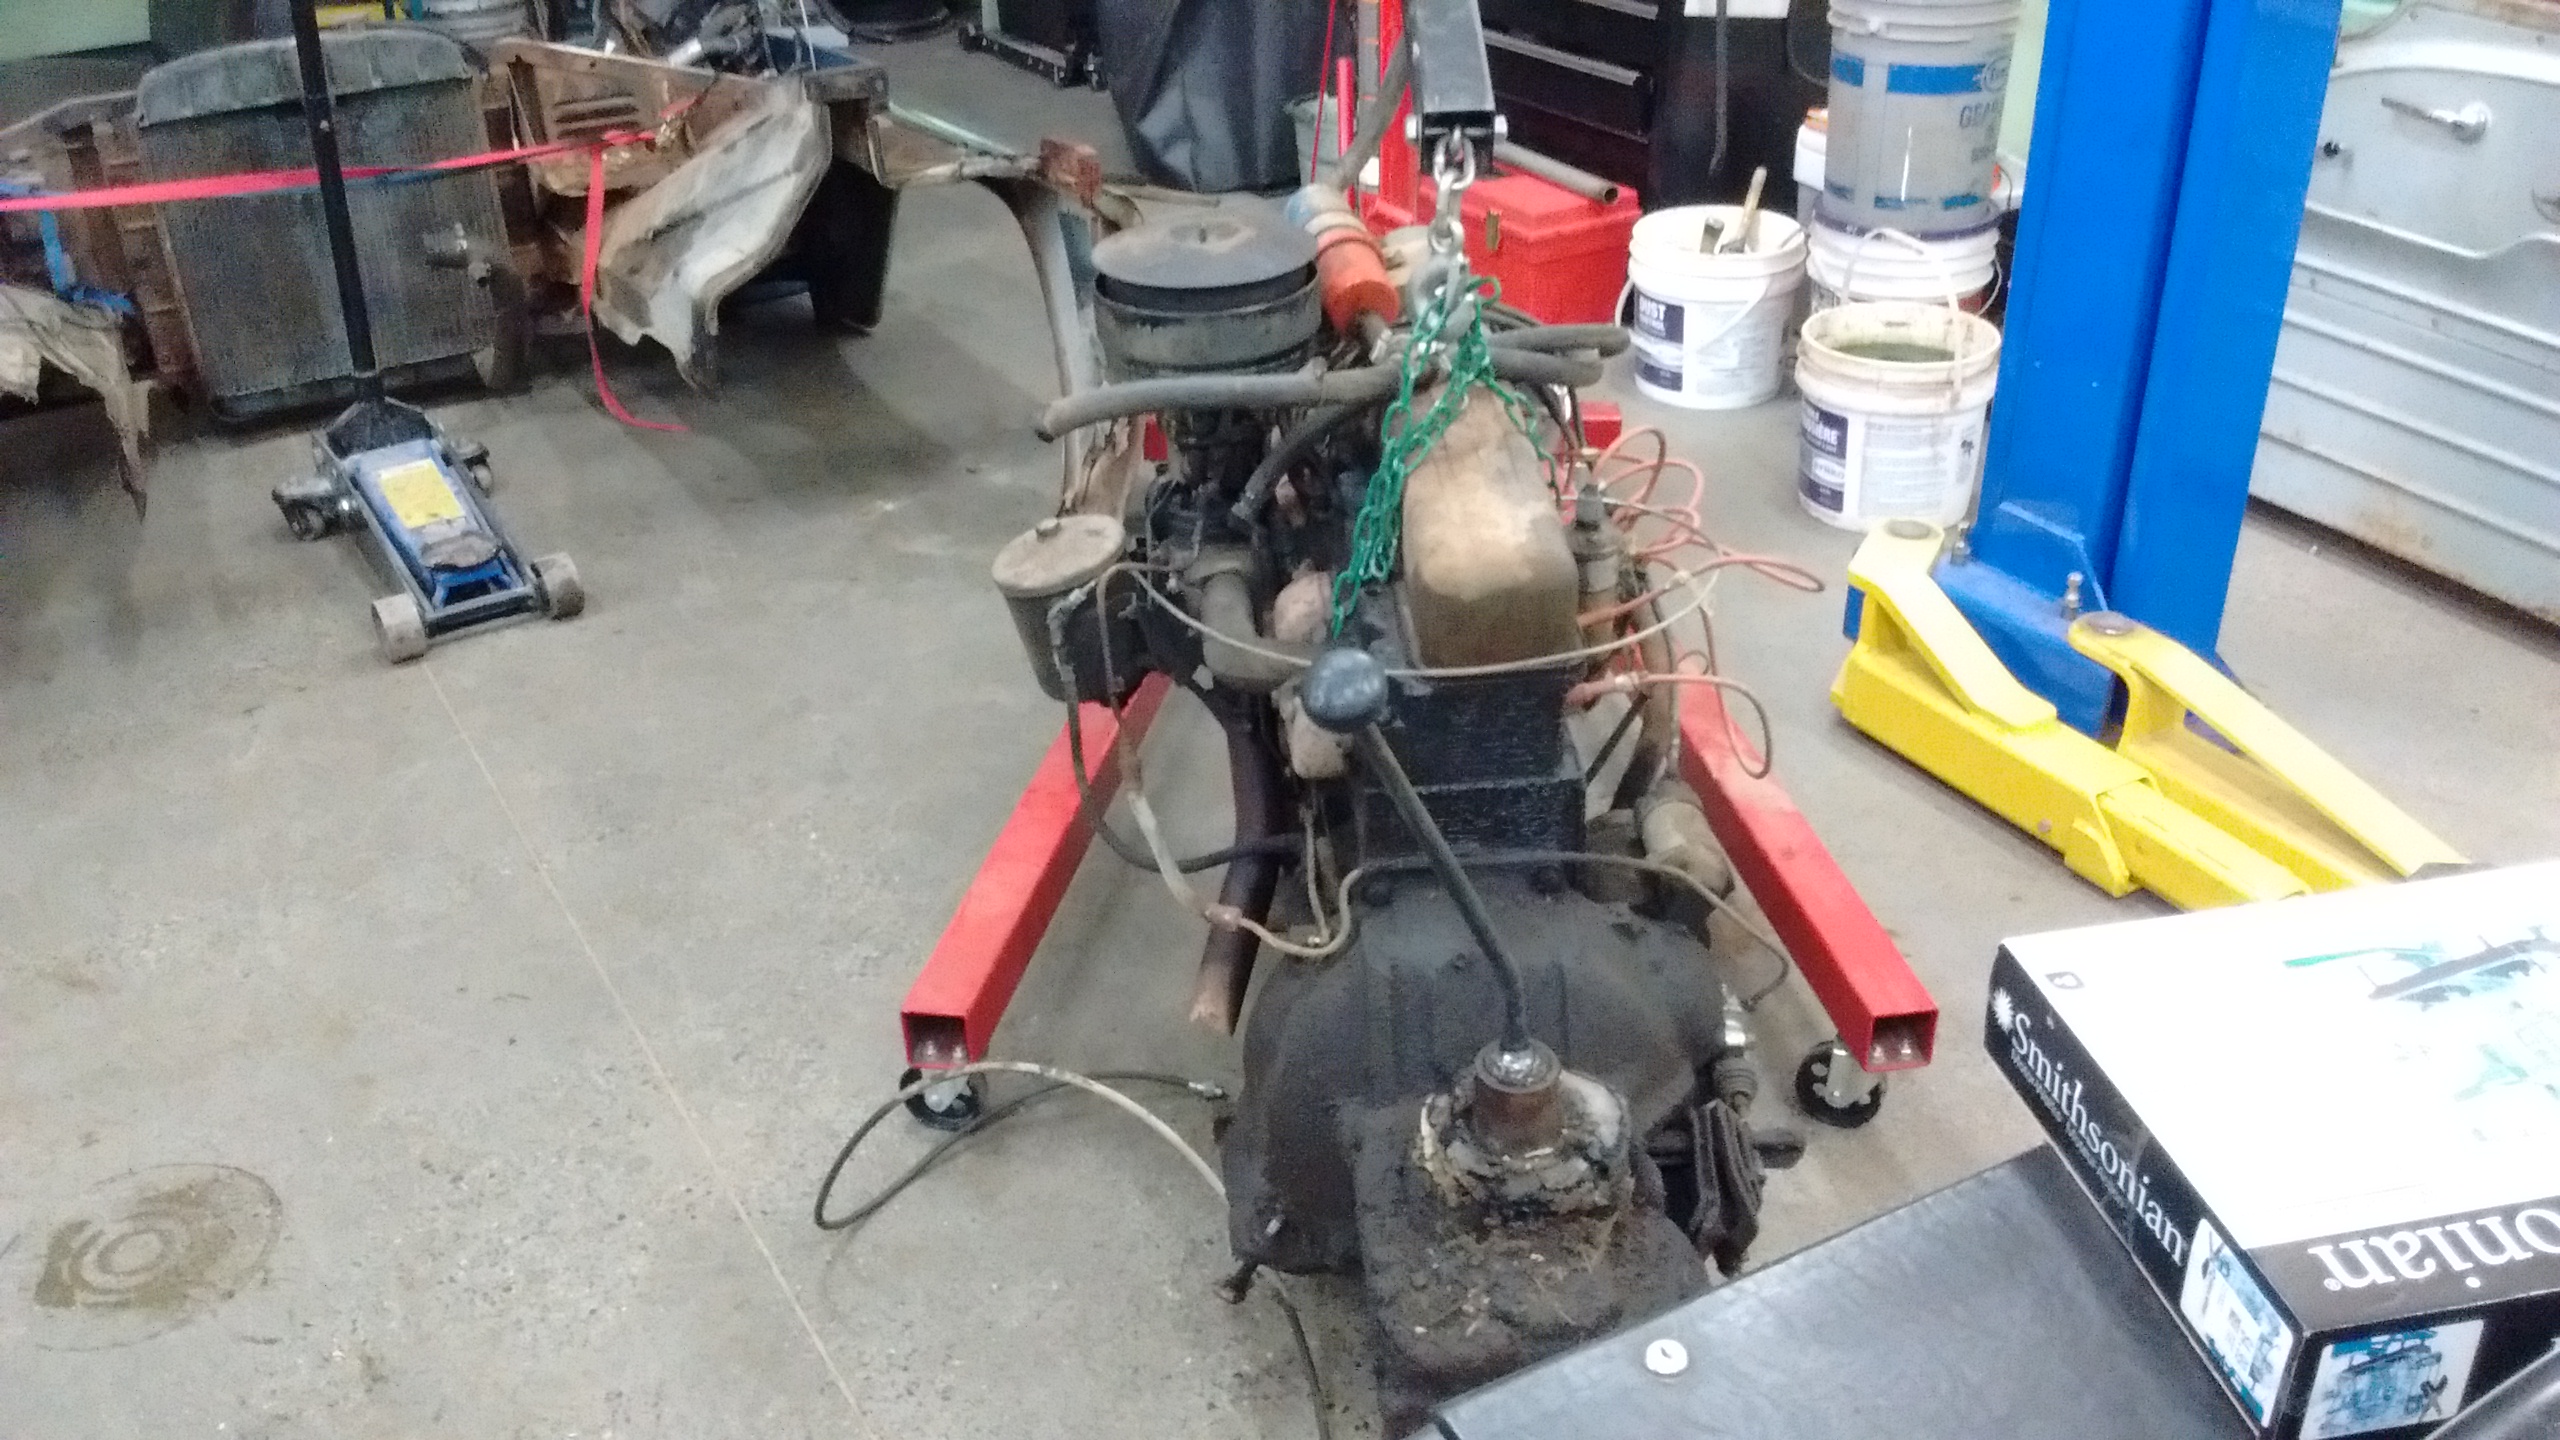
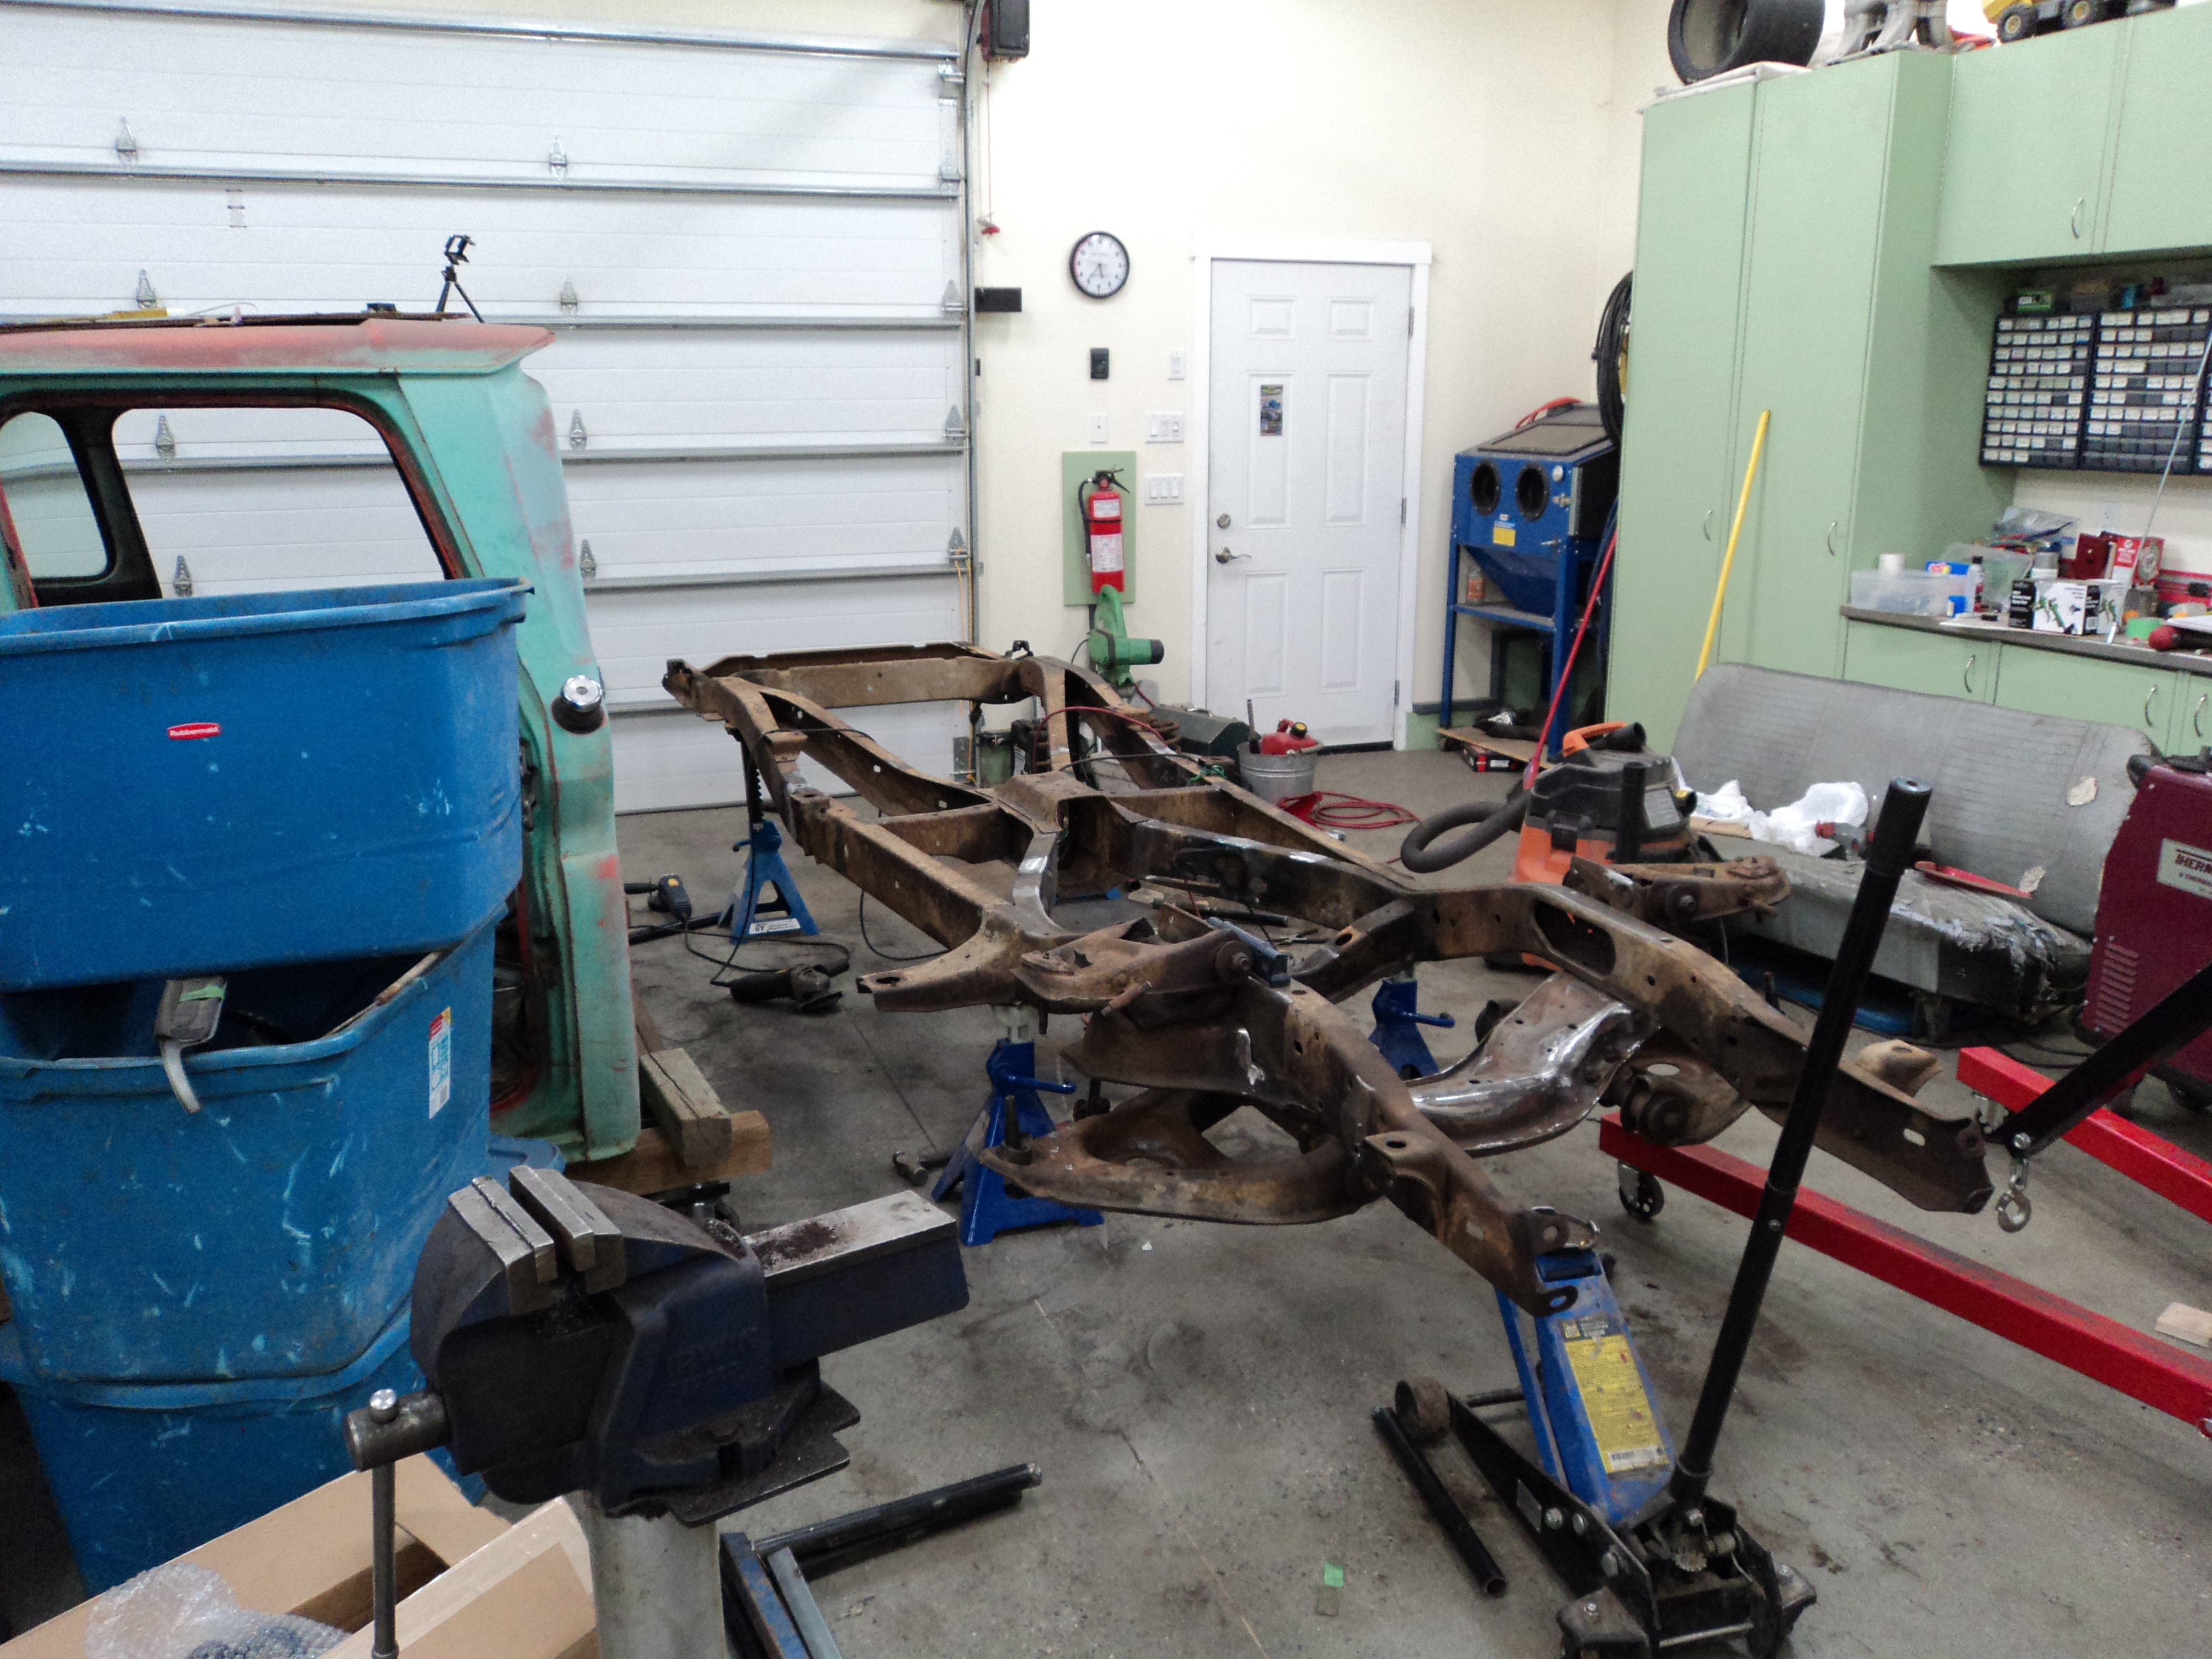
Motor’s out.
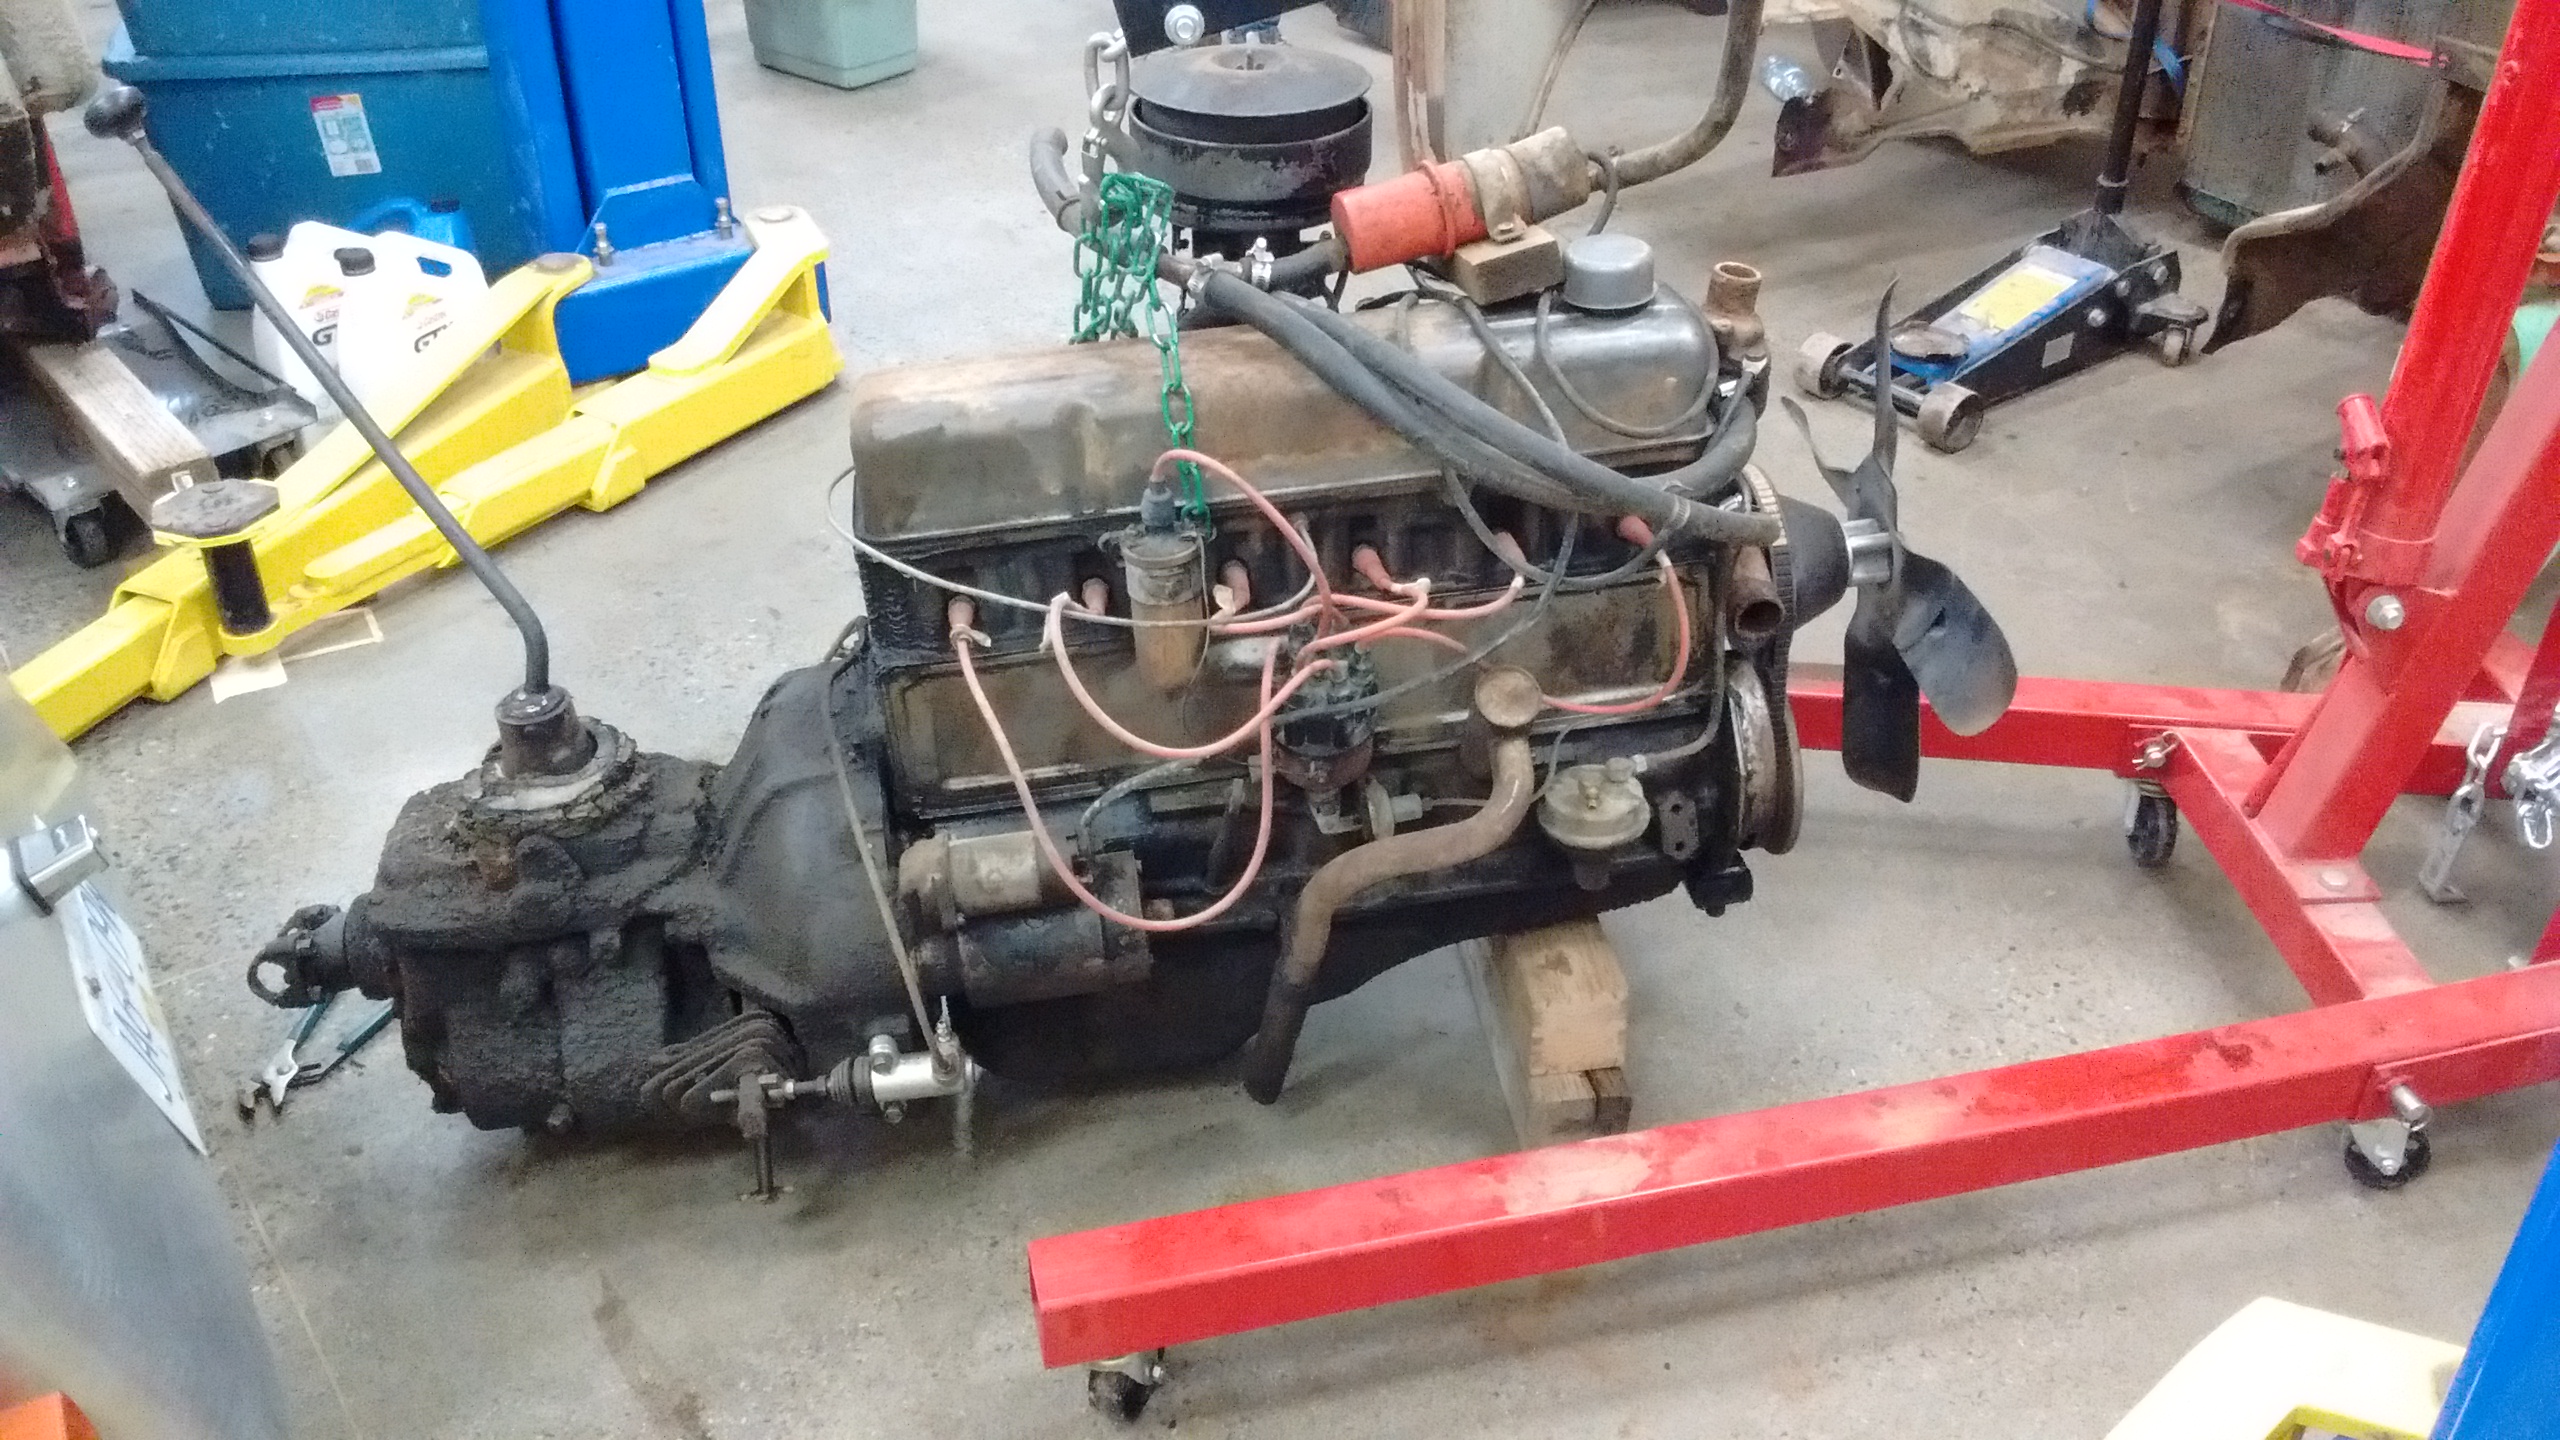
Yes, that’s a Road-Draft Tube. This engine pre-dates PCV.
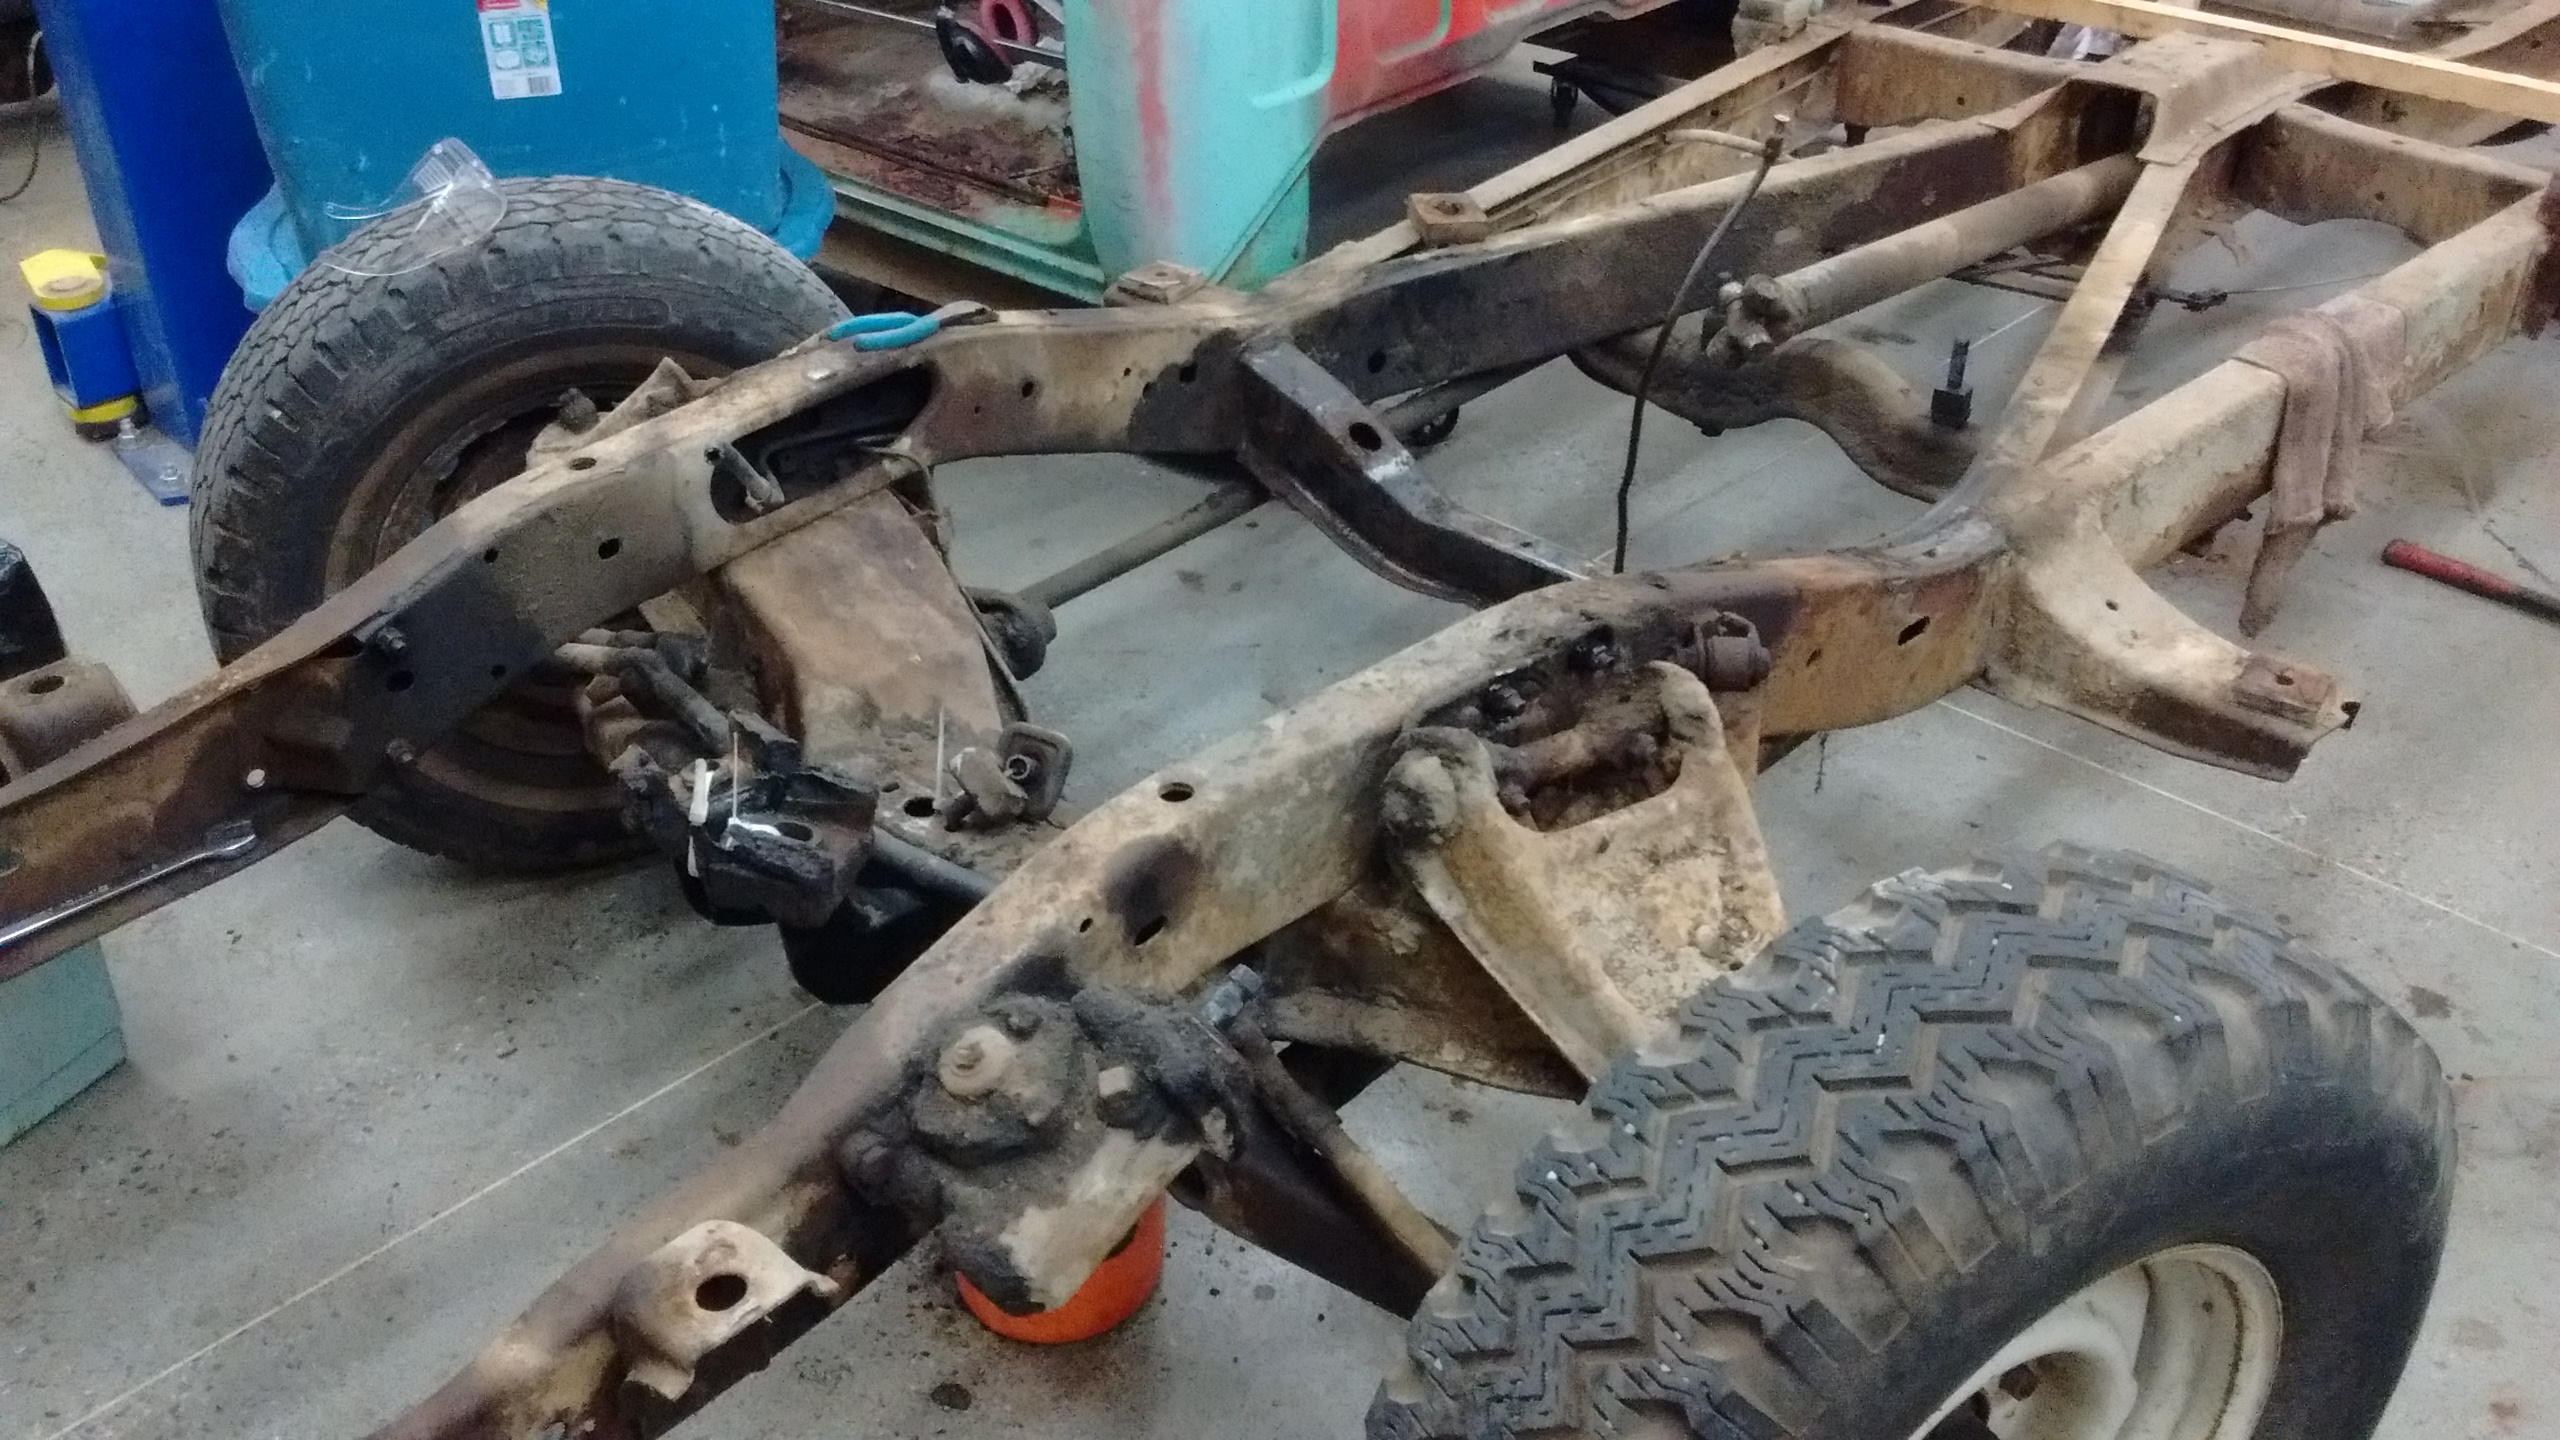
And we’re naked.
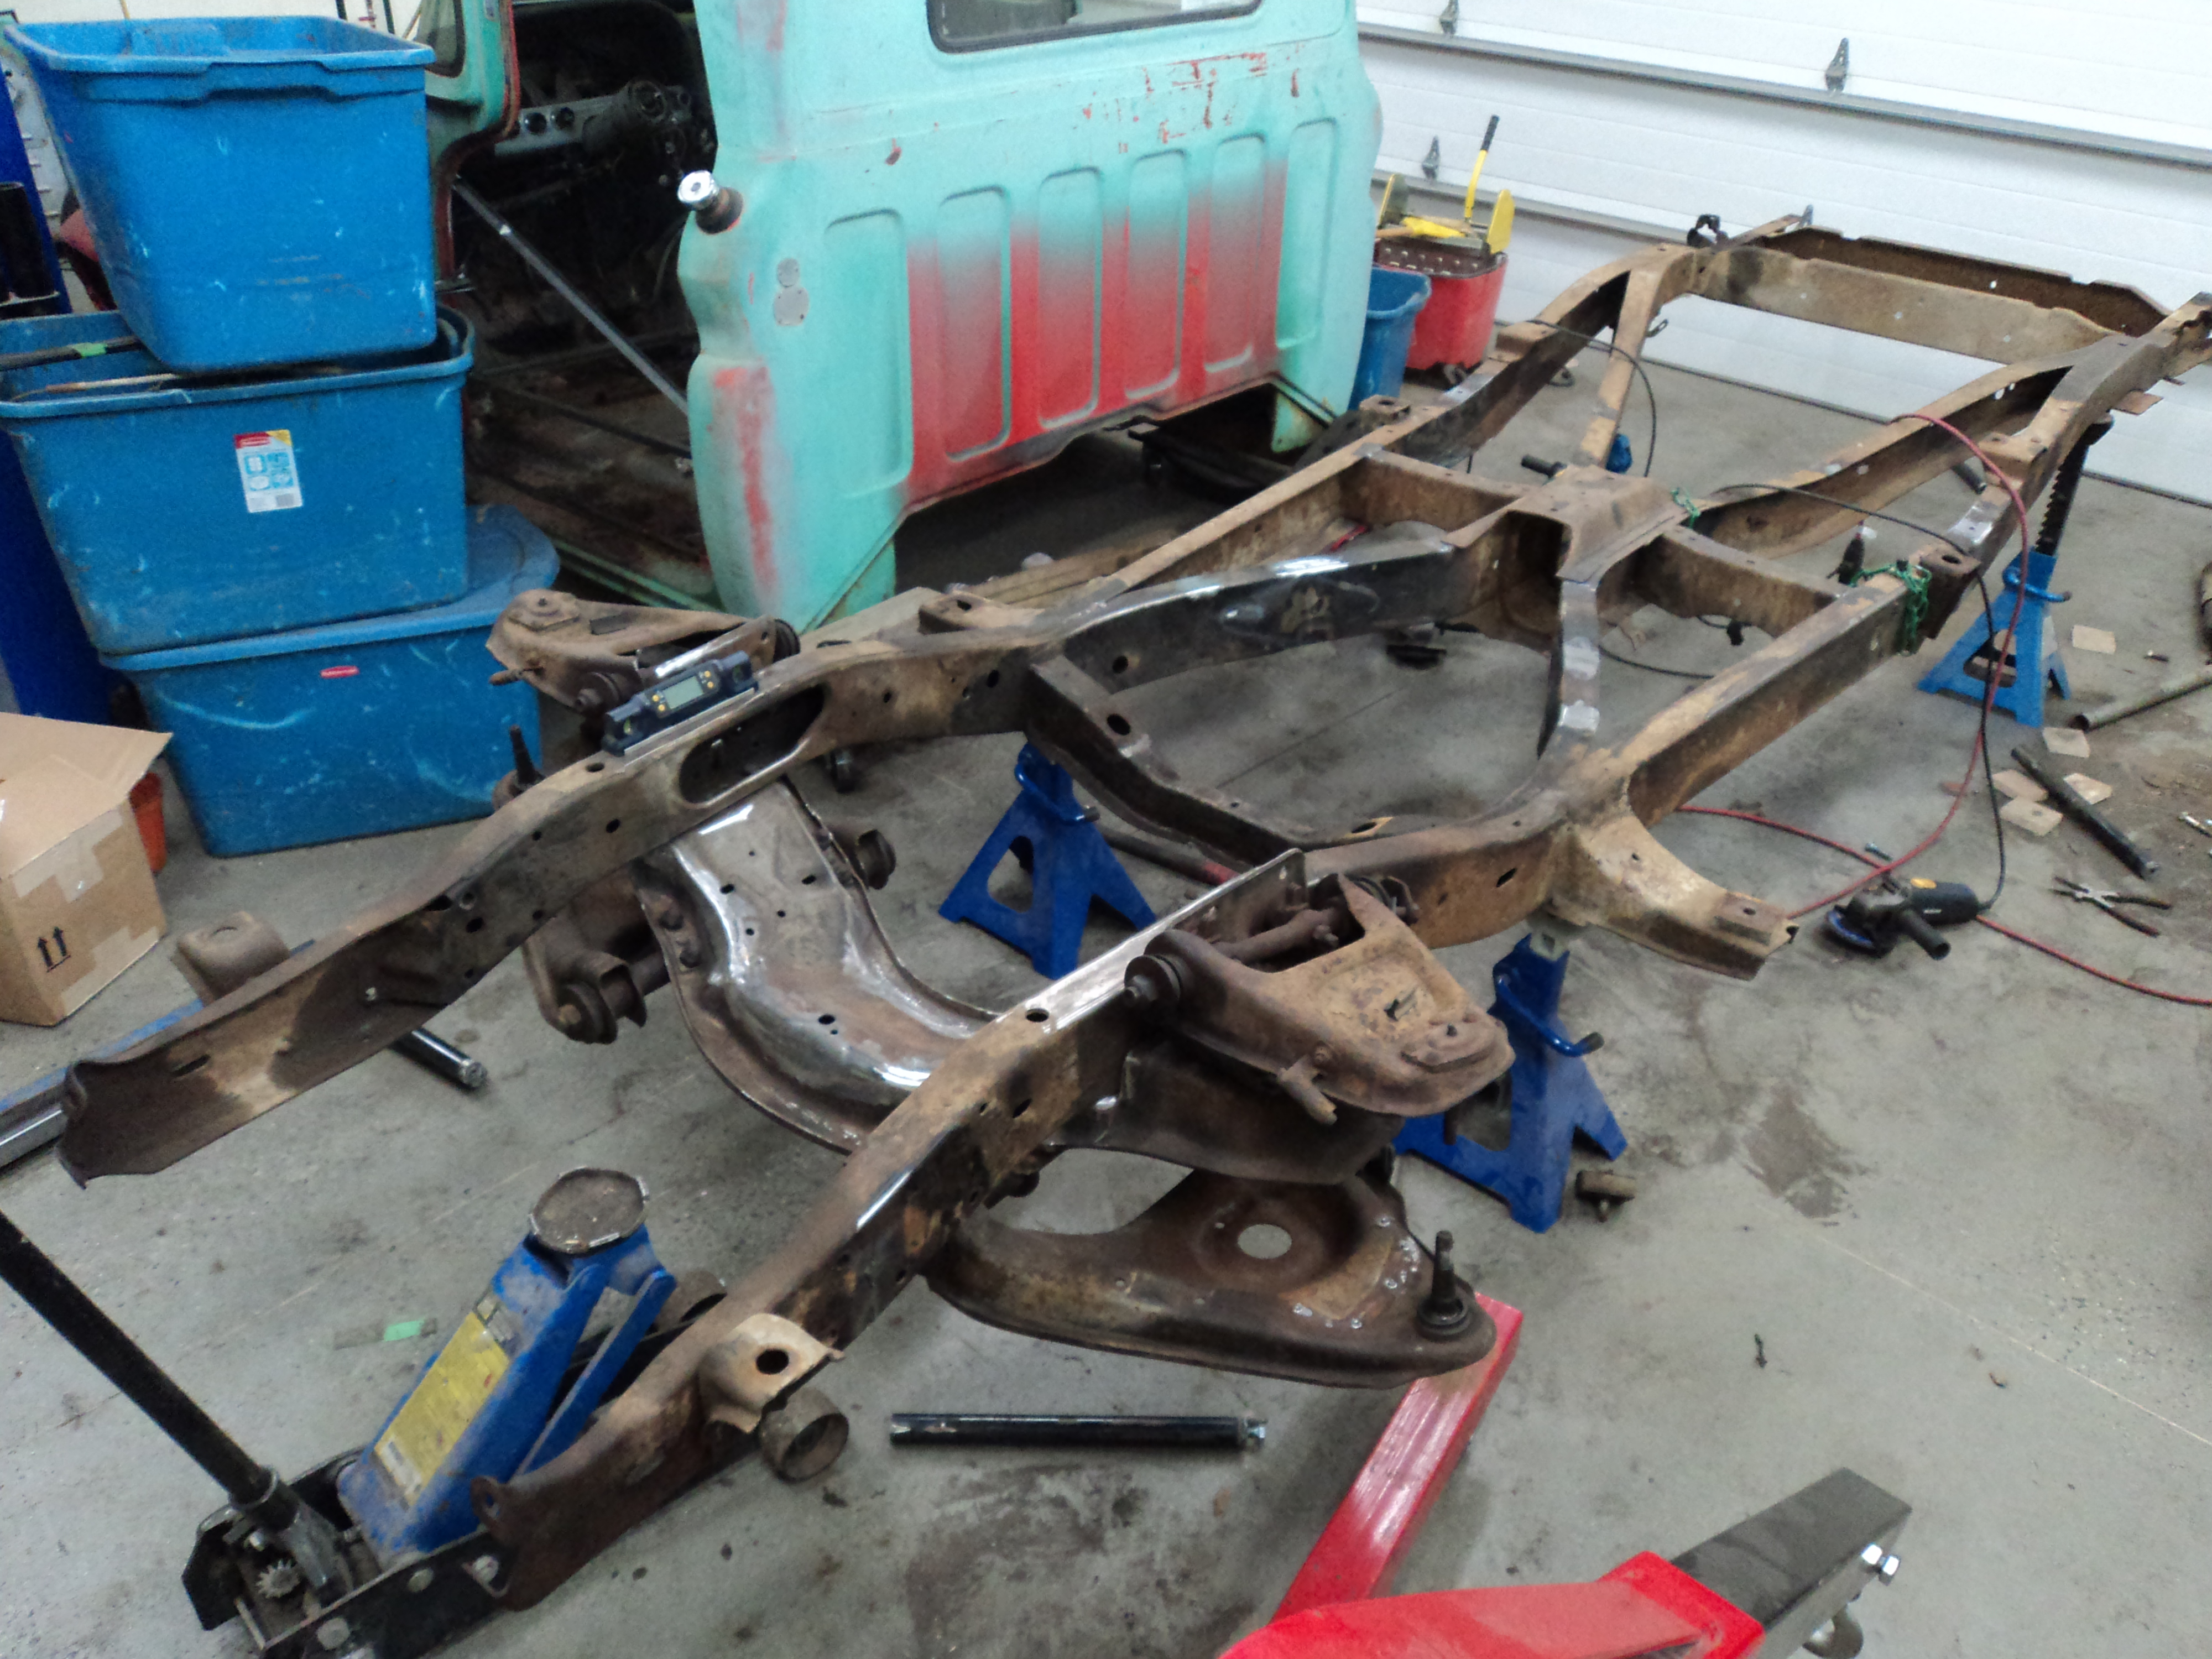
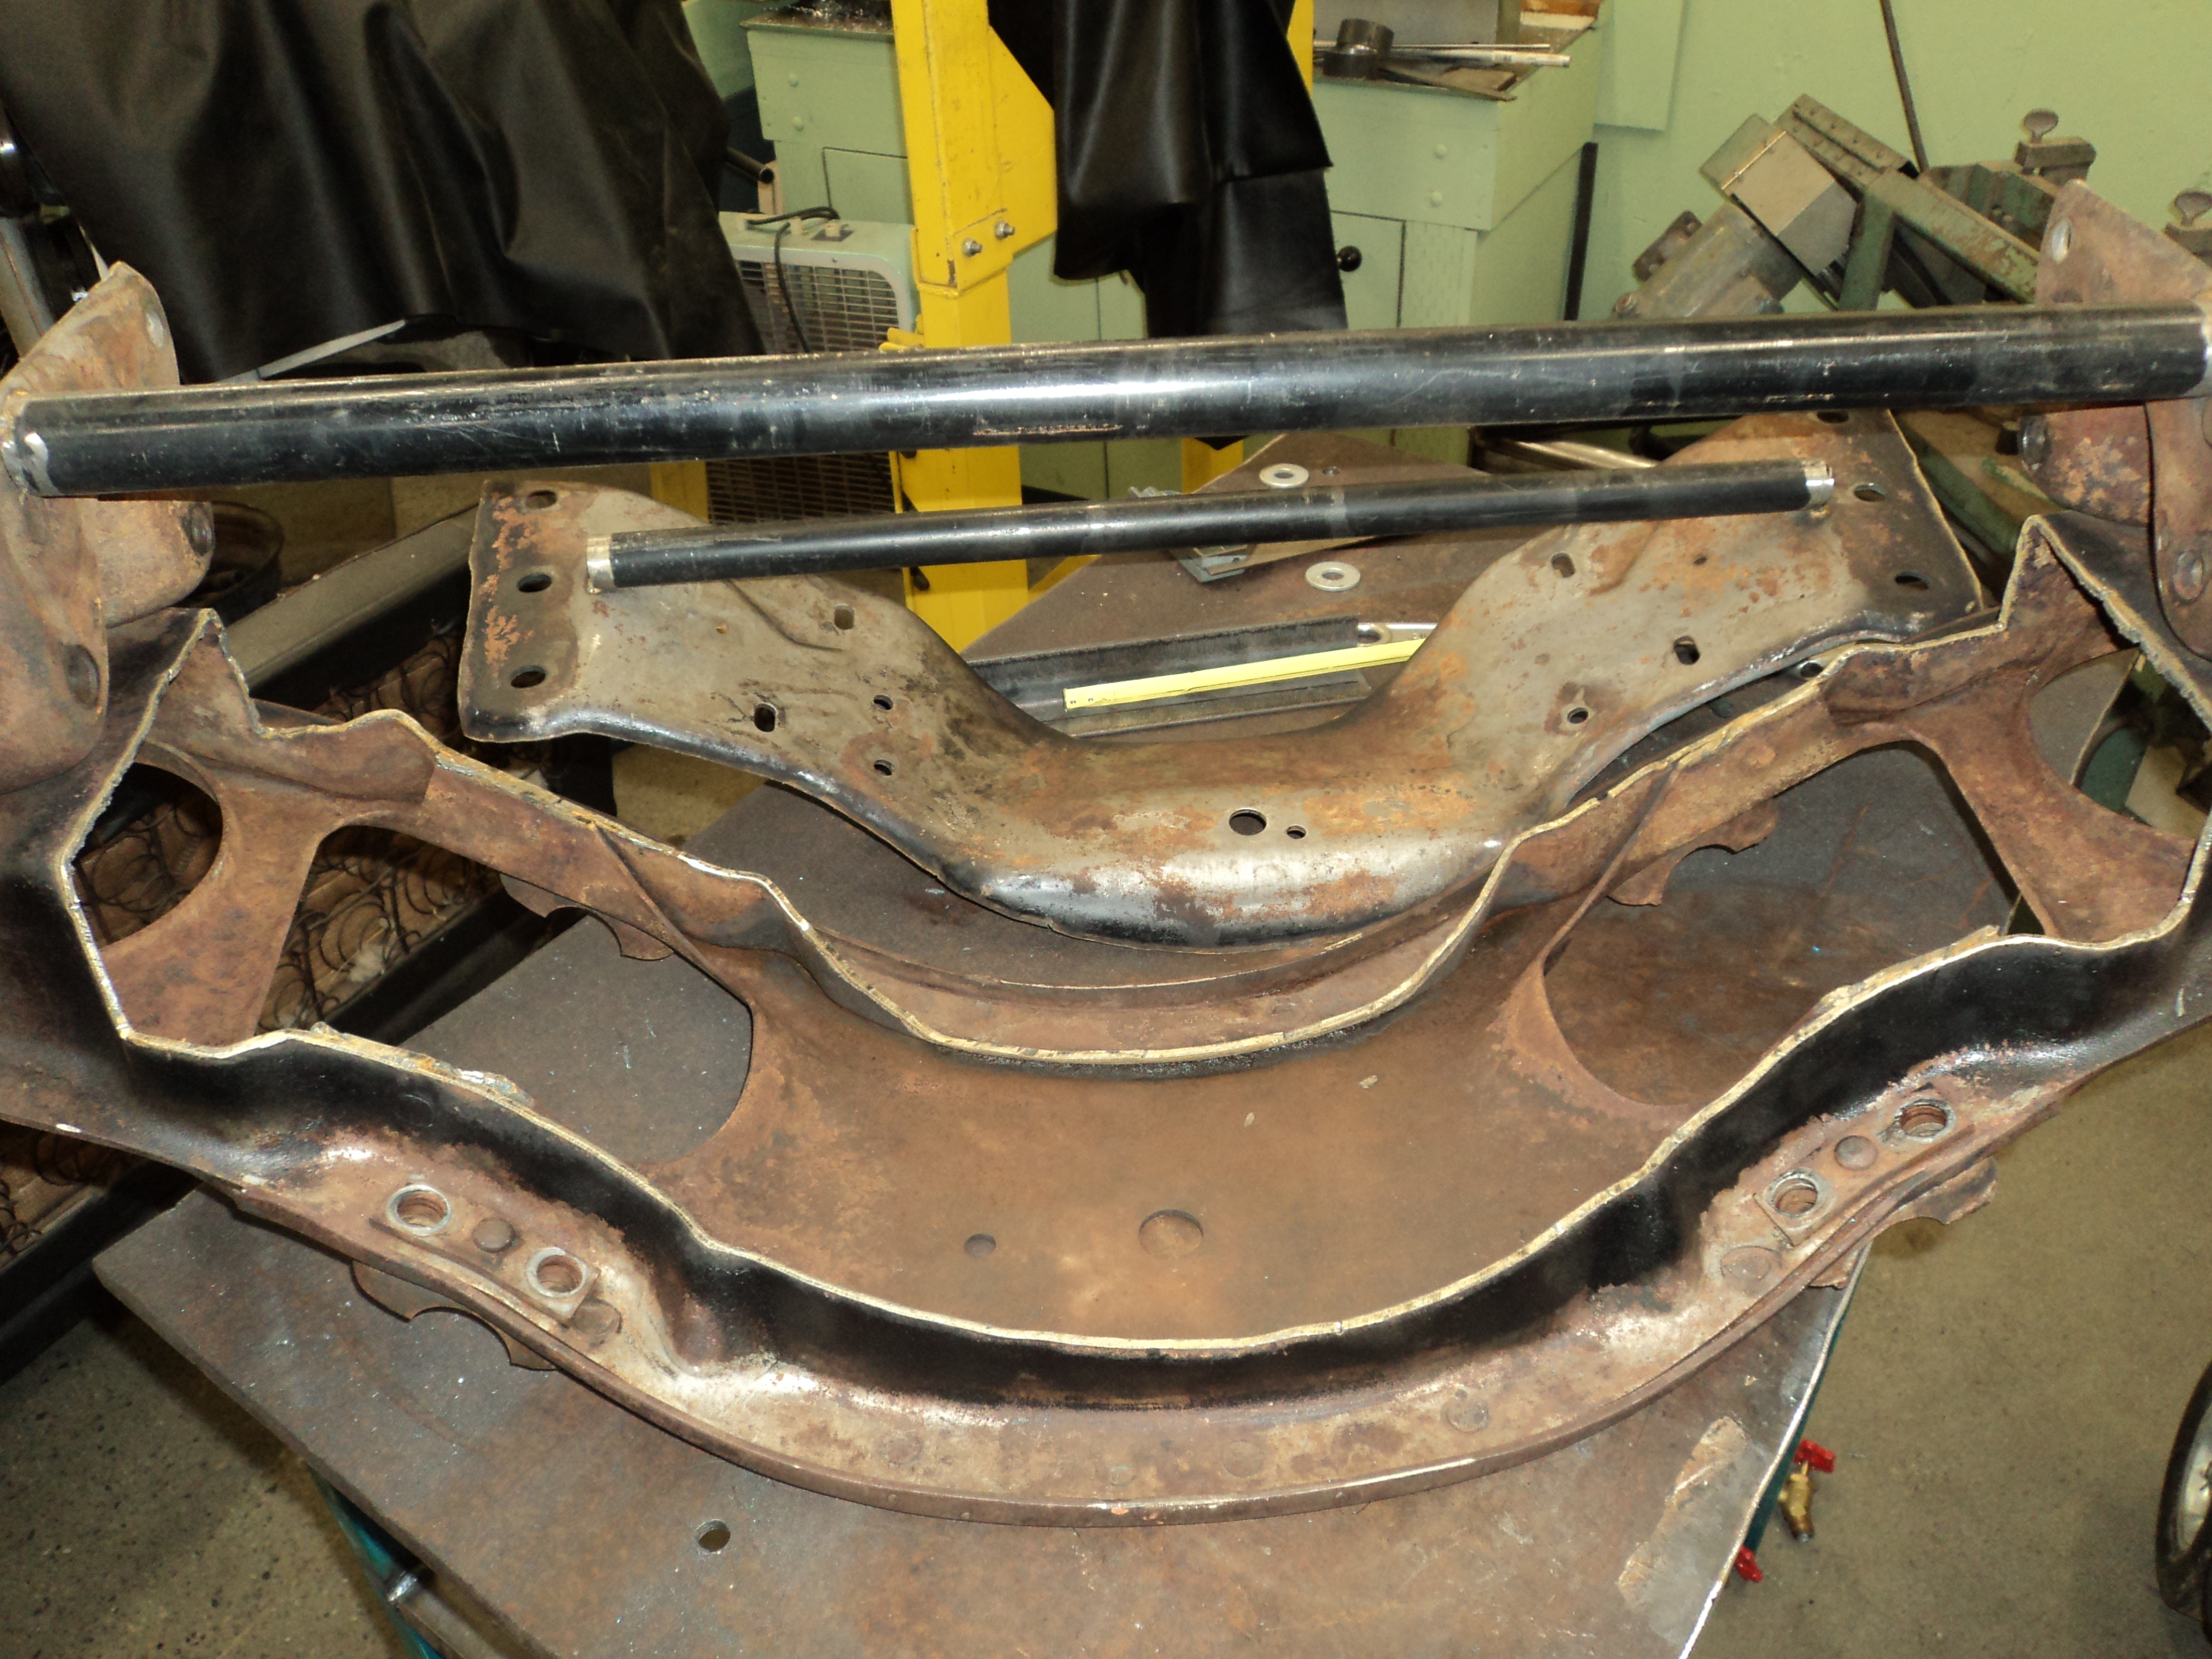
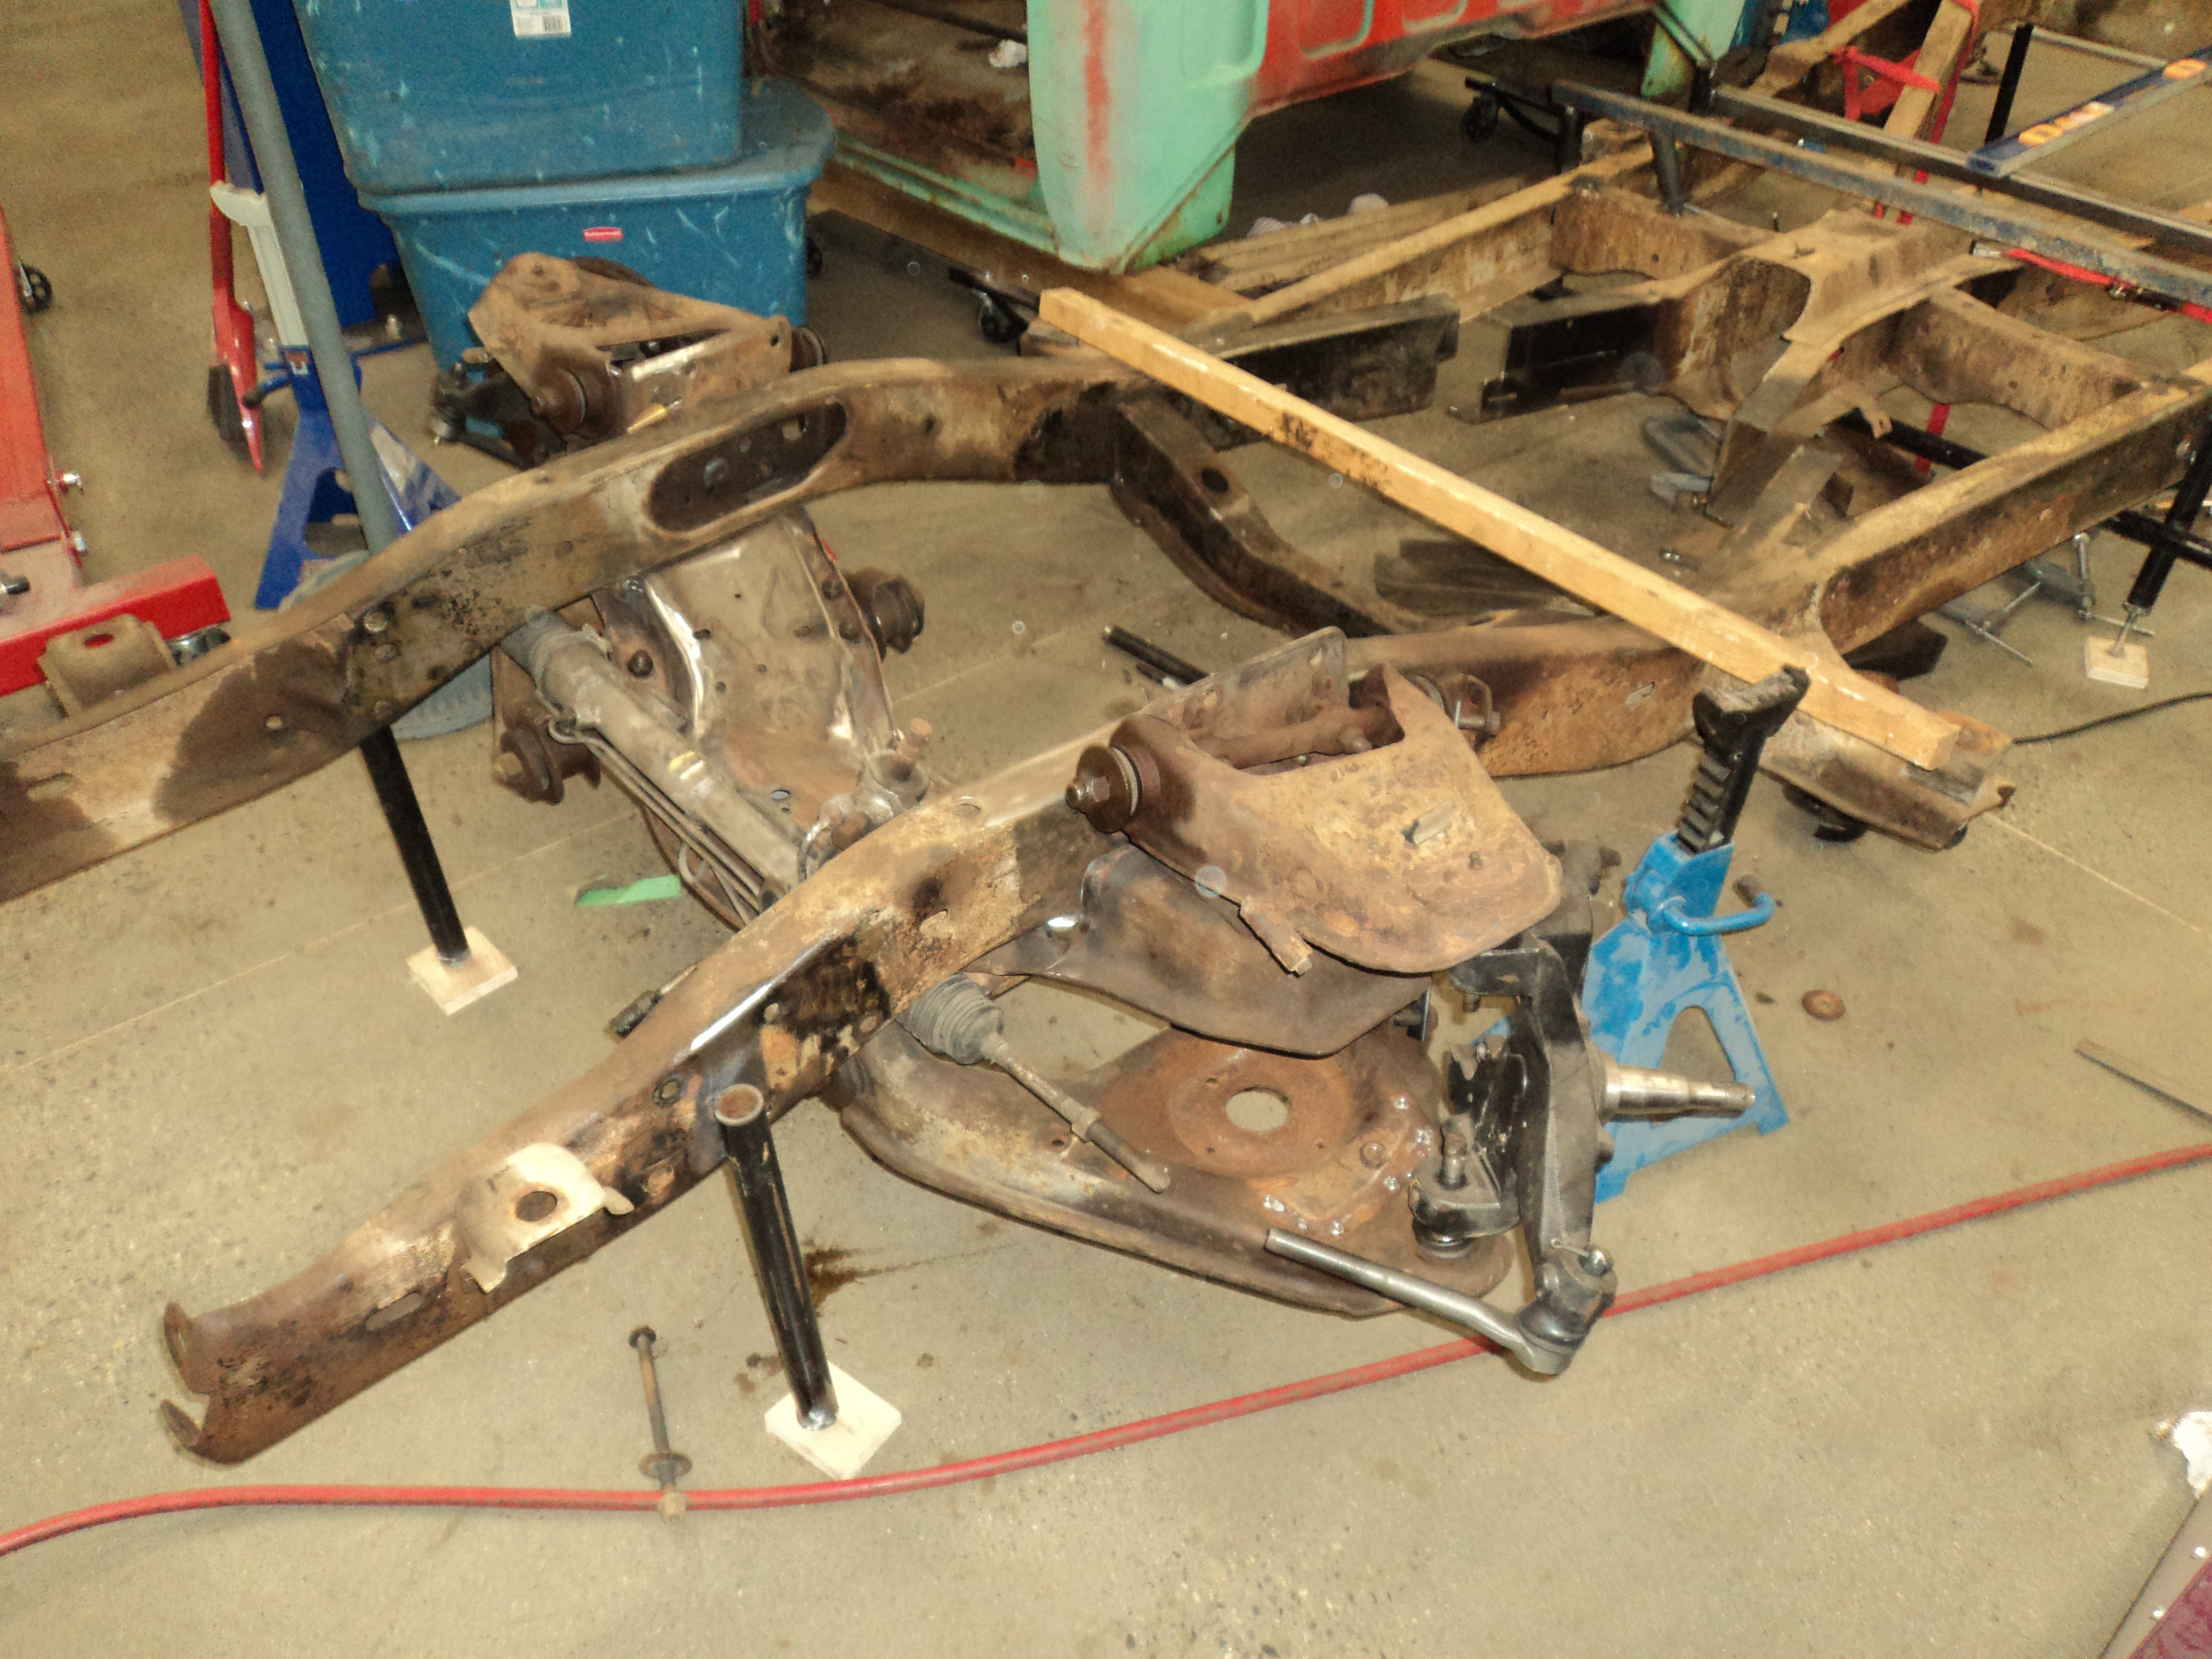
Pancaked 73-87 Crossmember
A “pancaked” crossmember is one that has been sectioned shorter. Two inches were removed from this crossmember. That’s a aggressive pancake for stock linkage steering, but I plan on doing a Rack & Pinion conversion.
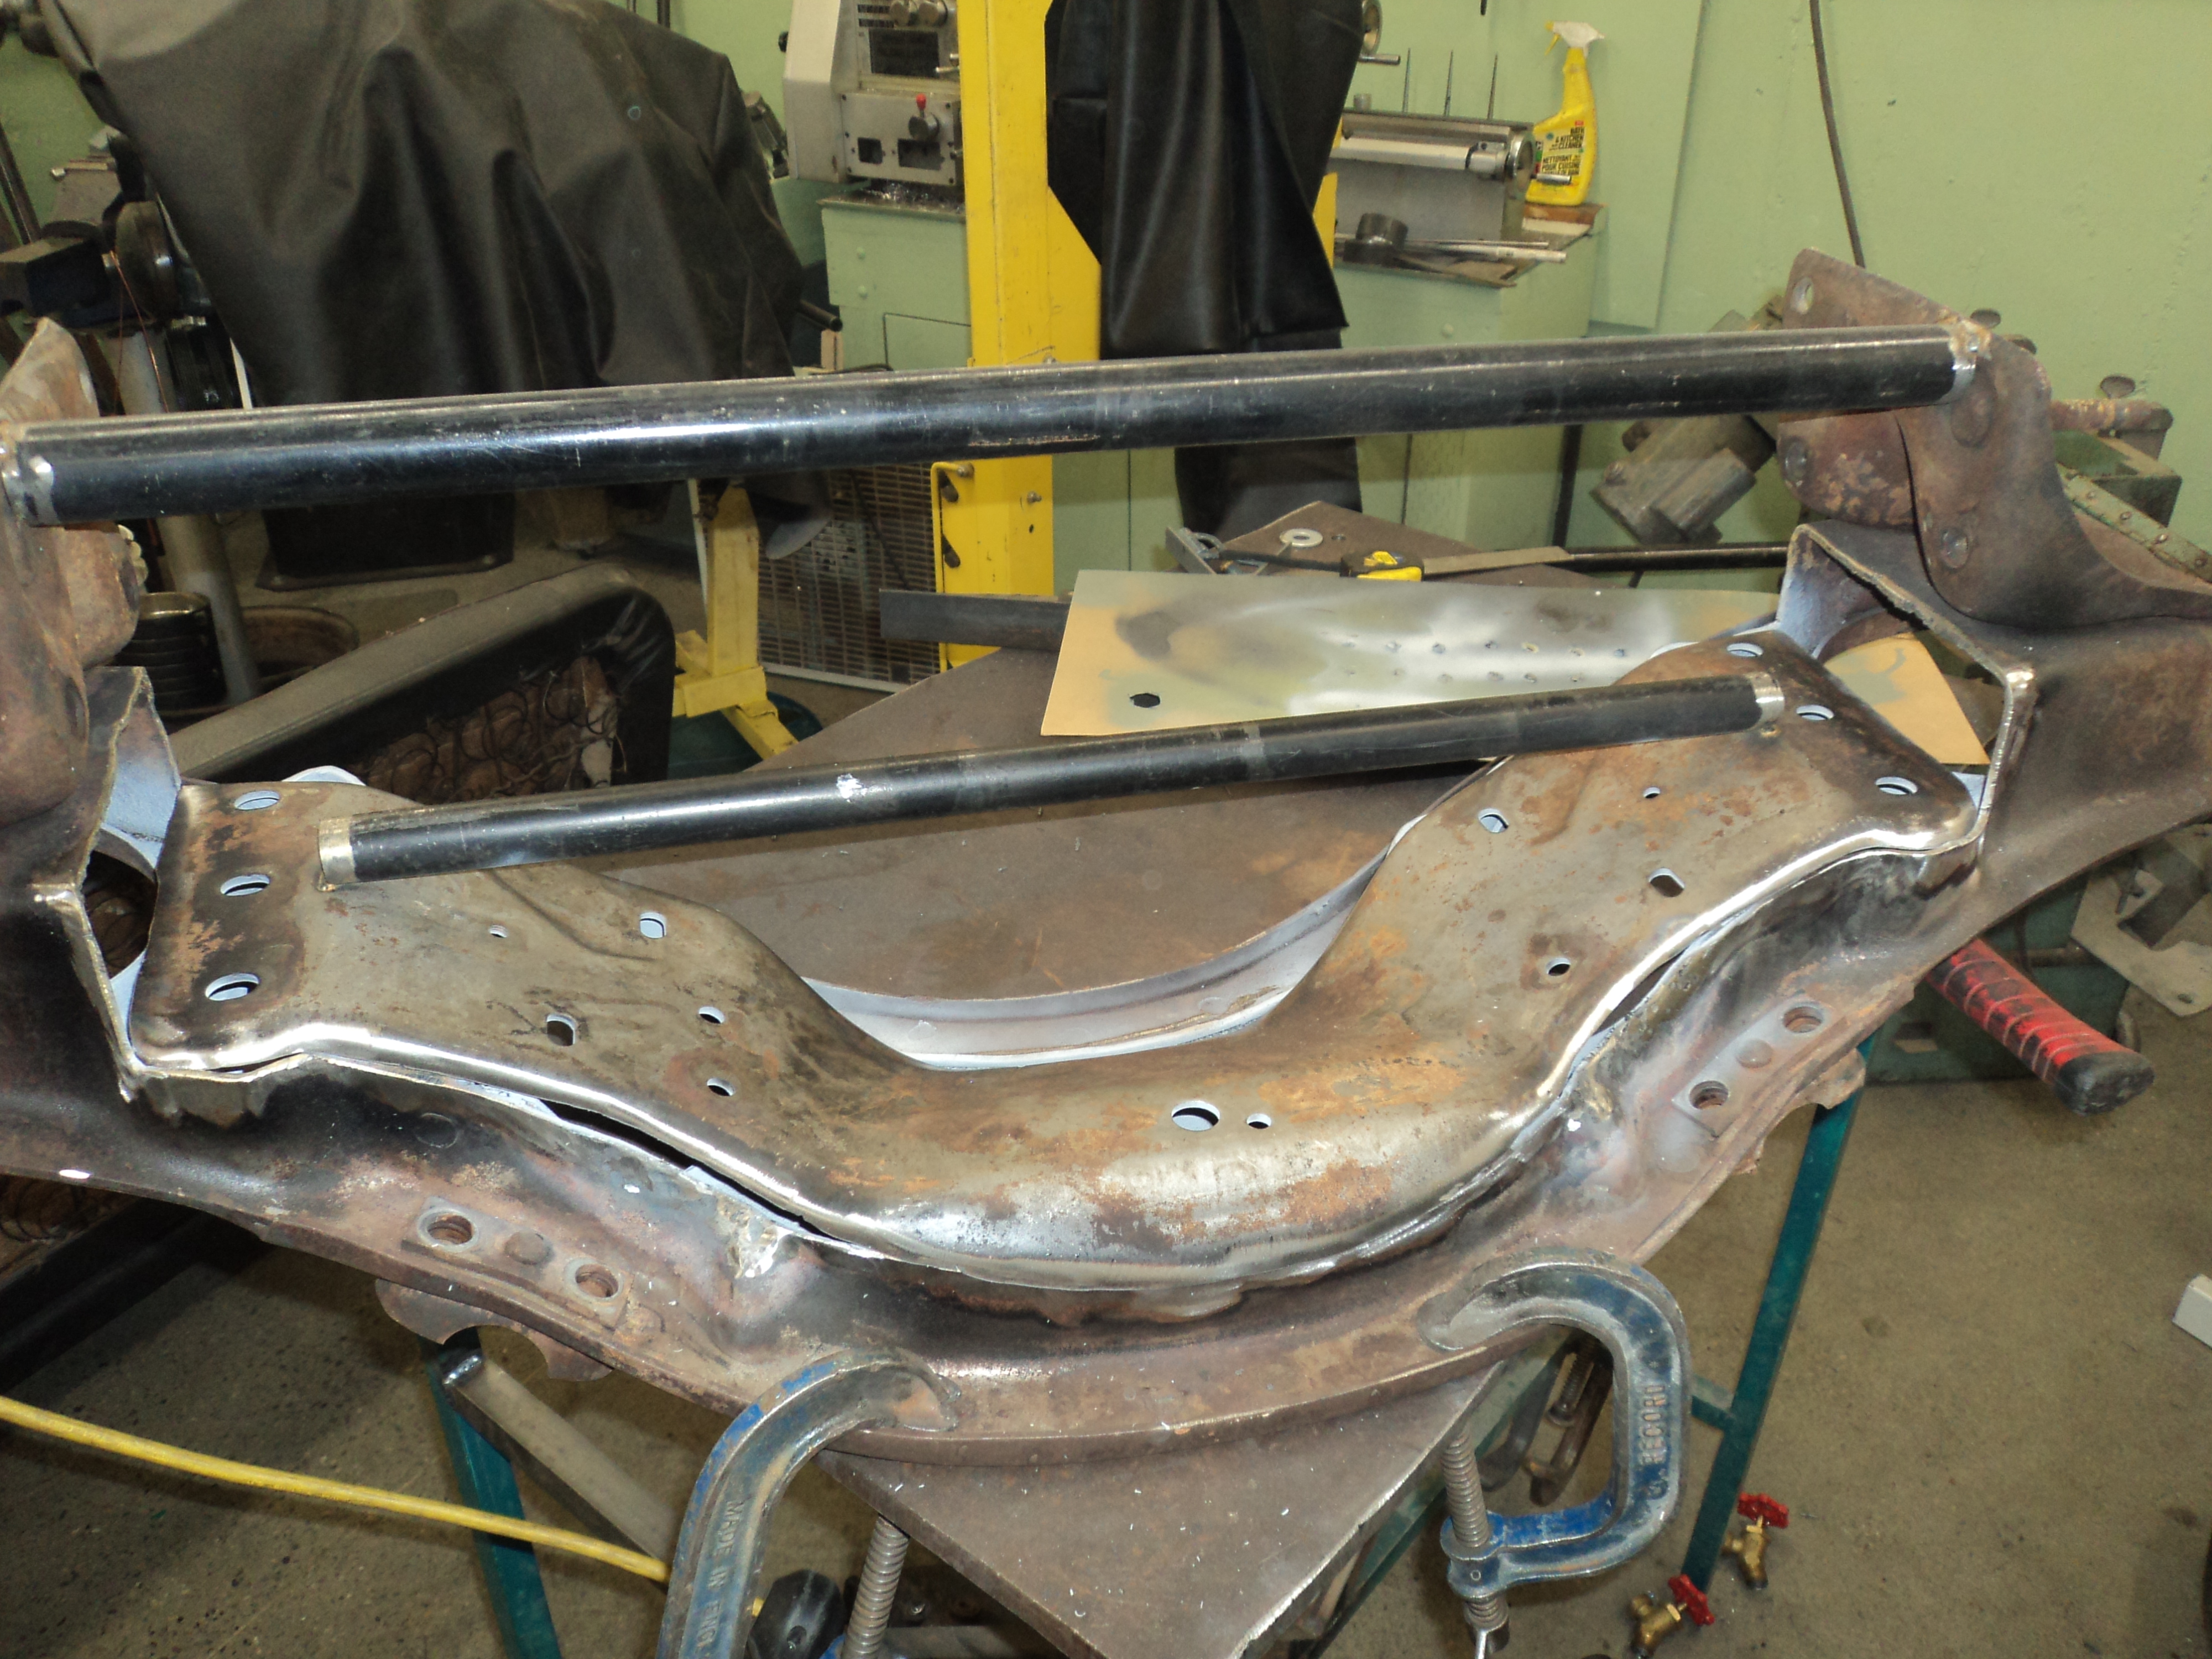
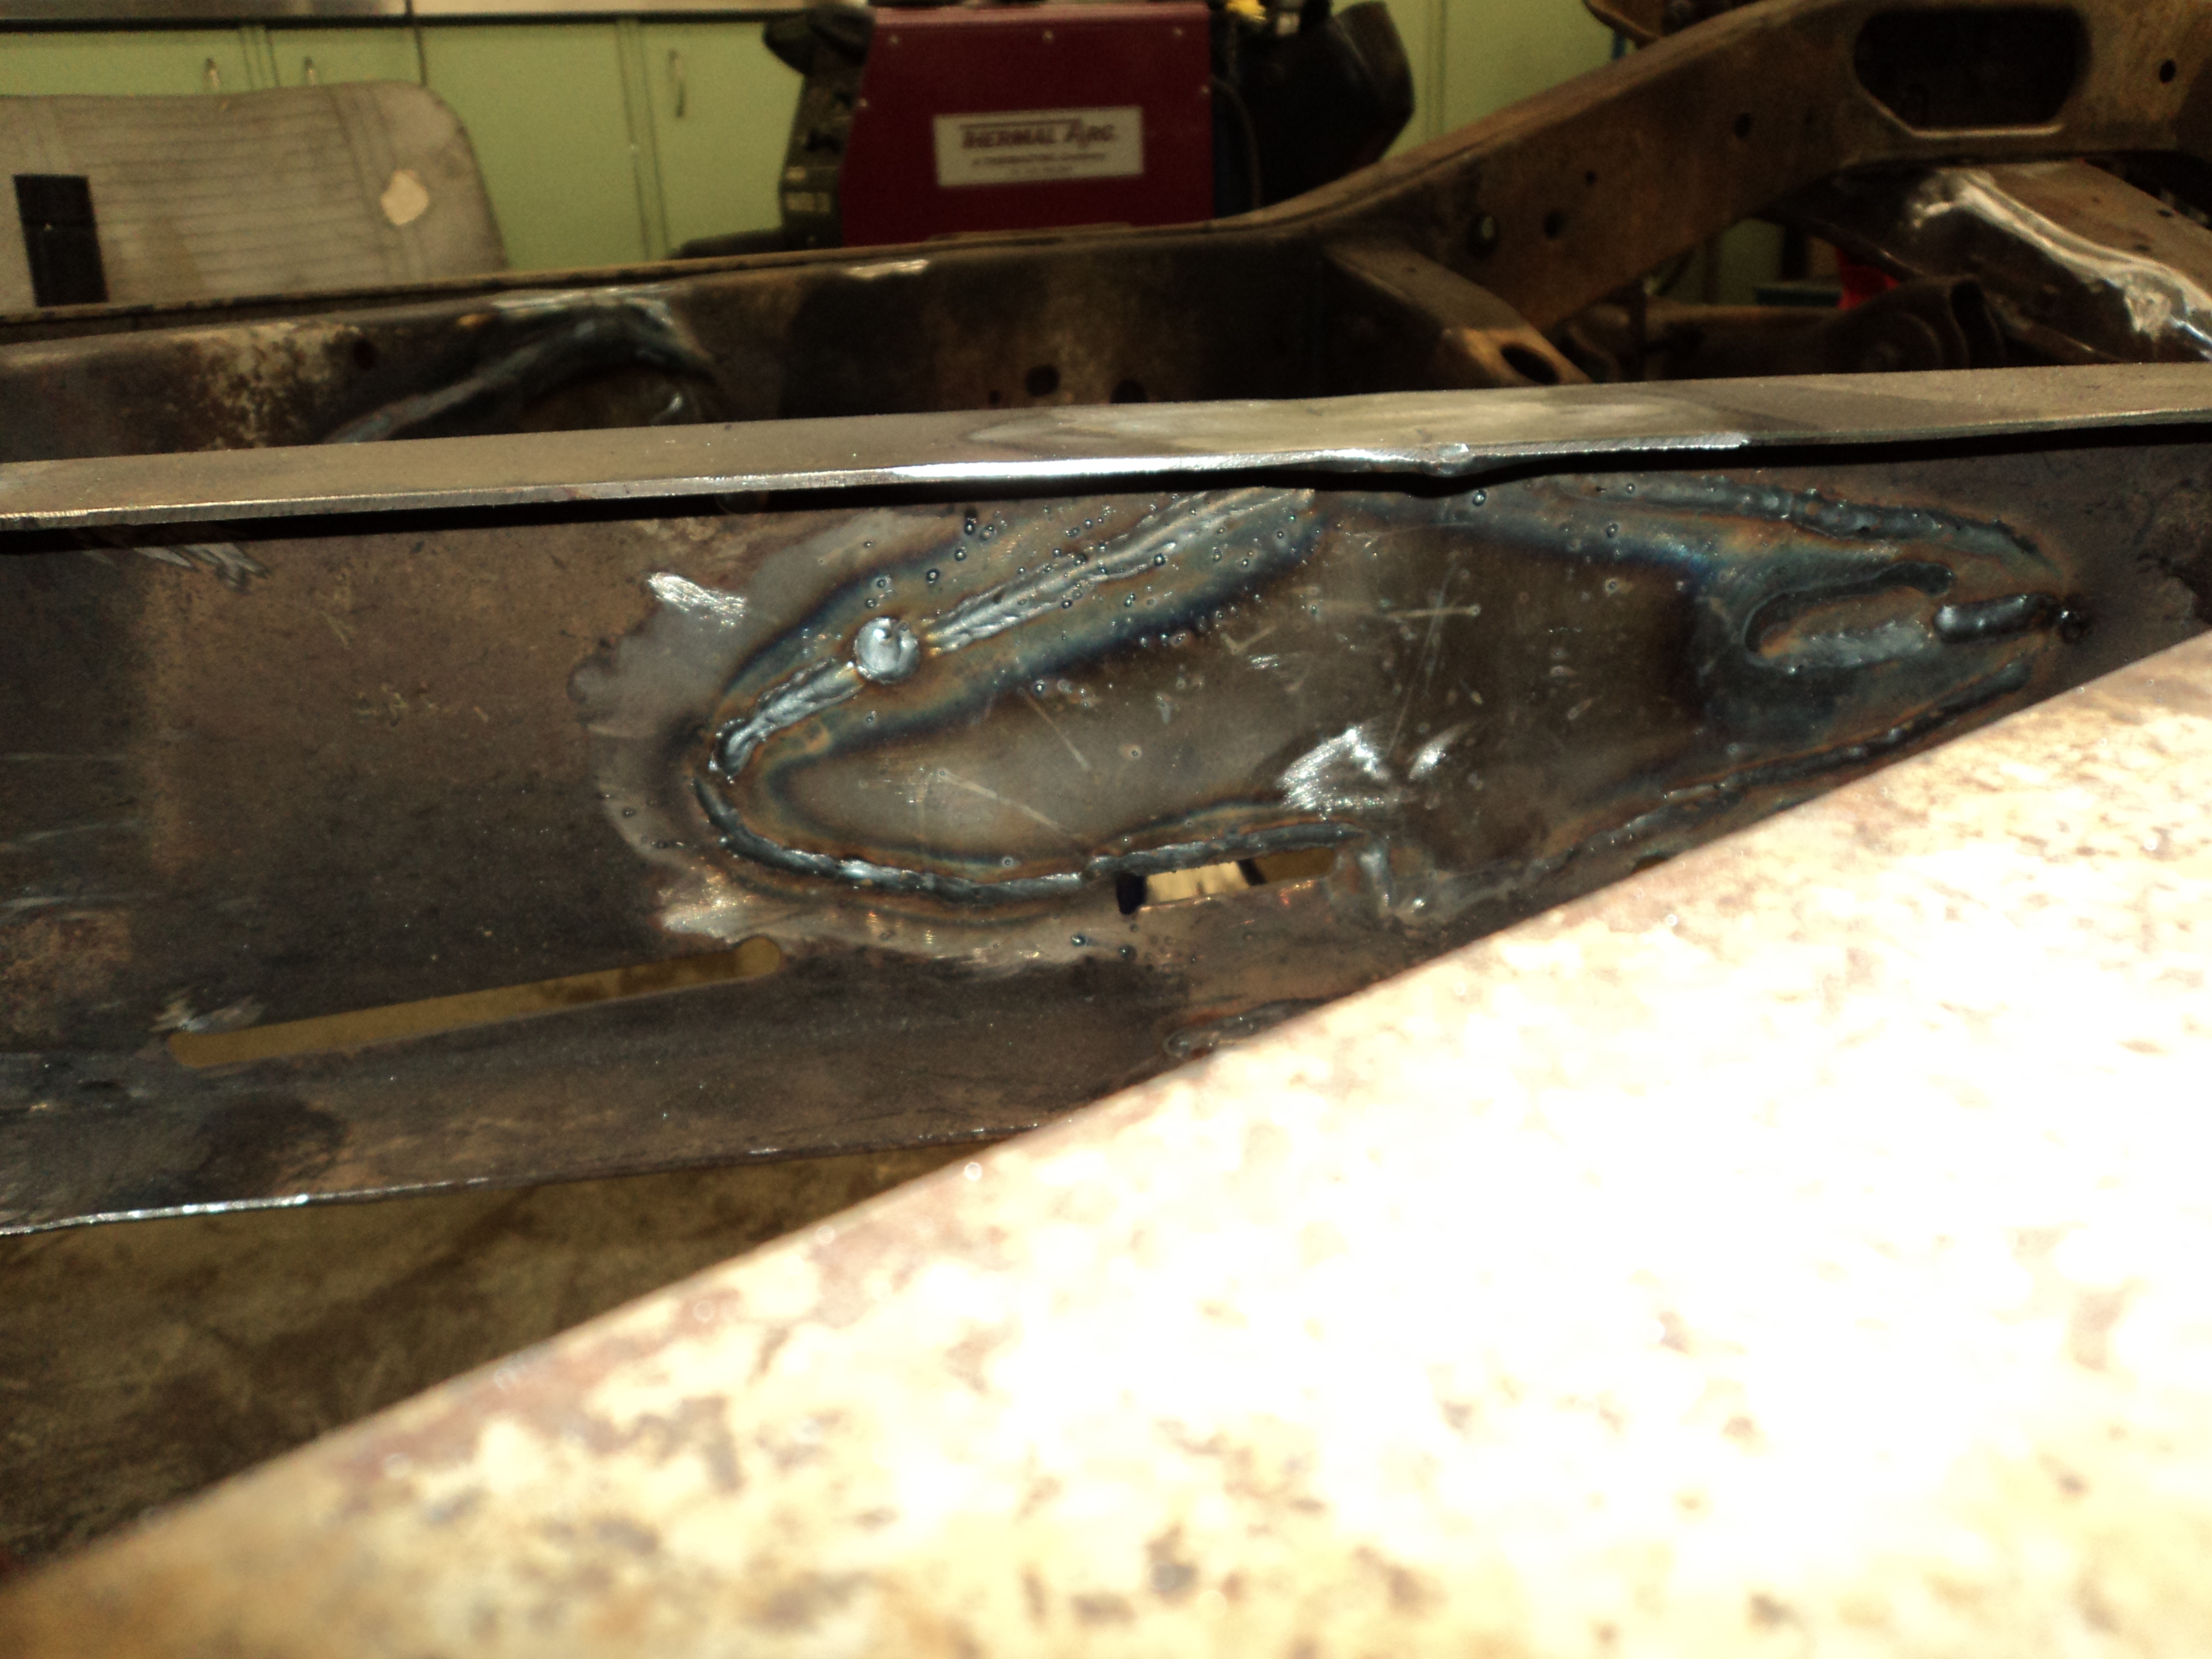
This took all day. Not my best welding, but I also welded it as far as I could reach on the back side as well. There is so much surface area of weld, and each half is bolted in its own way to the frame, there should not be a problem.
Tomorrow, I will be going through ALL of my grinding discs and flapper wheels making it pretty.
Half a grinding disc, one flapper disc, four surfacing discs, and I did not destroy my zip disc.
Life is good.
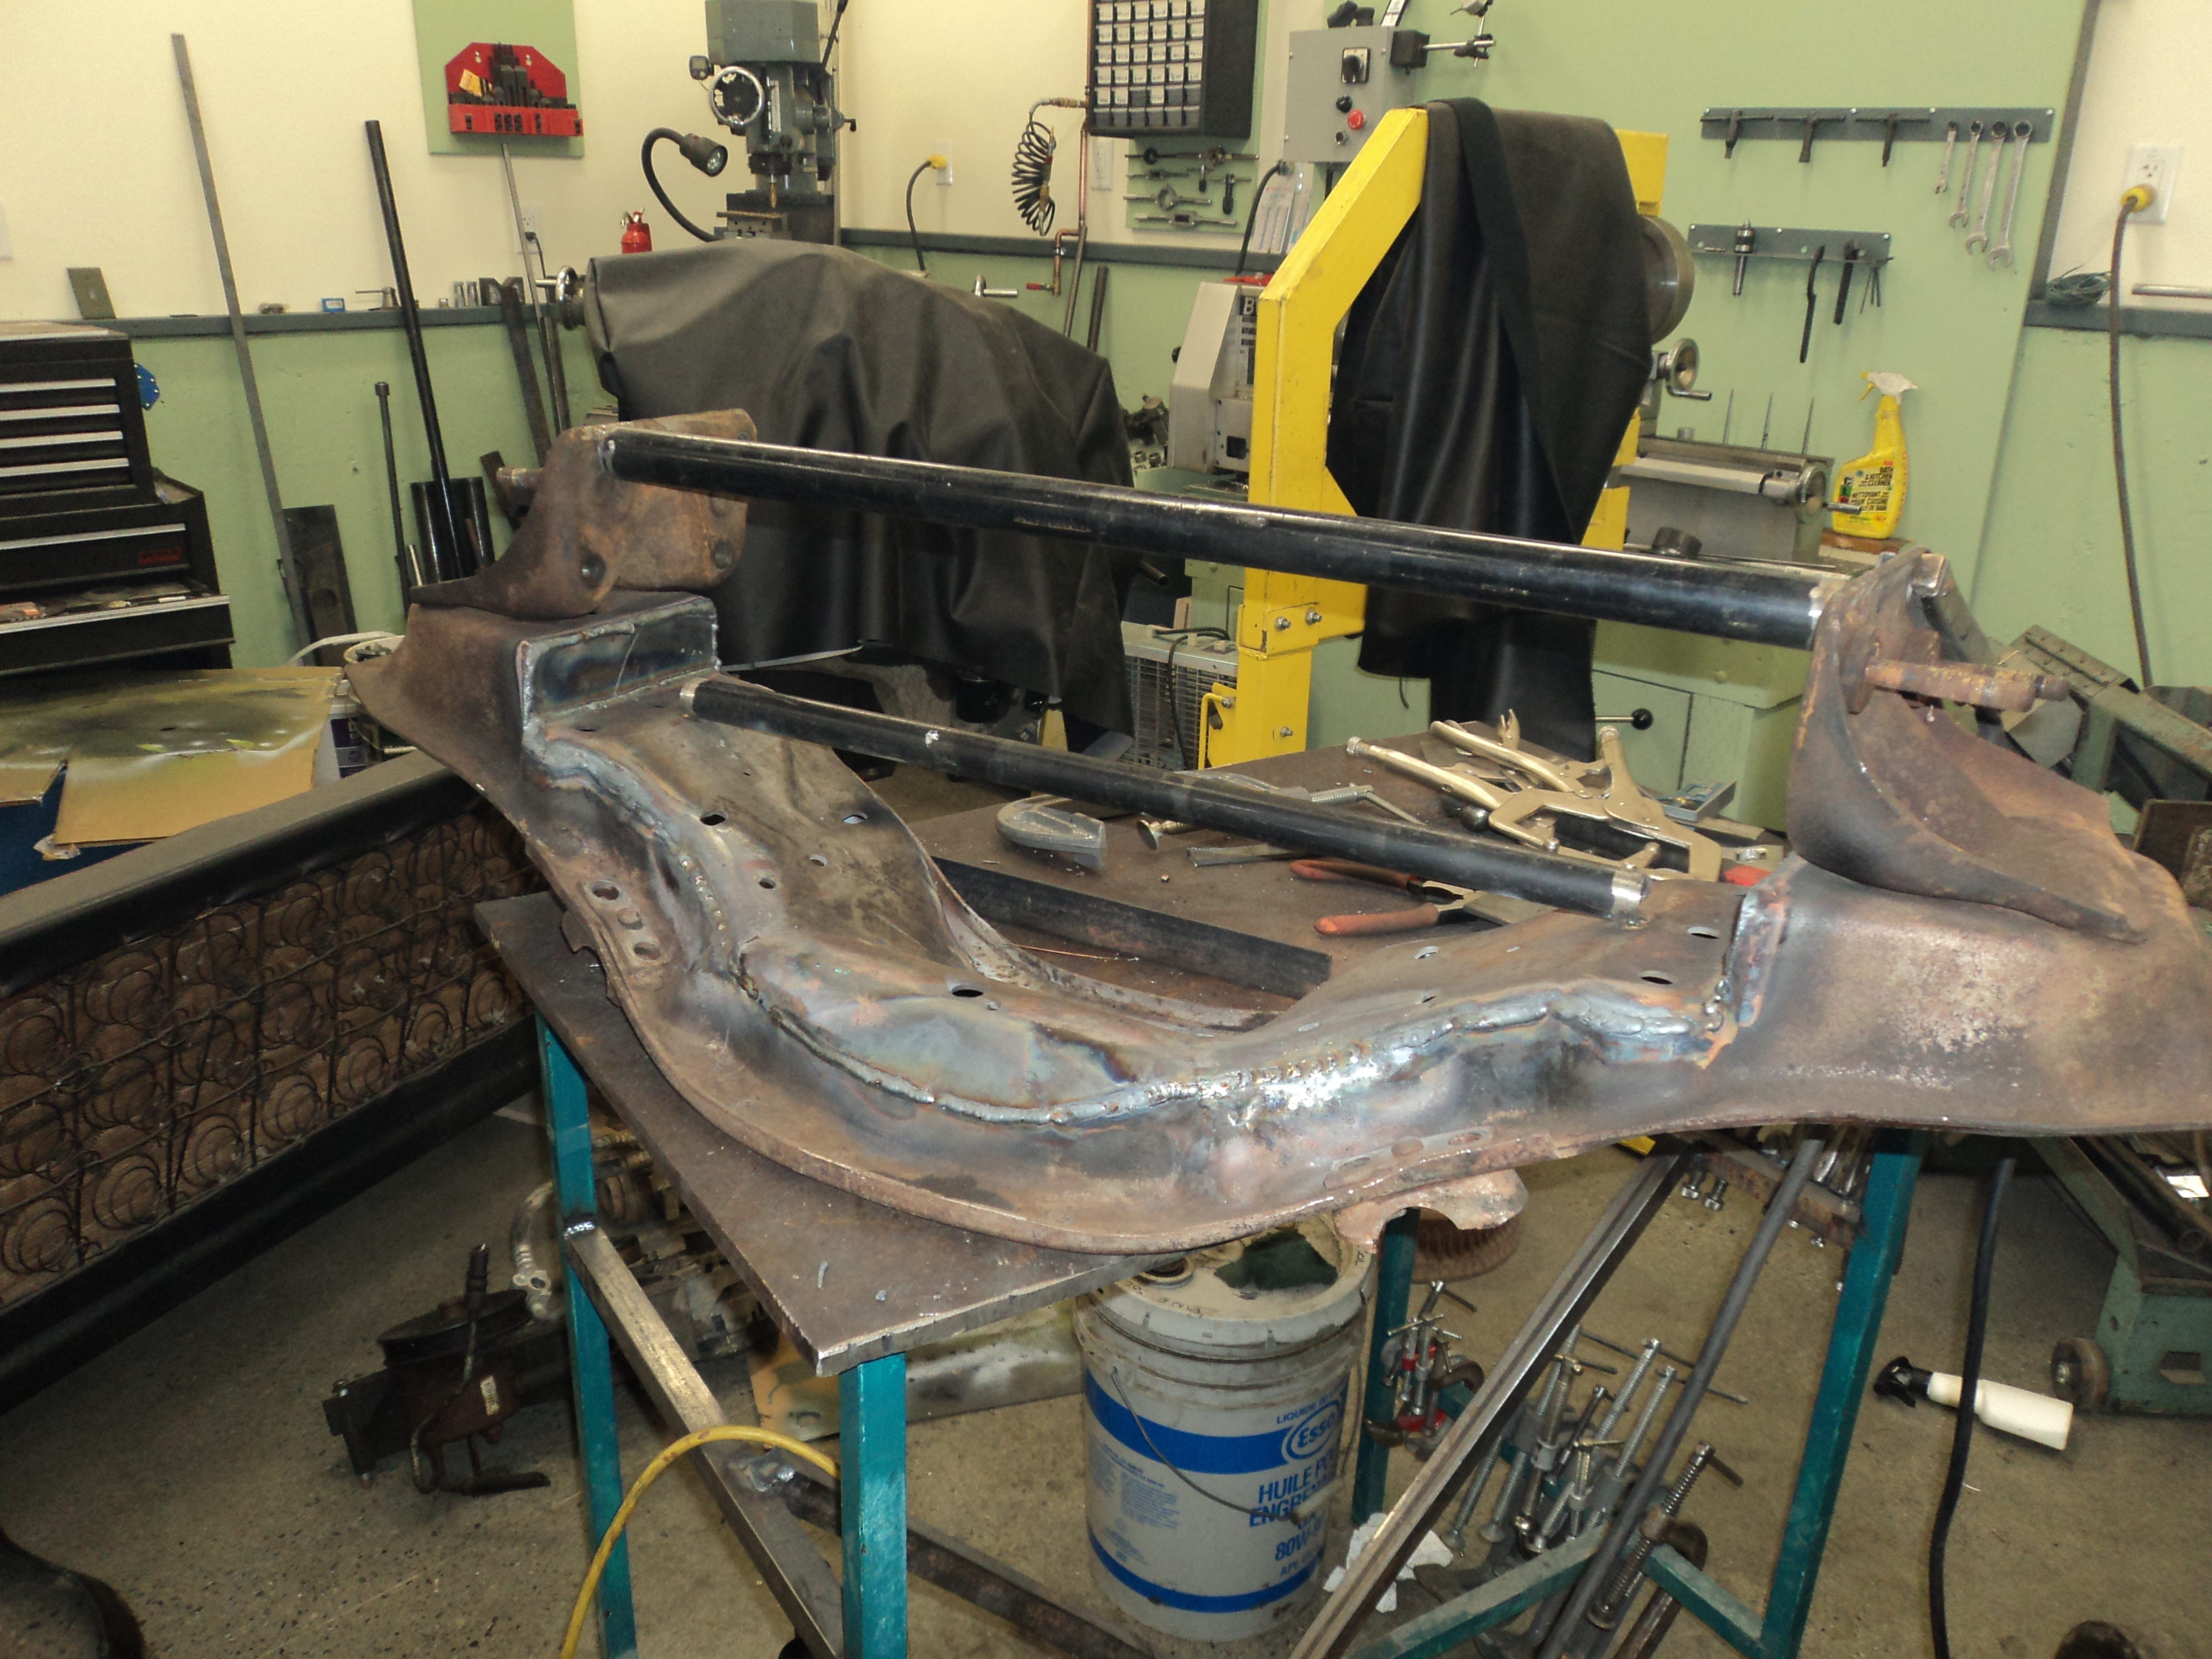
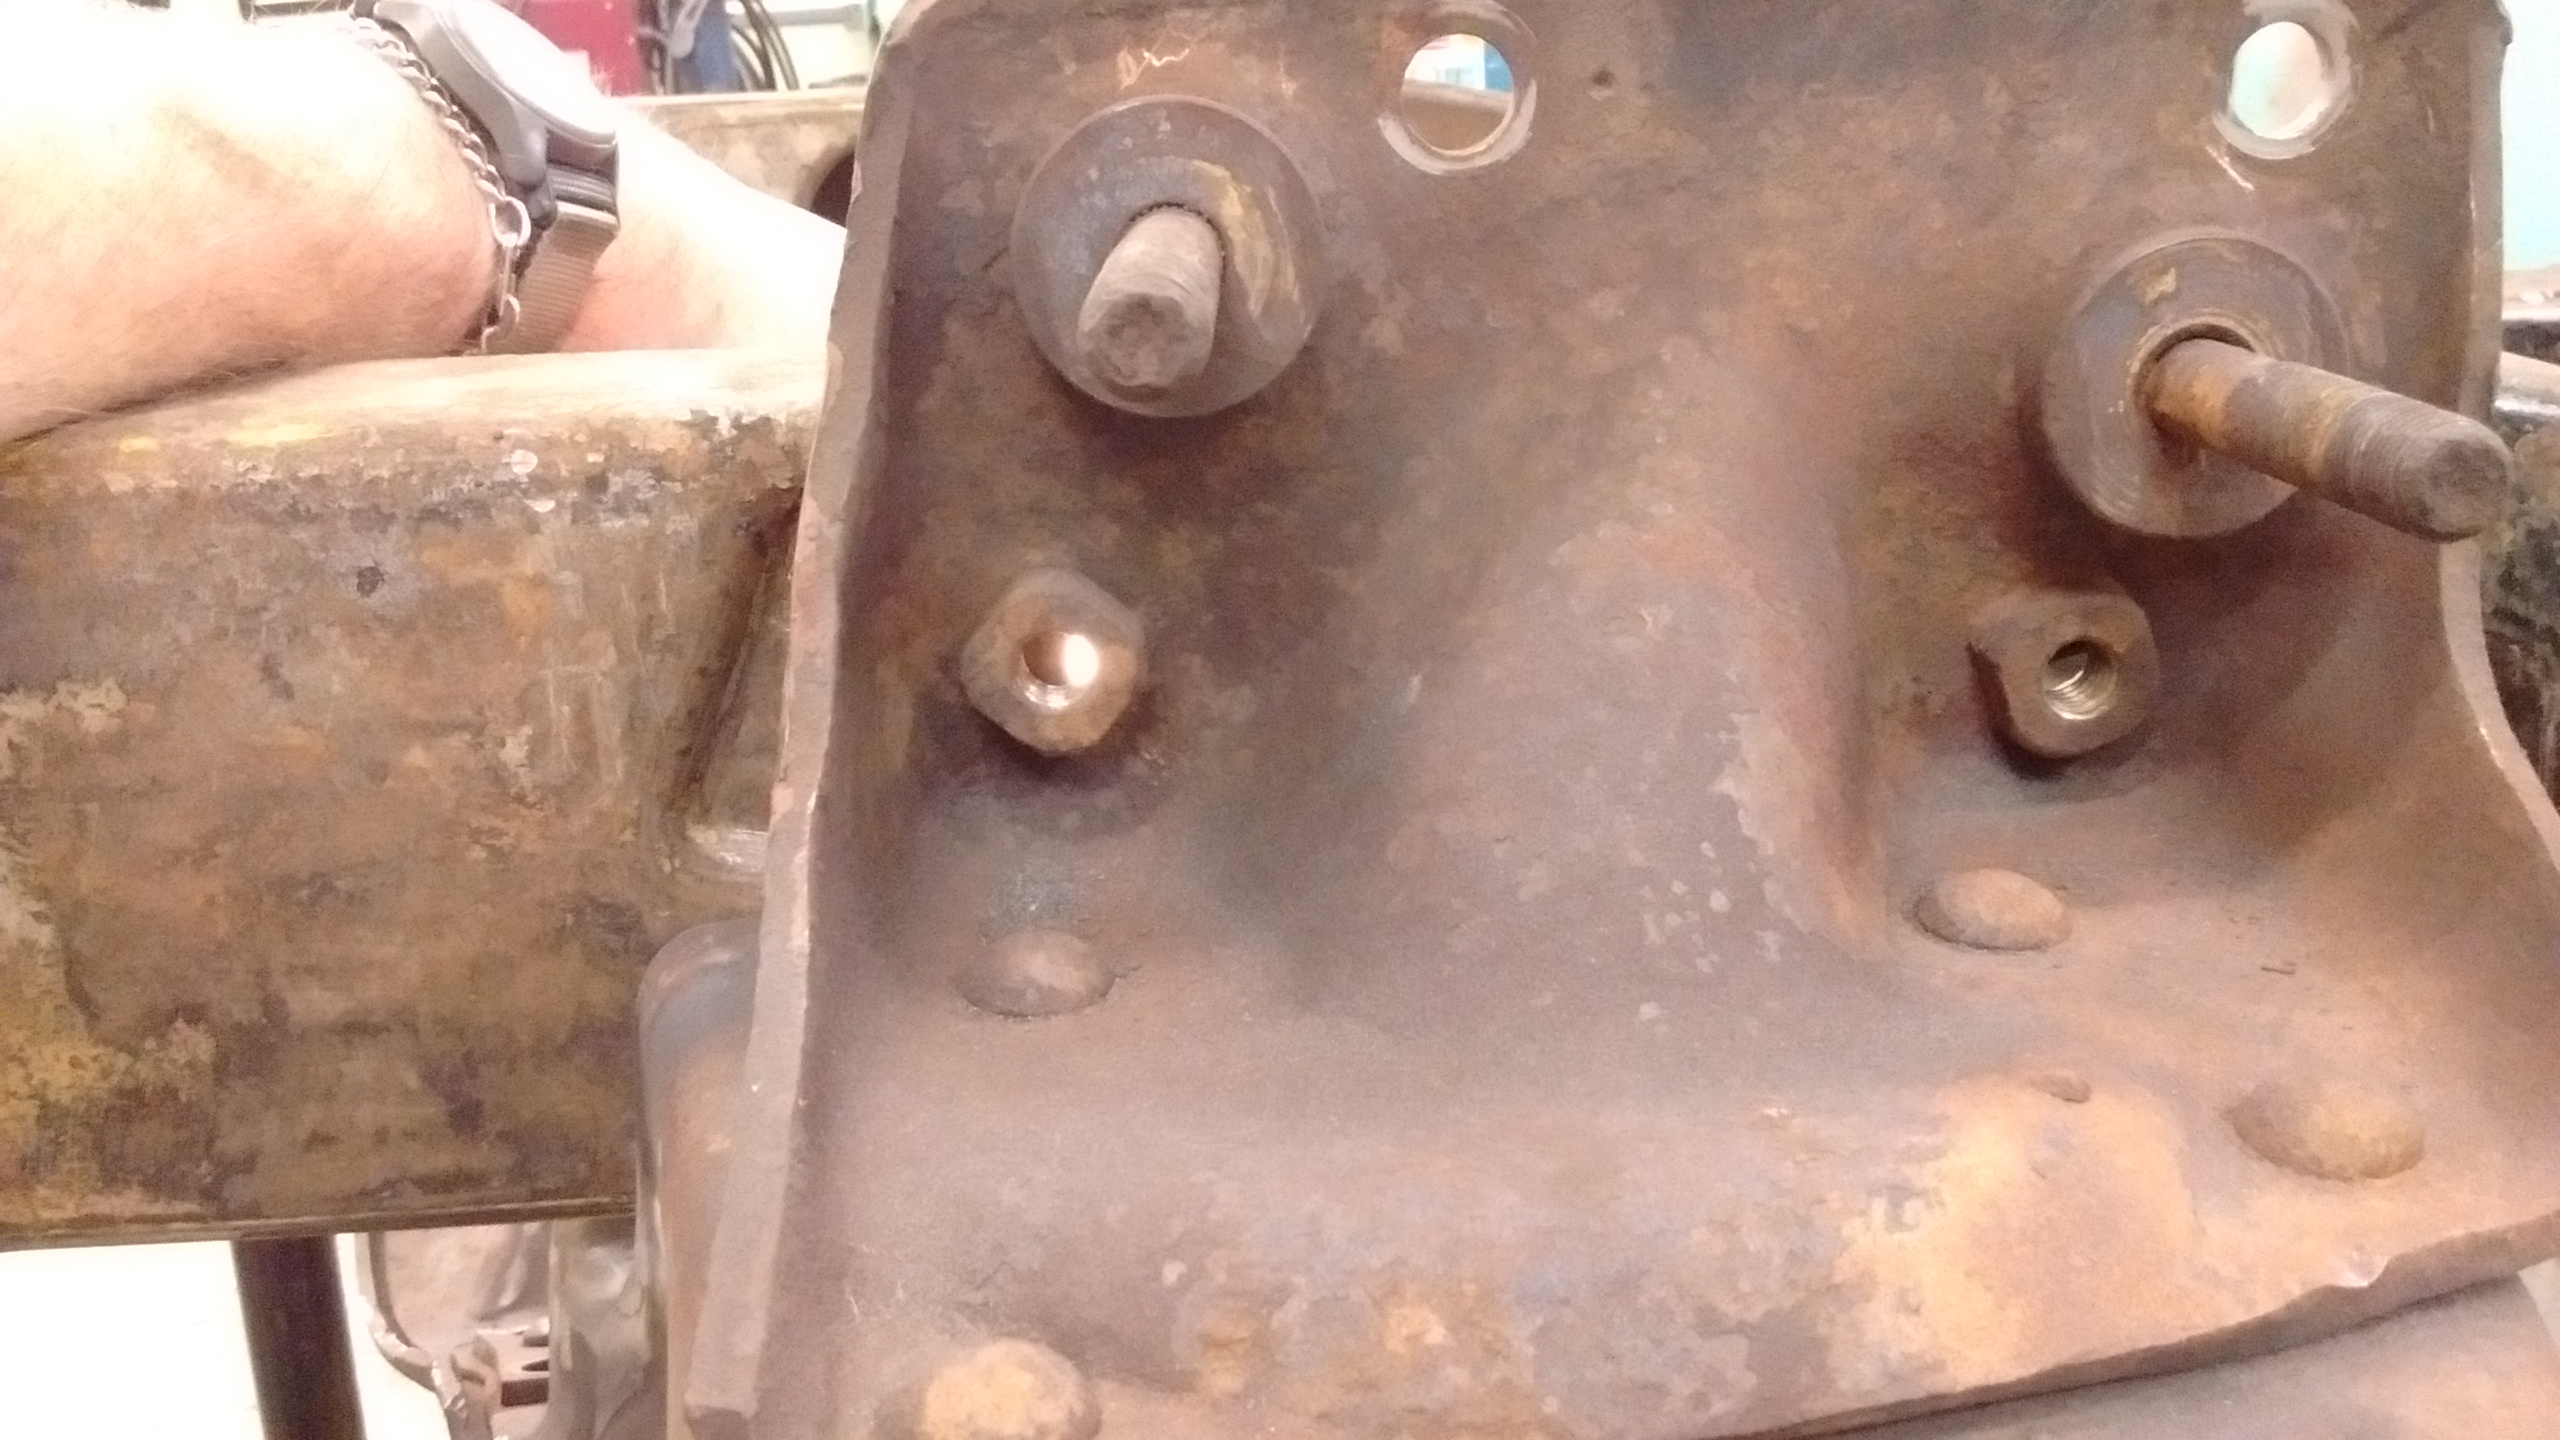
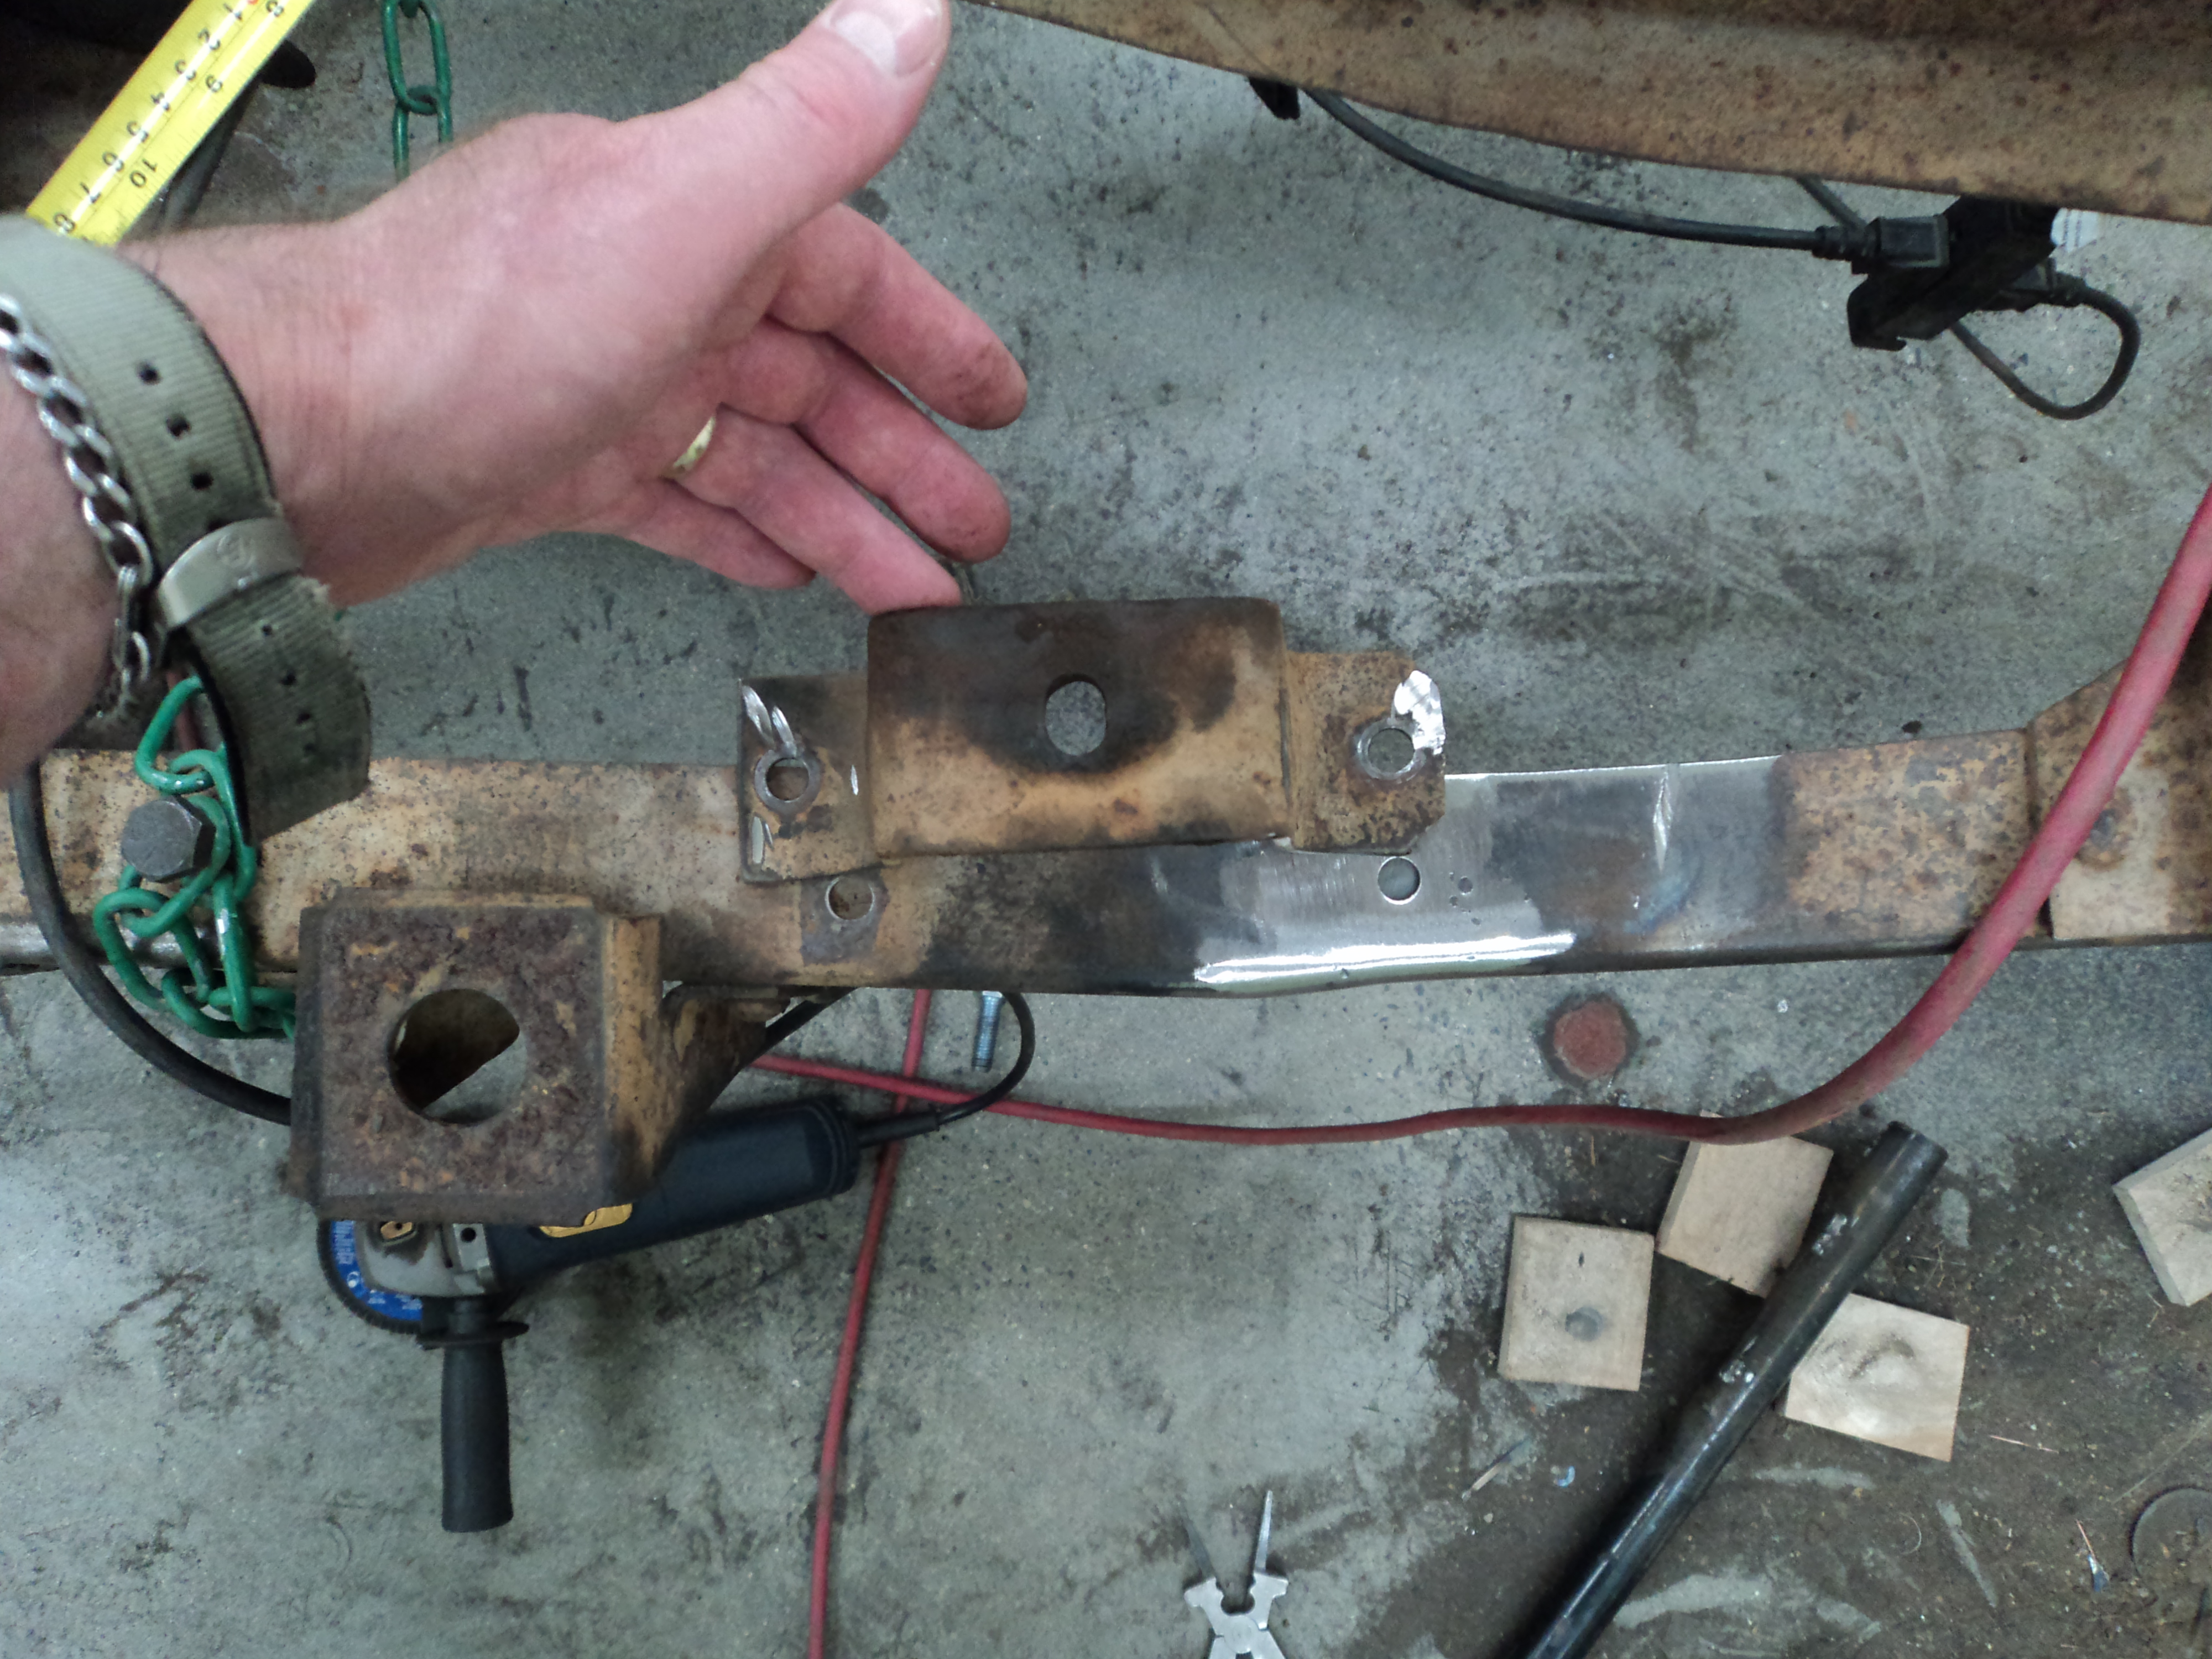
You can fit a 73-87 crossmember into a 60-62 frame, but only the top rear bolts on the sides will (sort of, not really) line up, and only the front two (four, total) bolts on the bottom of the frame will line up.

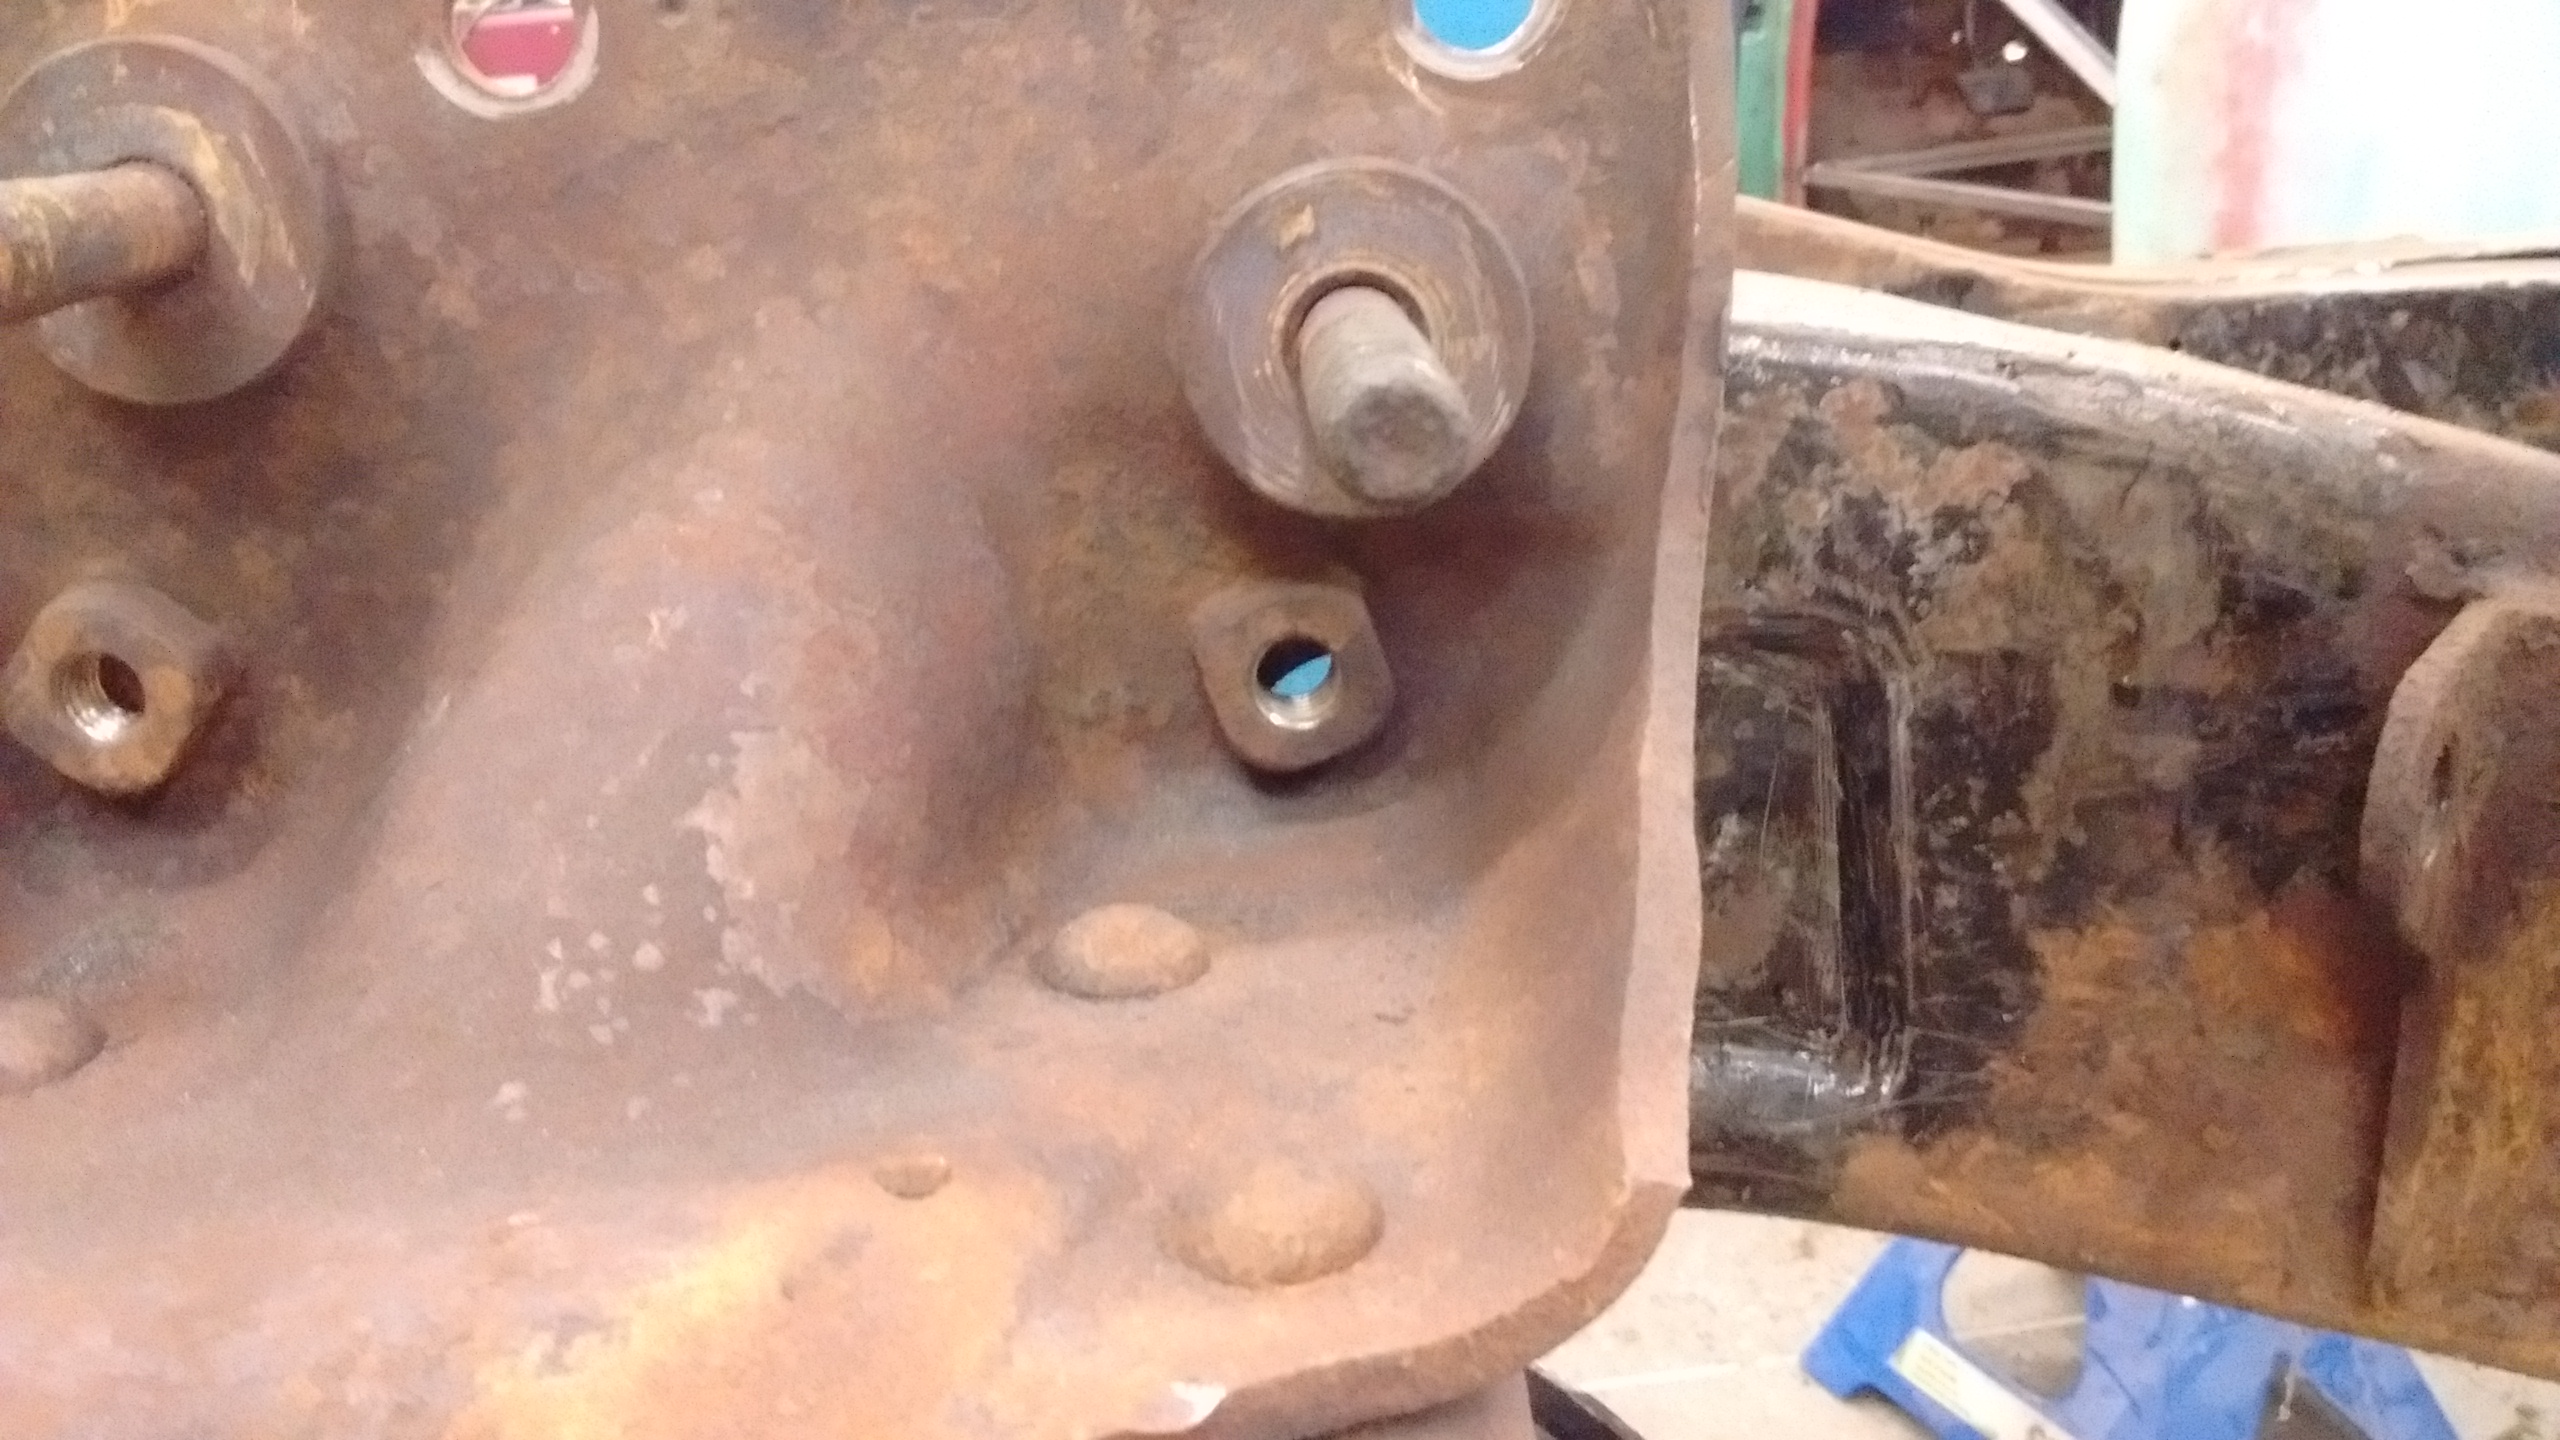
The bottom two holes don’t quite line up with anything useful.
I made a drilling jig to move the crossmember a full inch forward.
I also drilled the sides for the lower two bolt holes. I may or may not do anything about the top two bolts. Depends on what gets in the way.
Look! I made you a DRILLING JIG TEMPLATE
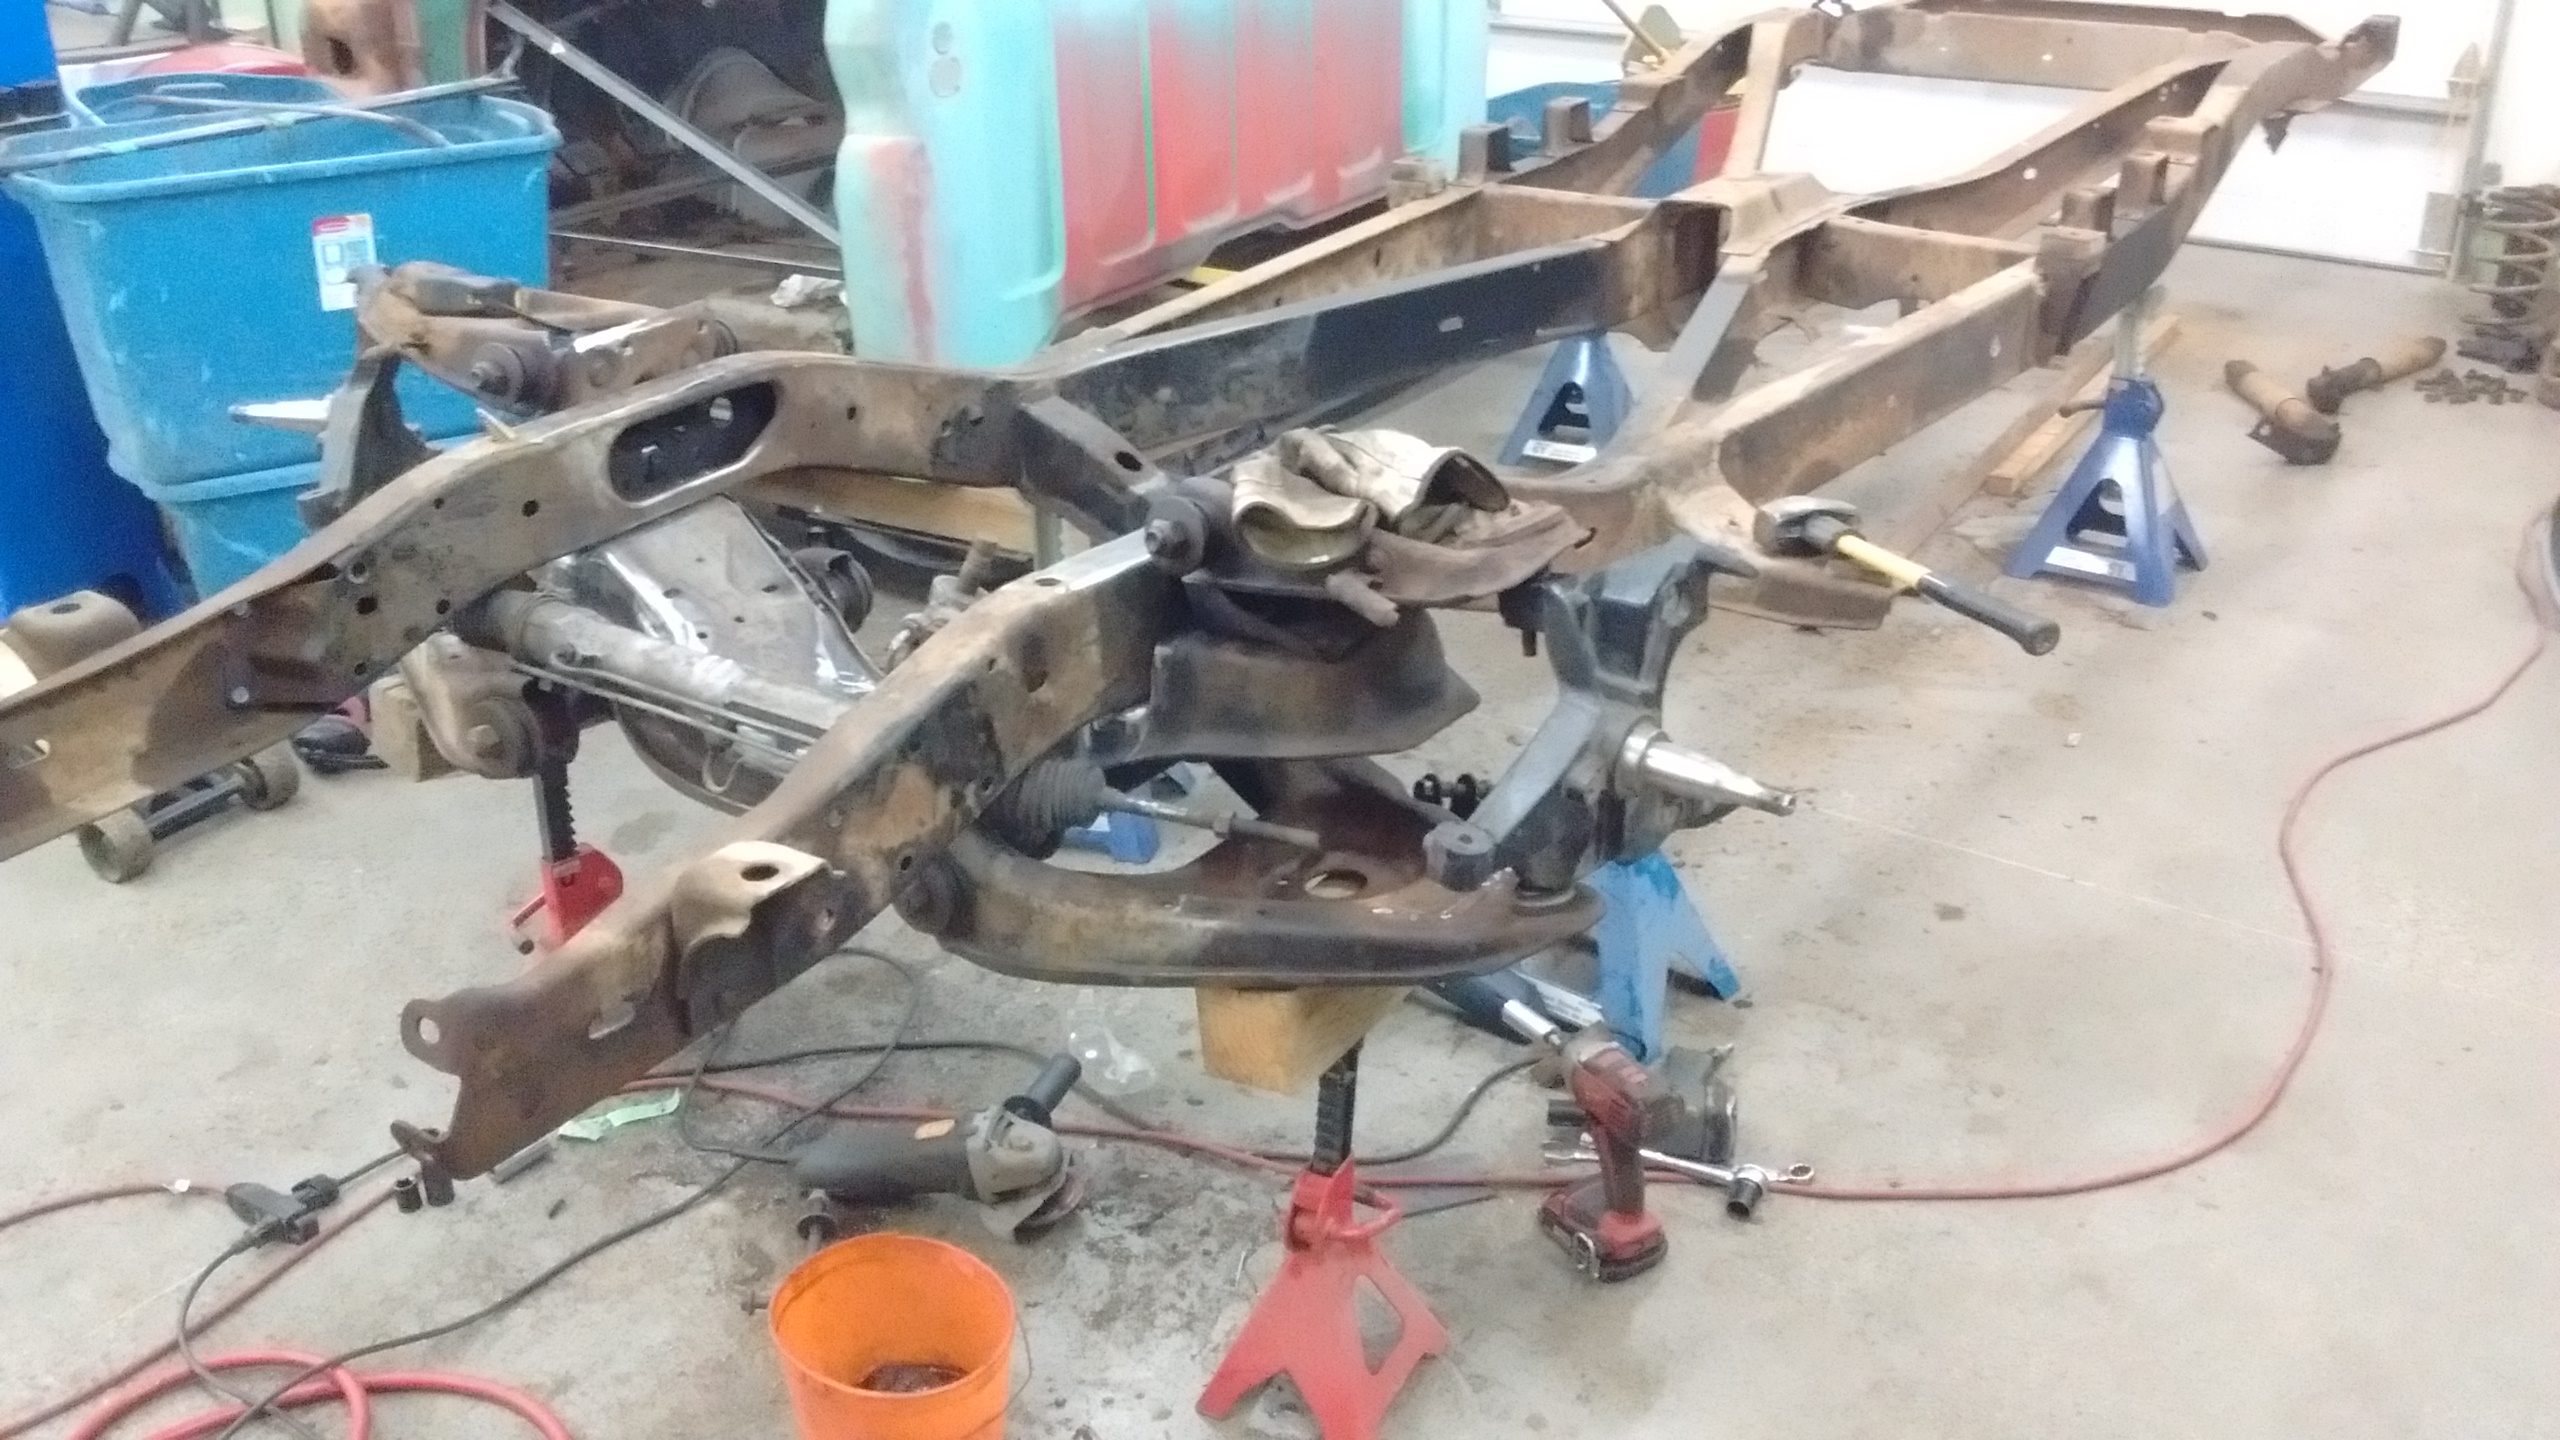
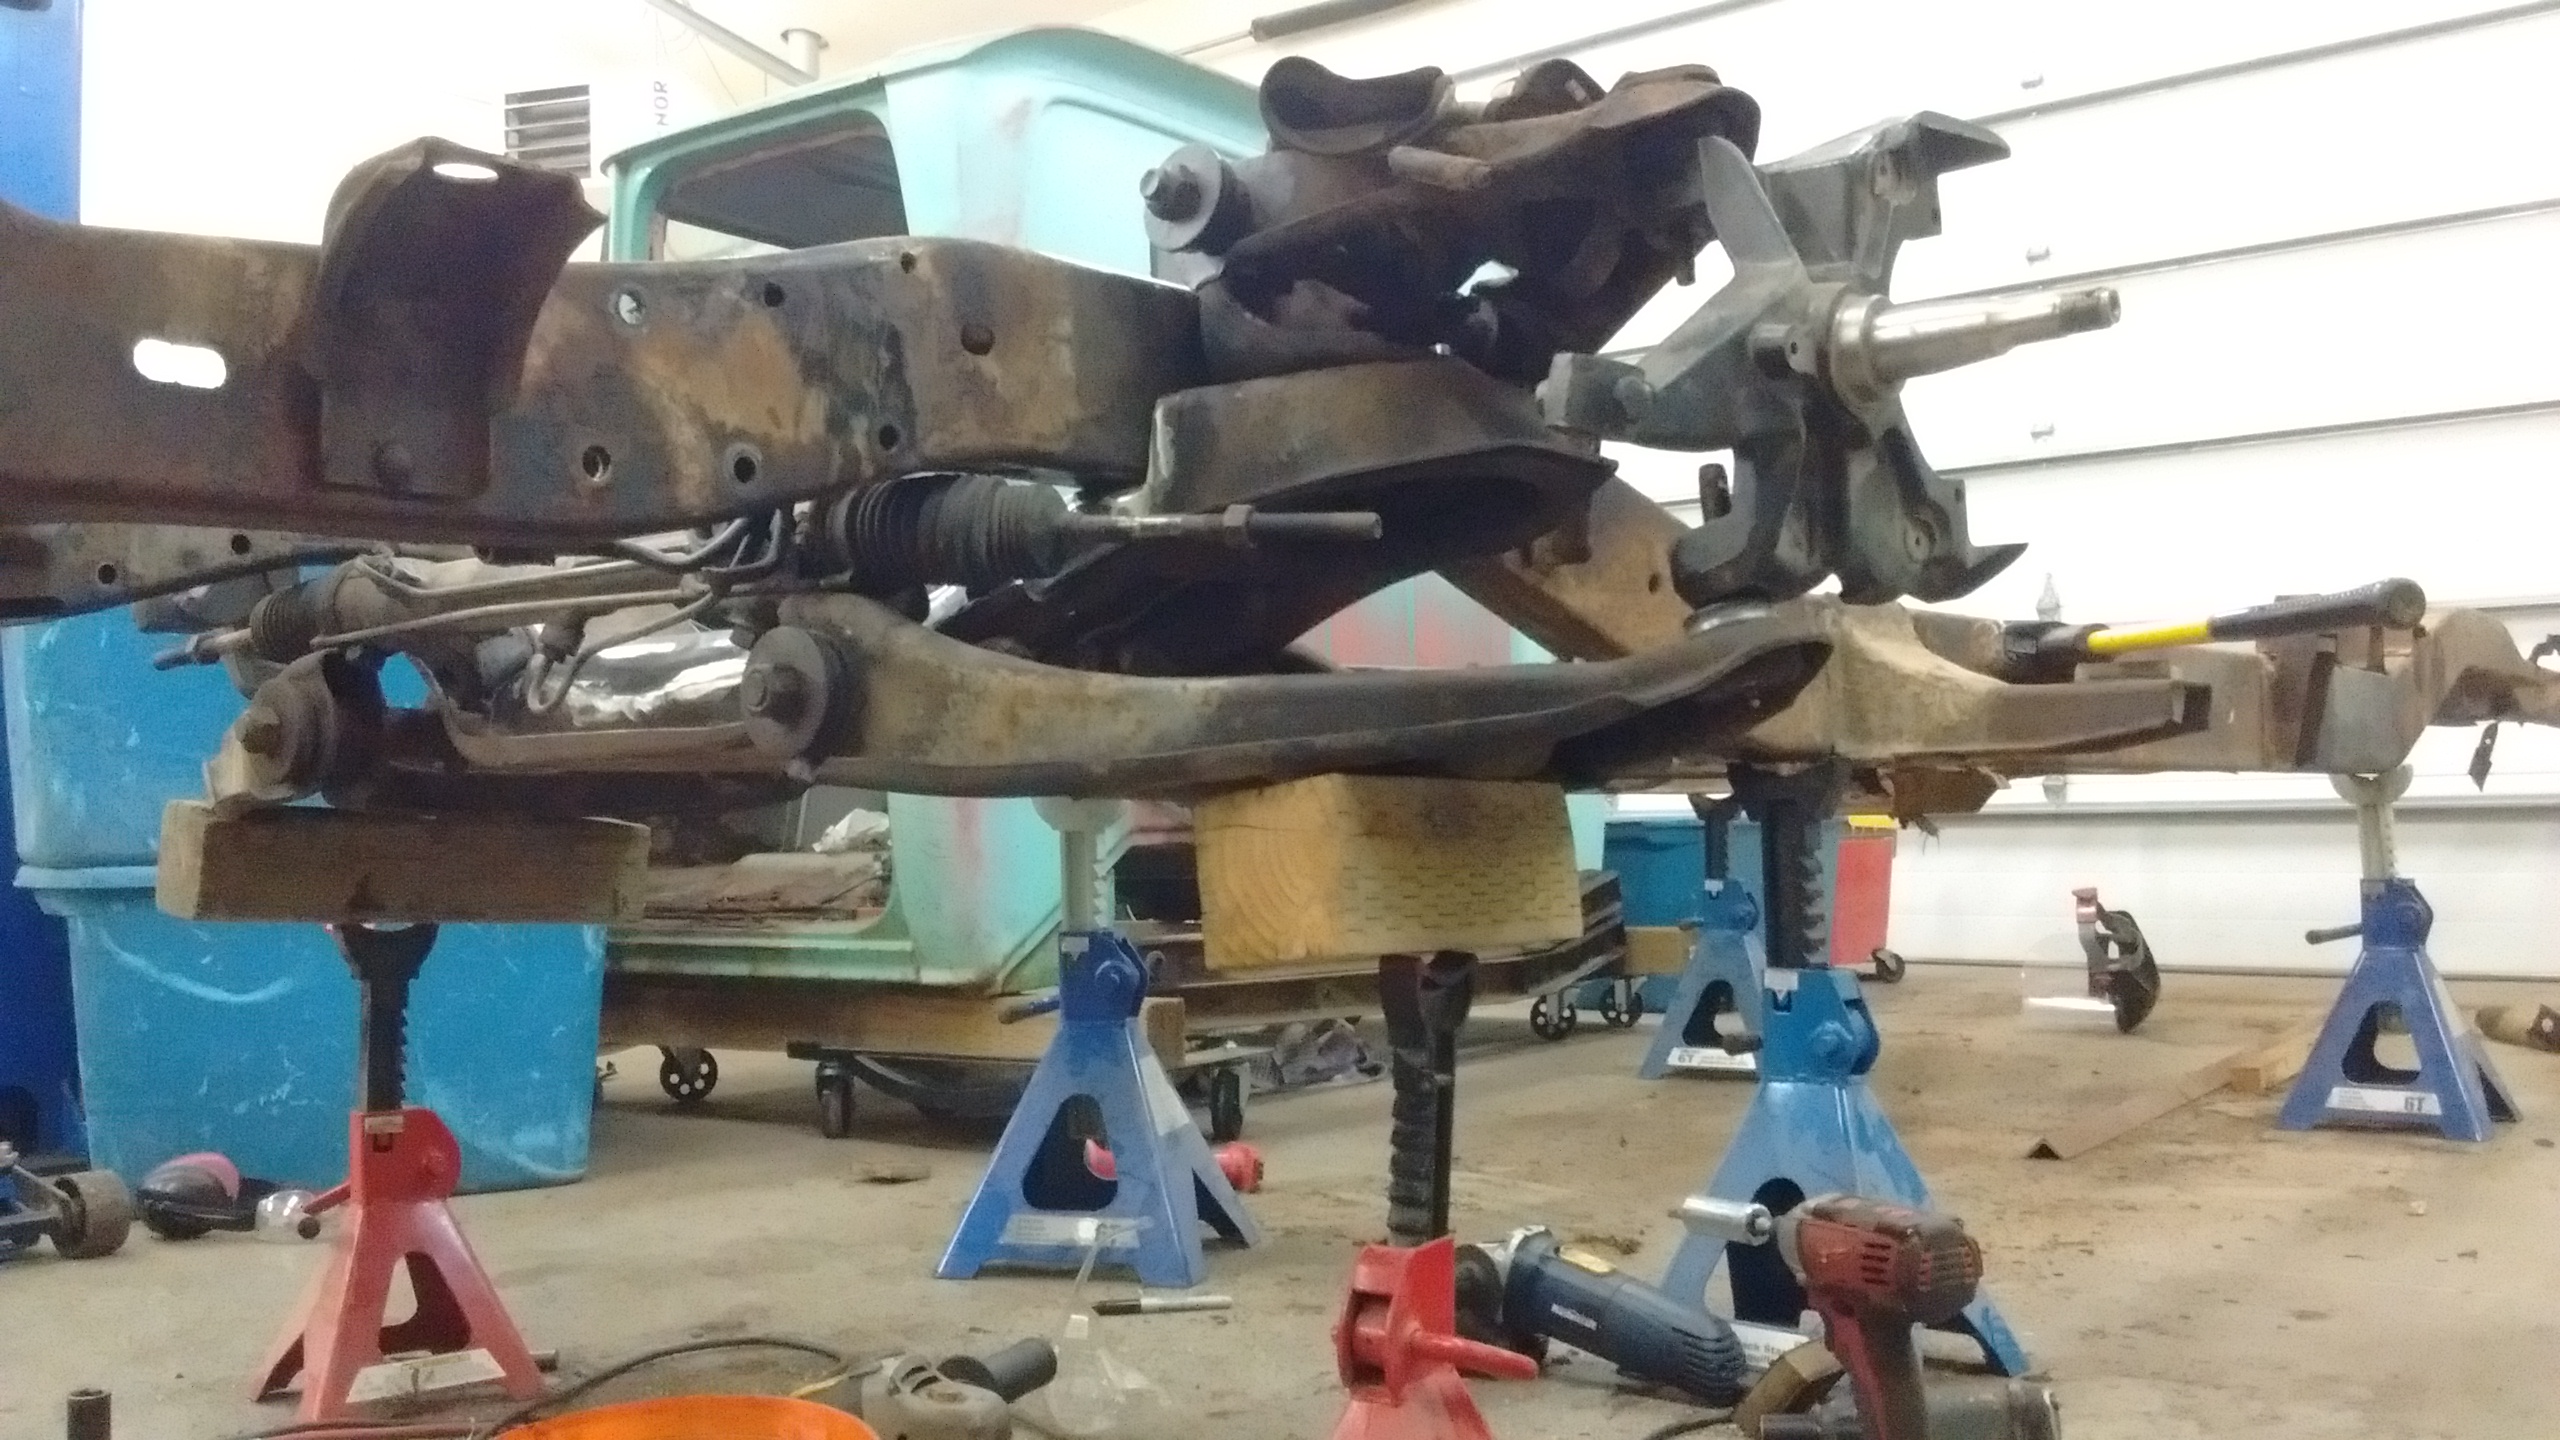
Suspension Mods
The control arms were moved forward on the crossmember for more caster by drilling two new holes (5/8″) in the control arm cross shaft itself, which works -wonderfully- on my ’77 Silverado.
Cut the bump stop mounts off the control arms. Machined new 5/8″ located holes to move the control arms 3/4″ forward for better caster. I clearanced the crossmember as needed with an FBH (Fairly Big Hammer) to get the bushings to clear. There may have been some grinding too.
I trial-fit the front suspension. This is with 88-98 spindles sitting on 73-87 ball joints (no, it doesn’t fit like that), and at what should be ride height, which, by my math, should be 5.3″ ground clearance. The control arms are still 1″ below the bottom of the frame, but that’s a whole lot better than 3″ below the frame (grin).
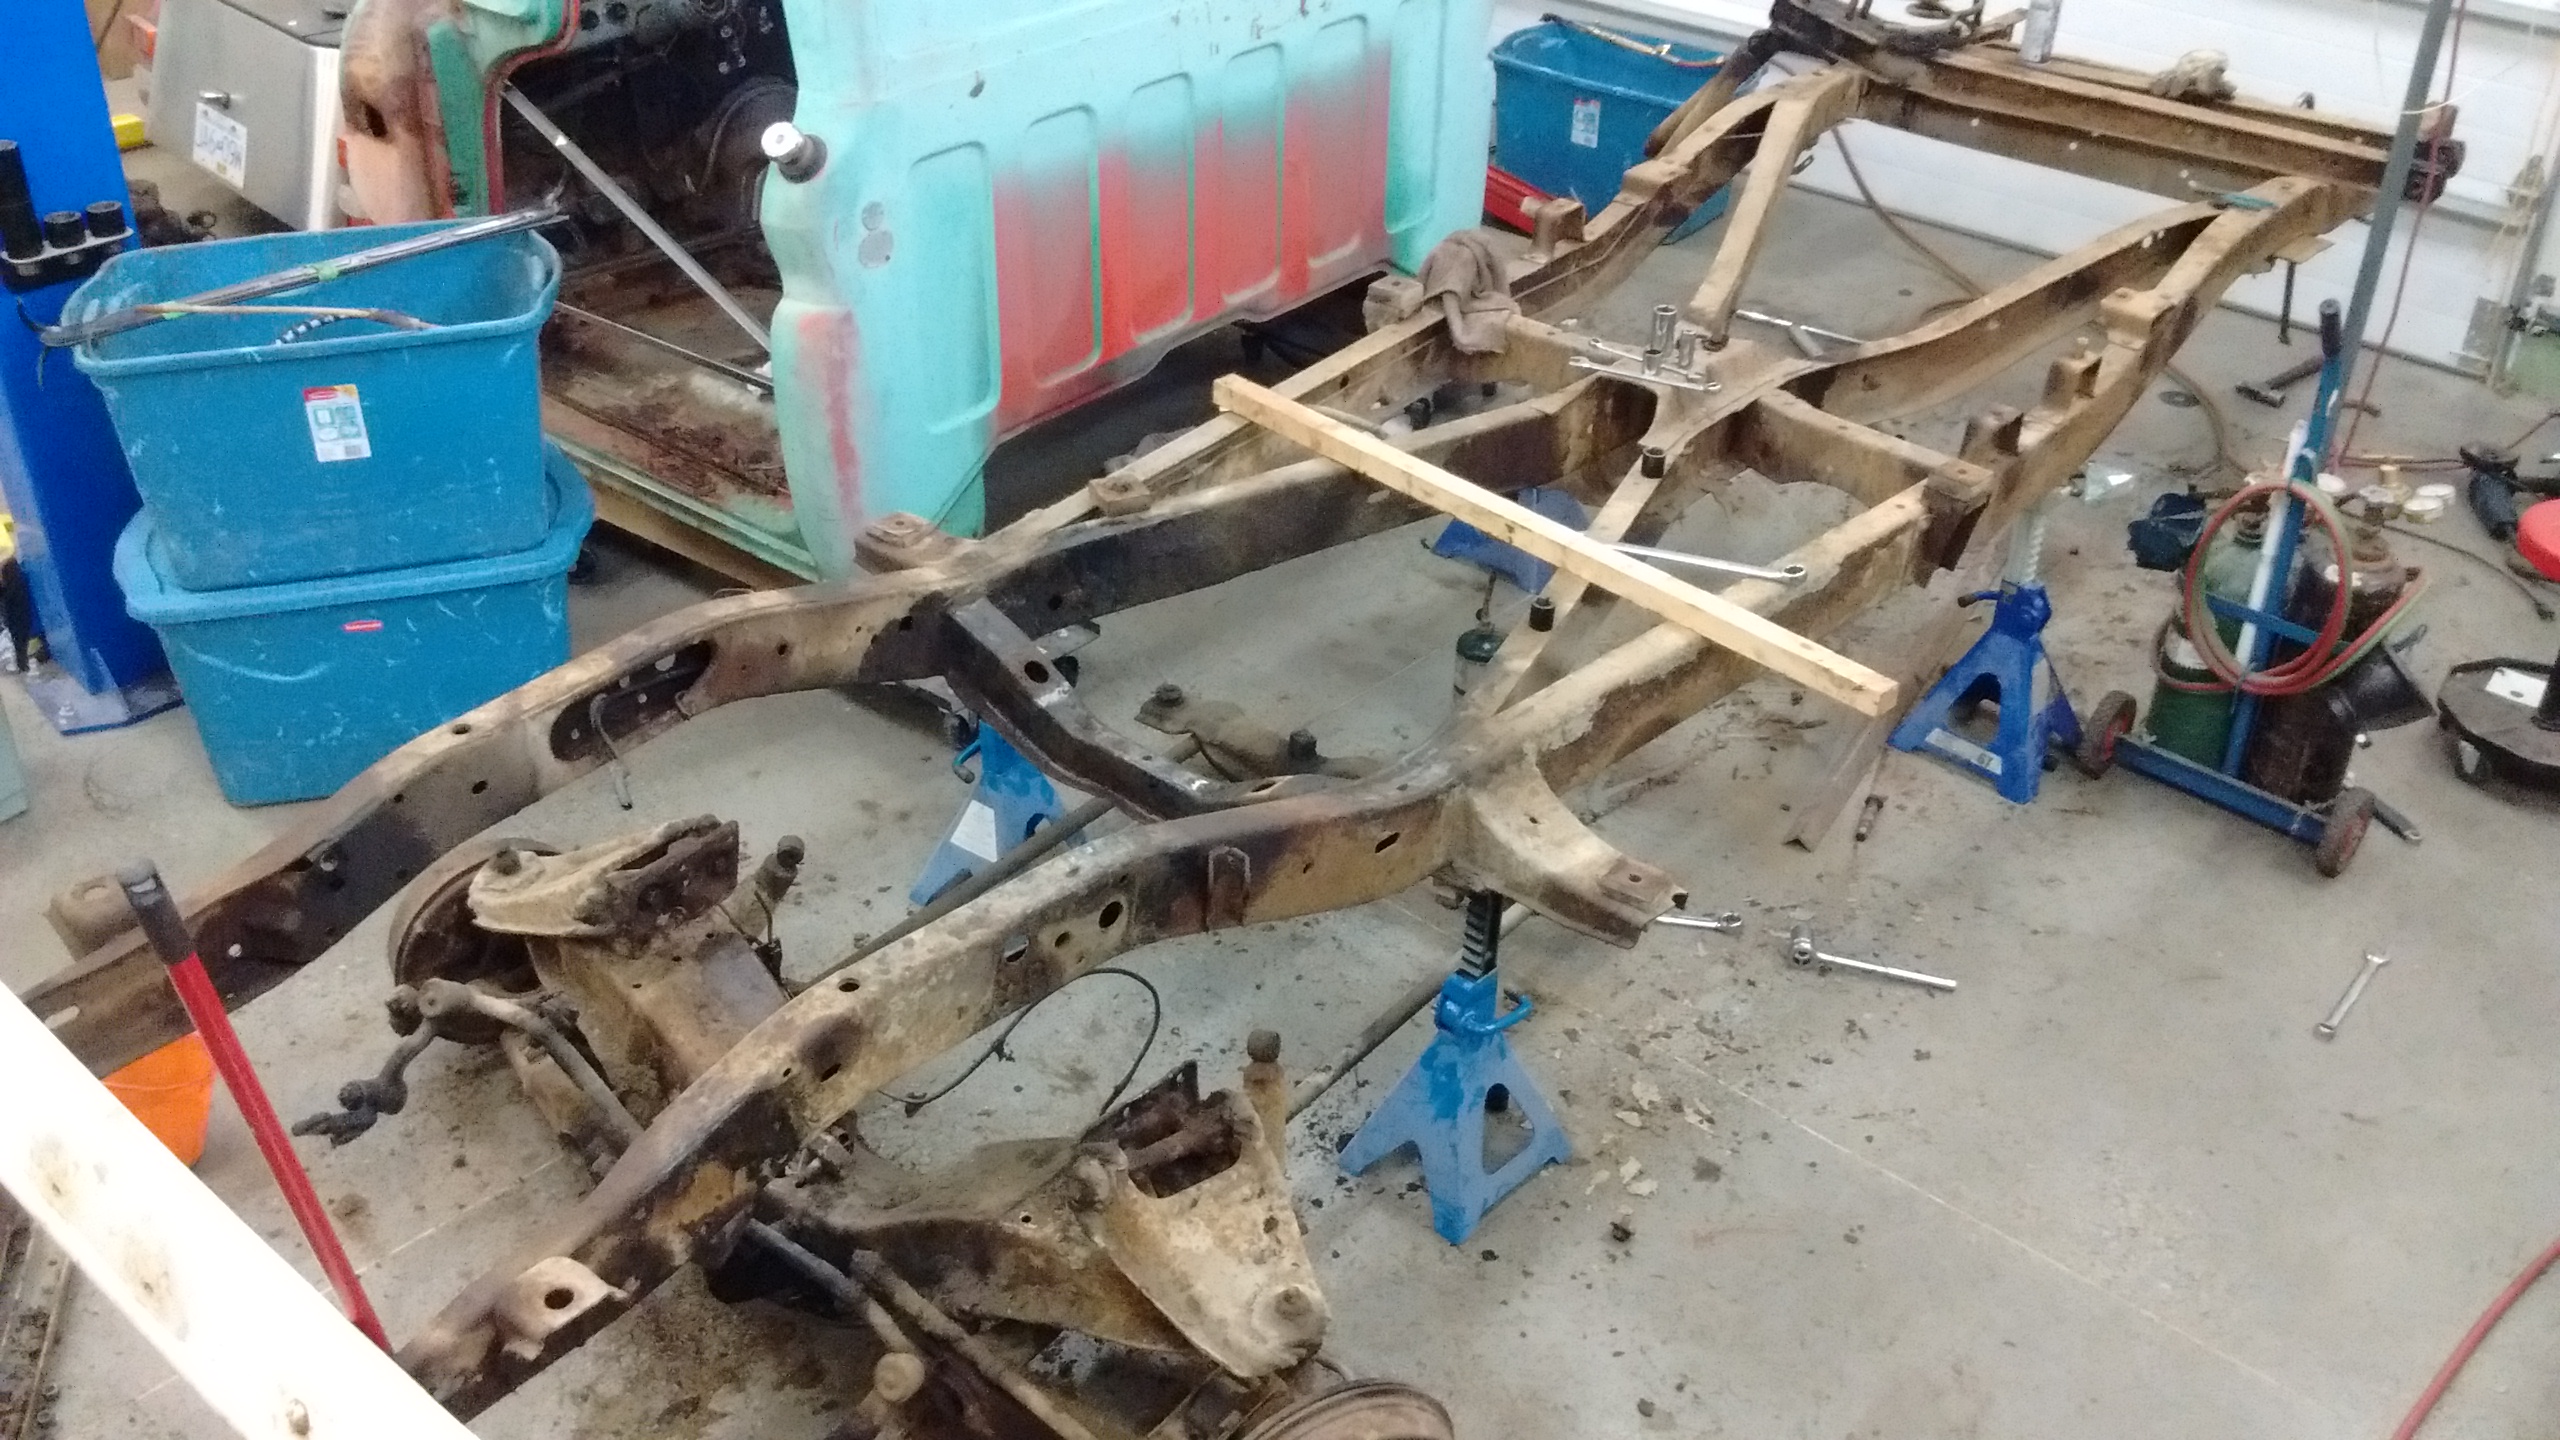
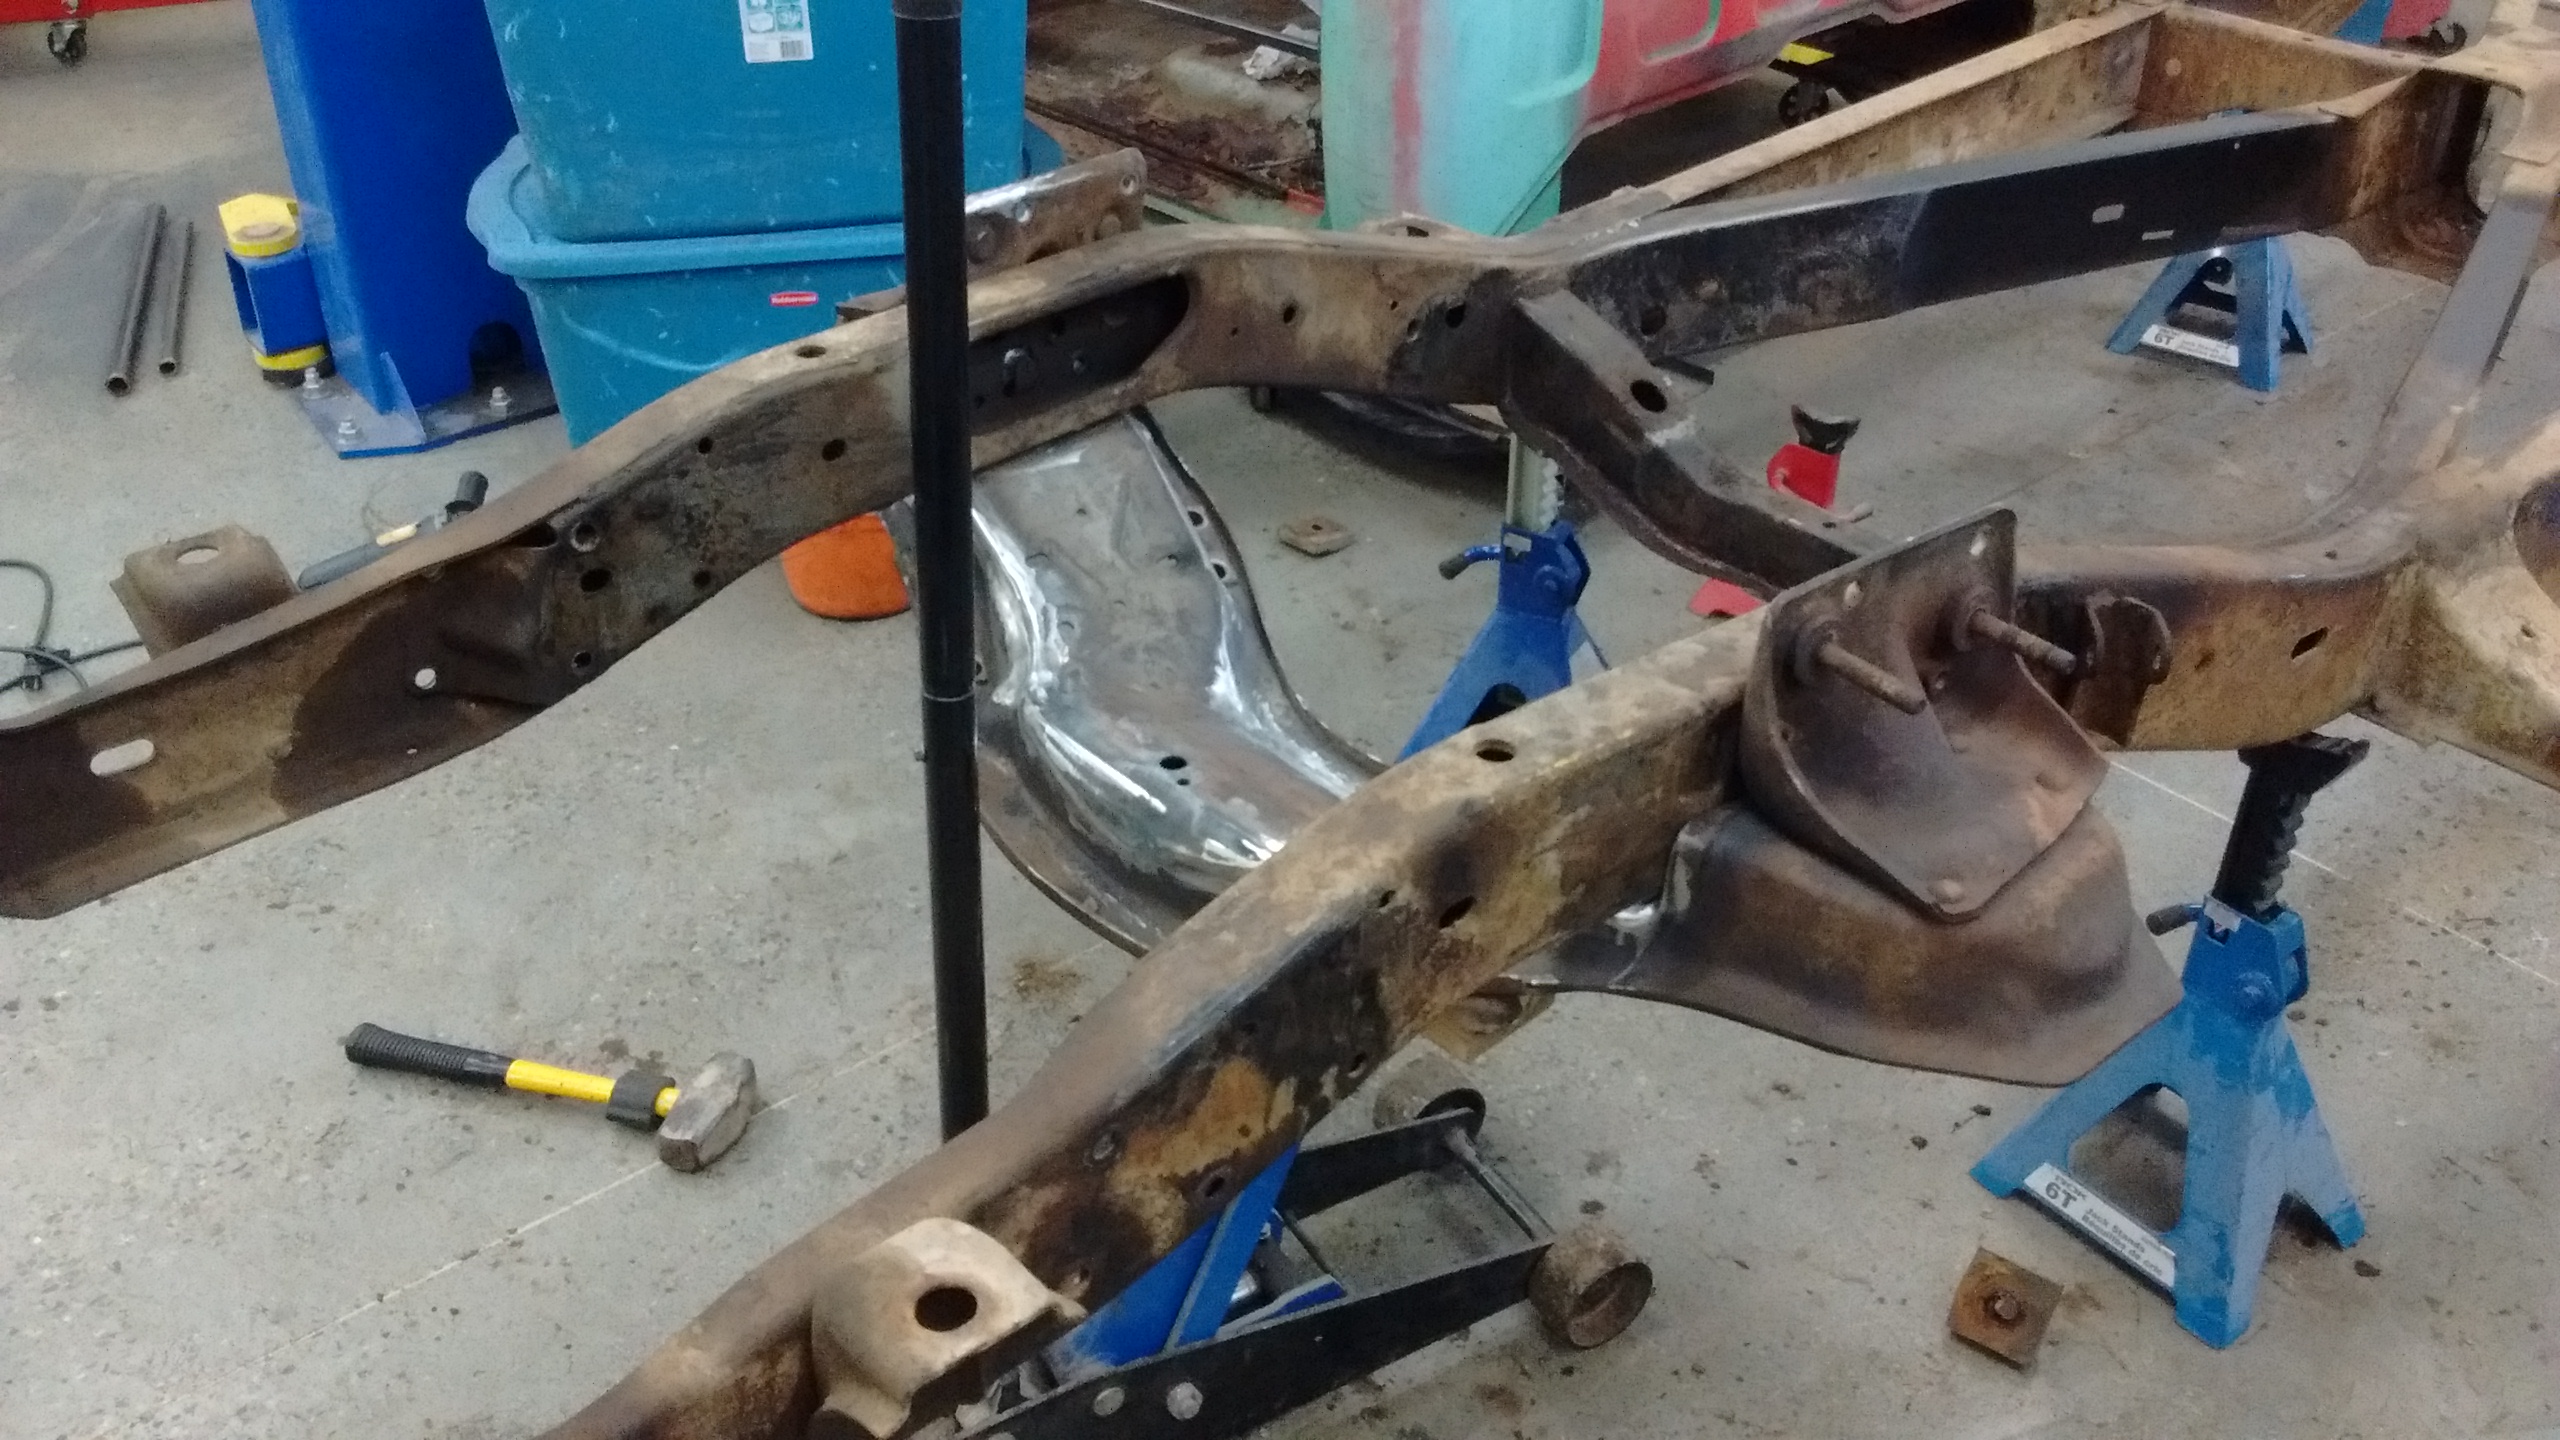
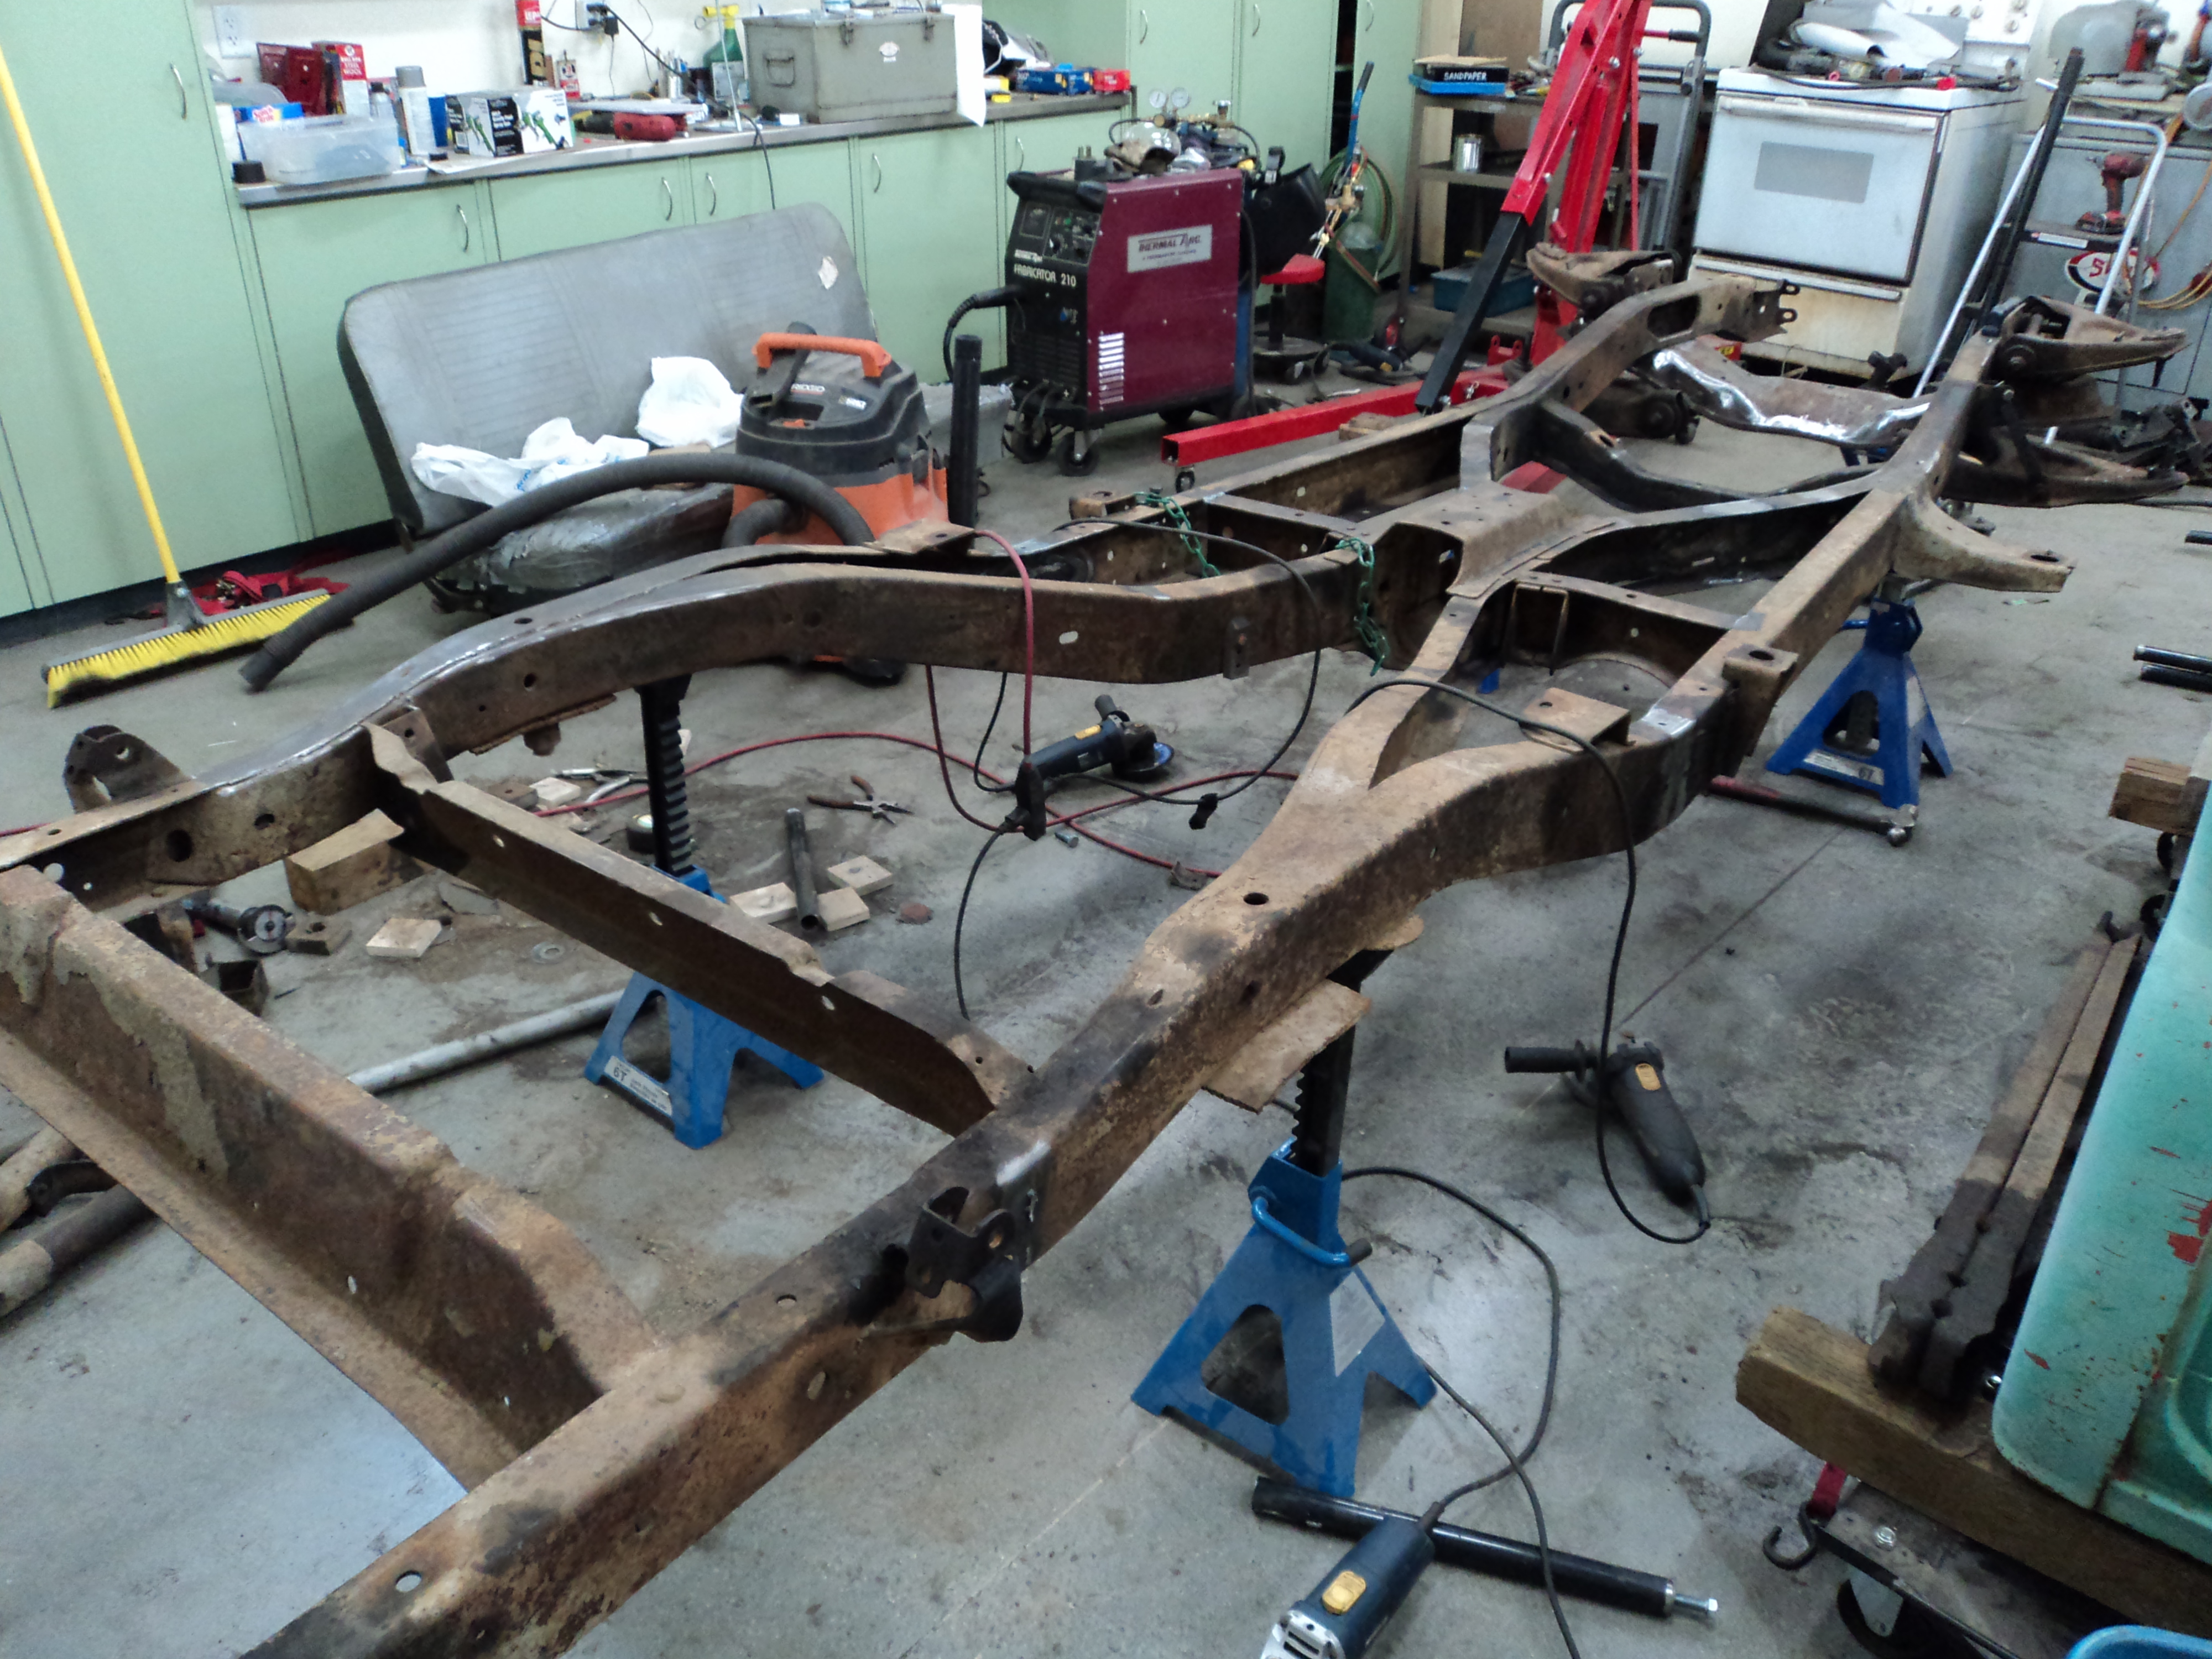
Frame Mods
I fabricated some height-adjustable “legs” which I welded to the frame, so I could set the frame absolutely level. Or, at least as level as a 1961 stick-welded truck chassis is going to let me.
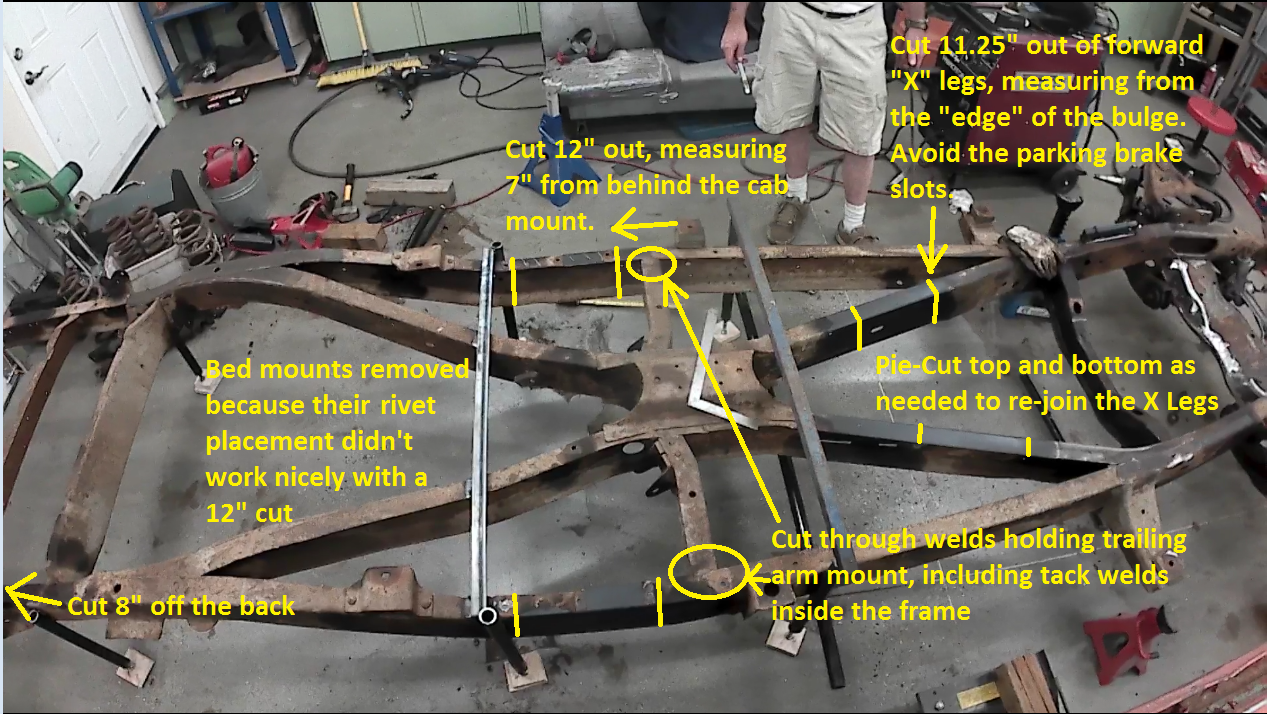
I removed the four forward bed mounts because the 12″ chop doesn’t coincide with any of the bed frame placements (I’ll be drilling a couple new holes), and I cut 12″ out of the frame sides (vertical cut because that’s all the room I have), measured from 7″ behind the cab mount.
The trailing arm crossmember pieces were cut free, as were the forward legs of the X (I mis-measured though, and had to add some metal back. By my new measurements it looks like you’d need to cut out 11.25″ here, but I might be wrong); Pythagoras failed me.
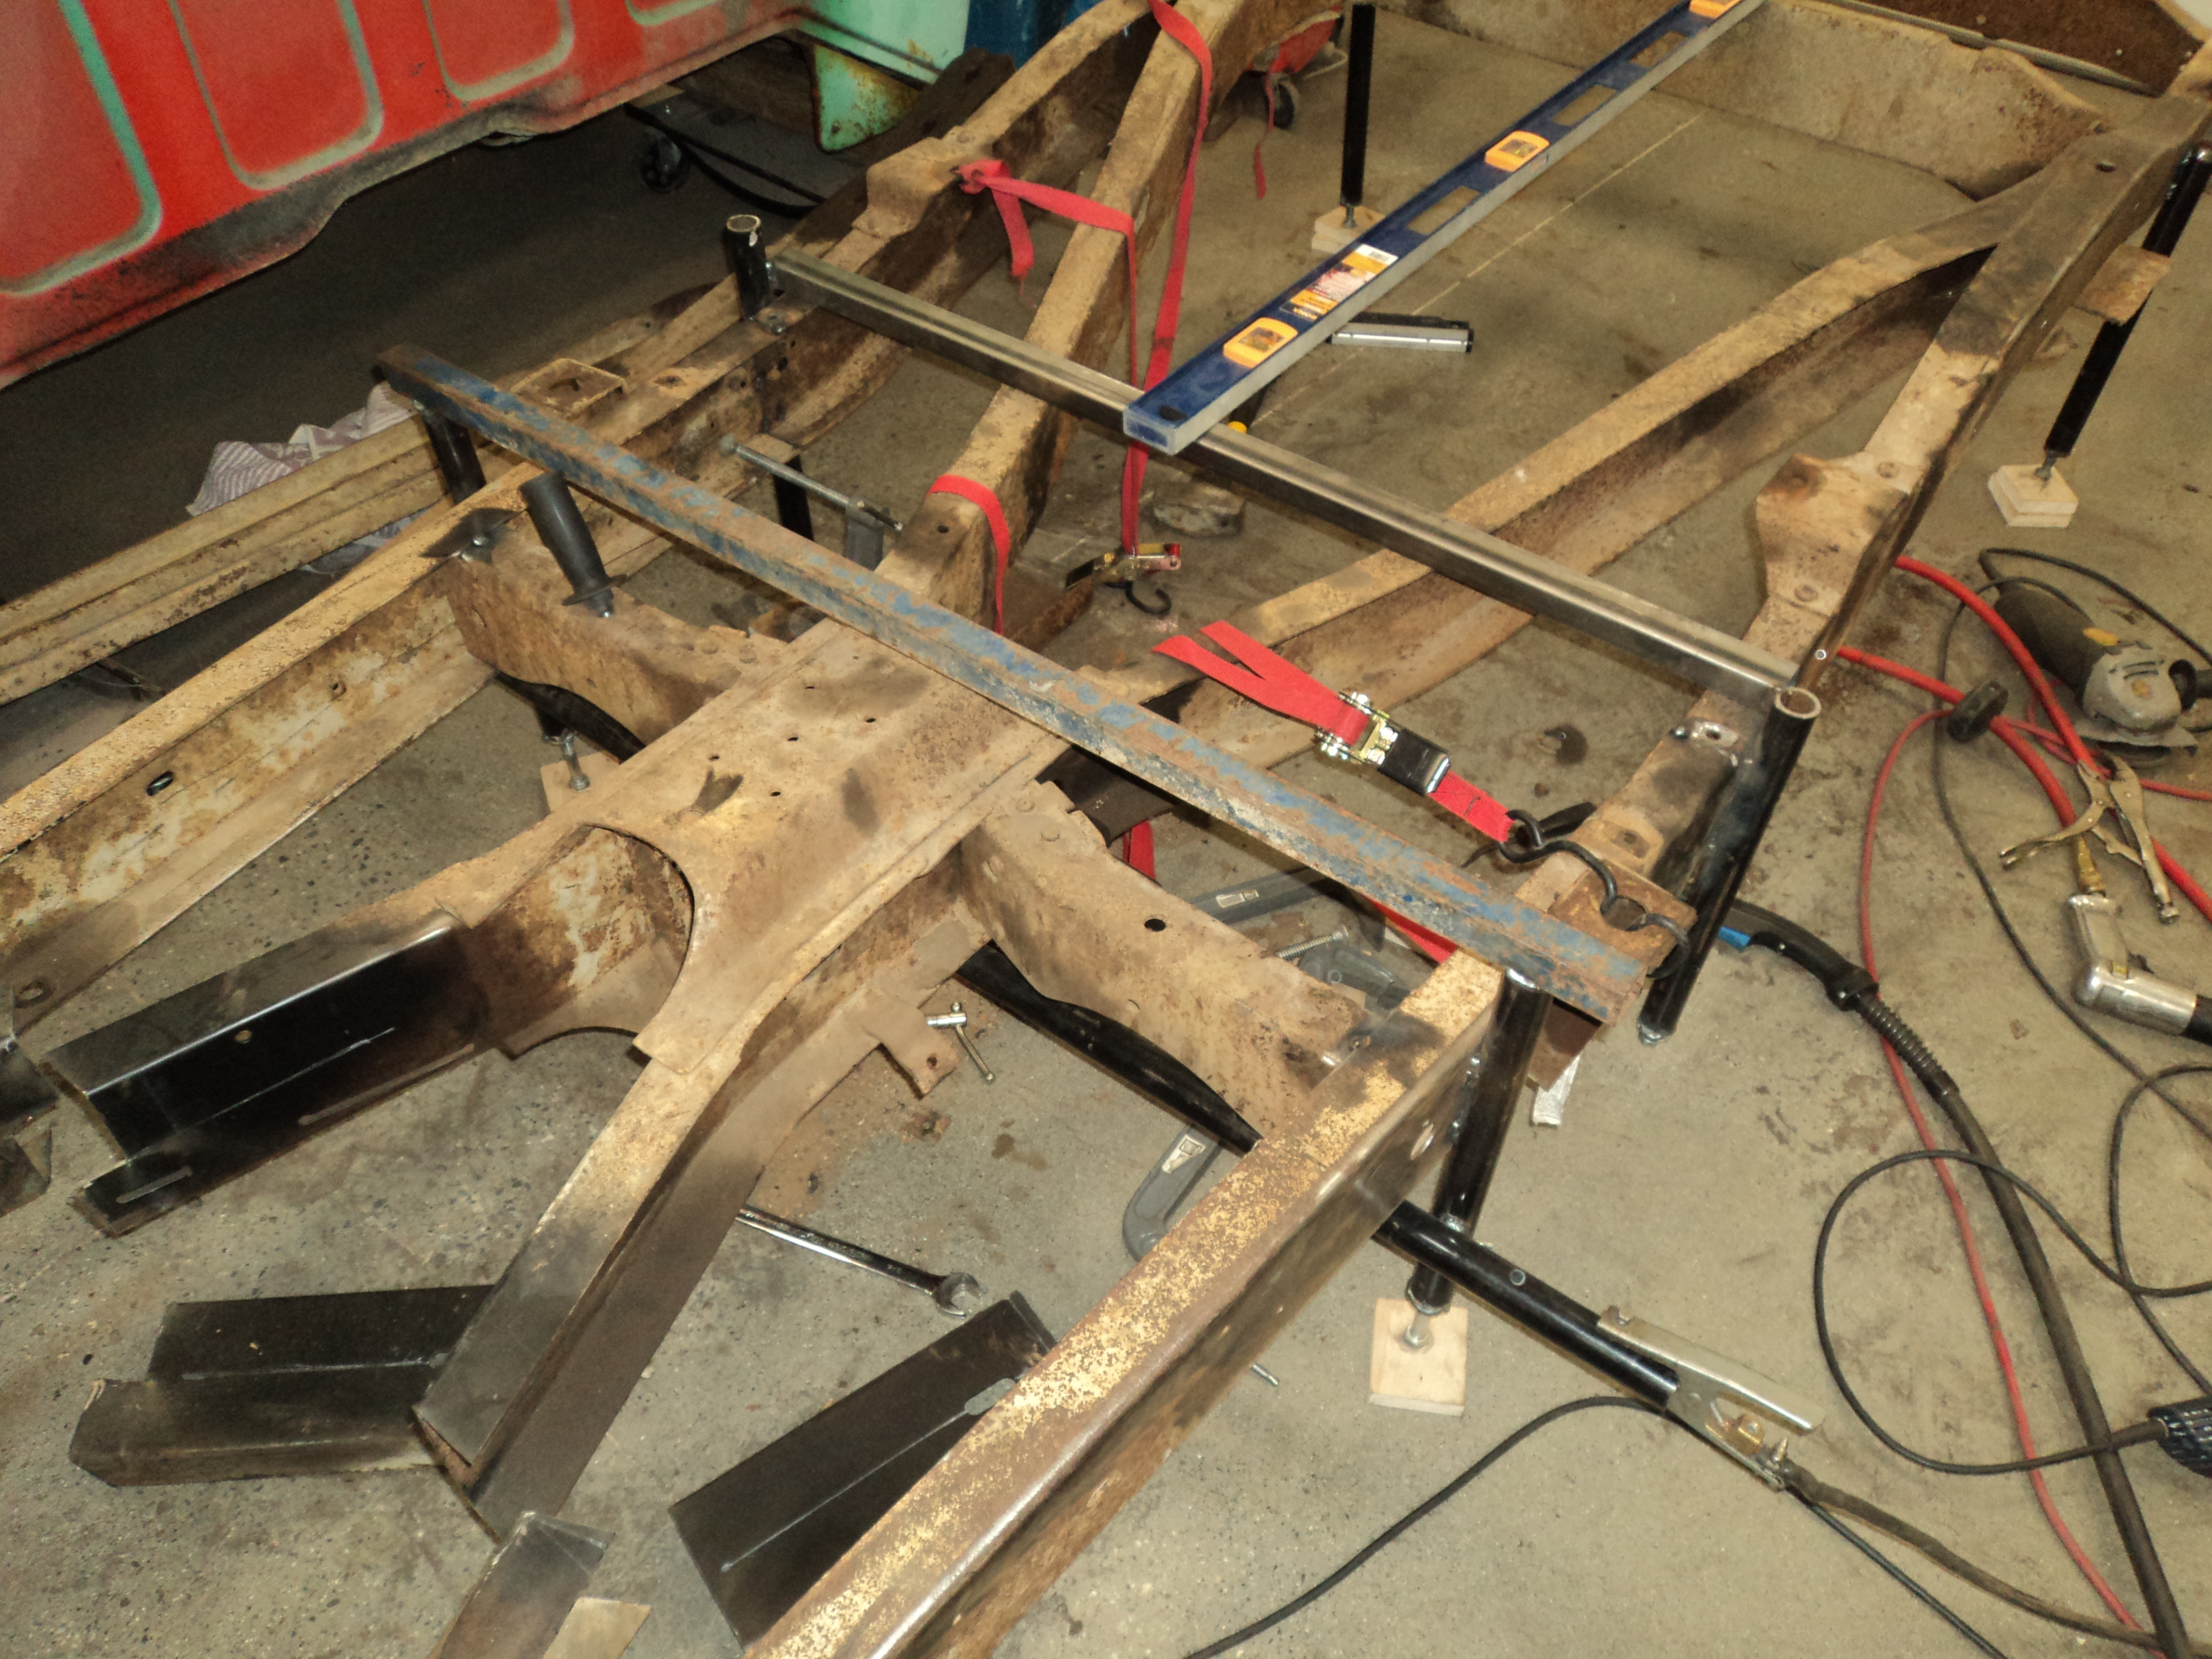
I tried to heat the X to bend it to where the stubs needed to line up, but it was taking forever and in the end I just sliced them with a cutting disc and welded them back up as needed.
8″ was cut off the end of the frame.
Clamped it securely, checked for square, and tacked it thoroughly. I’ll weld it up when my arms and shoulders are cooperating with me again.
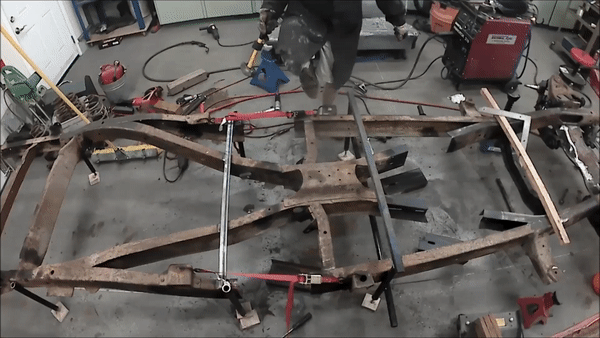
Okay. It’s shortened. That was a LOT of work.

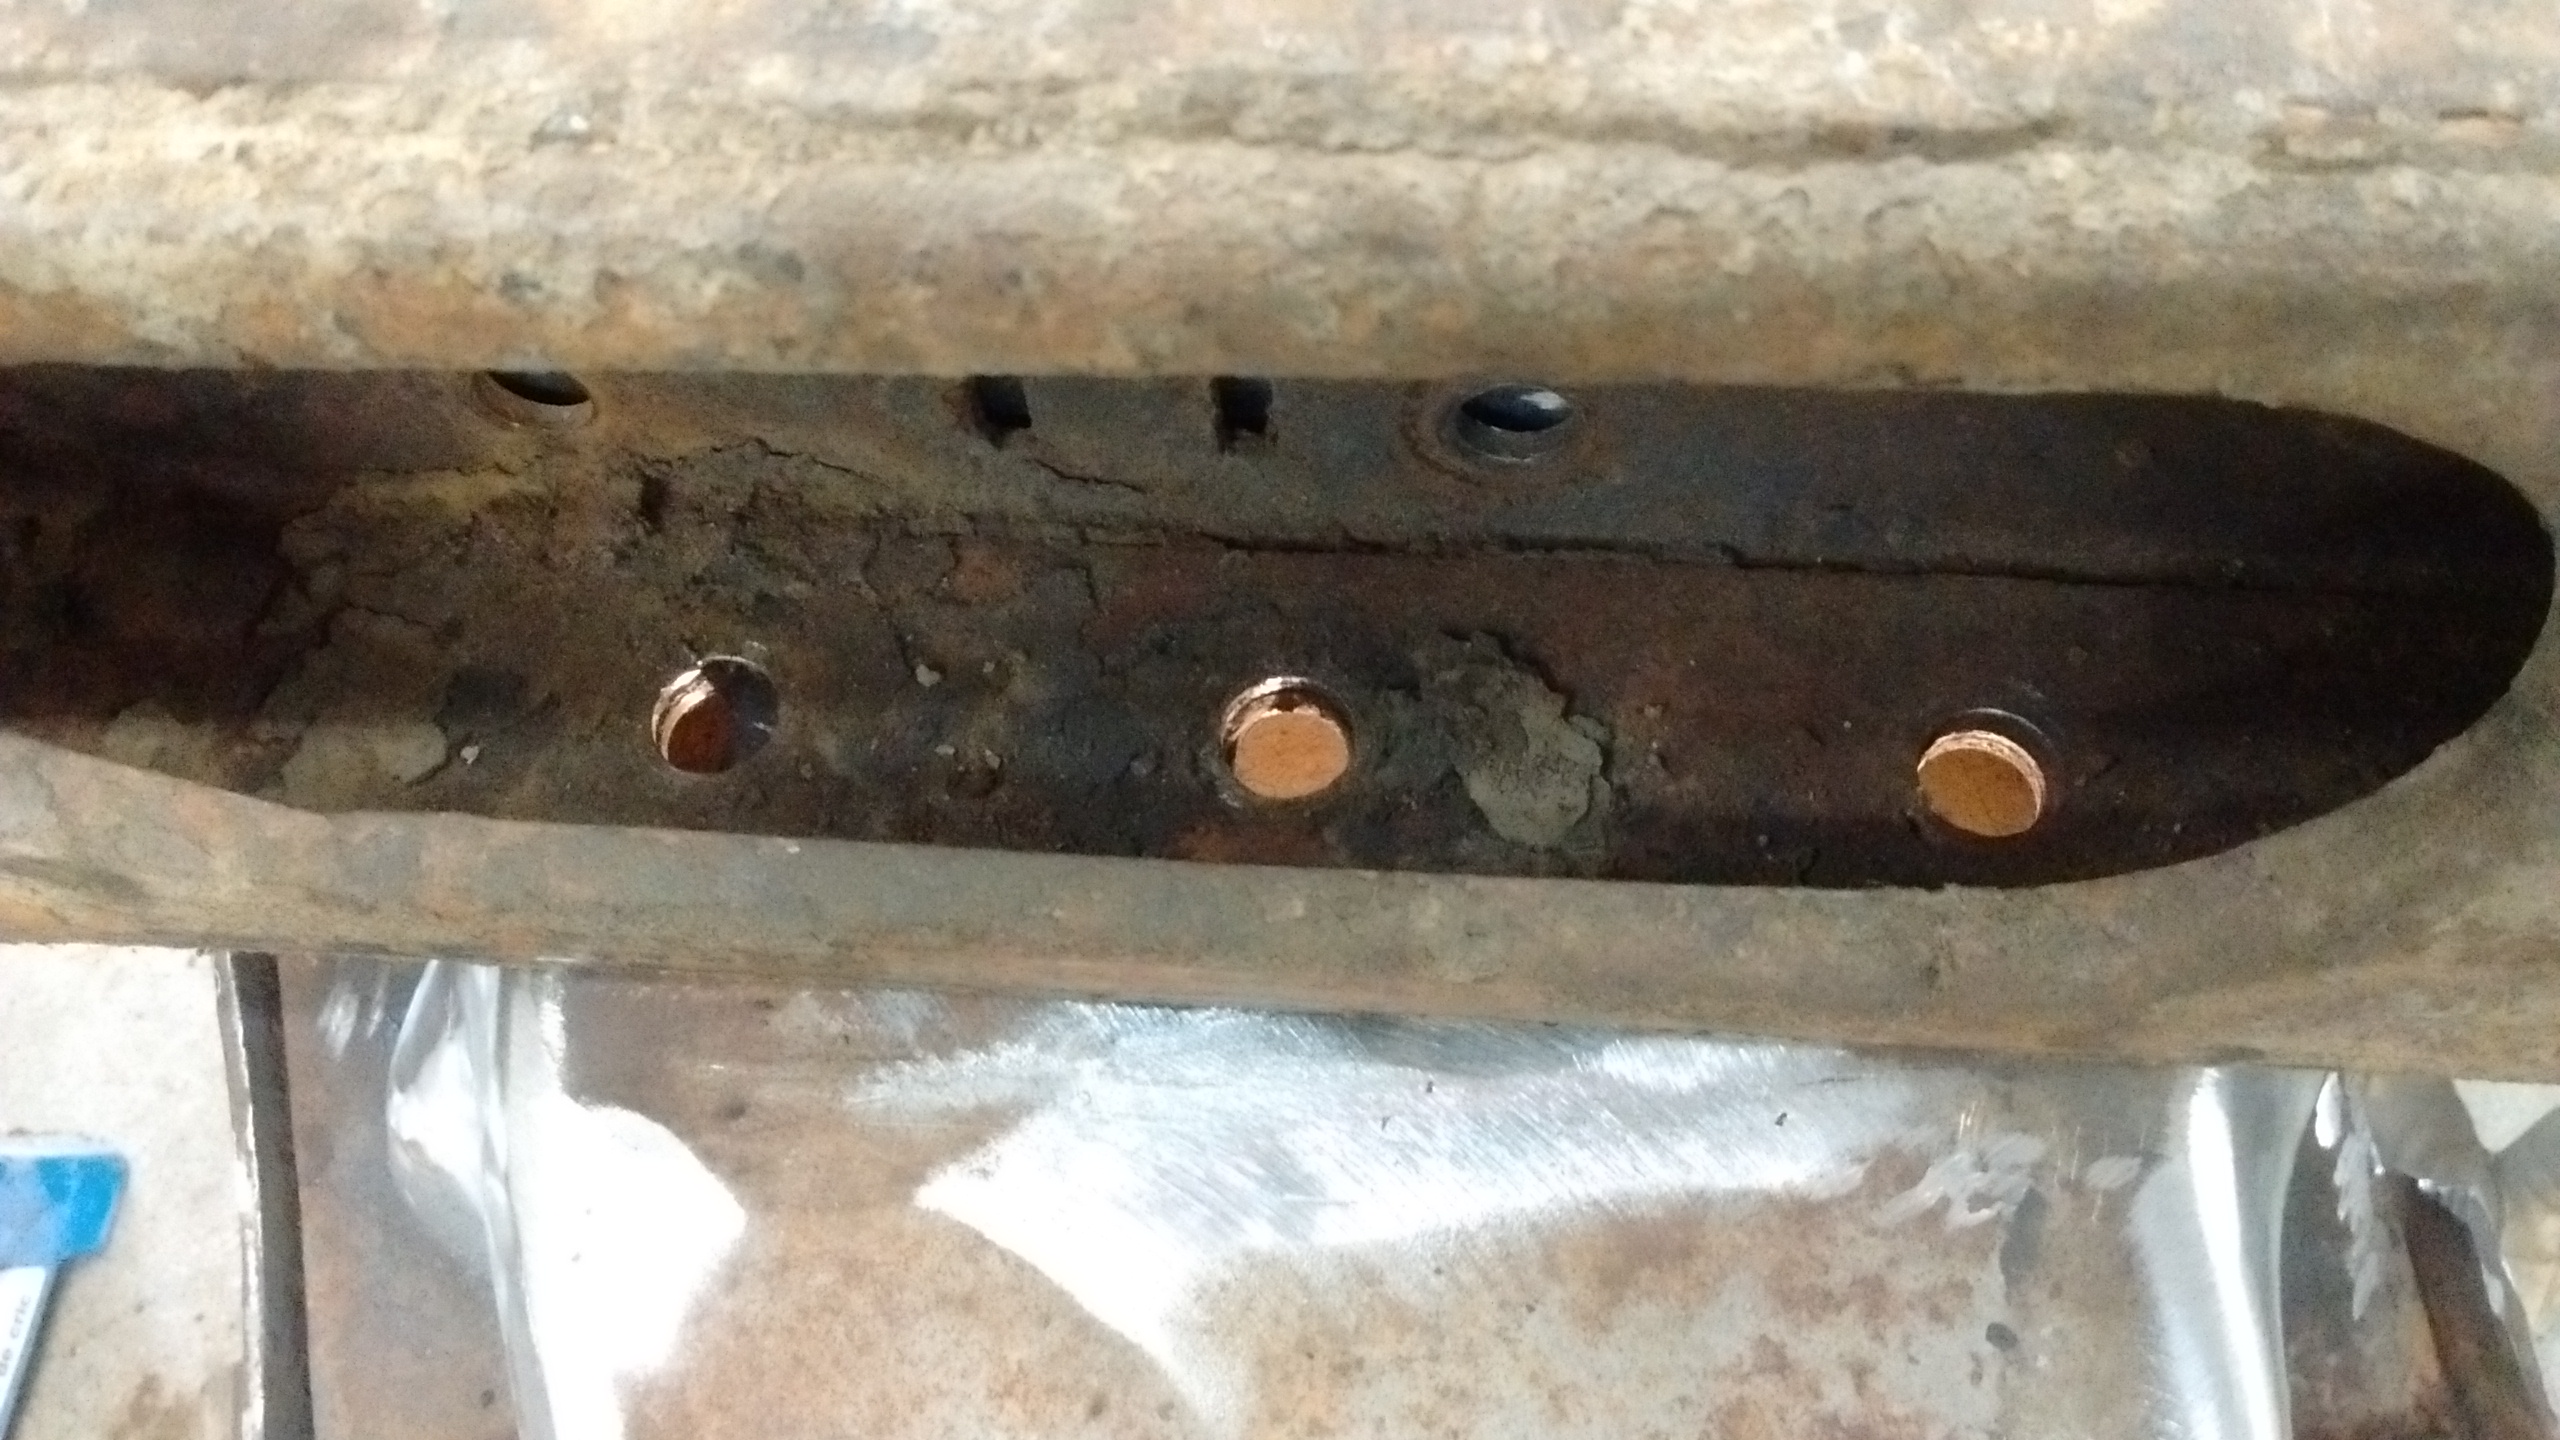
I’m not sure what to do with this bed mount. If I attach it with the rear hole (right) and drill a new front hole (left), the bed might be too close to the cab. If I attach it with the front hole (left), the bed cross pieces might not line up. Having never done this before, I’m not sure…..
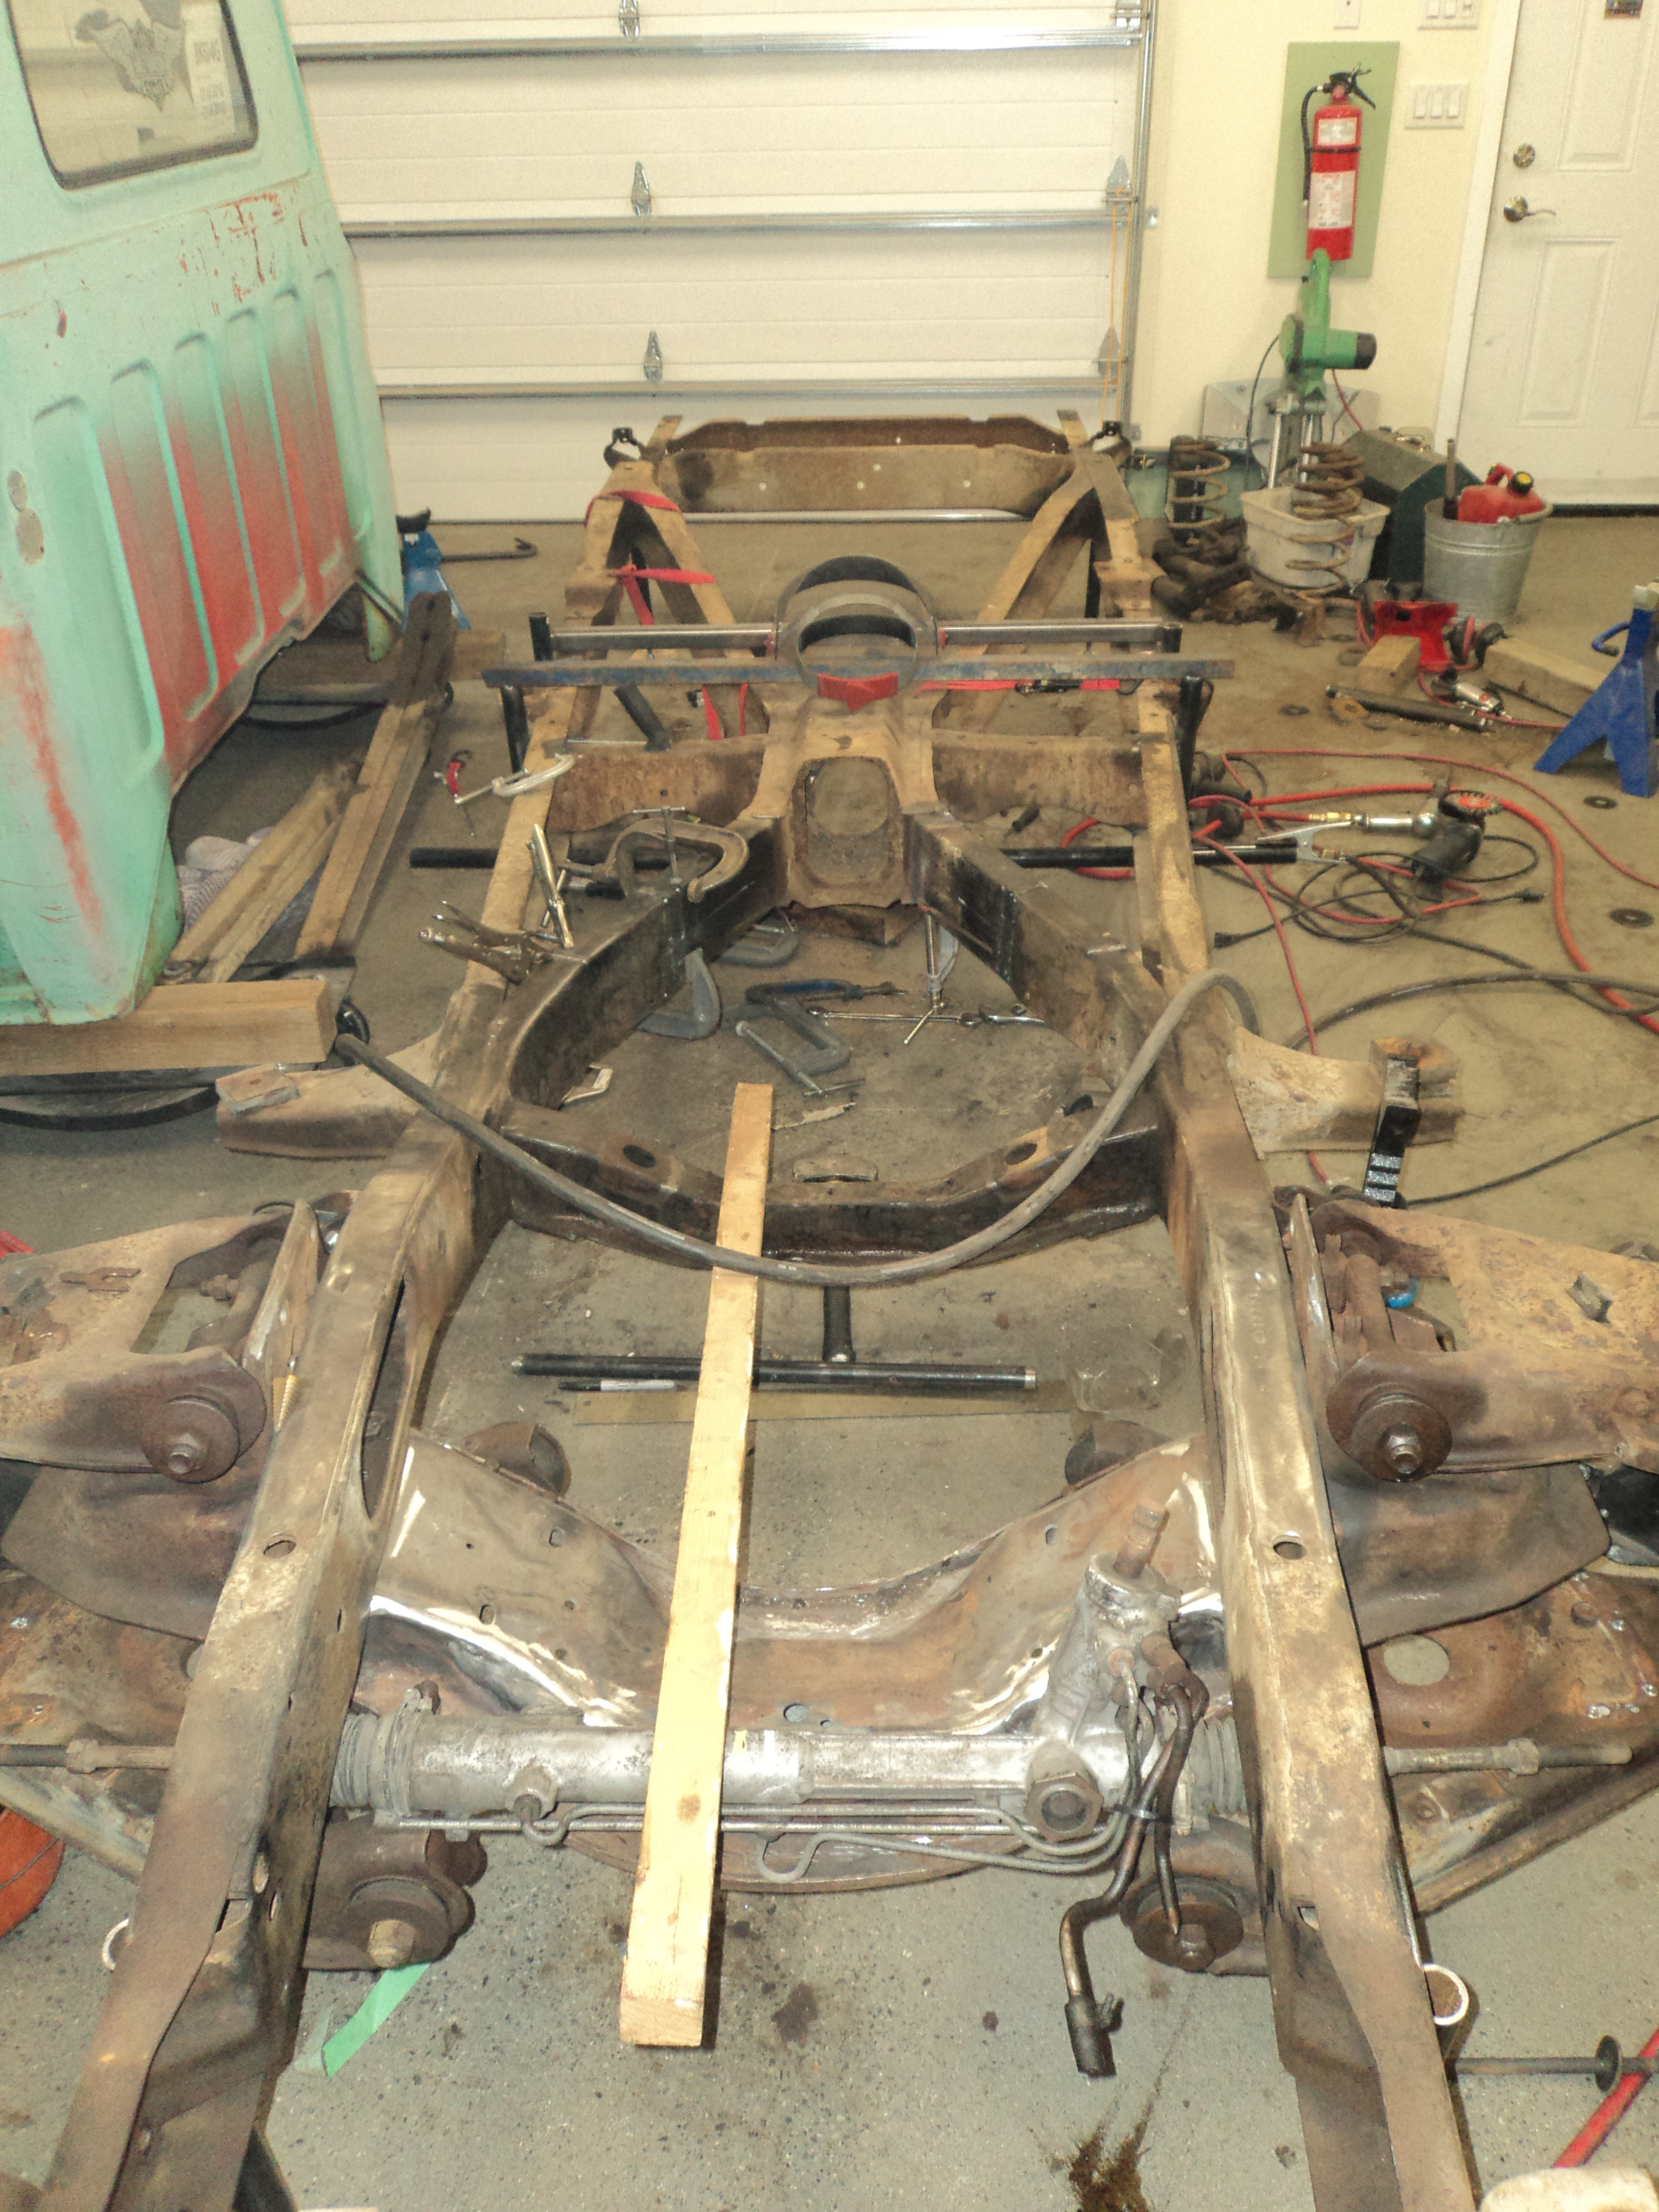
I temporarily mounted the 9″ on the trailing arms. The top of the diff at full bump is no higher than the top of the frame rails, so that’s good. I also ordered new axles with 5 on 5″ pattern…..
There does not seem to be a dimension for where the mounts are to go on the axle; consensus seems to be “place them where they work best.”


Natchos!
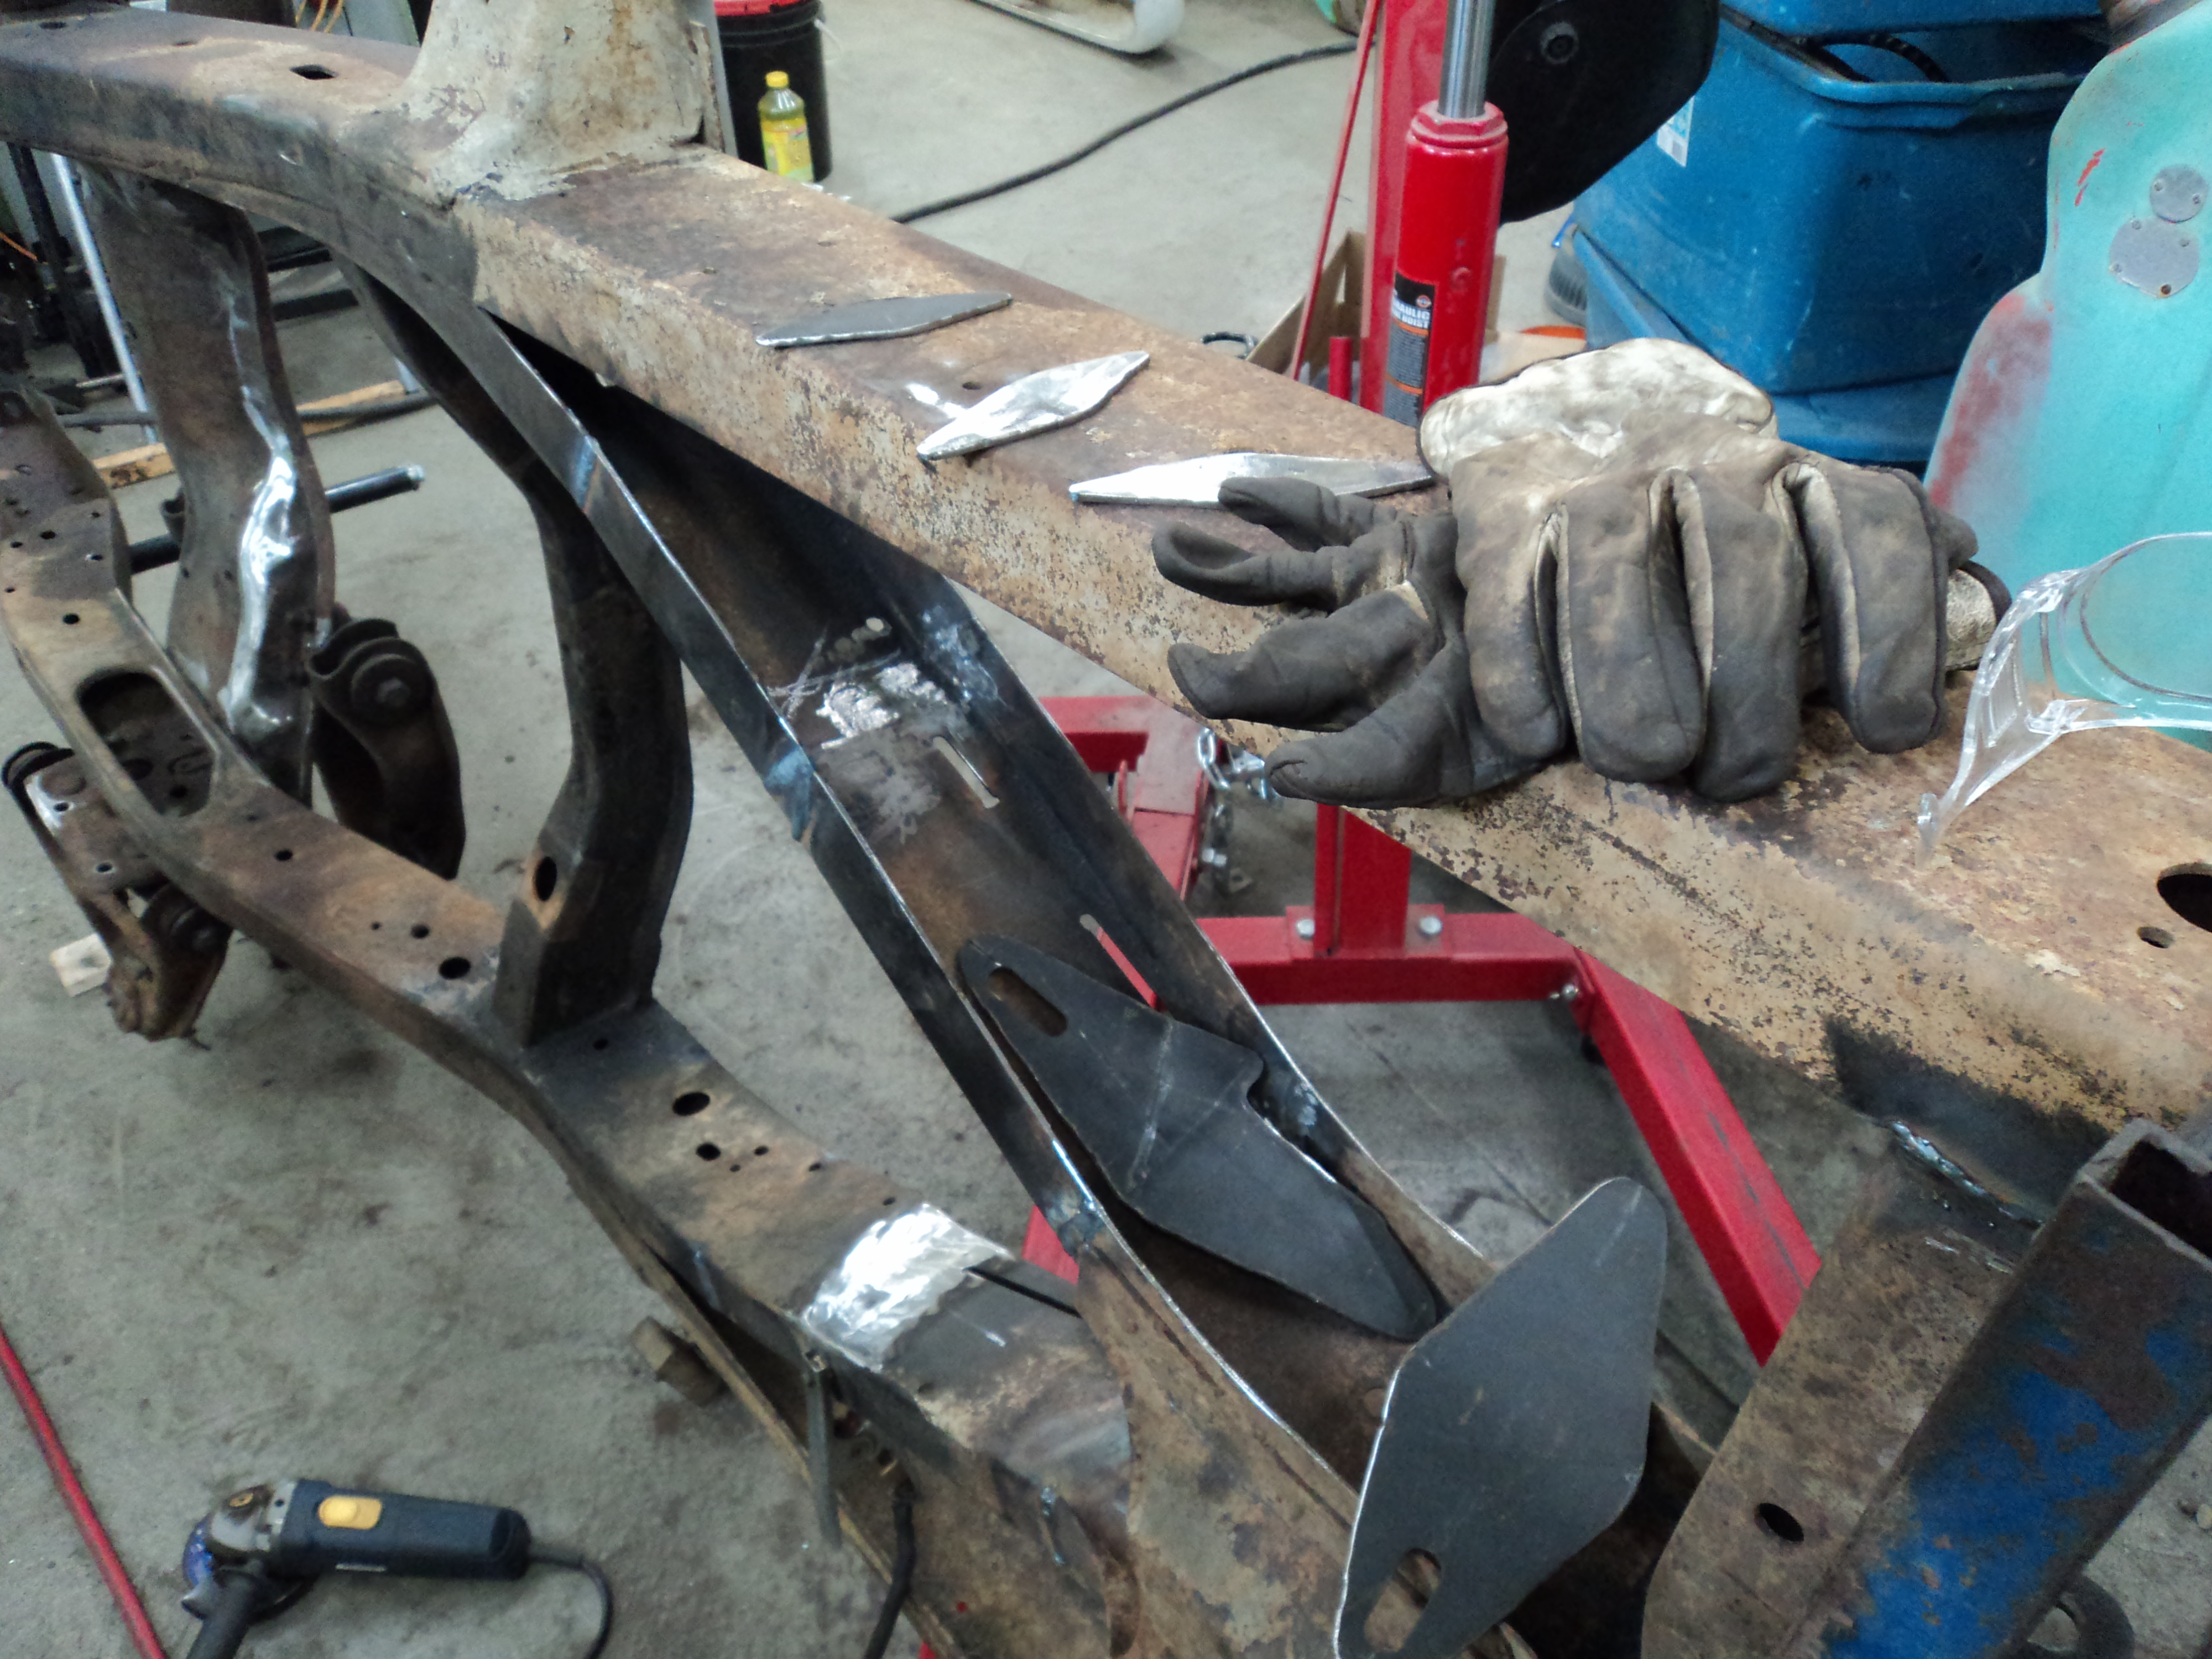
I picked up some 3/16″ plate. After a fair bit of sitting and staring, I think I’ve come up with a notch I’m pleased with, though I may mock it up in cardboard entirely to see what I think.
Heavily inspired by an FEA analysis (Frame Notch Based On Strength) found on the 67-72 Chevy Truck forum, I decided to do a step notch.
Sharp corners are potential stress risers, so this is intended to reduce stresses. It also maintains a 4″ tall frame through the notch as well. The front and back of the axle cut will use part of the original frame. It makes sense in my head.


Going to sleep on it before I bring out the plasma cutter.
I brought out the plasma cutter.
The notches are fab’d, but not burned in yet. Tomorrow they will be welded to the frame, then the frame braced, then the frame section cut out, then capped.


Removed the trans crossmember, which is welded to the frame in the 60-62 and holds the transmission by the bellhousing.

Also removed the bottom of the center “X”, as it is now the last things hanging below the frame. When I cut the 3/16″ plates for the notch, I also cut out a new plate to replace this.


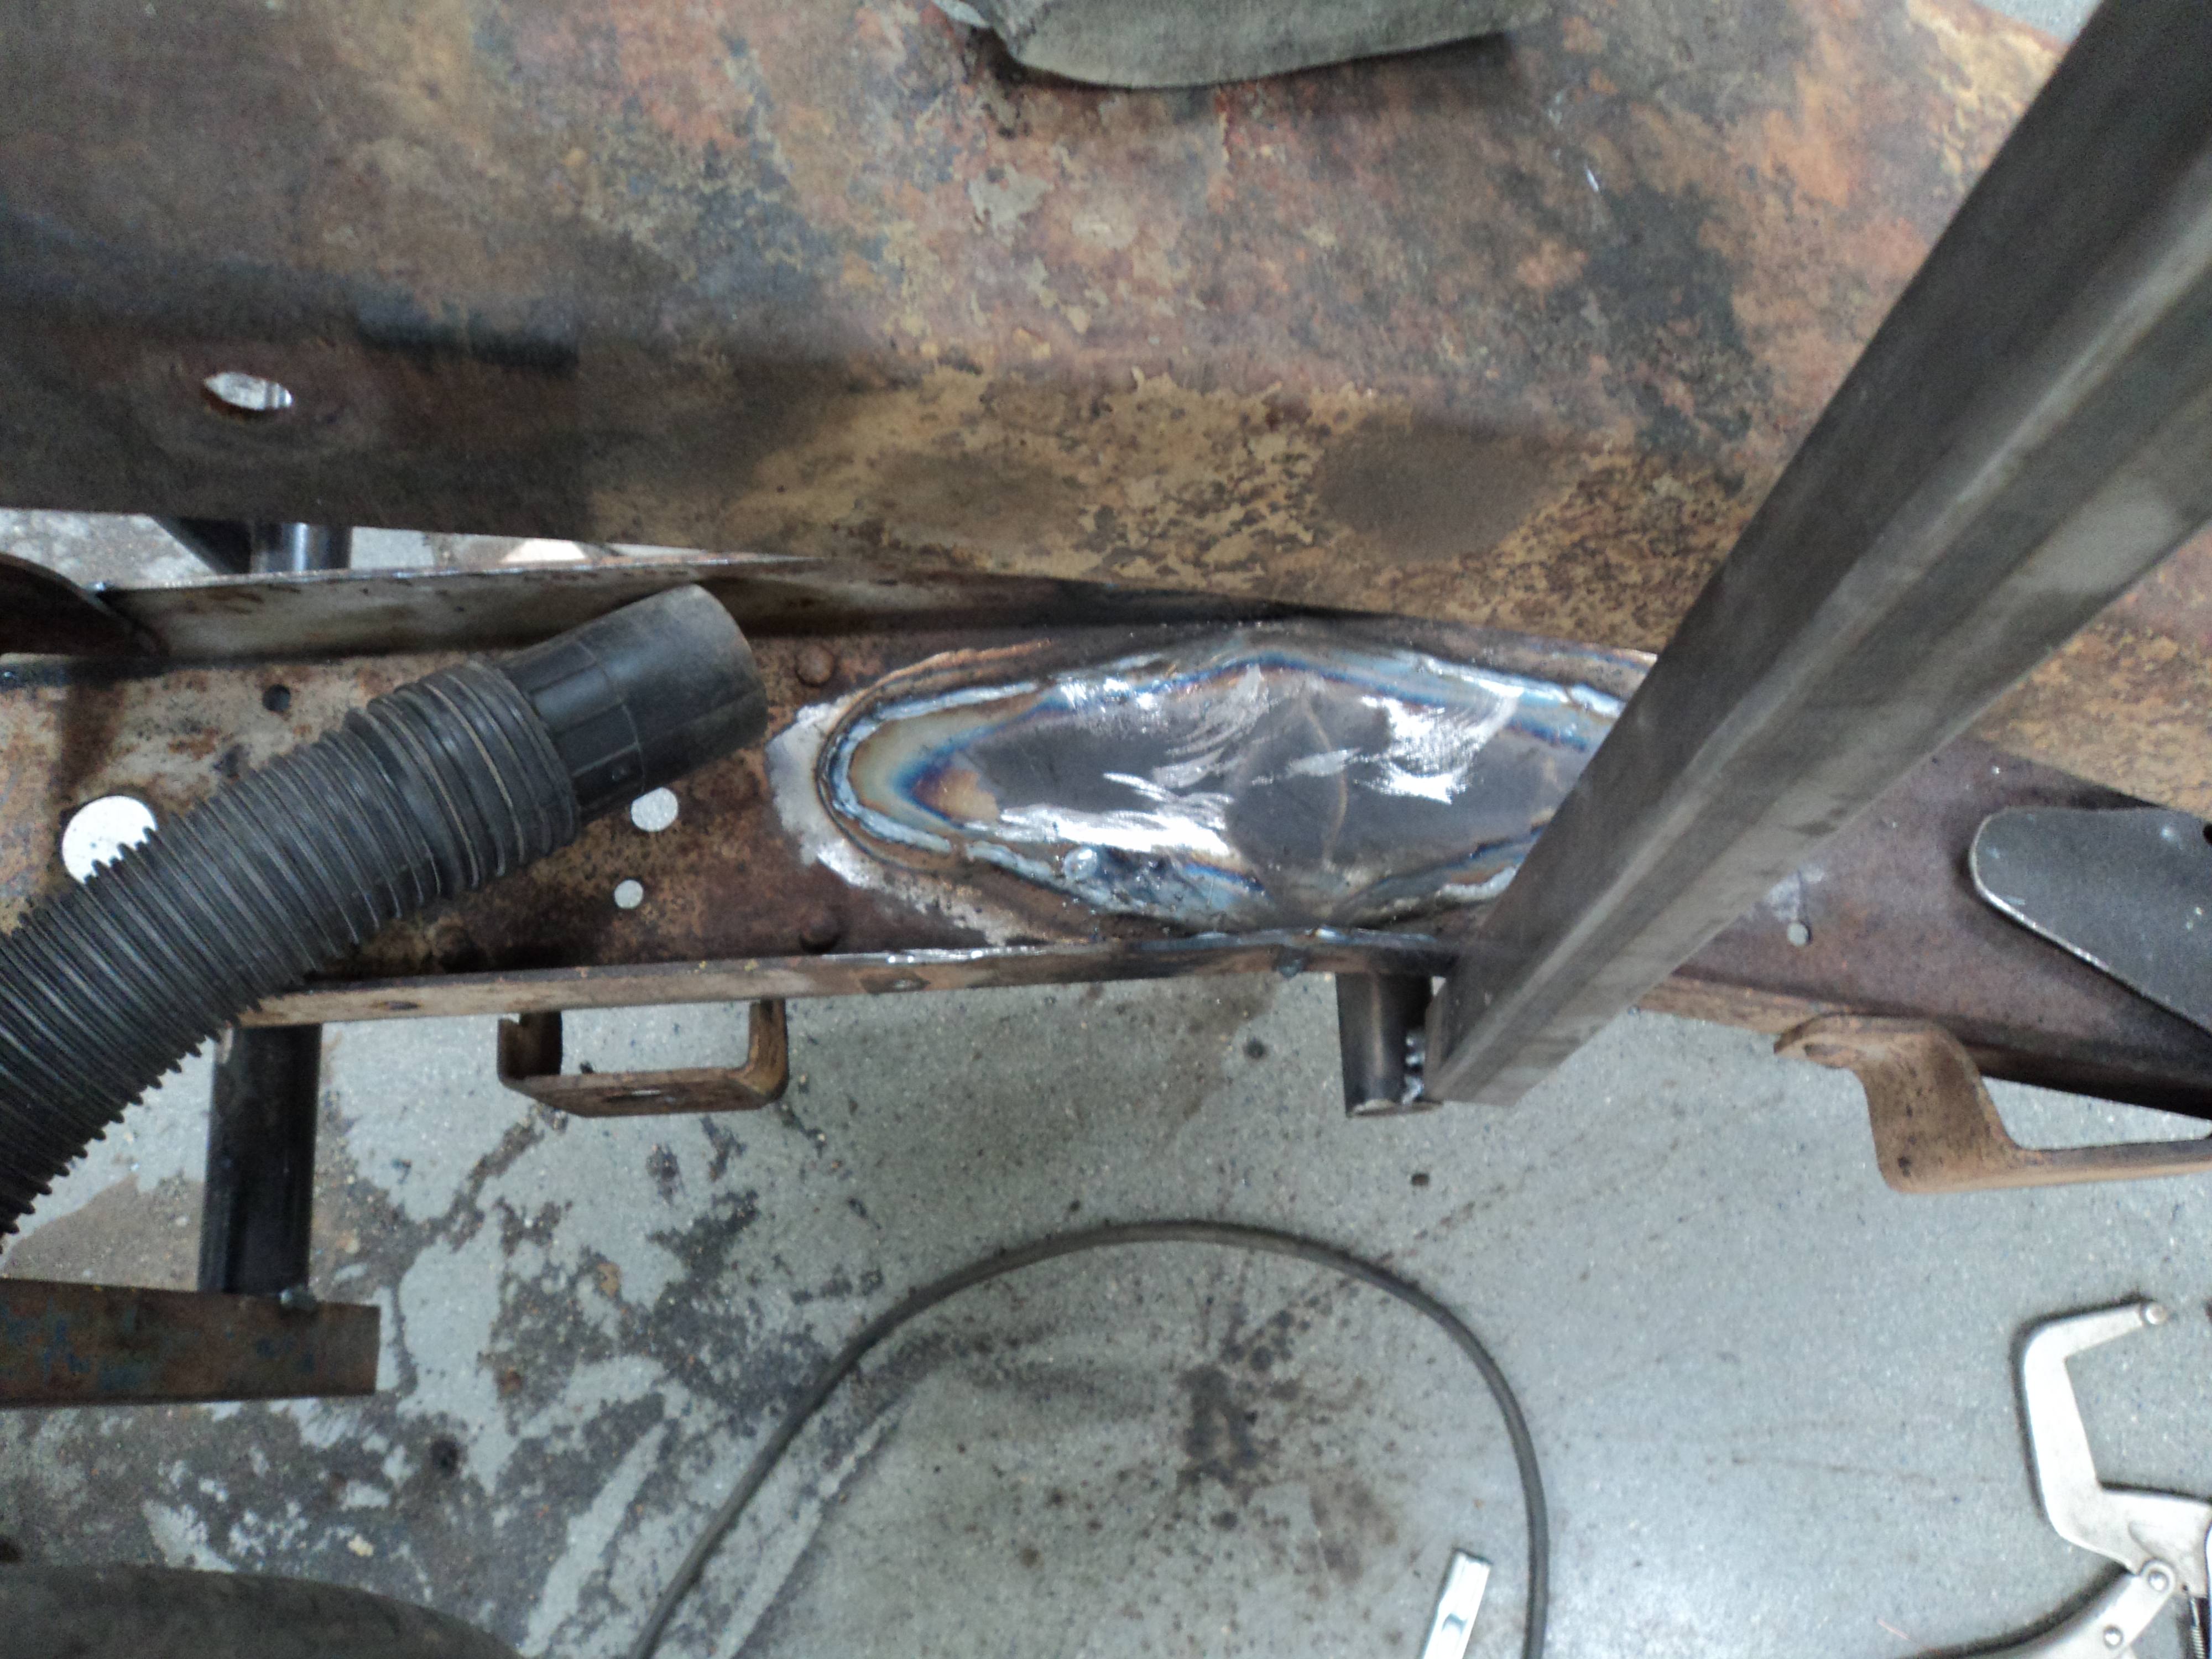
Bottom of the frame is now plated, there is now nothing hanging lower than the frame rails.

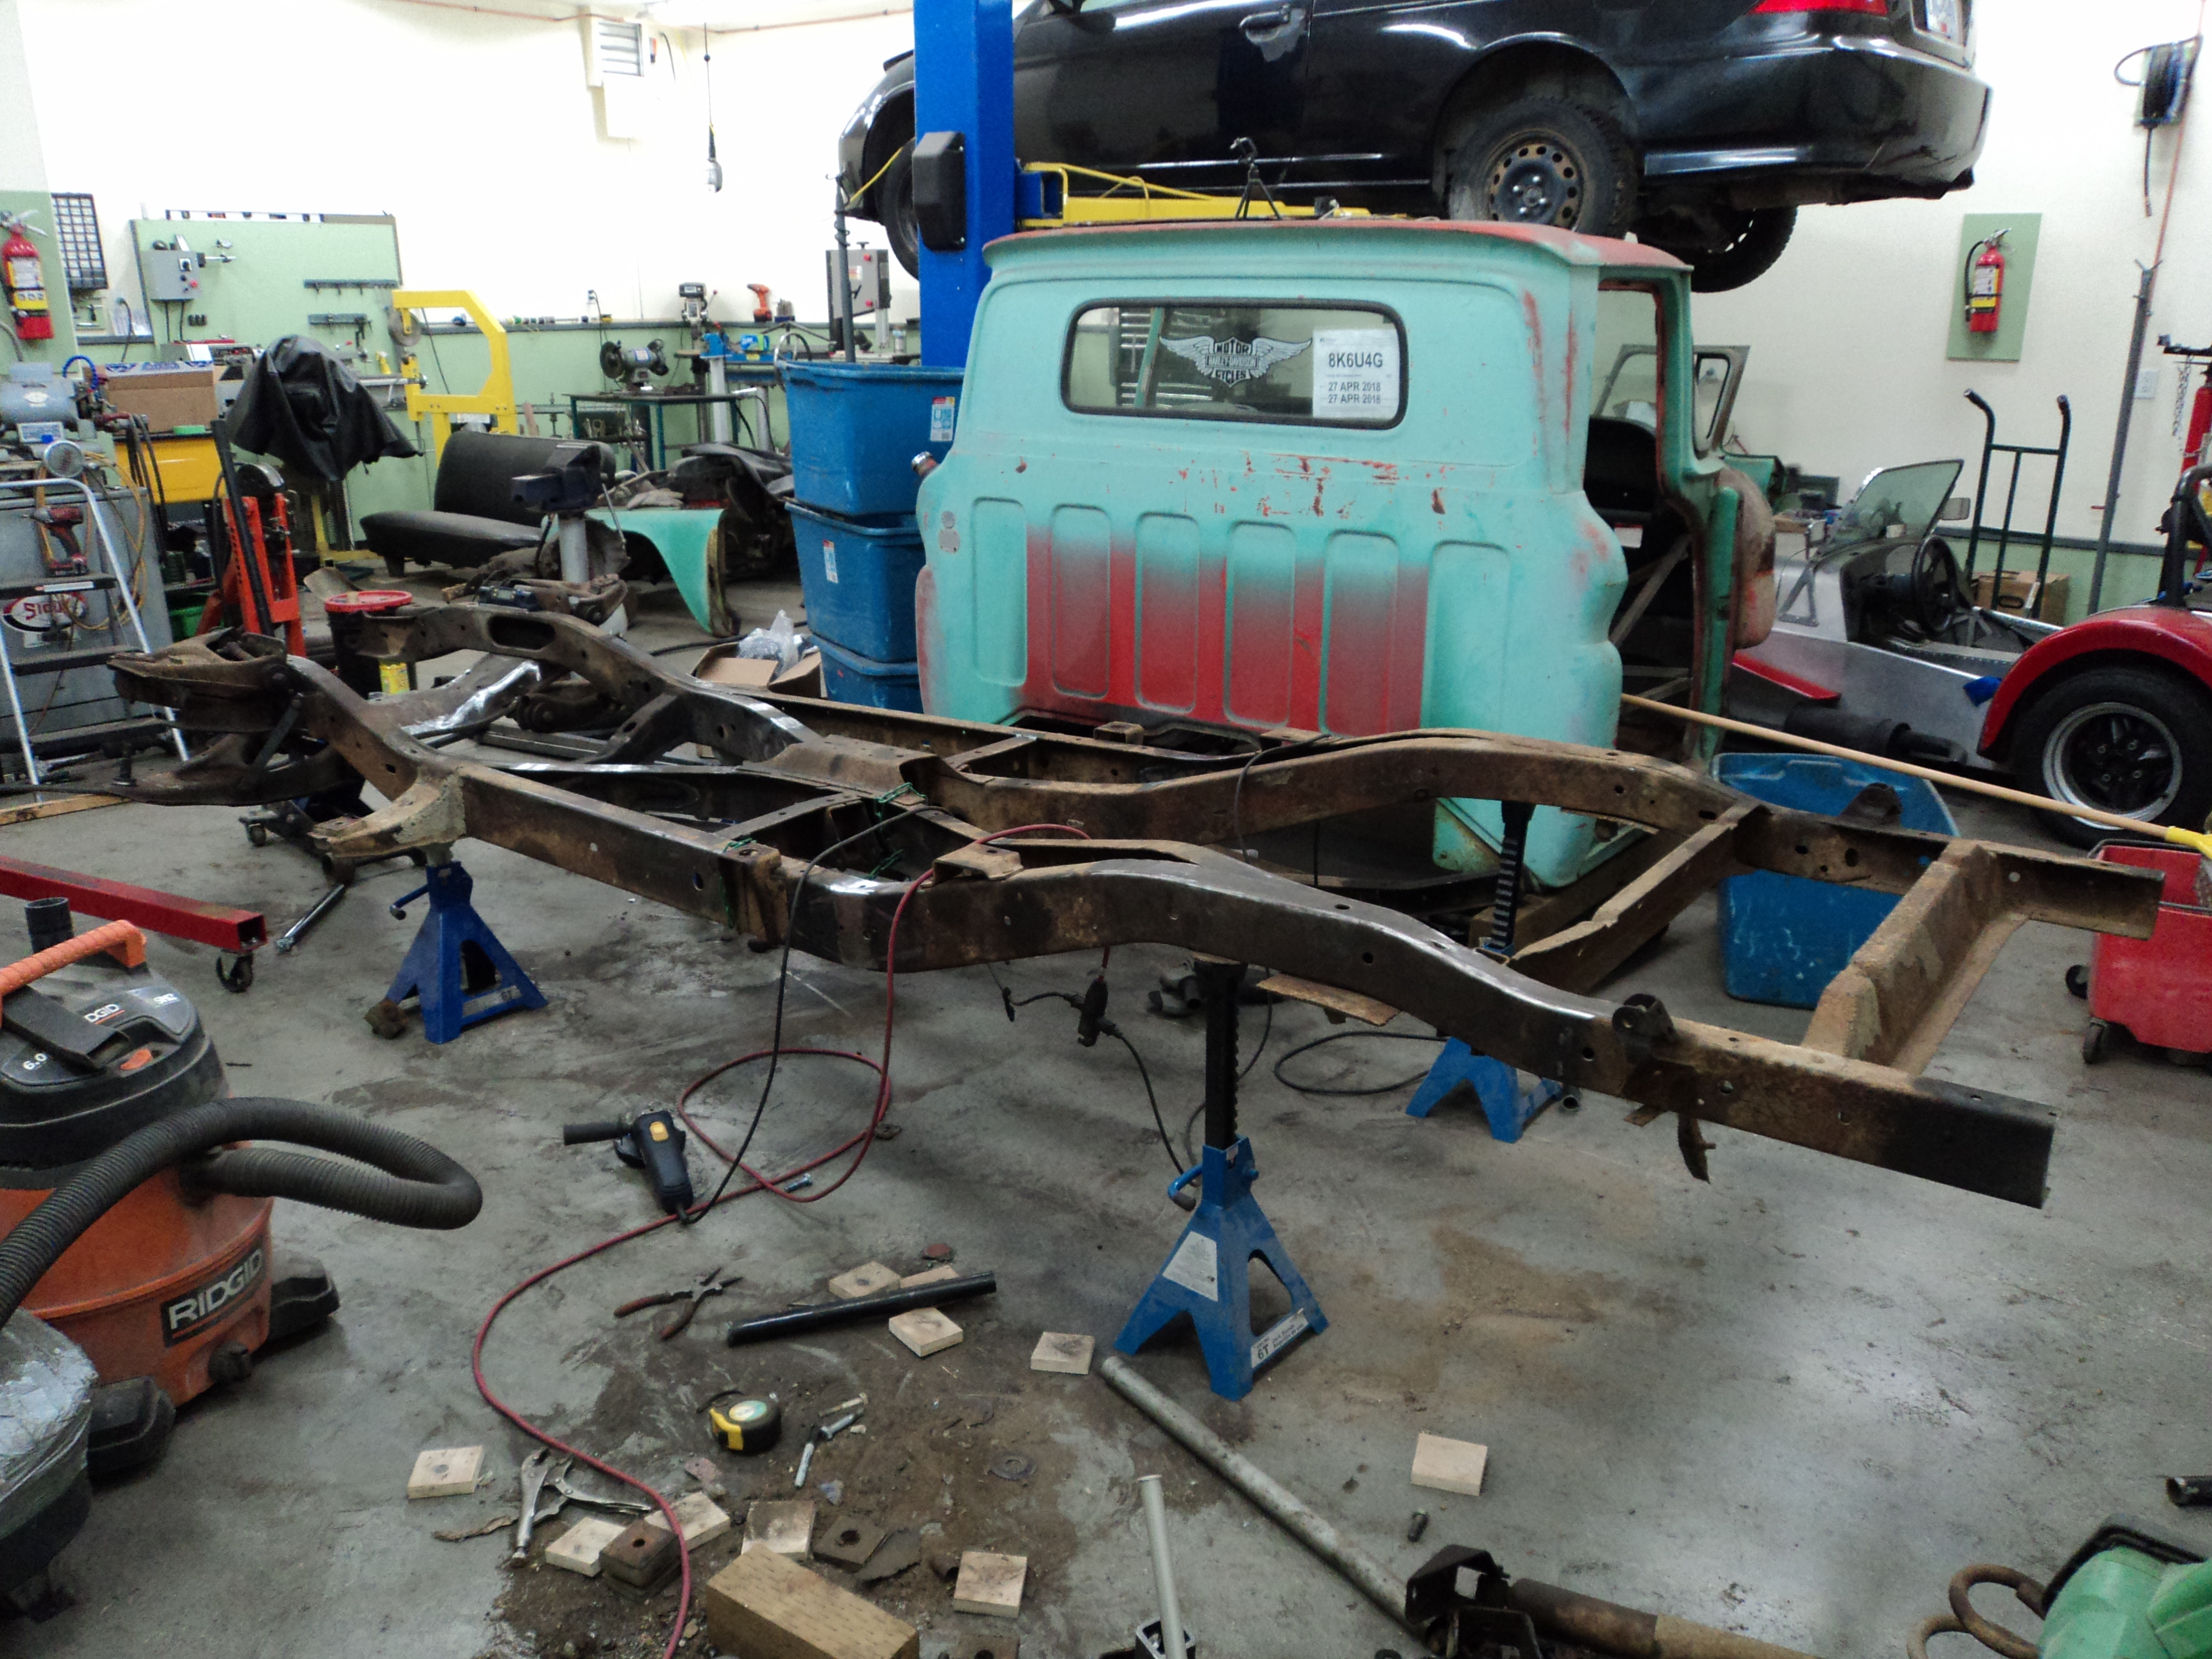
And here it sits at what theoretically is ride height. The rear is based on axle clearance with new CPP 5″ drop coils, not what they will settle to (probably another inch). Once the whole things is all together, I will trim and adjust accordingly.

Crossmember is 5″ off the ground – that’s a half-inch higher than my ’77 sits, and the frame rails at the front cab mount will sit at 6.5″ (an inch higher than my ’77) but the rockers will be a half-inch lower than my ’77. And everything hangs below the frame on the ’77, nothing will on the ’61 (so theoretically I could go lower).
The ’61 is using 2″ spindles instead of the 3″ on my ’77 – something I really wanted was to get the control arms off the ground. The truck will look lower than the ’77, but it should be easier to drive with less collateral damage.

I also flipped the trailing arm brackets to get back some anti-squat.
I wrote an article: How To Shorten a 60-62 Chevy C10 Frame
Frame Modification Video: