[ Start ] [ Index ] [ Parts List ]
Paint!
Some colour (Mouse Gray, flattened):
Dark gray is 2 parts Mouse Gray, and 3 parts Gloss Black, and 4 parts flattener:
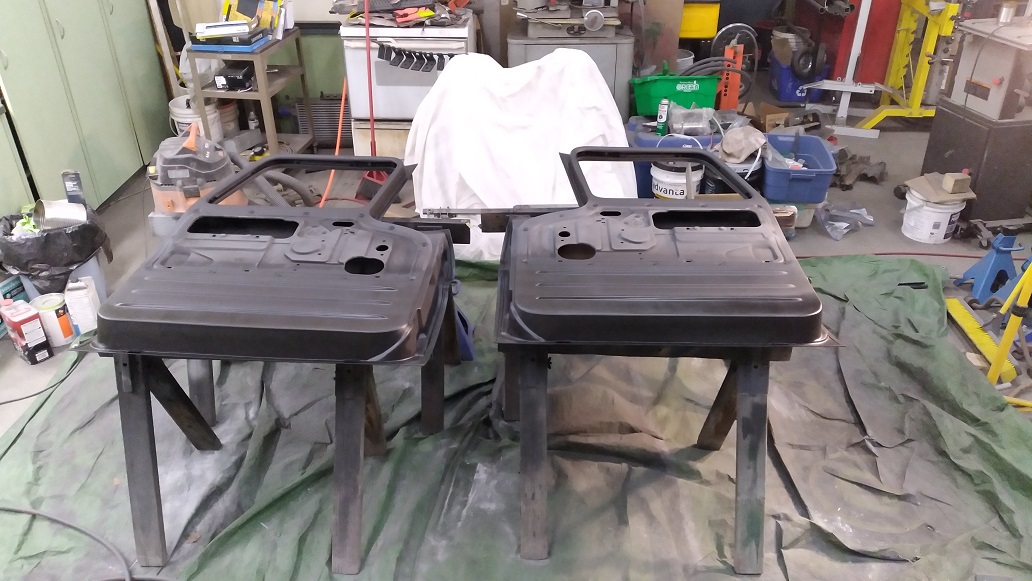
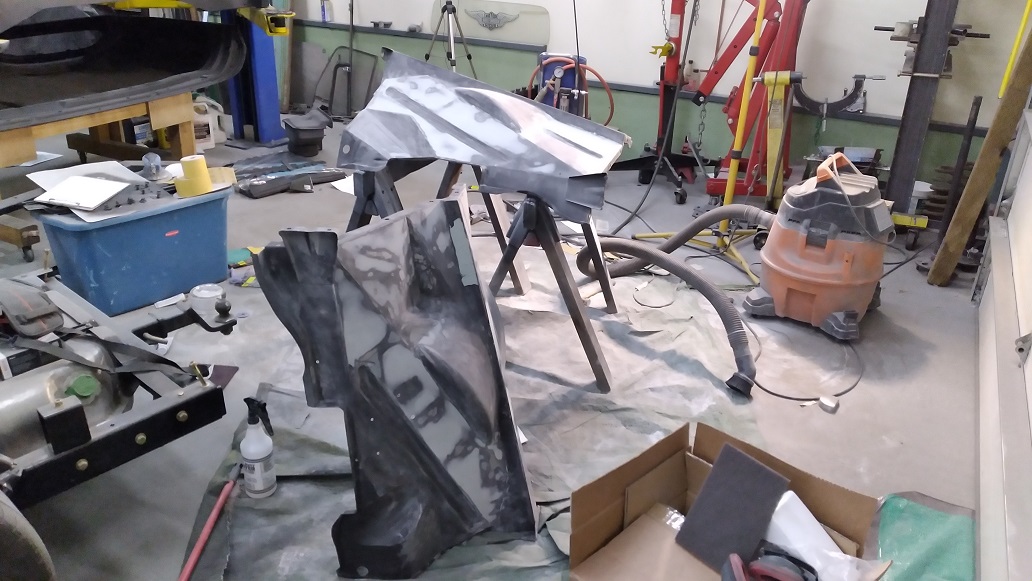
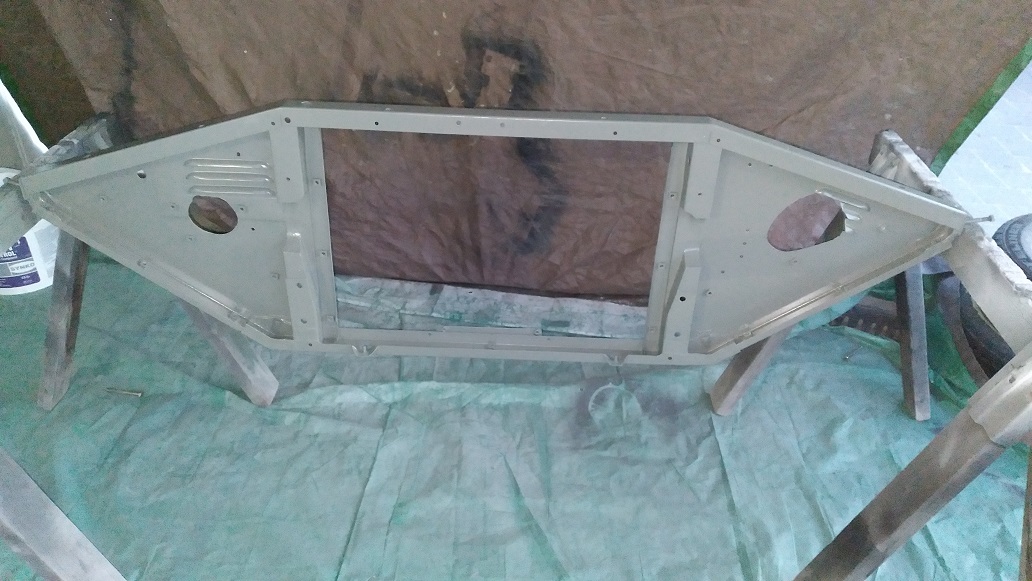
Then finished the door inners so that soon they can be sprayed gray and hung.
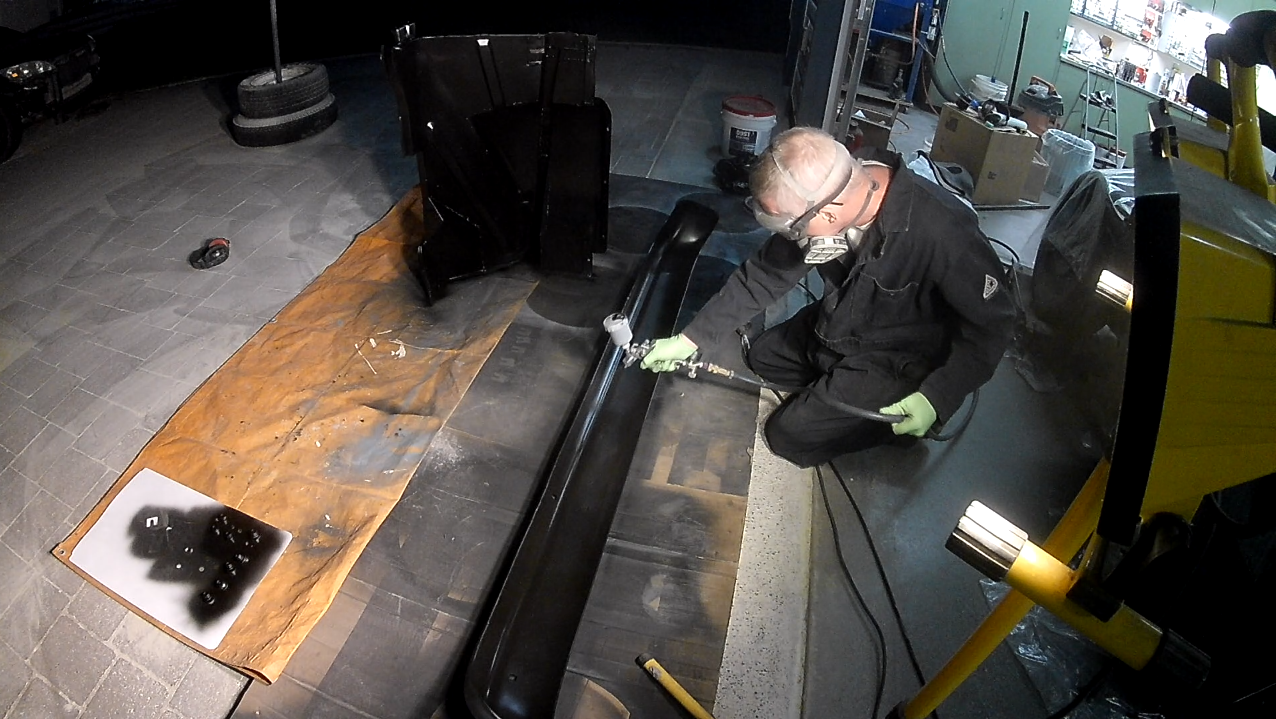
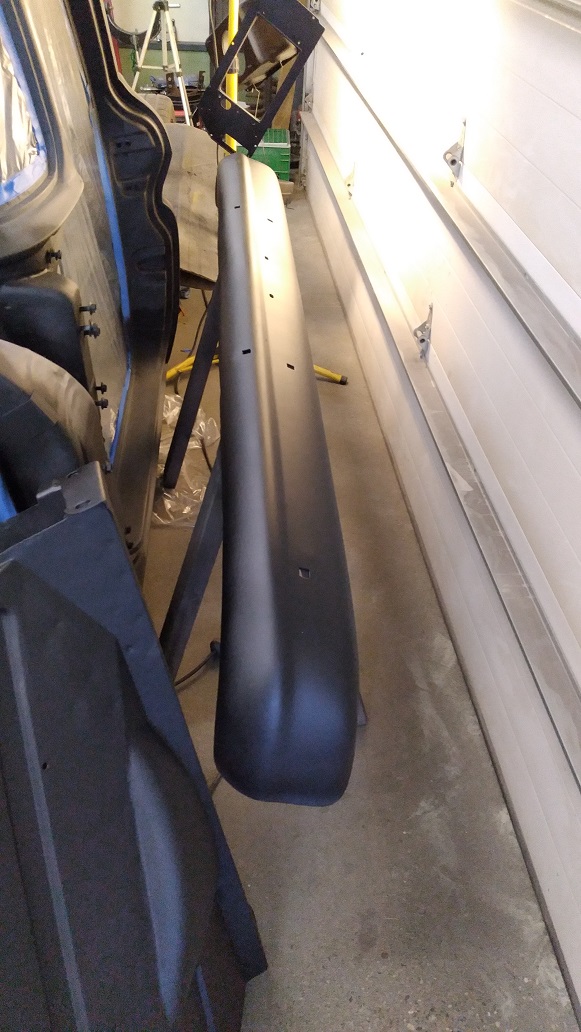
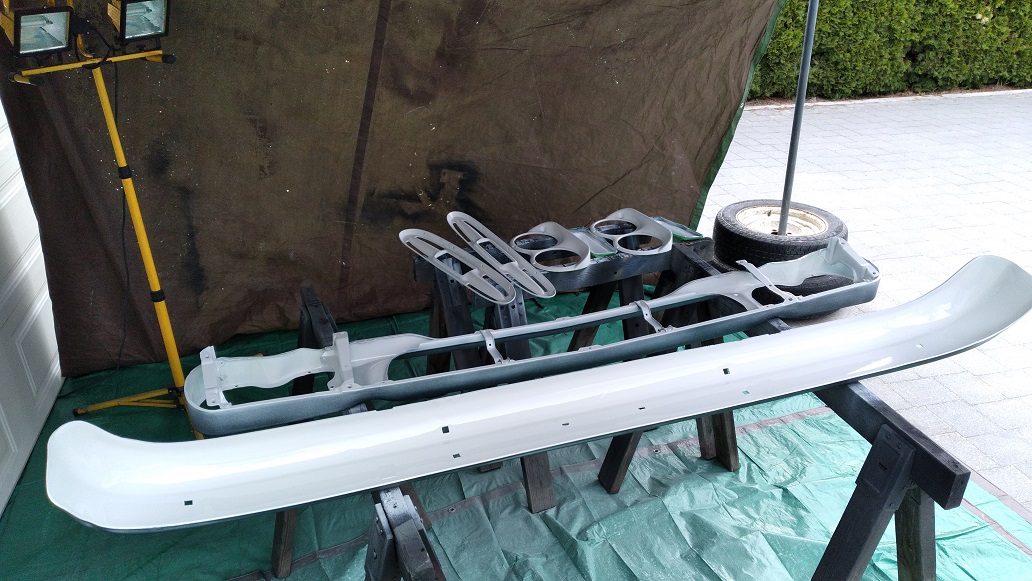
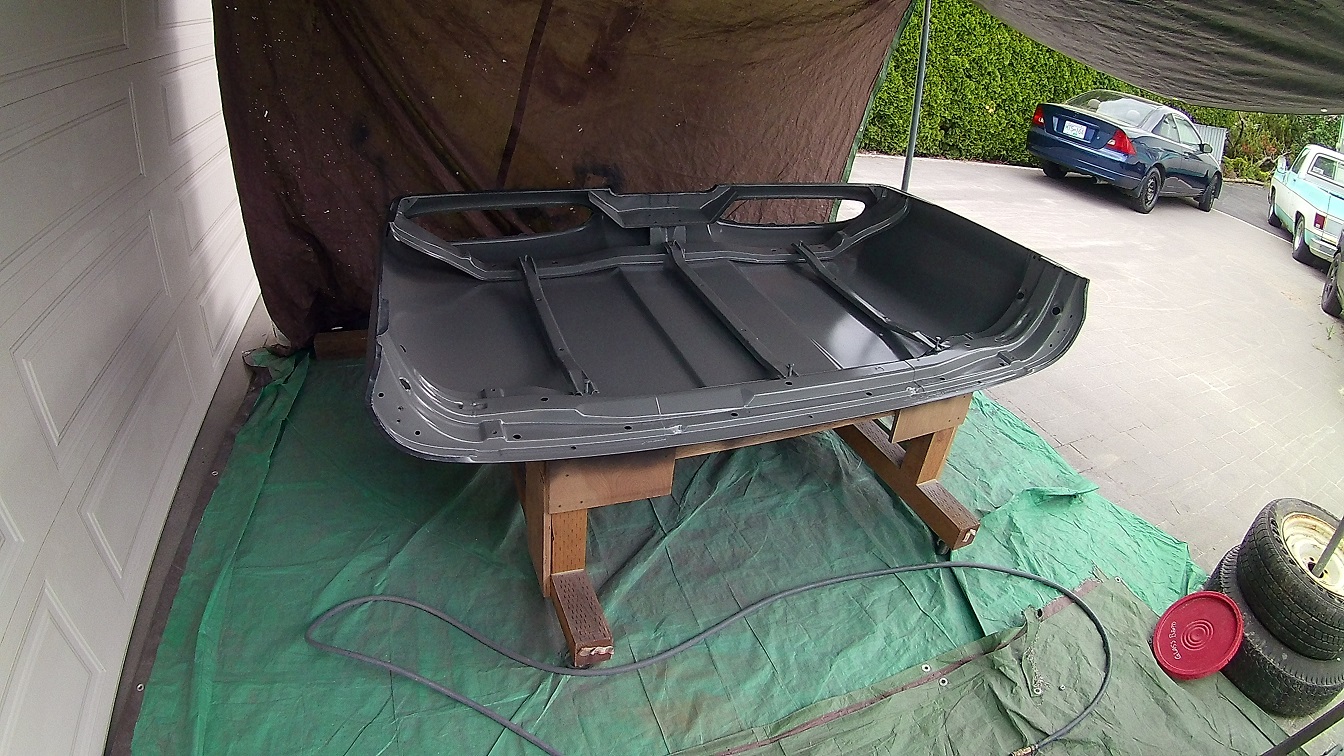
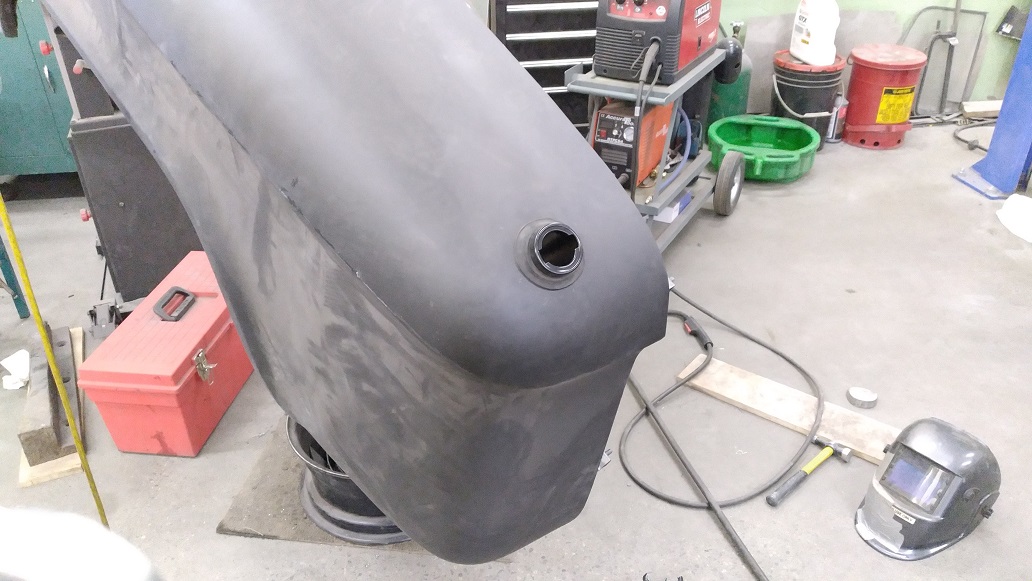
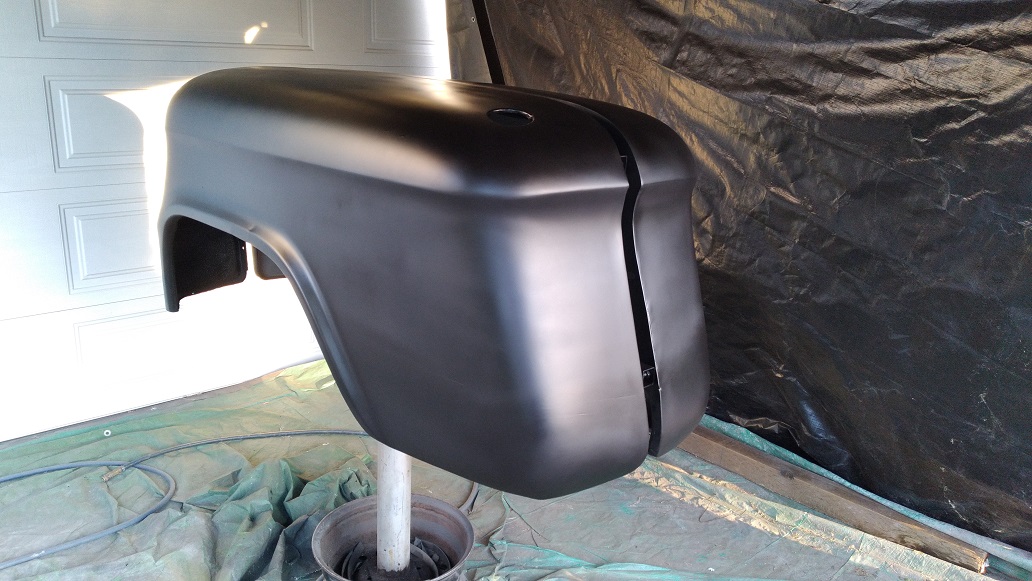
2K seam-sealed the cab. Today I spot-primed the seams, straightened a wee defect in the bumper and then sand-blasted it as well as the passenger inner fender, and then primed them.
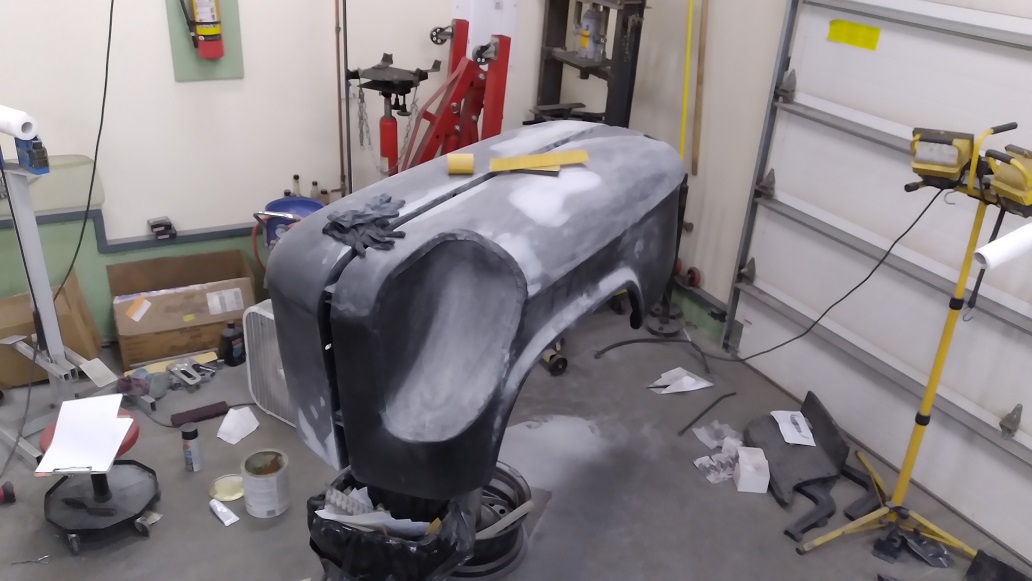
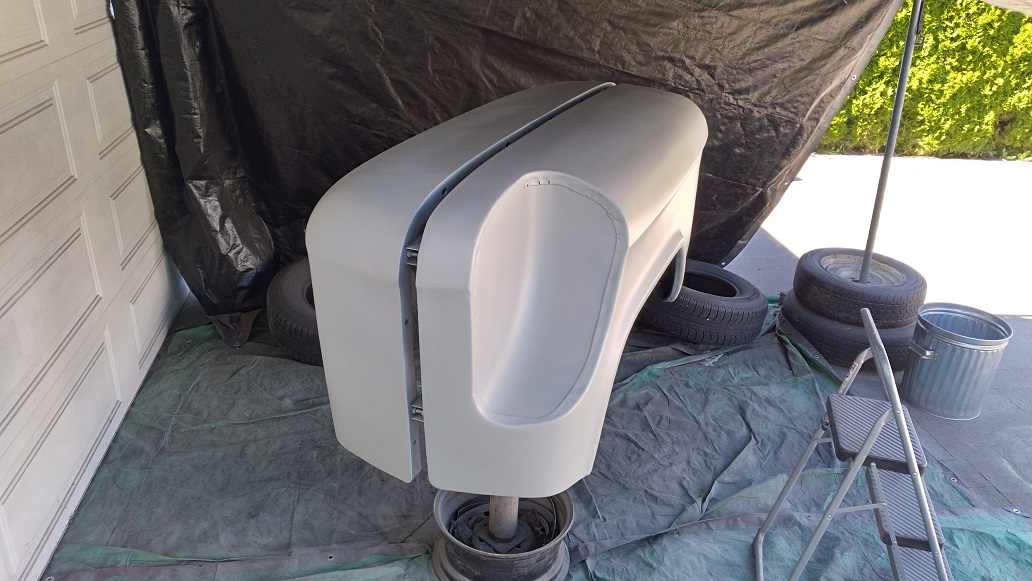
The next day, some more primer:

A bit of filler and another coat:
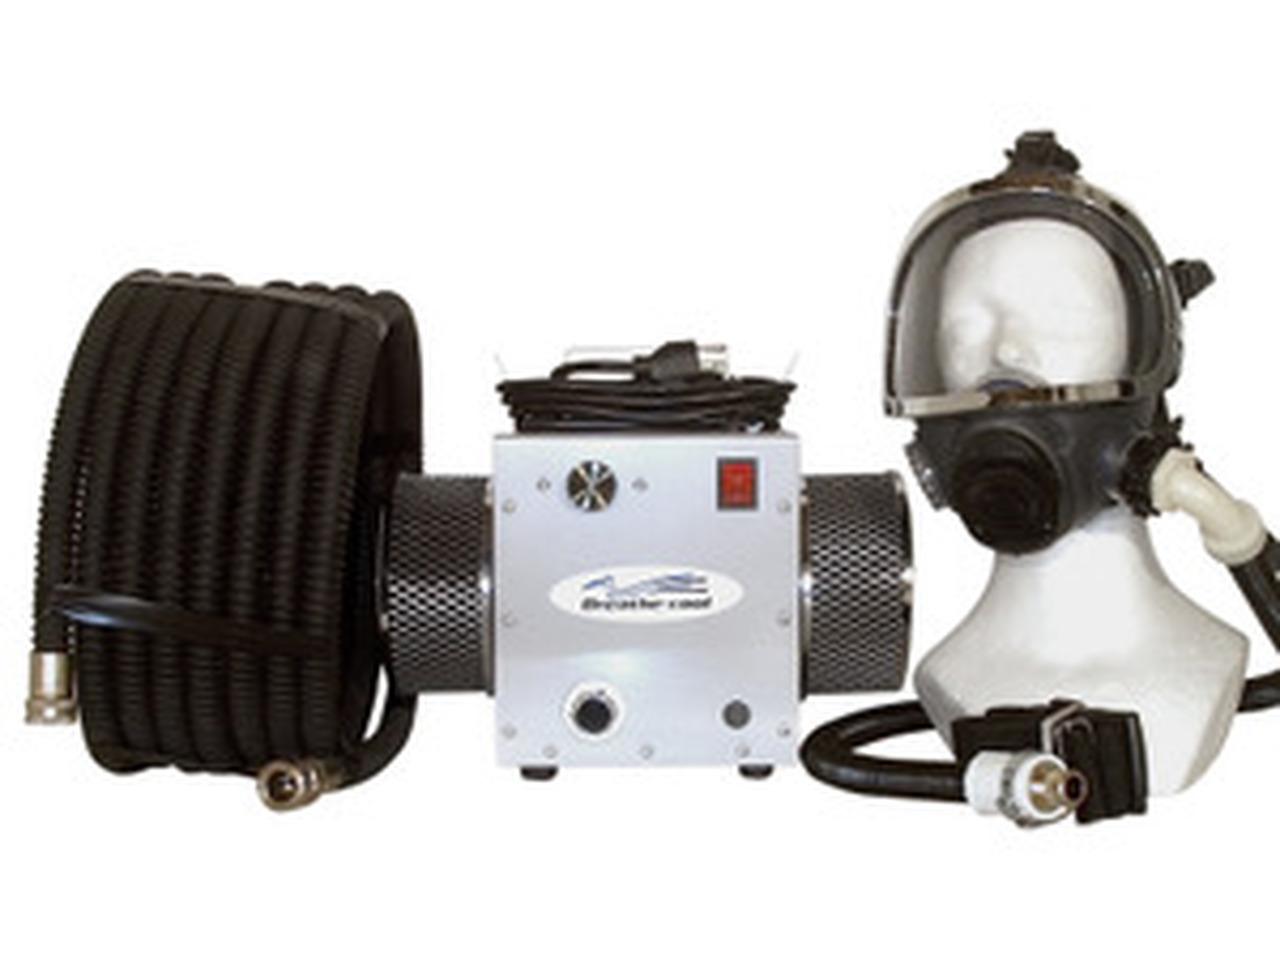
I bought a Turbine Products Supplied Air System to save my lungs as I spray a di-iso-cyanate:
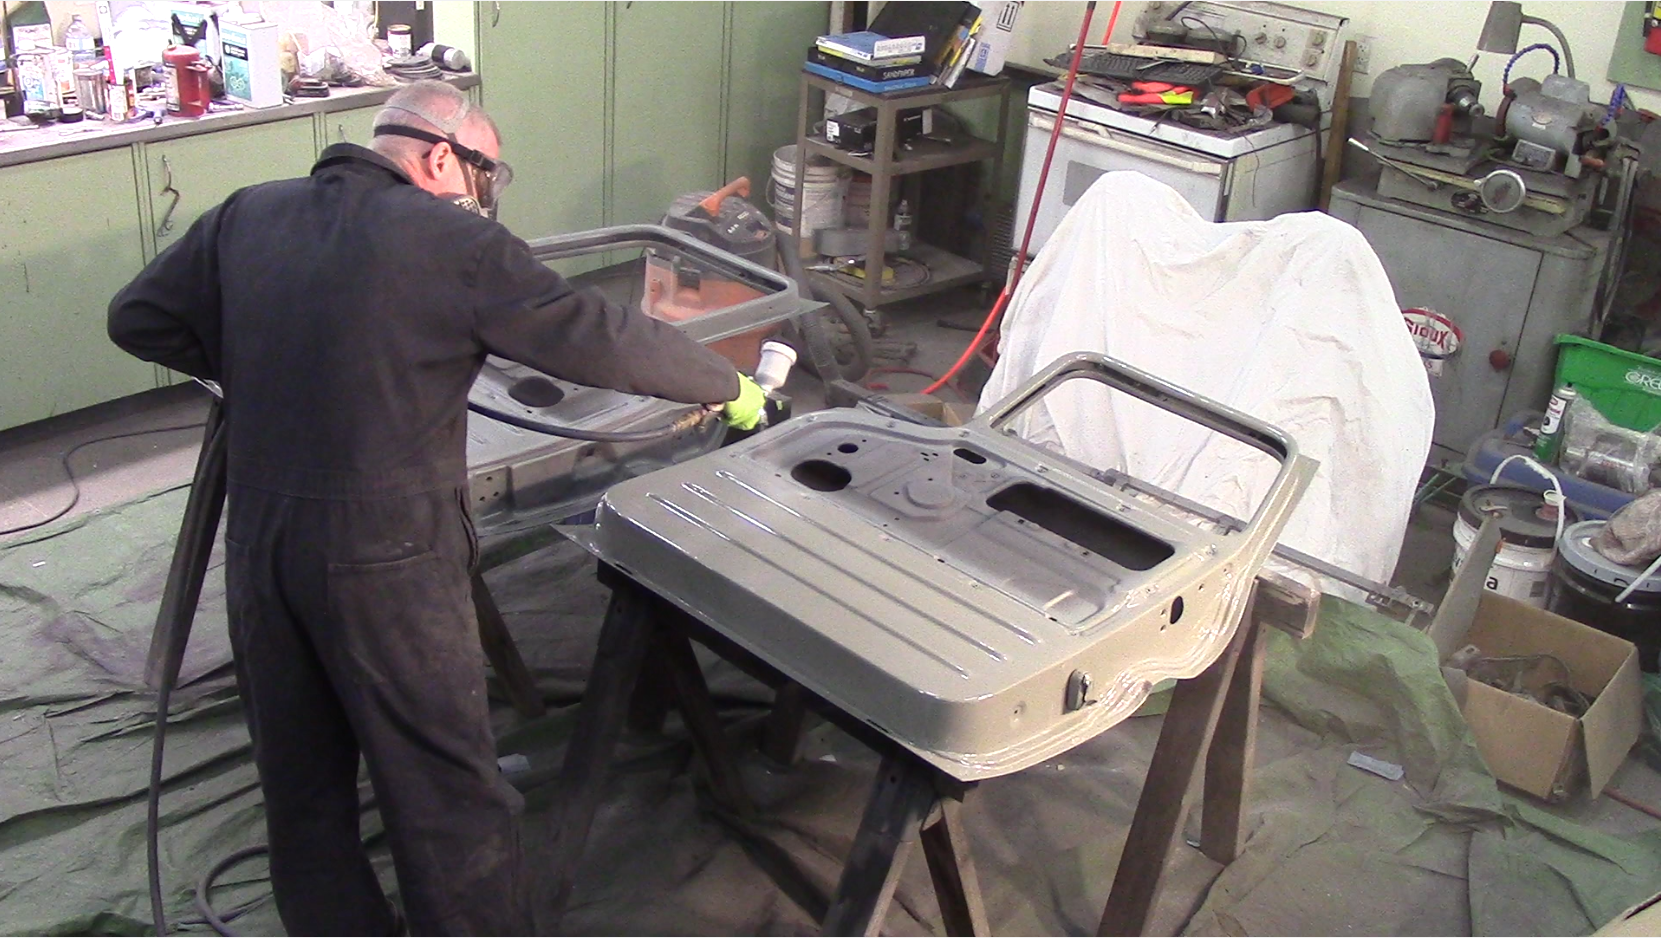
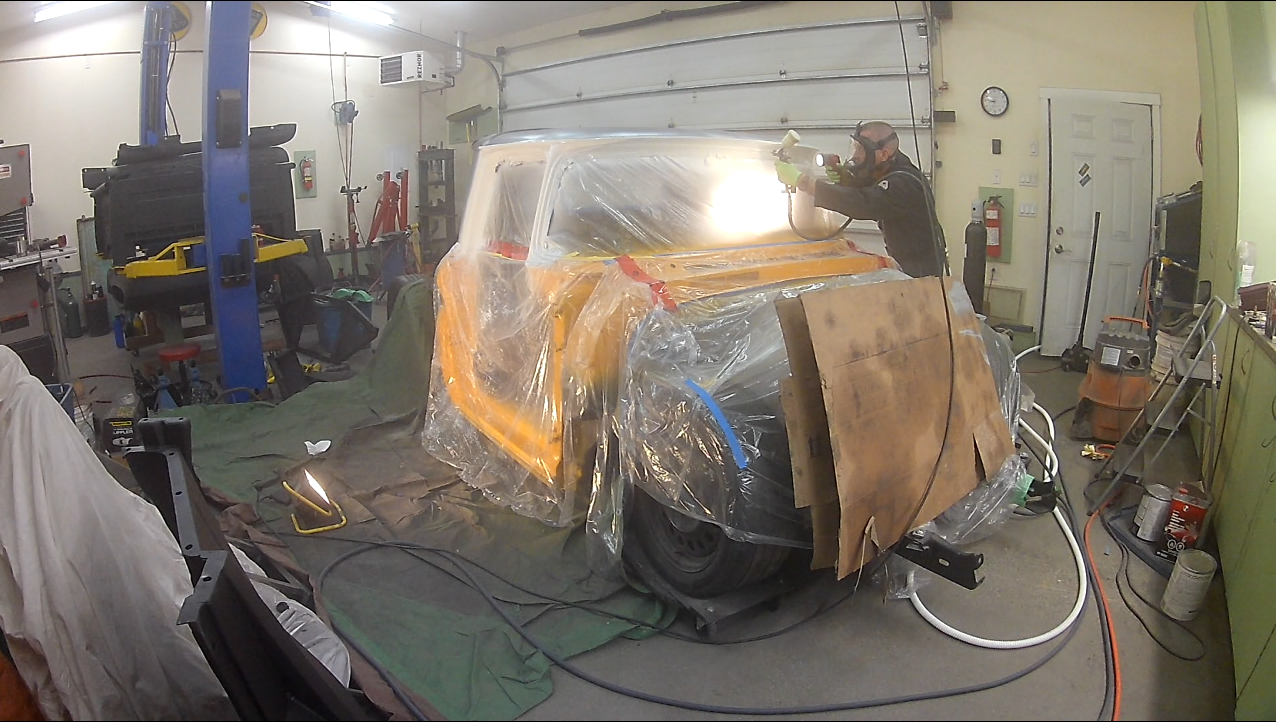
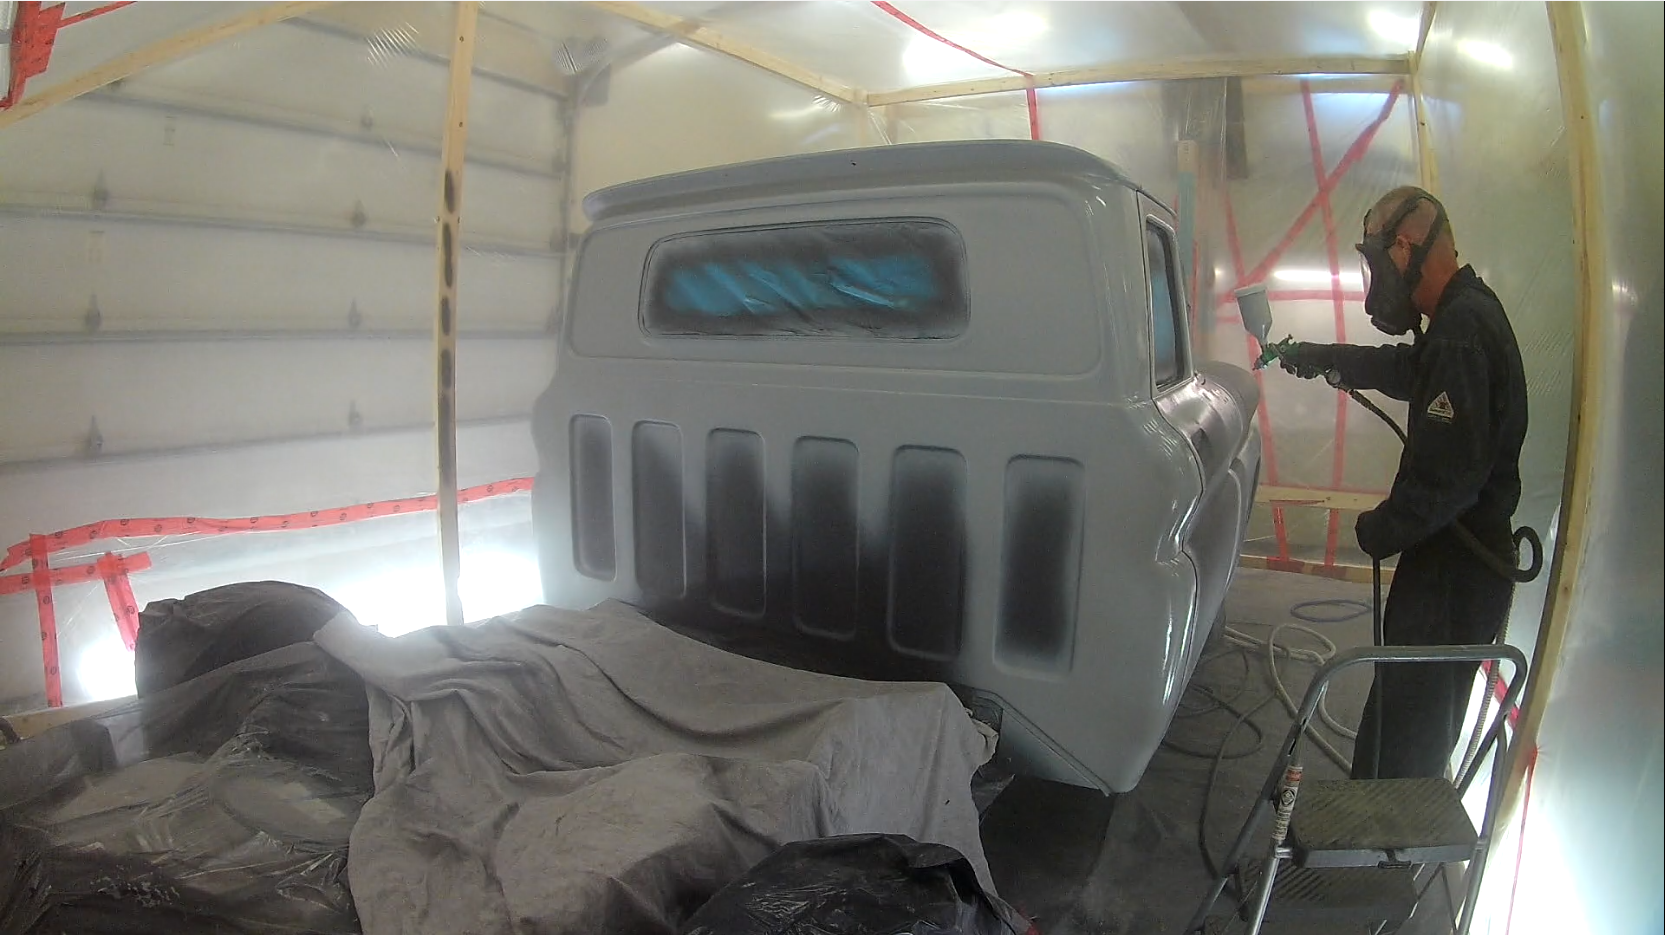
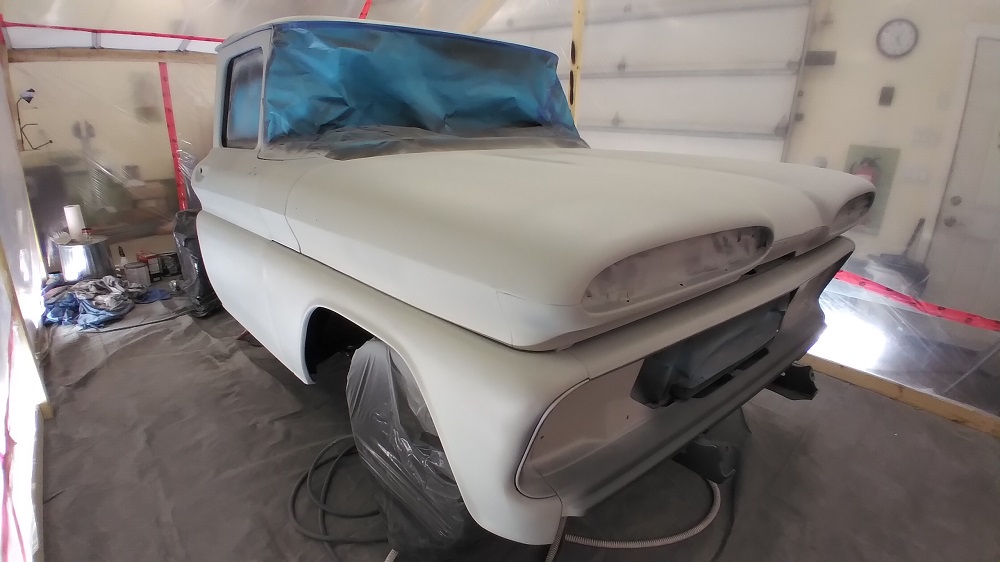
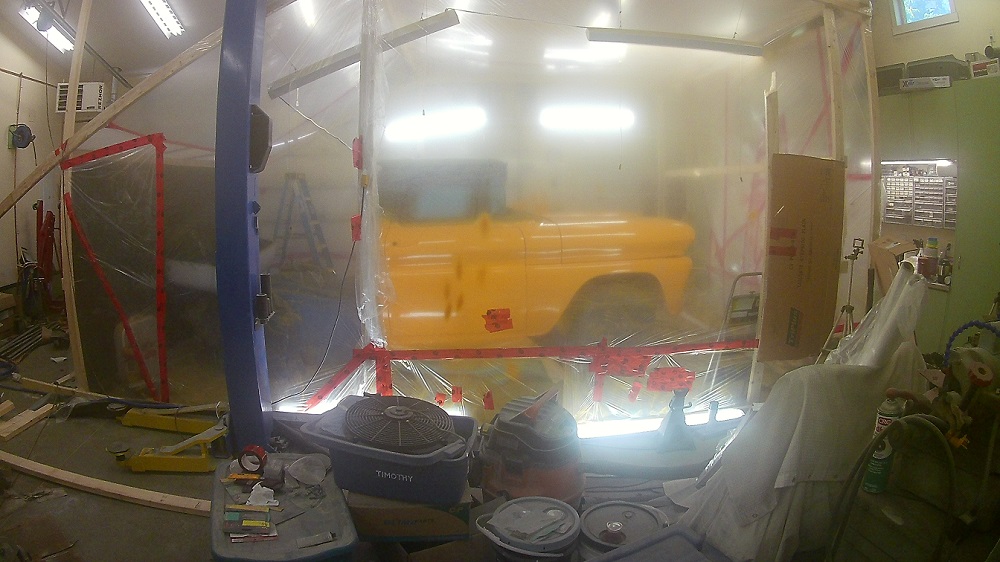
First skiff of colour (and the supplied air system is freaking awesome!):

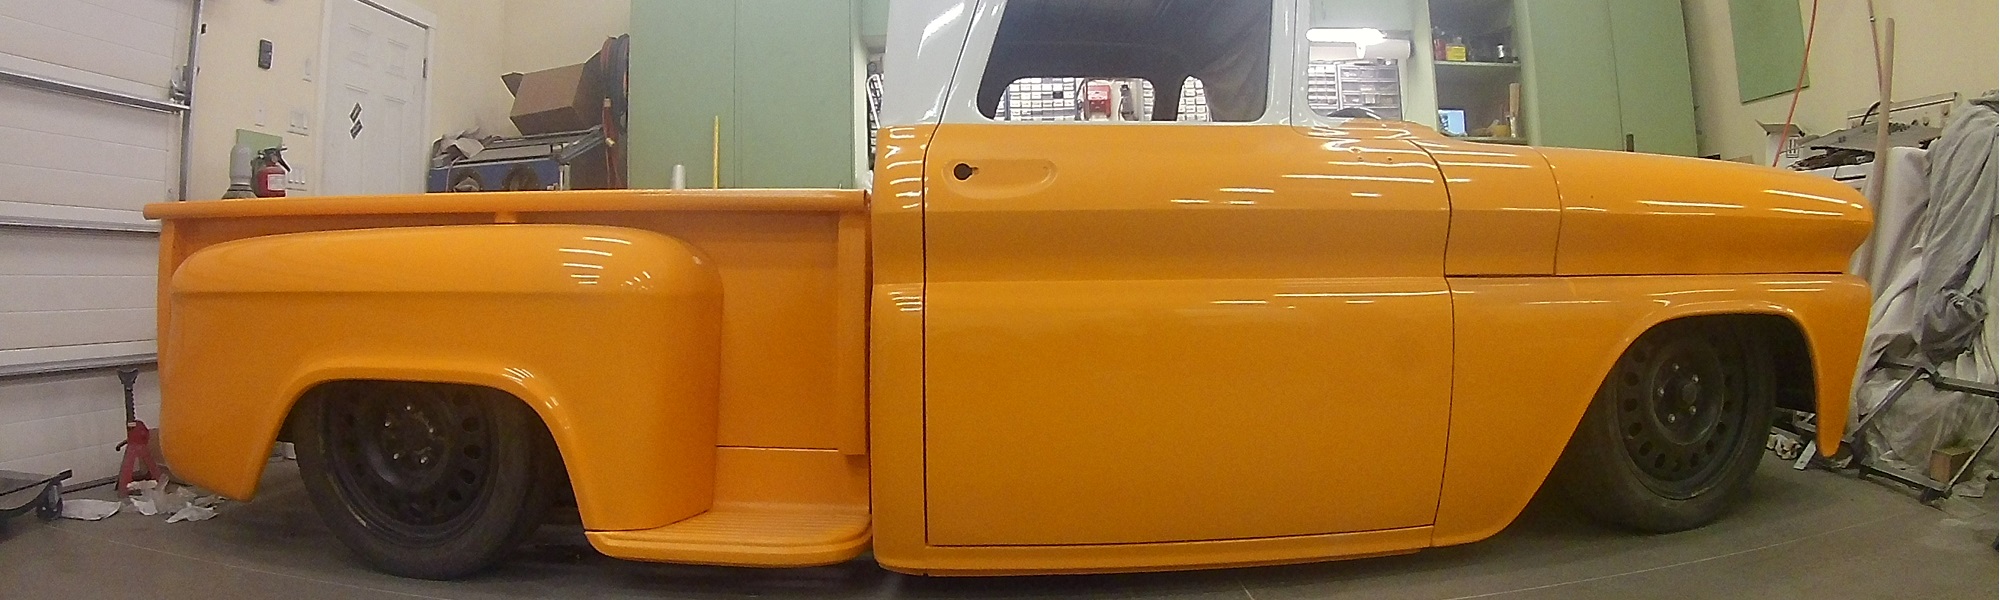
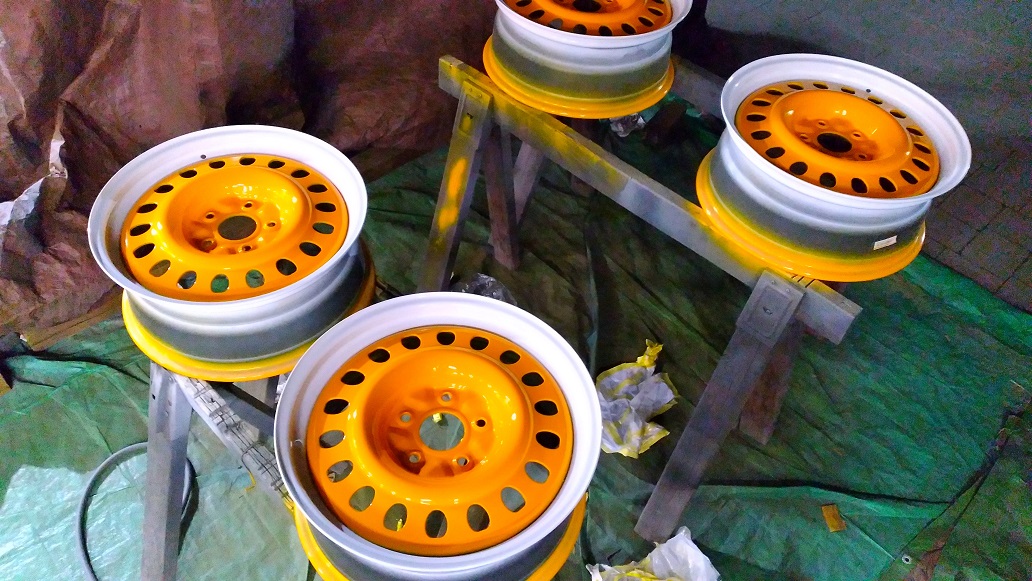
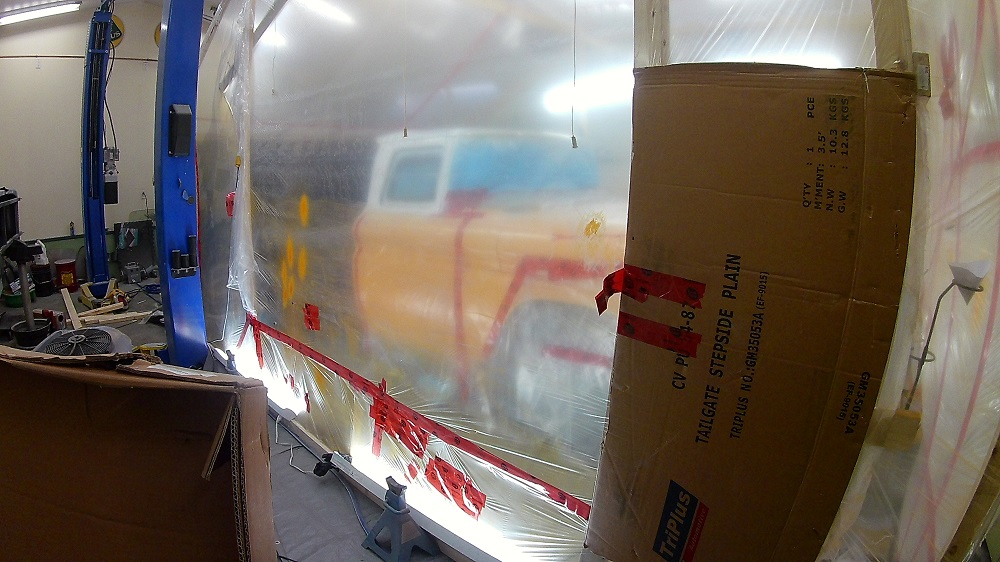
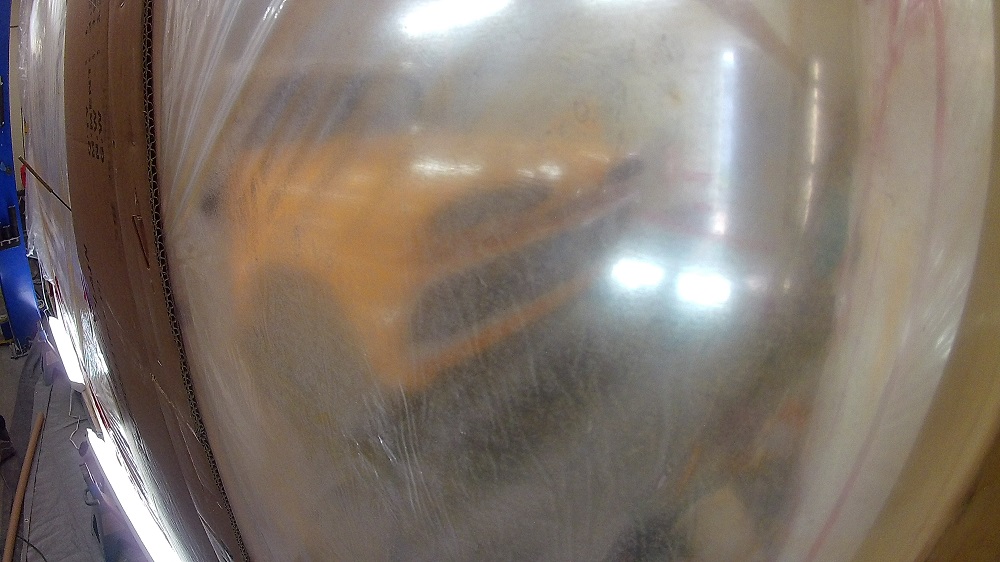
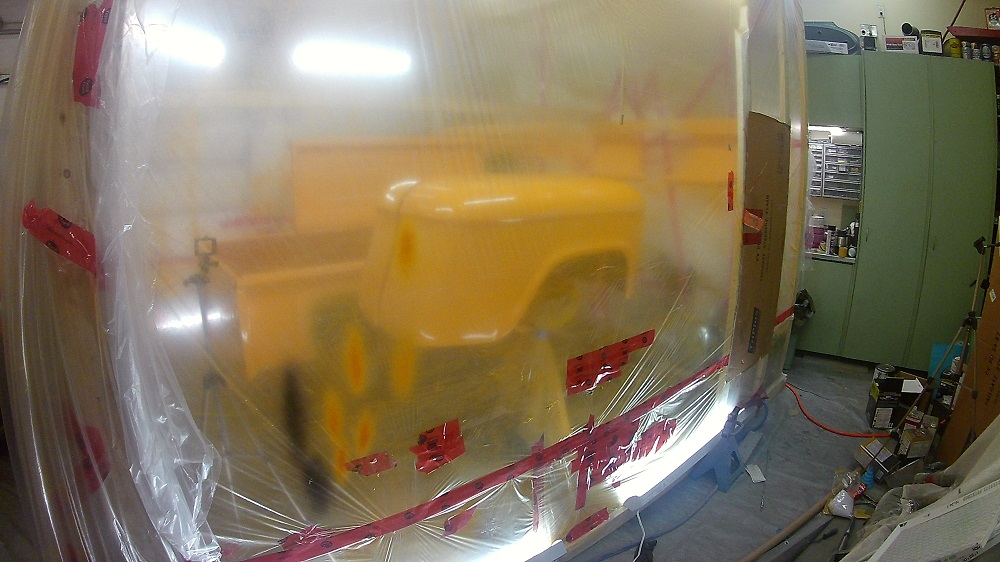
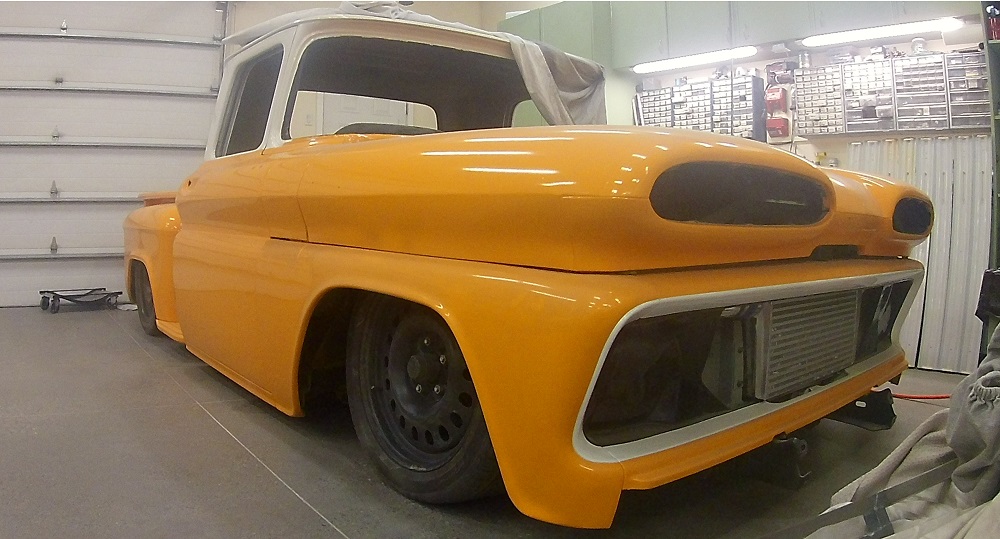
Despite the pics I post, you need to know: it’s not yellow. It looks yellow in pics. It’s not yellow.
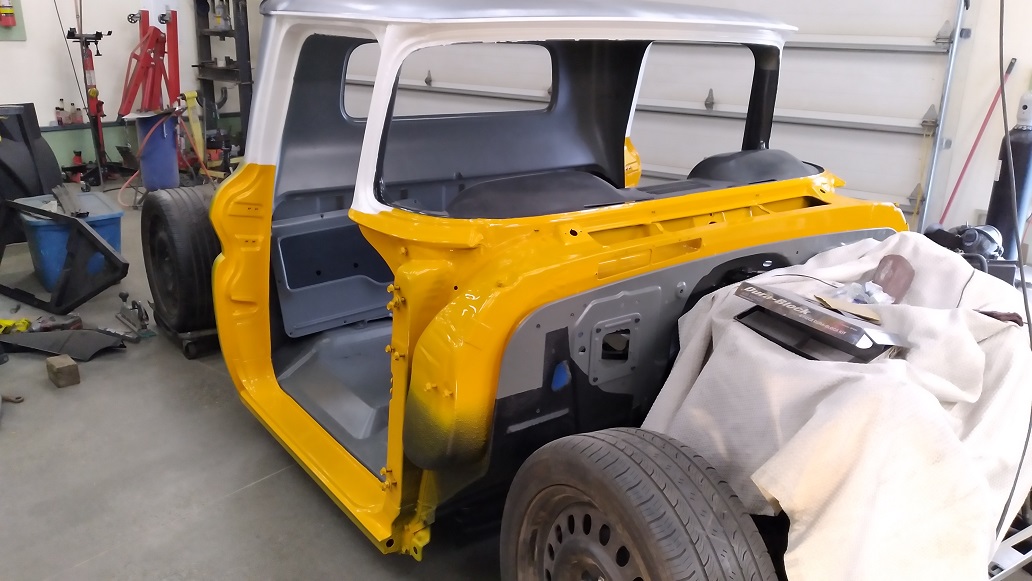
With some help of the photography teachers, THIS is truer of the colour:
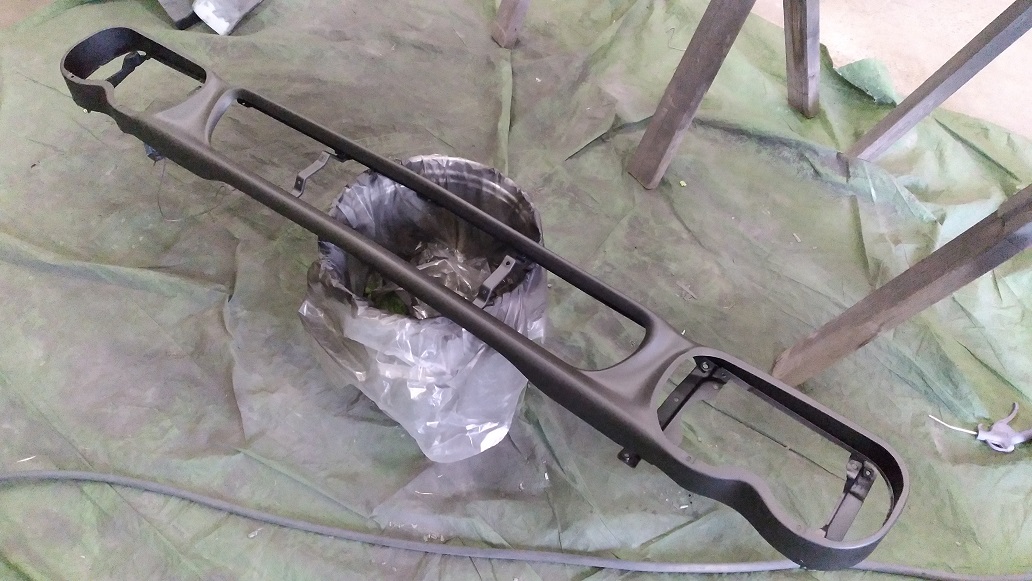
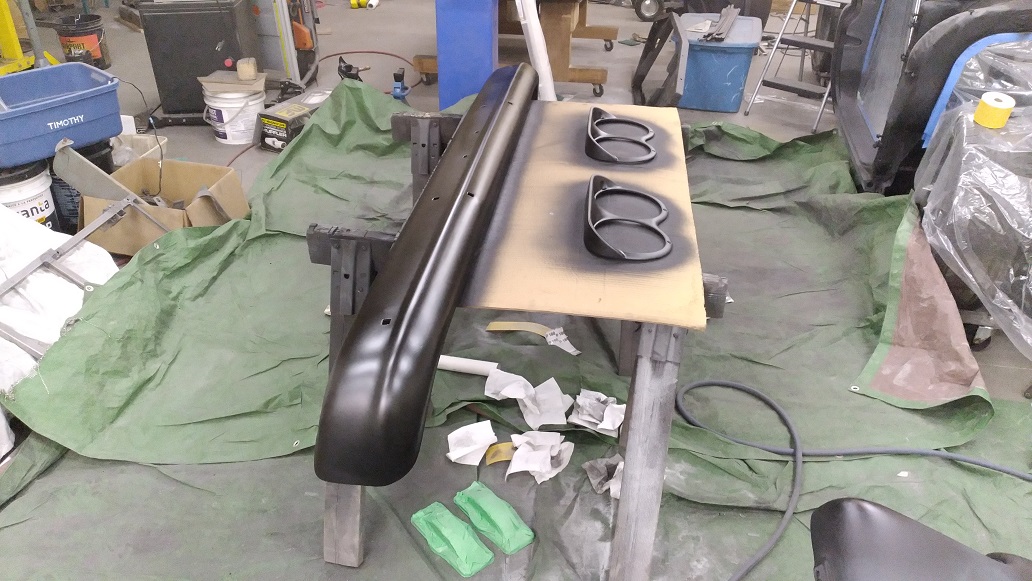
Backside of grill and front bumper done. Also hood inserts and headlight bezels.
It’s this sort of thing that has me thinking “in five years from now, when this is covered in road grime and blow-by residue, how much am I going to care how not perfect this is?”
Sticky-side-sandpaper-on-a-roll is one of the seven wonders of the universe.
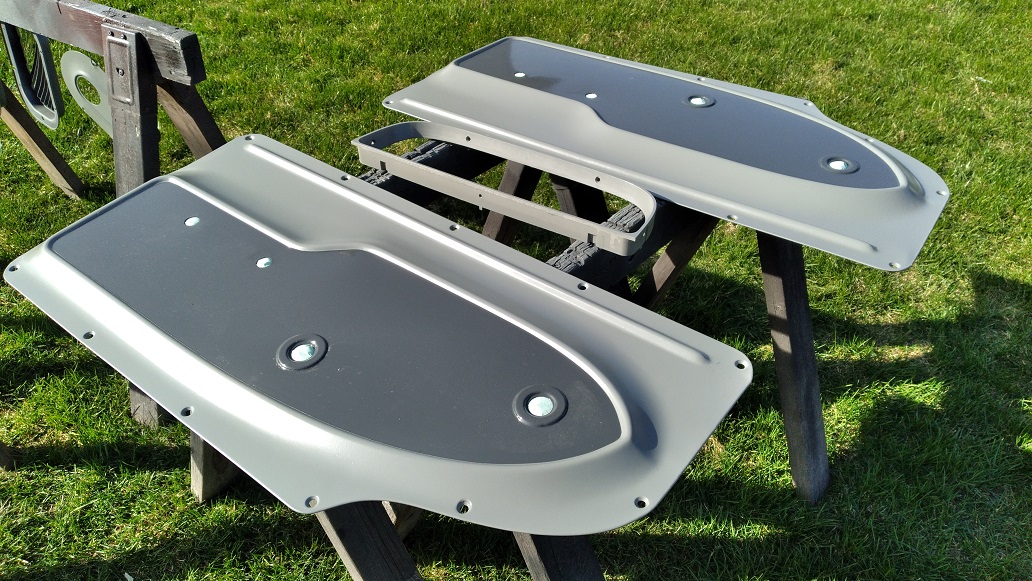
Raptor bed liner:
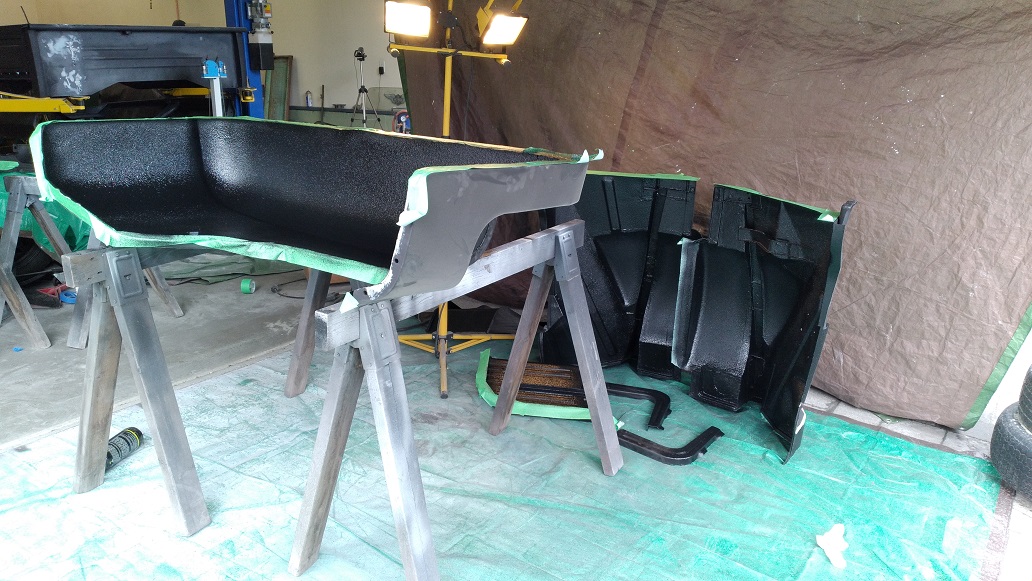
And some more (Ford Engine) Mouse Gray on the inner fenders:

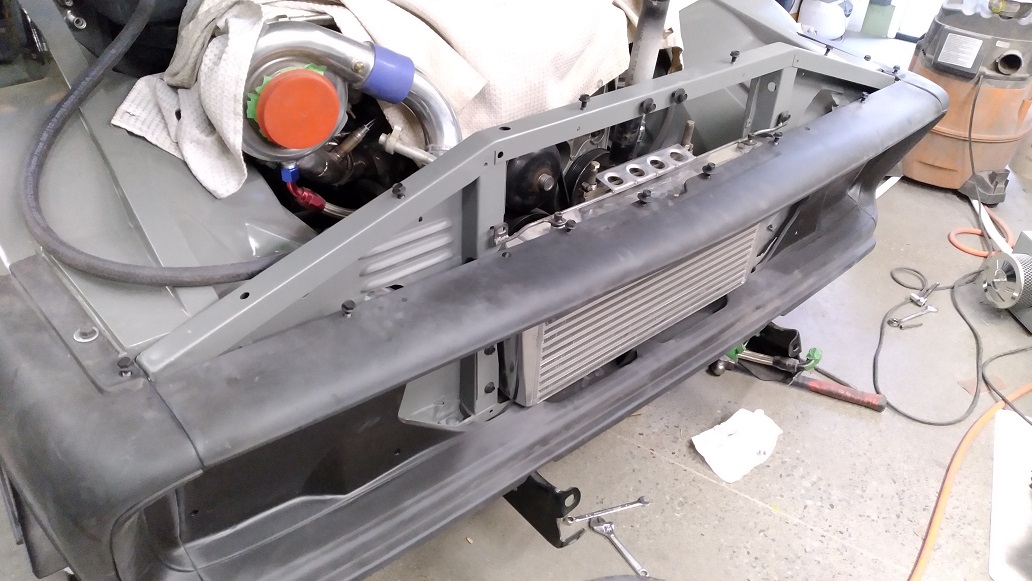
Rad support:
Some dark gray accent:
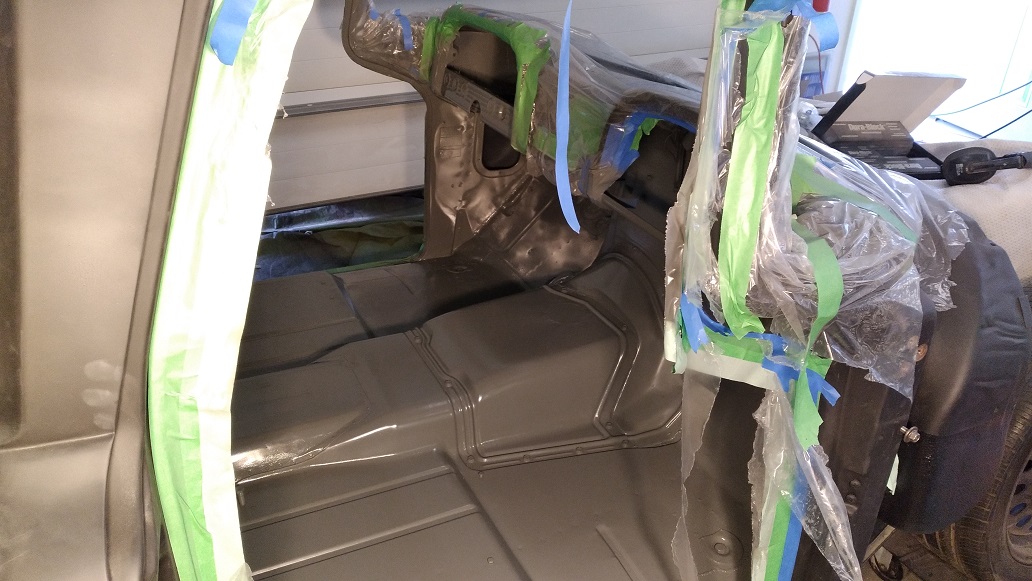
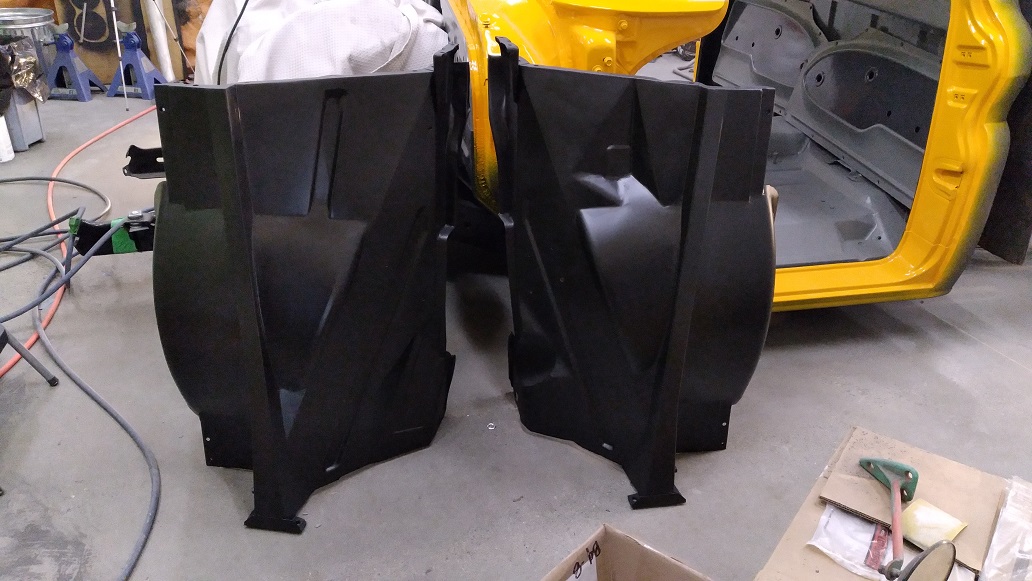
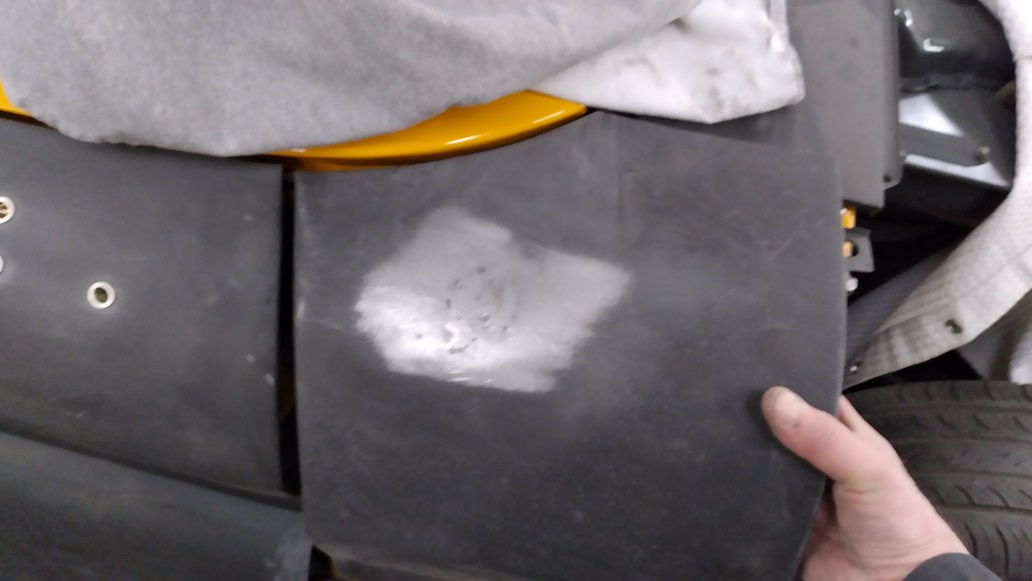
The fender fill panels were seam-sealed and primed on the outside (for jambing with colour-possibly tomorrow) and bedlined on the inside. My hope is to limit the amount of crud that gets in there. I did drill a large hole in the bottom of the fender brace to help drain everything easier.

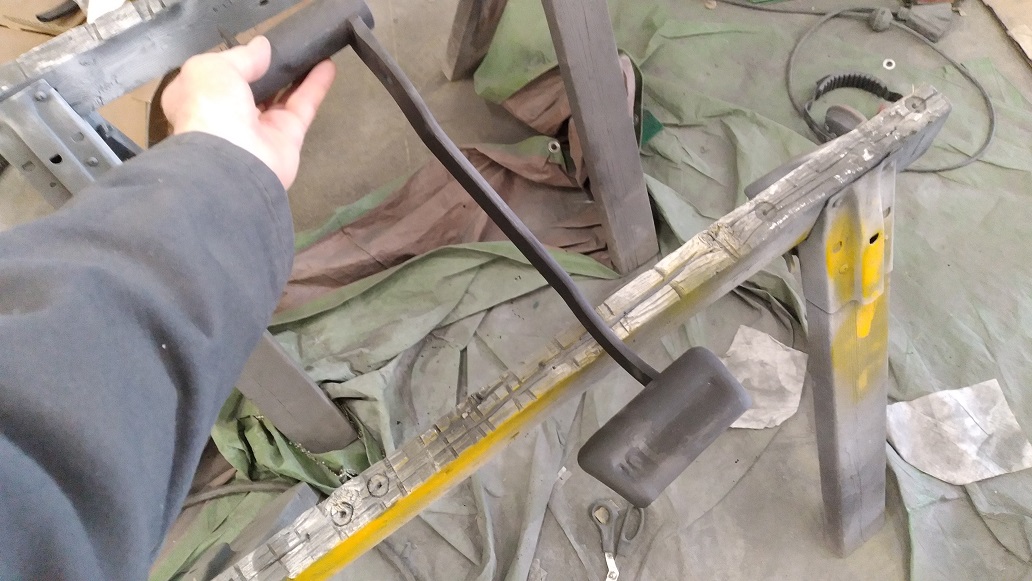
Made a brake pedal out of the brake and clutch pedal. Fits the brake pedal pad I snagged at Pick-N-Pull (just can’t remember what generation truck I pulled the pad from).
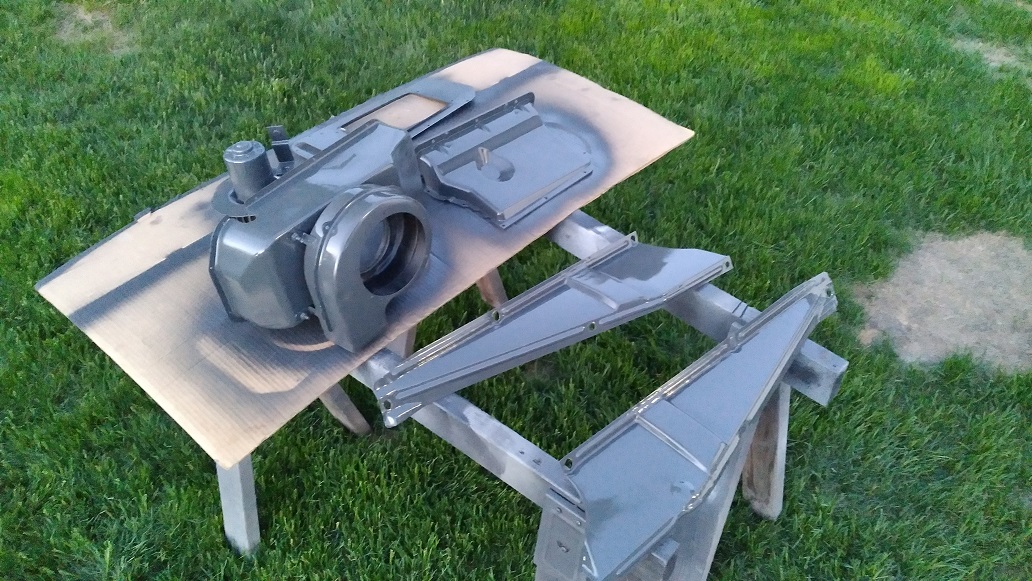
Heater assembled. Not sure I thought out the heater house routing. No, the cowl will not stay black.
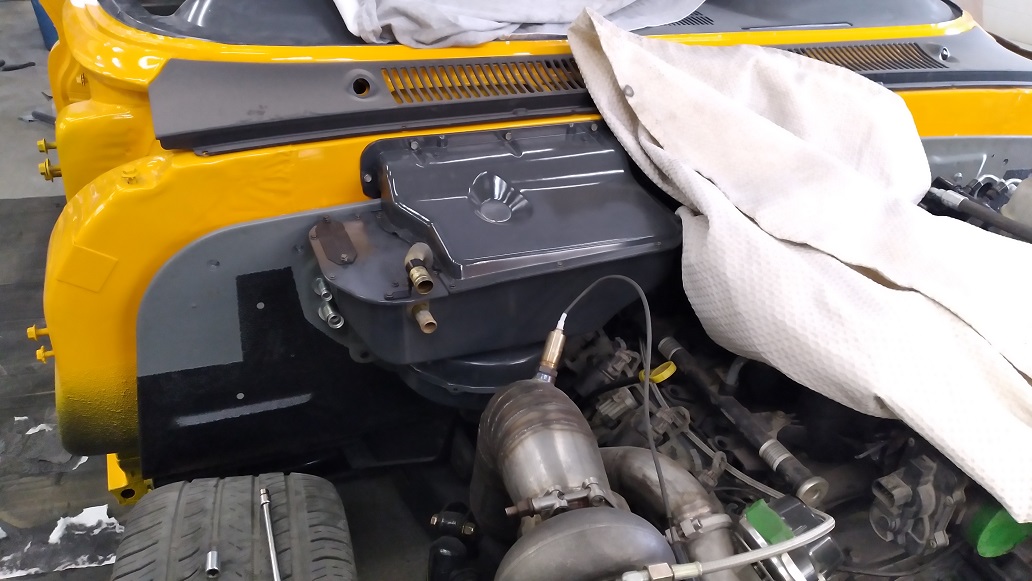
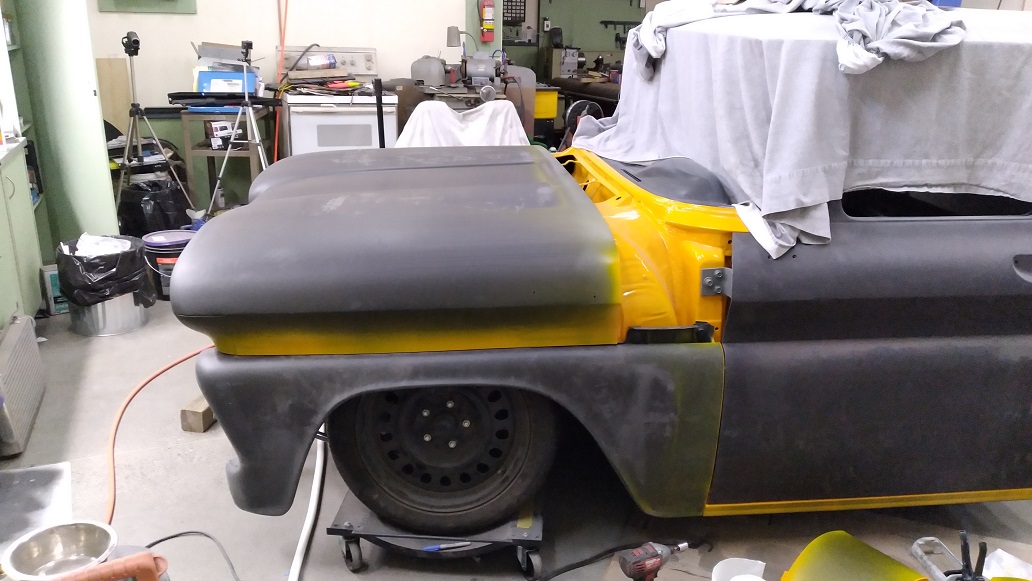
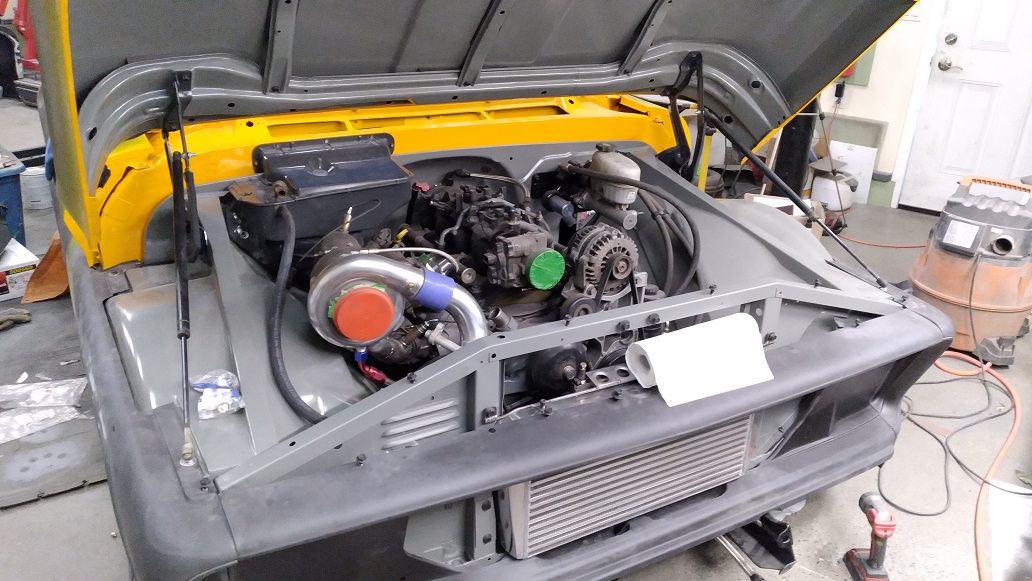
In an impulsive move, I decided to spray the underside of the hood engine bay colour instead of body colour.
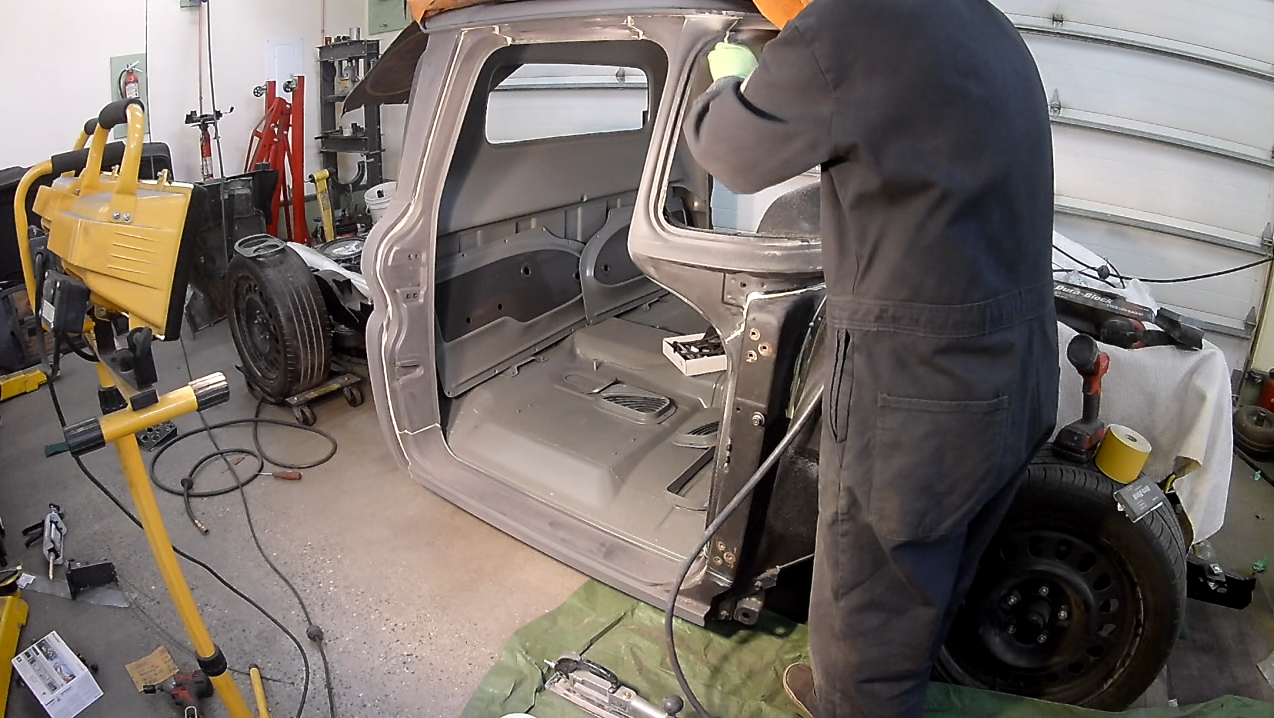
And to feel productive, I hung the doors:

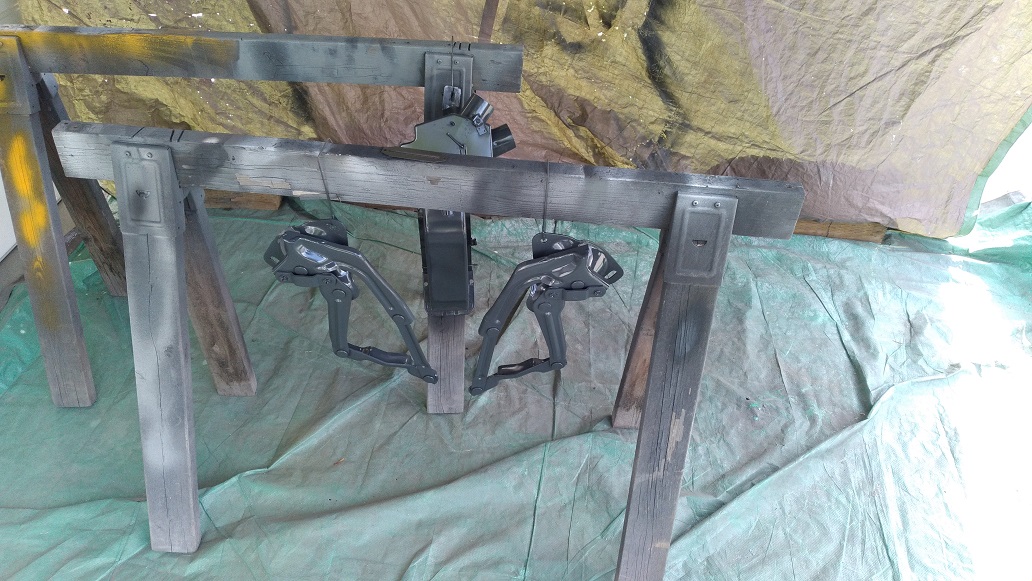
Blasted, epoxy primed and painted the hood hinges, along with the heater valve/duct/thingie:
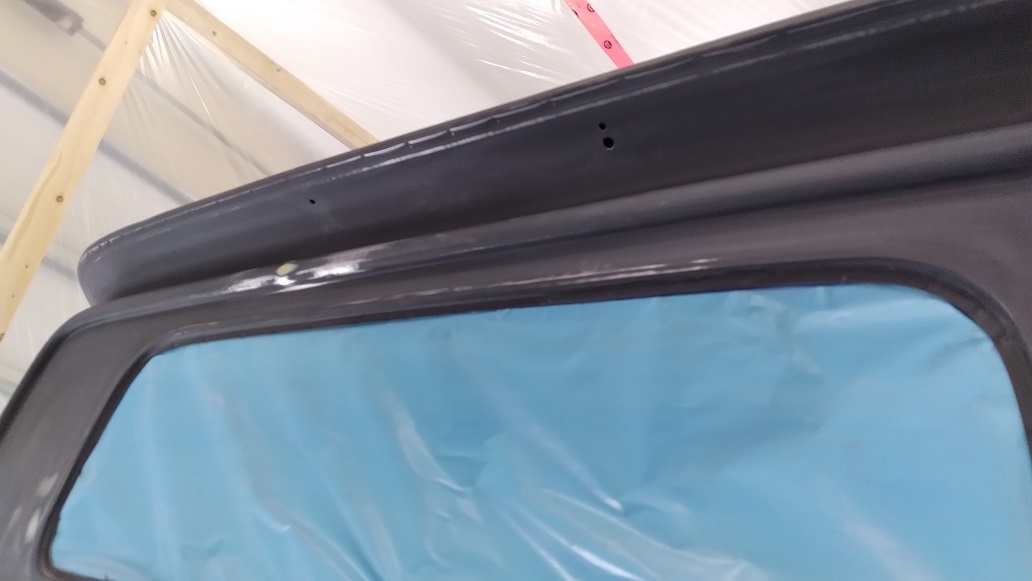
and took a blurry picture of the plugged antenna hole.
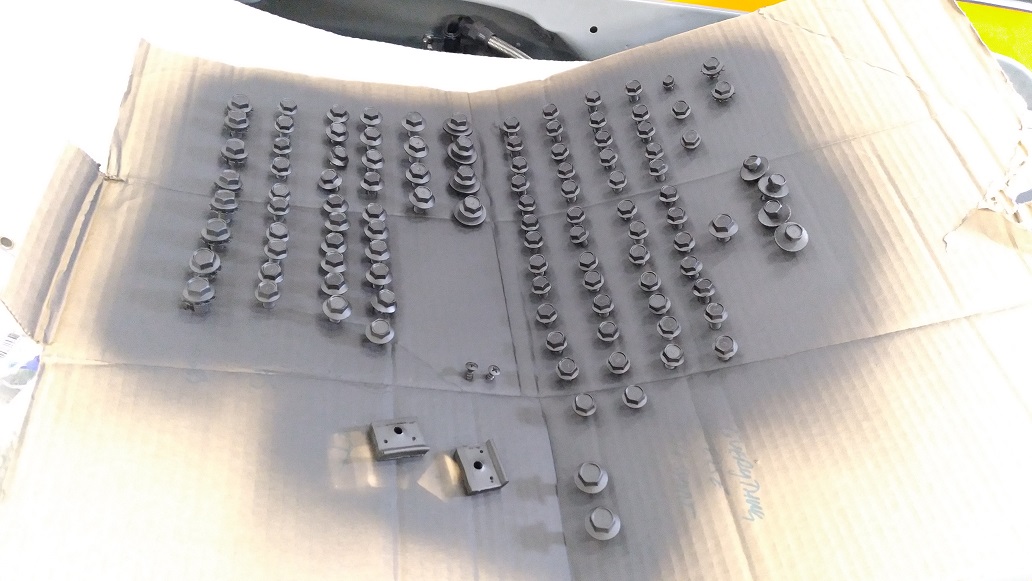
Blasted some fasteners in the cabinet:
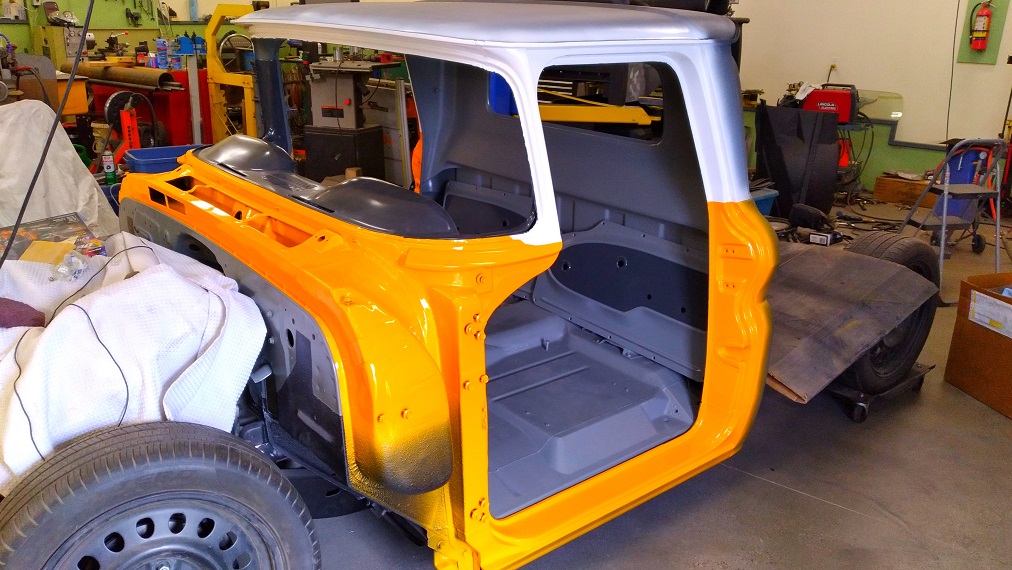
Faux white-walls (photo saturation changed to better portray the actual orange):
You know what is hard to install all by yourself? The Hood. The hood is hard.
Use some “studs” (long bolts with the head cut off) top use as a “pin” to keep the rear hood mount hole in the hinge, while you fumble to get the front bolt in. Then unthread the “pin” and thread in the rear hole.
All the while balancing the hood on your back/shoulders/head.
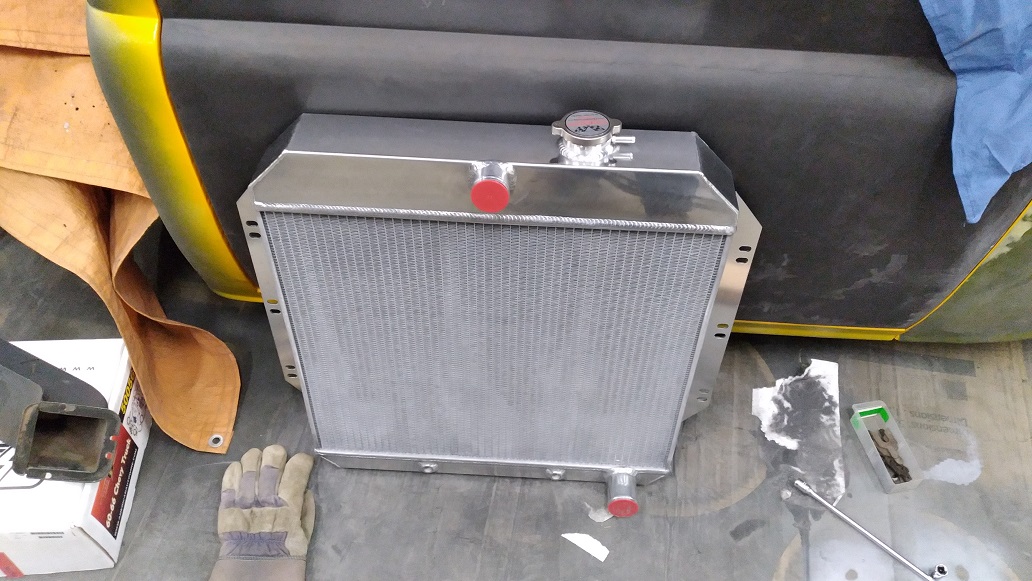
Ordered a new Champion Rad, rated at 700hp:
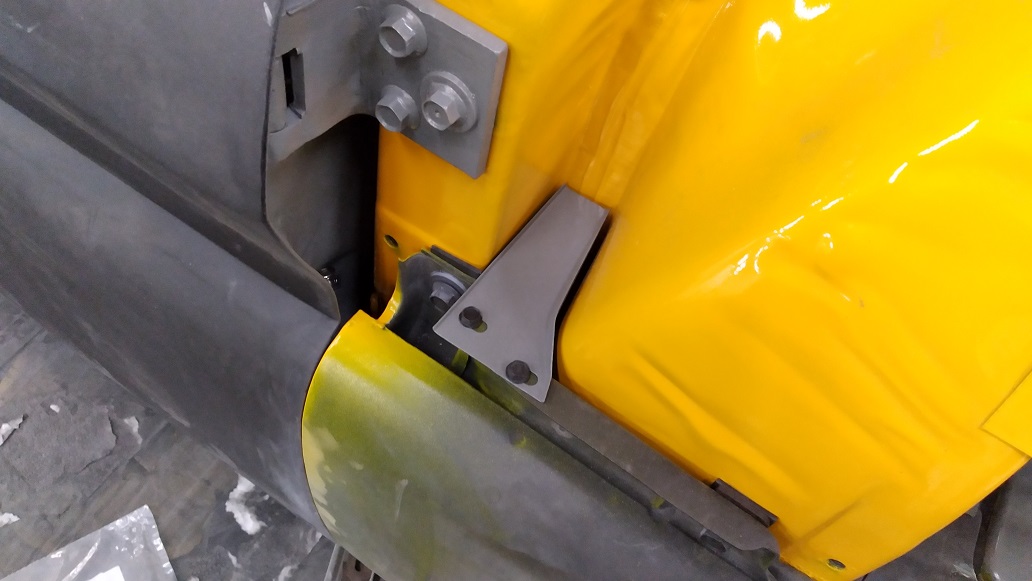
Assembled the front, discovered just how “not perfect” things don’t line up, and really stopped caring about it:
And blasted/primed/painted the Hydroboost/Power-Steering cooler:

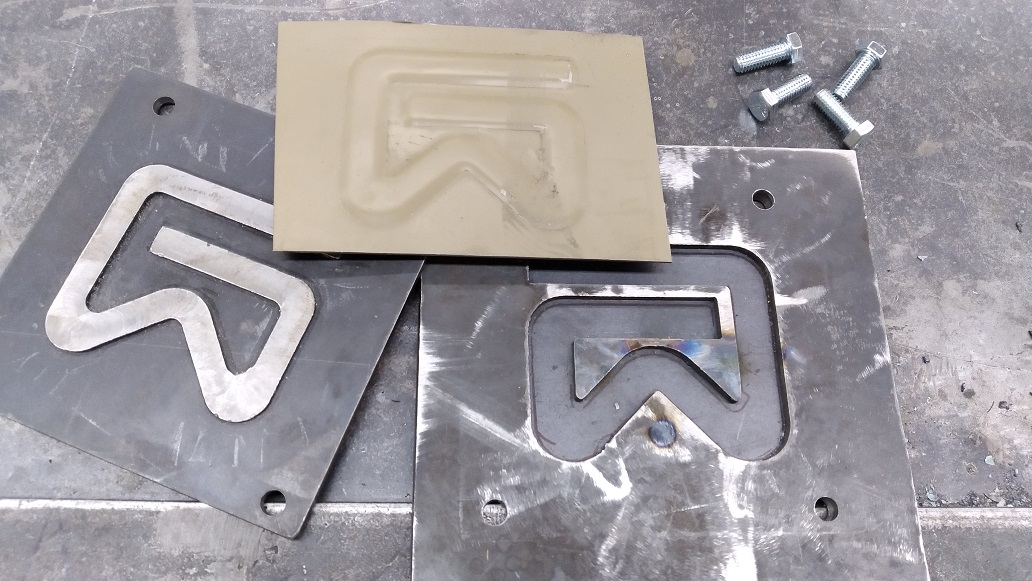
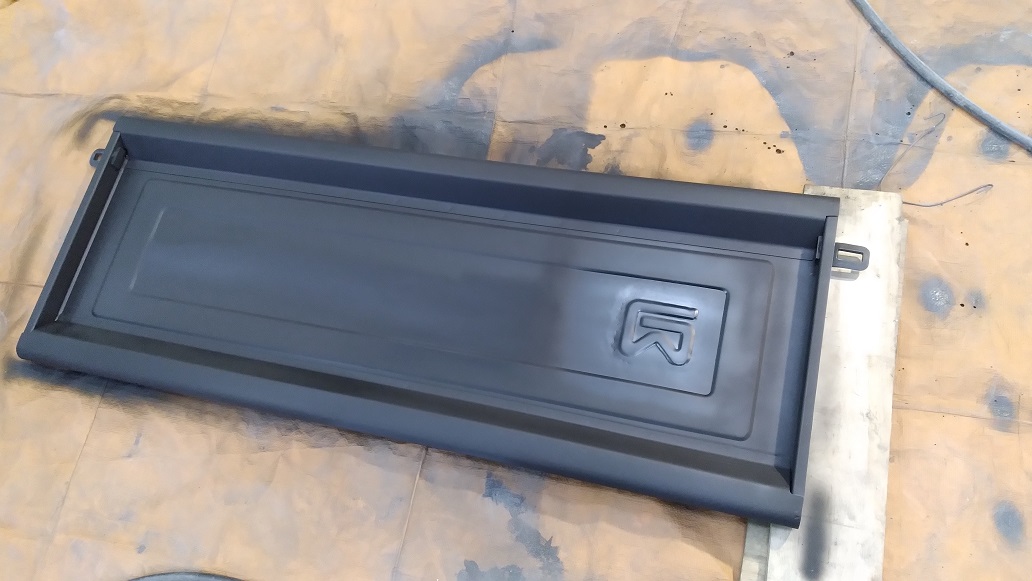
Also fabricated a die to form my own logo to put in the blank tailgate I bought:
Do these fill panels need seals?
And….. Because of the raised inner fenders, I had to cut off the springs that hold the hood up. So….. hood supports! OBS Yukon/Blazer hatch supports, and purchased 10mm-ball-&-5/16-UNC-stud.
I made a commitment:
First blocking, and second coat of Epoxy Primer. The walnut bag of fender carnage has, at this point, ZERO filler. Even _I_ am impressed.
Wasn’t 100% happy with the feel of the fenders, so there is a bit of filler.
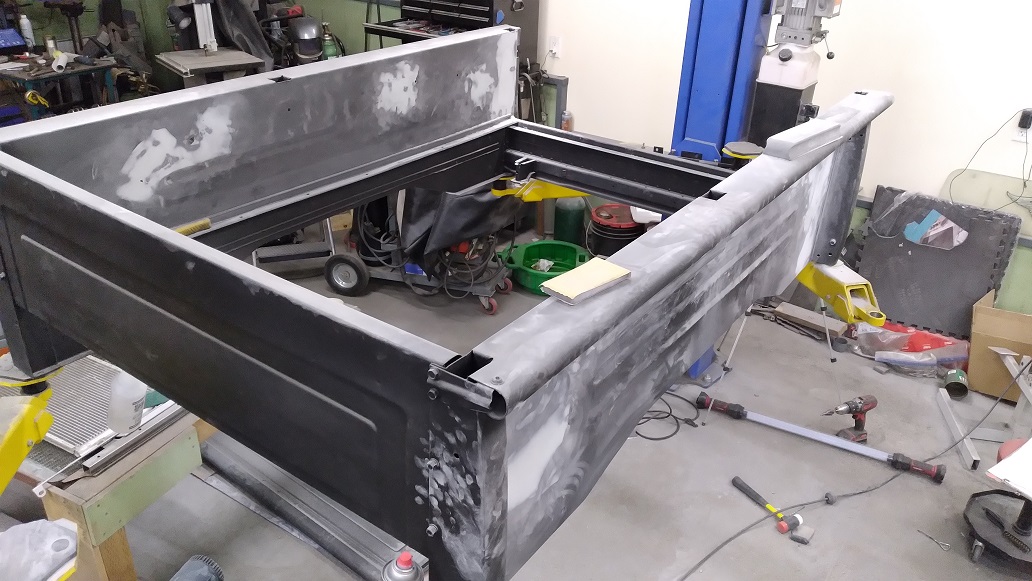
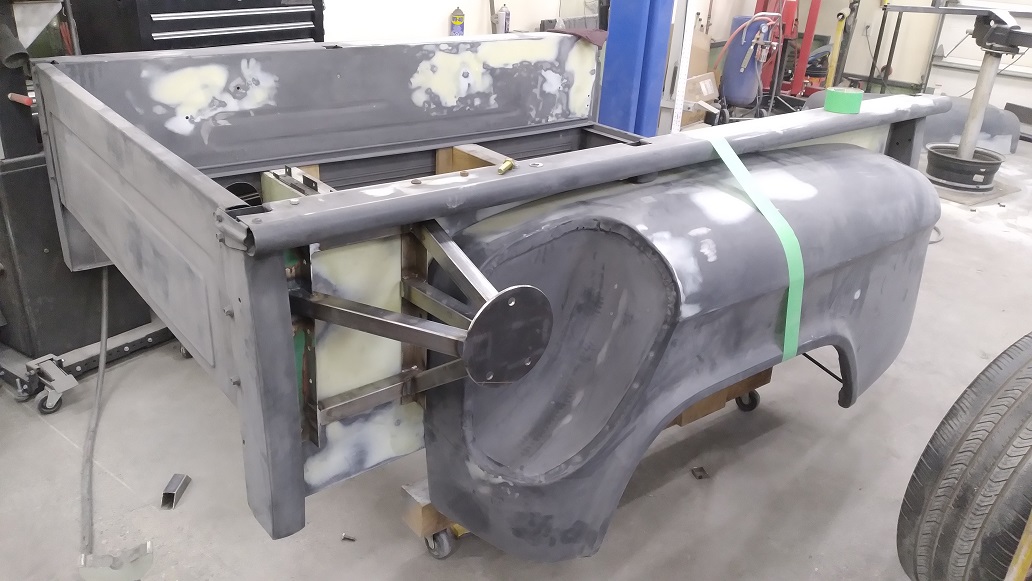
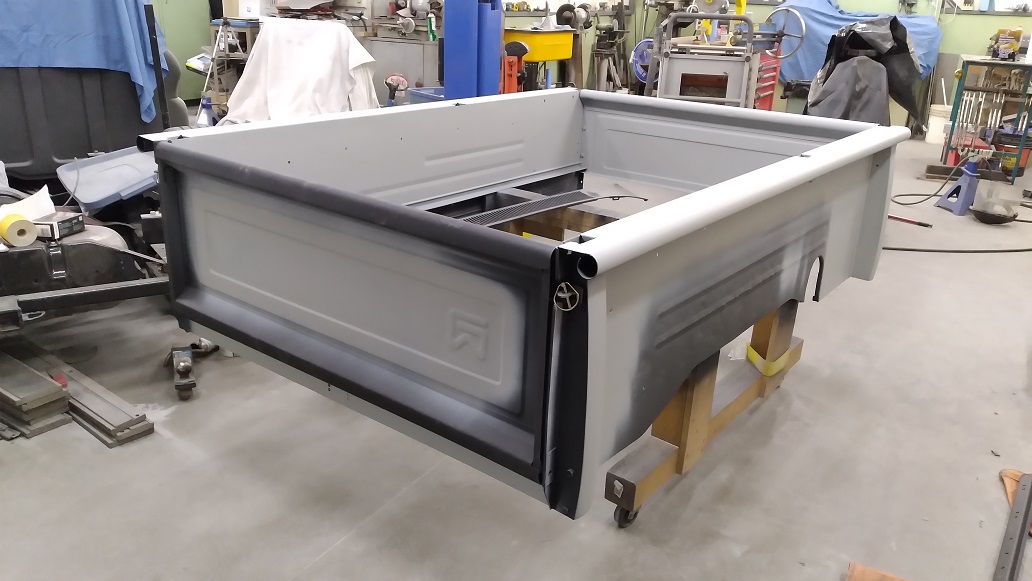
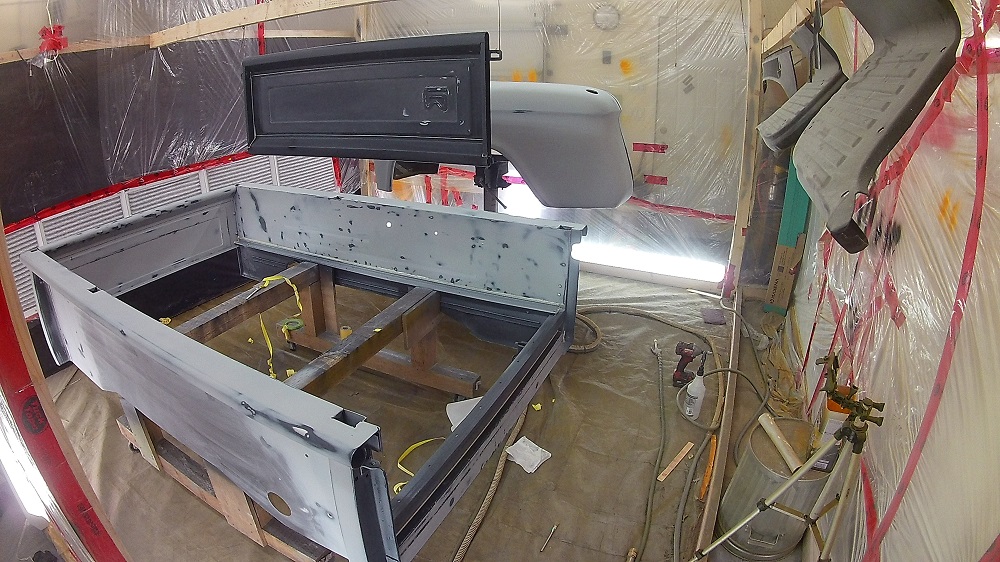
And added some filler to the bed.
Oh wow. Just wow.
I’ve always bought the CHEAP cans of filler. But this time I splurged and bought the good stuff. Wow. I bet I would have enjoyed bodywork a whole lot earlier in life if I had used this stuff before.
Just wow. INFINITELY better.
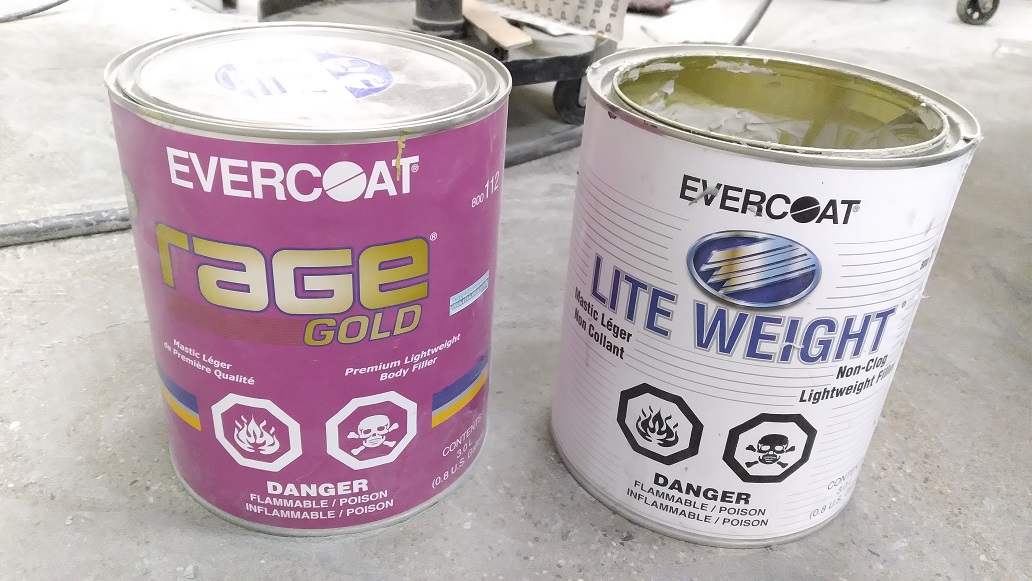
Rage Gold vs. Rage Cheap. Apparently Rage Ultra is even better!
In order to do a final epoxy prime on the bed, I need to fabricate the spare tire holder. This is a long-bed fender, which has the tire cut-out in a different spot than the short-bed fender. Not really a problem, just some careful measurement.
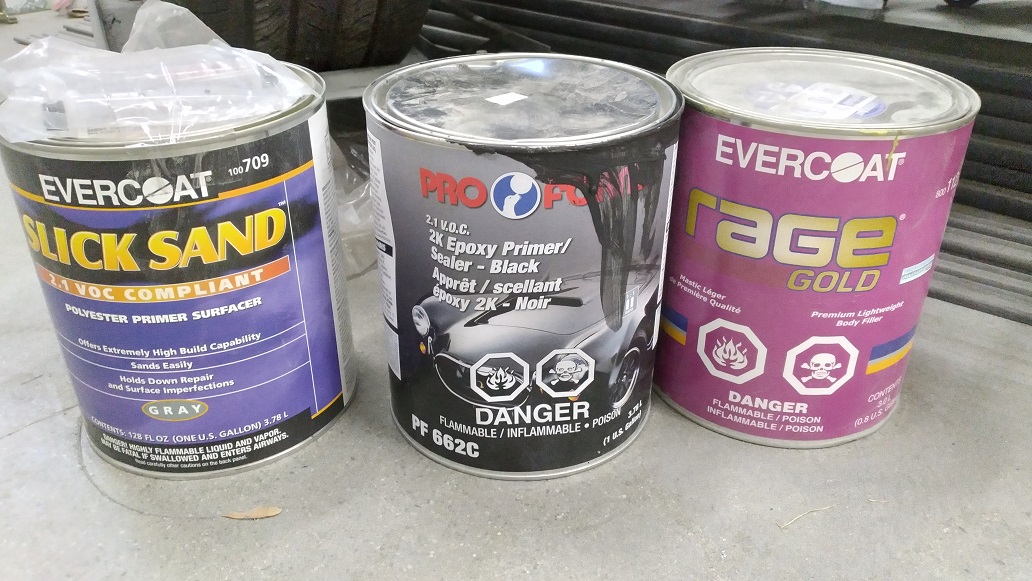
Behold! The Holy Trinity of bodywork.
Epoxy Primer, Rage Gold, and Slick Sand.
I can do no wrong!
And, since I’m feeling cocky, here’s my logo welded into the tailgate:
And now with Slick Sand:
And a hefty scrub with 80 grit, 180, 220, 320, and 400, and epoxy primer.
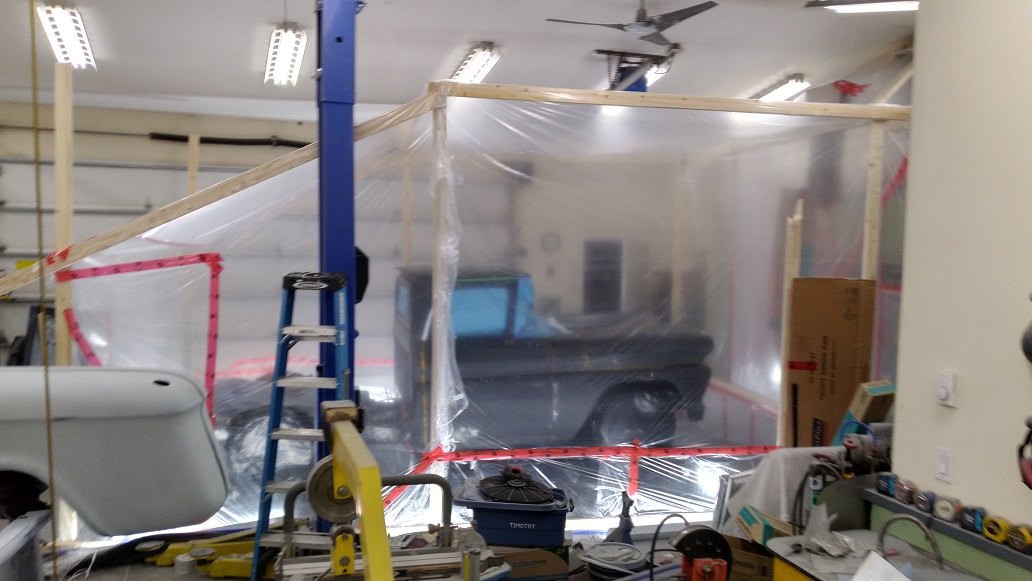
Body is sanded, needs a couple coats of epoxy, then Slick Sand. I don’t want to spray this outside, so…..
And, I drilled holes for a ’98 GMC Yukon 3rd brake light.
Optimus Priming:

Wow. These were white two coats of primer ago.
Gallon and a quarter of Slick Sand. Golly that’s not fun. Slick sand has a pot life of 45min, you can’t leave it in the gun for more than 15min, it’s 31°C in the booth (15m turns into 10min), and my scale lets me only mix a pint at a time (50:1 by weight). Made for a frustrating use of time, but it’s sprayed. Now to let it cure for three days.
Same magical scrub of 80, 180, 220, 320, and 400 grit, then a primer/sealer coat of epoxy, paint!
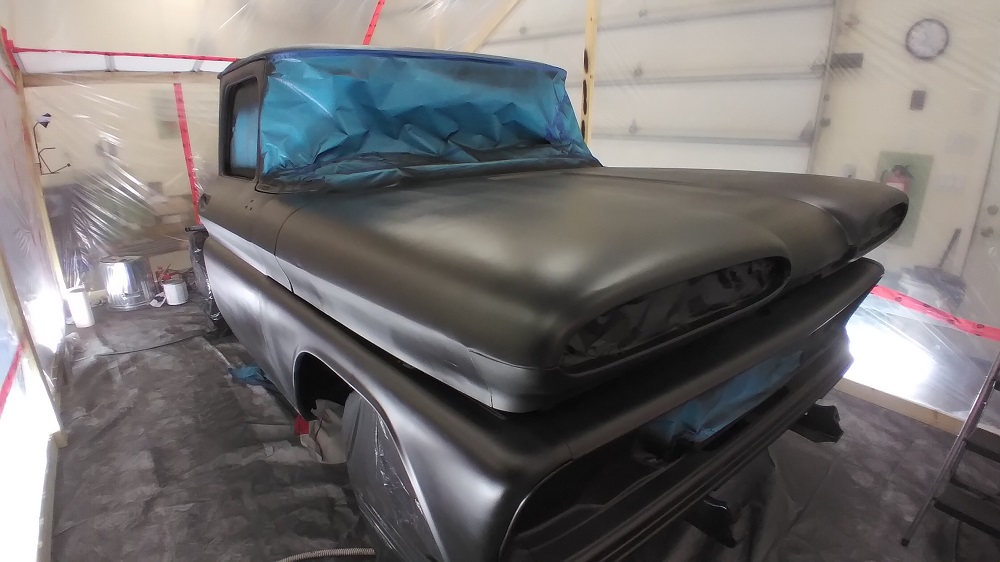
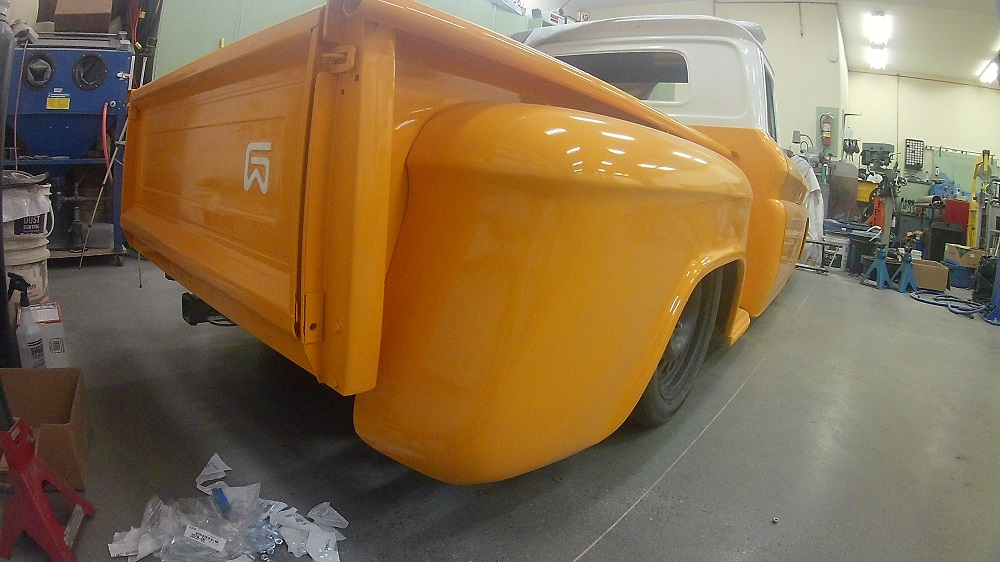
Teaser 1
Teaser 2
Teaser 3
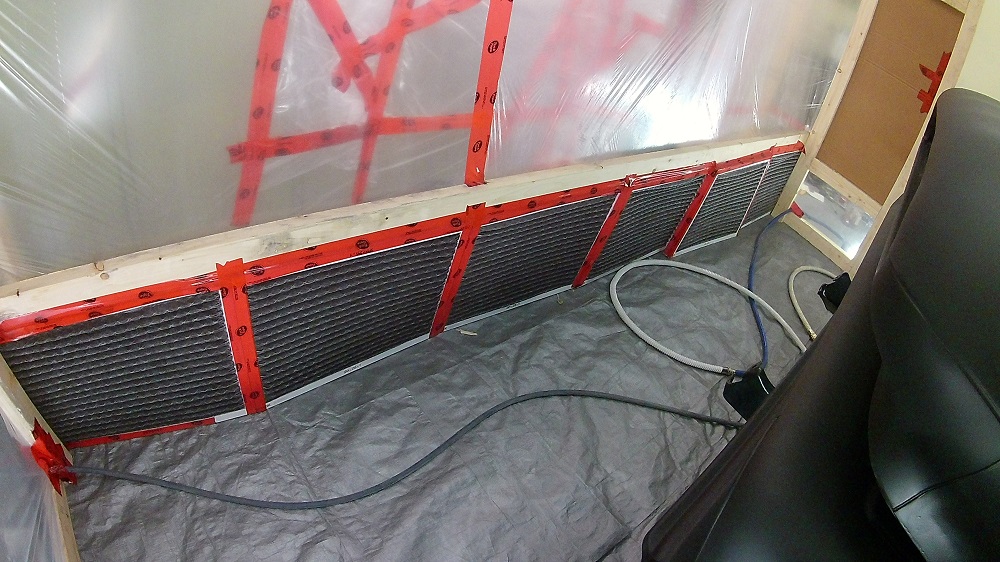
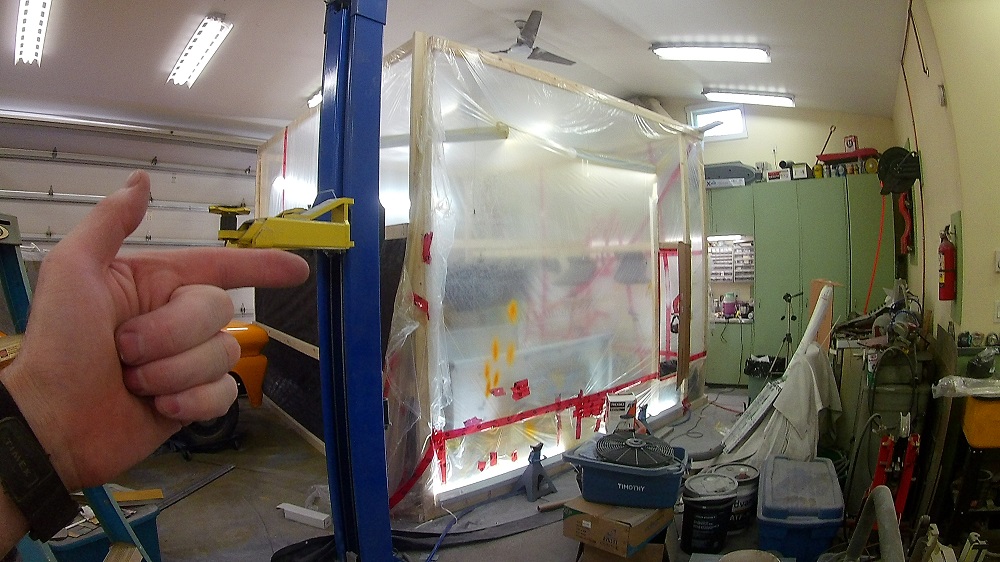
Truck is out of the booth, booth is shortened.
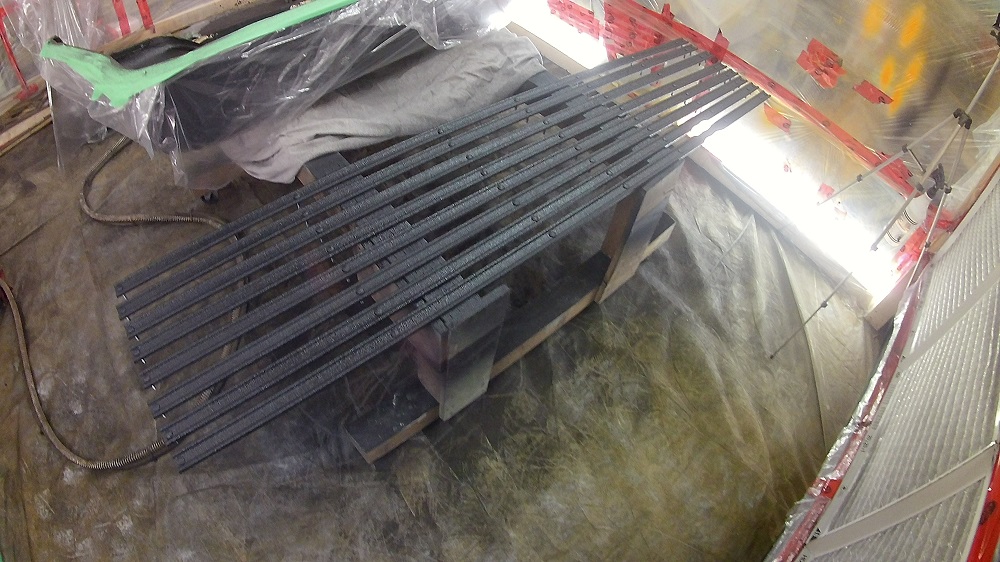
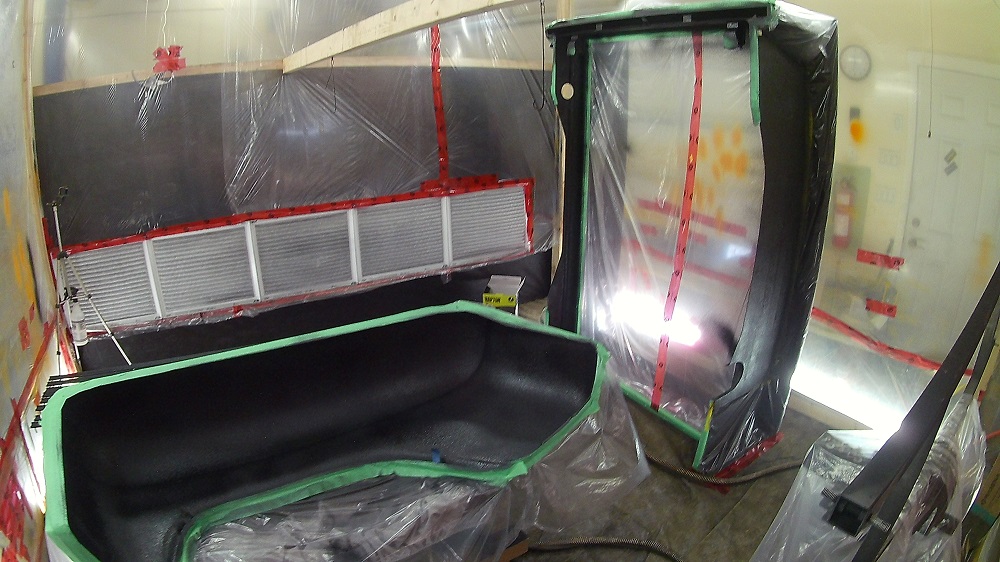
Everything go t Epoxy Primer, then I sprayed Raptor on the skid strips
And finally sprayed the inner fender that I didn’t do (reasons). And the bed side inner fenders.
And Teaser 4
While I’m using a supplied air system, I am finding even a bit of the fumes are bothering me more and more. I have Asthma, and I think I’m reaching my limits with paint. If I do painting again, it will likely be outside only, not an impromptu booth such as this.
And finally!

Now we begin putting it all back together.
Available in the MERCH Store: