[ Start ] [ Index ] [ Parts List ]
In Which I Fix Fender and Hood Rust and Dents
Nothing significant to report today. Figured out my next plan of attack.
I reinforced the Sheet Metal Brake I made last spring and was successful in folding 30″ of 18ga.
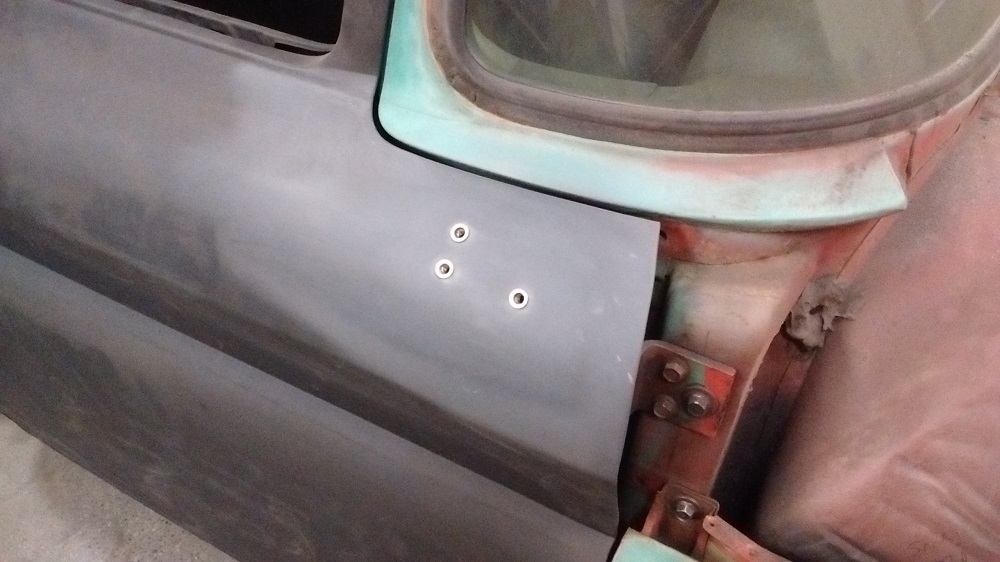
Also used my Nutsert tool for the first time, installing 5/16-18 nutserts into the passenger door for a mirror. The skin is already braced from the underside, but no factory weld nuts to fasten. While these stick a little proud of the surface, it’s going to be fine.
Also spent a LOT of time corresponding with Universal Air regarding bag choice on the ’61, and after we talked about motion ratio, sprung weight, suspension frequency, ride height, and air pressure, I think I have finalized the way I want to go about this – this will be documented later. Universal Air gave me fantastic customer service over this. Thank you.
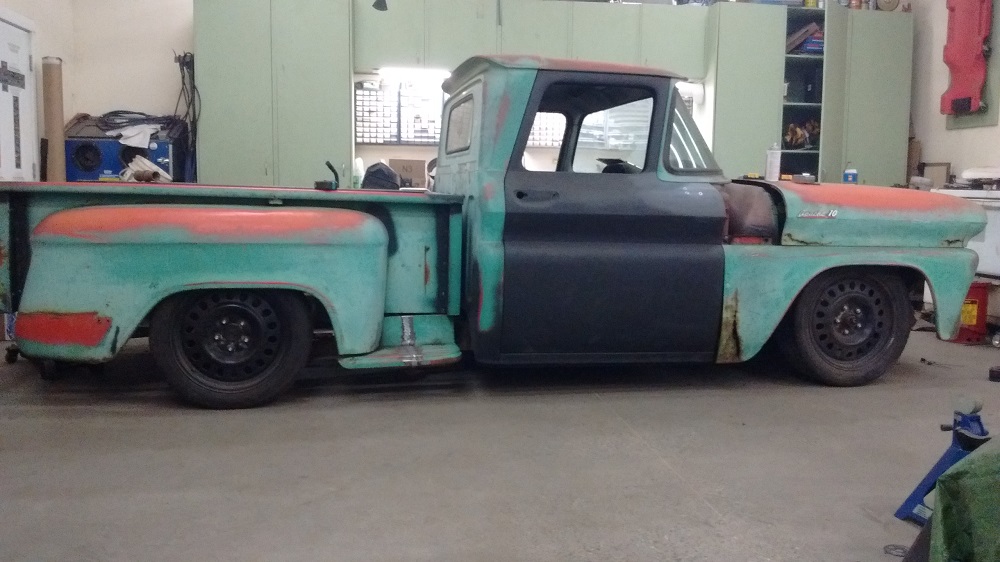
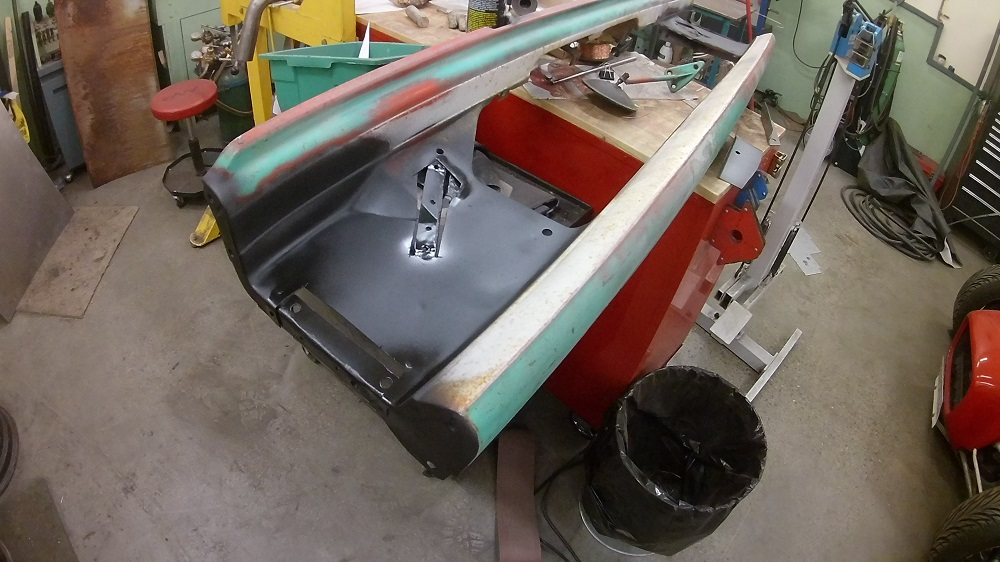
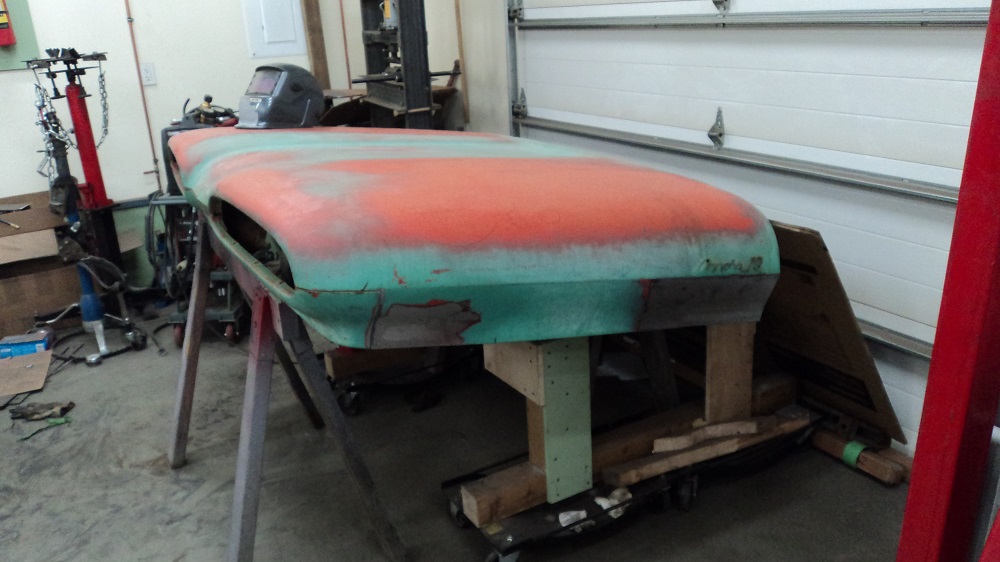
This will be roughly ride height. Needs a bit more rake – front could easily go down an inch, rear could go up some.
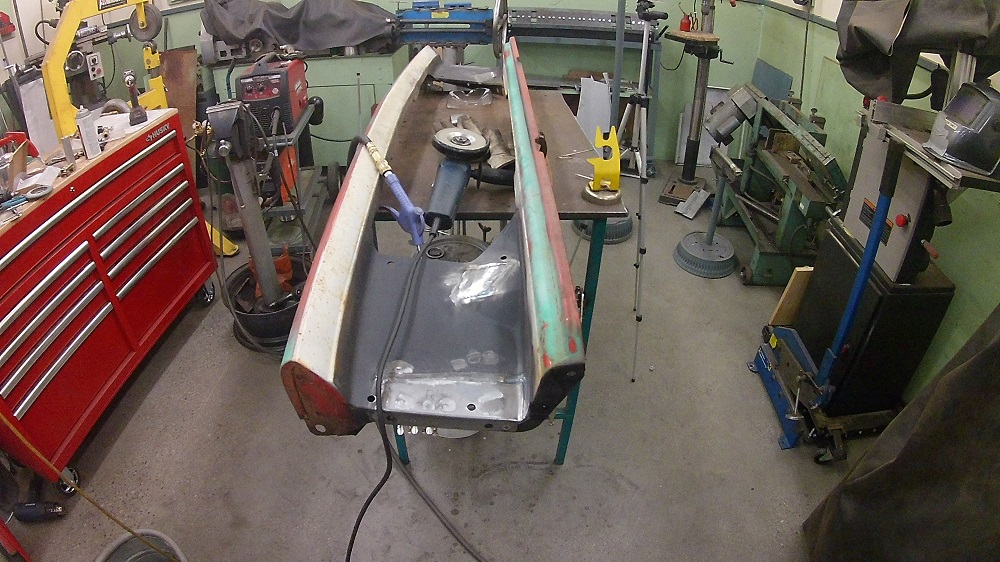
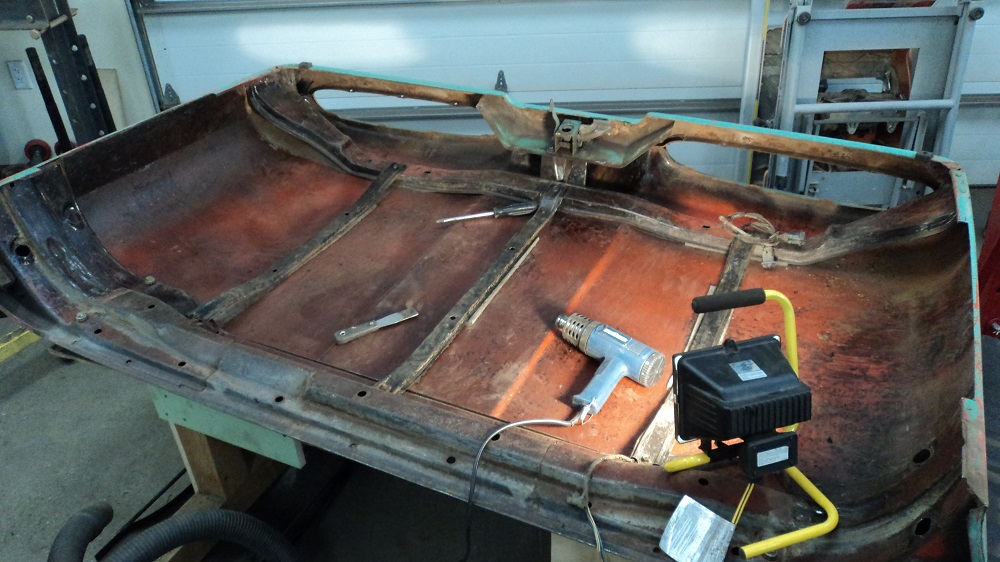
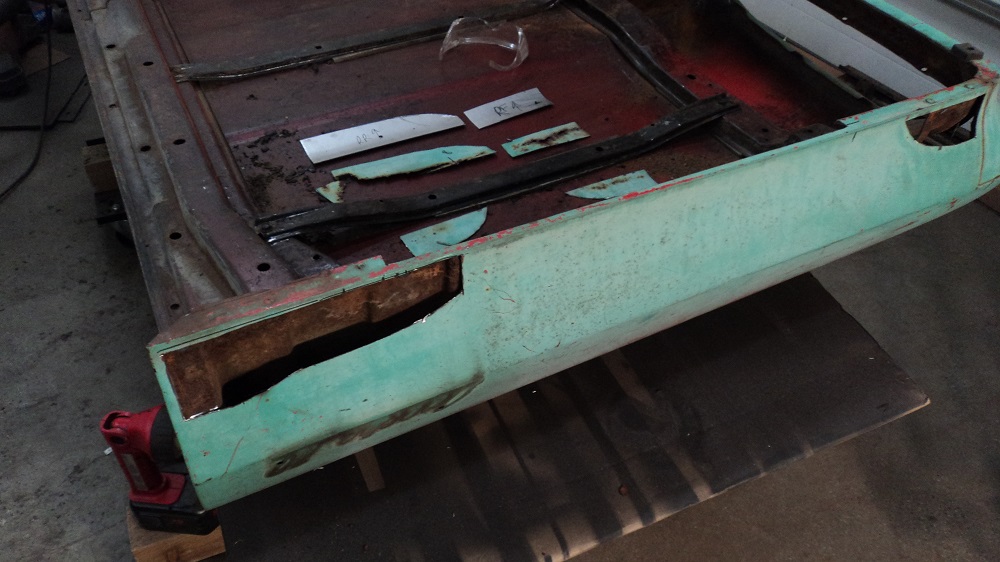
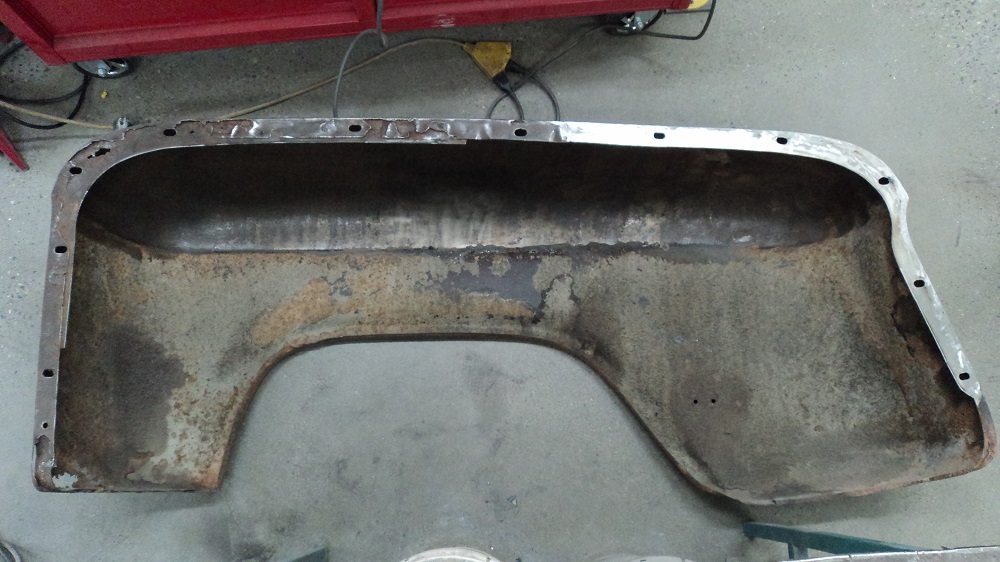
Not sure to start on the fender rust repair, so I’m starting with the nose. This is just behind the headlights. I’ll need to drag this outside for sand blasting, then epoxy primer, before I weld it in.
And another patch:
And another patch:
And another patch. Ready for blasting and epoxy priming underneath Friday or Saturday.
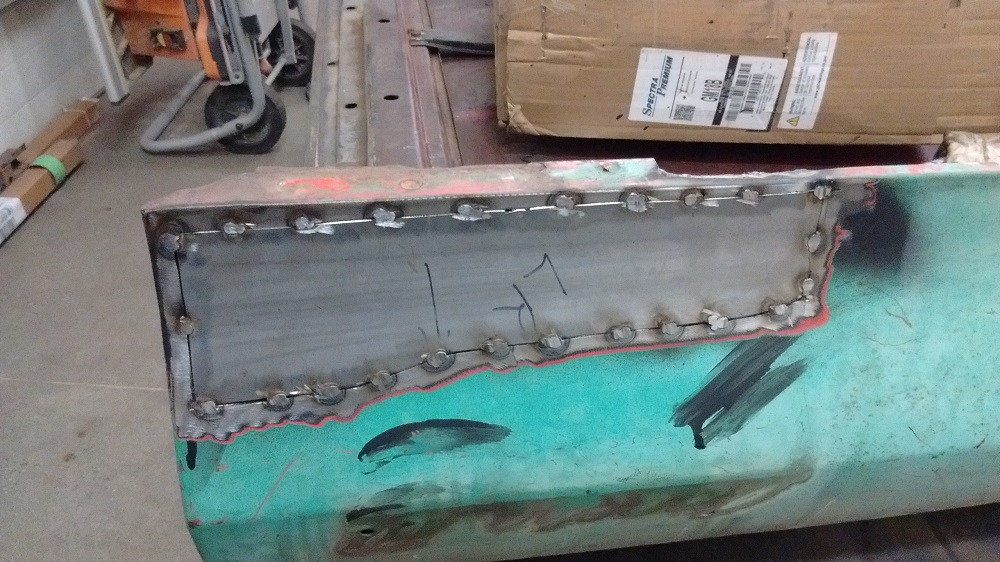
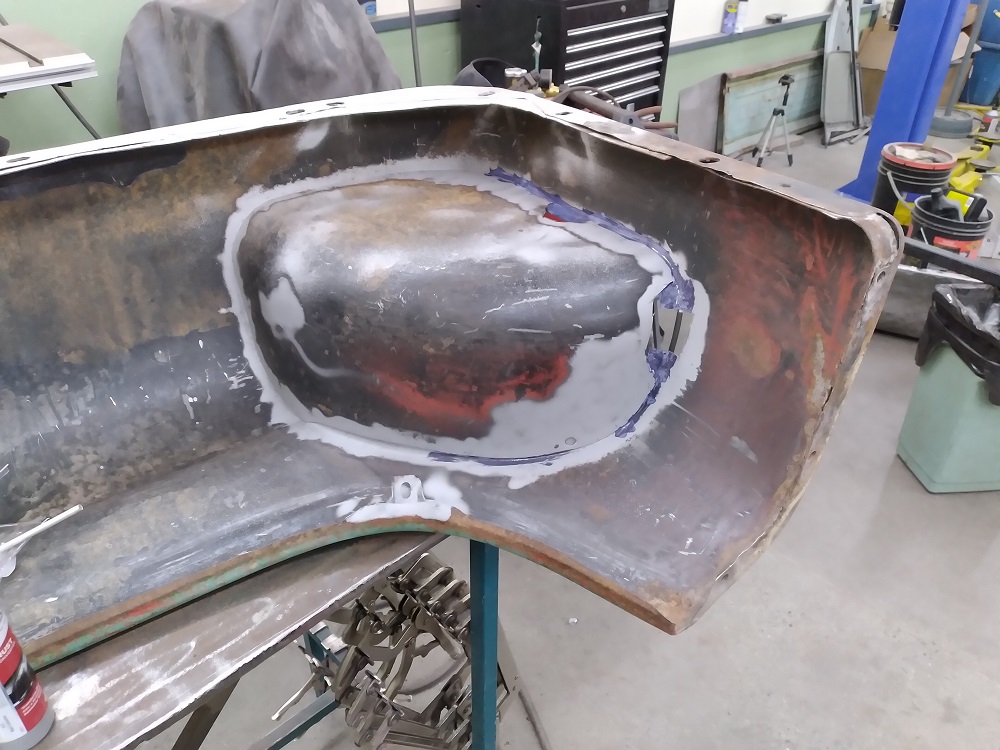
Repair area blasted and primed:
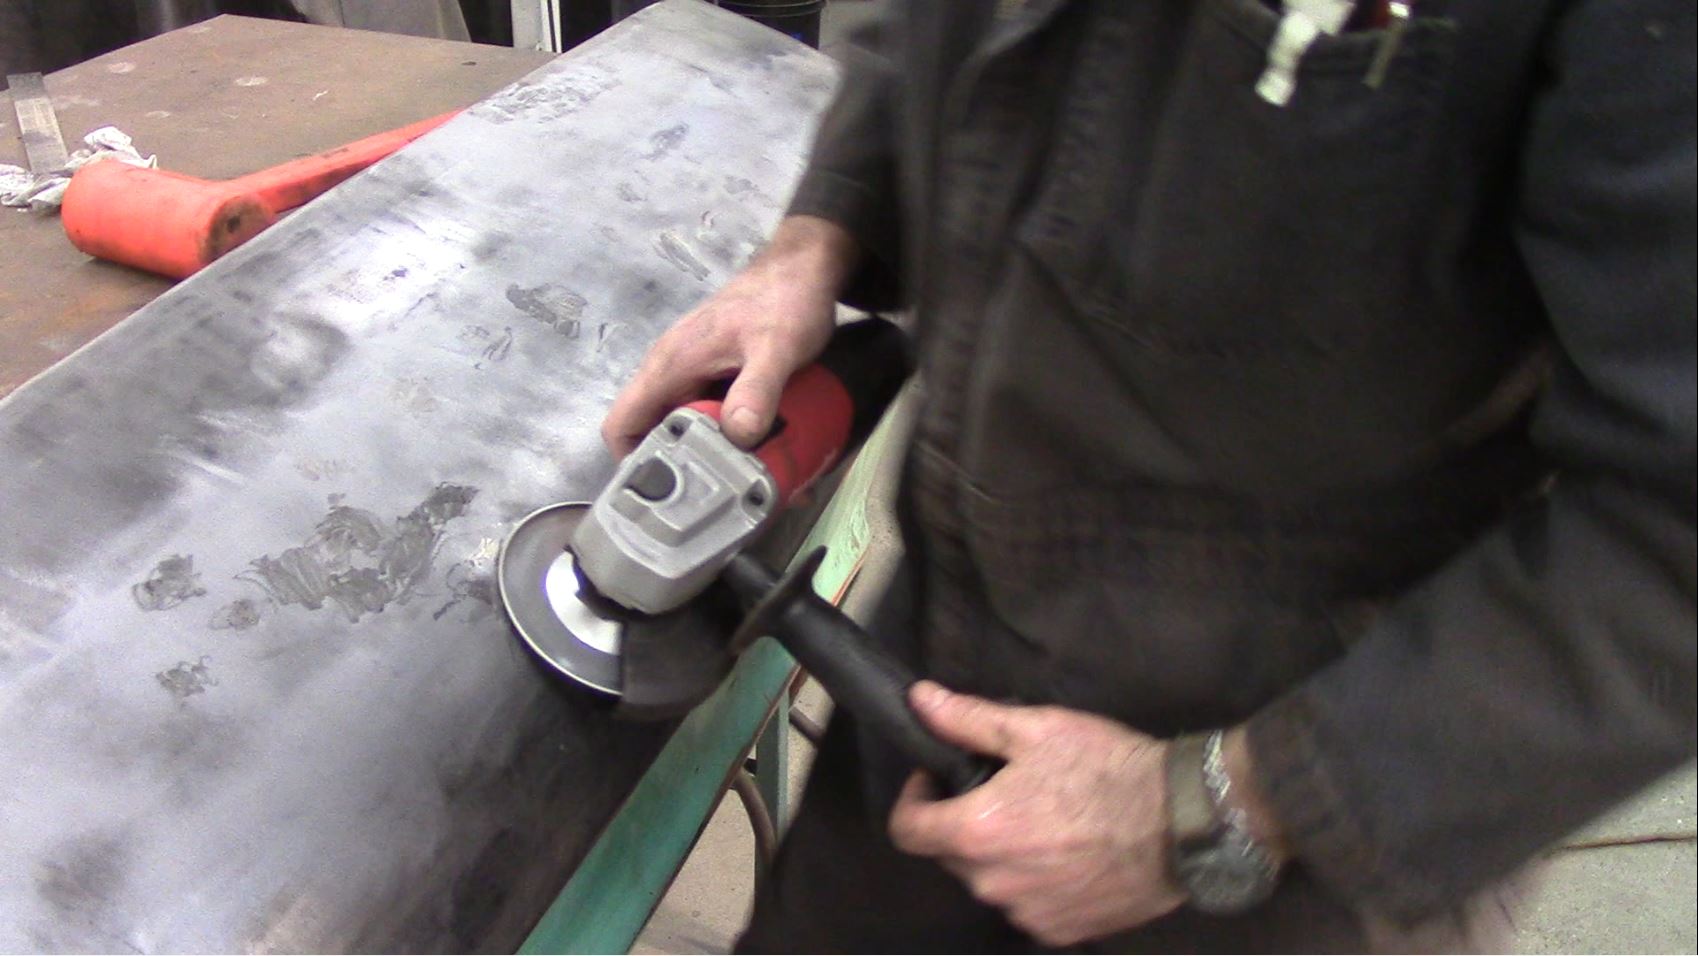
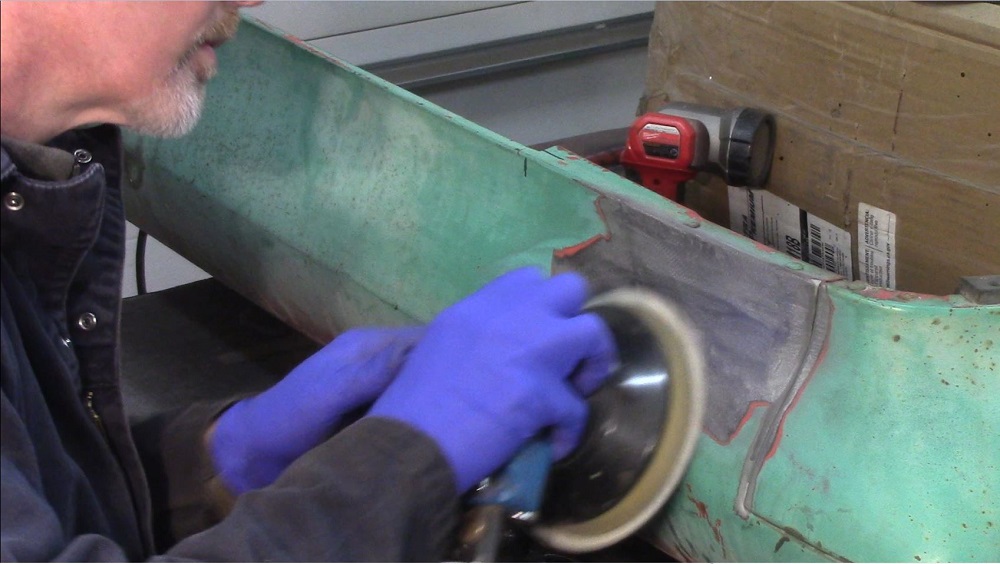
Welded in, and I got to experiment with the “shrinking disc” I picked up – they are, indeed, magic. I likely won’t spend a lot of time making this area perfect, absolutely zero people are ever going to see it (good place to experiment).
In the momentary meantime, I cut the grooves in the boards for the bed on the table saw at work:

Just as a reference, Trex Select comes in 5.5″ widths. Seven boards are full width, and the end boards are cut to 3.5″ wide. This seemed to work fine, but you may want to do your own measurement.
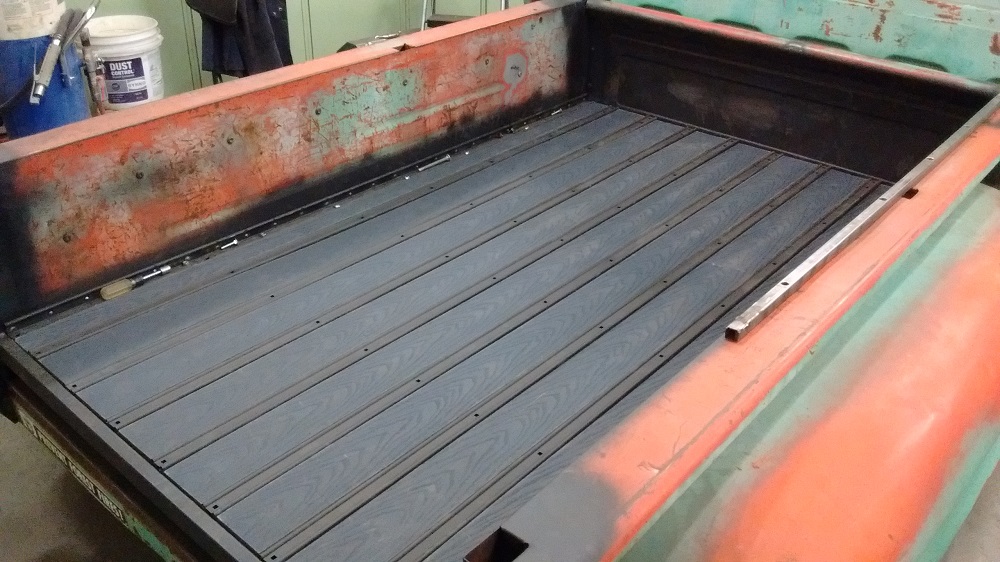
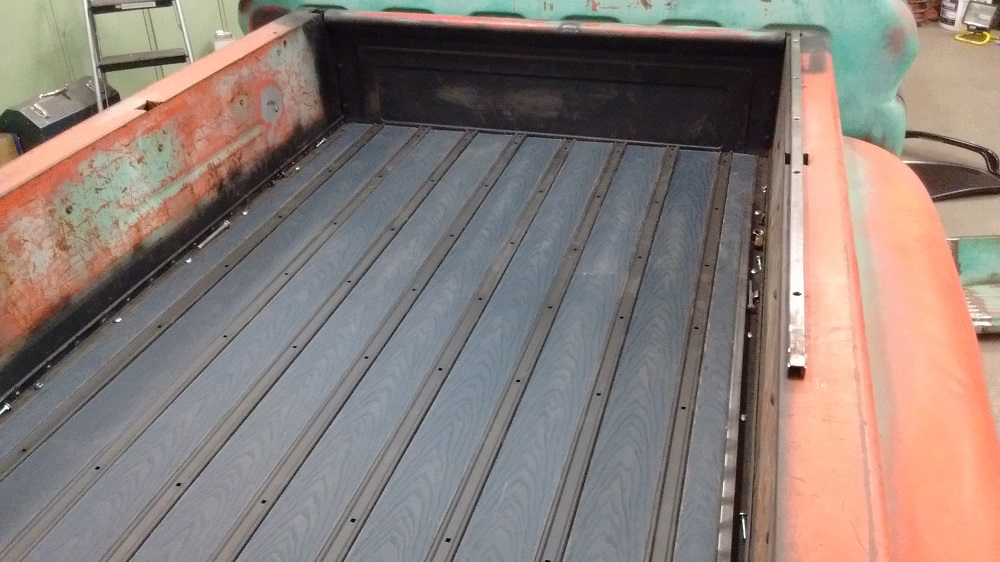
Future me interrupting: The Trex does not come in the same width(s) as the factory boards, which requires an extra board, which requires an extra skid strip, which requires extra holes – some of which are placed in really hard-to-get-to locations at the cross braces underneath. Final installation was unpleasant, to say the least.
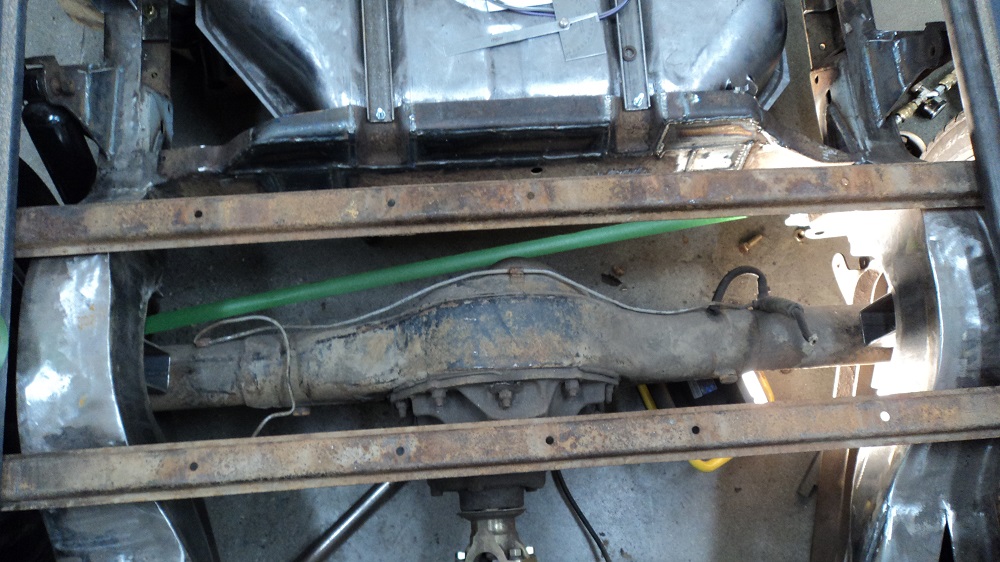
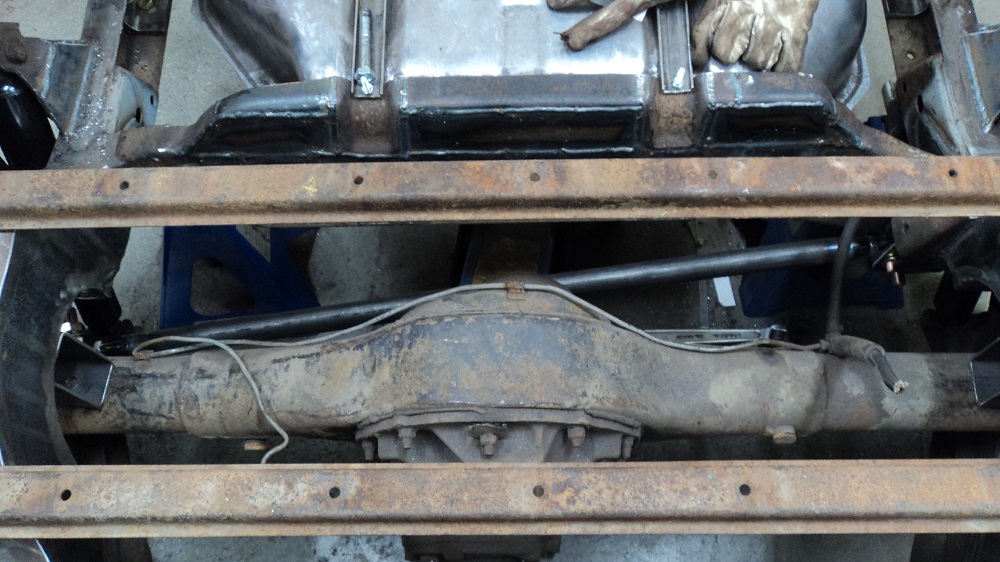
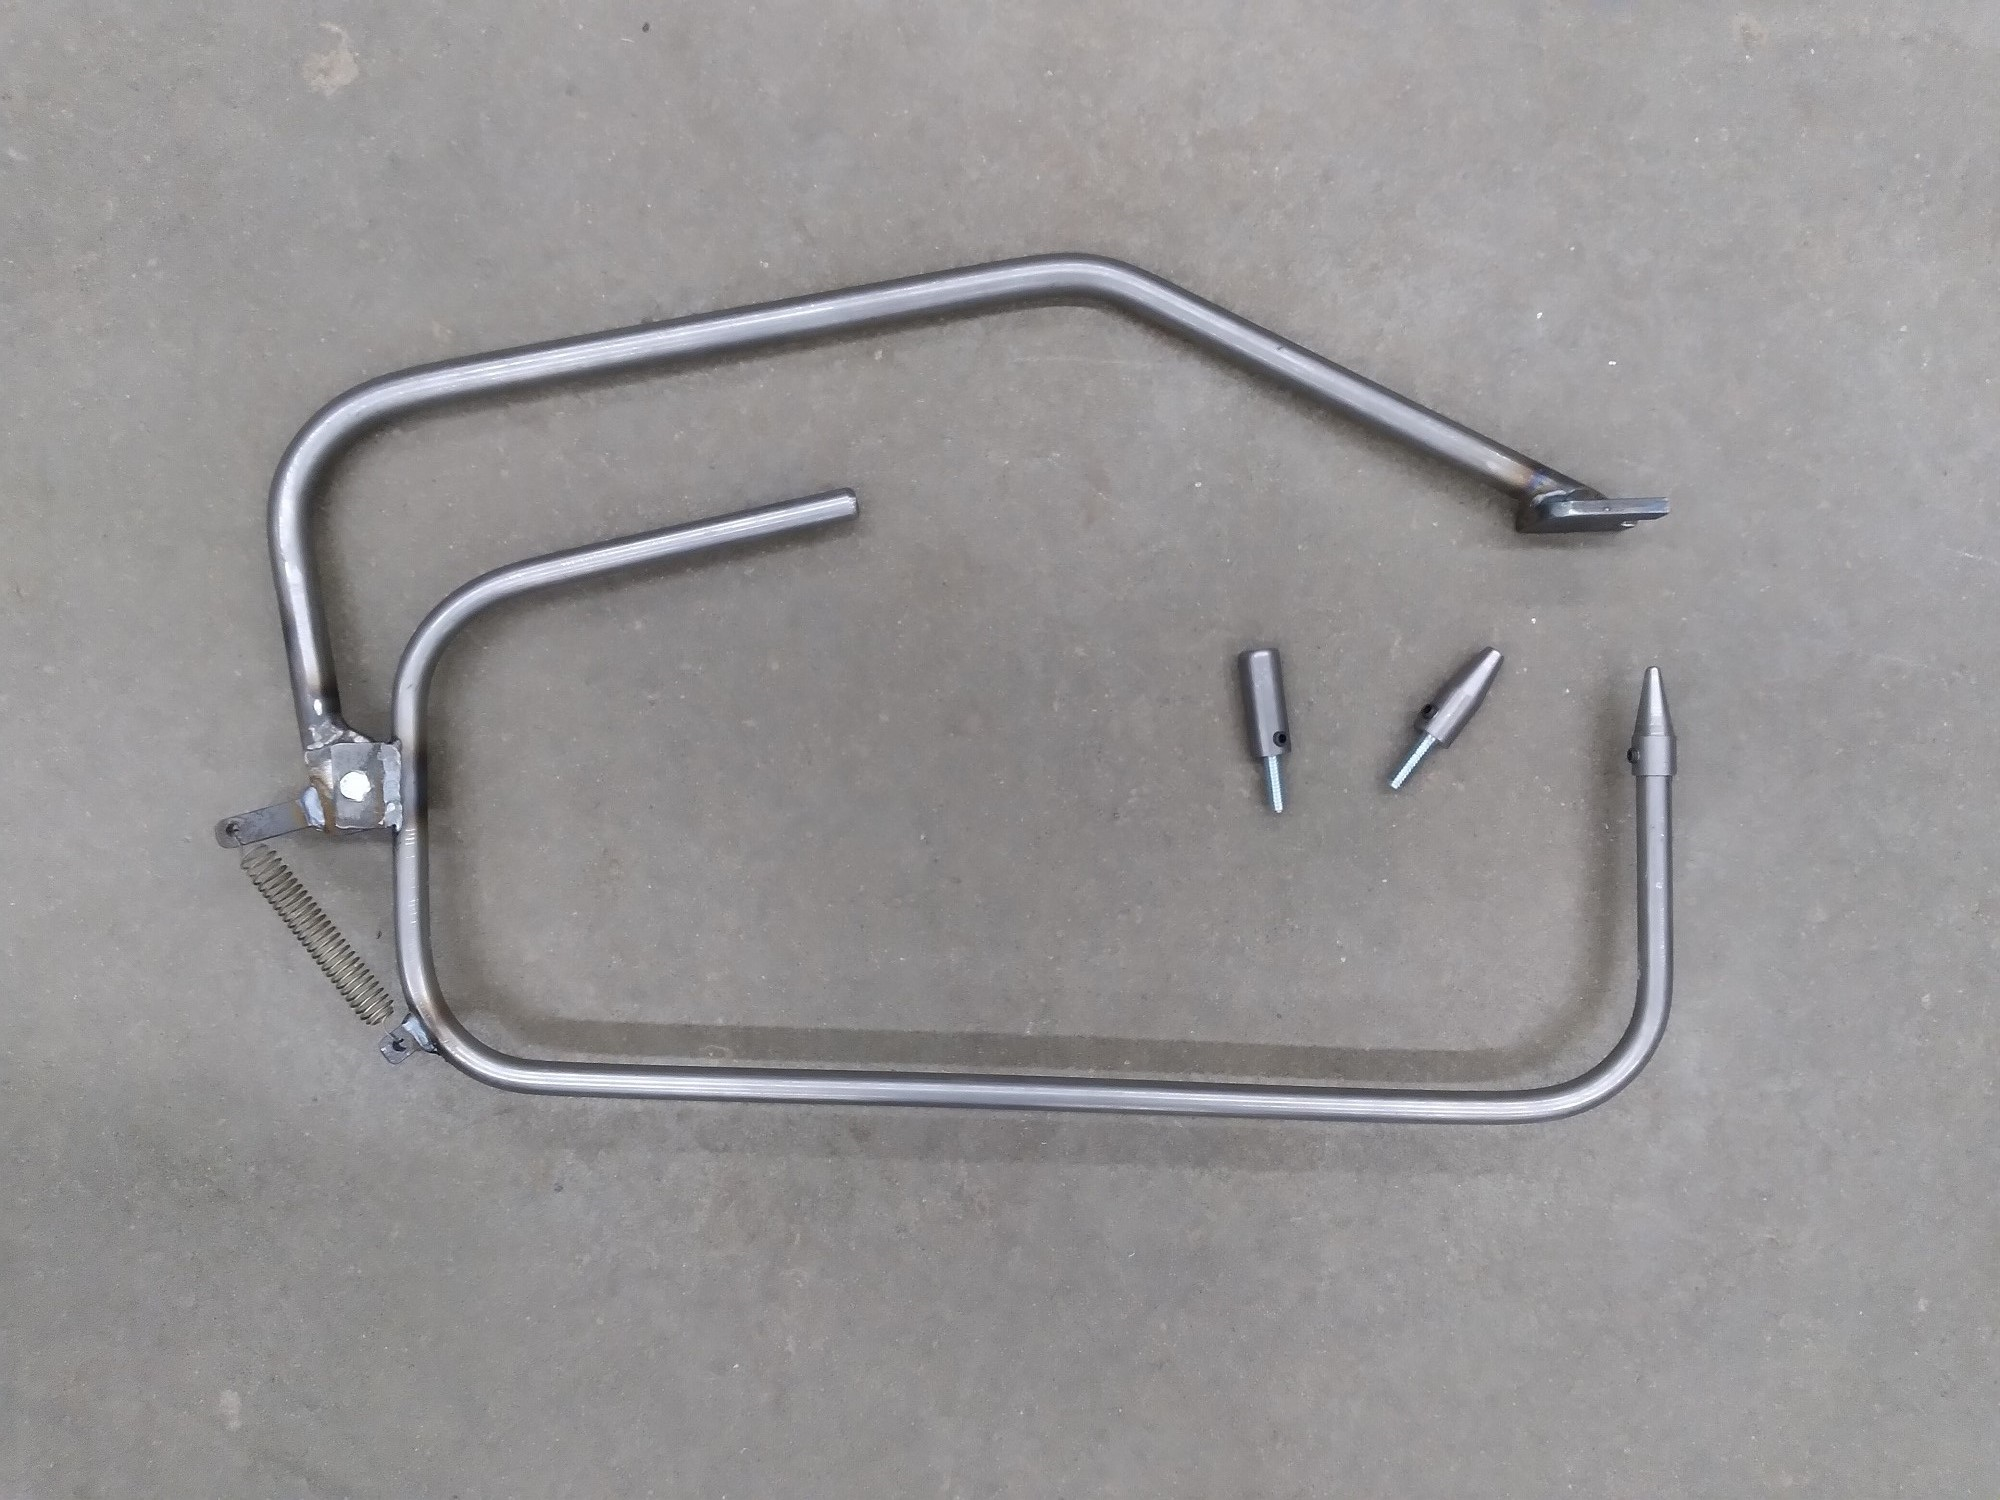
Panhard Bar
Oh and then some time out to build a panhard bar. Mounts tacked in:
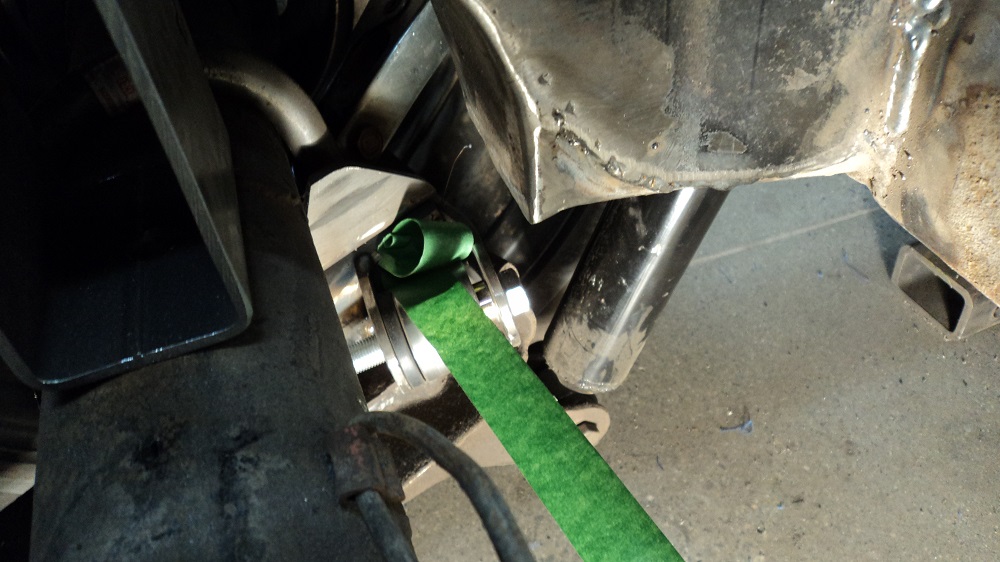
The rod ends, tube ends, and lock nuts came in:
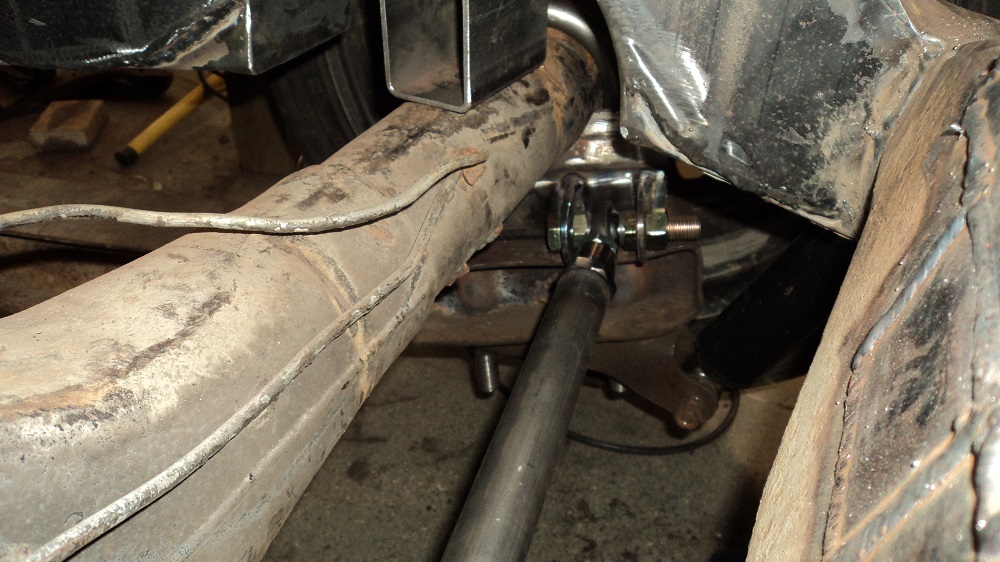
Rod ends are teflon-lined, and I will use some replacement tierod boots to try and keep crap out.
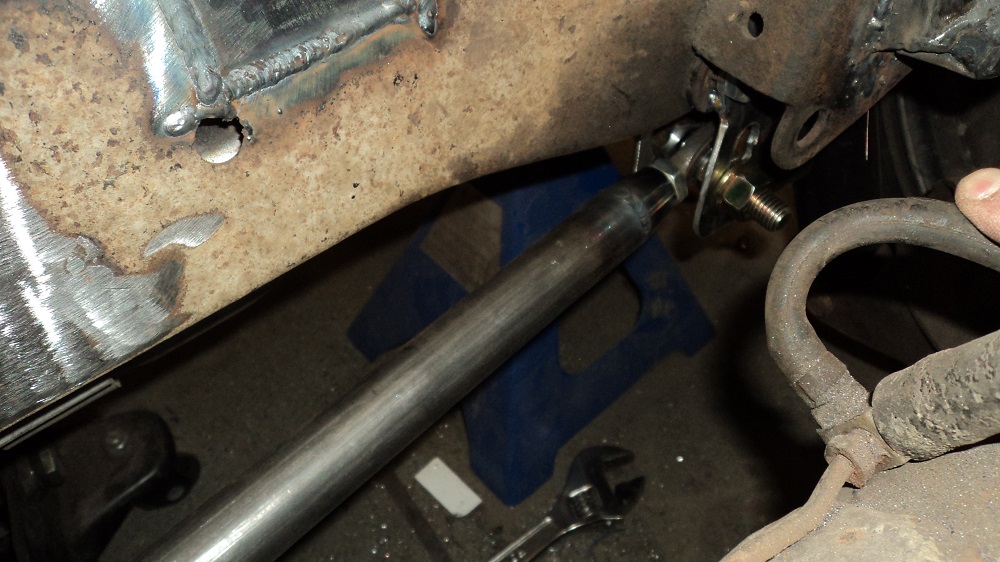
Rod ends will likely transmit more NVH, but will have no binding compared to the poly bushings, especially with a variable ride height on air.
Fixing Rust and Dents
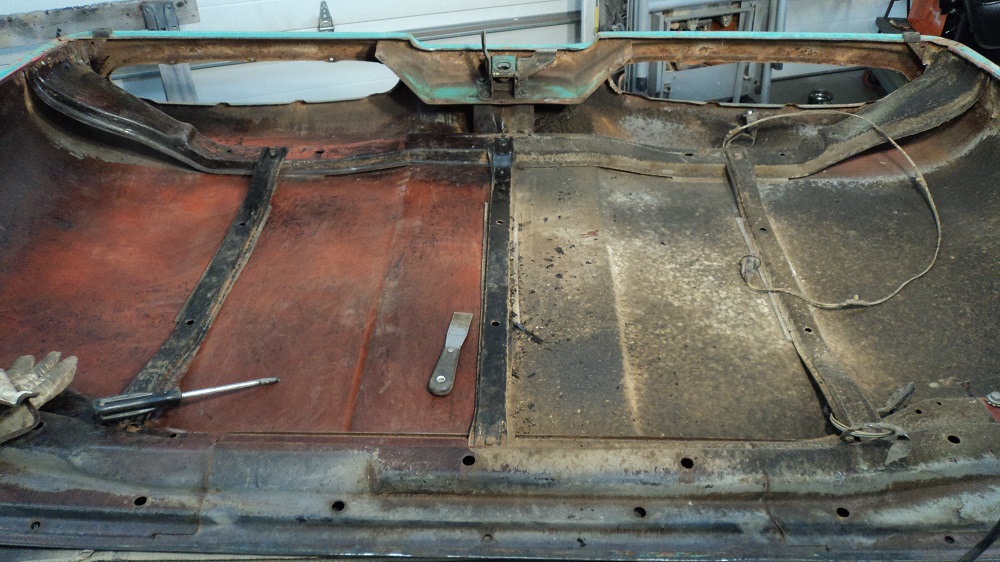
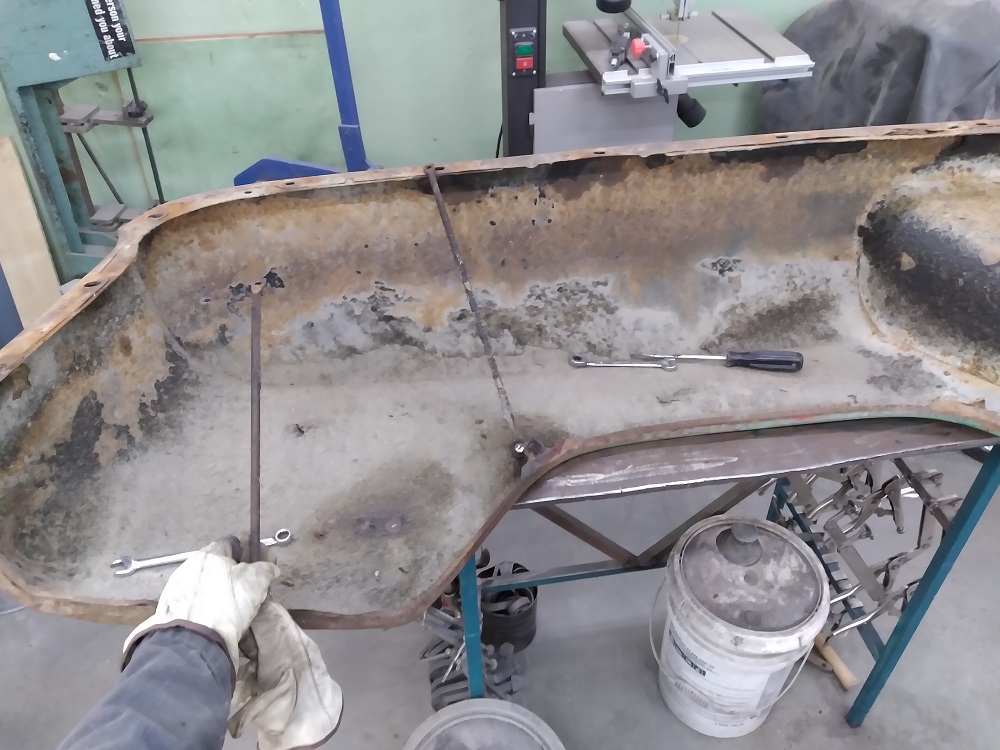
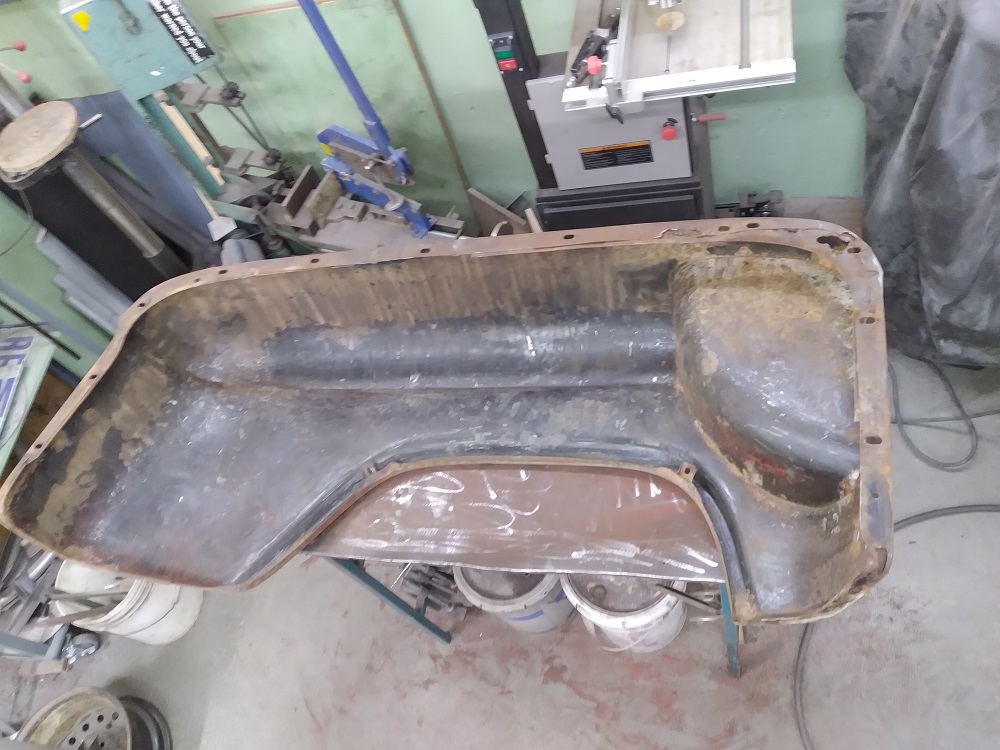
Scraping undercoating off in anticipation of hood repair:
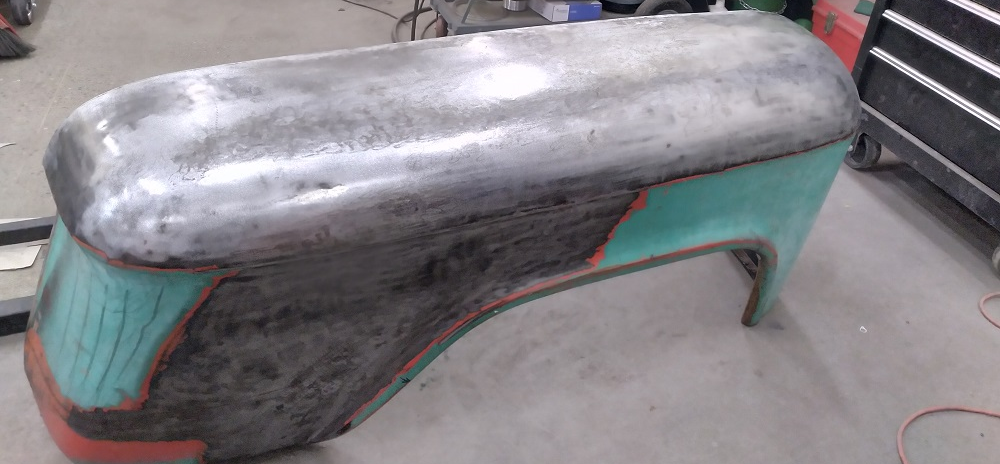
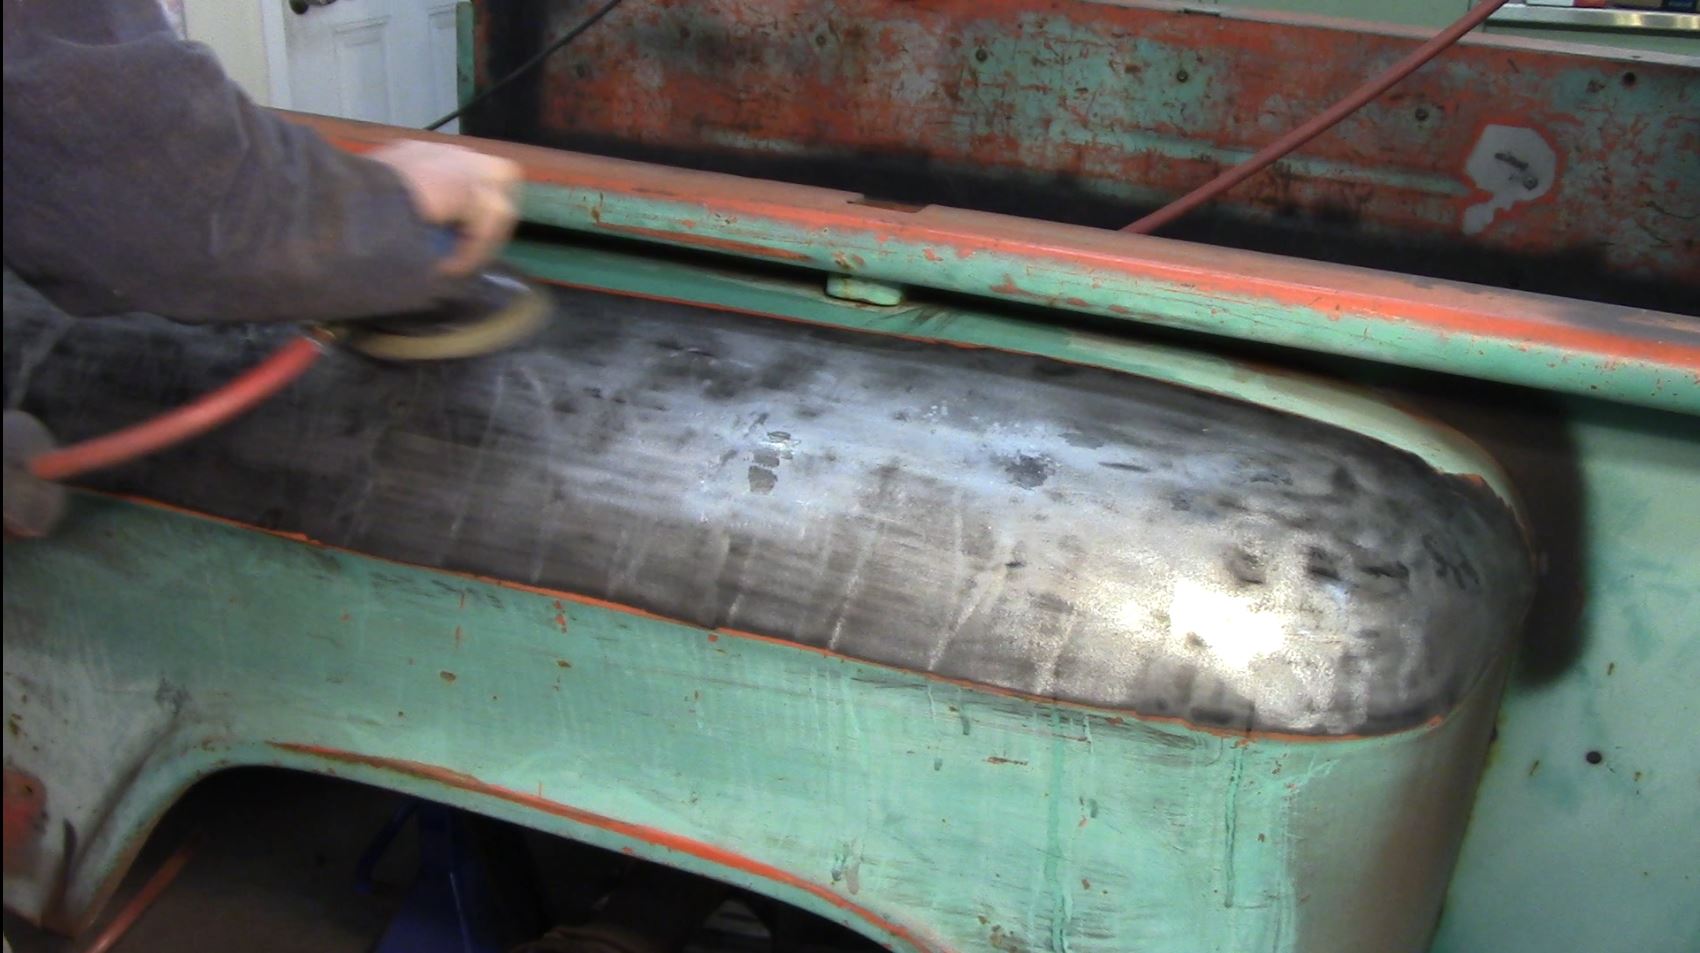
Spent some time learning the shrinking disc by dealing will the plethora of dents on the passenger side bed fender.
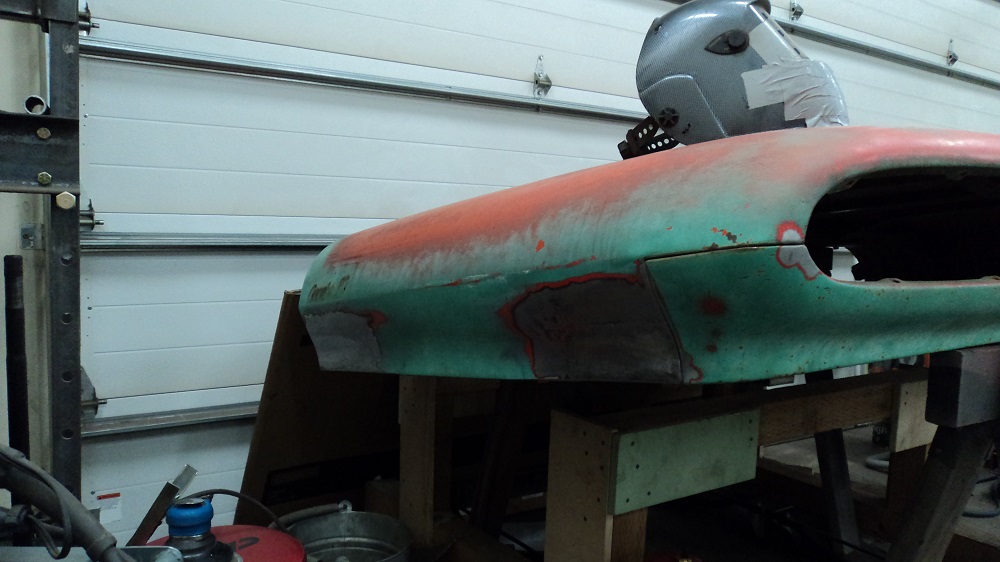
Finished scraping the hood, and crafting a plan to repair the rust:
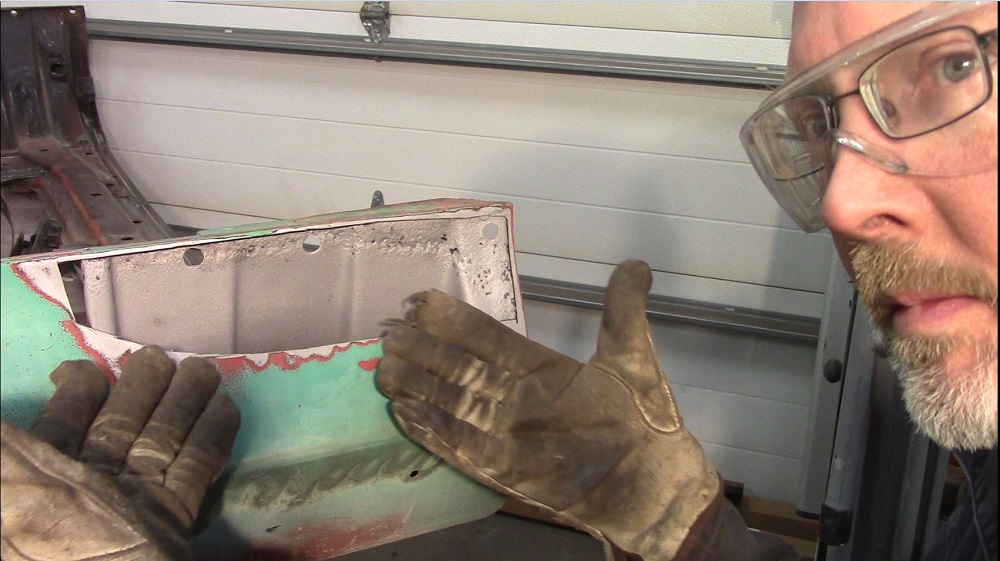
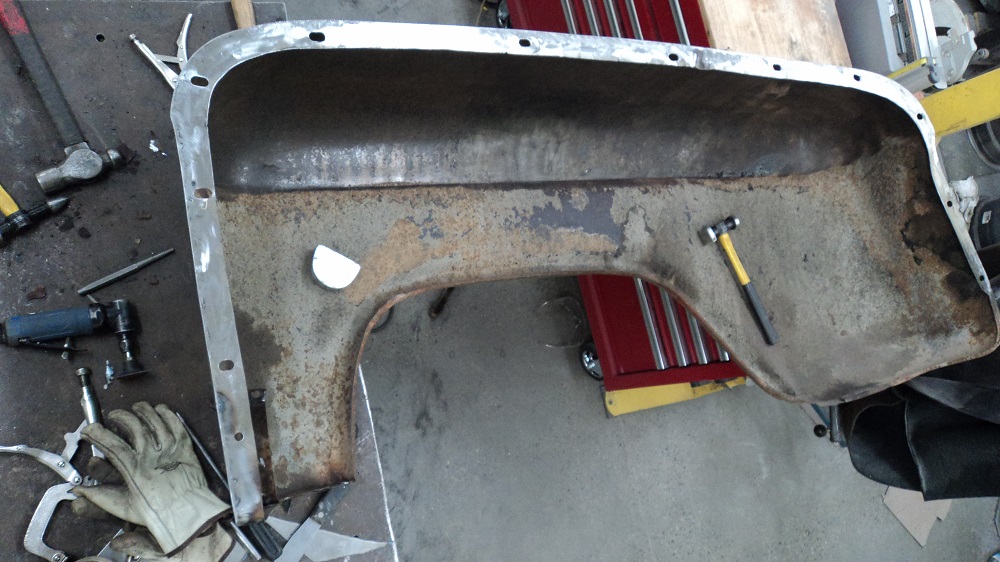
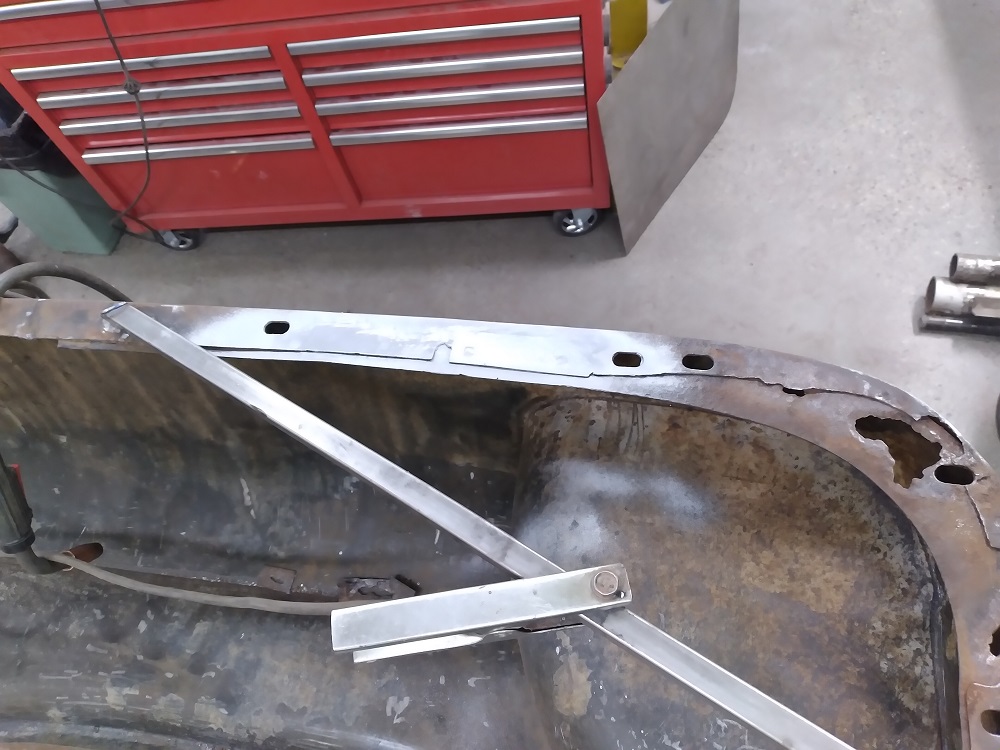
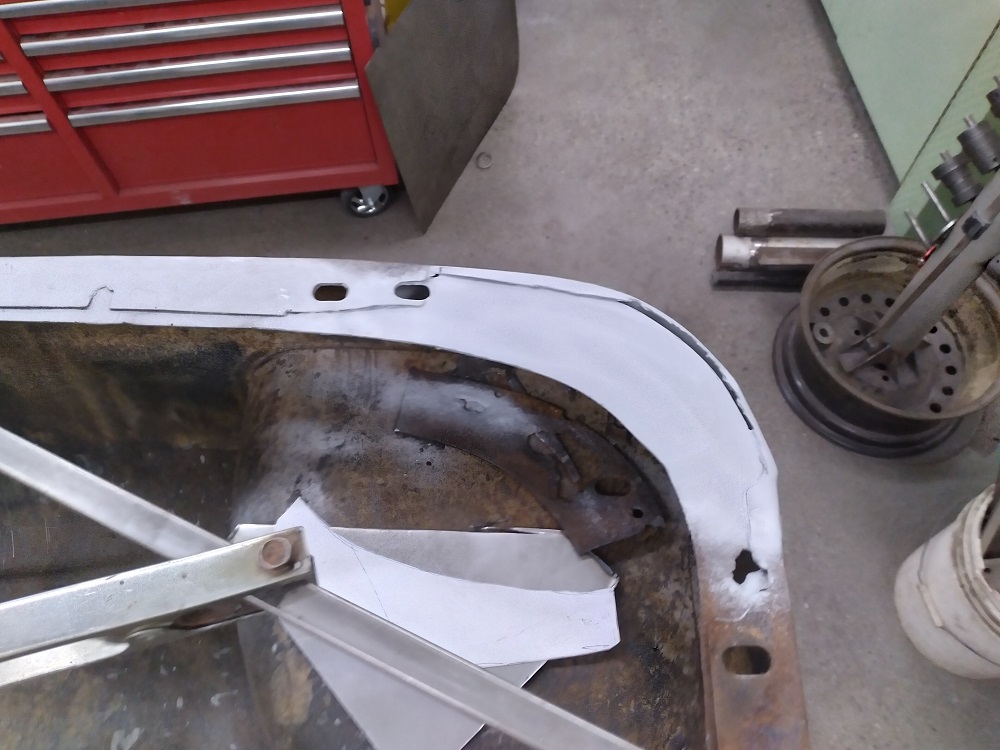
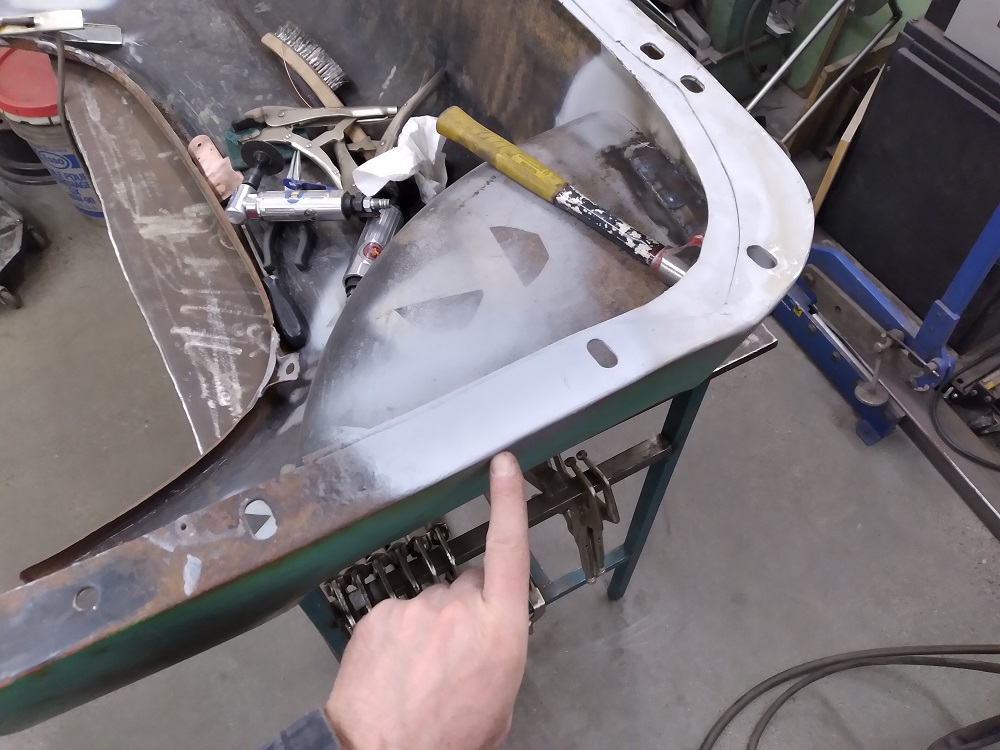
Crafted a plan for the fender flanges. I think I will repair the flange of the fender itself, using the reinforcement behind to help locate it, then remove what’s left of the reinforcement and fabricate new ones. That way I can epoxy prime the join and reduce or at least slow down the return of the rust:

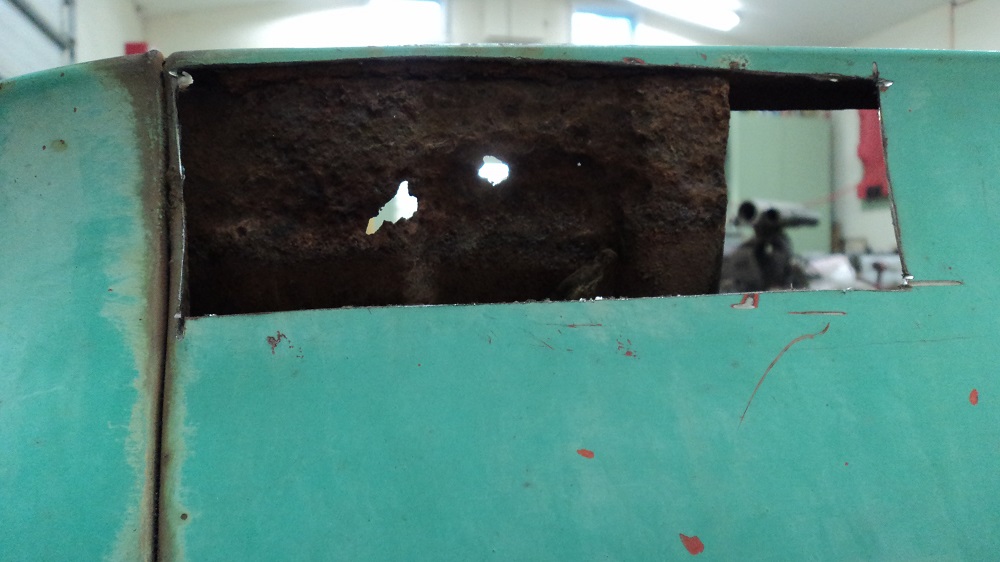
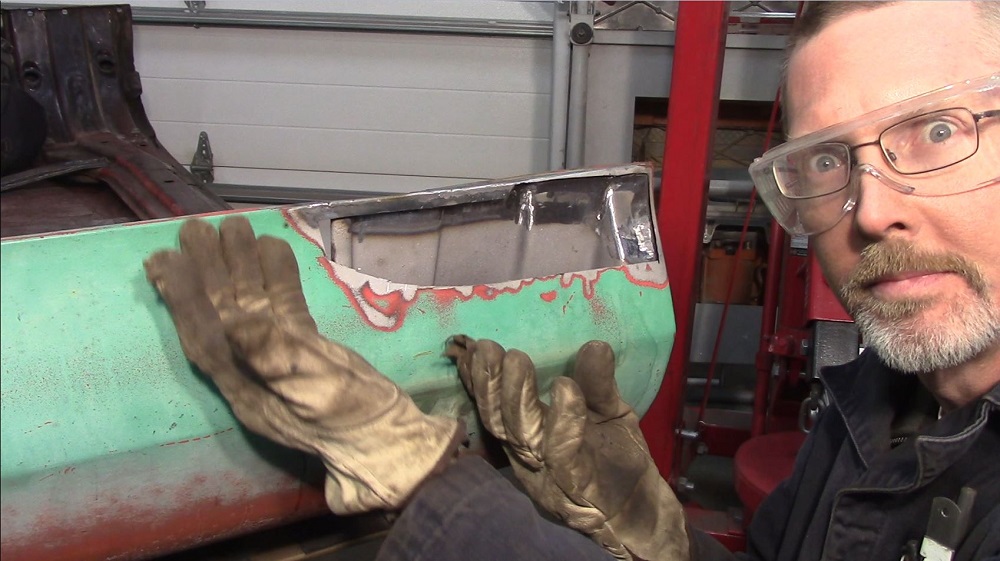
I should probably clean this up too:
Worked on hood patches. Blast tomorrow, epoxy prime, then fit the patches through the week.
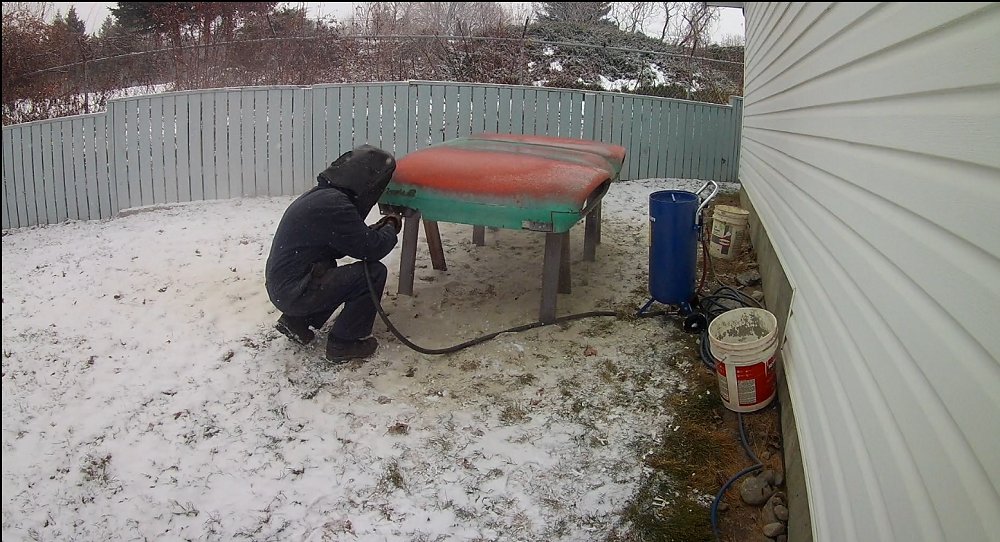
Blasted outside in the snow, patched, and epoxy primer:
Hood patching:
Next patch tacked in place:
Rust holes all patched, warping minimized and finished enough for an acceptable skim of filler. Next to do: hood dents. Don’t mind the duct tape on my welding helmet – I dropped the truck bed on it a while back.
Back at it.
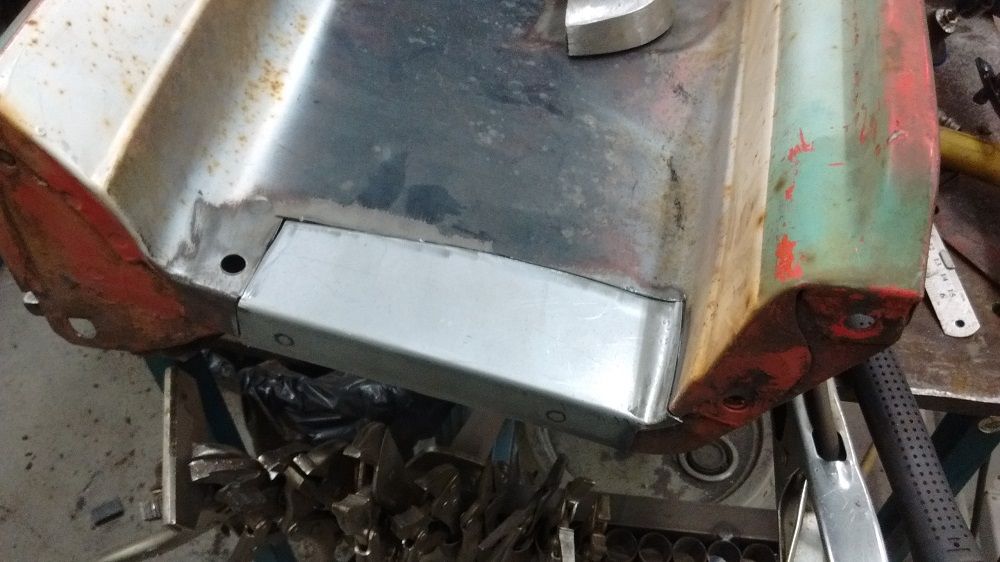
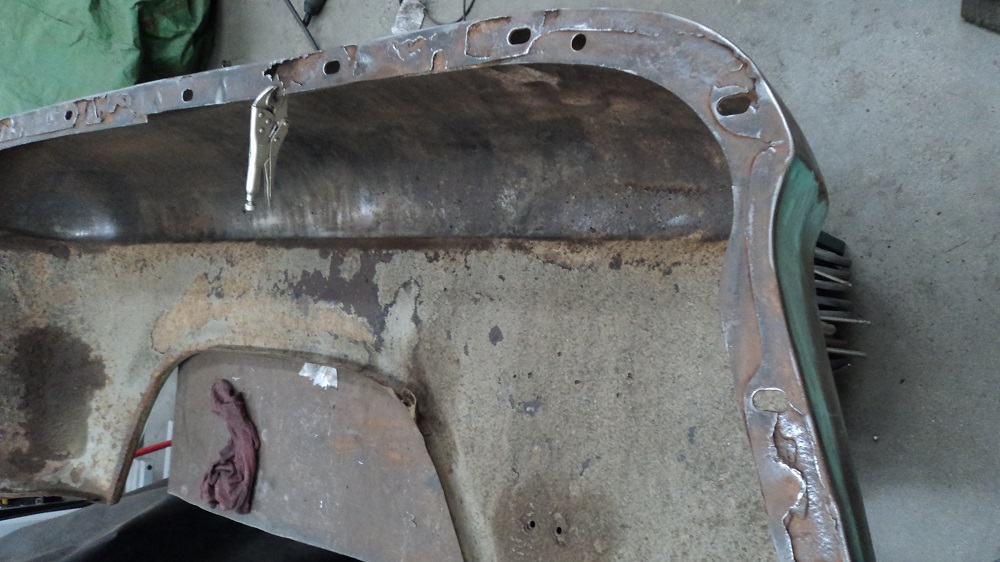
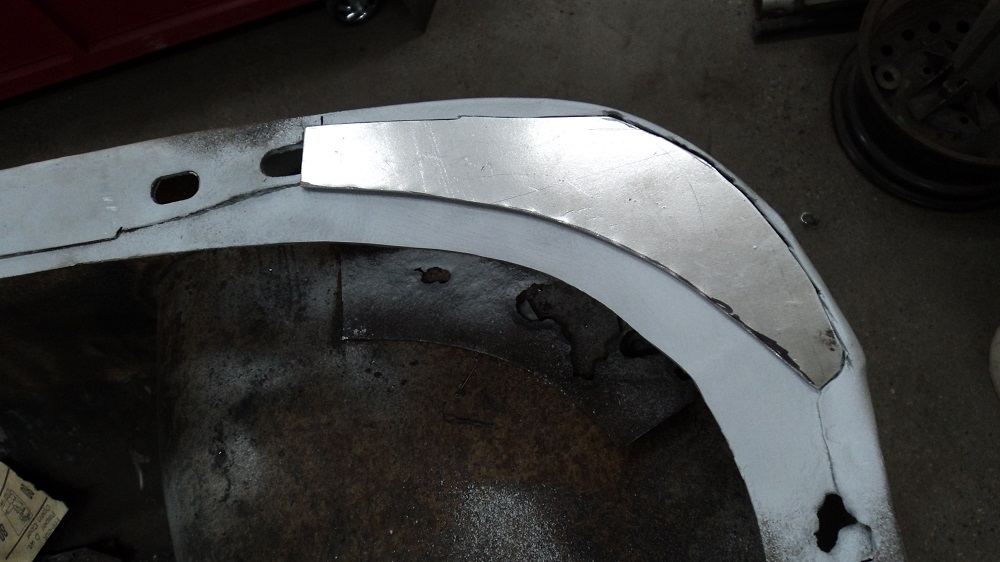
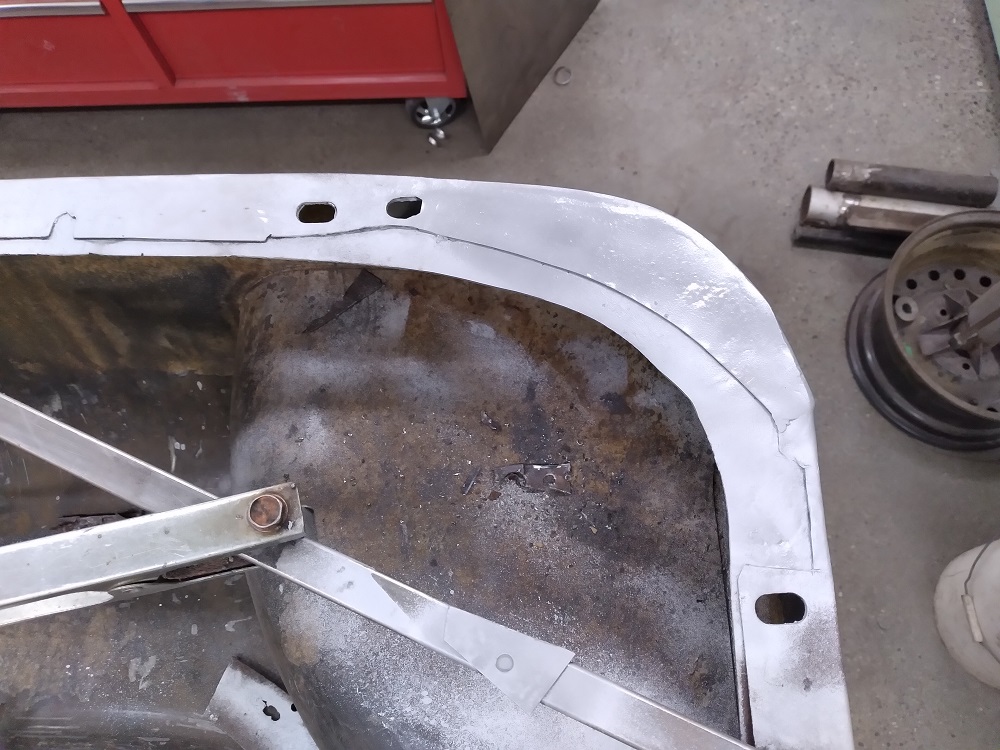
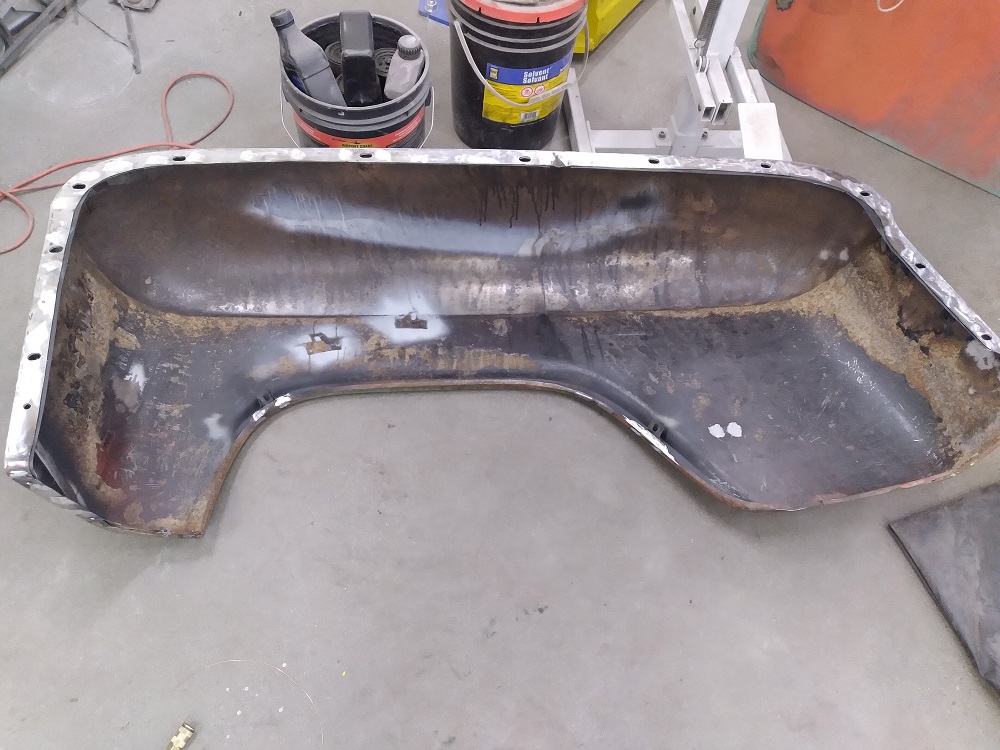
Replaced the entire fender flange, and repaired the fender’s leading edge rust hole. Still need to fabricate the reinforcement flanges, which will be blasted, epoxied, then welded in:
Rear section replaced:
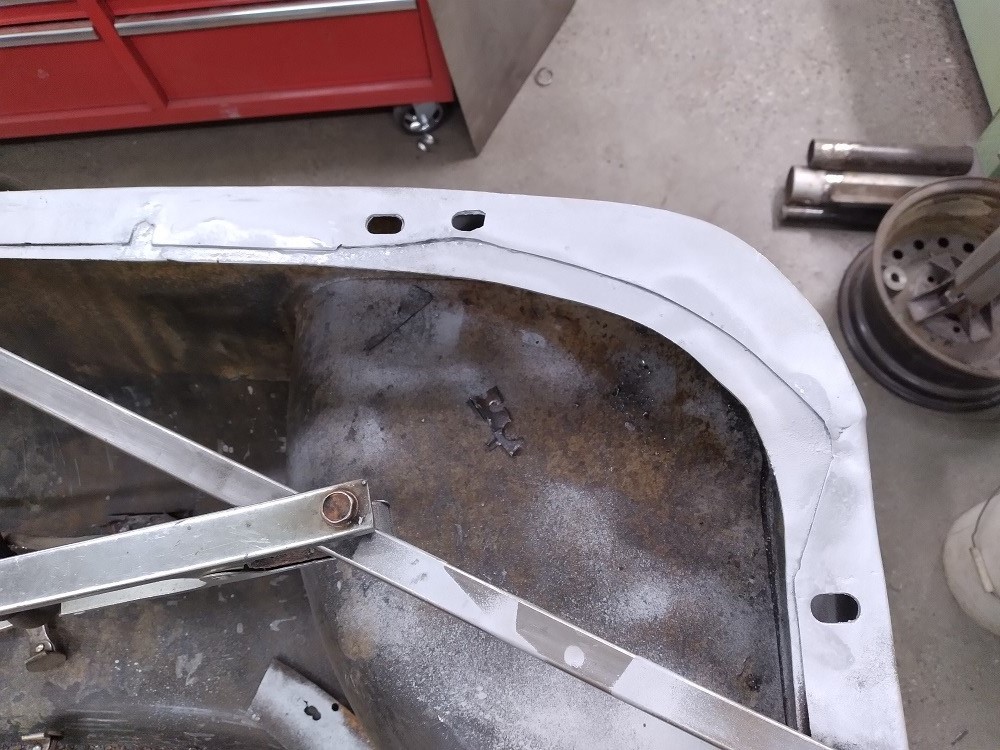
Complete flange done:
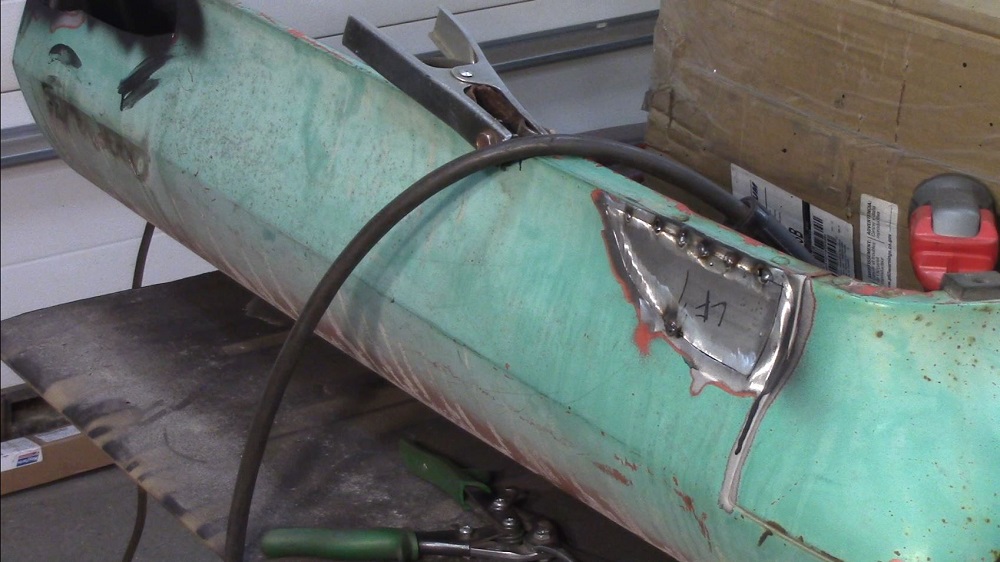
Repaired a rust hole, zero-filler TIG-welded:
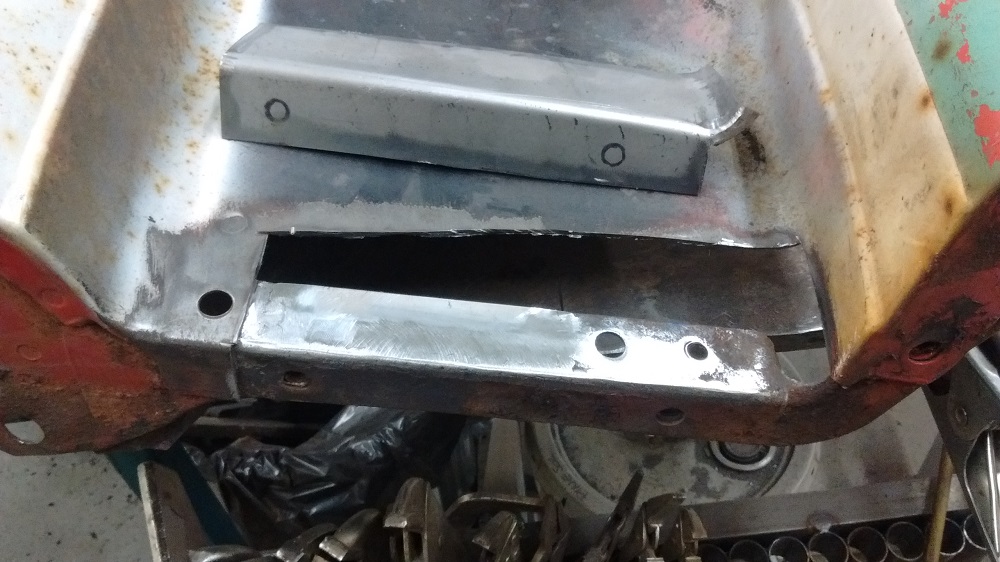
Also welded up the step-bumper holes, and got rid of all the dents and oil-canning.
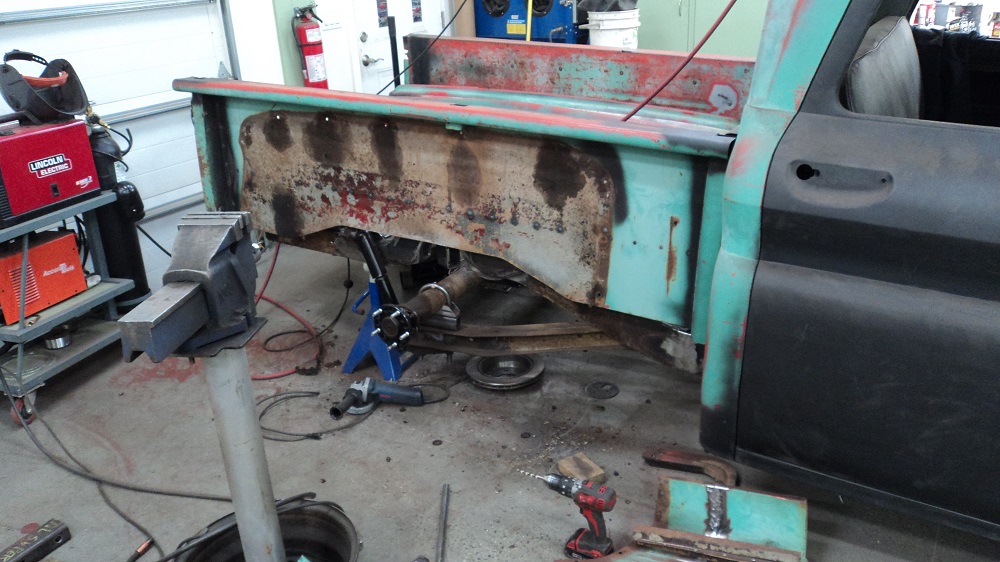
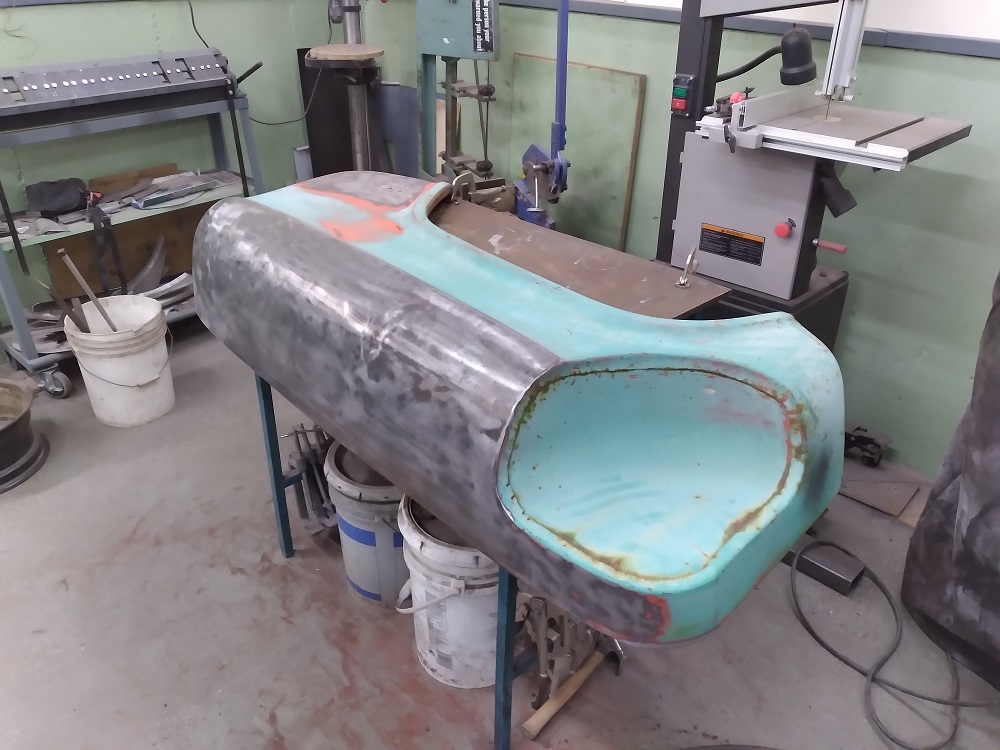
Spent today scraping undercoating and stripping paint off the driver’s rear fender. Not as caved-in as the right side, but certainly repeatedly hammered.
Driver’s side looks to be in better shape. I’ll only have to repair the flange, not fabricate a whole new one. Interestingly, the right side of the whole truck is the rustiest.
I’m finding very inconsistent primer throughout the truck. In most places there IS primer, but in others there is clearly zero primer under the paint.
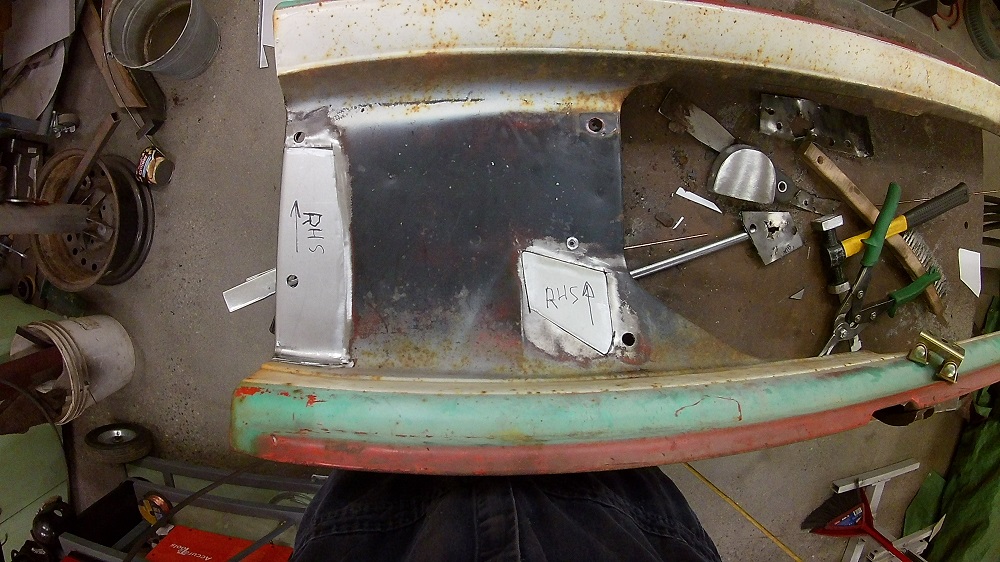
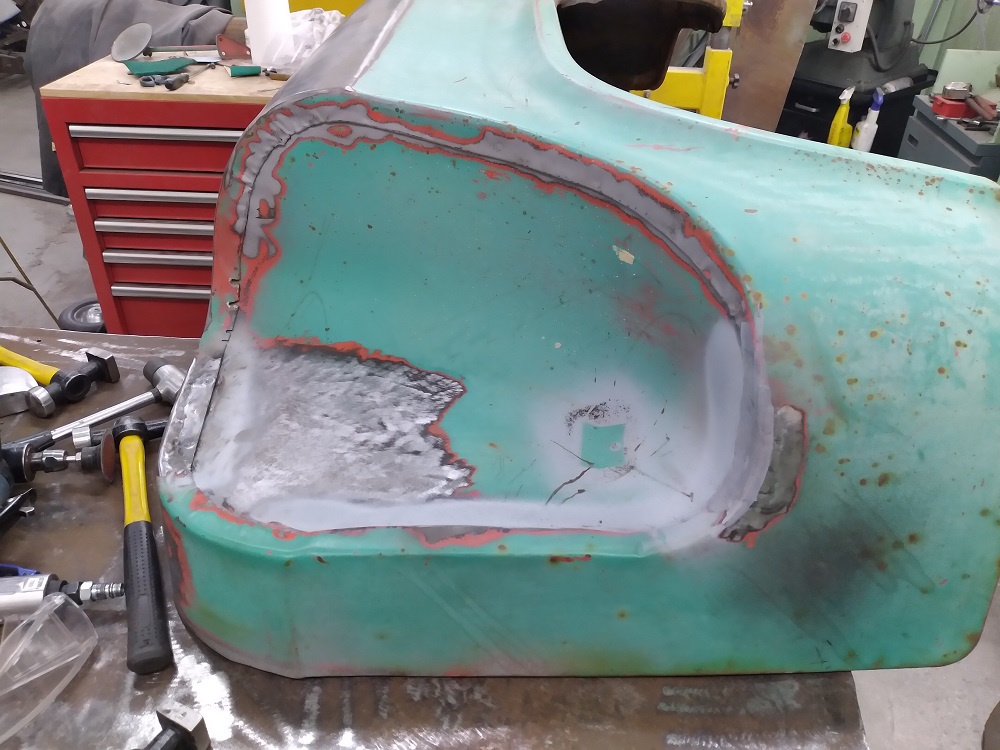
Because this fender is so much better, I’m just patching the defects. Notice the square tube brace to try and keep the fender from changing shape (I learned from the last one). Two spots patched (silver paint), the biggie in the corner next. I hammered the rust away with a needle-scaler attachment on my air hammer. All the rust came out of everywhere, and opened some holes. I’m trying to do -something- every day instead of saving it all for a time-spartan weekend.
Piece by piece: the reinforcement is repaired:
The next day was physio (and I can barely tie my own shoes after physio), so I merely cut out the top part of the patch:
Then the following day I welded in the patch, and then patched the next inner-panel hole and made the top patch for it. It seems I missed a mounting hole – I’ll locate it using the existing bed holes.
And the next day final welding of the last patch, and now it’s off to pound dents.
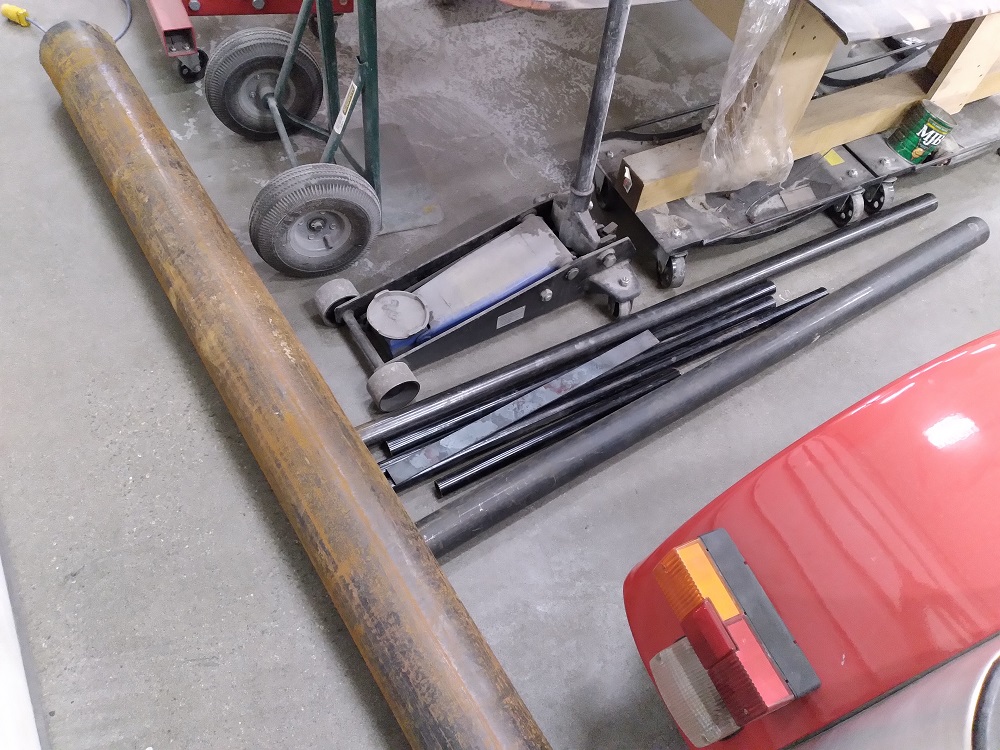
Plus, I picked up some pipe to make myself a Pipe Anvil, something I wish I had when I built the Lethal Locost and the Fiendish Firefly. Video on its construction HERE.
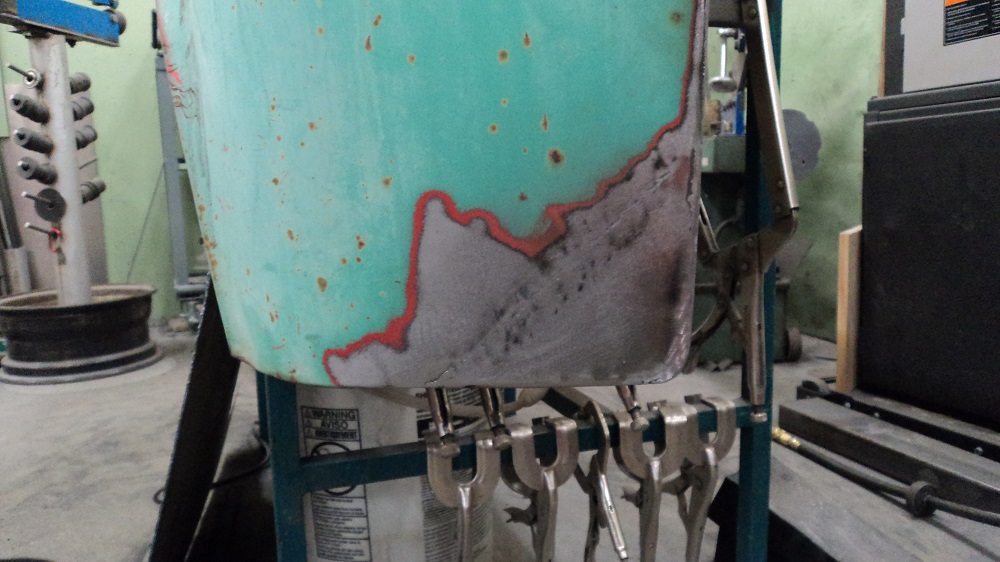
One day coming home from work I was inspired to get some more done on the fenders. Blasted specific areas of repair, and cut out some more rust in anticipation of patches.
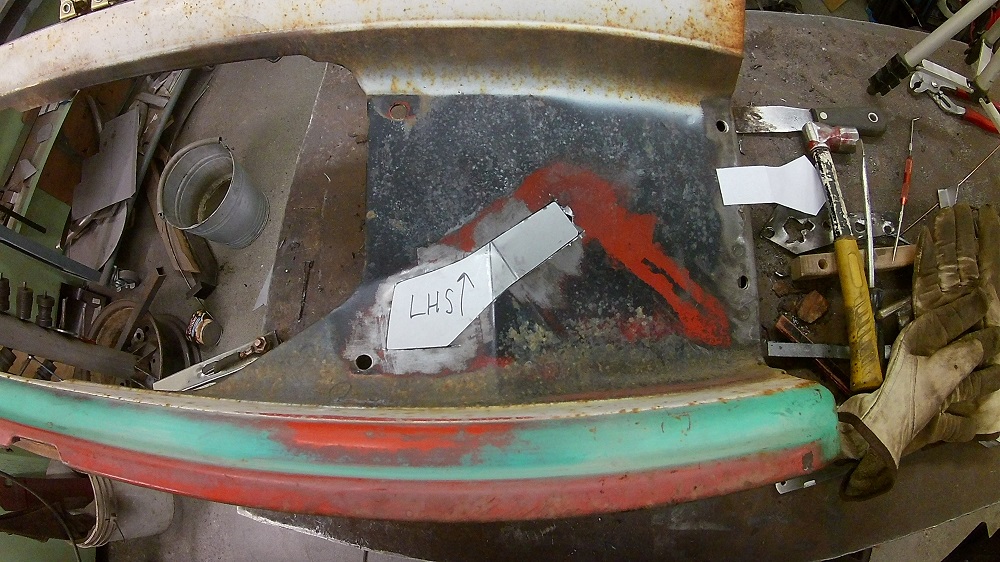
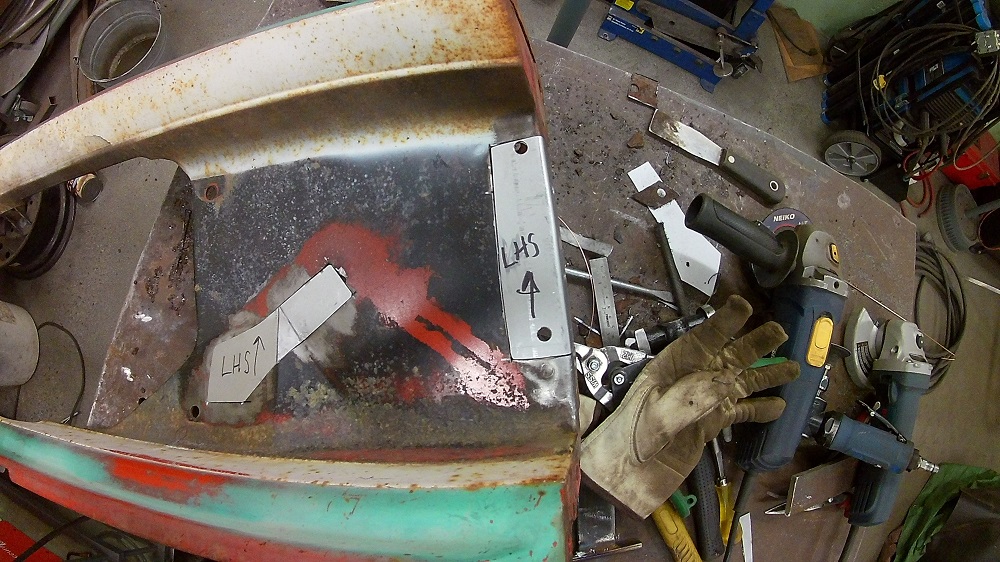
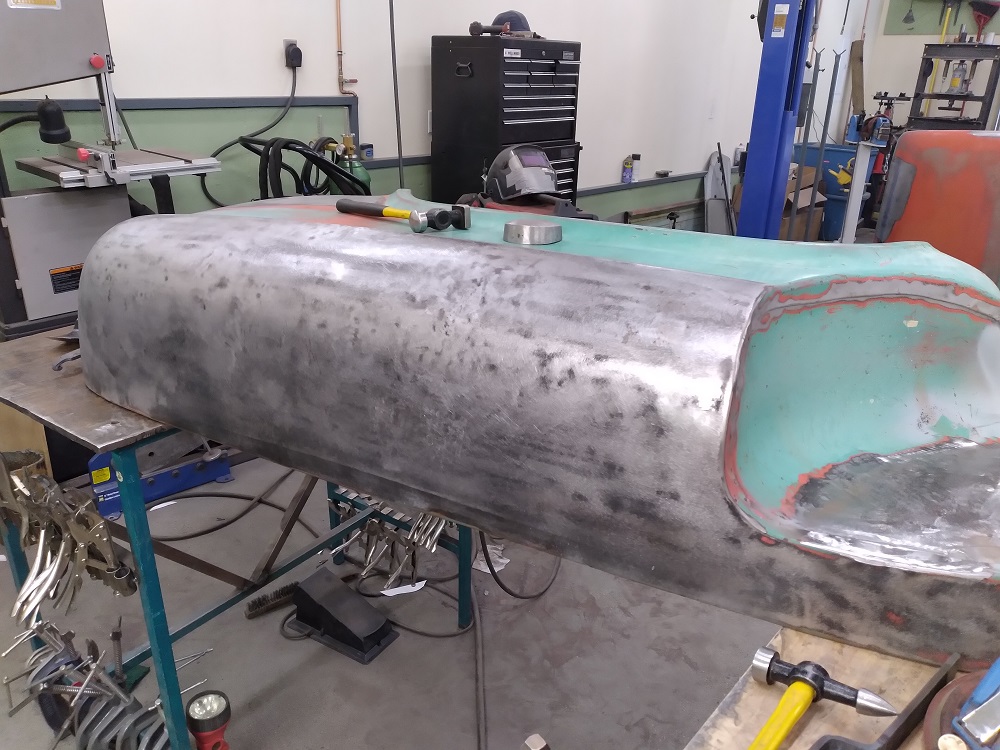
Three patches here. Left side inner and outer, leading edge inner, and right side inner and outer. There was some bubblies in there that the blaster couldn’t get at, but the needle-scaler attachment on the air hammer took care of that AND created some holes. Combination of MIG and TIG. Shrinking disc took care of oil canning nicely. Now to pound out all the dents in this fender.
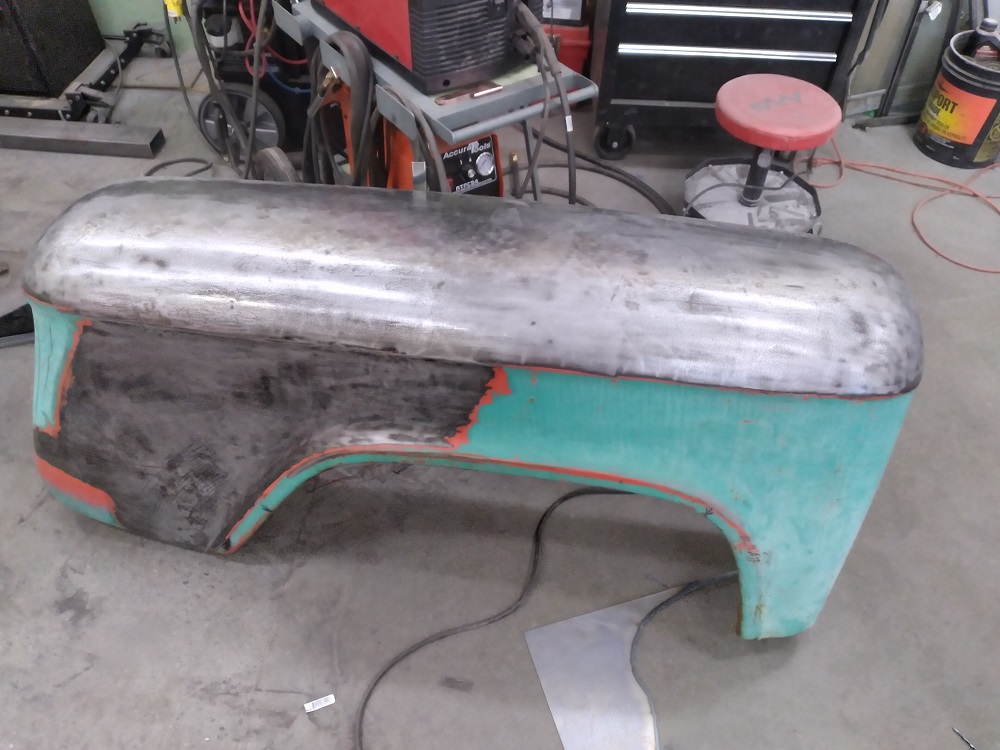
Finished removing all the dents.
I made a Bullseye Pick (FREE PLANS) to get out some more of the wee low spots. I love that tool.
Another patch I neglected to do, now done:
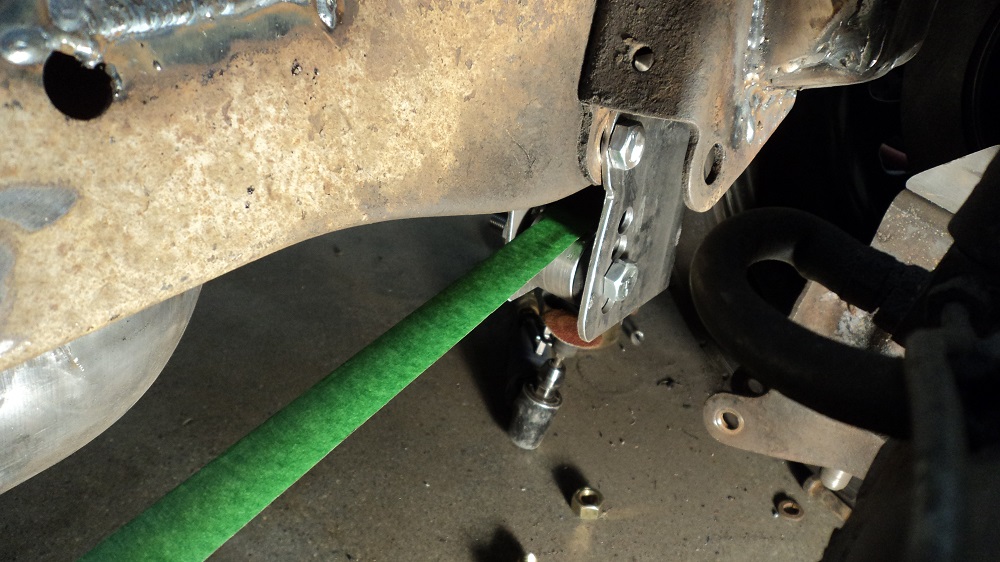
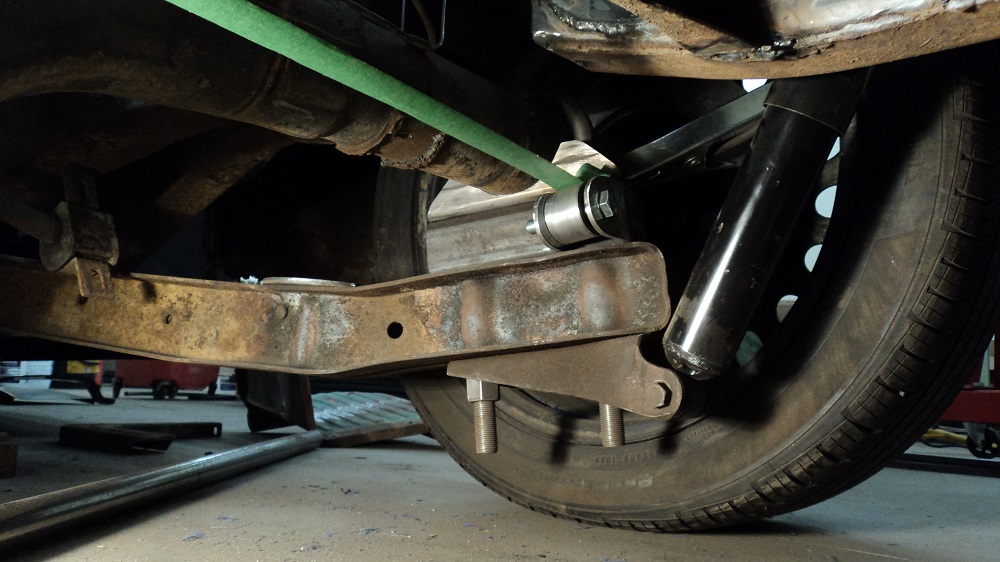
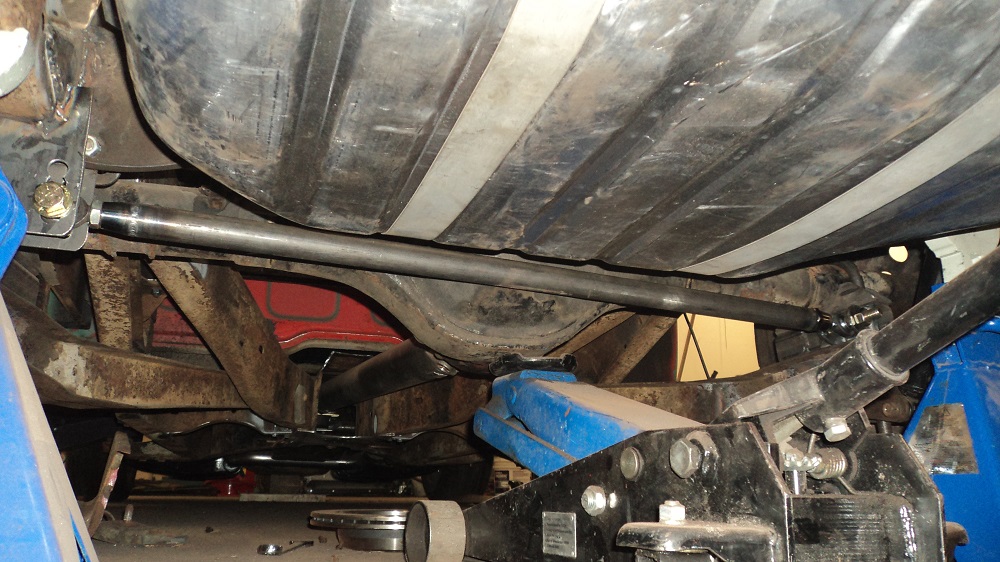
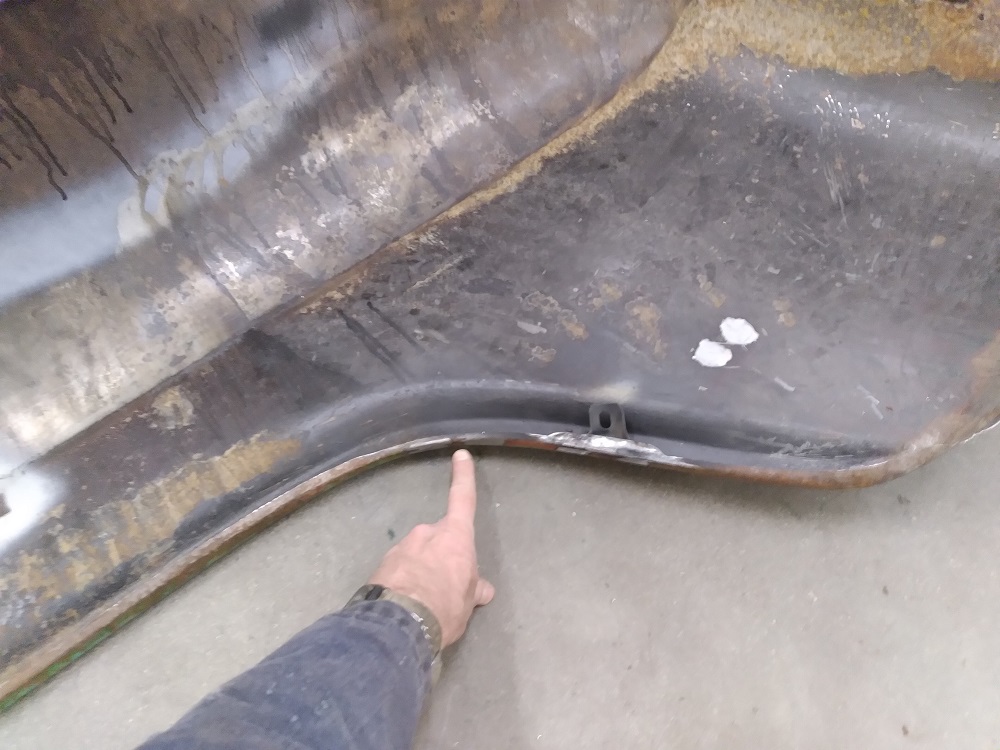
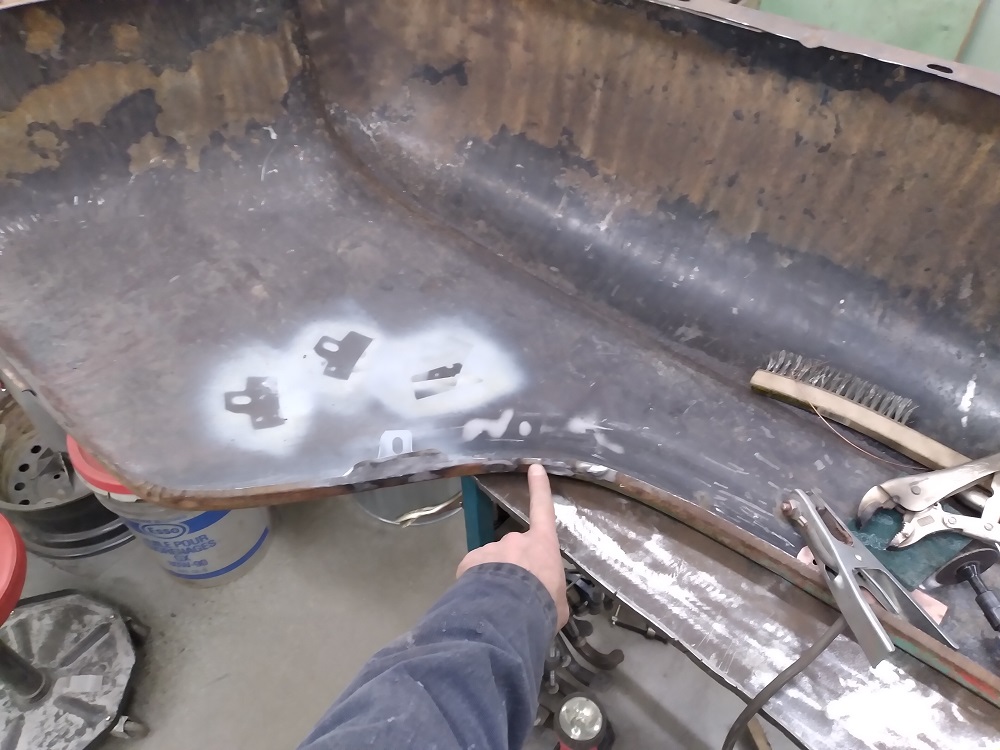
Flange reinforcement now added to passenger side fender, plus relocated rear support rod mount (tab at rear – support was hitting tire at full drop):
Used to be where I’m pointing at. Will need to lengthen the support rod a couple inches.
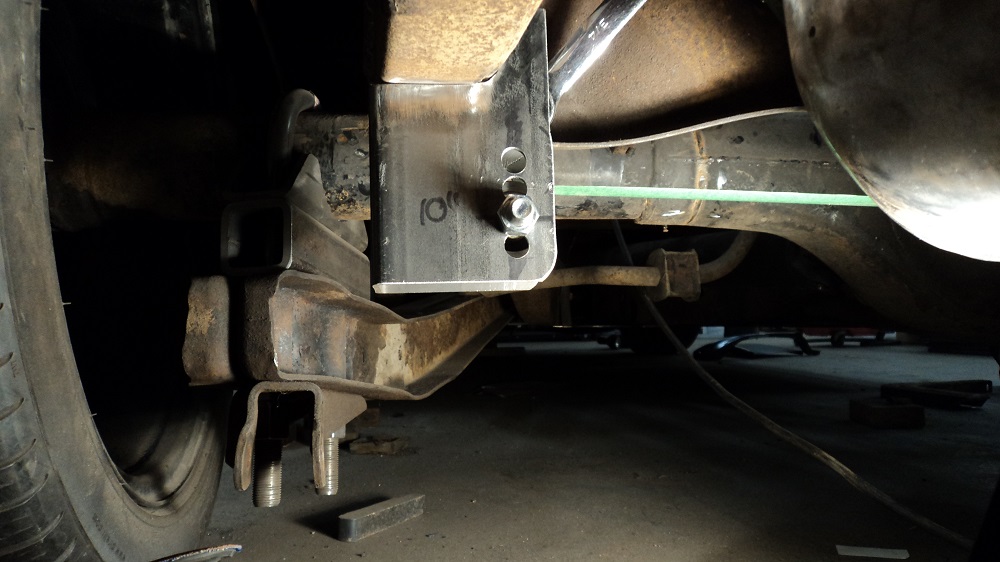
Driver’s side support mount moved as well:
About as good as my patience will allow:
