[ Start ] [ Index ] [ Parts List ]
In Which I Repair More Rust: The Doors
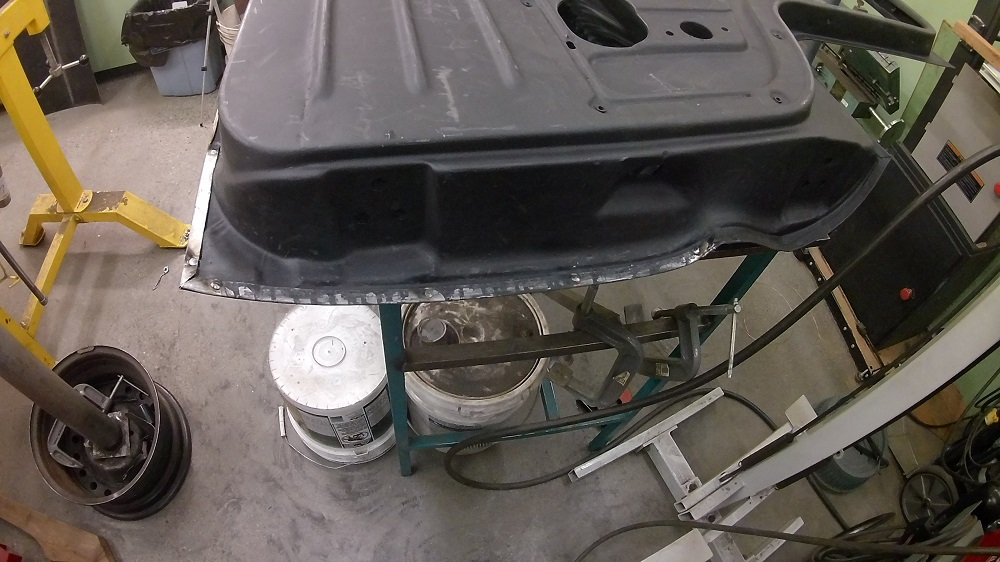
Started in on the door bottoms. Measured, cut, fit, and blasted as far as I could reach on the inside. Ran out of daylight. With the door bottom removed, I could get a dolly in to planish the door-swung-too-far door crease.
It took HOURS blasting the door, but it felt good; I could see progress. Once I started double-sifting the used crushed glass (sifted it into a bucket, then sifted back into the machine), I had almost zero clogs. Machine works well.
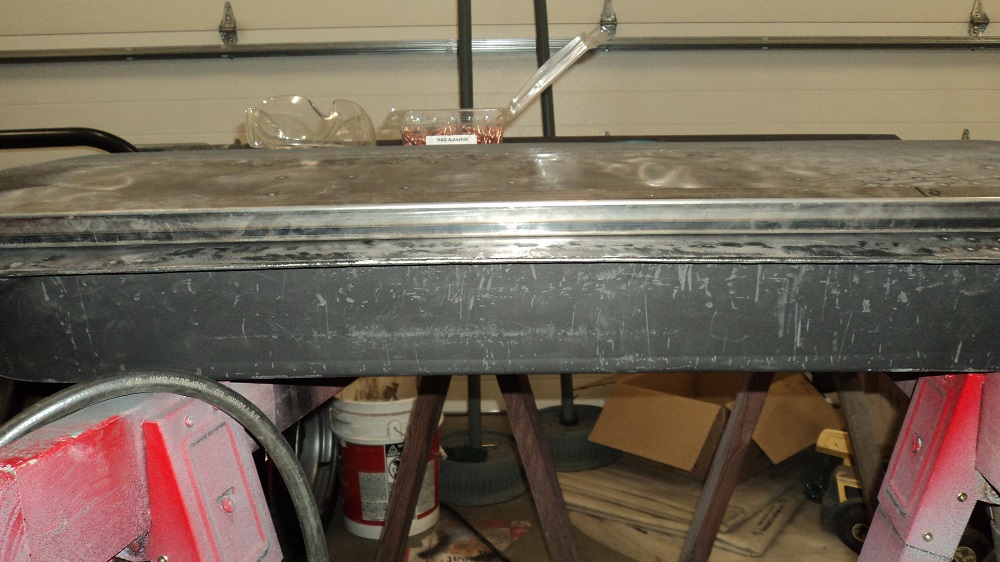
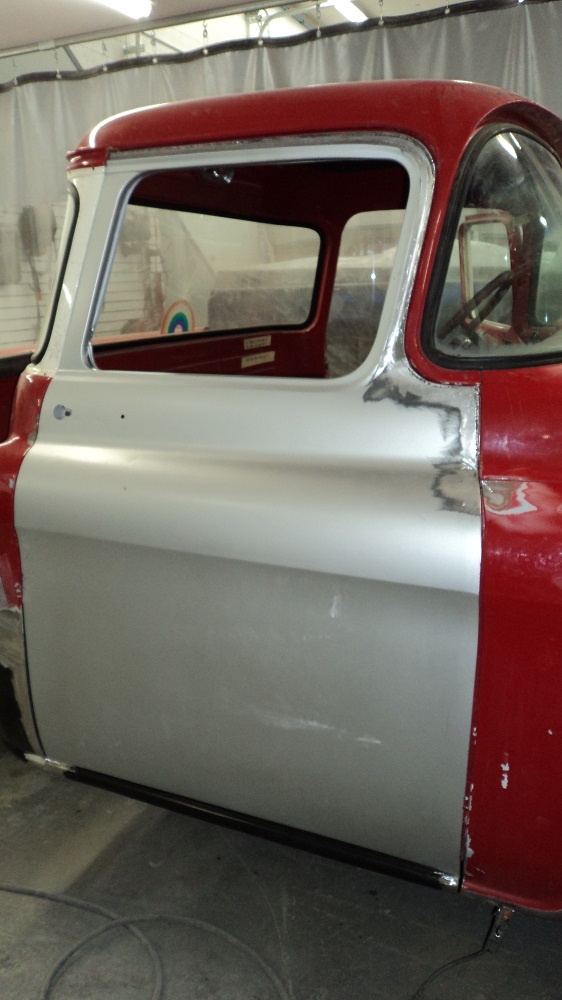
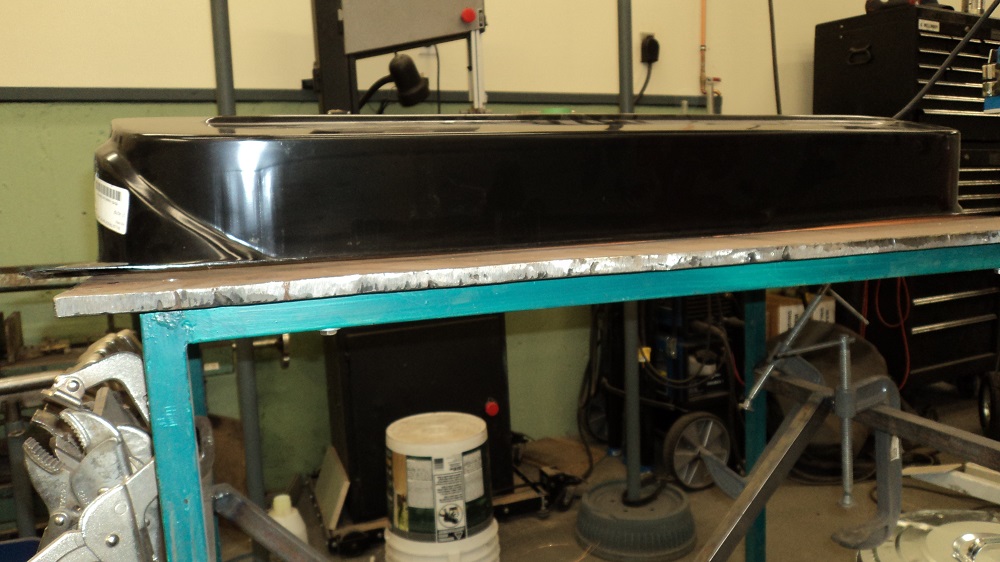
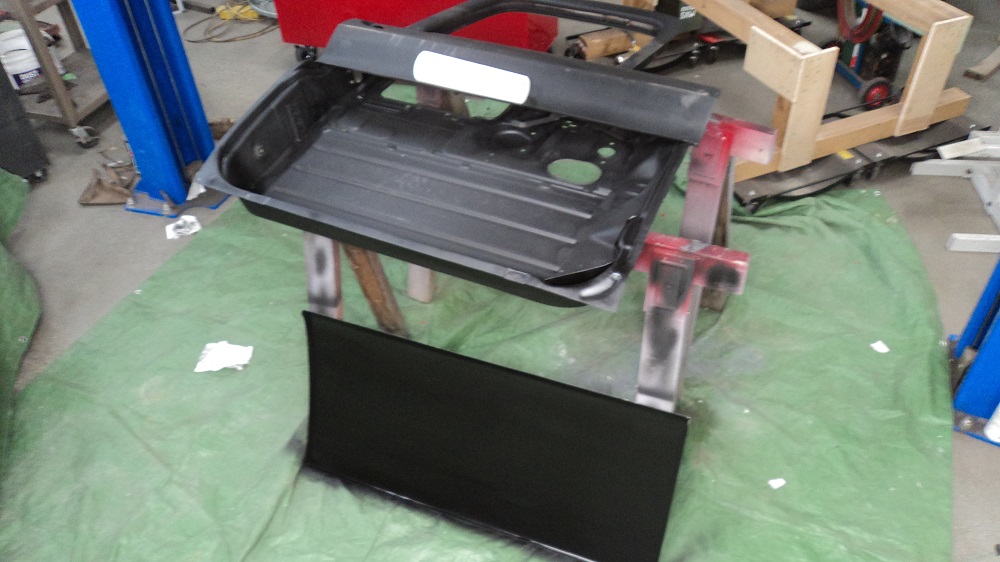
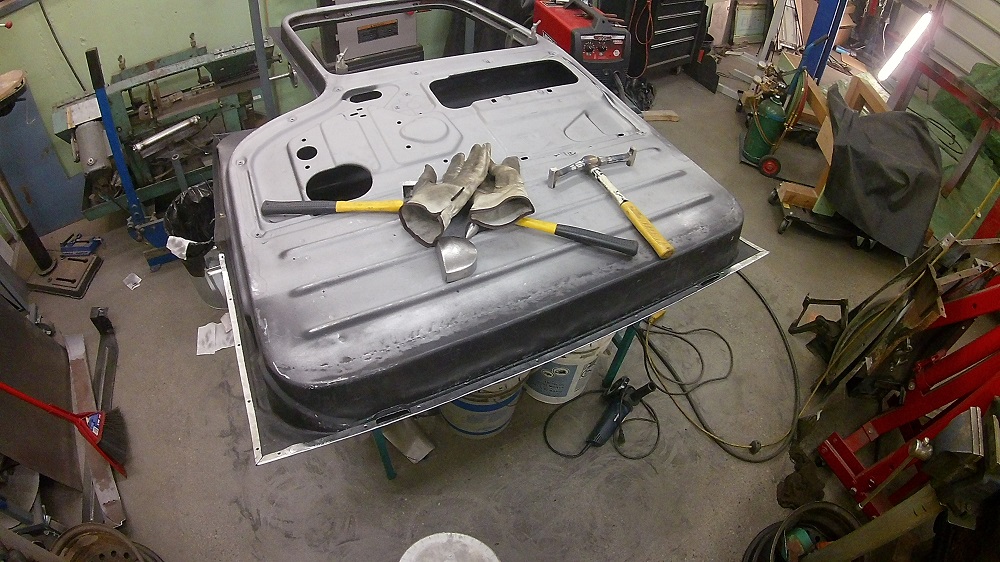
Door bottom is tacked, and two coats of epoxy primer rolled inside.
Also formed some actual drains since the replacement bottoms came with zip.
Repaired torn, bent, and fatigue-cracked West Coast Mirror holes, fitted the bottom door skin, then sprayed epoxy primer on everything in anticipation of final welding some time this week. Before closing it up, I’m going to run some Eastwood Internal Frame Coating through the cavities in the door.
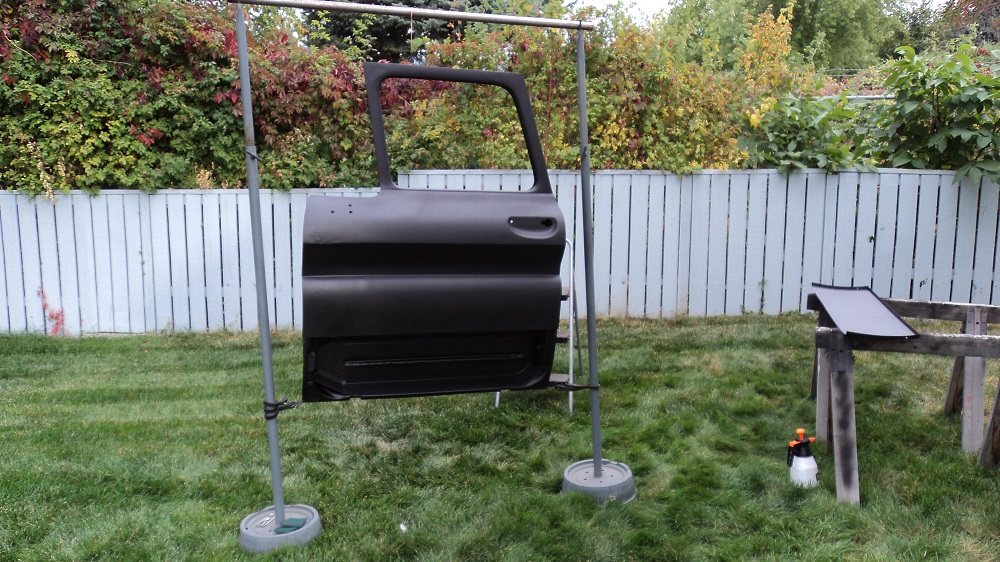
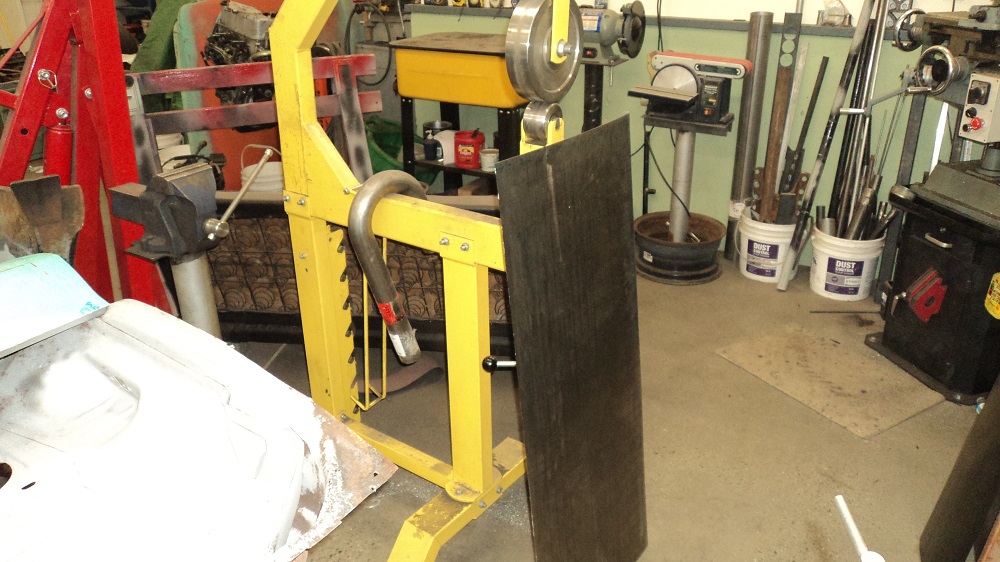
The stand is my “Exhaust Pipe Stands” for doing exhaust, which double as the kids’ Badminton net stands.
In cleaning my spray gun, I broke the mounting bolt for the air flow adjusting screw. Turns out it’s 5/16-UNF, with a 4.5×0.75mm thread inside. I machined a new one out of a bolt, but I need to get that tap as I don’t have one. Should be able to fix it just fine.
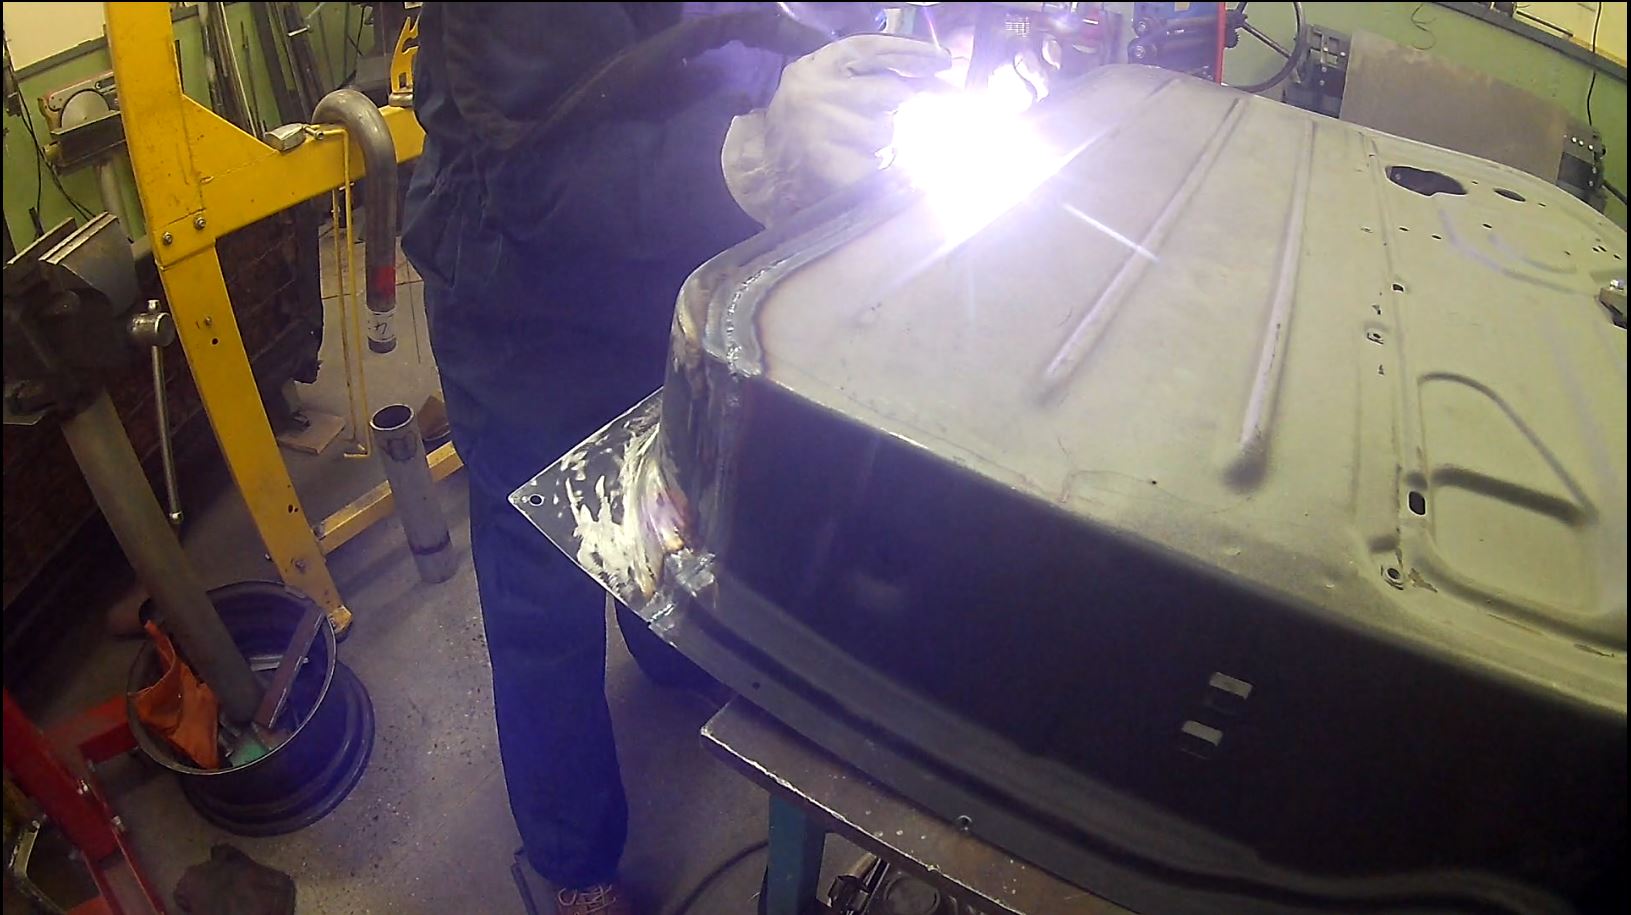
I tacked the inner bottom with MIG, but chose to finish weld in Oxy-Acetylene. Much better than my cab-corner experience, but I should not have tacked with MIG, I should have tacked with gas; the MIG tacks were much harder, and did not melt in nicely when I did the oxy-acet pass. The end result, though, was minimal distortion for sure, but I made the cut just below the strengthening rib so the rib could act as rigidity (and because the reproduction panel’s rib was drunk).
Also, I’ll share a couple of tools I made.
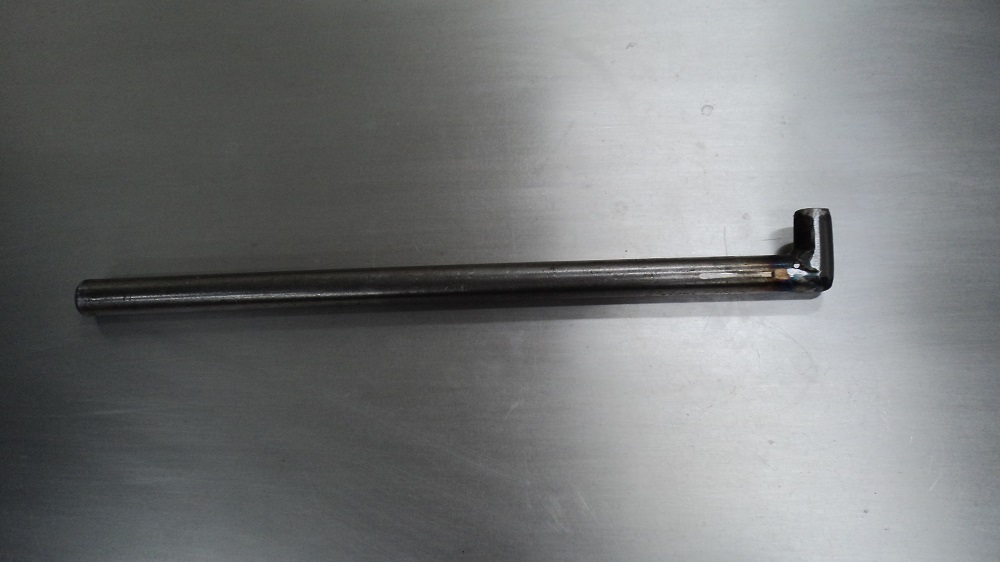
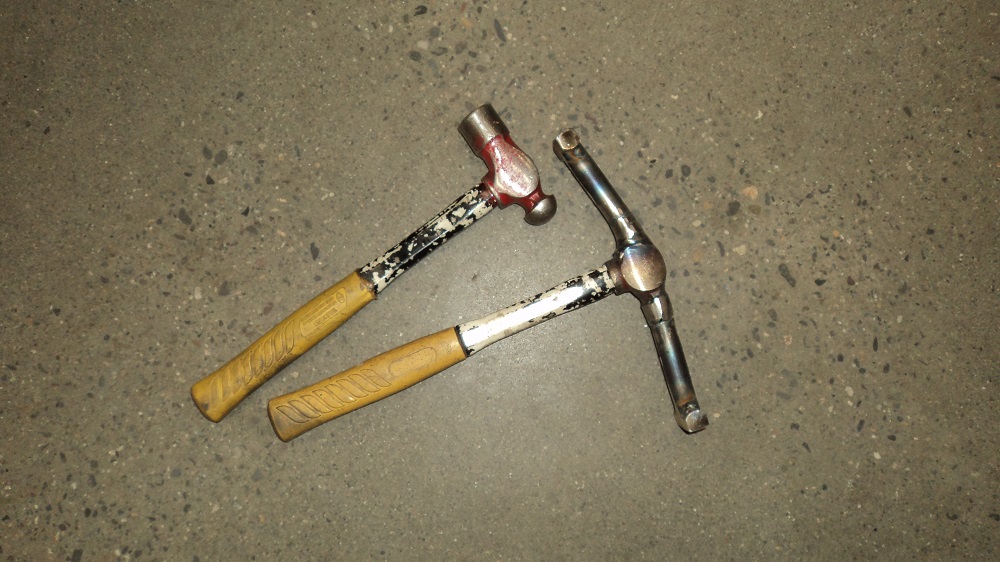
First up, is my Hammer Hammer. Initially about 18″ of 3/4″ solid round, to help my planish the fuel filler hole patch, when I couldn’t get a hammer in there. I used it as a hammer, and I used it as a dolly. Dealing with one of the West Coast Mirror holes, I cut about 1″ off the end and welded it 90° to fit inside the window opening, and I hit it with a hammer to push metal out, and I used it as a dolly to hammer metal in.
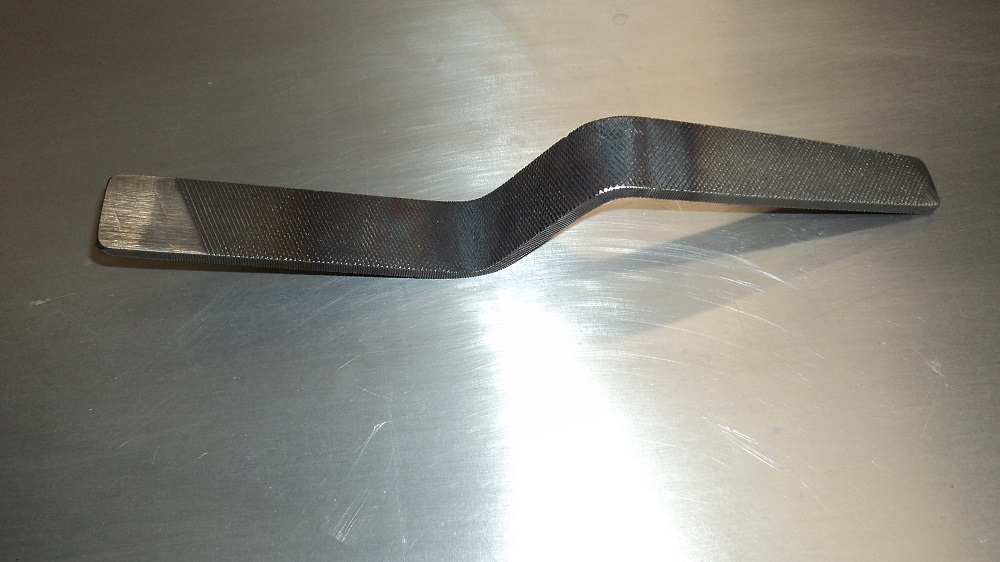
And then I made this one, to pull part of the window felt flange that I buggered fixing the aforementioned hole. This hammer-smacking-flange-putter-back-inator is just 1″ flat bar. I welded a tang from a file so I can beat it with a hammer, to pull the wee flange back into place.

The tang came from this tool I made, a slapping file, which does a grand job of persuading metal into perfection. Or perfect enough for a skim of filler in my case.
Also fabricated my own door-panel-hammer. Local prices are $75 for one, but I have a stack of old hammers, some 5/8″ steel bar, and a welder….
Grrrr.
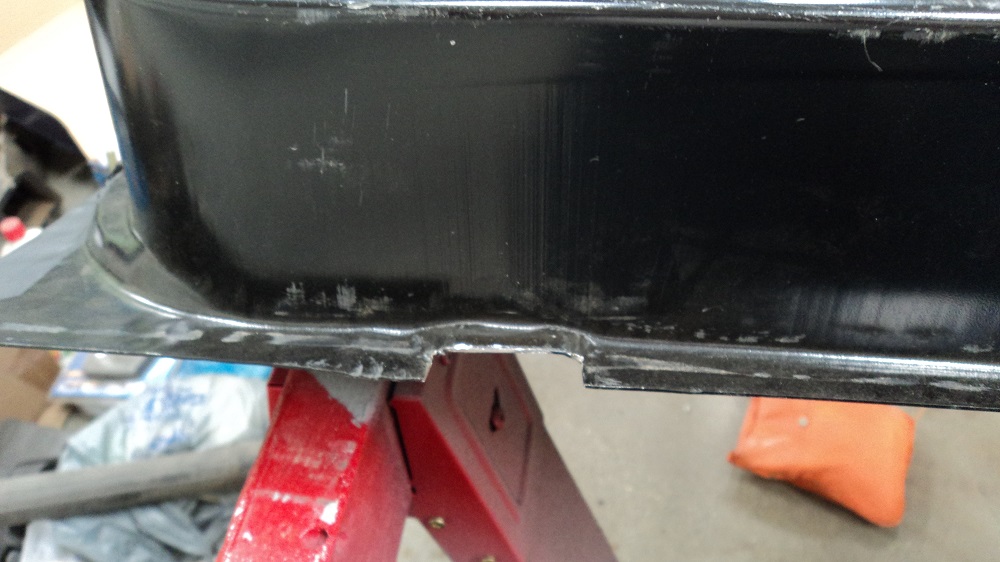
I assumed the lower skin would fit right. It didn’t. It isn’t “curved” in the middle of the door, it’s only curved at the flange. This resulted in a 3/8″ valley below the weld.
Before all you pro’s point out the importance of planishing the weld, do know that this was gas welded, planished, and the weld is f-l-a-t. The center of the patch has no ‘body” to it – it’s just doing what it was bent to do.
Straight at the weld:
Then what – should I have English Wheeled it? I can’t get right up to the flange with the wheel.
Not impressed. May have to by full door skins.
3/8″ gap half-way down the panel:
Bottom is decent enough:
So I finally taught myself the French Wheel and made this:
The flanges got formed with the tipping wheel on the bead roller, then tweaked with a….. um….. it’s a piece of 1/2″ round bar with a 5/8″ deep slot cut into it – I use it to fold sheet metal over, like a hem sort of. I don’t know what they’re called.
Tipping the flange also took the curve out of the ends of the panel, but the Shrinker brought it back. I marked 1″ increments on the edges of the skin so I could know where to shrink it more “7/8/9” is easy to remember.
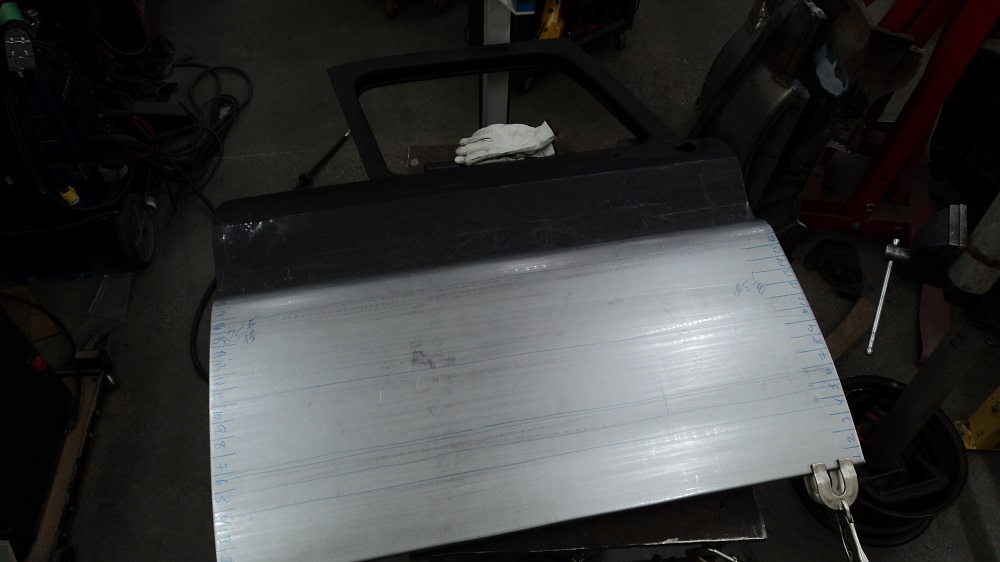
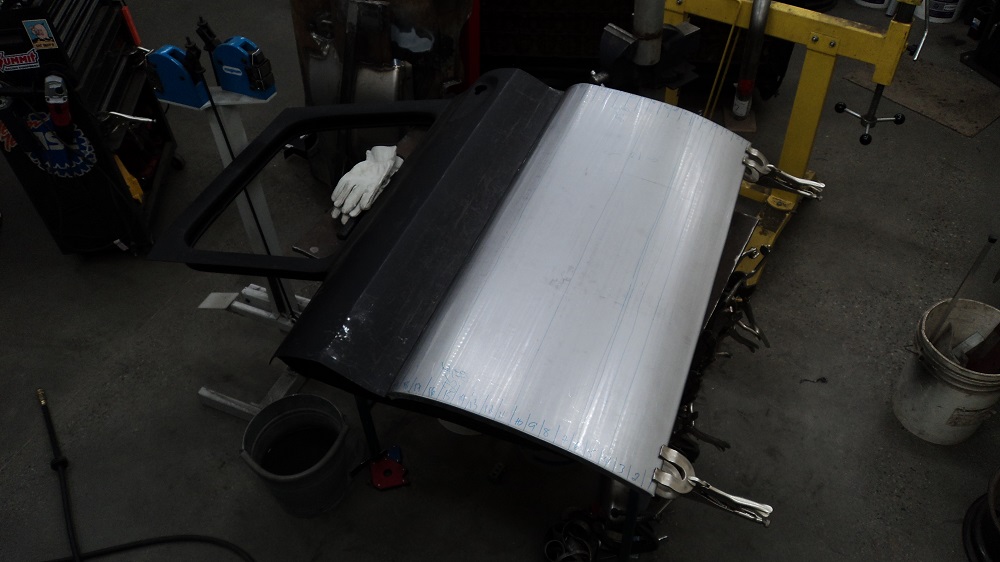
I fiddled with the gap to make it as tight as possible so as to get a good weld in there. Zero gap = minimal distortion.
So, if my wee tap came in so I can fix my HVLP Touch-Up gun, I should have some epoxy primer on the inside, ready for welding next weekend. Which is where I was at the start of -this- weekend. Woo hoo.
-
- Cut the skin, plus about 1″ extra for flanges
- English Wheel some curve into the panel
- Tipping Wheel on the Bead Roller to make the flanges
- Shrink the flanges to put the curve back in
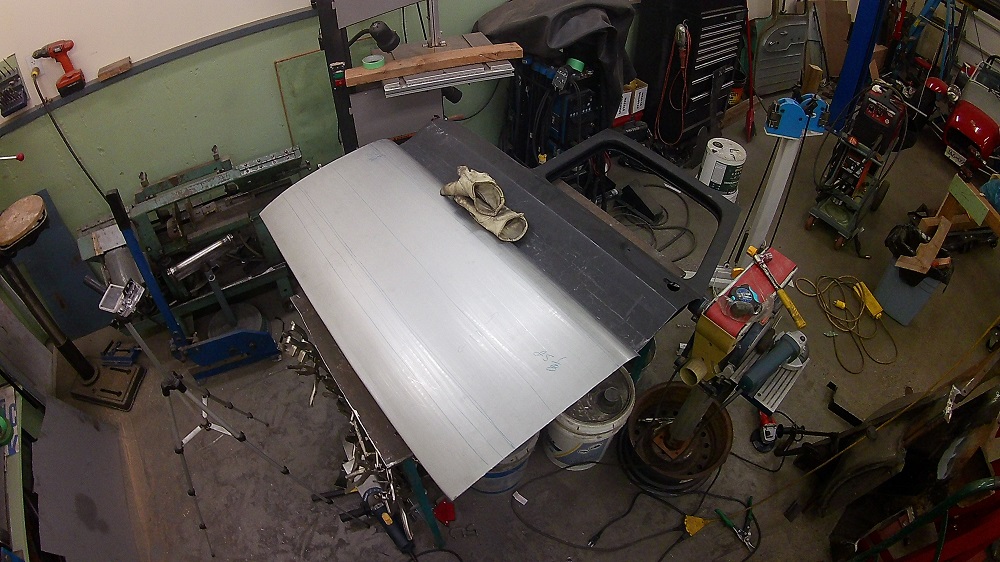
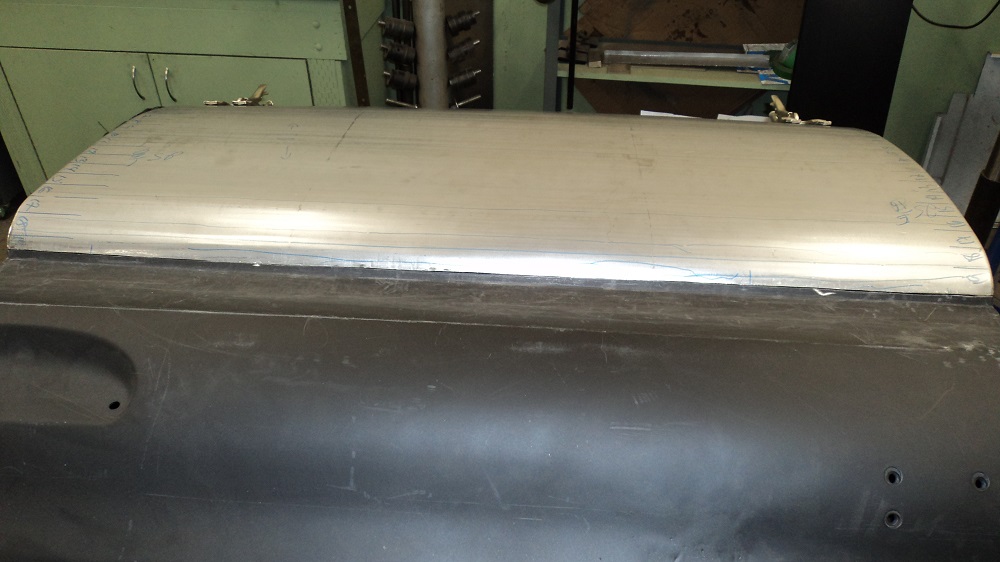
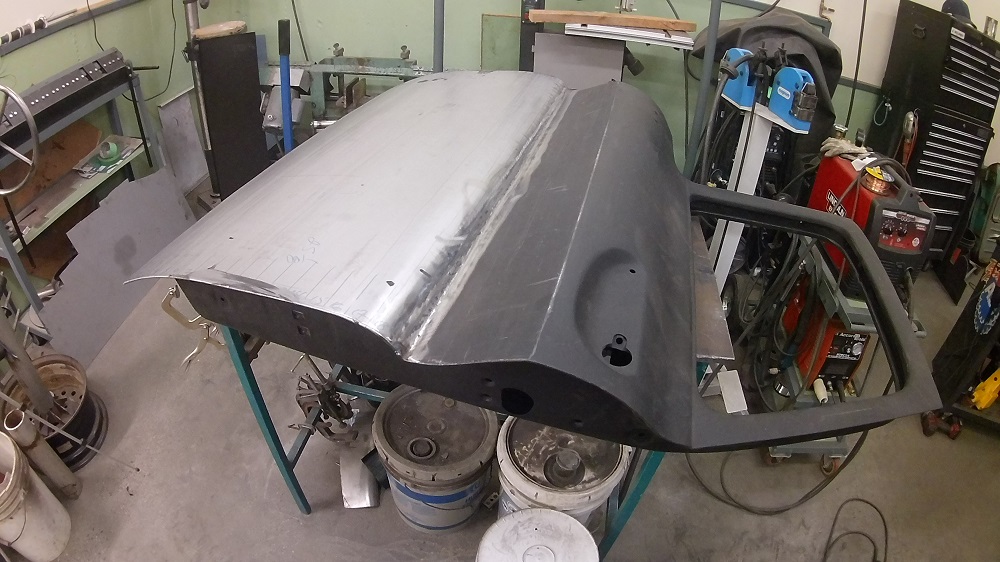
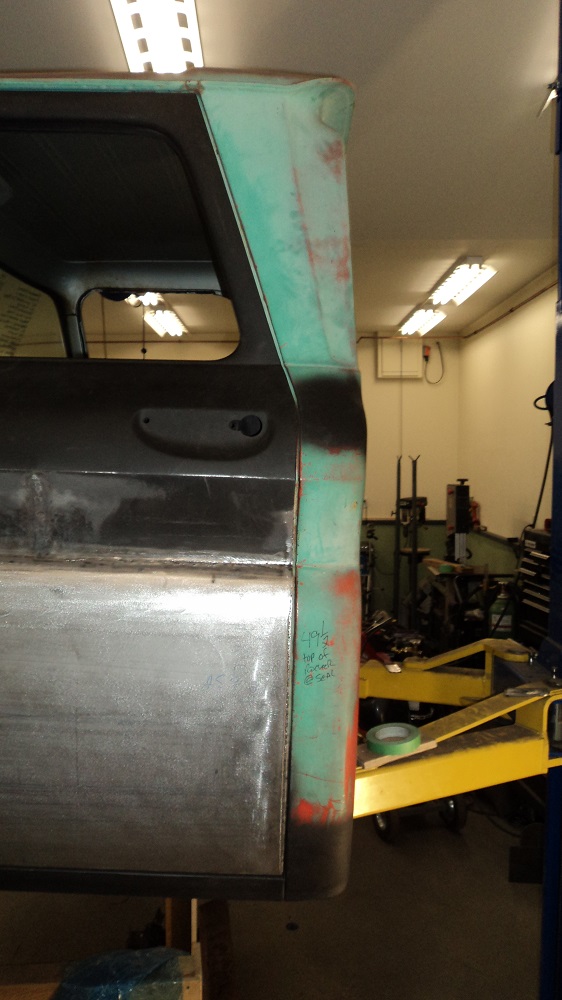
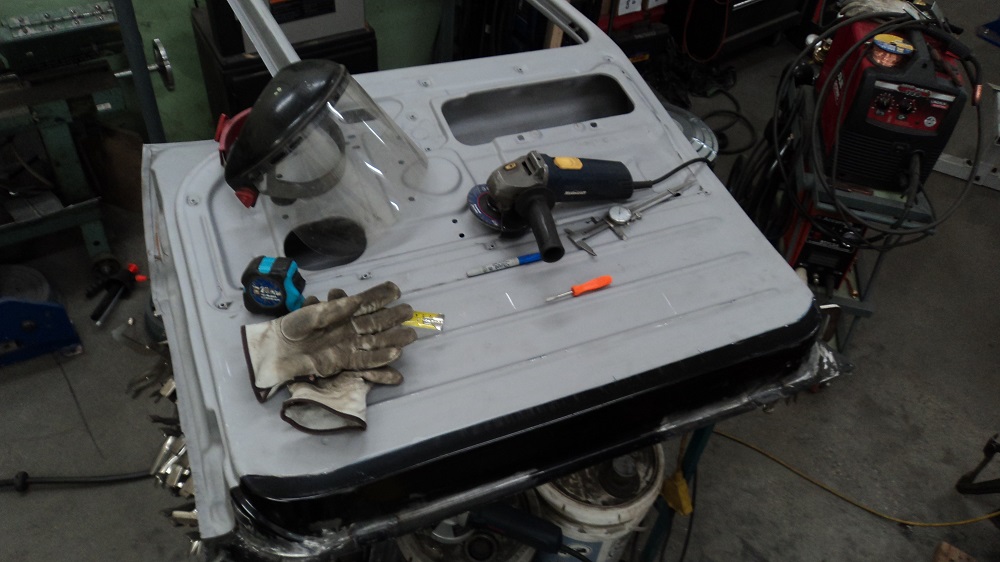
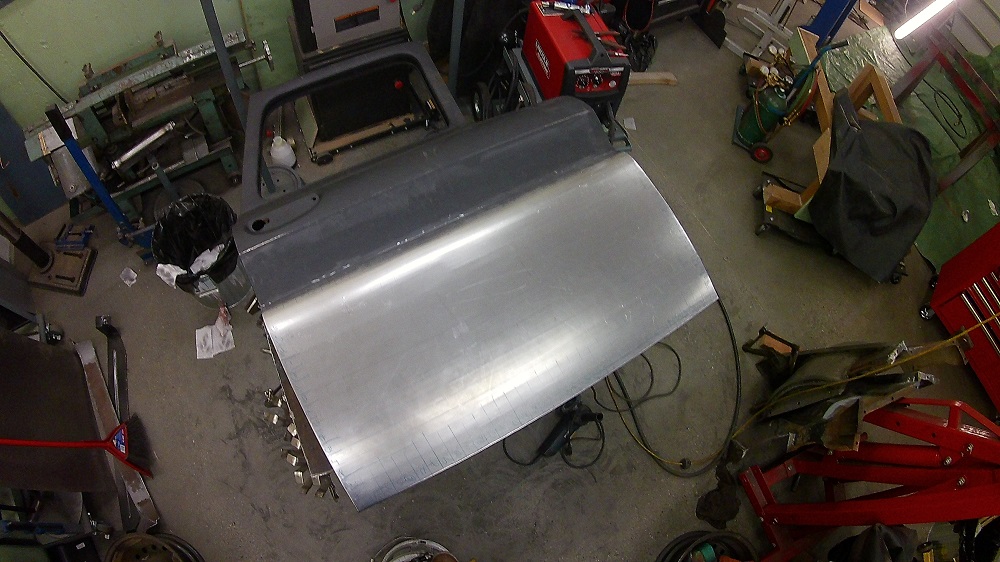
The door is now skinned. It didn’t go the way I had planned, but it’s on and it looks decent.
I intended to oxy-acetylene weld the skin, and to practice, I cut a piece of scrap 12″ long in half, tacked it, planished it, and welded it together. Then cut it in half again in another spot, did it again. And again. I felt confident.
But oxy-acetylene had other ideas.
I tried and tried to make it submit, and finally – I snapped (Lose it. Heater. Smoker. Flurry to the solar plexus. The torch tip goes for it. I gave him so many lefts he was begging for a right. Uppercut. Jab. Roundhouse kick to the face. He’s lying there in a puddle of his own excrement. I says “How’s that?”), and MIG welded the skin on. It worked out fine.
I do not have the metalworking skills to work the metal into perfection. And the more I try, the less patience I have for it. I -am- however, plenty good at filler.
At any rate, here’s the skin, installed:
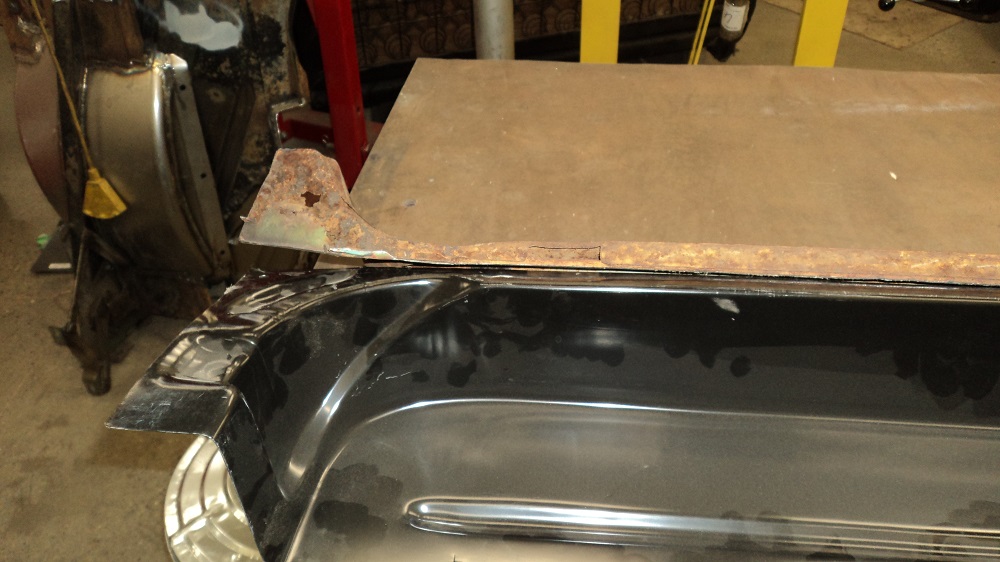
Passenger door had a mild crease along its full width, which is going to be hard to hammer out (though not impossible). The bottom of the door seems much more solid than the driver’s door, but it’s ALWAYS a better idea to pull the skin off and just re-skin it. How else are you going to be able to deal with this rust? Rust between the frame and skin becomes bubbles after its painted.
Some dry days are in the forecast, so I should be able to get it all blasted. Then make another skin.
Spent some time at a local hot rod shop to see all their autobody stuff, and chat with the guys and the owner. Cool experience.
They had a late 40’s Chevy truck that the truck owner had cut the cab to lengthen it a few inches, and then discovered he was in over his head, and brought it to them to fix. It wasn’t properly braced, so it’s a ton of work.
They had a sweet 510 – I asked if there was enough metal in it to weld to, and they said nope – they had close to $50,000 metal fabrication in it.
A neat 50’s Apache that had the right corner of the cab stoved in 20 years ago, finally getting repaired. Damage was really extensive, and messed up everything up to the front clip as well. They showed me the super expensive aftermarket door that needed a port-a-power through the window to correct the shape enough for even the glass to fit.
A sweet ’56 Nomad getting re-done, because the paint and bodywork done by another shop wasn’t good enough for the car owner.
A gorgeous mall-rated 60’s Blazer, lifted, huge rims, chrome everything, gorgeous interior, gorgeous paint, mural on the tailgate, not at ALL my style, but I can appreciate the work that went into it – you’d never drive it; it gets trailered everywhere.
A wack of other cool rides as well.
It inspired me to spend some time correcting the door gaps on my ’61.
Serviced the shop furnace today, it’s supposed to be the coldest October day in 100 years here. La Nina or something. Also ran the lawnmower out of gas, and moved the Jerry Can over to the snow blower. Reminds me, I need to change the oil on that. Also fixed a leaky fitting on the air compressor lines.
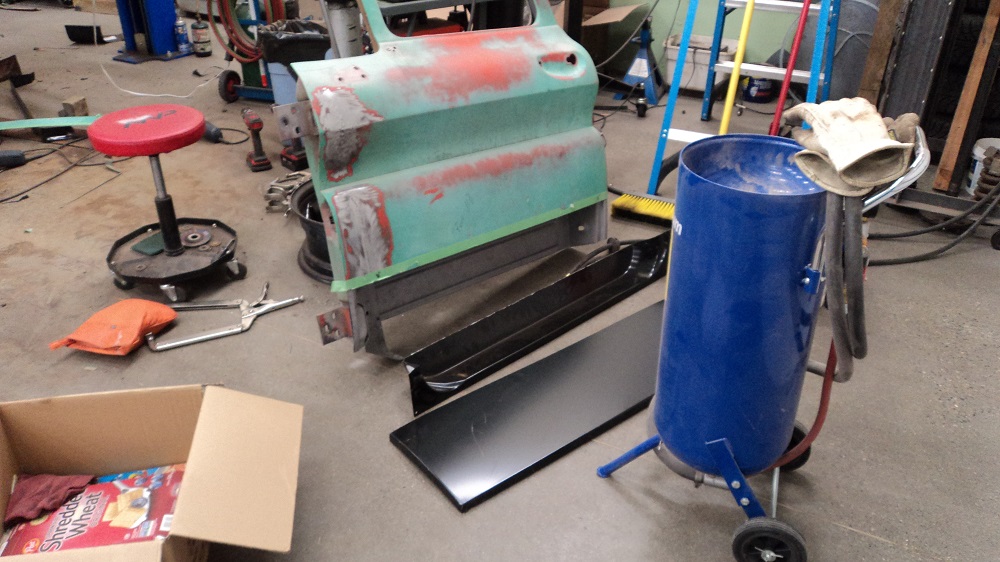
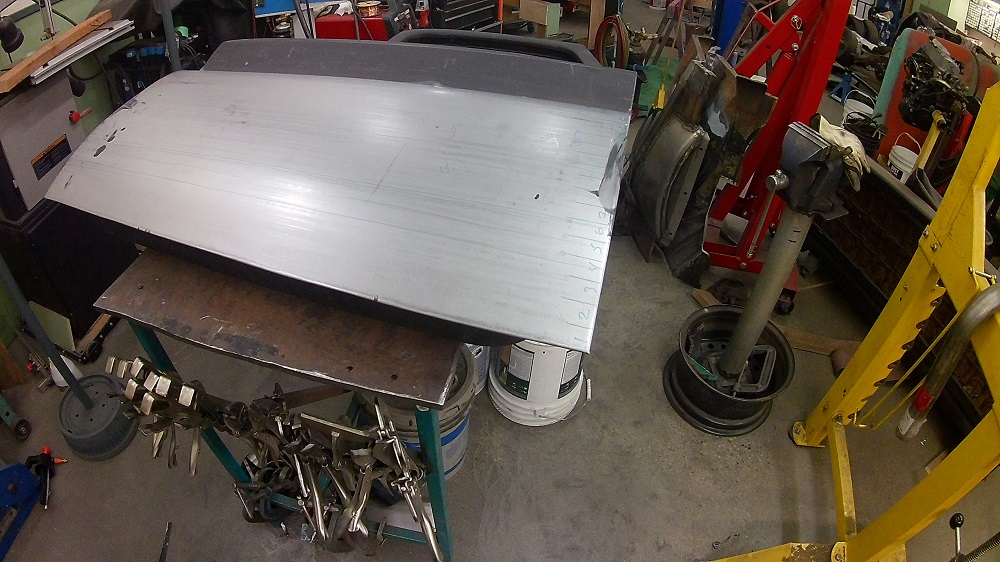
Filled the West Coast Mirror holes on the passenger door:
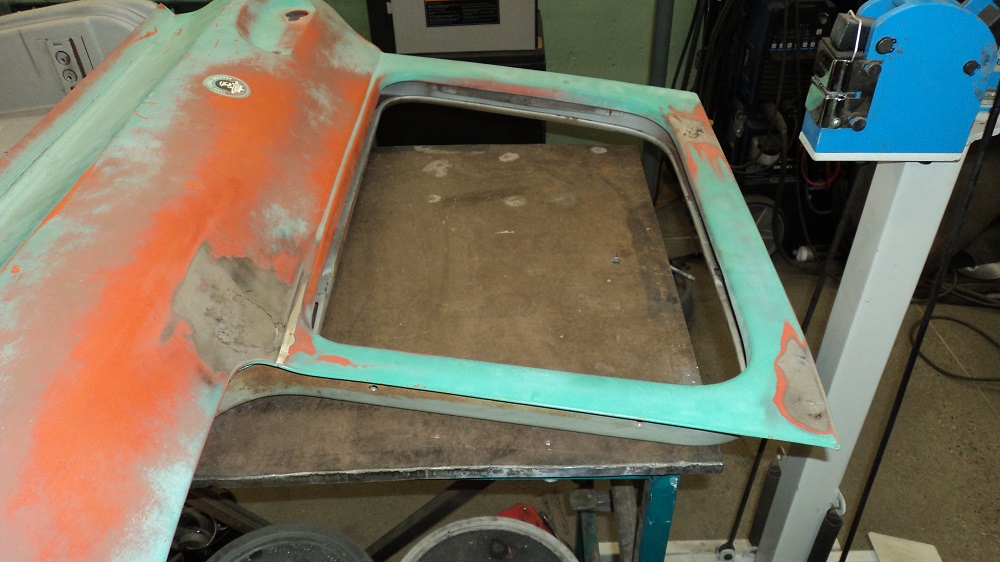
Prepped the next door skin for wheeling:
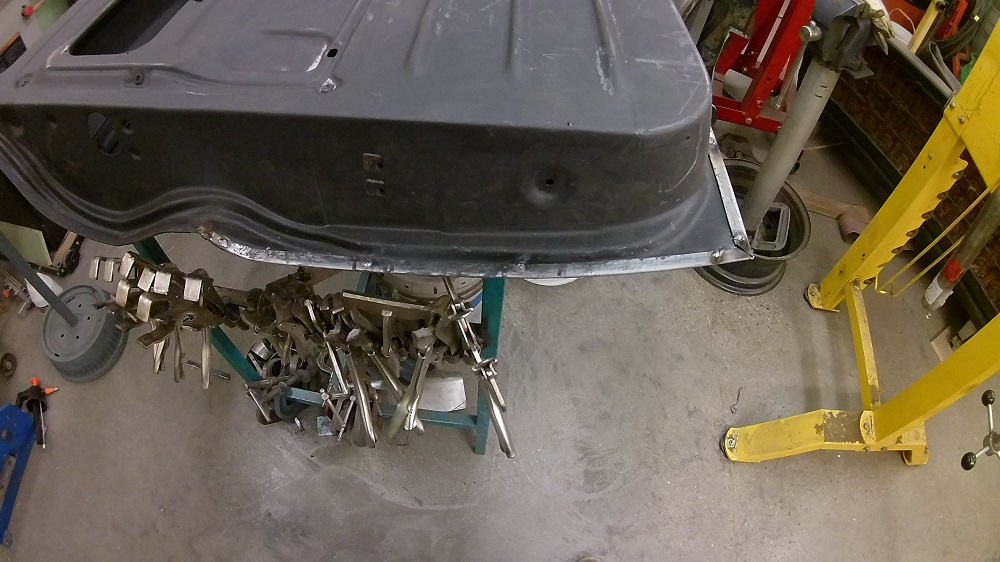
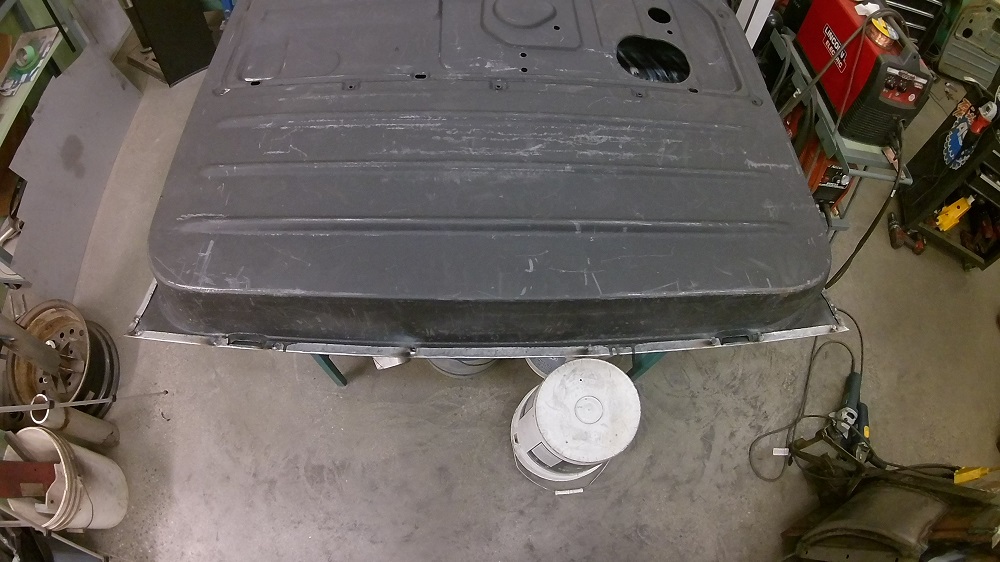
And gathered a plan on where to cut the door bottom out:

Six inches of snow yesterday, so I’m not going to do any more blasting for a while.
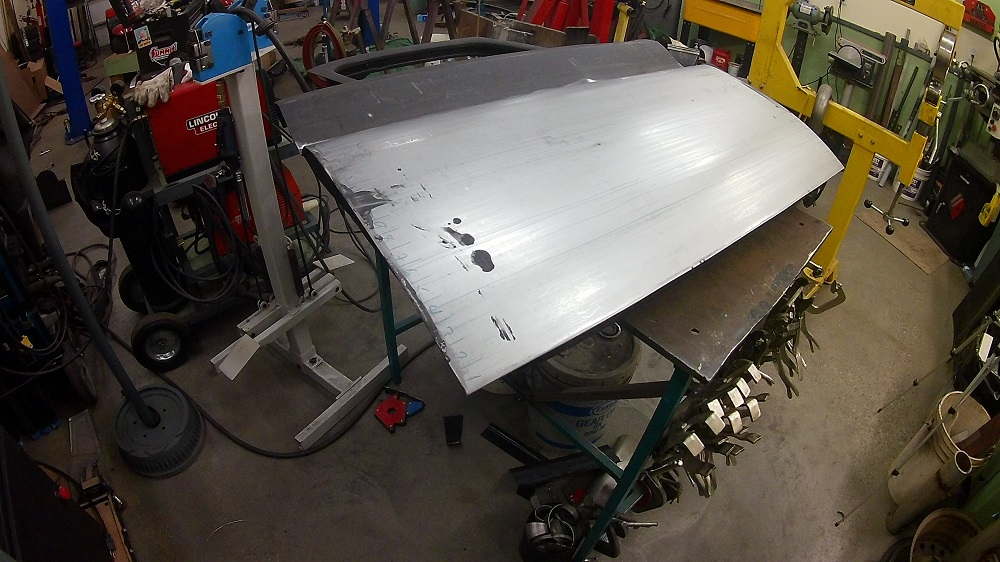
Passenger door skin formed and fitted. I felt good about my progress, so that was a good place to stop for the day.

We had a big dump of snow, which had finally melted and dried up for a nice clear sunny weekend, so I got the door blasted. Elapsed time: 4 hours. New bottom will be welded in, so I didn’t worry about wasting time blasting that.
Working on the passenger door bottom. In fitting the driver’s door, I discovered just how badly the aftermarket door bottom was shaped, and had to slice and re-shape the door bottom in place. Today I’m re-shaping it before welding it in.
Comparing the replacement bottom with the old bottom, the new one is curved, it should be straight. The corners are junk.

The flange should sit flat on the table like the original, but it doesn’t (dunno if you can see it – I put a light behind):
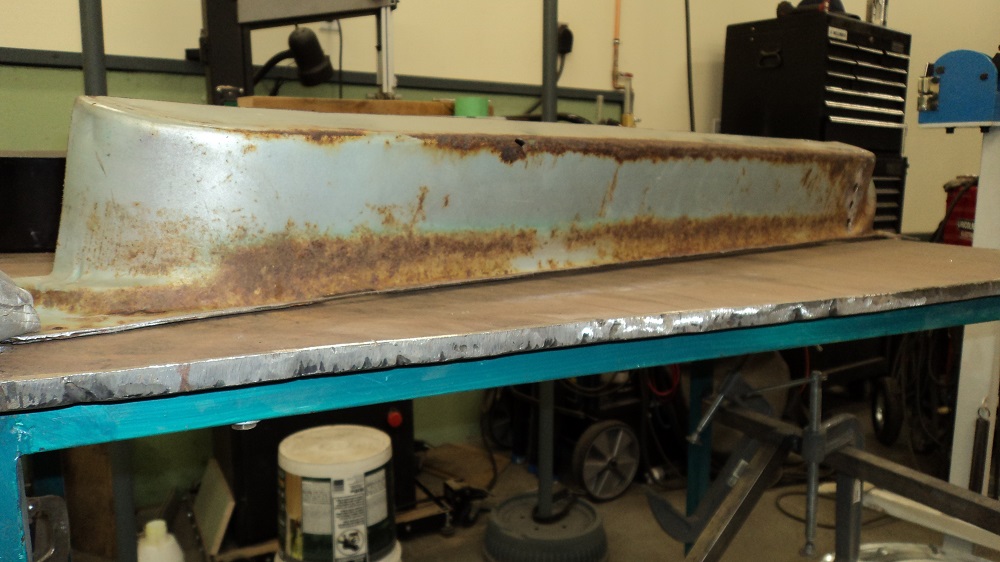
So I did a whole lot of slicing, and added about 1/4″ of metal to get the flange flat again. Then sliced to fit it. A bit more fitting and it will be welded in.
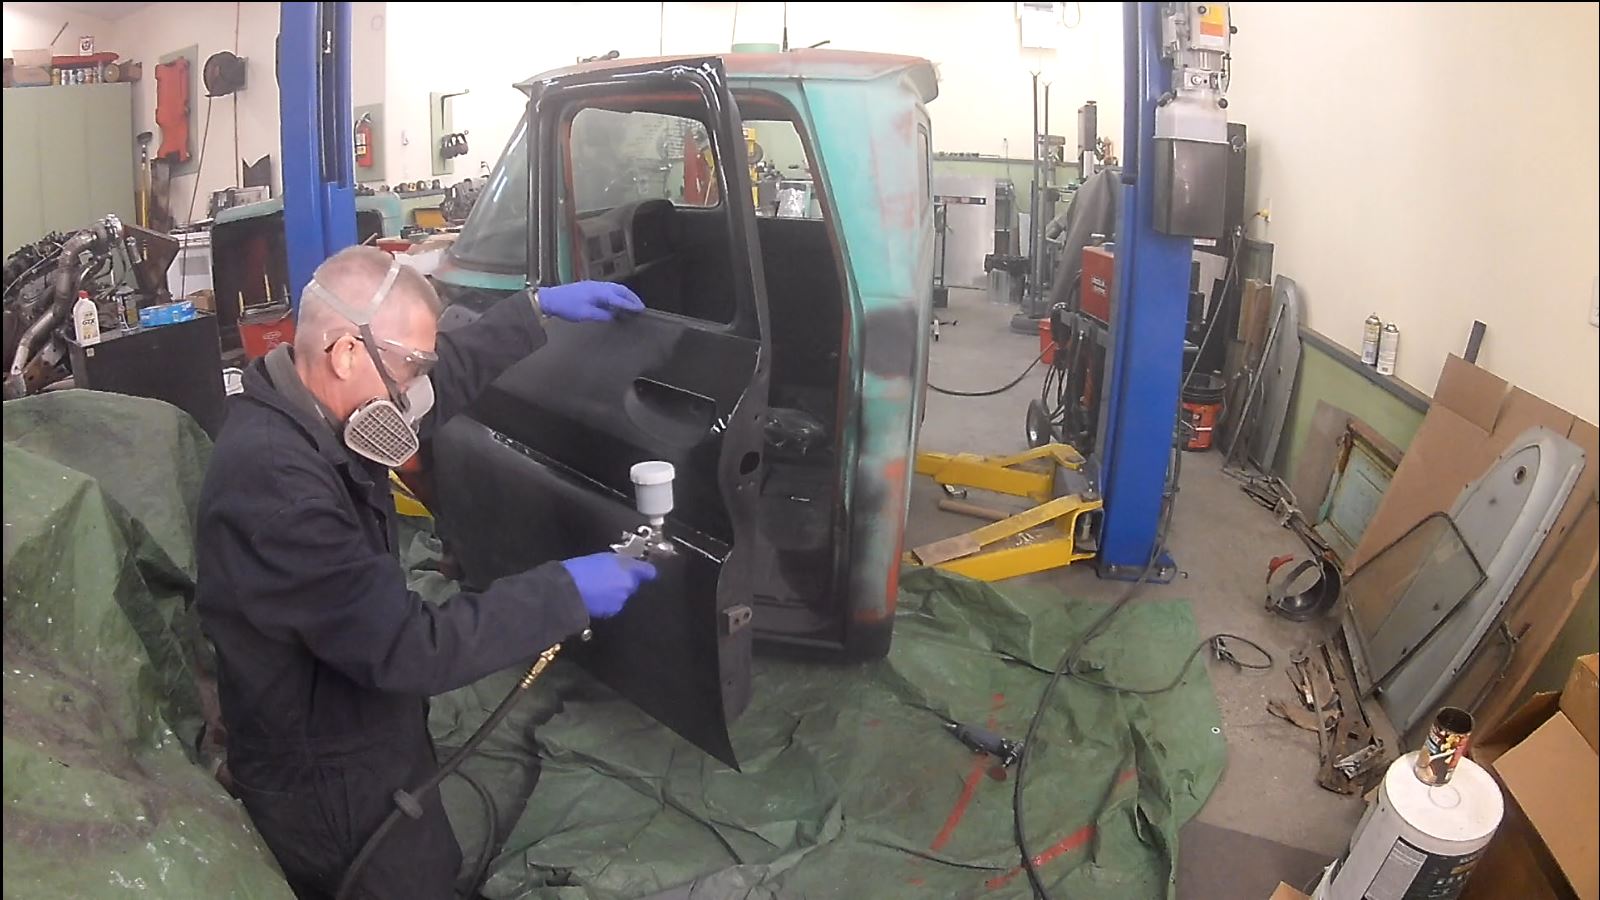
Tweaked a bit of the door bottom fit, and checked it with the door skin; I’m feeling confident enough to lay down some primer. Also coated the driver’s door since the gun was out.
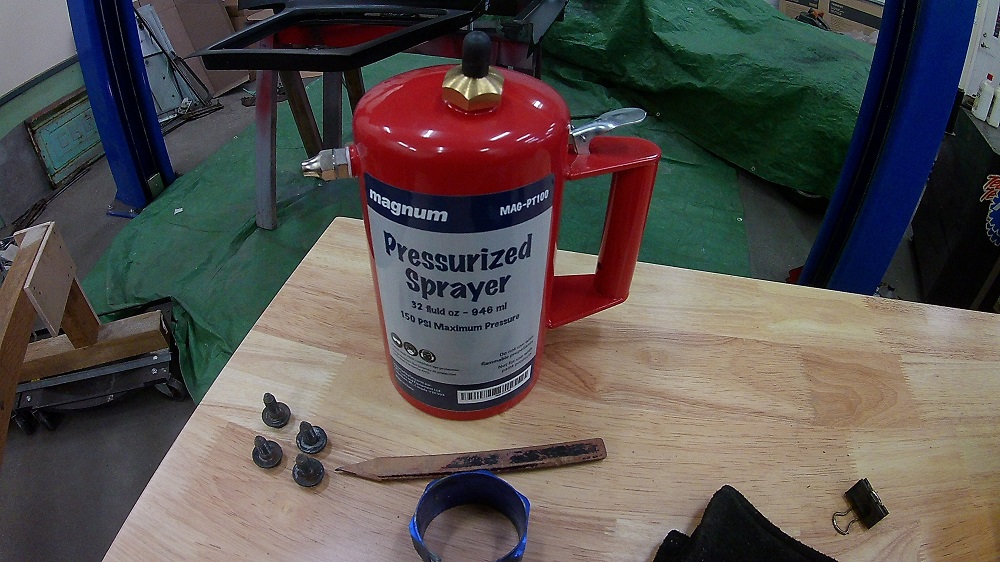
Also, tried this new sprayer for pre-paint cleaner, since my super cheap plastic one got a pre-paint cleaner enema of no return. Seems decent.
Once the primer had cured, I TIG-welded the door bottom (I was skeptical of doing oxy-acetylene again). There was still warping, but it was still easier to planish than MIG welds. I -think- I get less warp with MIG, but I might be fooling myself – there might just be more finishing with MIG than TIG, but I’m trying different approaches to see which one I like better.
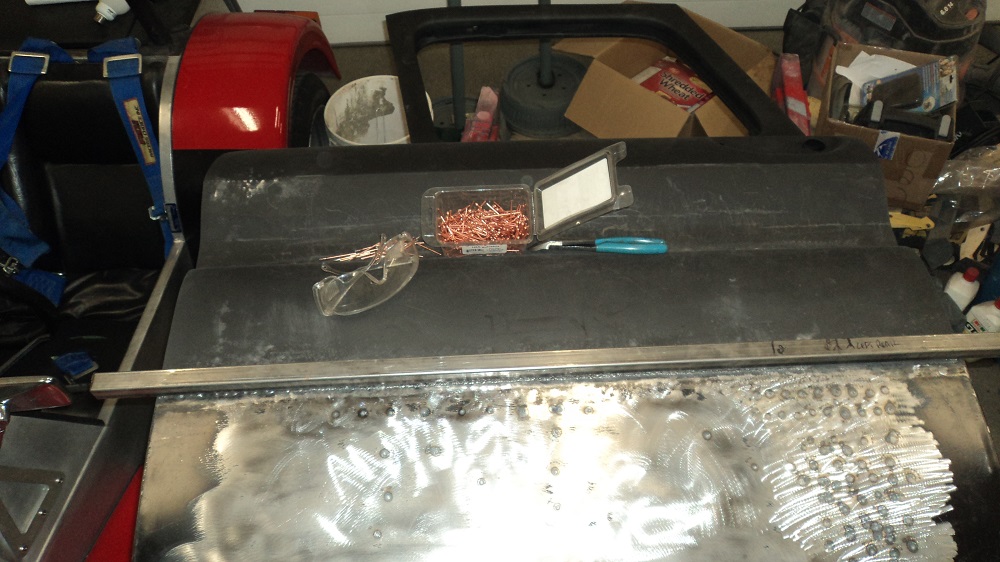
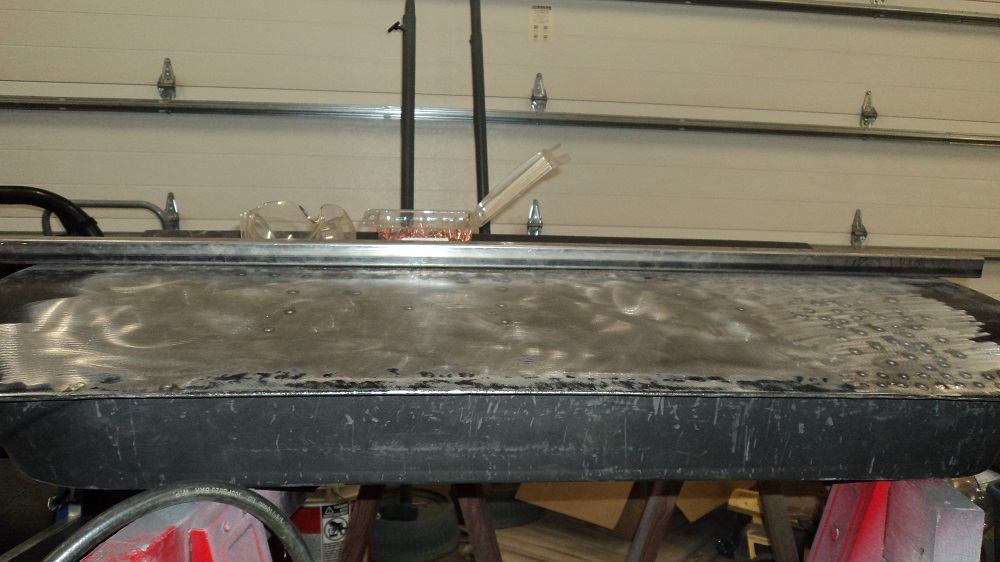
Then a good scuff on the inside of the door bottom as well as the skin, and two coats of epoxy primer.
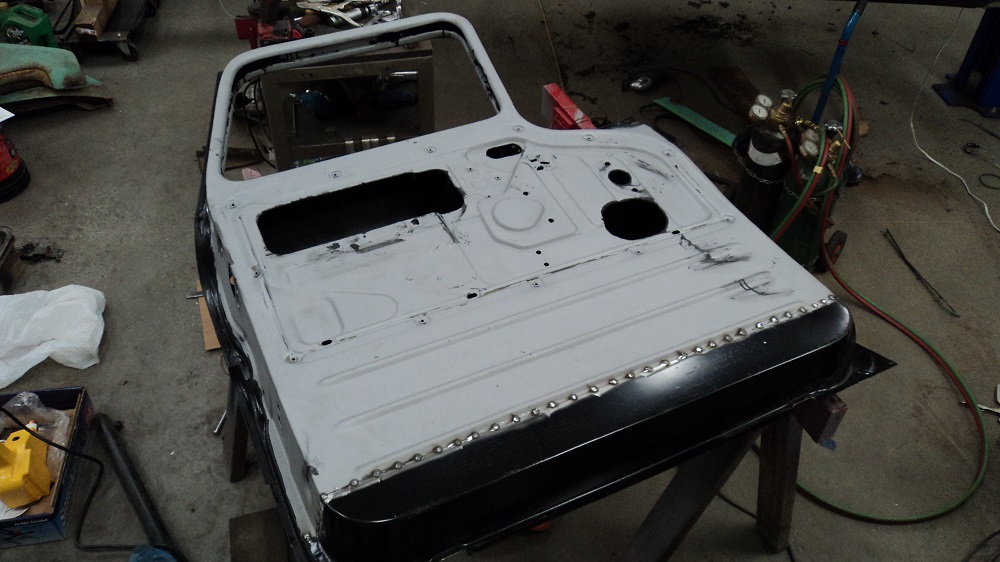
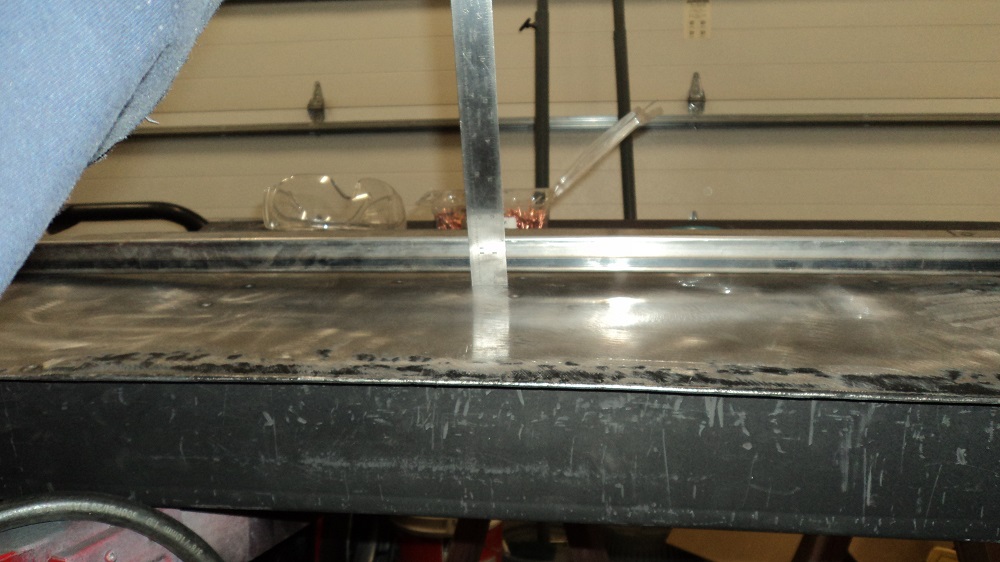
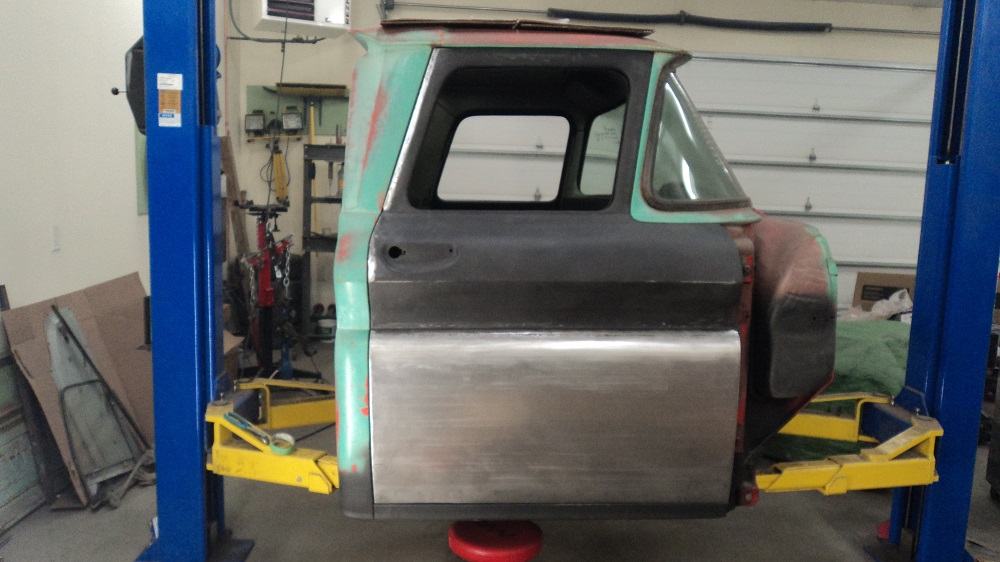
Skin welded and attached.
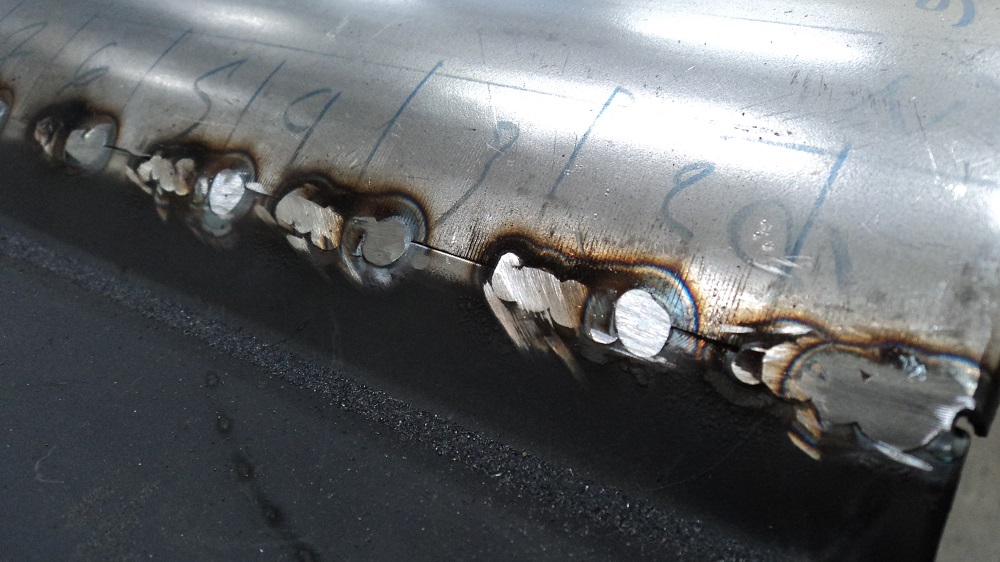
As you tack together, grind your tacks down before the next tack. This helps slow you down, so you minimize the heat put into the panel. A smart cookie would grind both sides down, and planish.
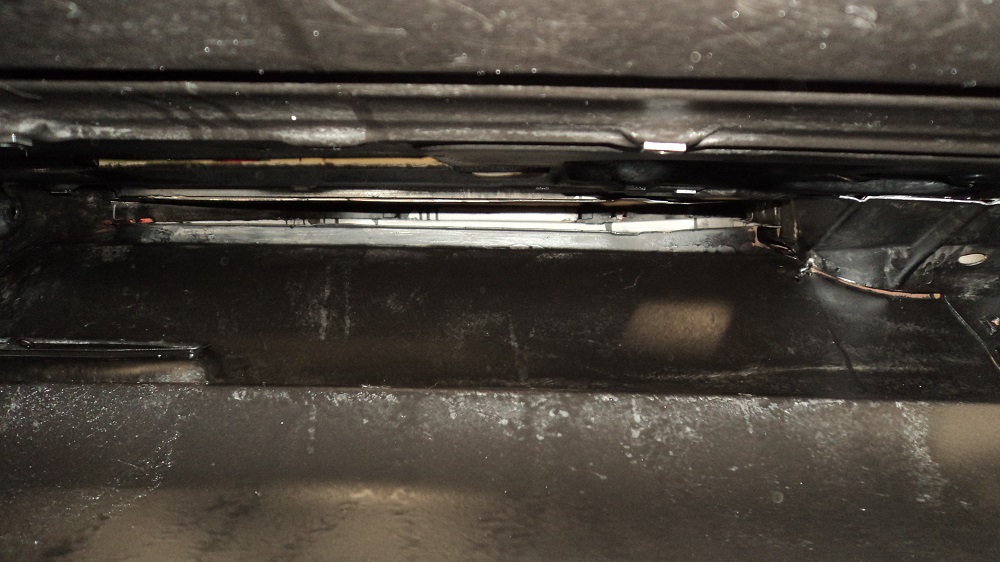
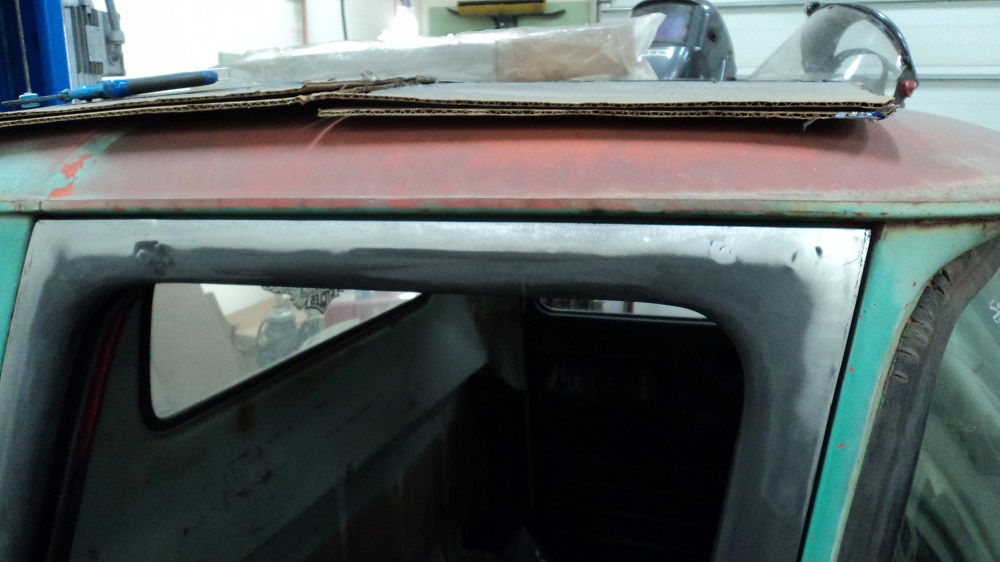
Door hung, and adjusting gaps. These trucks aren’t even -symmetrically- drunk.

And primer. I do like the touch-up gun for minimal overspray, AND for spraying down the inside of the door.