[ Start ] [ Index ] [ Parts List ]
In Which I Prep For Paint, and Finish Some Details
Some photos are going to appear out-of-sequence because they are.
Some of these were done in and around the blasting of the cab. Logically, they fit this page because these are after primer, but they were not done after primer.
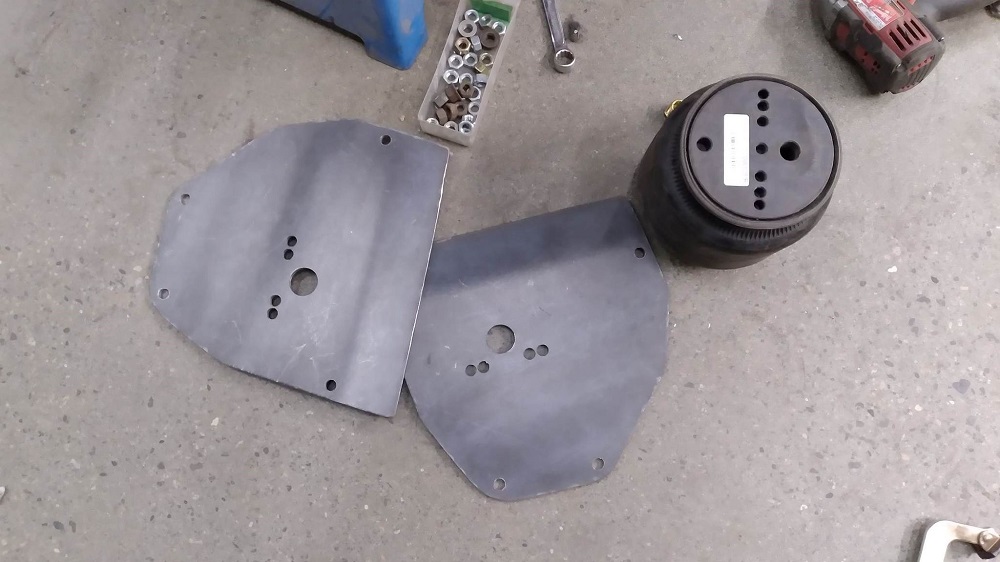
In between the previous sandblasting episodes (waiting for the air compressor to cool, for example), I started placing the Air Ride components.
While I initially planned to tuck an air tank or two inside bulbous rear fenders, I ended up placing the kit’s air tank on the left side leg of the “X”. This frame makes it tricky to place a tank, though it is easier with the bed floor raised. You need to take into account room for the driveshaft, room to plumb the lines, tank serviceability, access to tank drain, operation of rear sway bar, serviceability of differential, etc….. The compressor will likely go right where I have it in the picture. I’ll be running single exhaust down the passenger side, so no room over there.
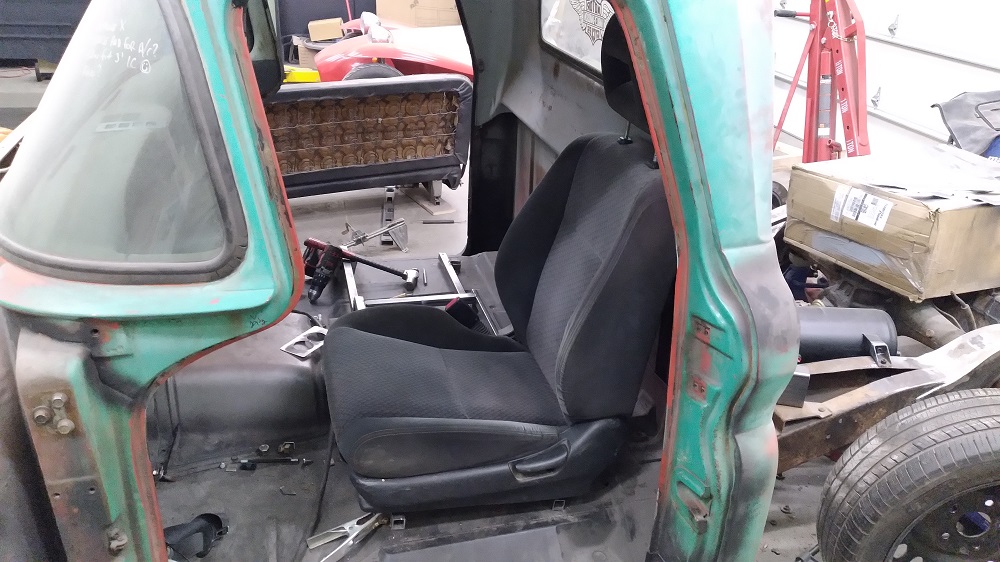
I cut the mounts off the original (very trashed) seat, and fabricated a method to attach some 2004 Honda Civic buckets. I will be modifying the back seat from the Civic to be a center-seat/console.
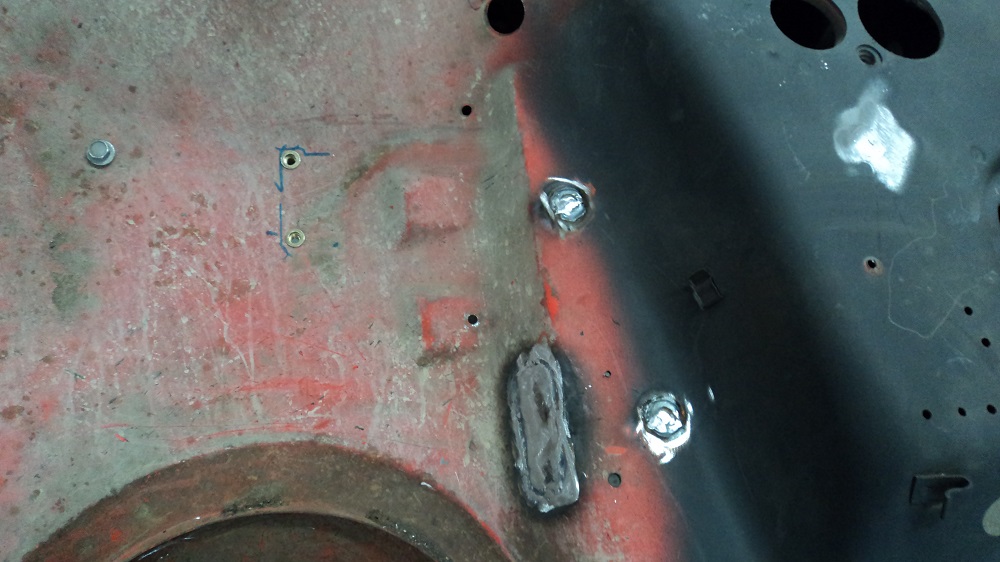
Welded some carriage bolts in a few un-needed holes to mount the gas pedal bracket, welded up the gas pedal linkage opening, and added nutserts for the fuel pressure regulator:
I am going to hide the air ride gauges behind the ashtray door.
Drive-by-wire gas pedal mount. This took an entire day. I think it’s needlessly complex. Looks good, though….

Seat Belt Mounts
Seat belts, also from the Honda Civic. 3×3″ 1/8″ Shoulder mount washer, to be welded in from behind:
3×3″ 1/8″ Floor mount washer, to be welded in from behind:
1-1/2″ x 1/4″ “L” bracket:

Belts mounted (yes, I’ll make a cover):
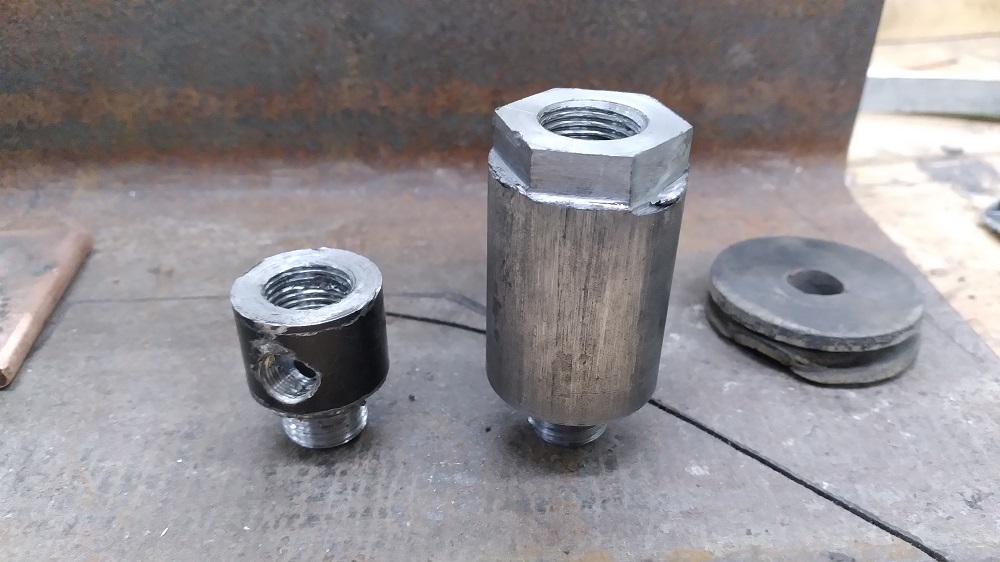
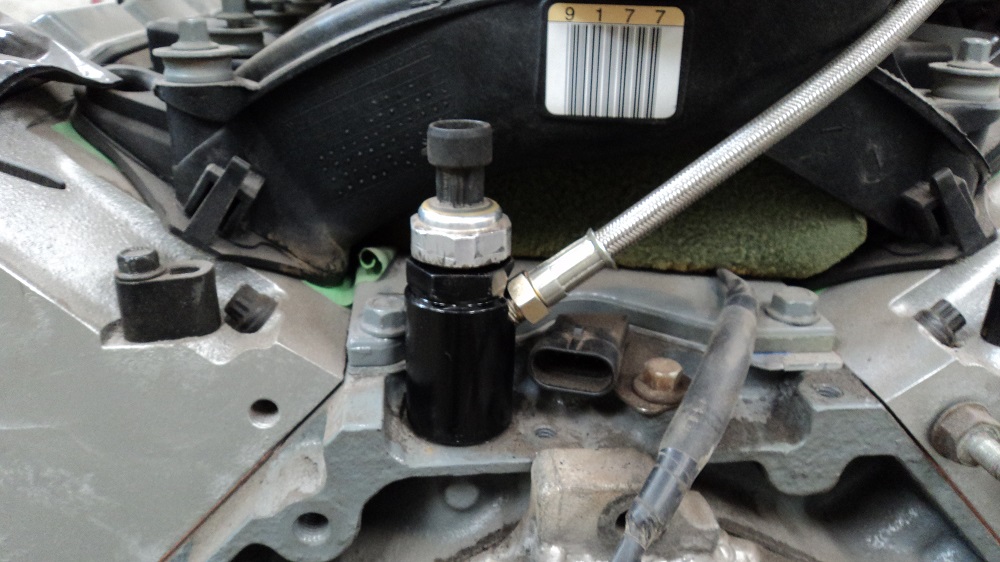
Turbo Oil Feed Redeaux
Also re-fabricated the turbo oil feed “T.” The old one was too short (the turbo feed hindered the cam sensor connection), and did not have any way of removing it (no hex).
Old and busted (left), vs soon-to-be-new-hotness (right, unfinished):
Oil-pressure-sender-turbo-feed-“tee” finished and installed:
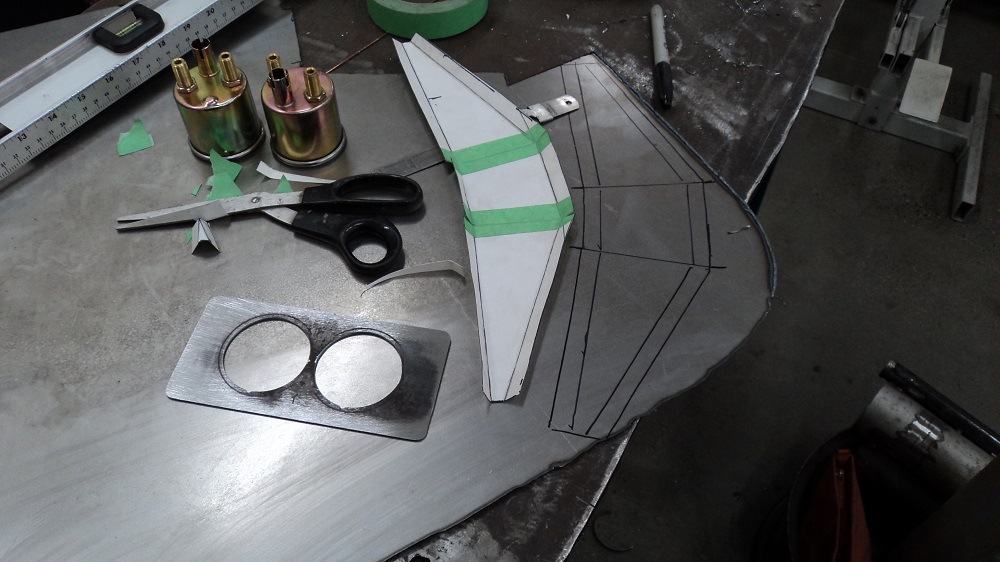
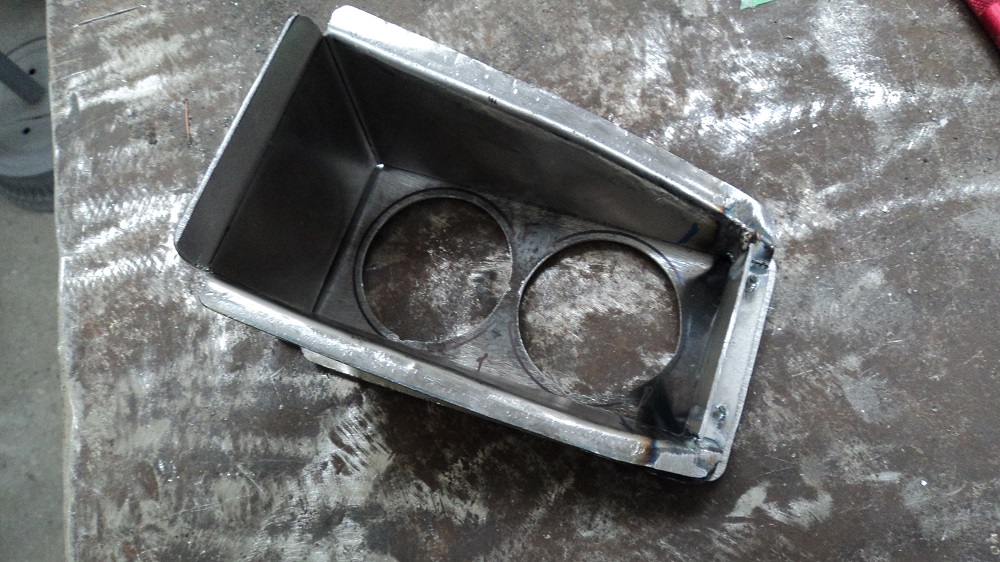
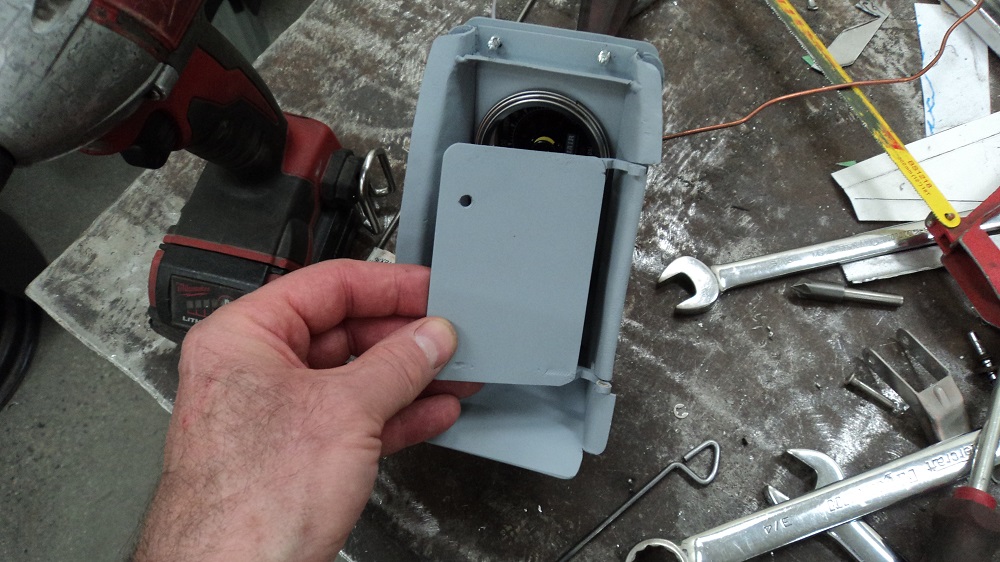
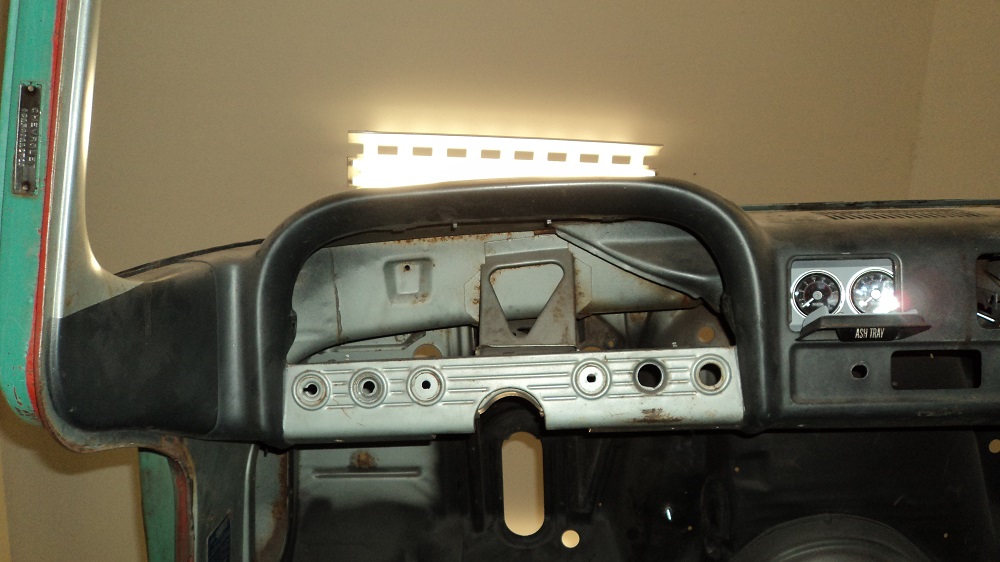
Air Ride Hidden Gauges
I cut off the back of the ashtray, and experimented with card stock to find the shape and position I wanted using a CNC-Plasma-cut gauges plate I made at work:
Folded up and TIG’d together, the gauge plate screws on from behind:

Then I had to figure out how to make the ashtray open again:
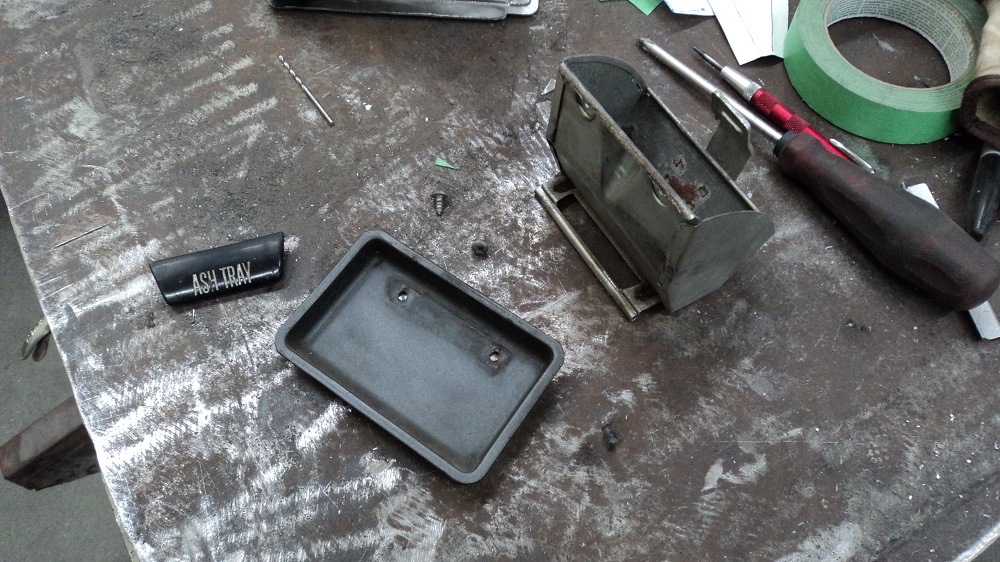
Which I did by making my own hinge and door:

Which reveals like this (roughly driver’s seat – cab is on its back right now):
A little distraction on the weekend: some blasting; some primer.
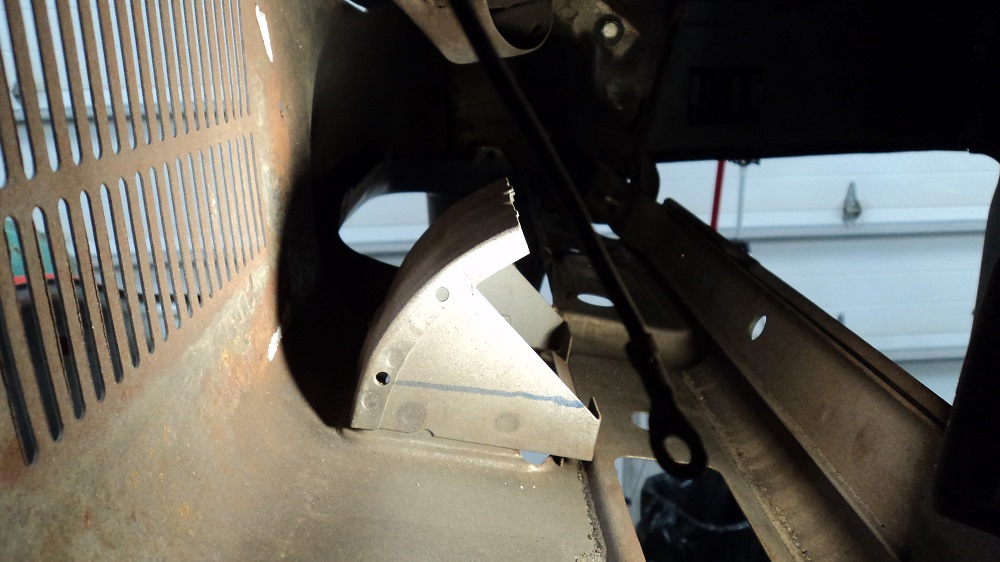
Exhaust Routing
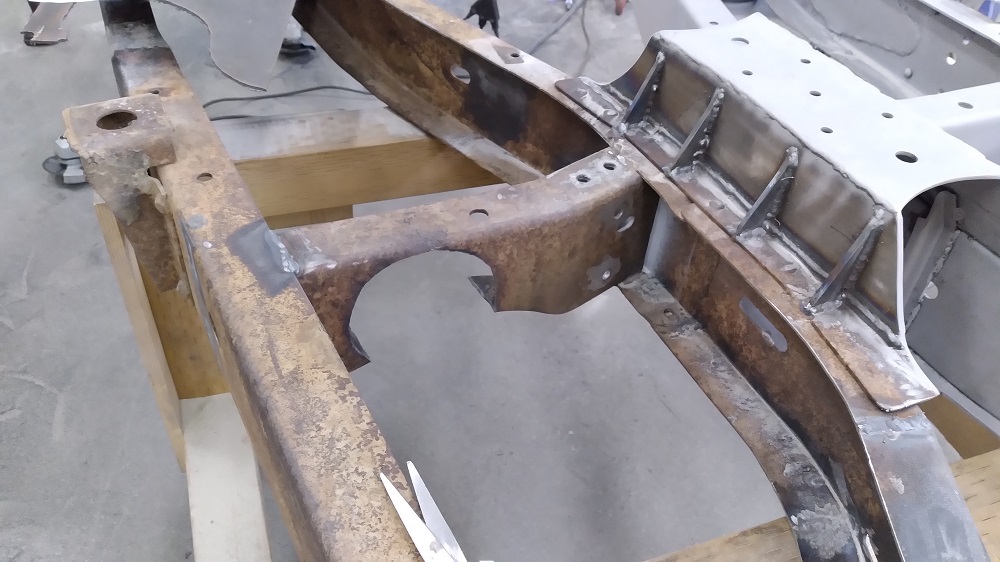
Before blasting the frame, I needed to be sure where the exhaust had to be. Tight fit.
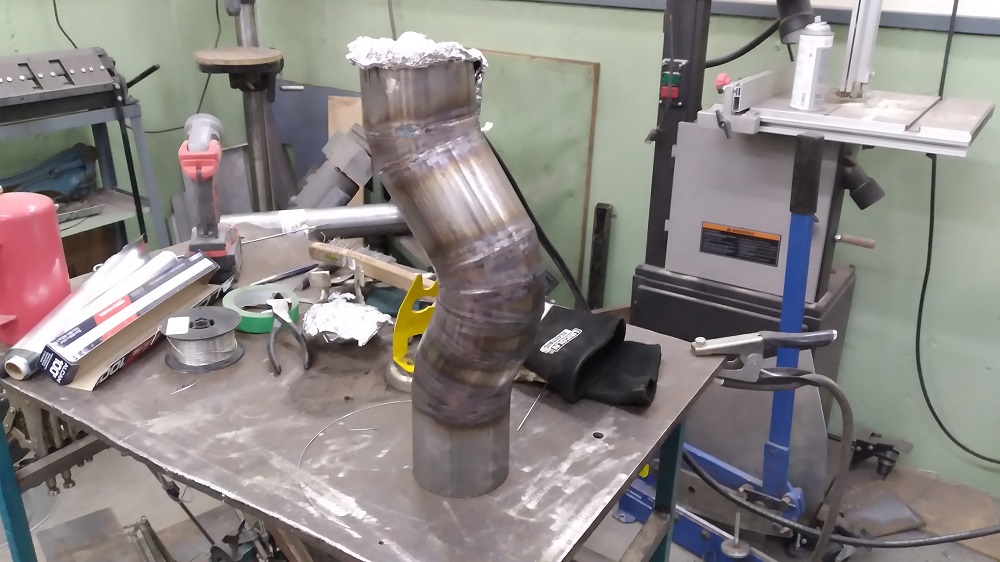
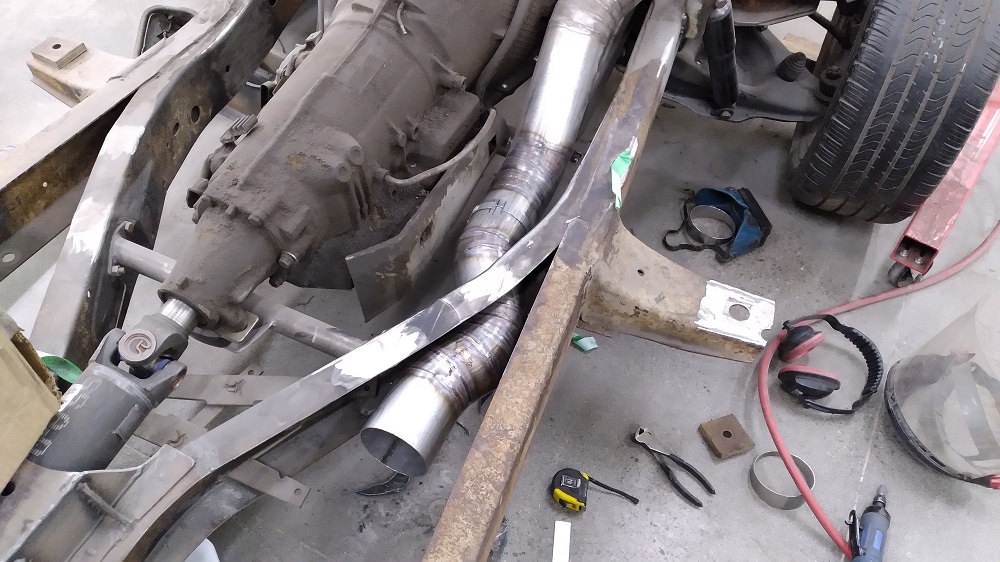
Of course, this meant cutting even more holes, which makes me nervous, so I fabricated a brace to put some strength back on. AND this needs to be removable to install/change mufflers. Magnaflow on order.
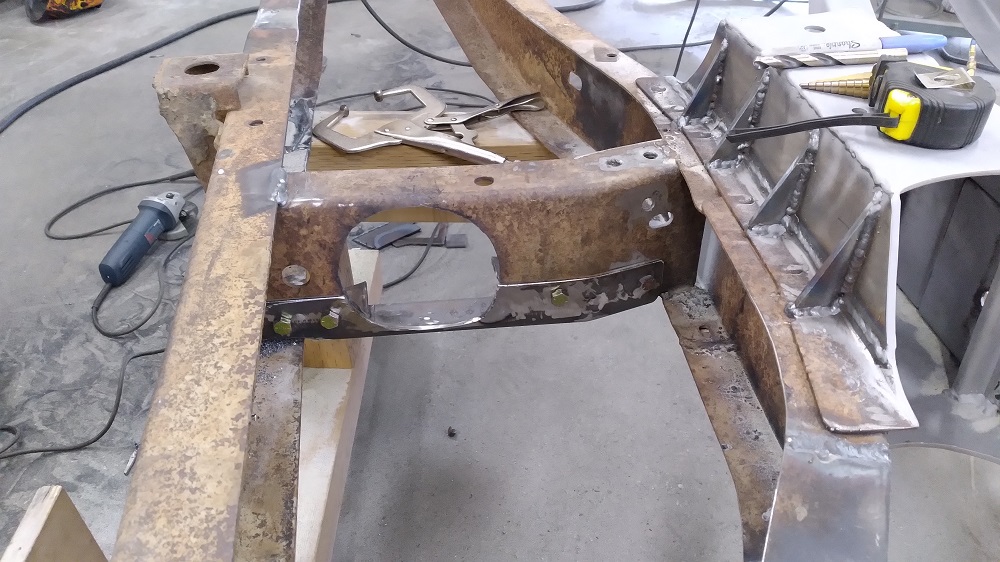
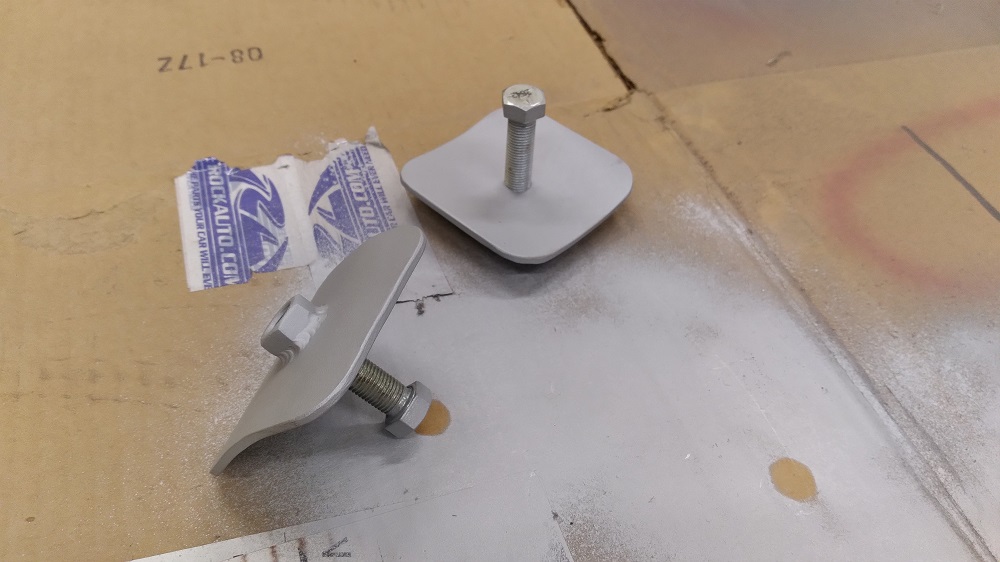
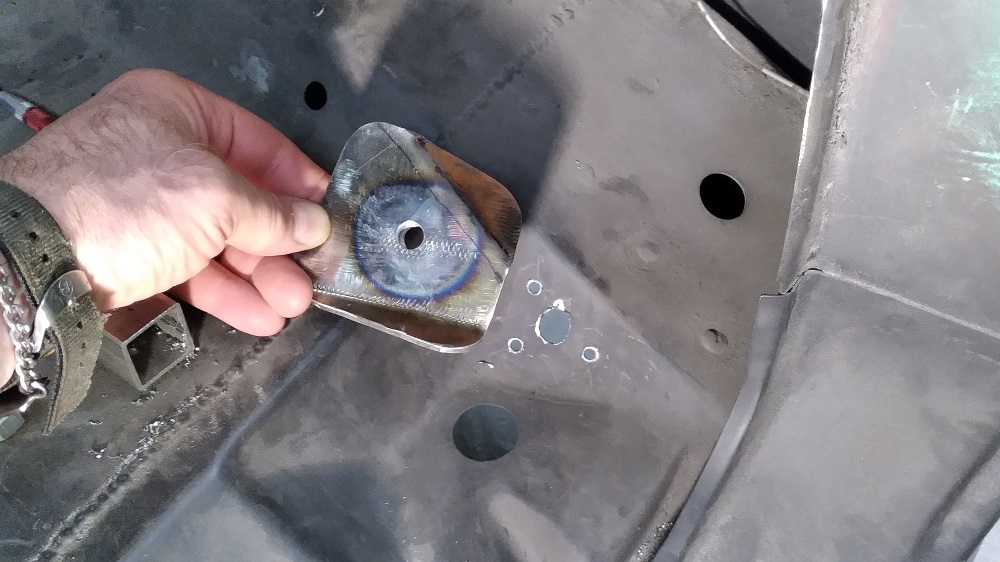
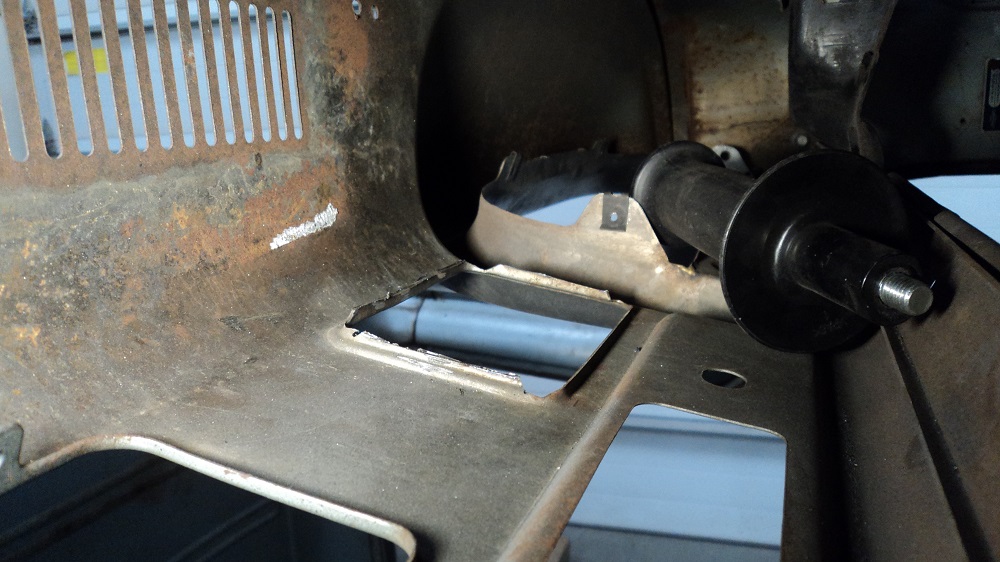
Bag Mounts
Made some of these:
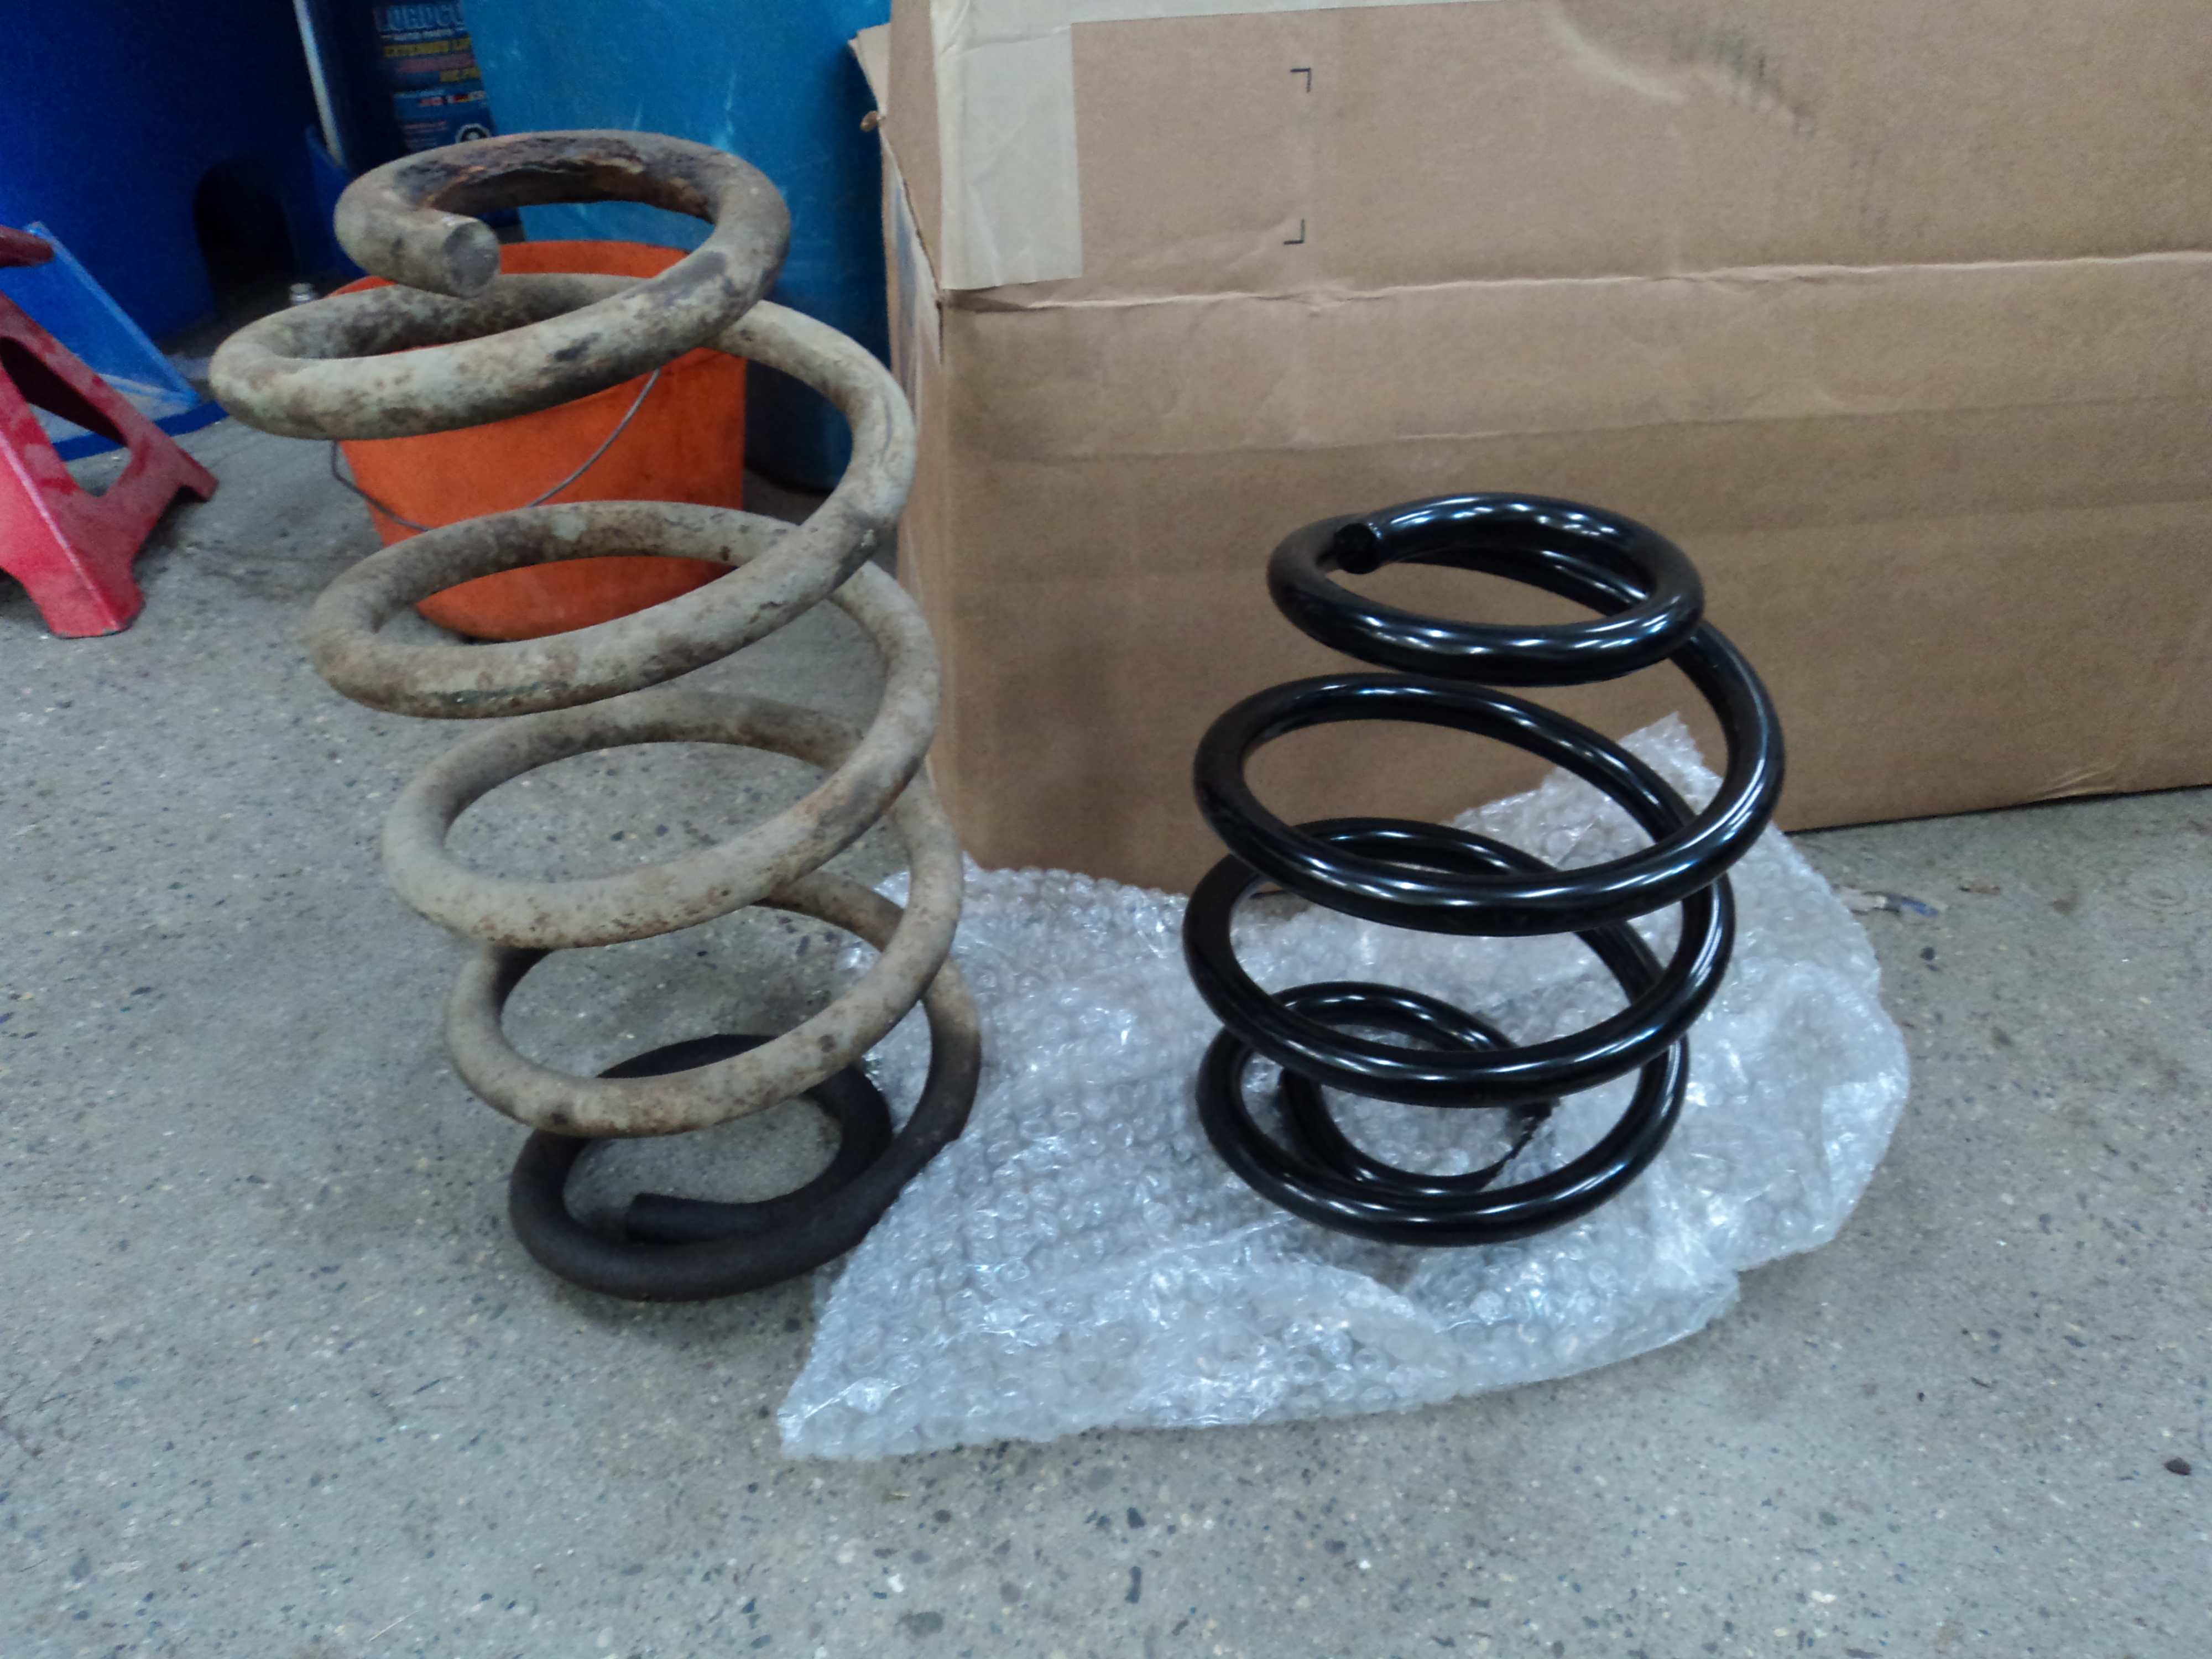
I had bought some CPP rear 5″ drop coils just in case the Air Ride loses its novelty. Stock coil for comparison:
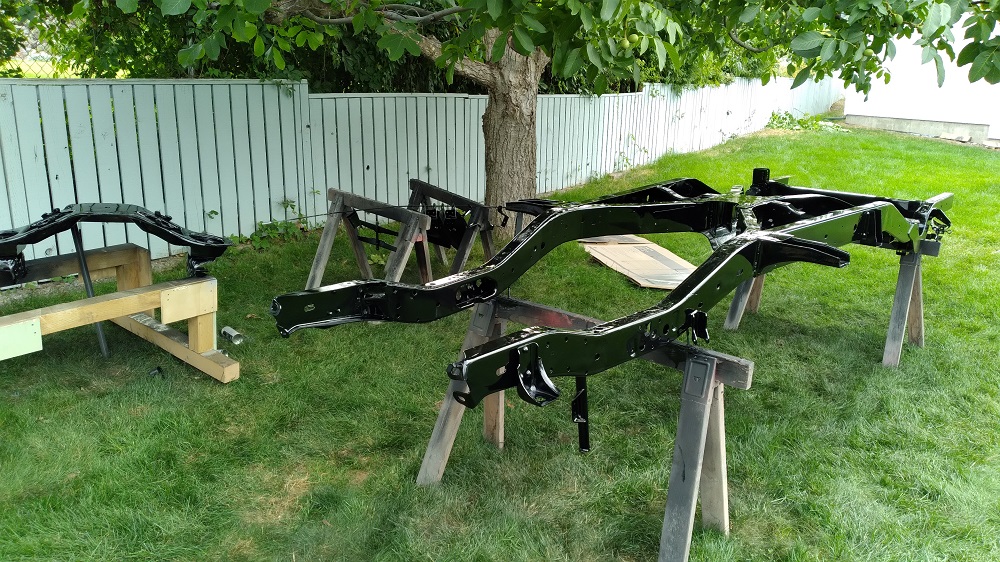
Chassis Paint
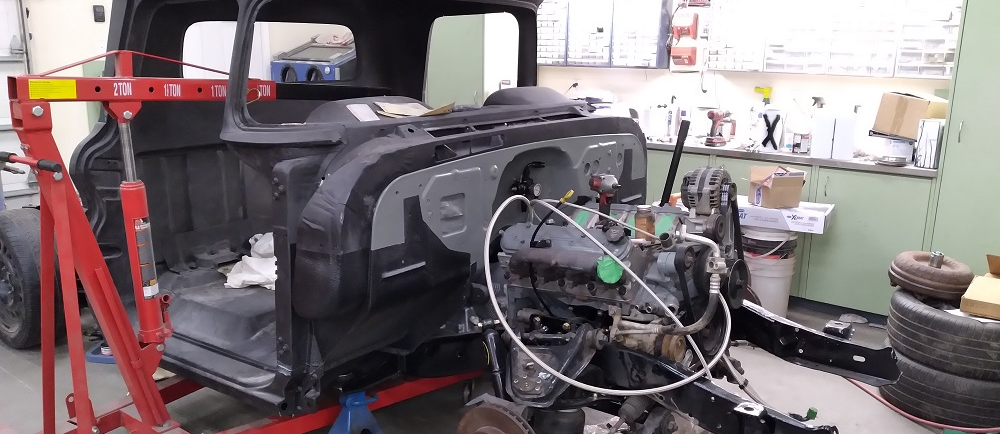
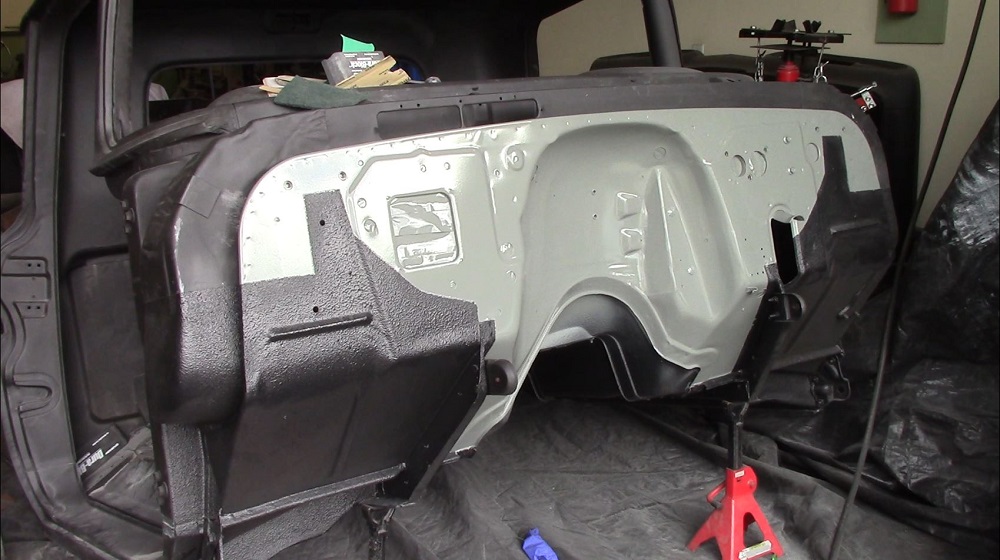
Raptor sprayed on the underside of the cab. This is so when the frame is finally painted (maybe tomorrow), the cab can go on and stay there, and I can focus on paint prep.

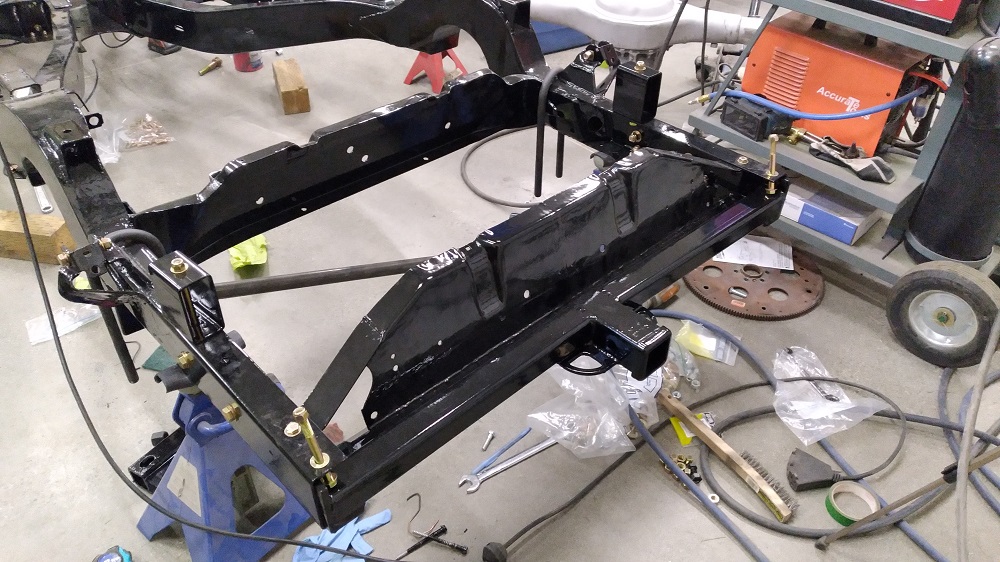
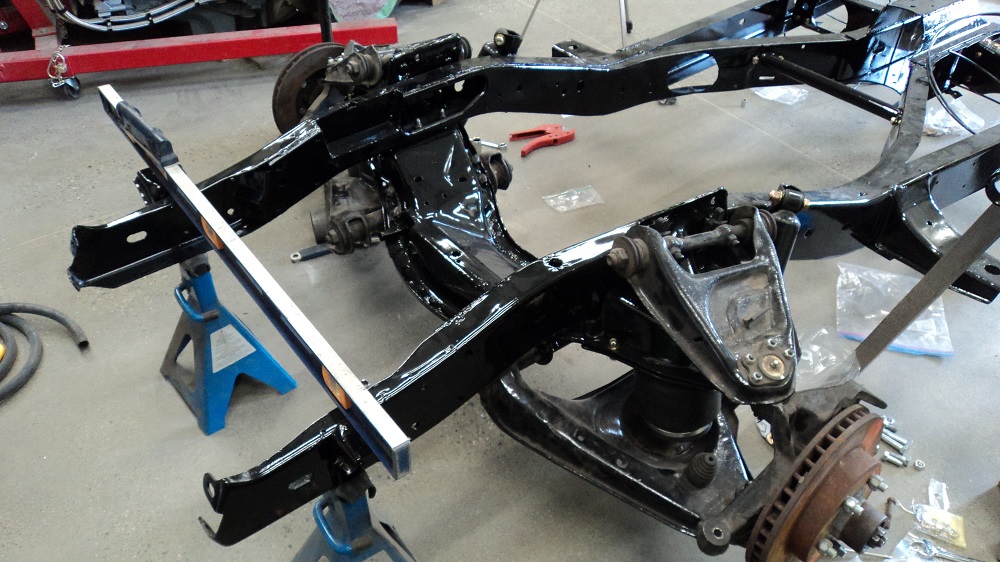
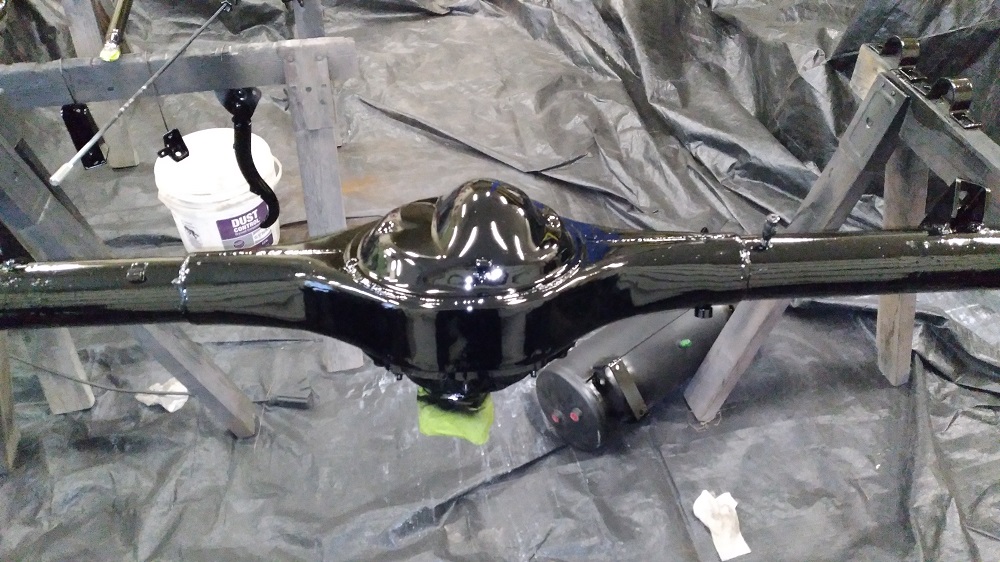
PPG Delfleet Essential gloss black on the frame and bits:
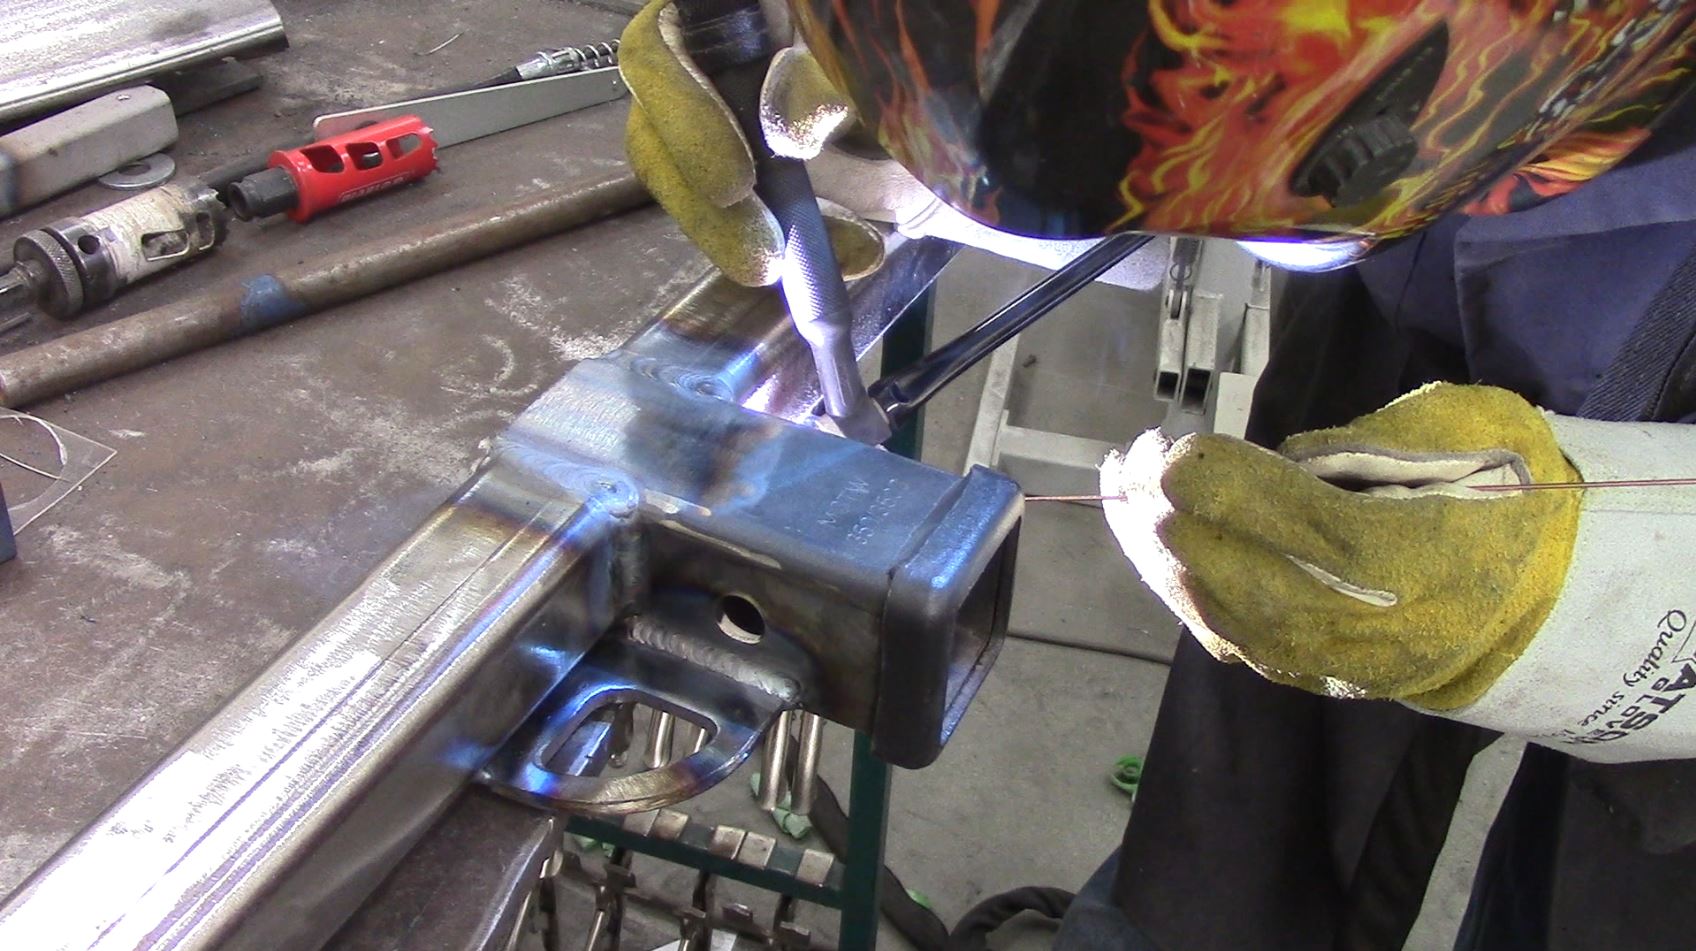
I finished up the trailer hitch I made:
Hitch painted, along with motor mounts, lowering blocks, and bed floor risers:

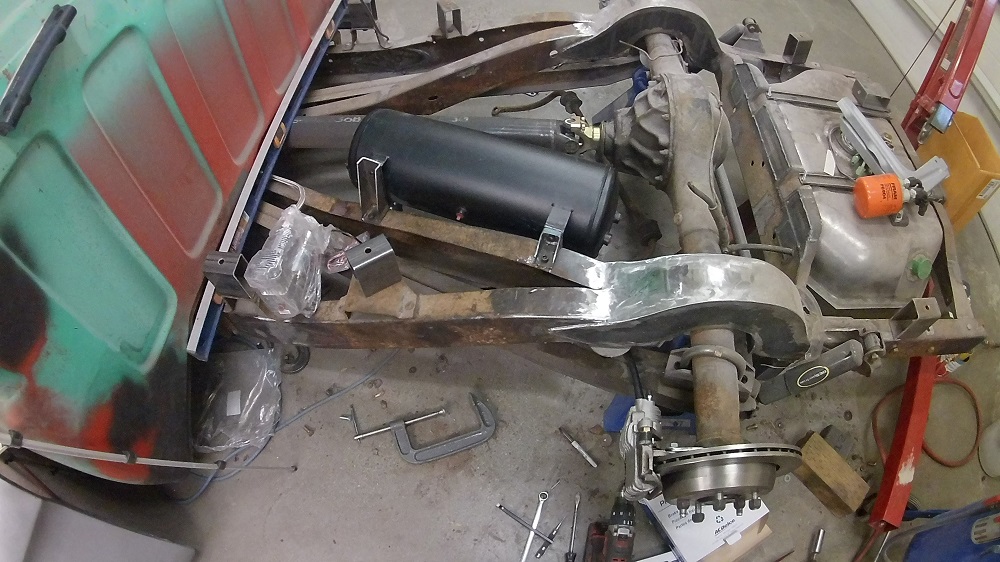
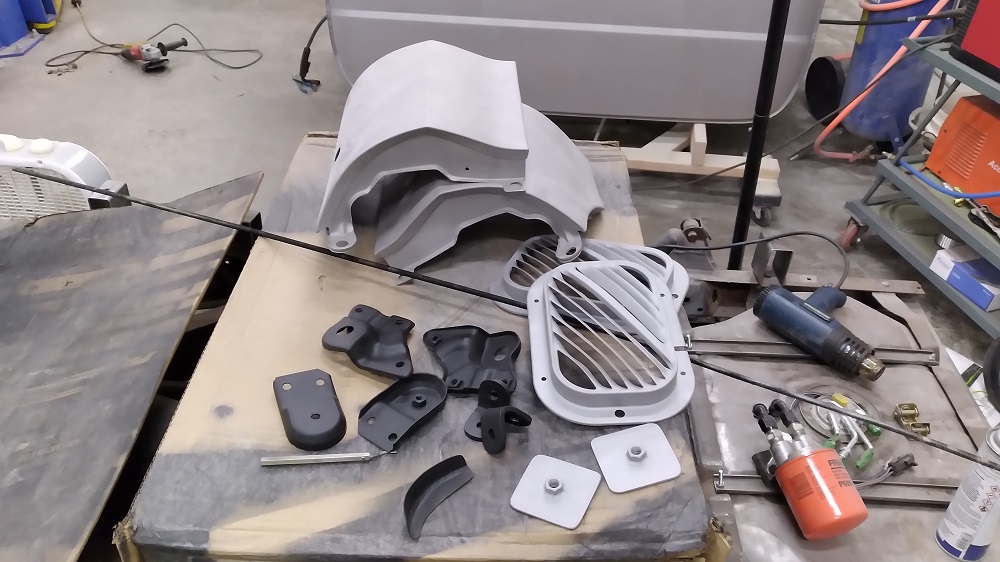
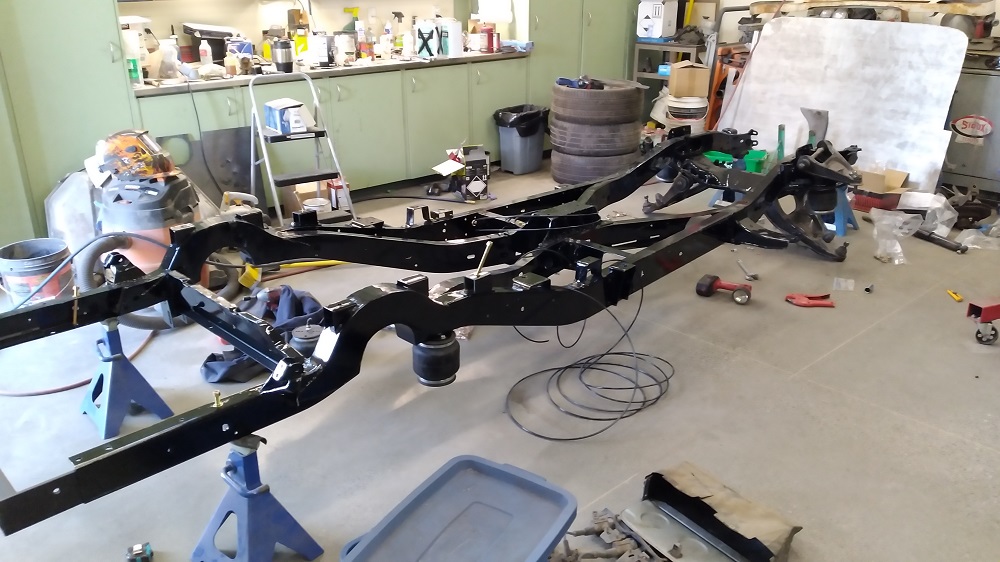
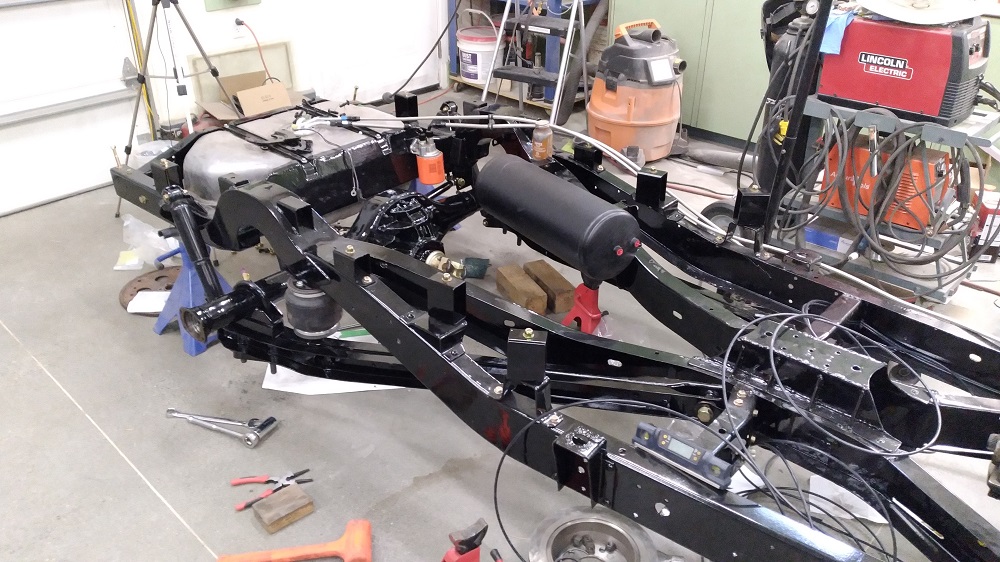
Assembling the frame and some air ride components:
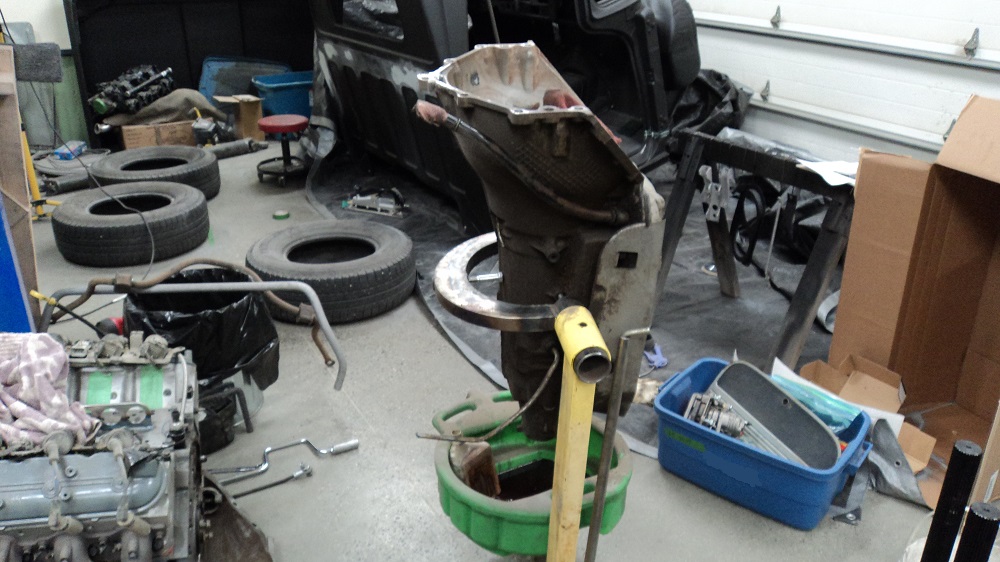
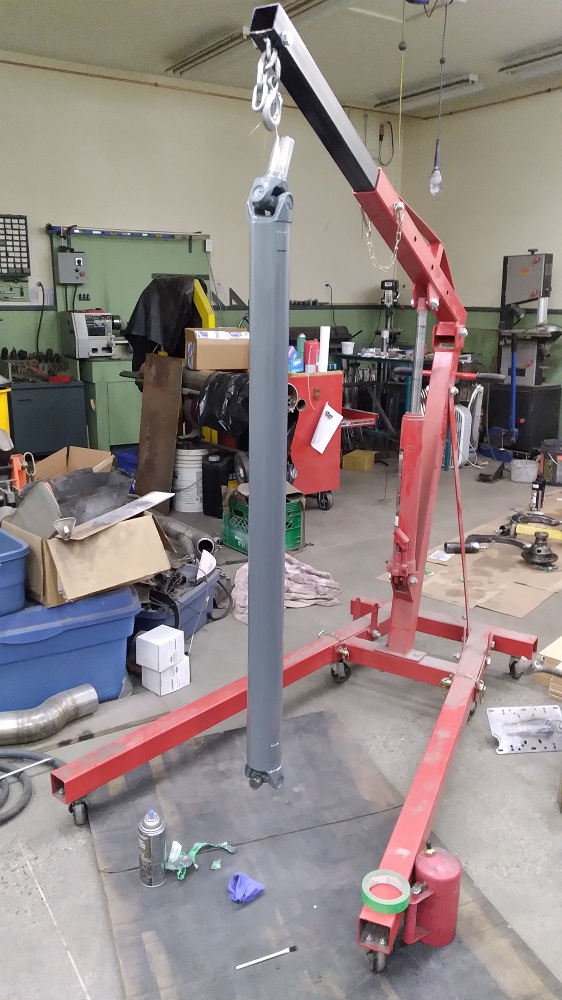
See if you can guess what this is for as it evolves:
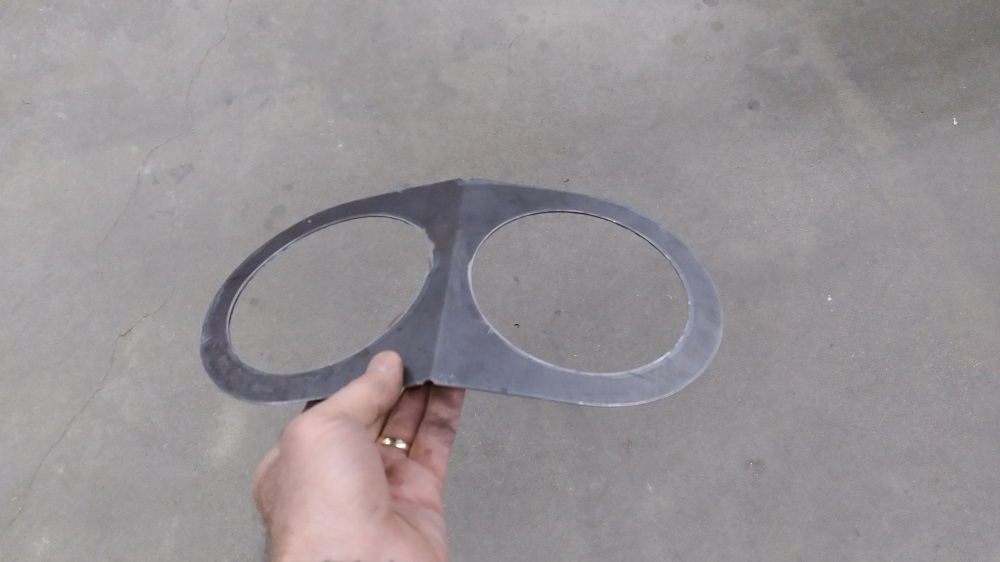
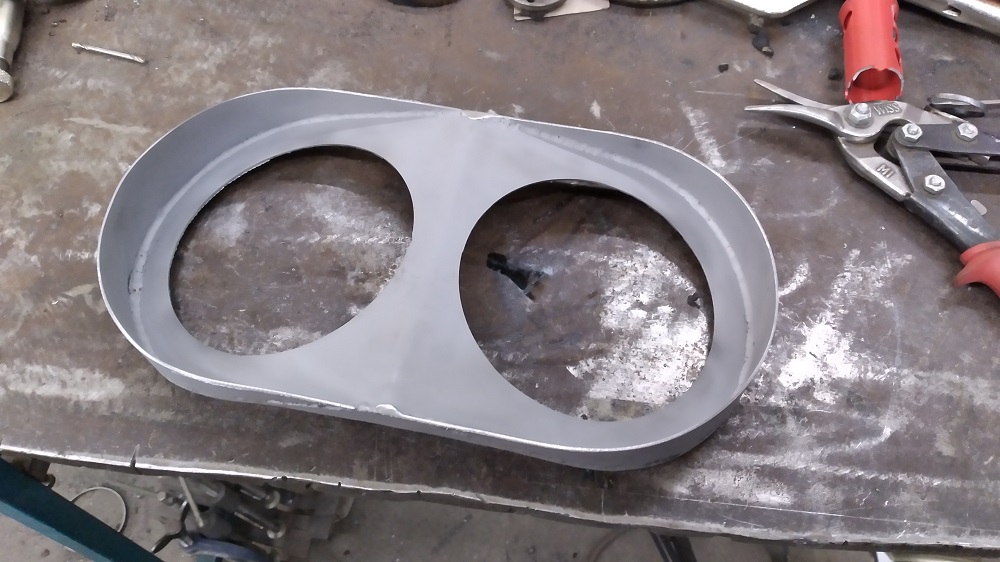
Added a flange, and then welded some studs to the dash and this:
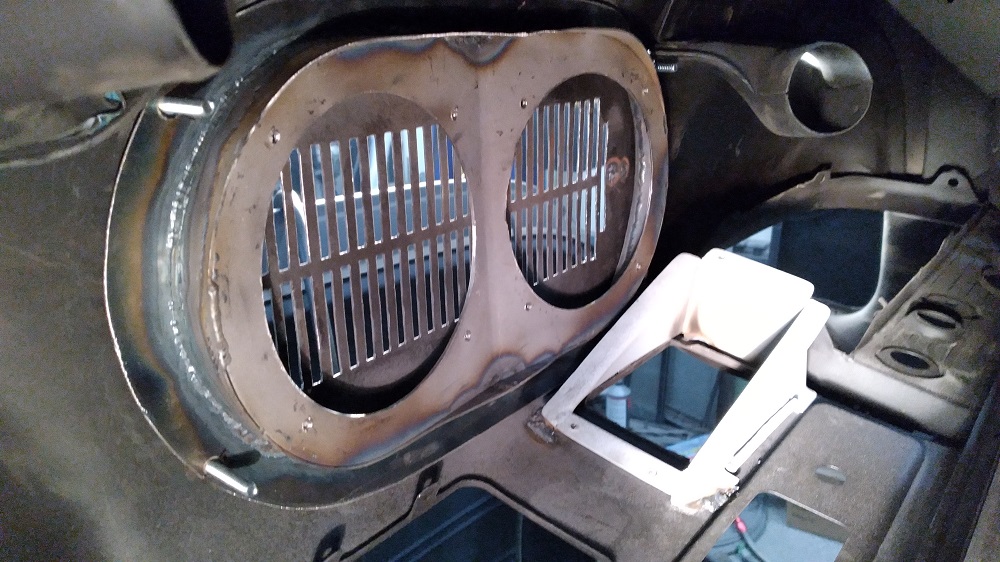
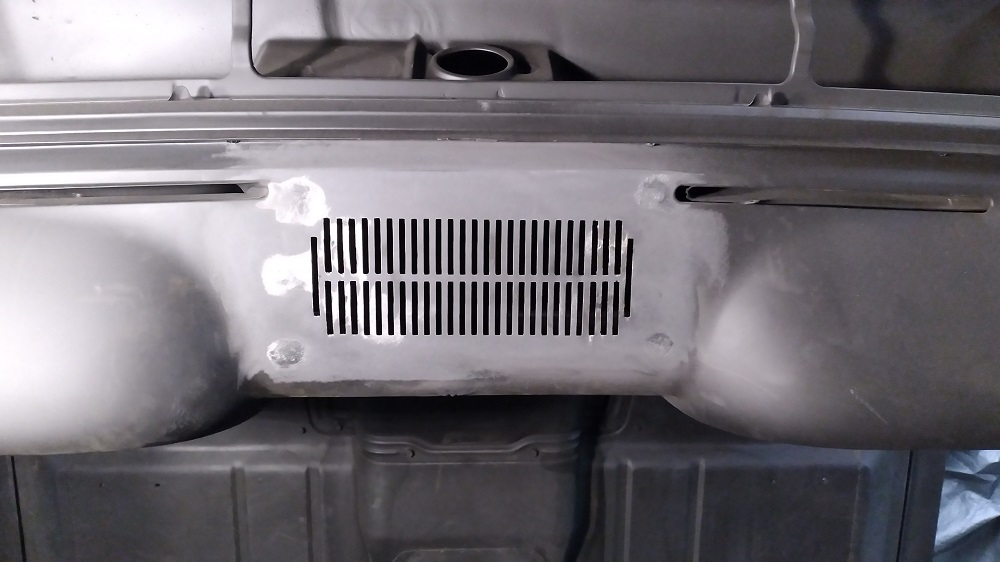
Added a some extra slats:
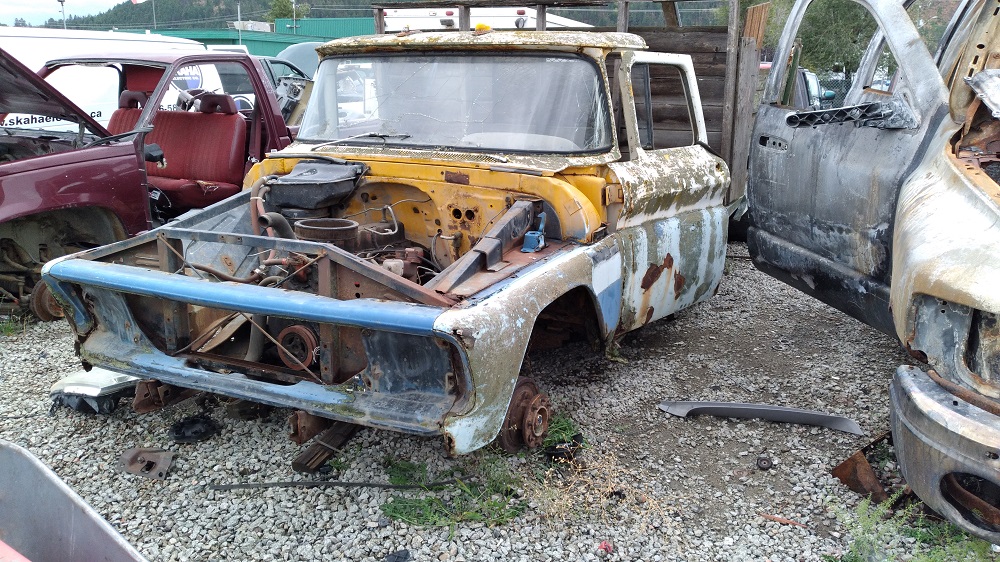
Saw at Pick-N-Pull today:
Painted some driveline parts:
And some assembly:
And some impending disassembly:
Sprayed “Mouse Gray” (RAL 7005) which is a match for Ford Engine Gray on the firewall. This is the engine colour, as well as the final interior colour. PPG Delfleet Essential, mixed 6:1:1:3, the 3 being PPG DX-10-FLT flattening paste to get a semi-gloss. It might be a bit too glossy for me, but I don’t exactly wash my vehicles often….
The rebuilt transmission got placed back in the chassis:
![]()
The driveshaft painted:
Cab placed on the chassis for hopefully the last time. Energy Suspension cab mounts (63-66) with front top bushing machined down to 5/8″ thick as per original bushing. PQY fuel pressure regulator mounted.
