[ Start ] [ Index ] [ Parts List ]
In Which I Make it Work, Drive it Home, Rebuild a Motor, and Disassemble!
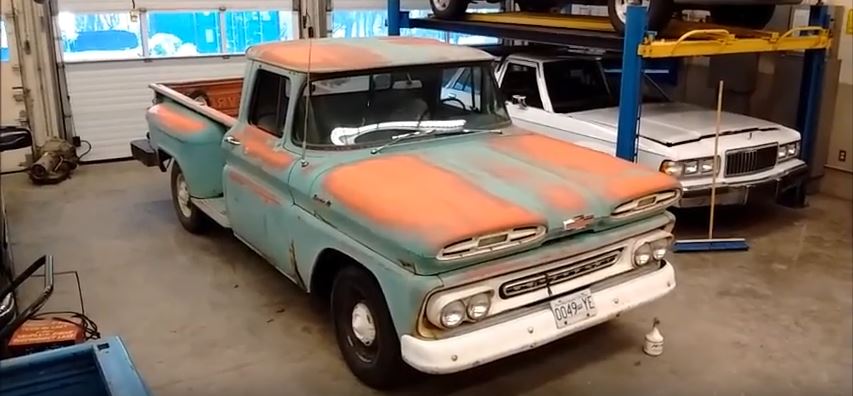
I put together a brief video of the truck once it arrived at the school shop:
Formulate a Plan
And you have to have a plan. I want to have a plan fully thought-out before I take anything apart. I need to know what I have.
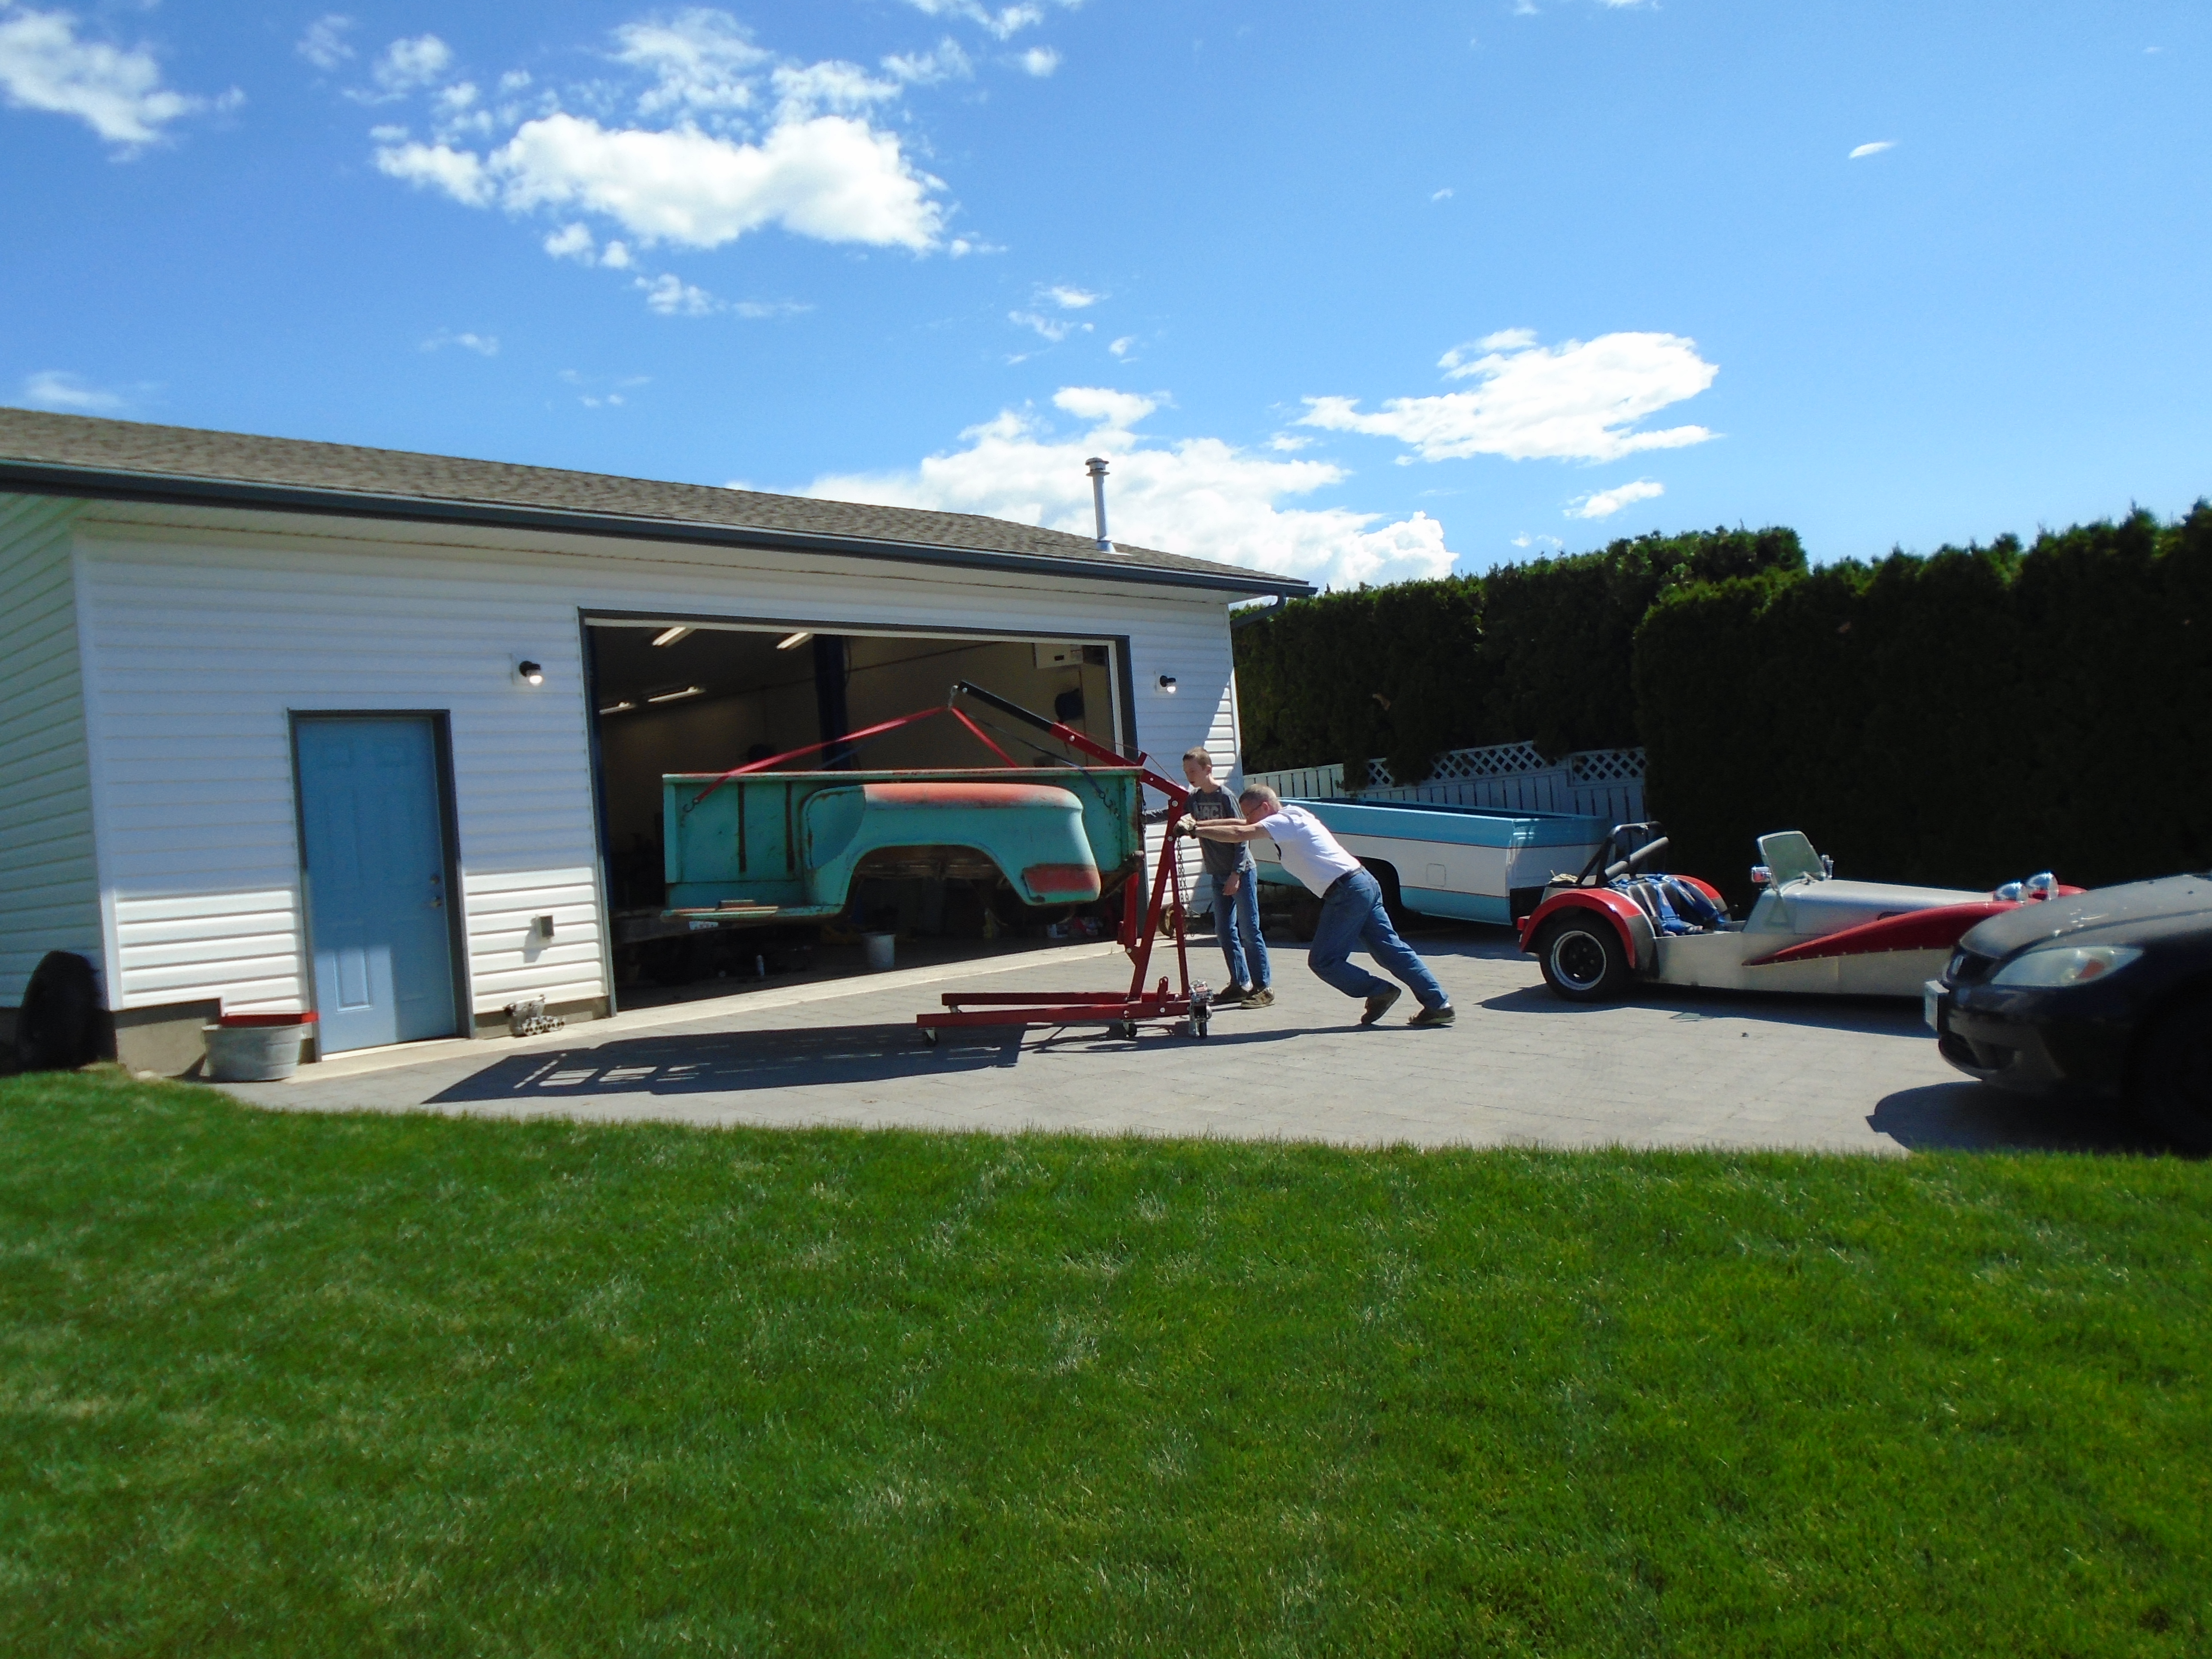
At this point, the truck was at the school shop. I selected a small group of my most trusted Level 2’s to help go through this truck and get it road-worthy. It just needs to make it the 25km to my house, where it will be properly molested.
Brakes Fixed
Master Cylinder got rebuilt. I used two kits, just didn’t use the residual pressure valve in the clutch cylinder. The Master is a dual-piston unit, one piston for brakes, and another beside it for the clutch. Strangely, the clutch piston is on the right, and the brake piston is on the left. I haven’t looked under the dash to see how they worked that magic.
Front Wheel Cylinders got rebuilt. The wheel bearings are BALL bearings, and are properly knackered. I greased ’em anyway and I’m running them. They’ll get me home. Apparently replacement bearings are made out of Parkay, and don’t last.
Rear Wheel Cylinders will be done next time we’re in the shop (The Level 2’s theory unit this week is Brakes, how fitting!).
Clutch Fixed
Clutch Slave piston was stuck at the bottom of the bore, but I soaked it in Acetone overnight and heated it with a rosebud torch and it popped out ok. Seals are knackered, and I cannot get a kit for it. I -might- be able to hokey something, or I’ll just cough up the $30 for a new one for that 25km drive.
All the while, I’ve been obsessing on how I want to build this, and what parts to use.
Planning the Project
The original intent of the ’77 Silverado was to be the “Rolling Donor.” However, by the time I need that drivetrain, everything will be 9 years old and likely in need of a refresh. If I’m going to refresh anything, I’m not convinced it’s going to be that driveline.
The other waffling debate is whether I want to stay stick (though not the SM420 in the ’61), or go Auto. I -have- a high-mileage 700R4 on a shelf that worked when I pulled it. Going auto means sourcing an auto column (want), or a hole in the floor (don’t want). Building the 700R4 properly, for another snotty engine, means $1000 in parts (including higher stall torque converter).
AND, I want A/C, which means driving with the windows up, so I don’t really need the lumpy cam and the marginal fuel economy that goes with it (though that is hard to let go). So I might as well build a motor for torque. If that’s the case, then the 350 in the ’77 needs different heads and a different cam – and if I’m going to plunk the money down to do that, why do THAT motor at all?
So, I’m leaning towards a refreshed junkyard 5.3LS, with a stick of some sort (NV3500, WCT5, T56, TKO, whatever). I like the idea of cheap/easy to replace for “When Things Go Wrong.”
“Over-thinking” is one of the reasons why I don’t sleep.
All this means that I’ll flog the ’77 in the local classifieds when the time comes (Sold 2023). With my philosophy of spending no more than $1000/year on a vehicle, by the time the ’61 is done, the ’77 will owe me nothing.
Brakes are complete. Trucks stops now. Everything was seized.
Got It Running
Fuel pickup was so varnished from 20+ year-old gas, it looked like it was actually dipped in varnish – zero fuel was getting through. We bypassed the tank completely and got fuel, but had no spark.
Day permit, and I drove it home!
Sourced an Engine!
Two of my enabler friends sent me a Facebook Marketplace ad! I had to do it.
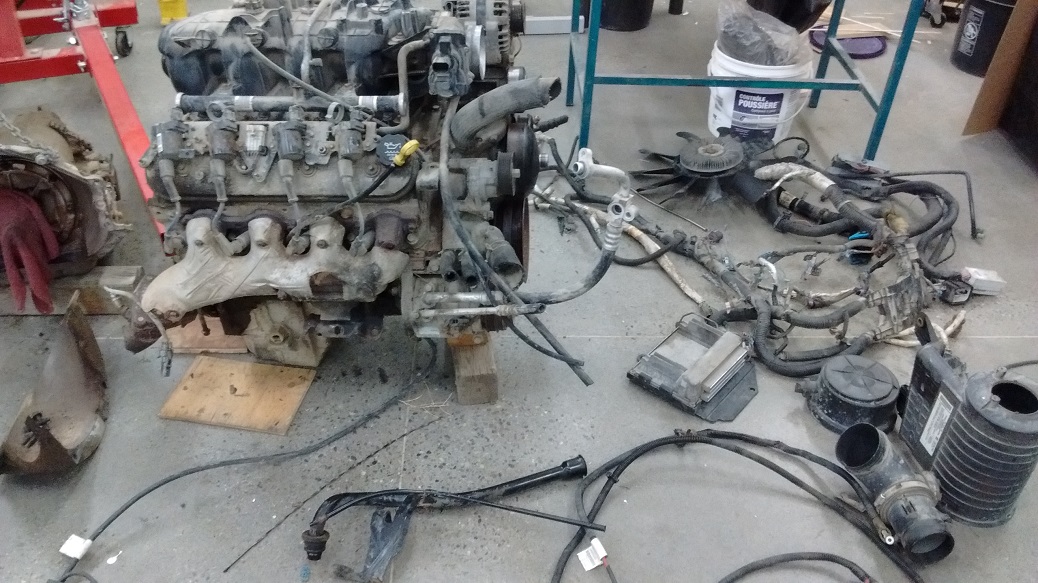
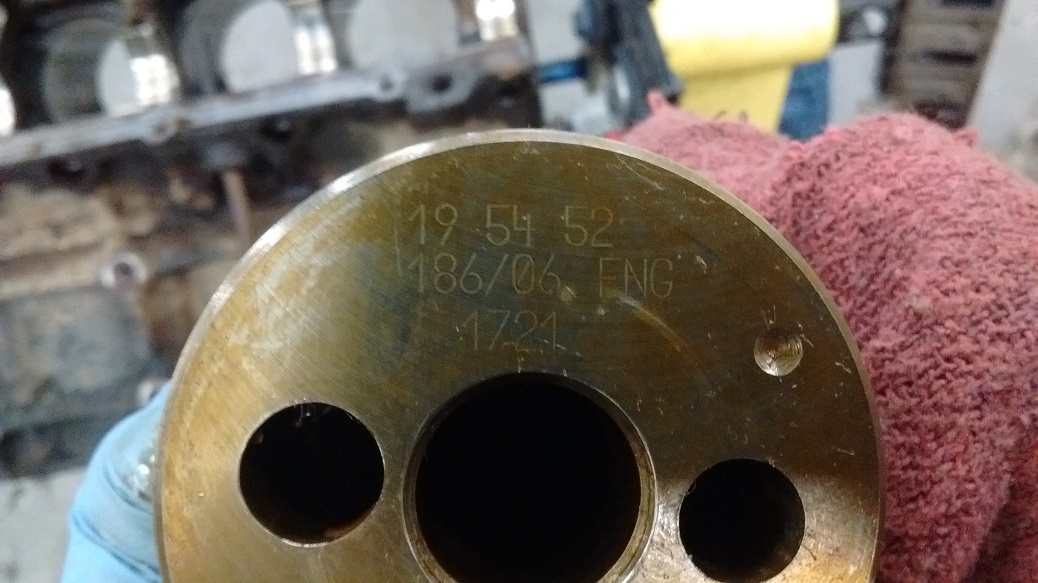
6.0L LQ4 LS and a 4L80E complete with ECU and harness for $1000CDN. Ran when crashed into. Delightful price! Came out of a 2007 Chevy 15-Passenger Van 3500. Pick up one of these and then check out Sloppy Mechanics and tell me you’re not inspired.
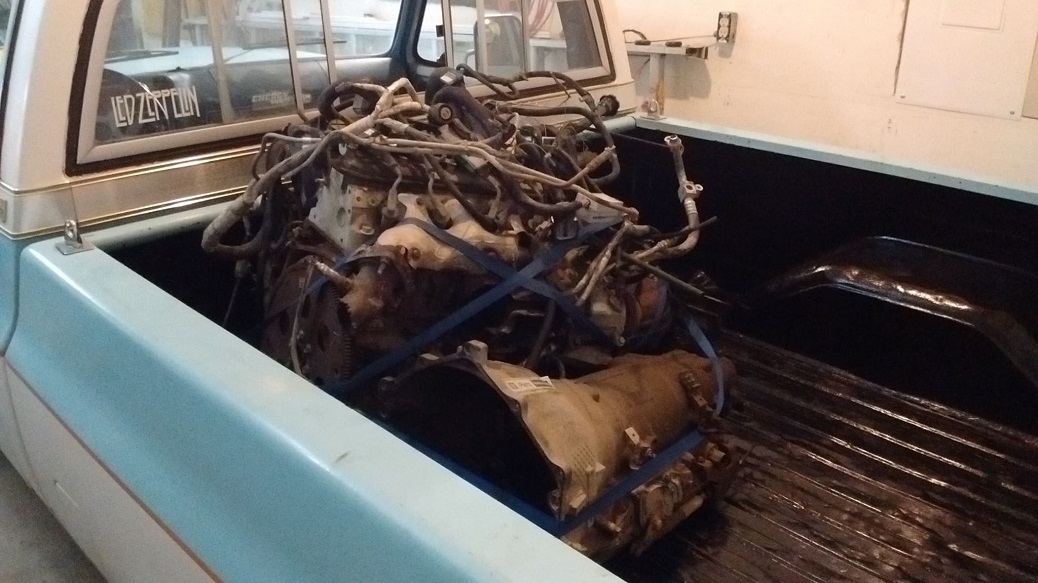
Pulled the harness off the LQ4 6.0 just to help tidy up the drivetrain and make the motor more manageable. I’d -like- to hide all the wiring when it comes to the install, but that’s a ways away from now. I labeled all the connectors I could ID with black and silver Sharpies.
Shortened the van oil fill tube and dipstick.
Popped the fan clutch off since I want to go electric fan. Also turned the motor over by hand – has what I think is reasonable compression. Nothing strange to report.
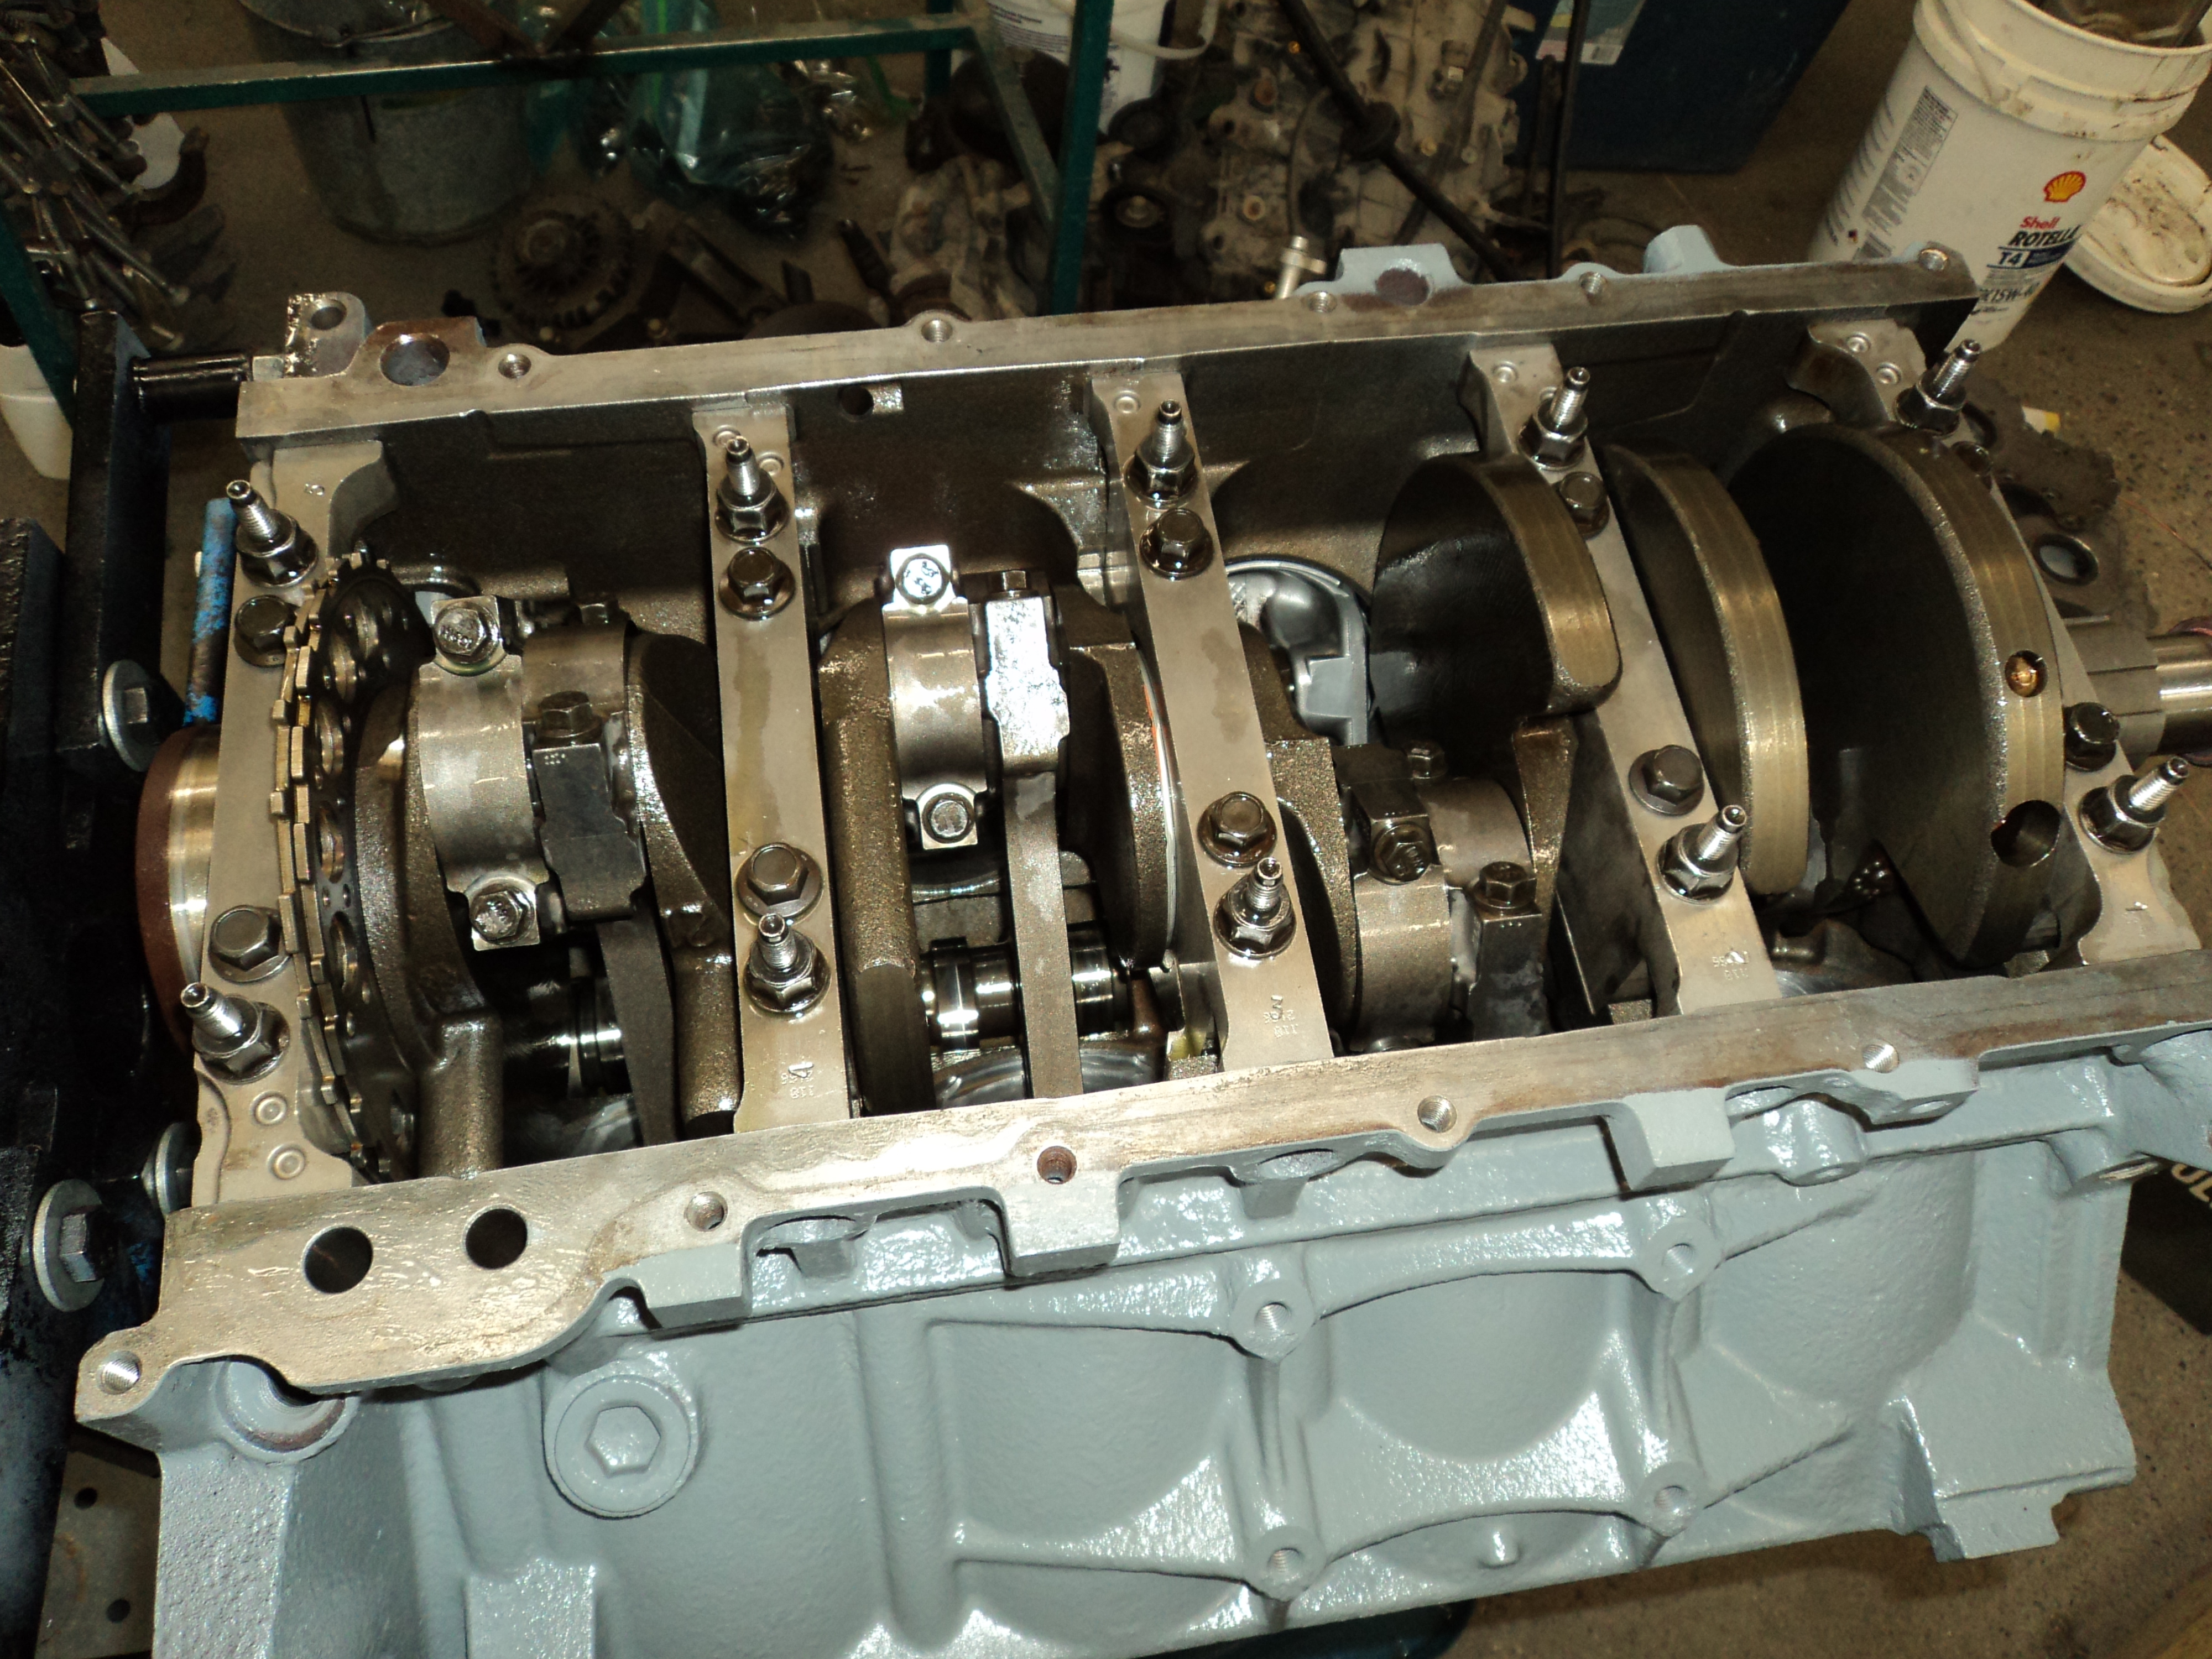
6.0L LQ4 Bottom End
Stripping the LQ4 with my son over Christmas break. I am VERY pleased with the insides. I do have video coming….
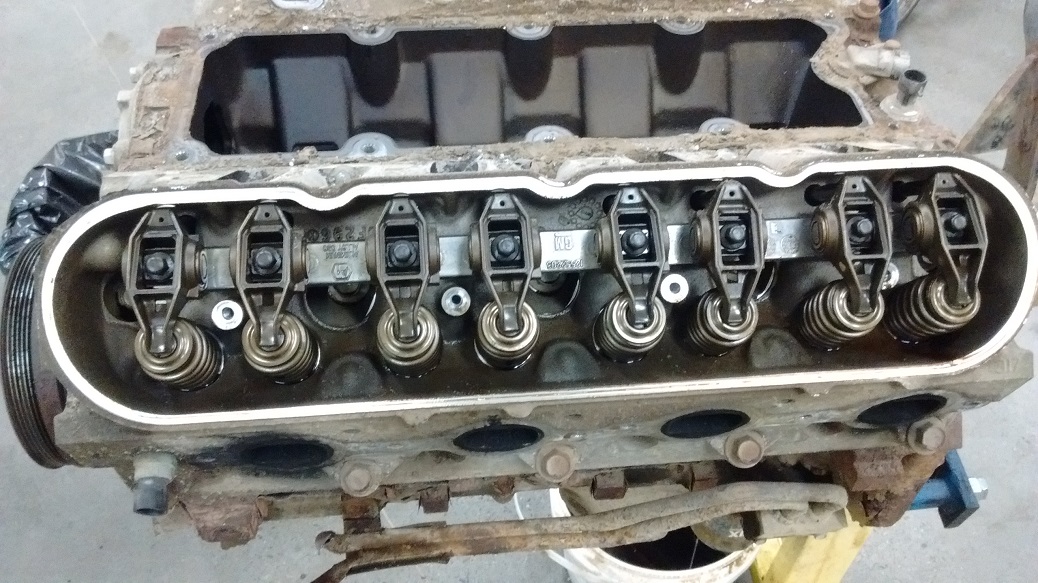
Under the valve covers looks super clean:
Deep in the intake ports looks good.
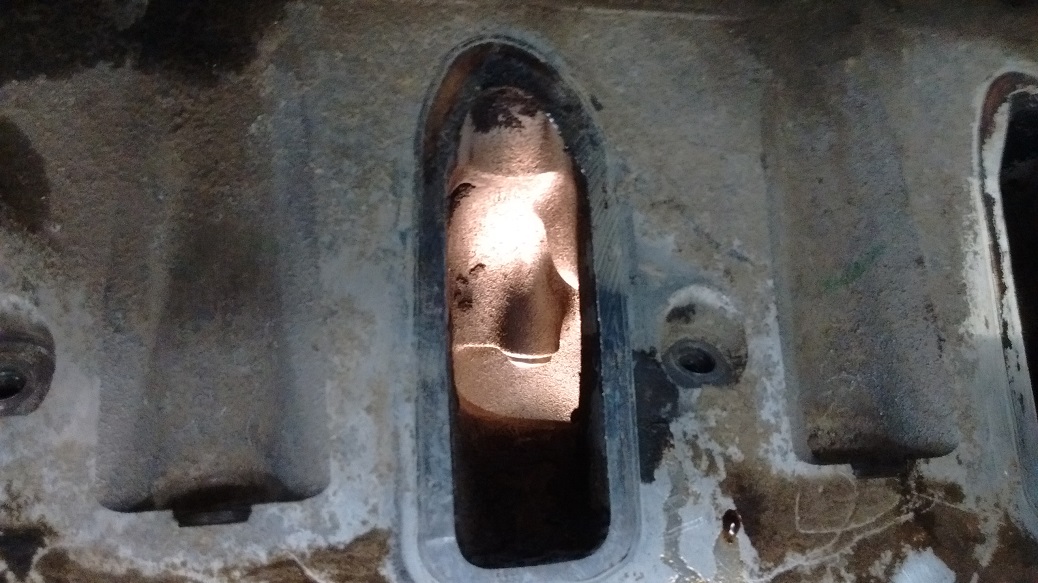
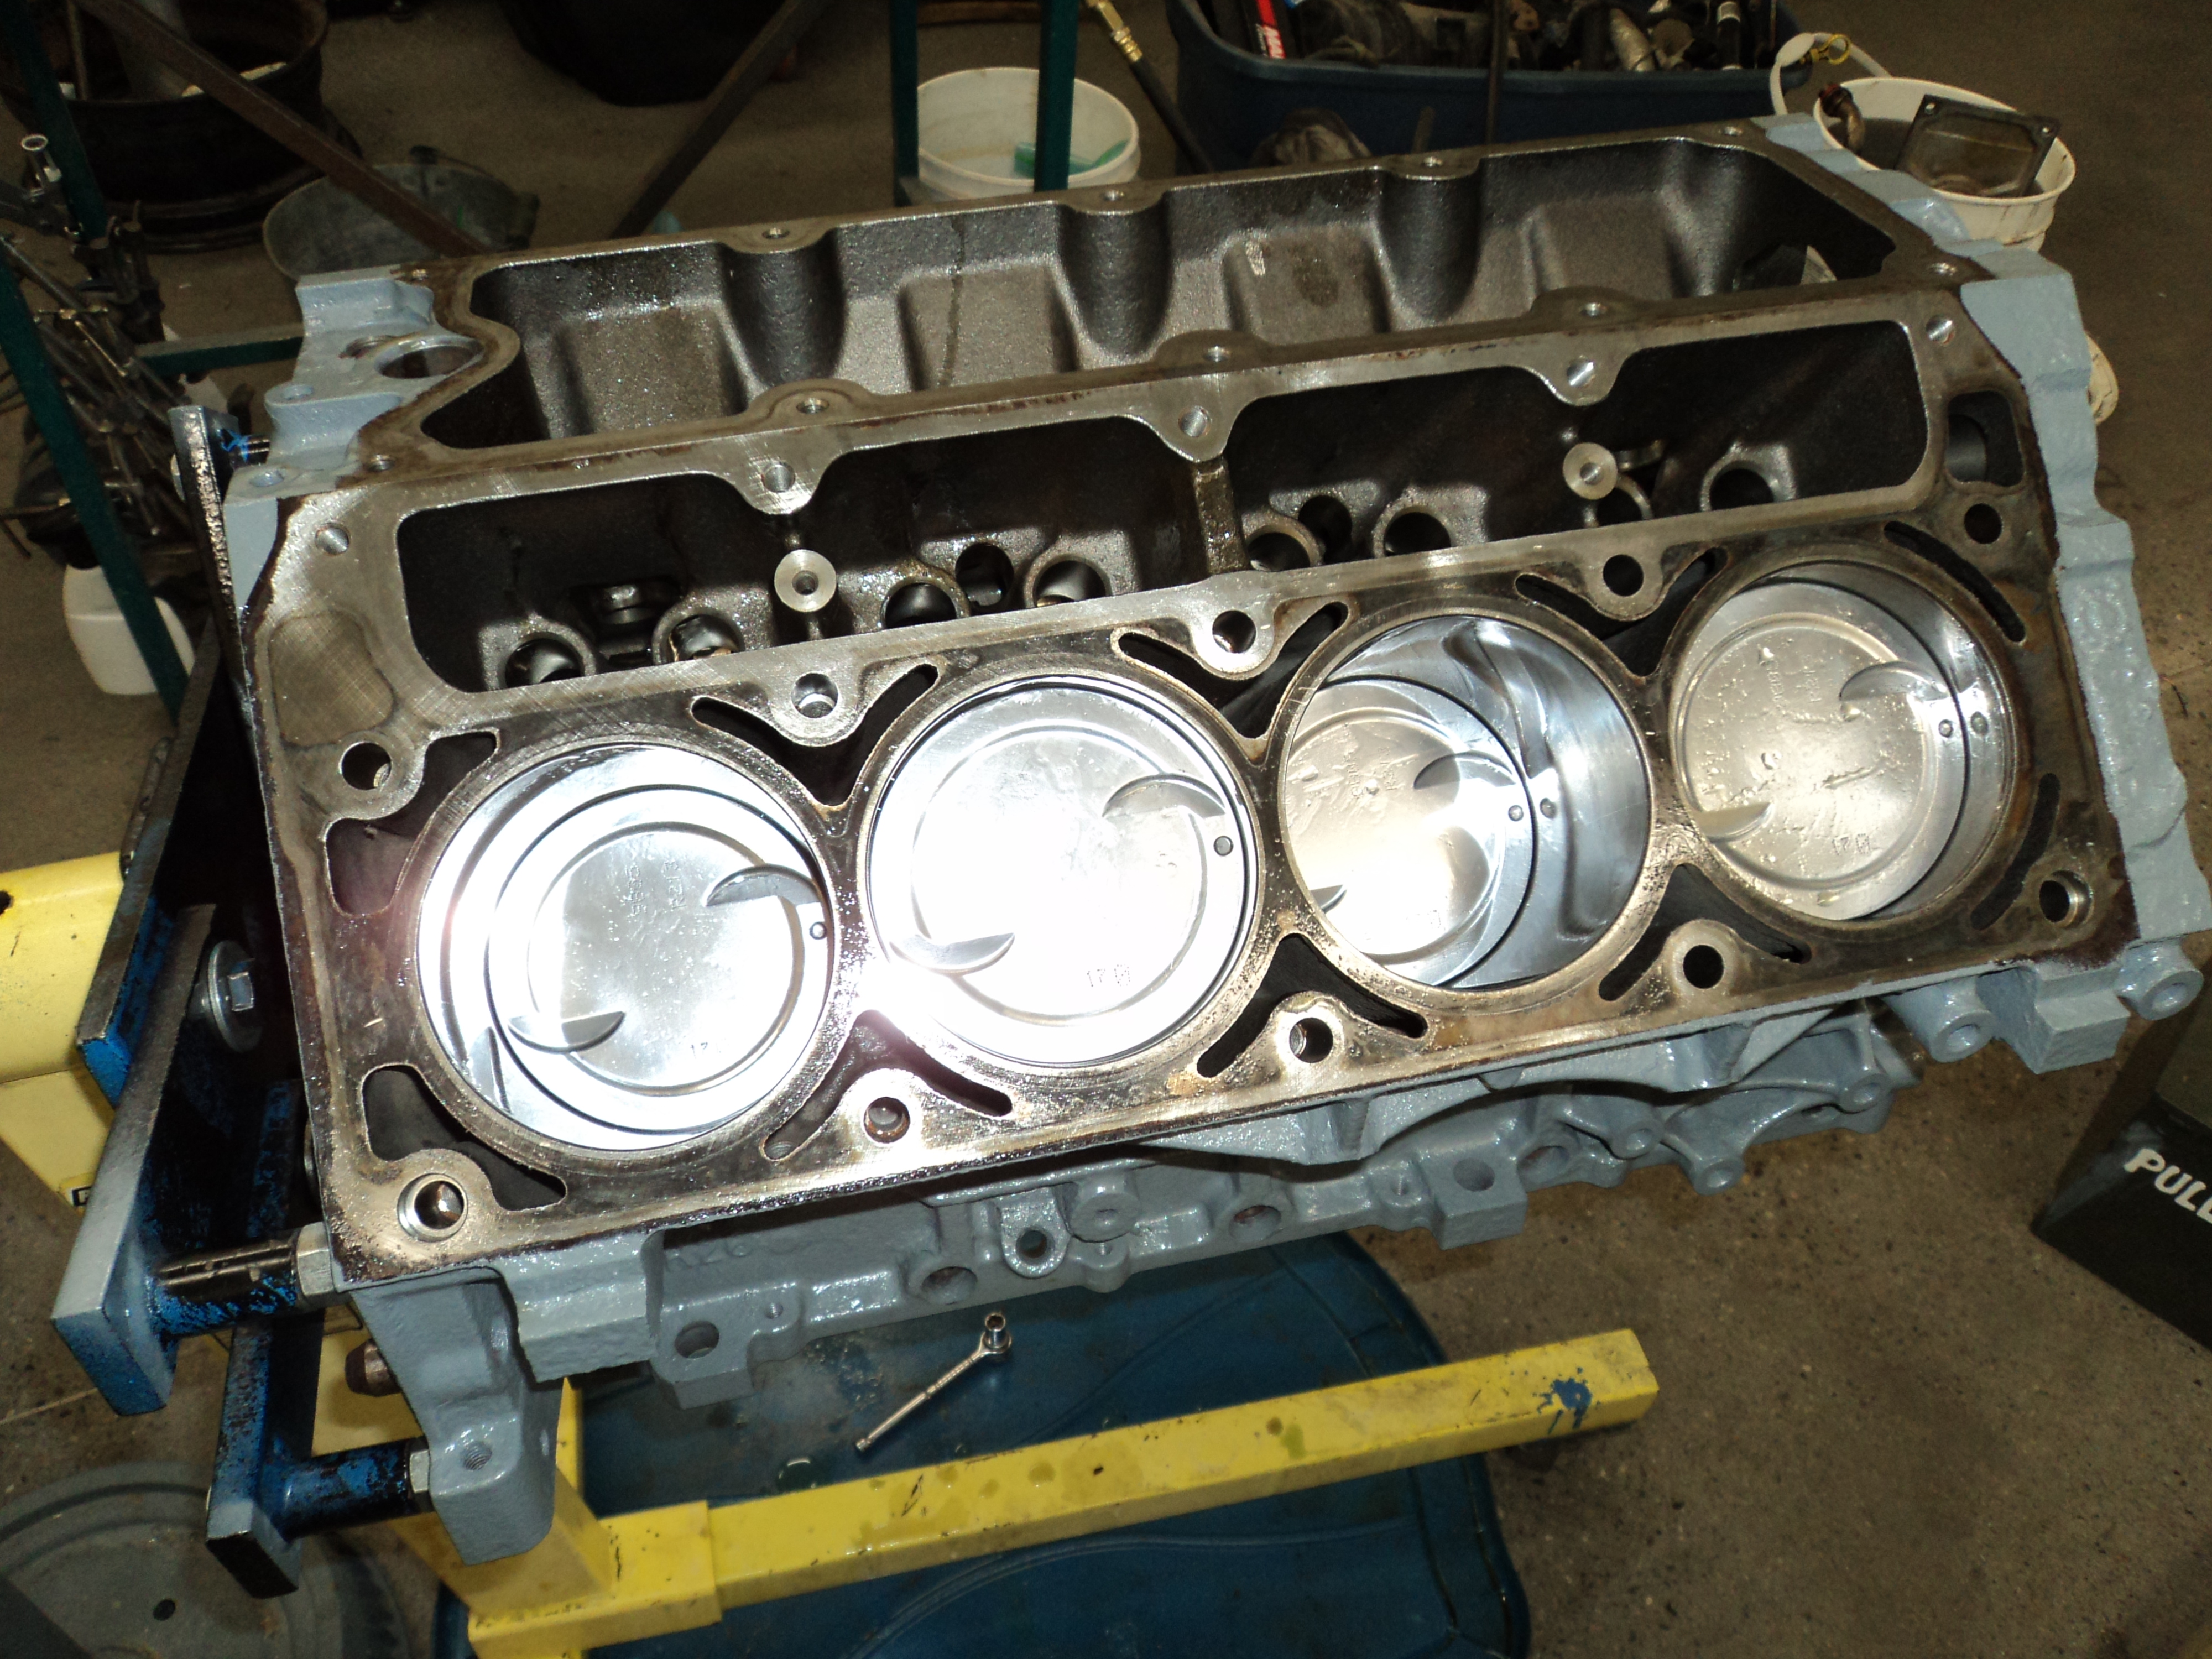
Cylinders have zero ridge. This is not what I’m used to seeing on the traditional ‘Murican V8s of old.
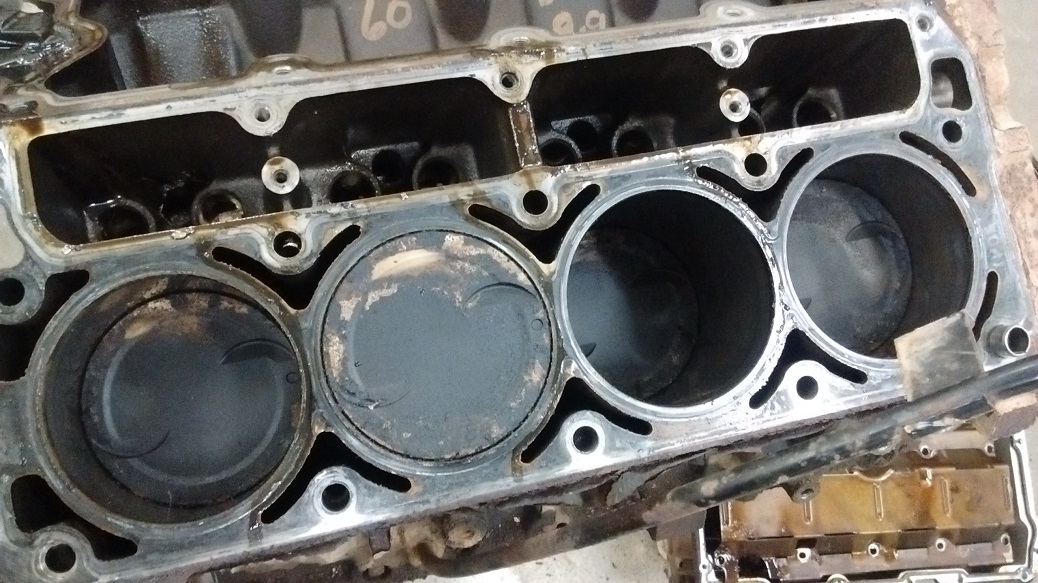
Gen4 rods in there!!!
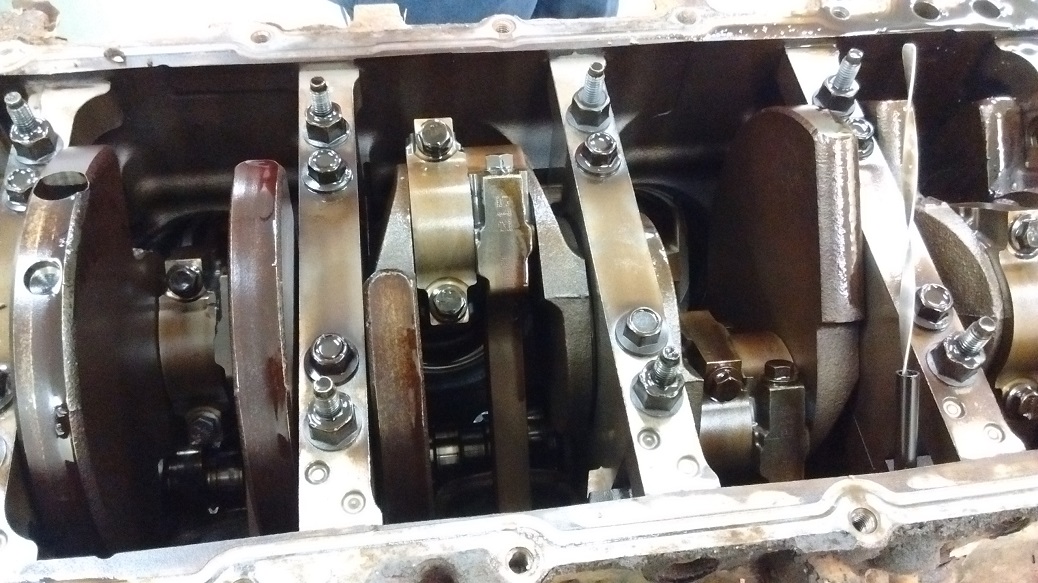
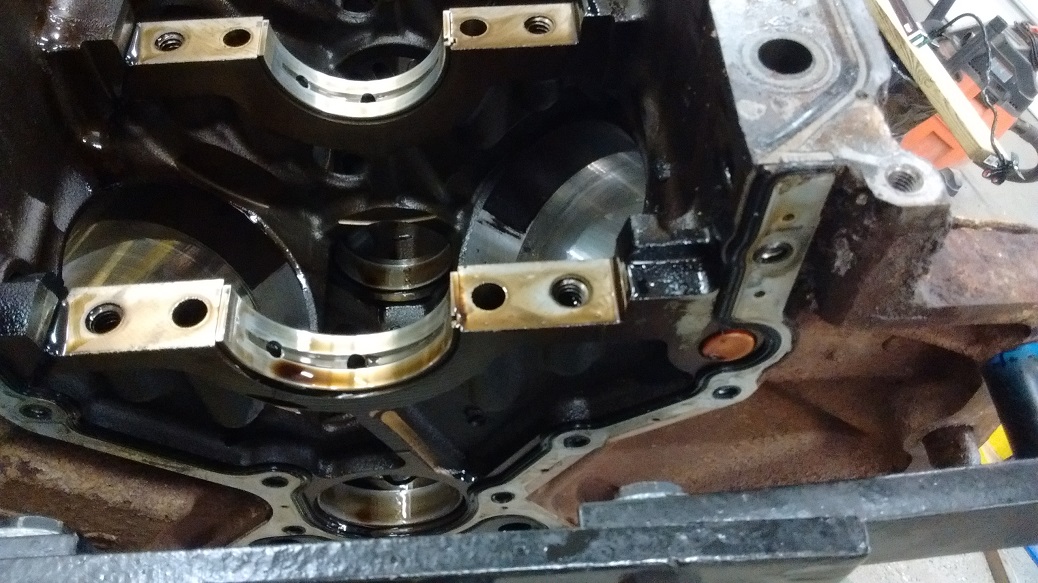
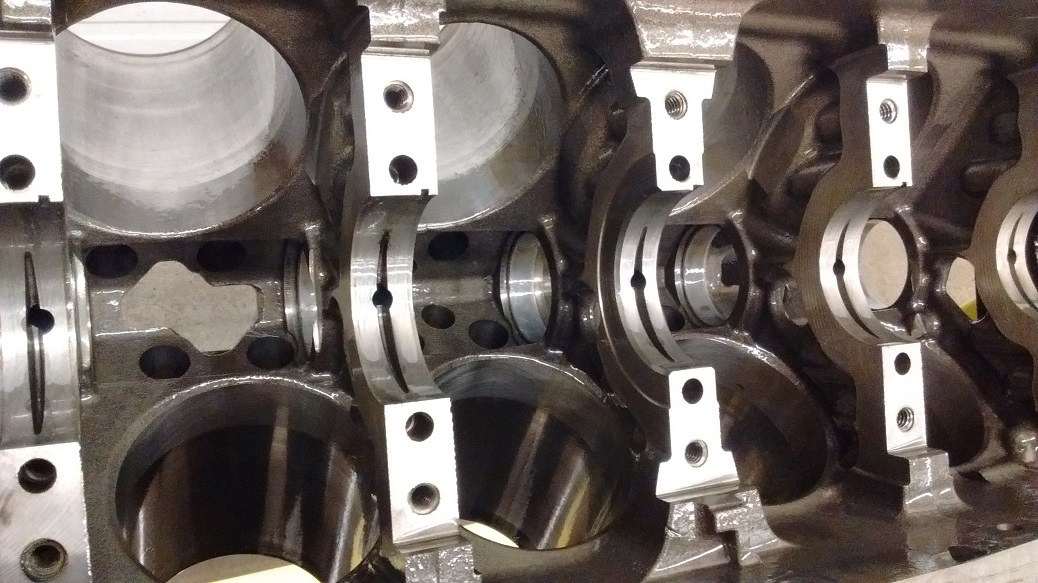
Bottom end all apart. Bearings look really good. Almost “I might reuse these” good. Except I went with new just to be safe.

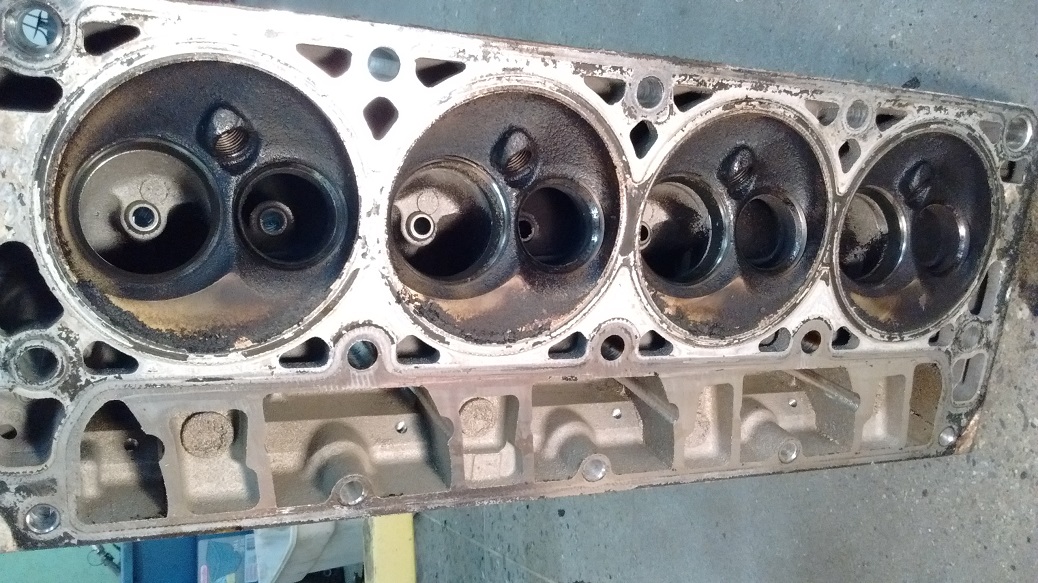
Headwork
Top end all apart. Intake valve guides are on the loose side of still acceptable (spec and measured: 0.0025″), exhausts are just past the service limit (0.0035″, measured 0.004″)
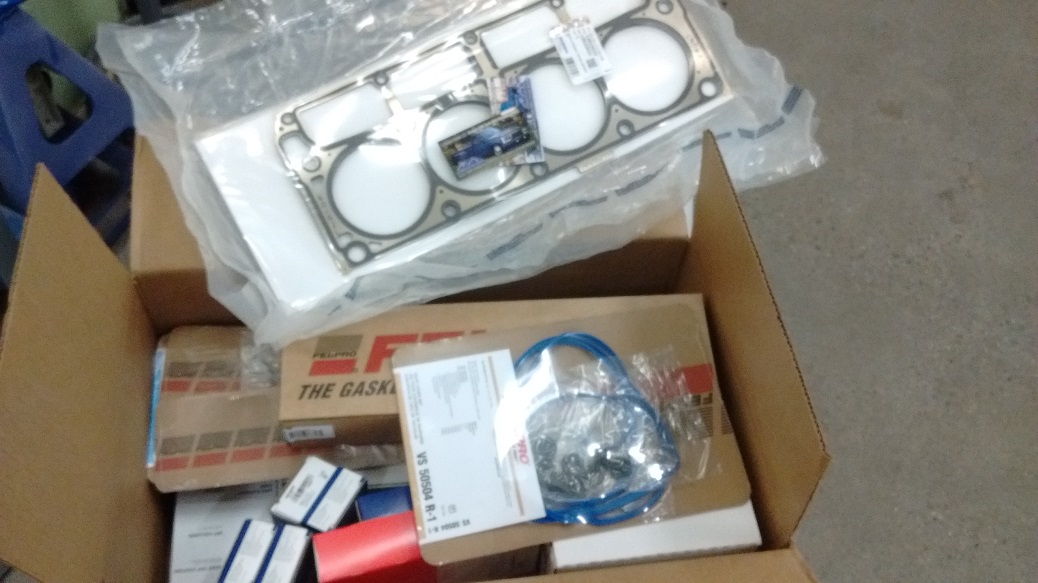
Rock Auto delivers! PAC-1218 valve springs should arrive early next week. ARP junk from Summit Racing will ship once the back ordered crank bolt comes in.
Going to pick up some diesel to soak and clean the heads and pistons.
 Engine cleaned up real easy!
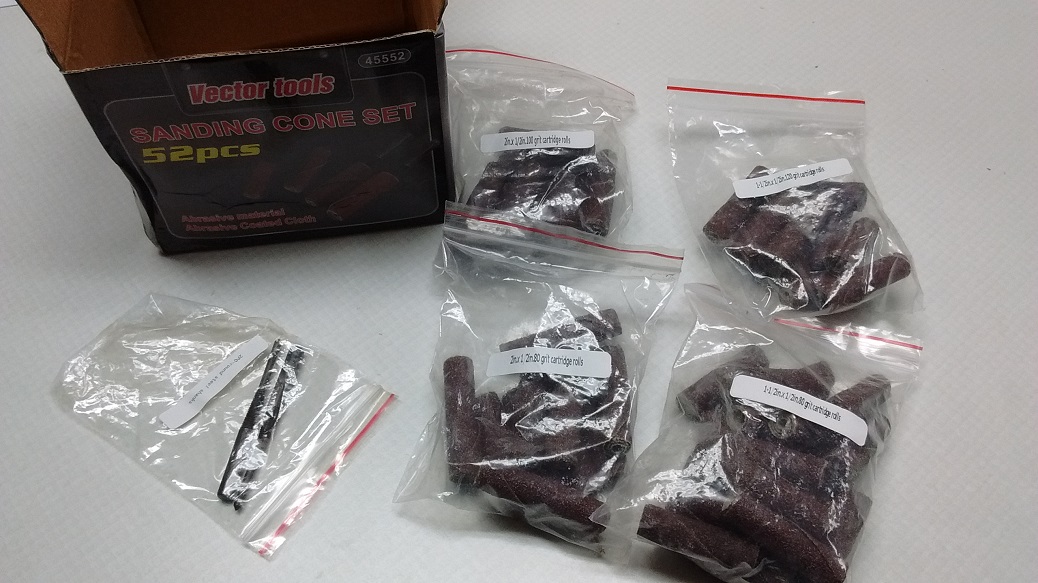 eBay porting kit – yay!
Grrrr
I soaked a head in Diesel for a full week, but it wasn’t coming clean very easily. So I took them to a shop and said “clean ’em, do the guides, do the seats, and surface them.”
I came back the next day, and they only surfaced the heads. I asked why, and they said they need the valves to check the guides. I said I had measured them two different ways and they’re loose, just do them. They were adamant that they needed the valves. So (instead of walking away like I should have), I brought them the valves the next day.
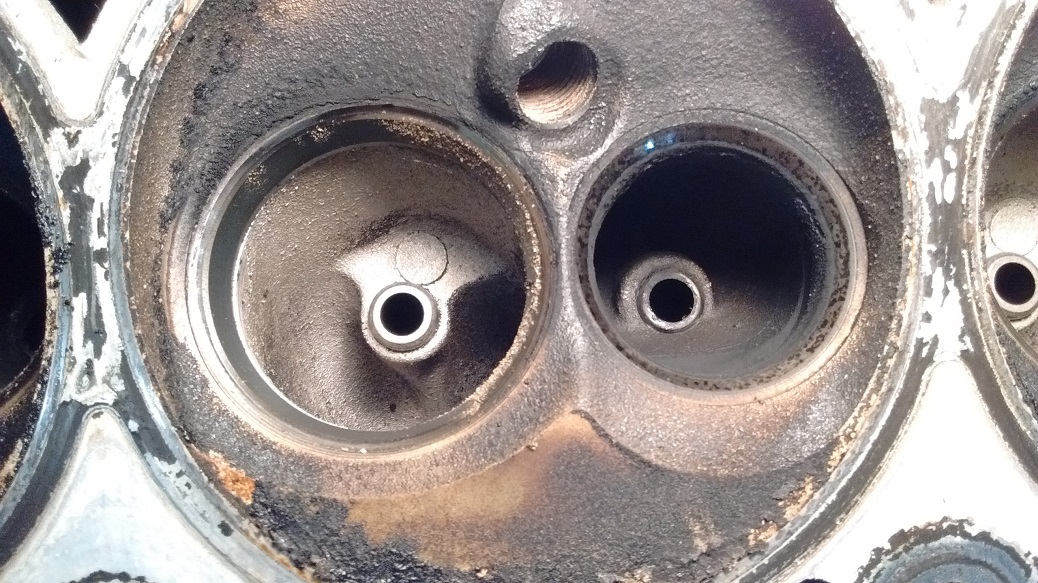
Came back to pick them up, and they said proudly “We didn’t even measure them, we wiggled them, they’re mint!” You suck, machine shop, you suck. They did cut the seats, but they ended up cutting them pretty deep and now there is a deep ridge around the valves hindering flow.
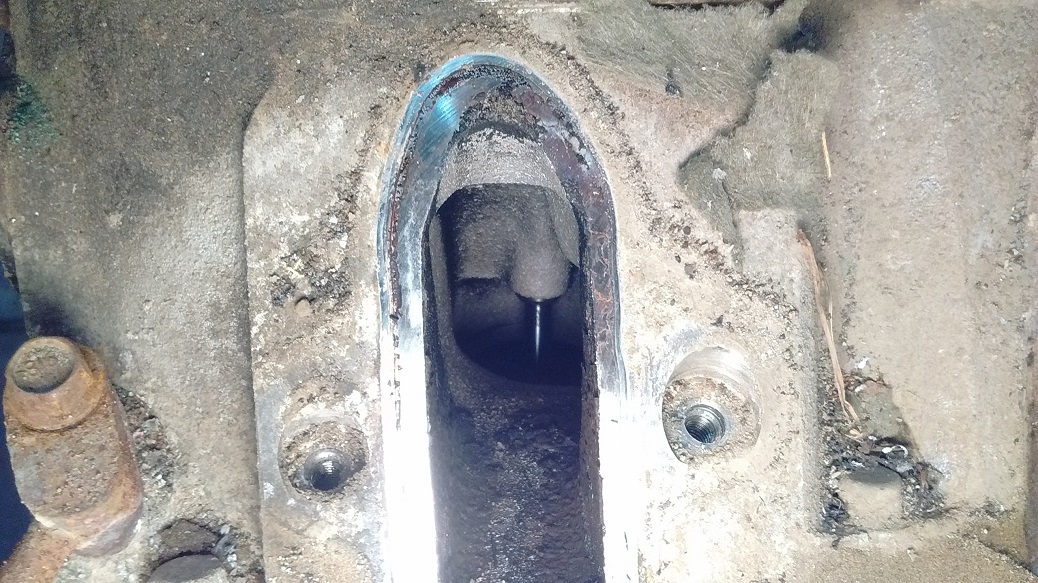
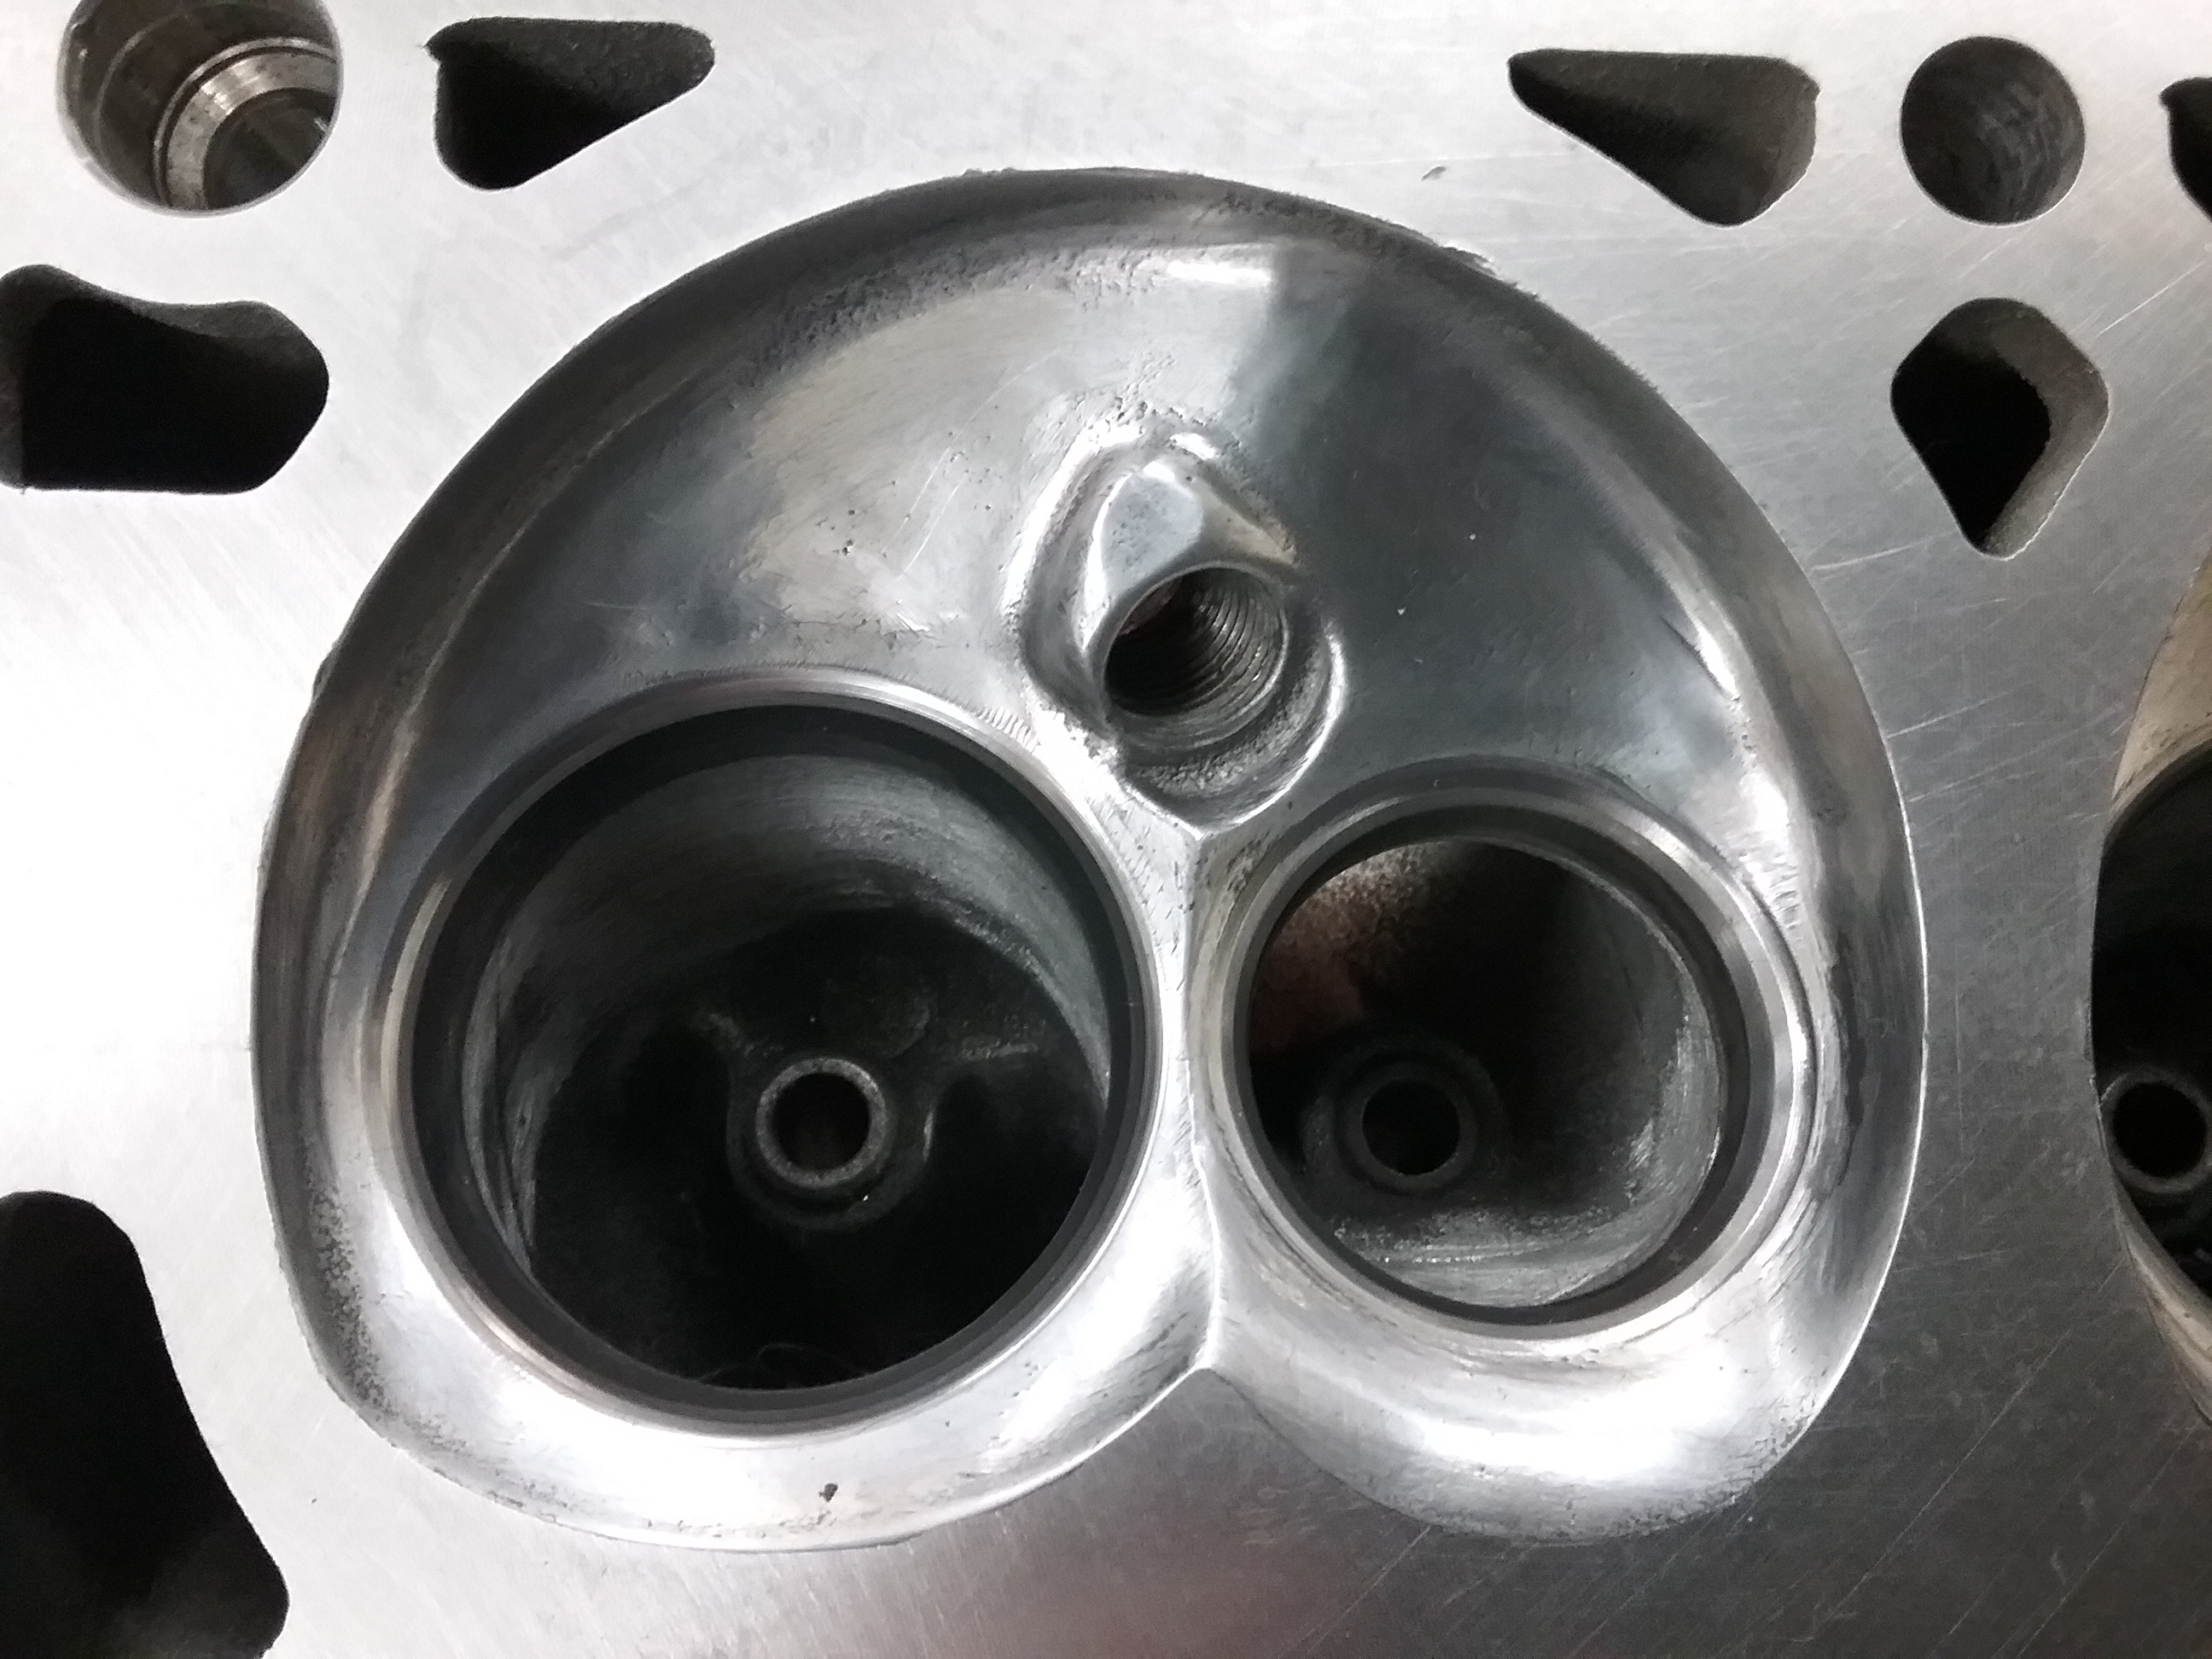
 See the edge above the top cut on the exhaust? Ugh.
Thing is, seat cutting is referenced off the guides. If I do the guides now, the seats have to be re-cut as they will not be concentric with the guides, and then the valves go deeper into the head. Grrr. (I’m still angry about this, and it’s been a couple weeks for me to calm down about it, but I’m not calming down…).
I thanked them, paid them, took my stuff, and I’ll never go back, nor will I ever recommend them to anyone else.
I recognize I’m not a professional machinist, but dang it, just do what I ask and bill me accordingly. At this rate, though, I may eventually run out of machine shops.
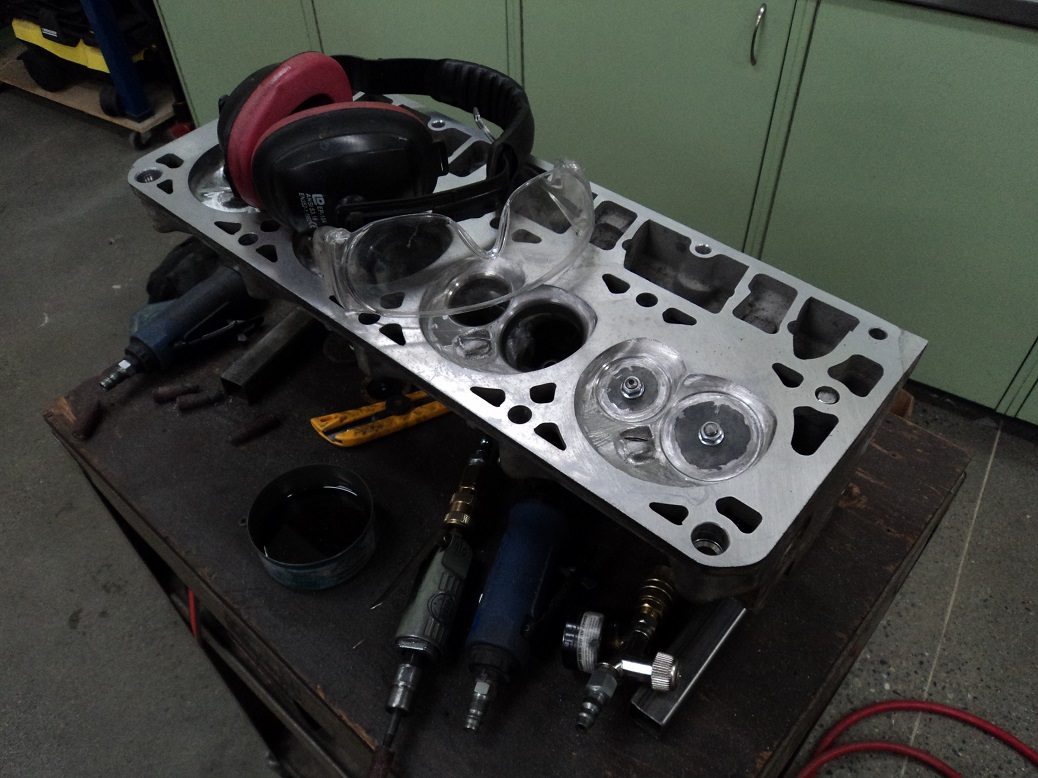
So, I spent a number of hours re-shaping the valve seat area in the combustion chambers to get the flow back, and figured while I’m at it, why not polish the combustion chambers?
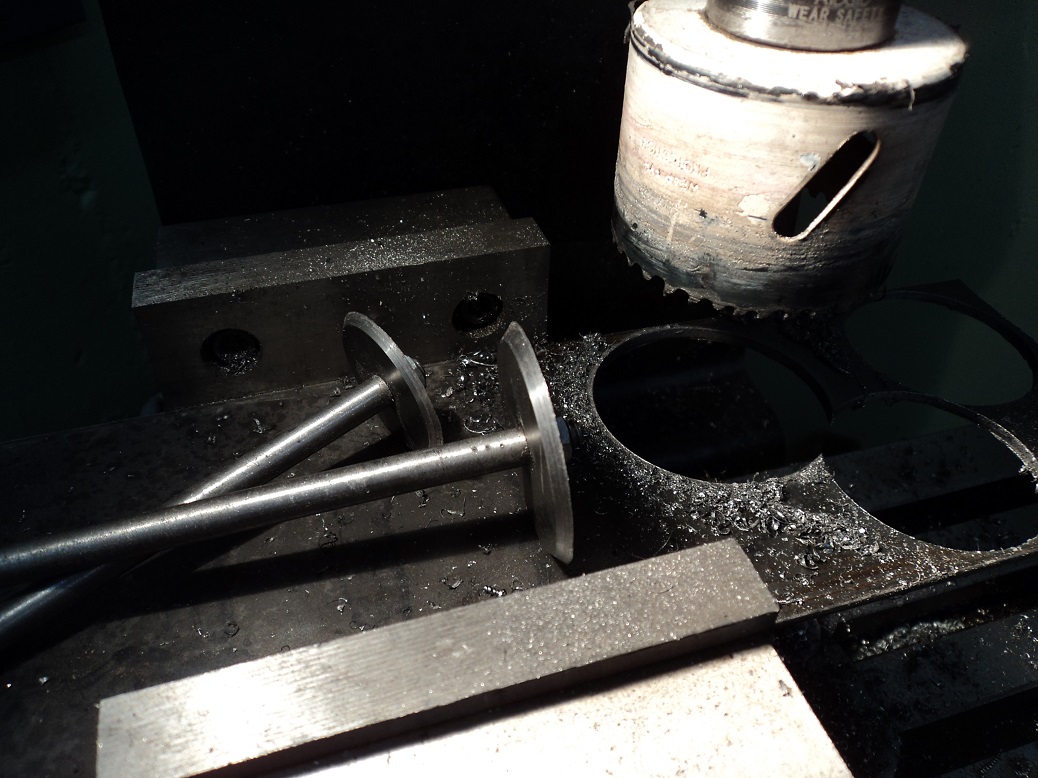
Since I didn’t have any old valves, I turned down some round stock to 0.313″ and threaded one end 1/4-20, and cut out some 1/8″ flat and turned them to protect the valve seats.
Research indicates possible advantages being:
More combustion heat applied to piston
More heat kept in exhaust to spool the turbo faster
Less carbon build up
Less “edges” risking pre-ignition and detonation
Could also be pipe dreams and voodoo.
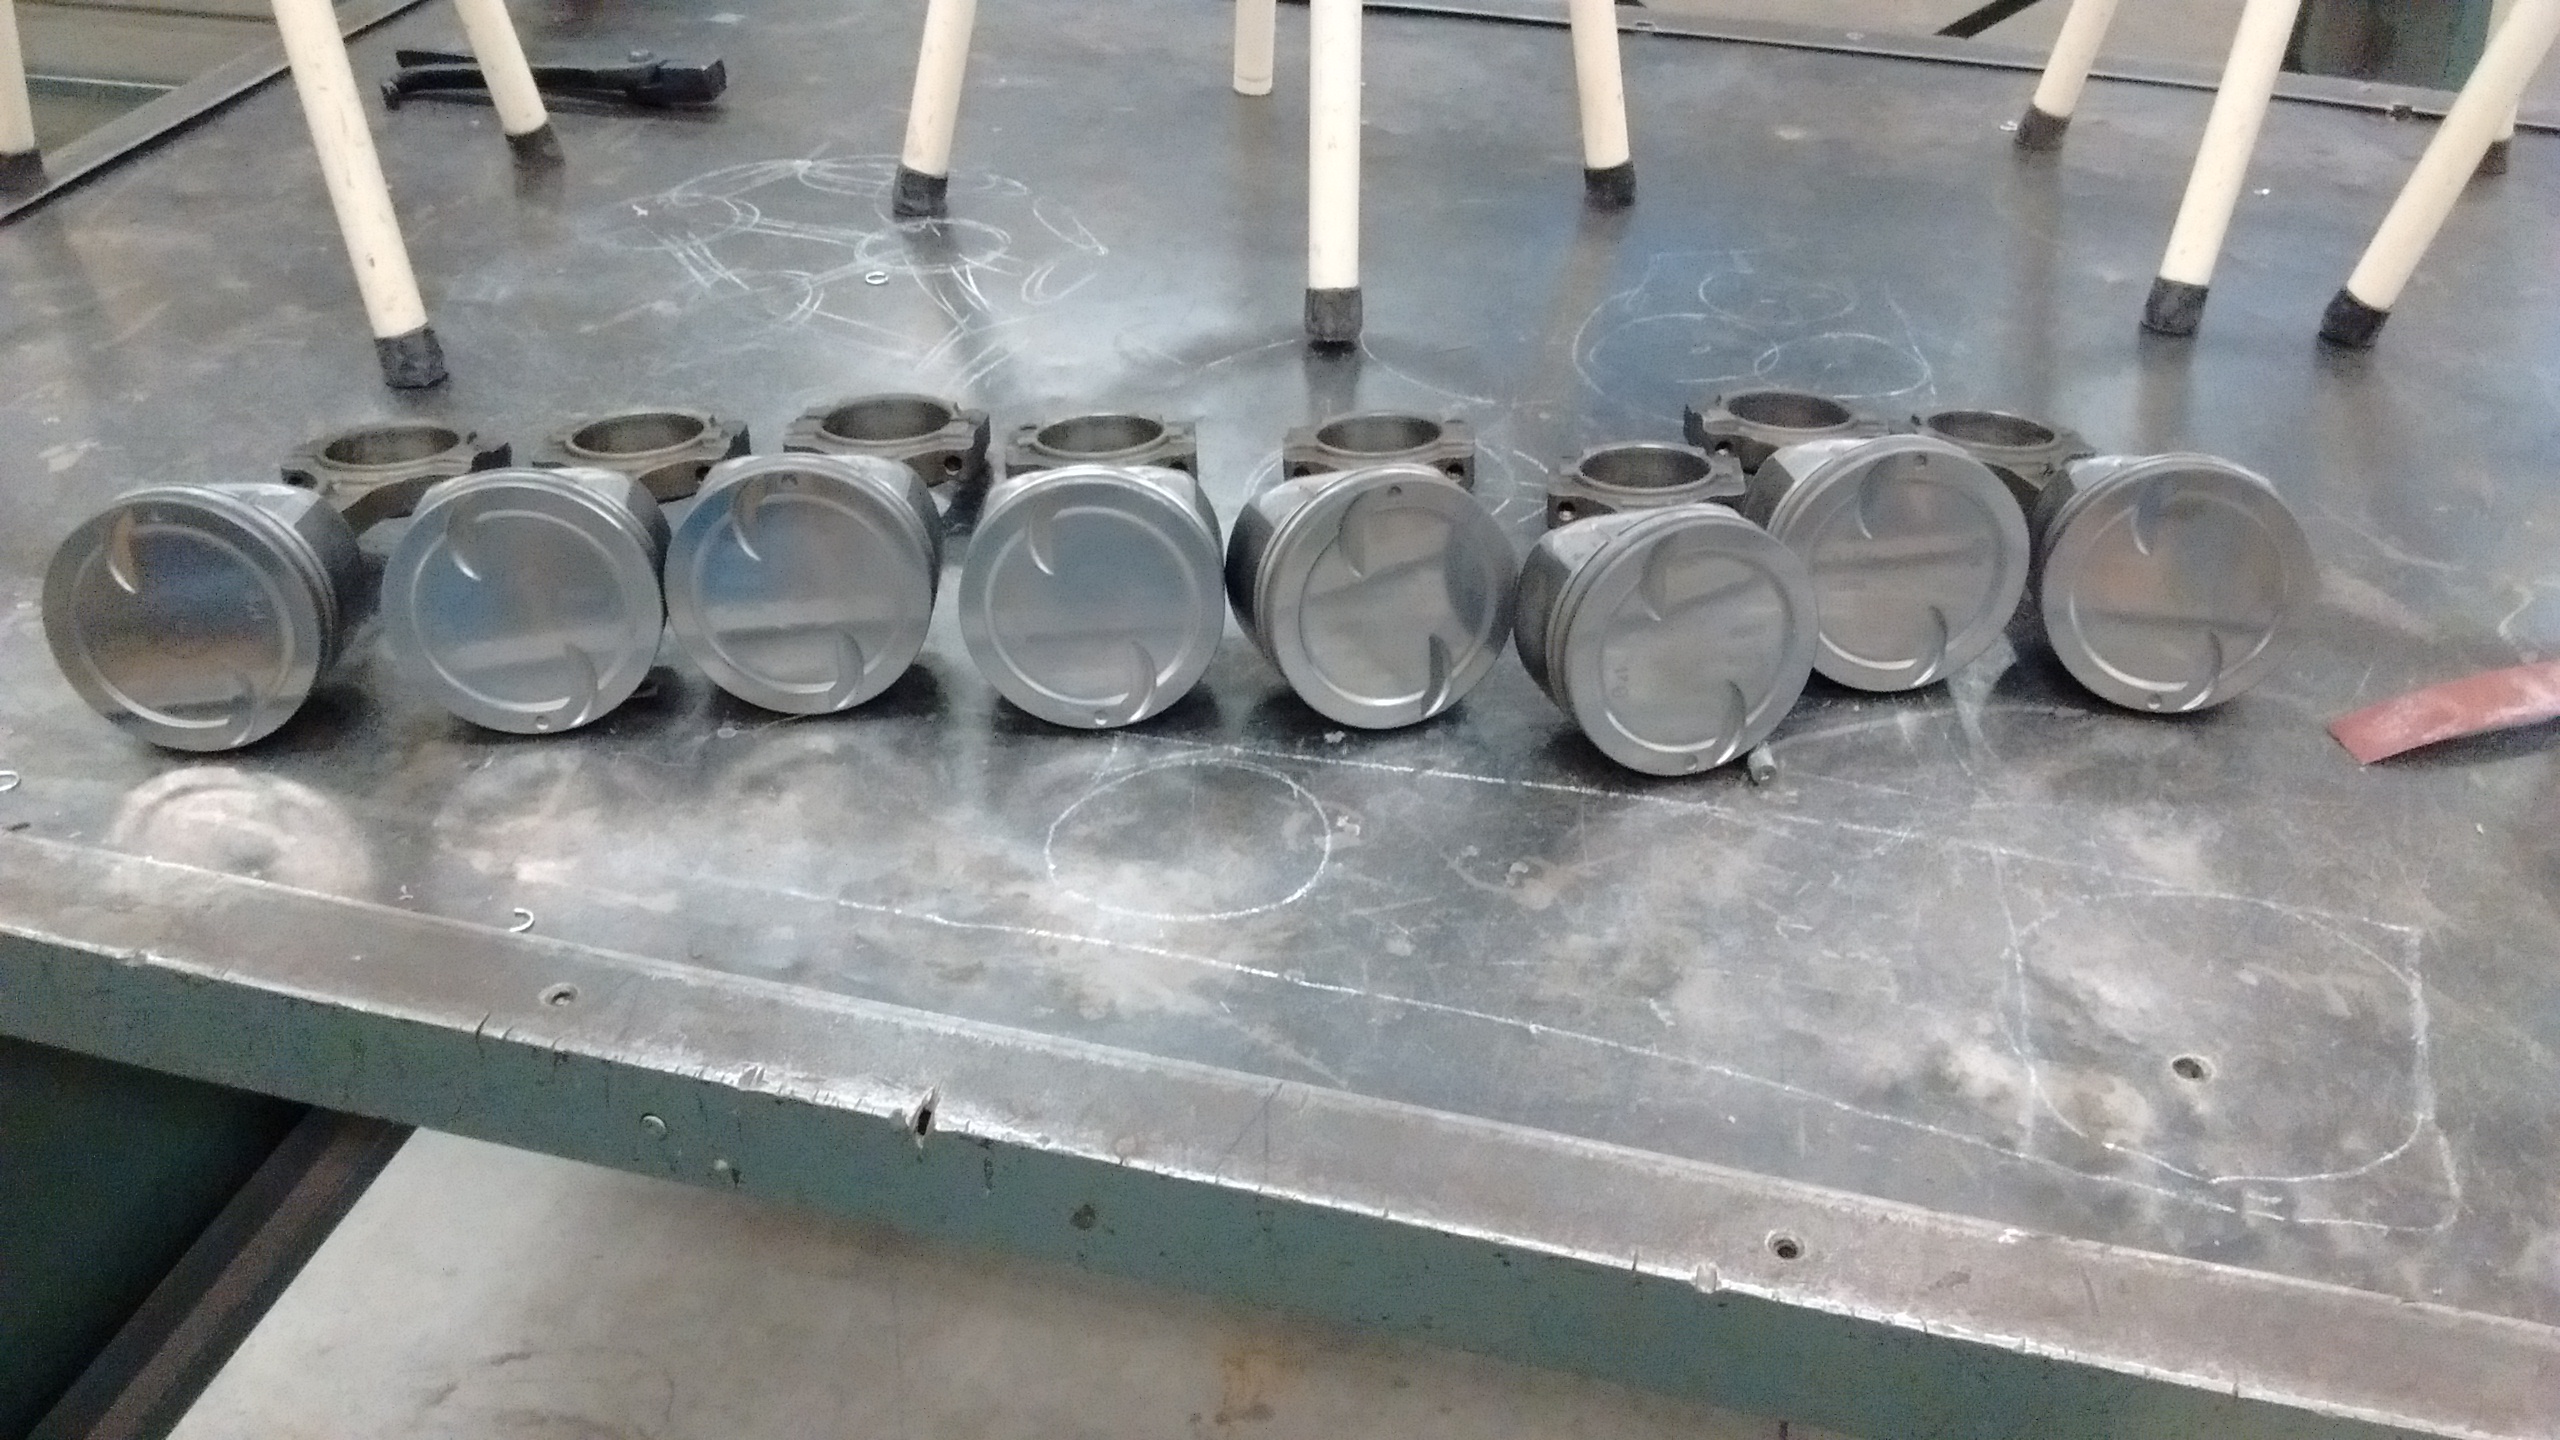
I also had polished the piston tops. Because why not. My labour is free.
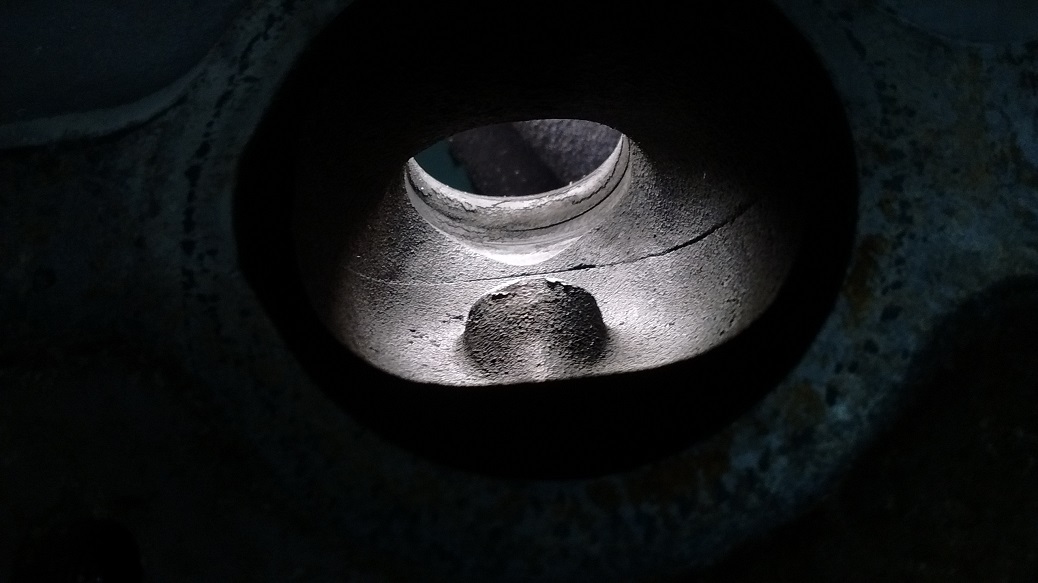
After a fair bit of research and debate, I likely will not hog out these heads with porting (I did not). I think the swirl ramp in the intake bowls is a good idea for low-speed throttle response, torque and fuel economy. I haven’t decided if I will remove the rocker-stud boss in the intake port (done on pretty much all ported and aftermarket heads).
Of course, on one side of the fence you have “Awesome! That’s the best mod you could do right there!” and on the other side you have “Dude! You just ruined those heads.” Well, I did what made sense to me. We’ll see if I get lucky.
Painted the valve covers because I needed a distraction. Gray, as the general consensus is the V8’s were painted gray in ’61. And the interior will be silver/gray (which -is- the ’61 colour).

I mistakenly ordered Gen3 rings for my Gen3 block. Turned out the engine had Gen4 guts inside. I found out my mistake after gapping the first rings and discovering they didn’t fit the pistons.
So I ordered a new set of Gen4 rings, and gapped them 0.026/0.028″ (should be safe for upwards of 22psi boost or so) and installed ’em!
Motor is done!
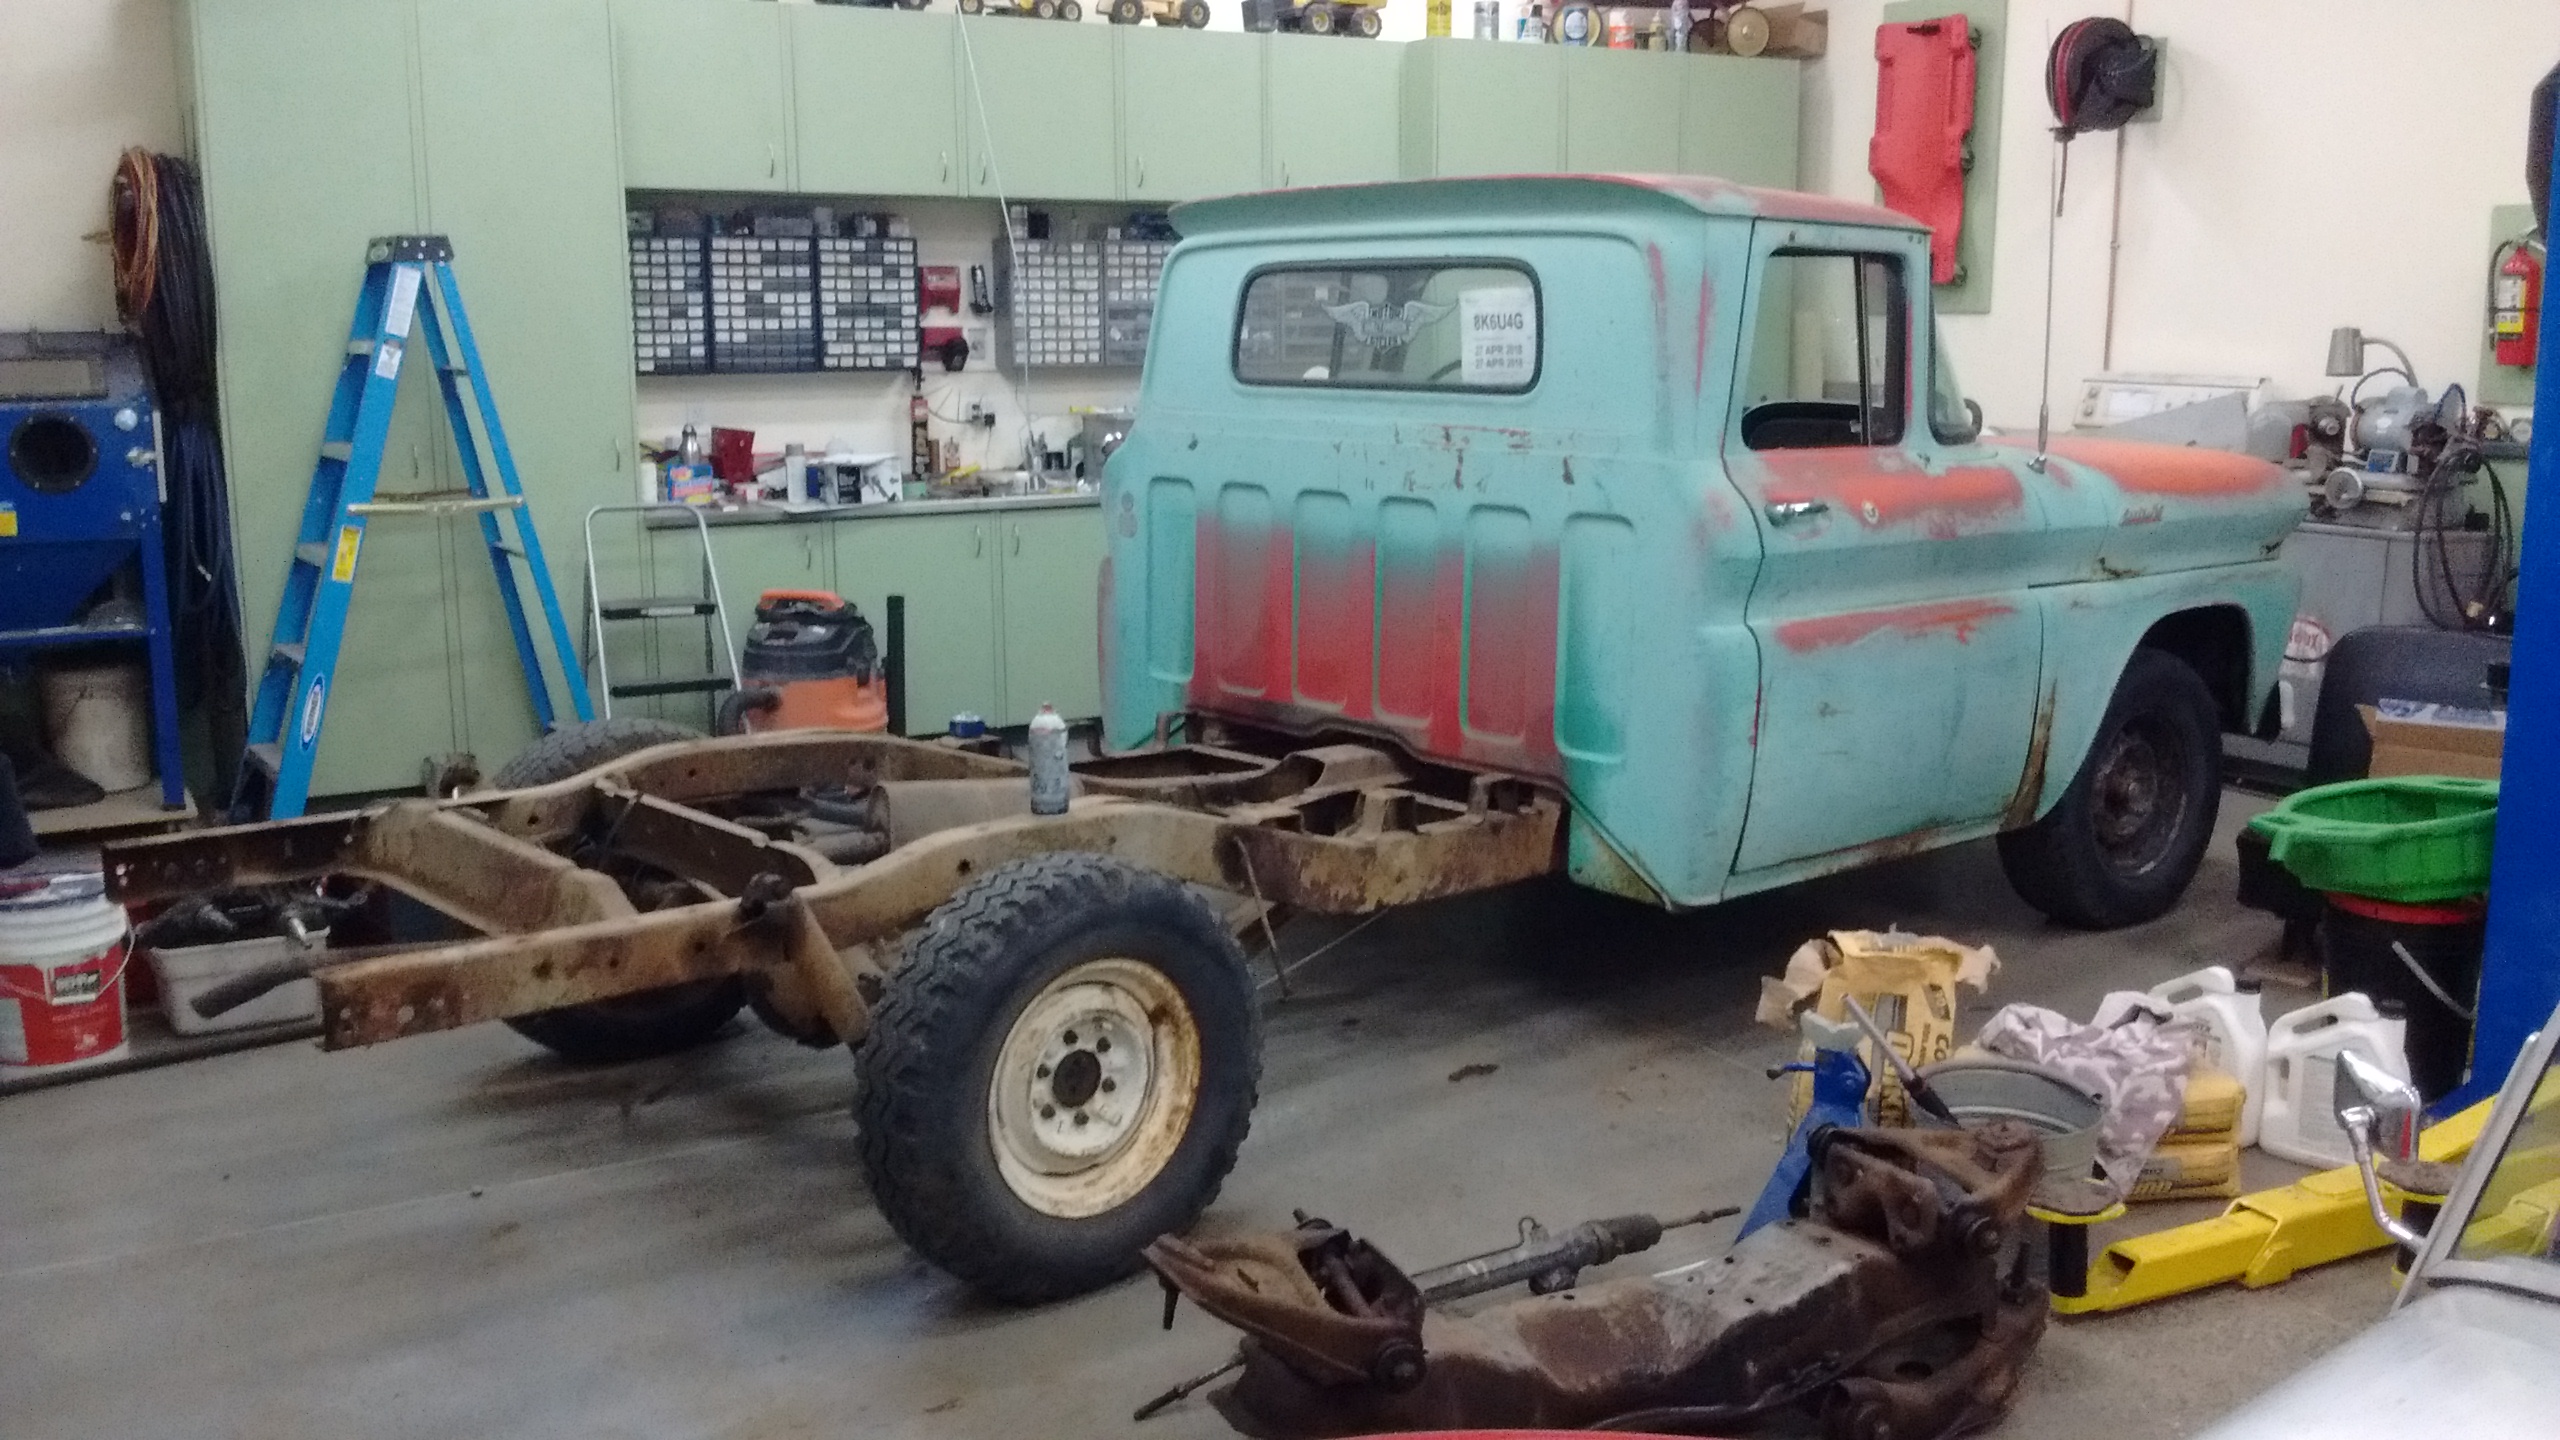
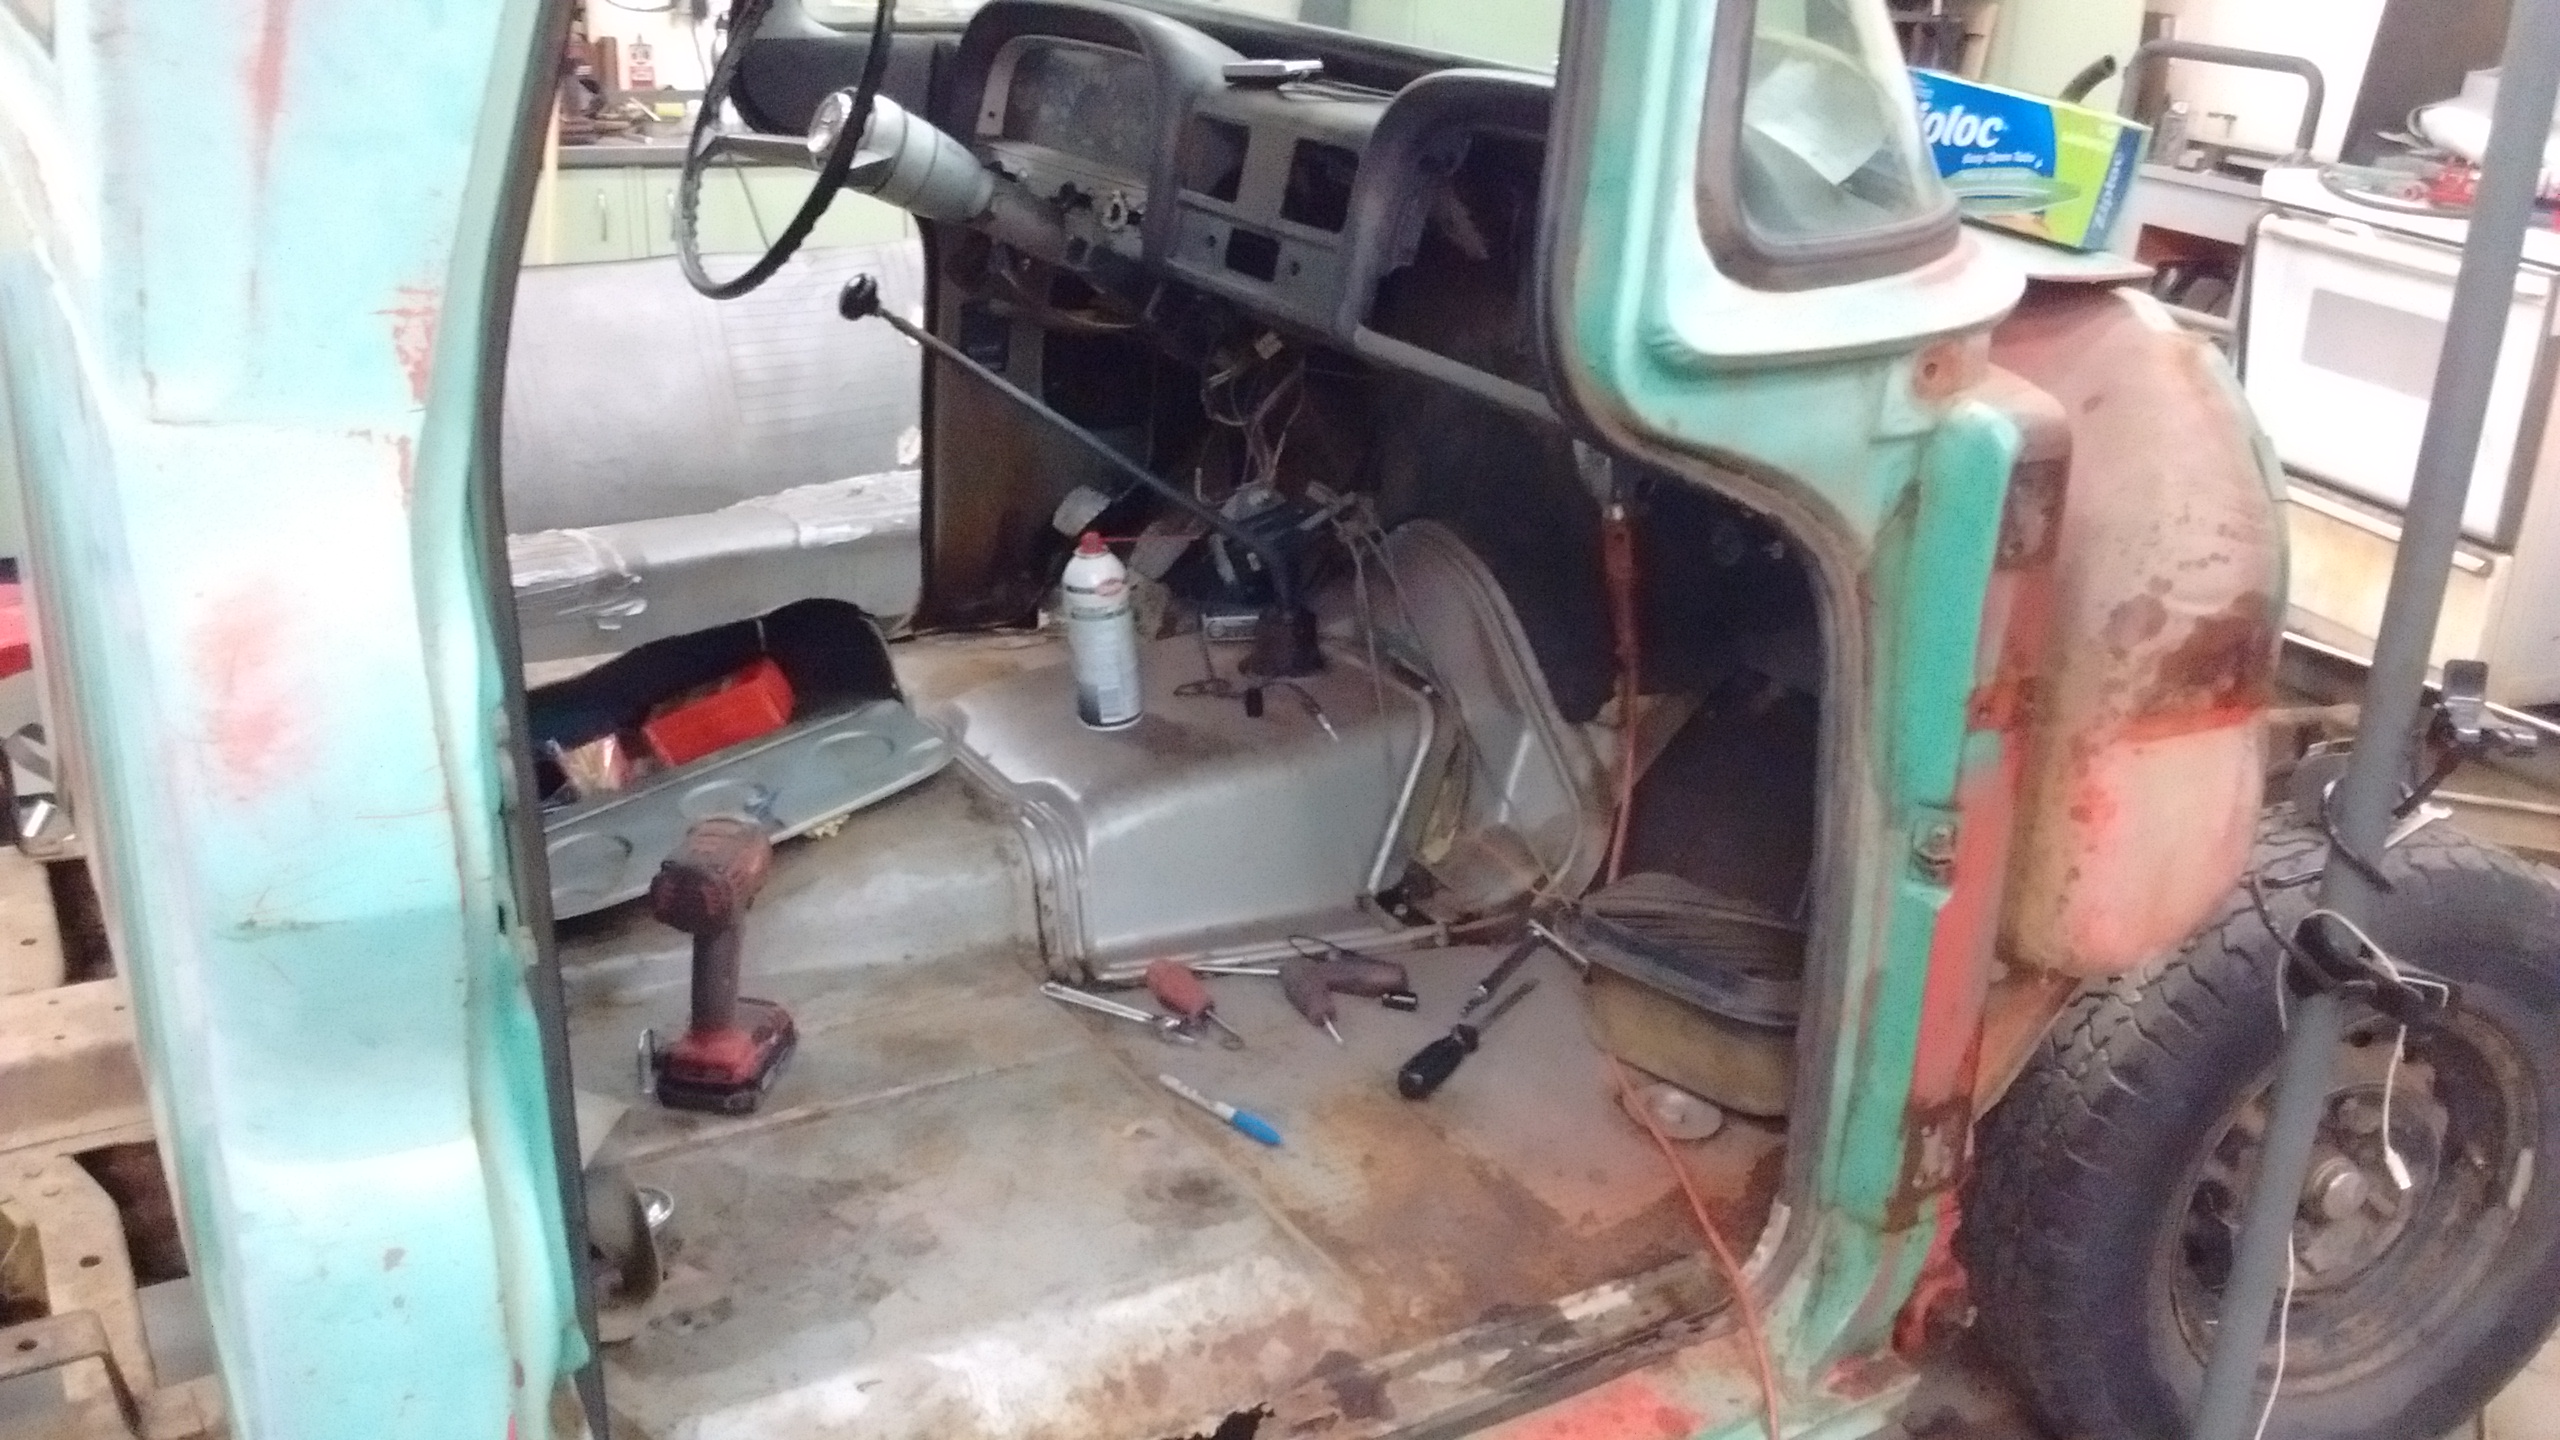
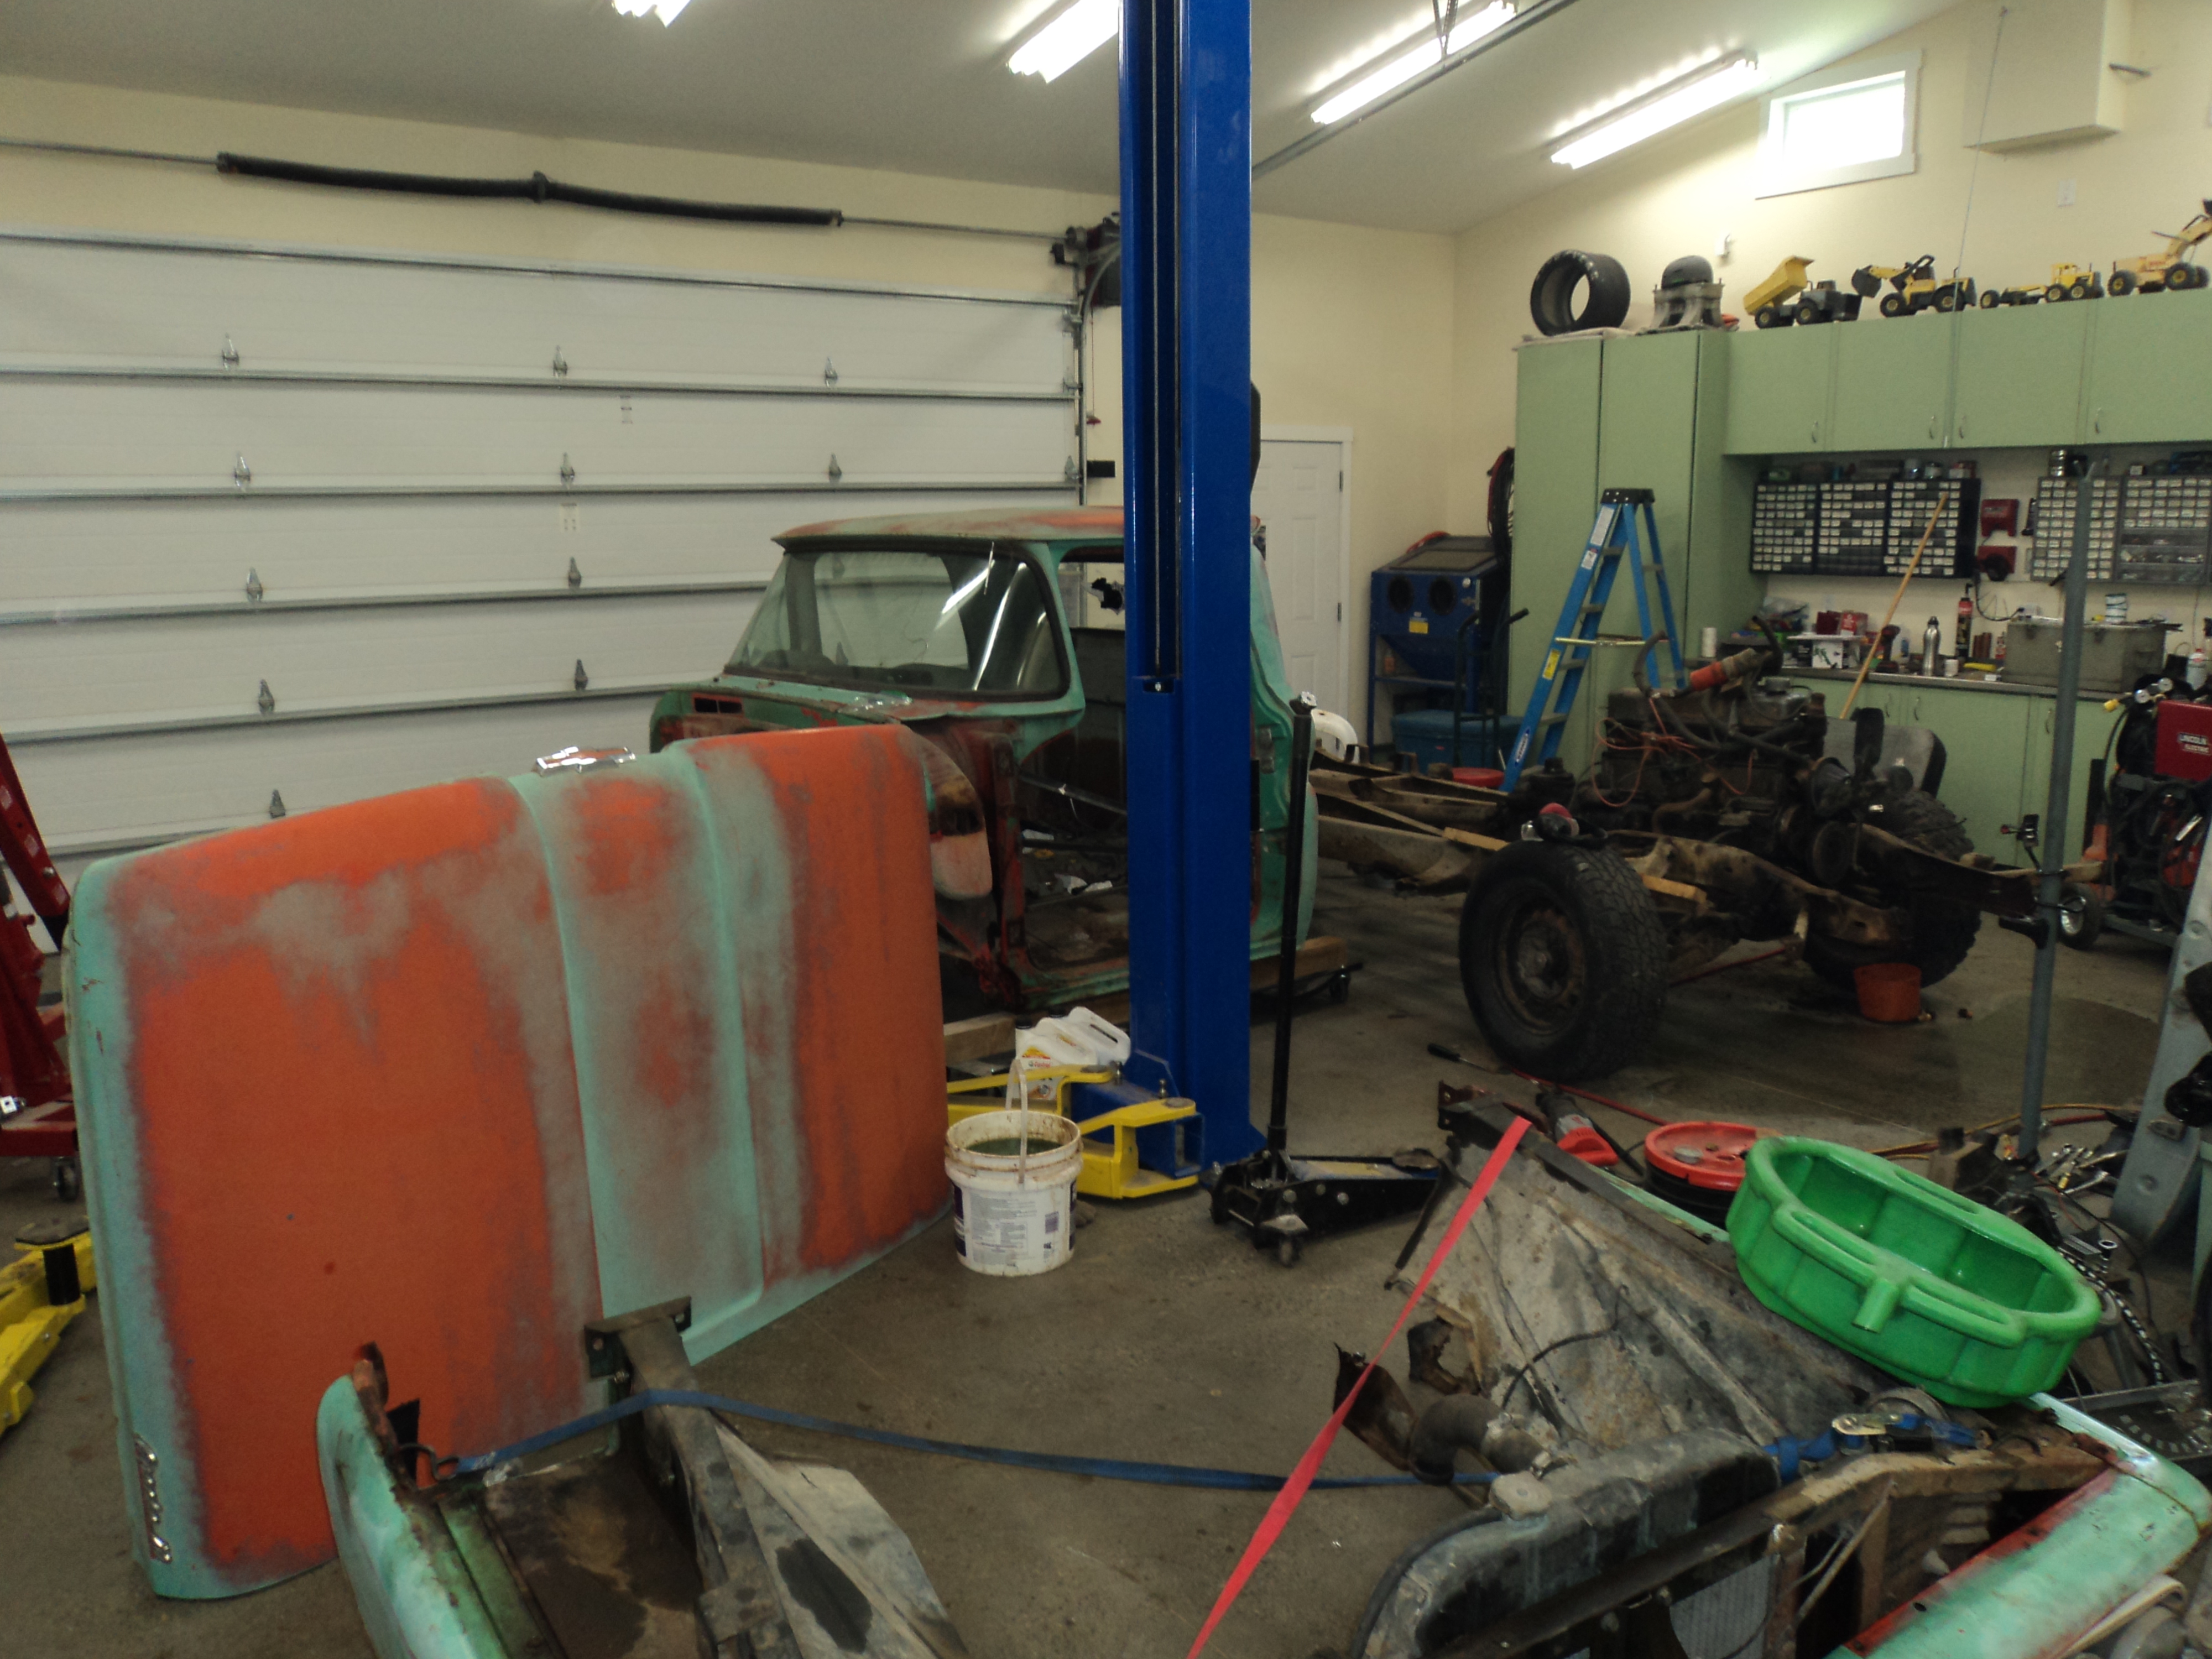
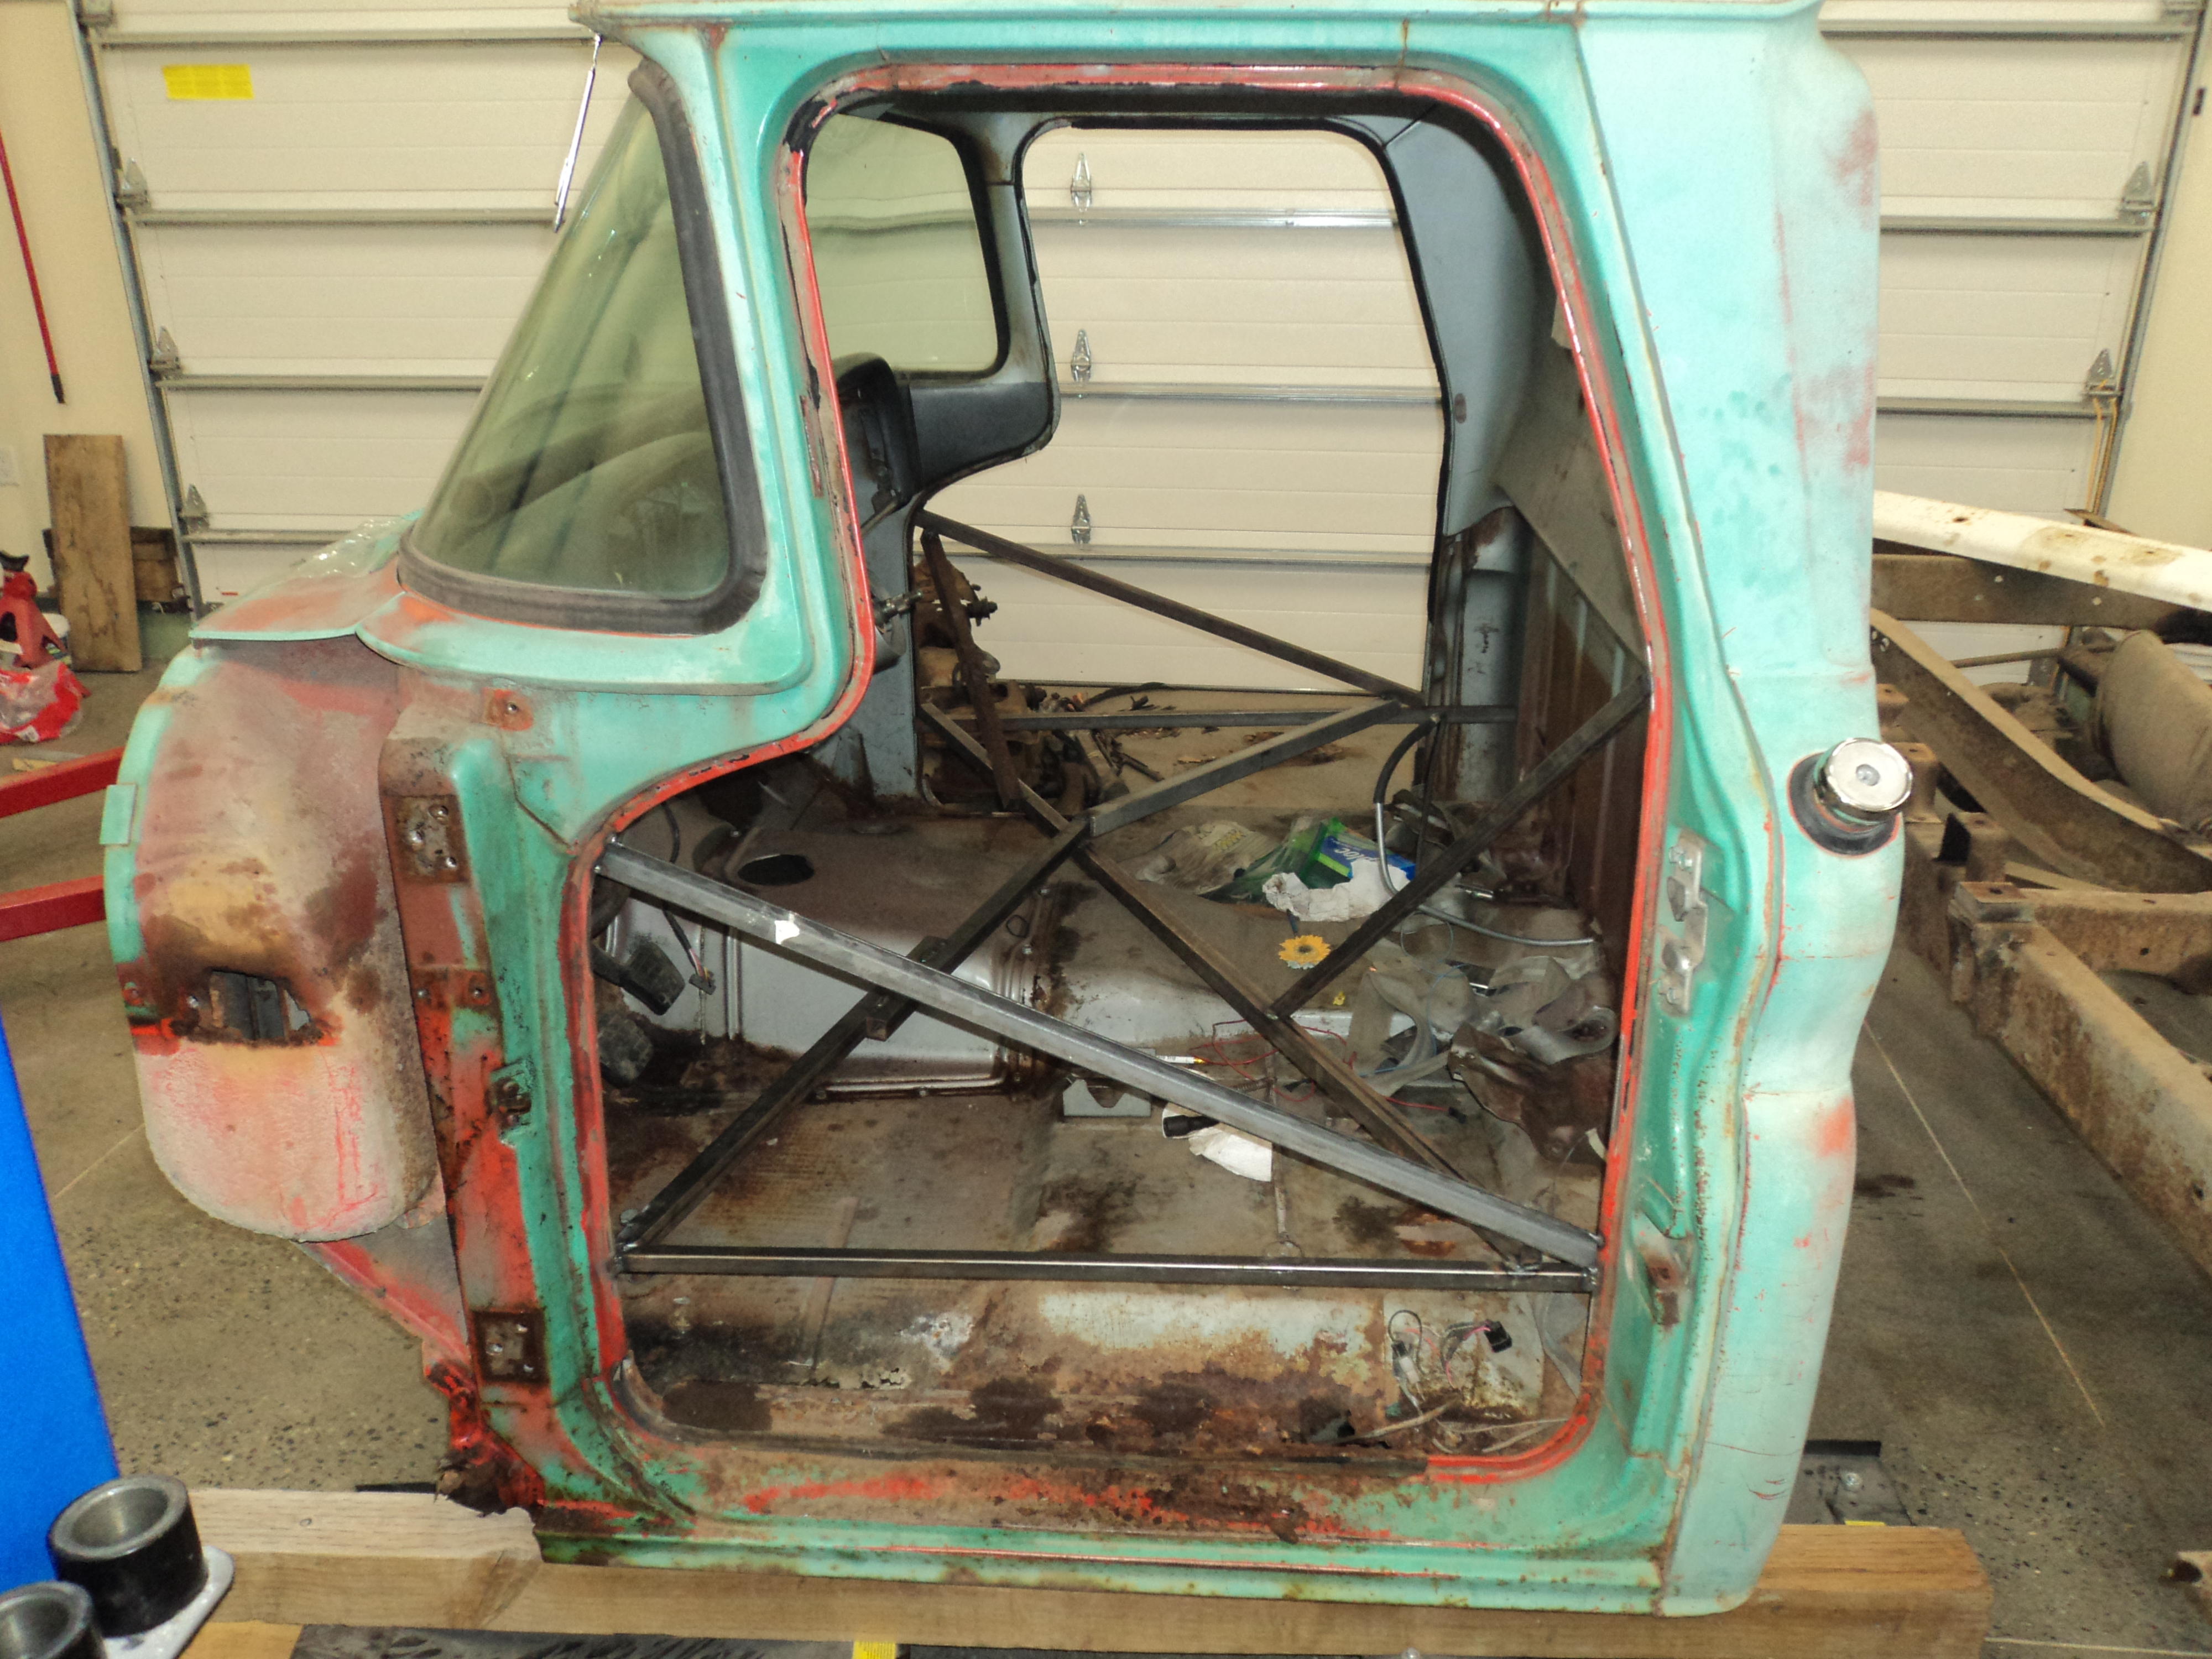
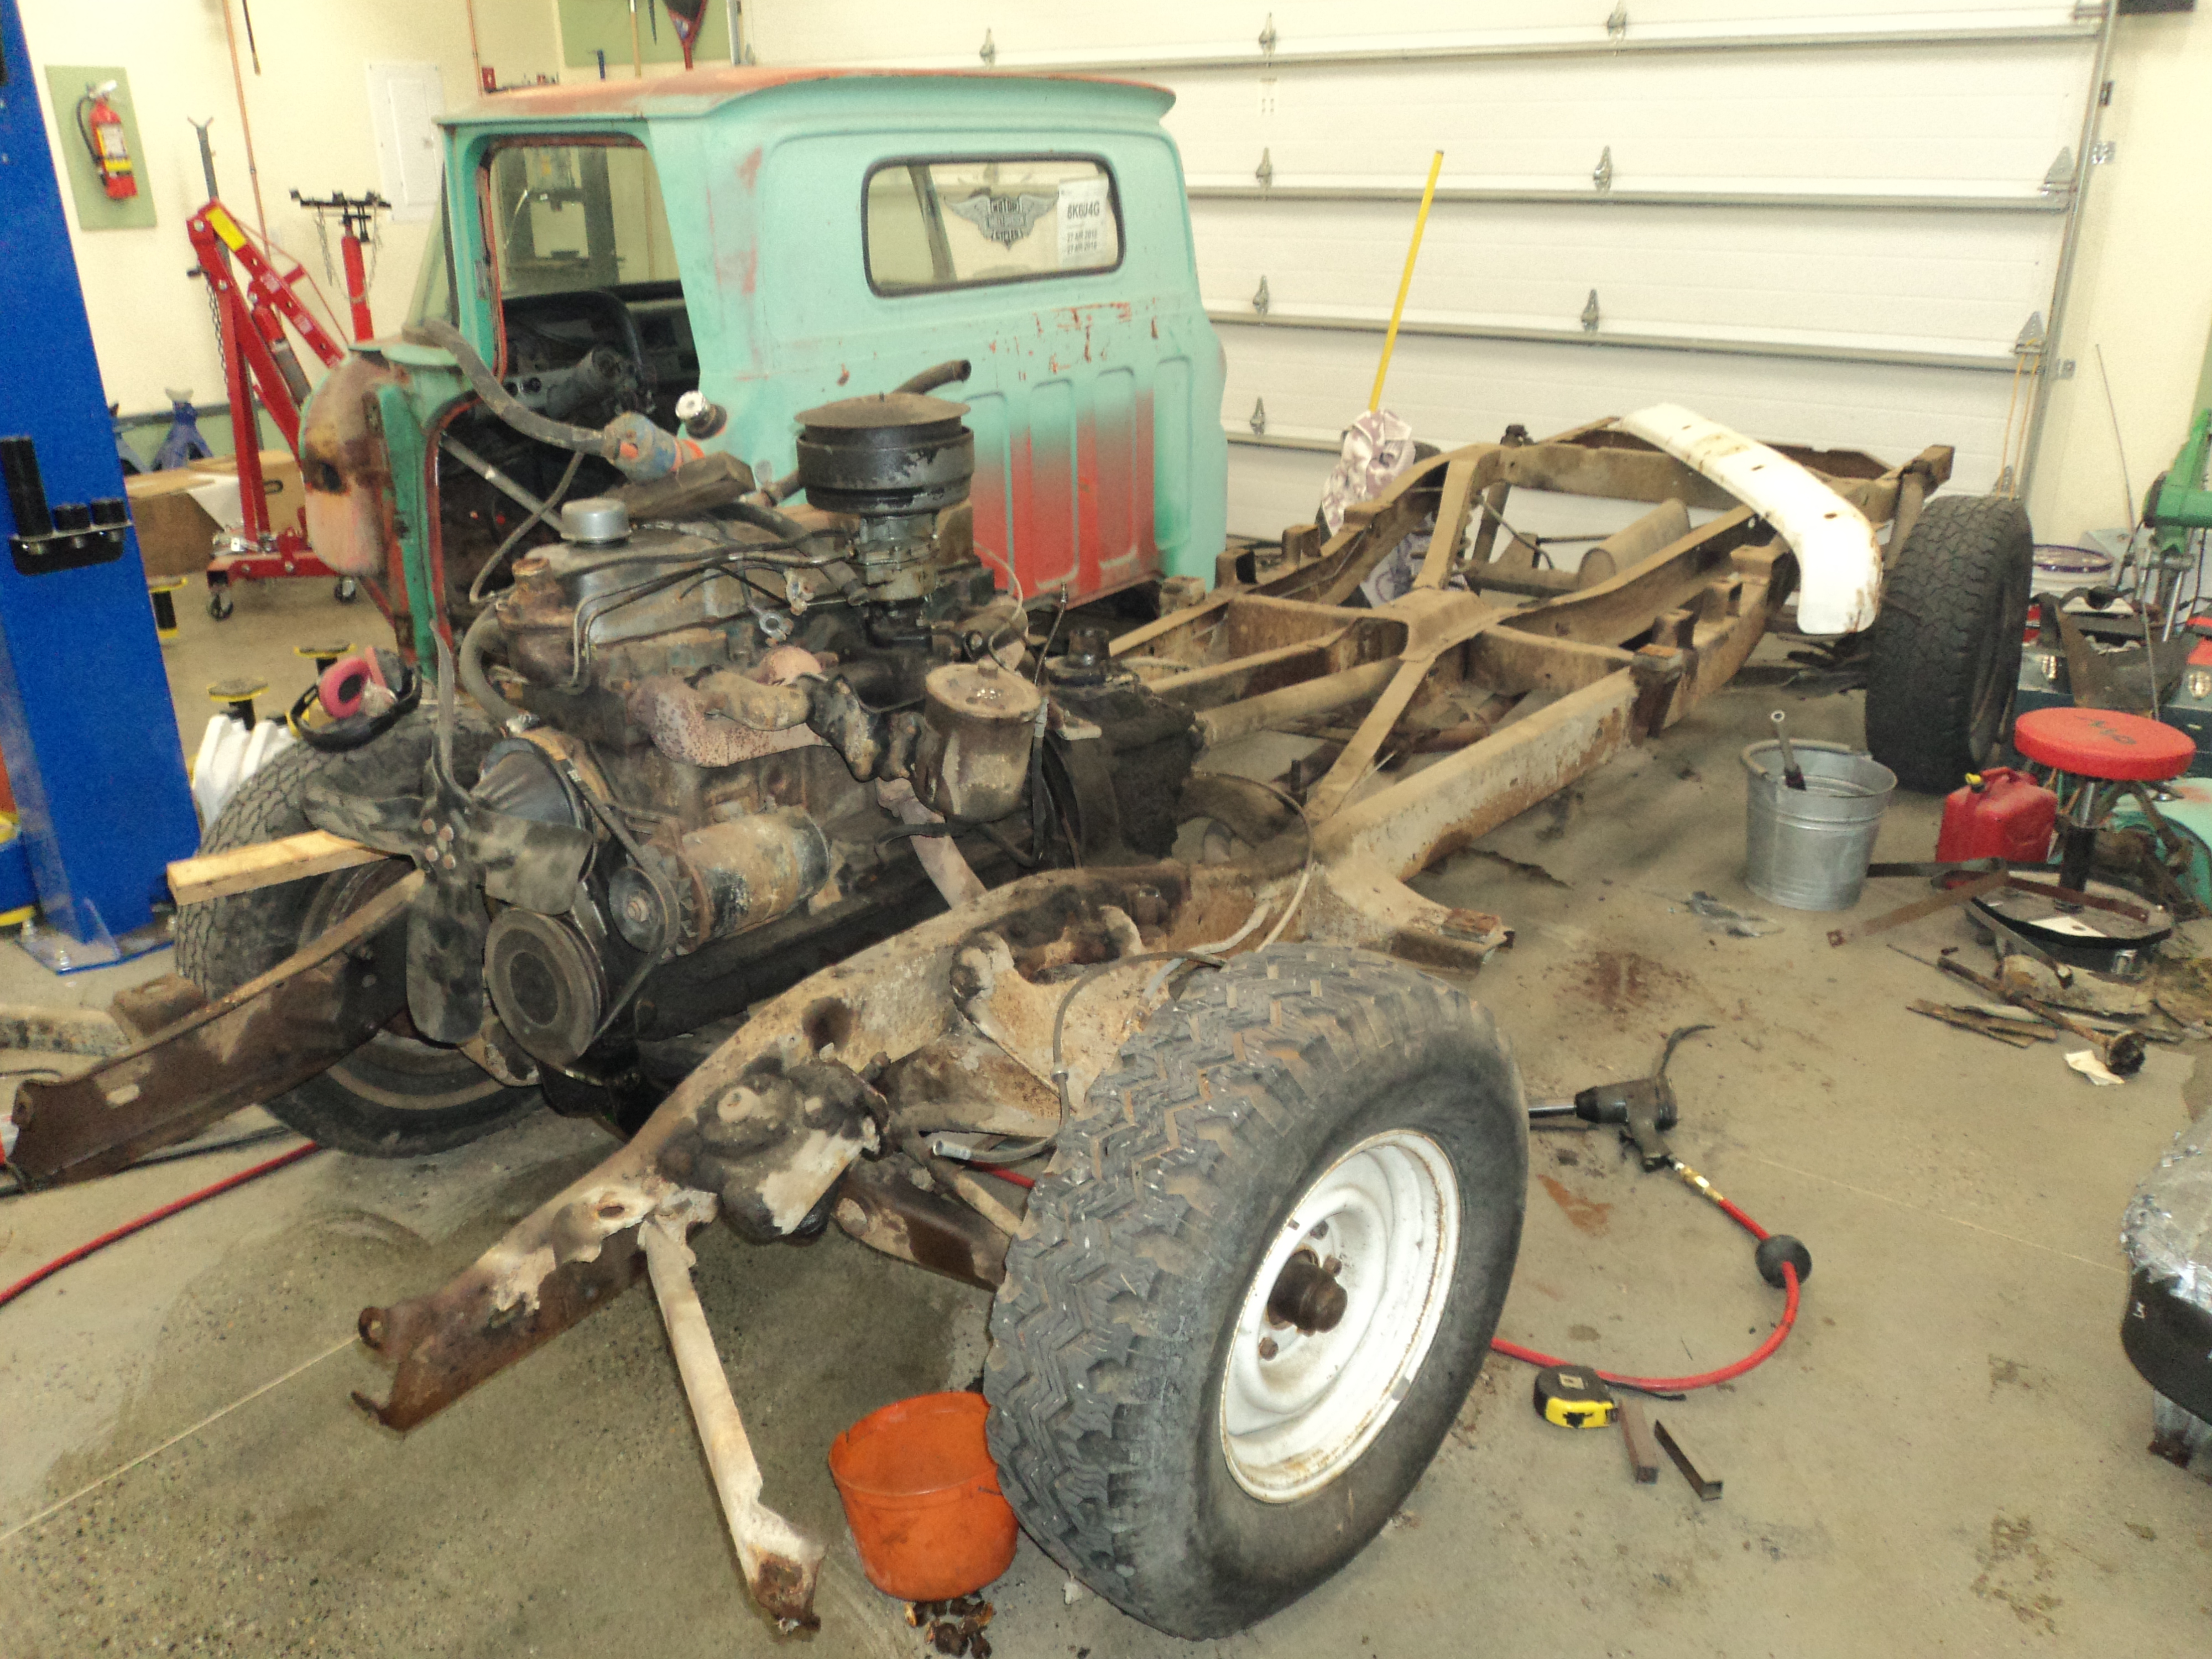
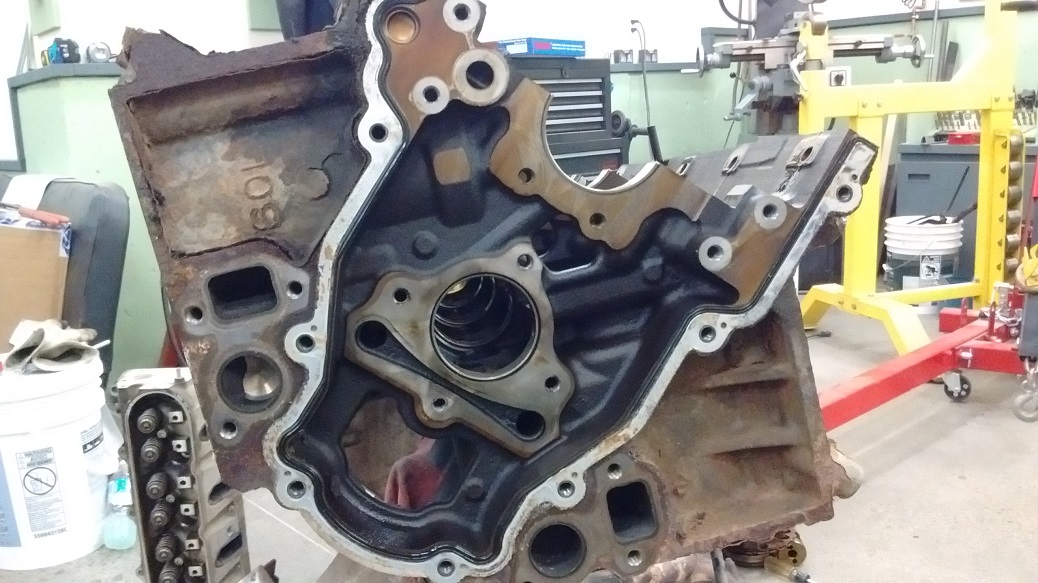
Disassembly
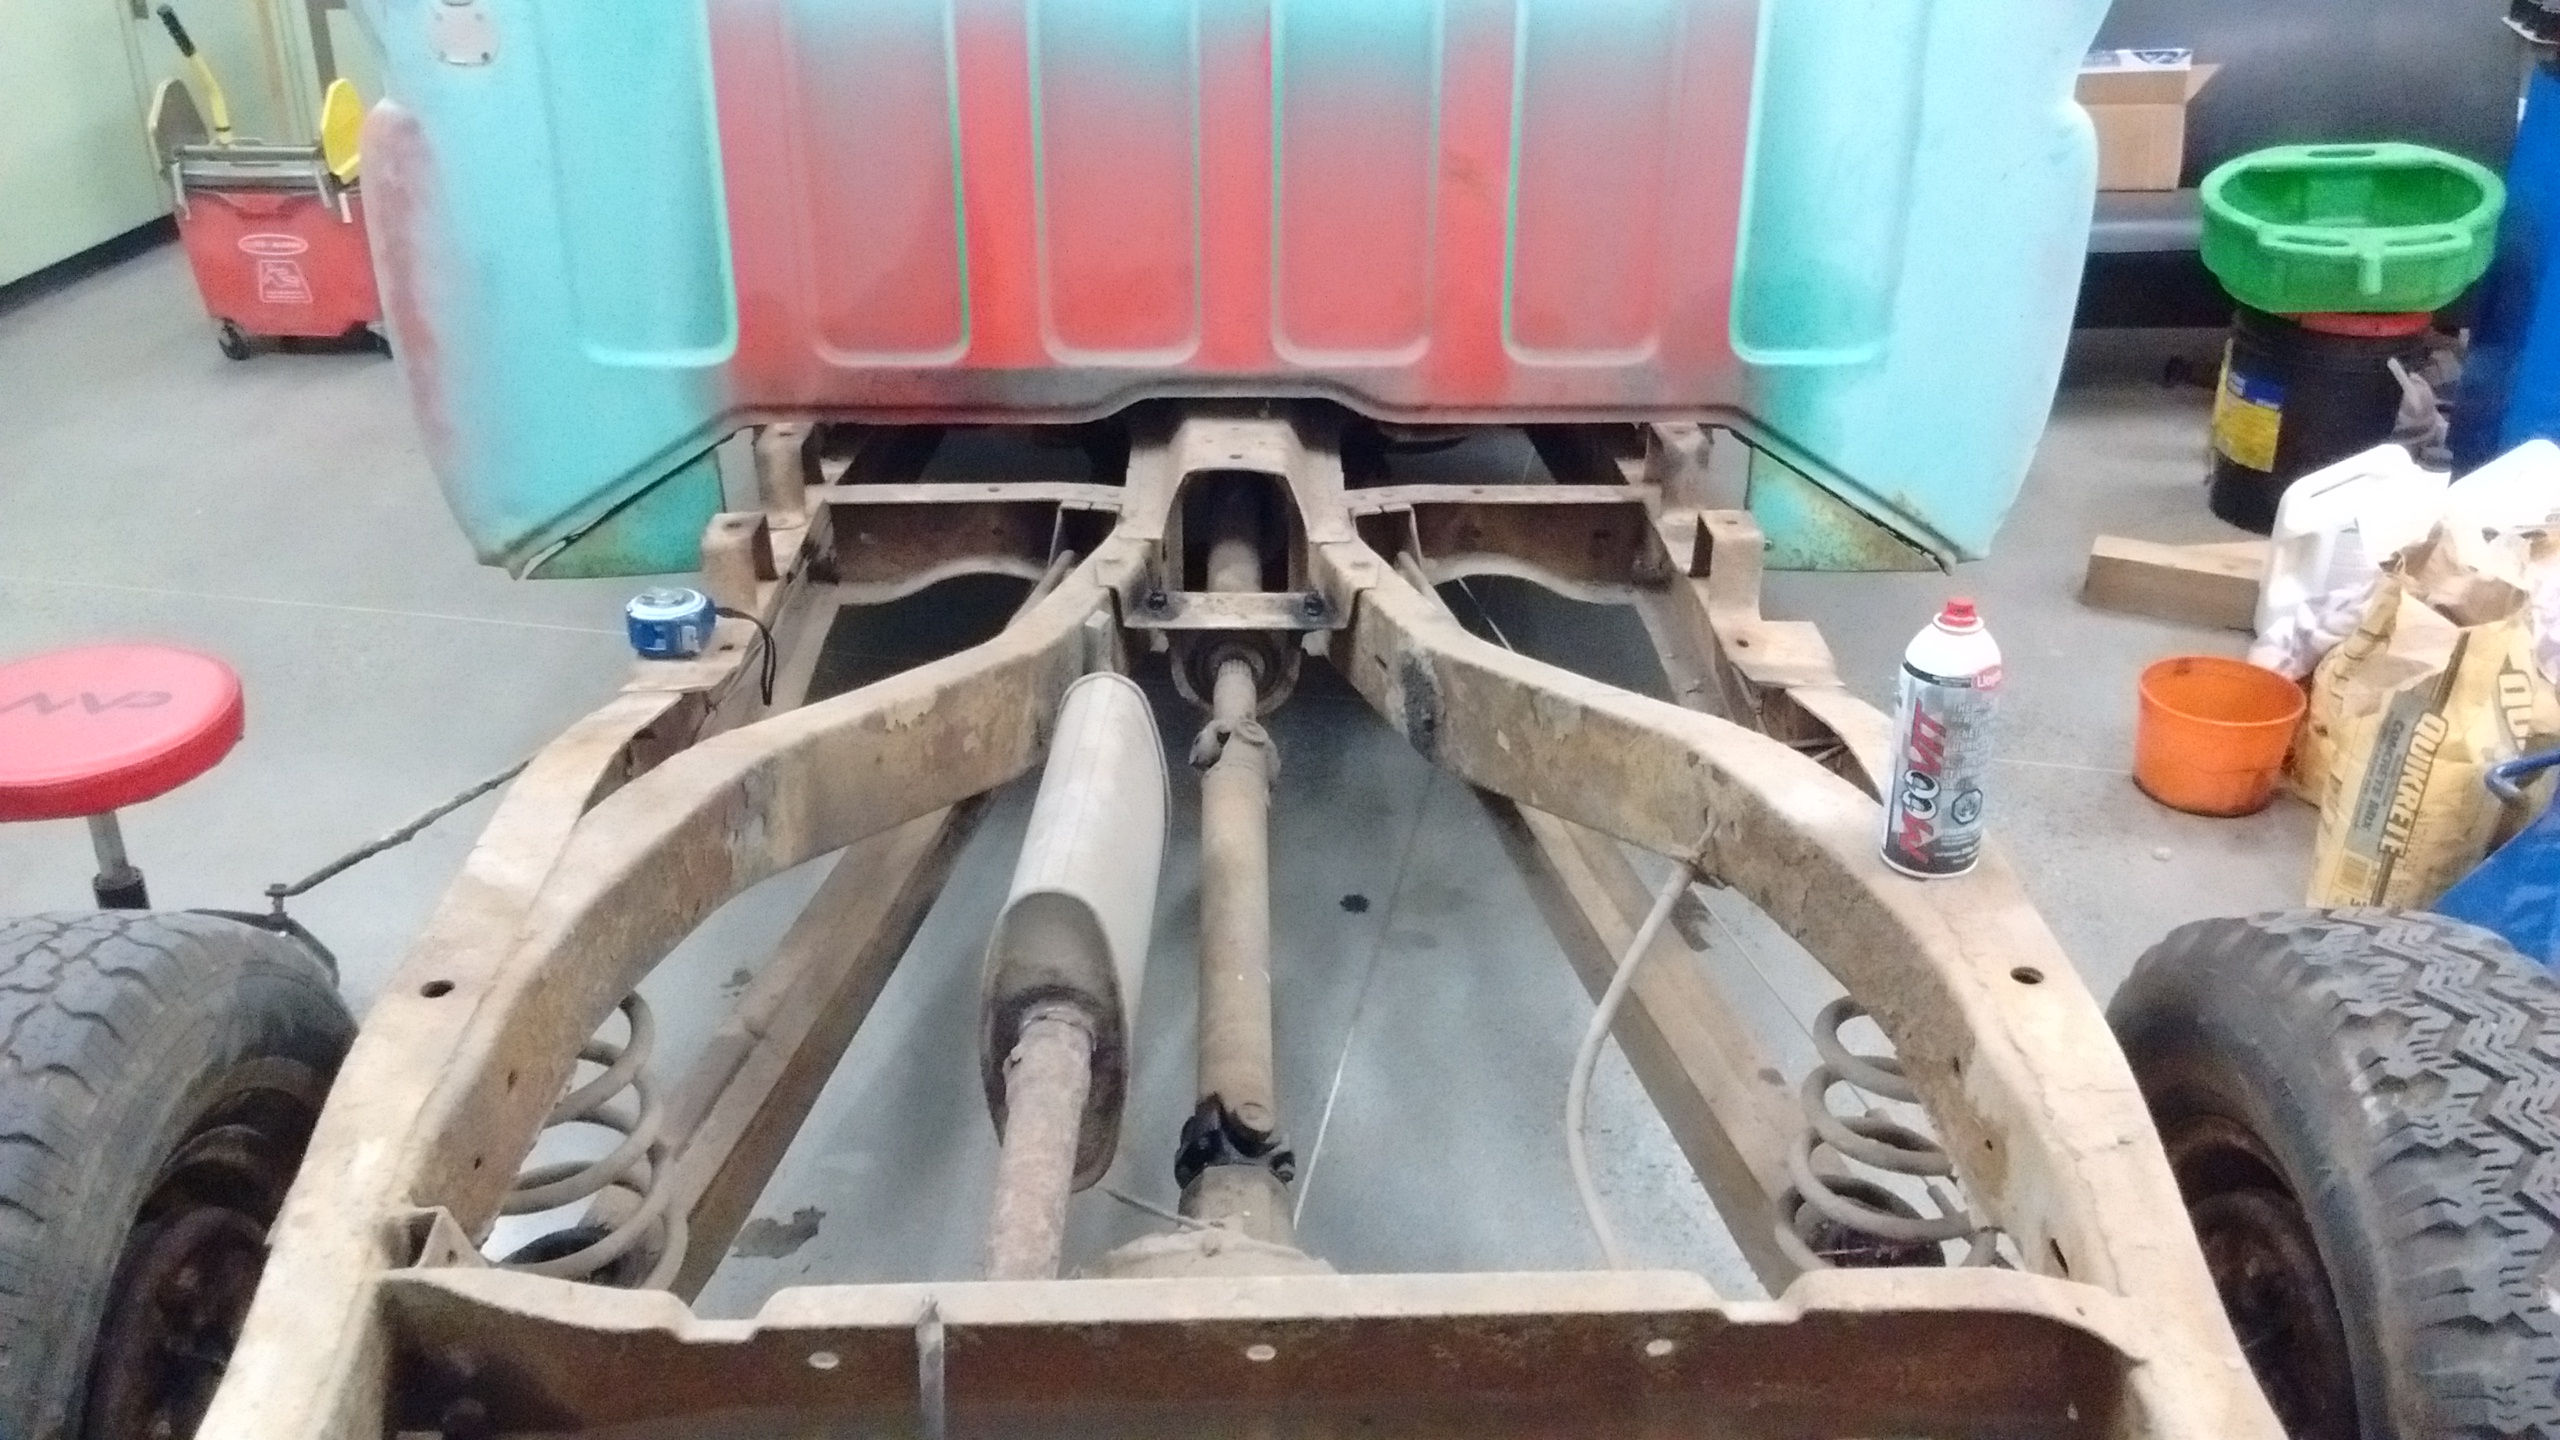
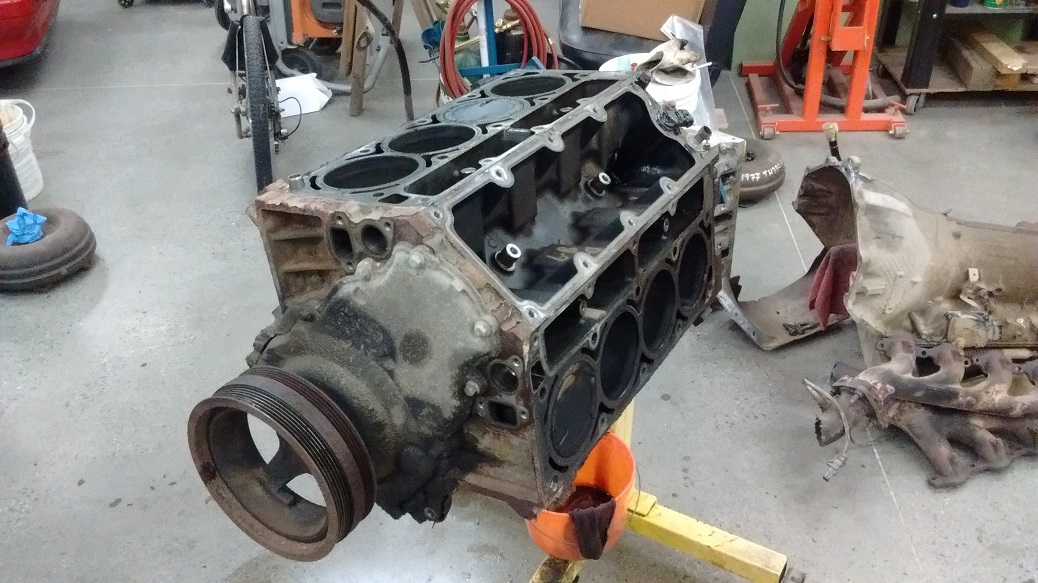
I sold the V8 Firefly, so I drove the ’61 into the shop to have a good look-see at the bottom; help formulate my game plan. It all looks pretty typical.
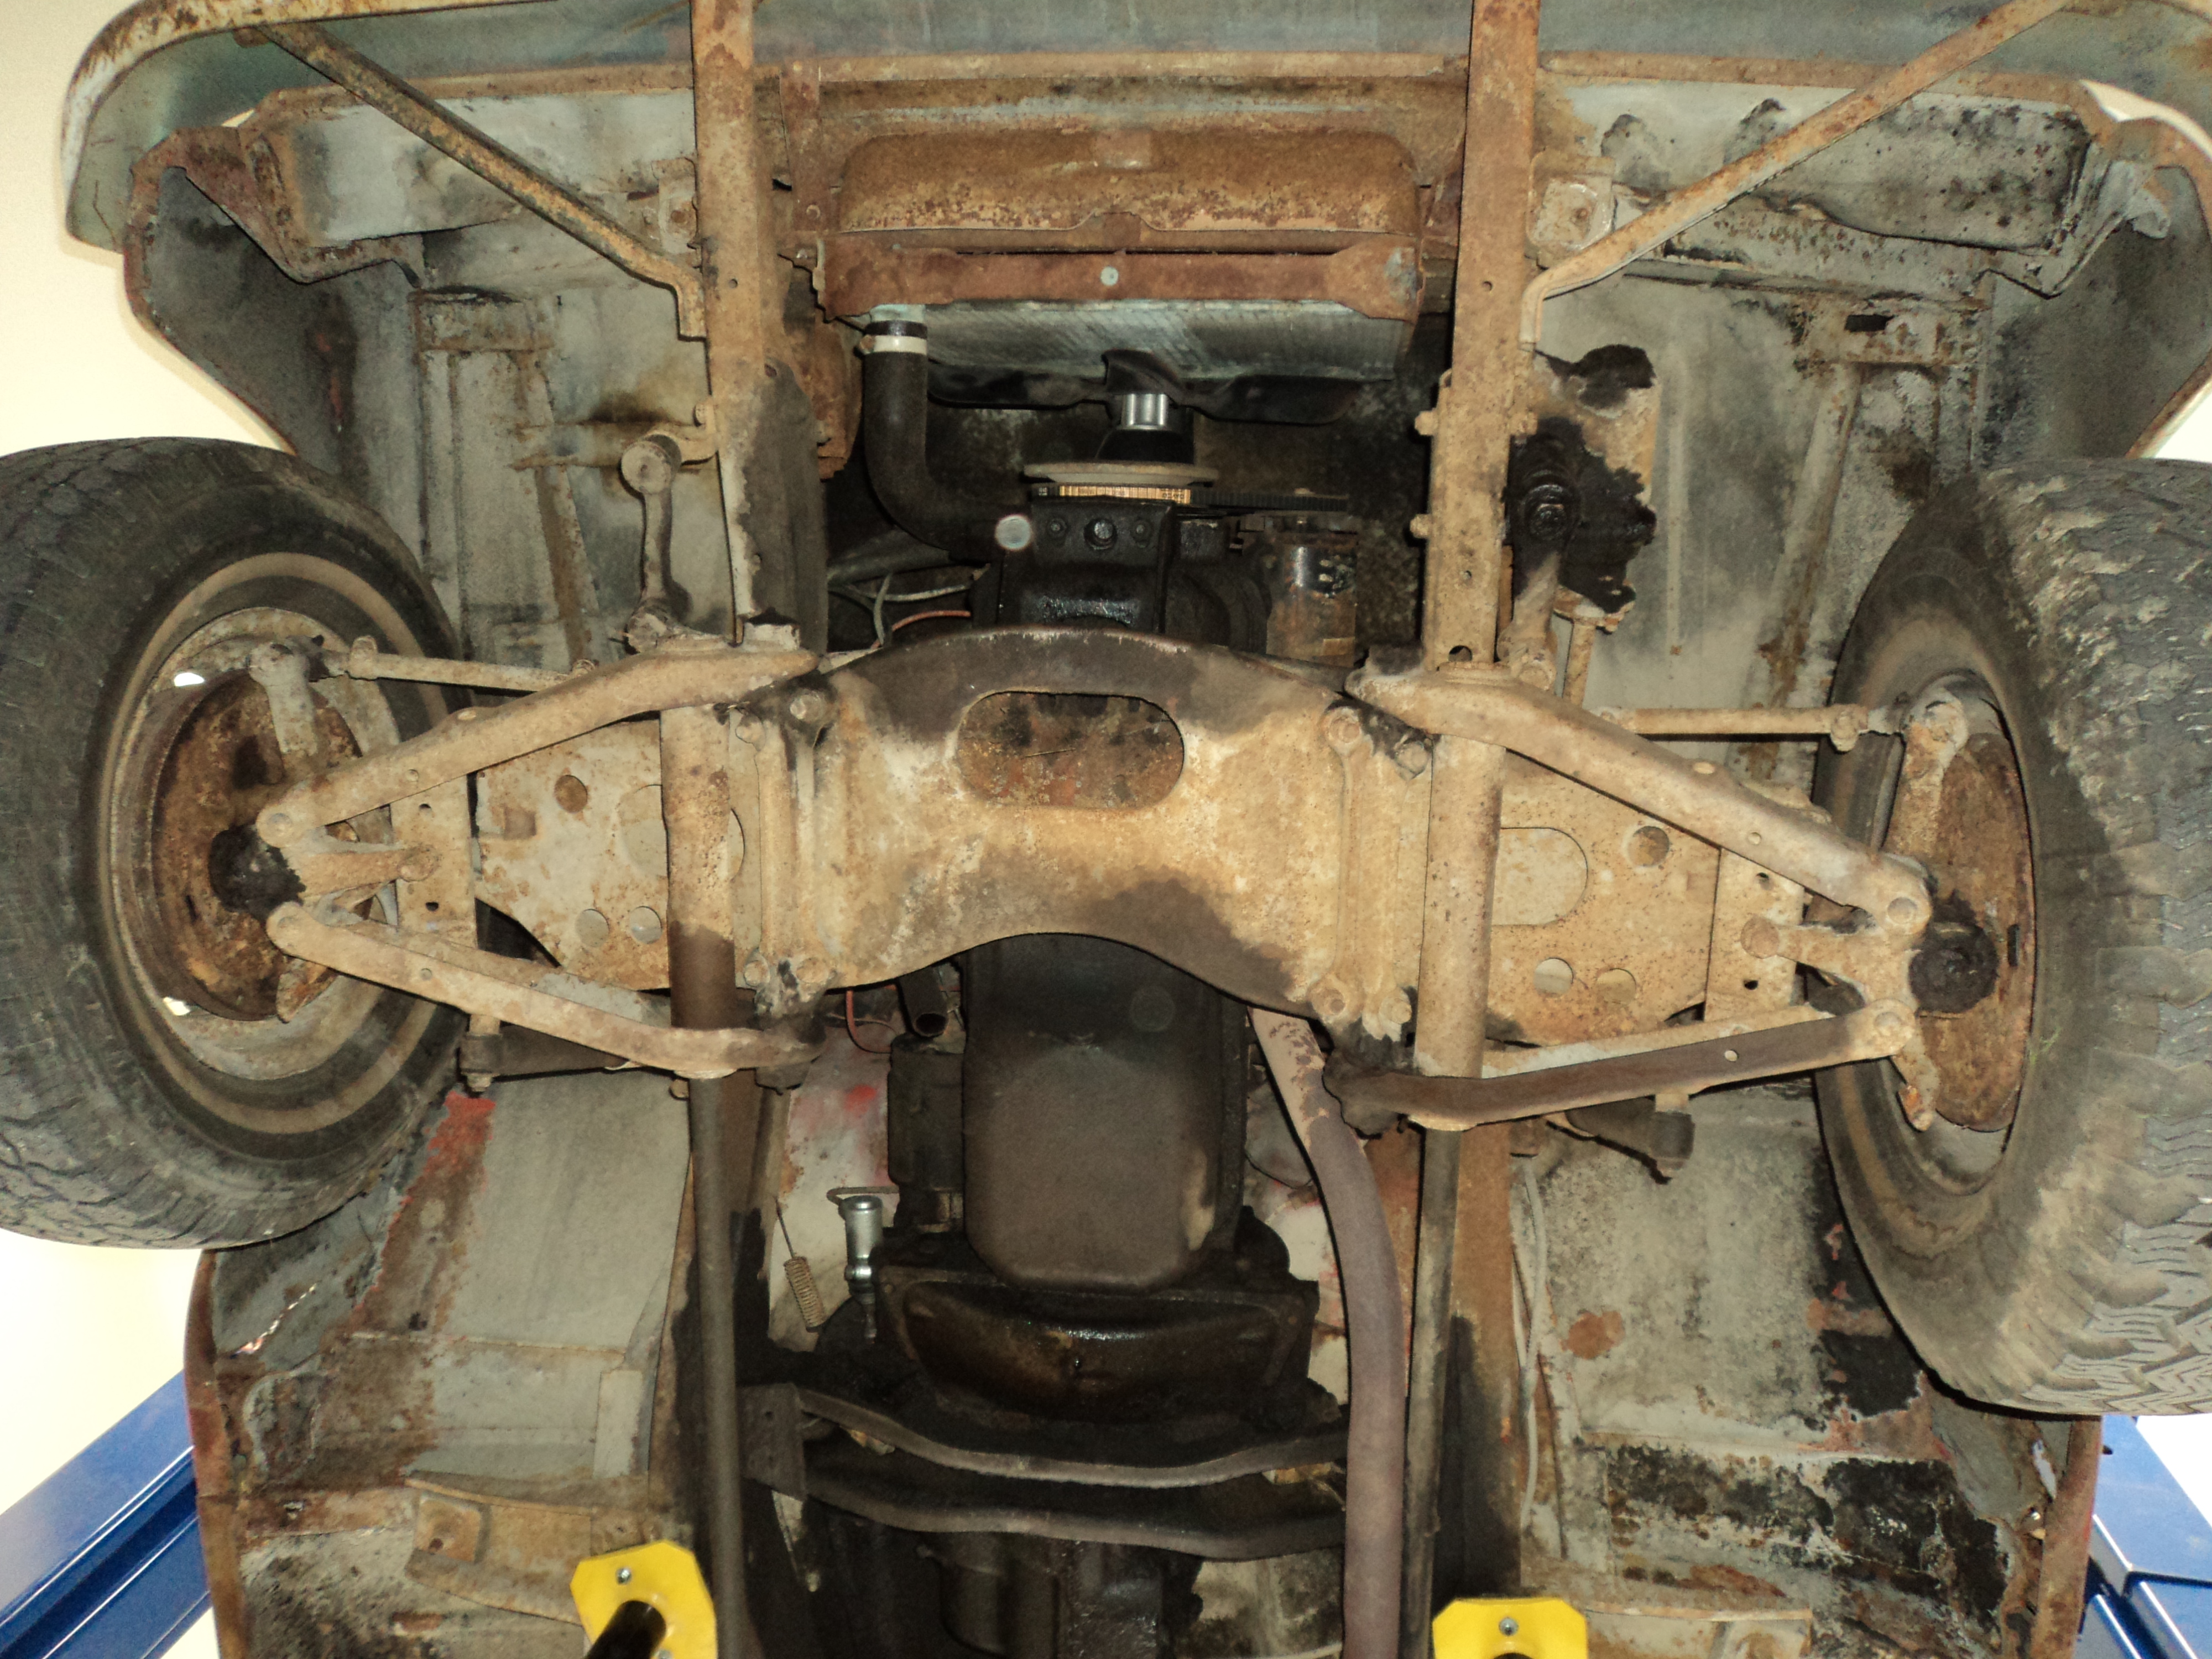
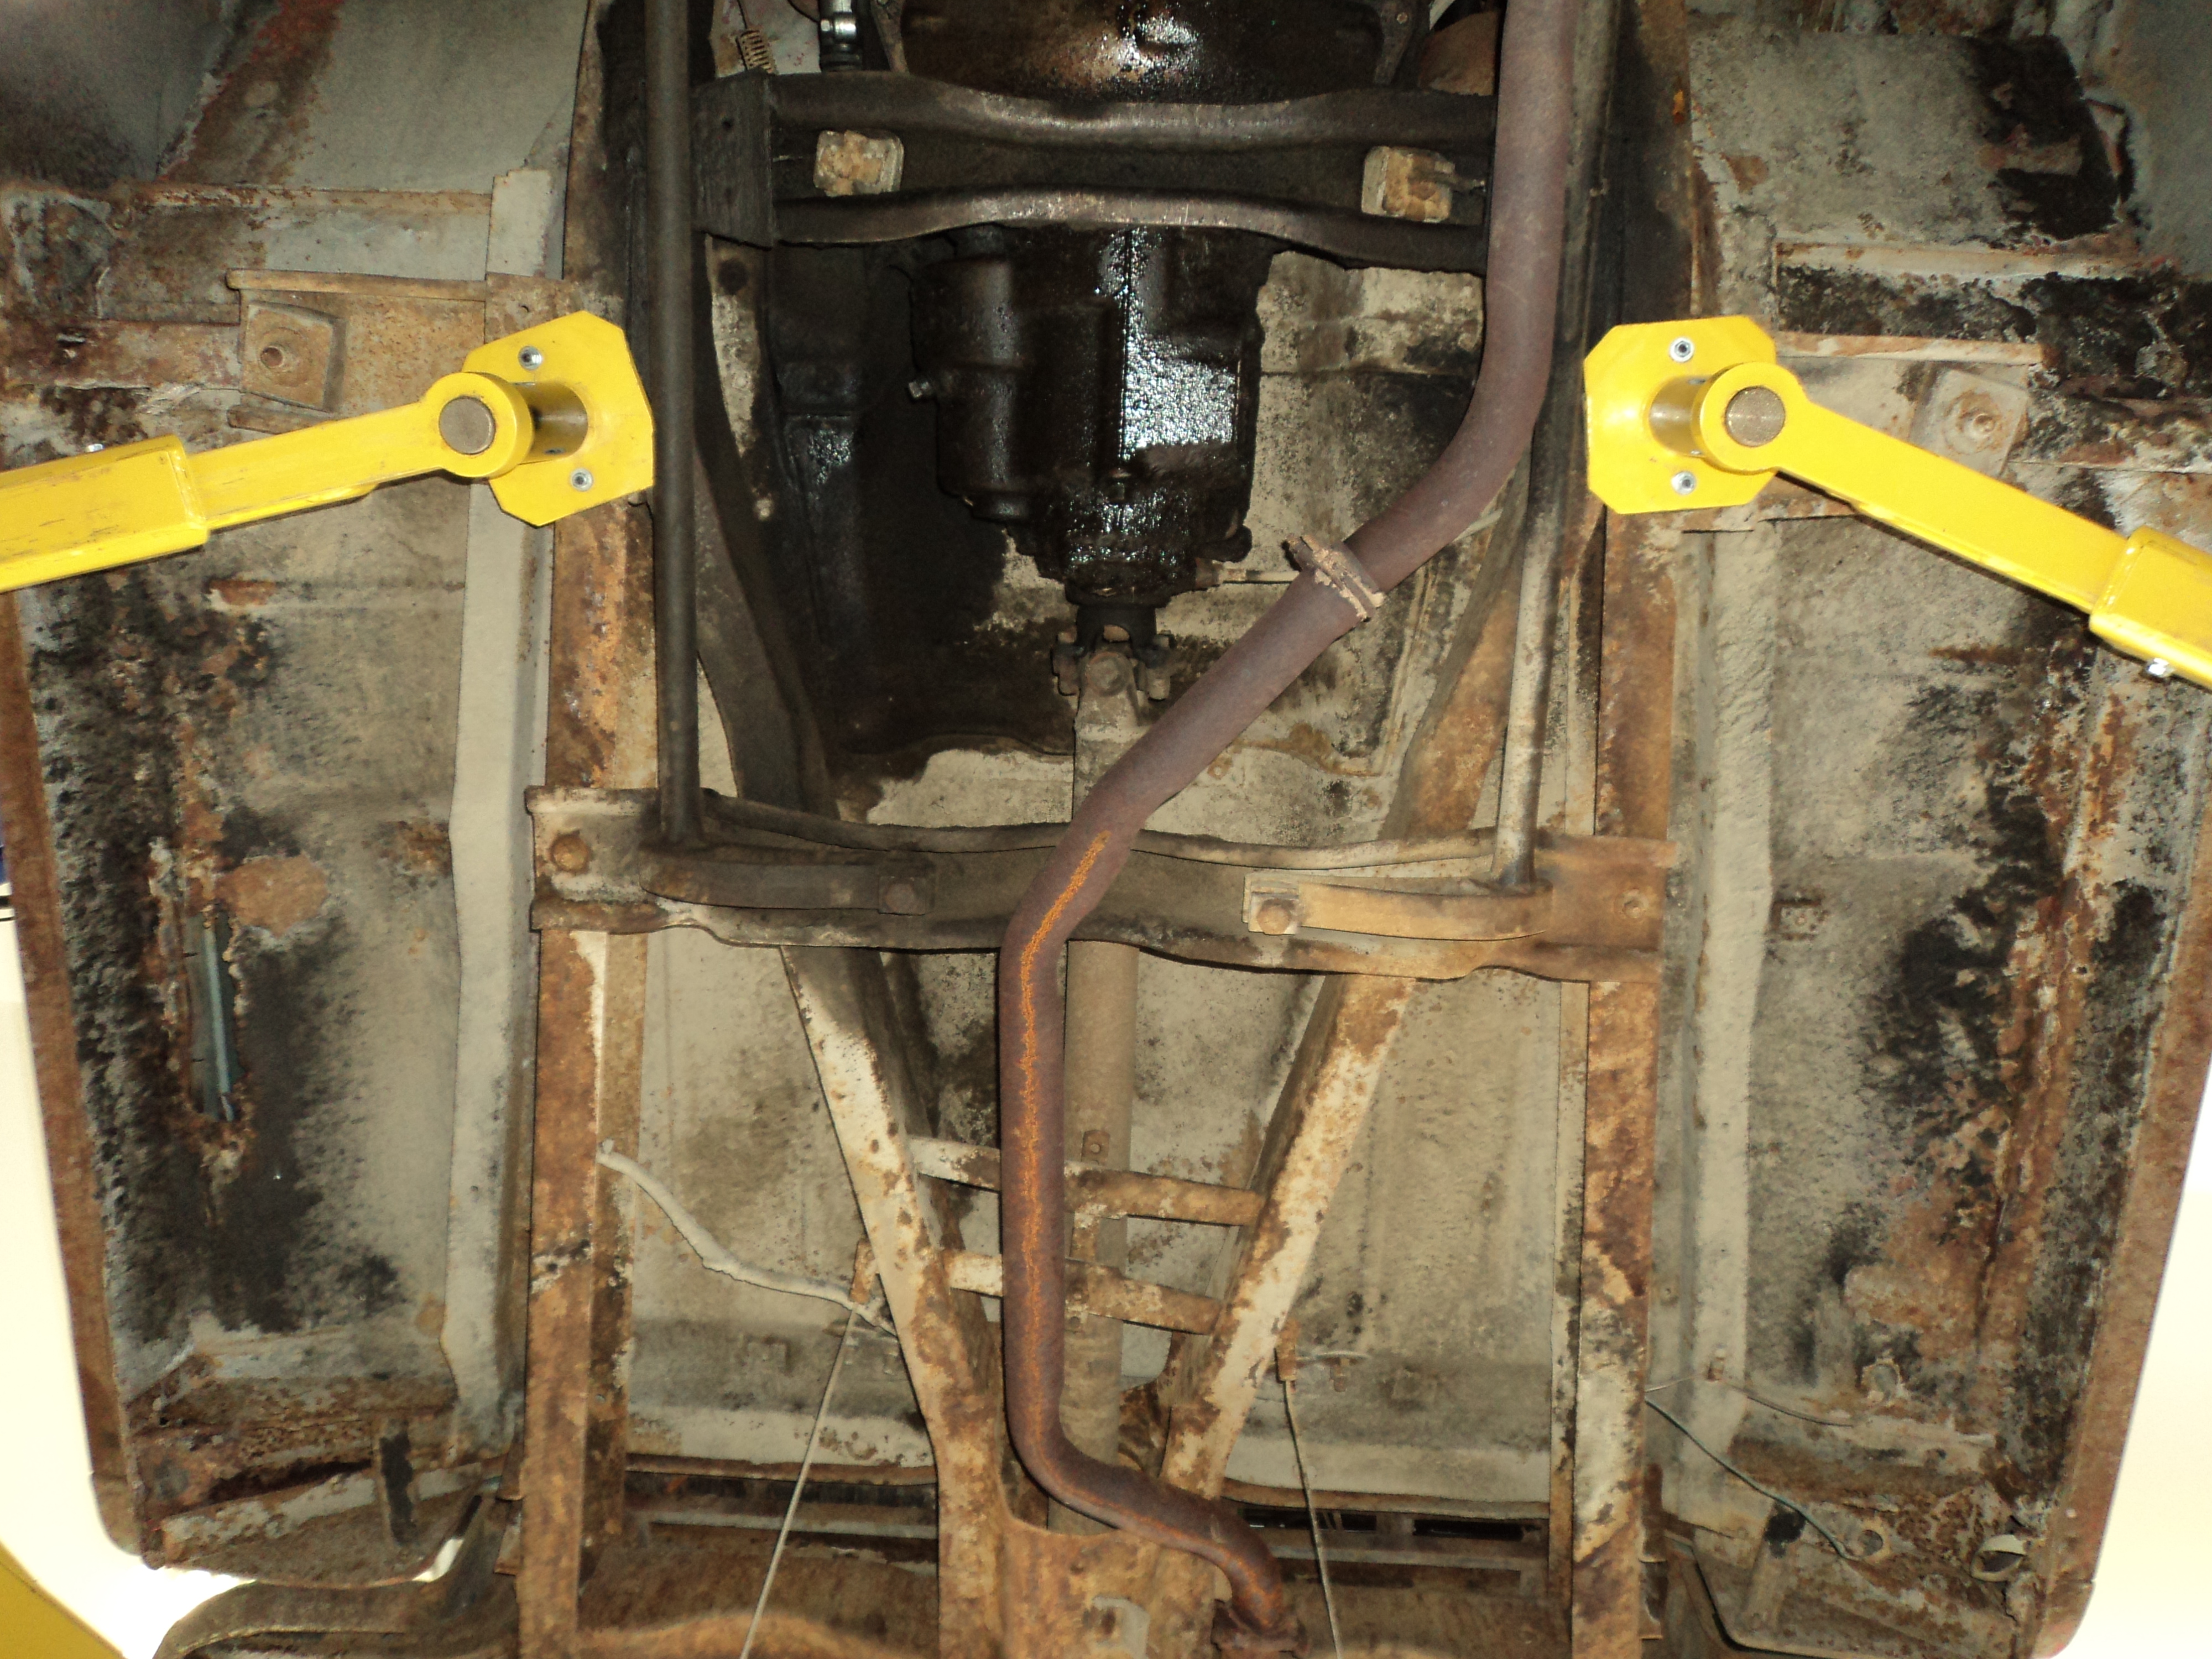
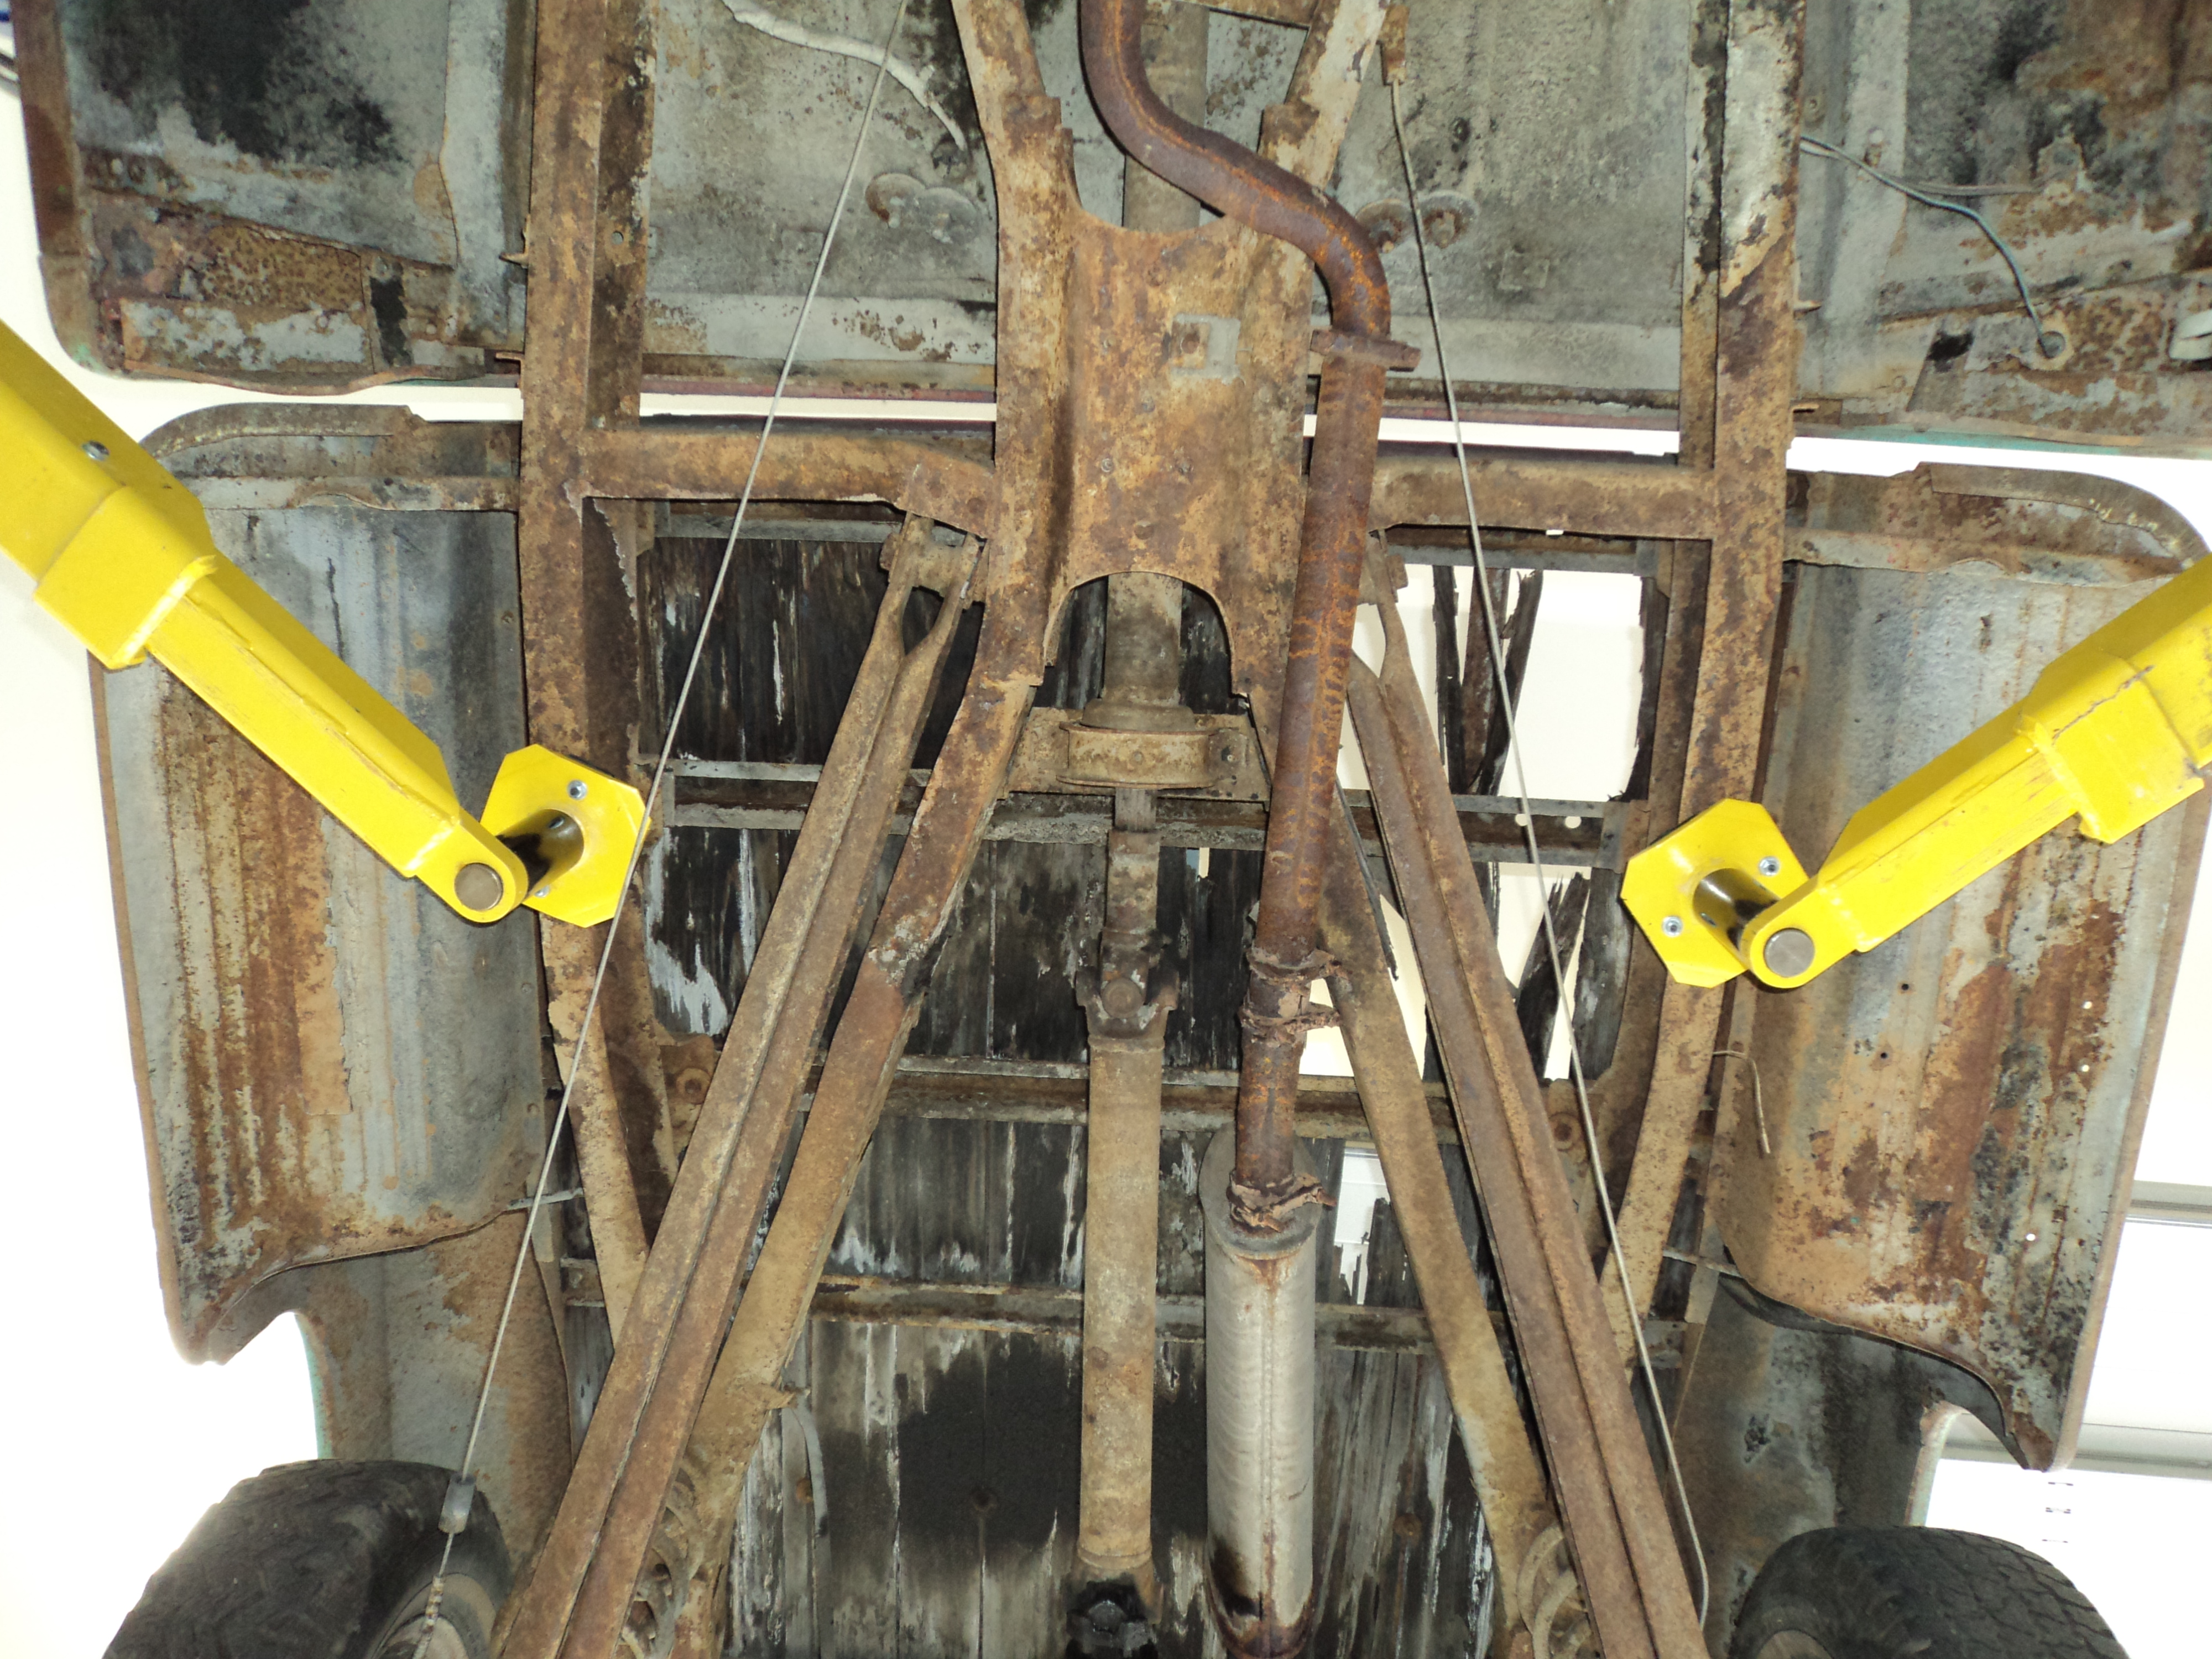
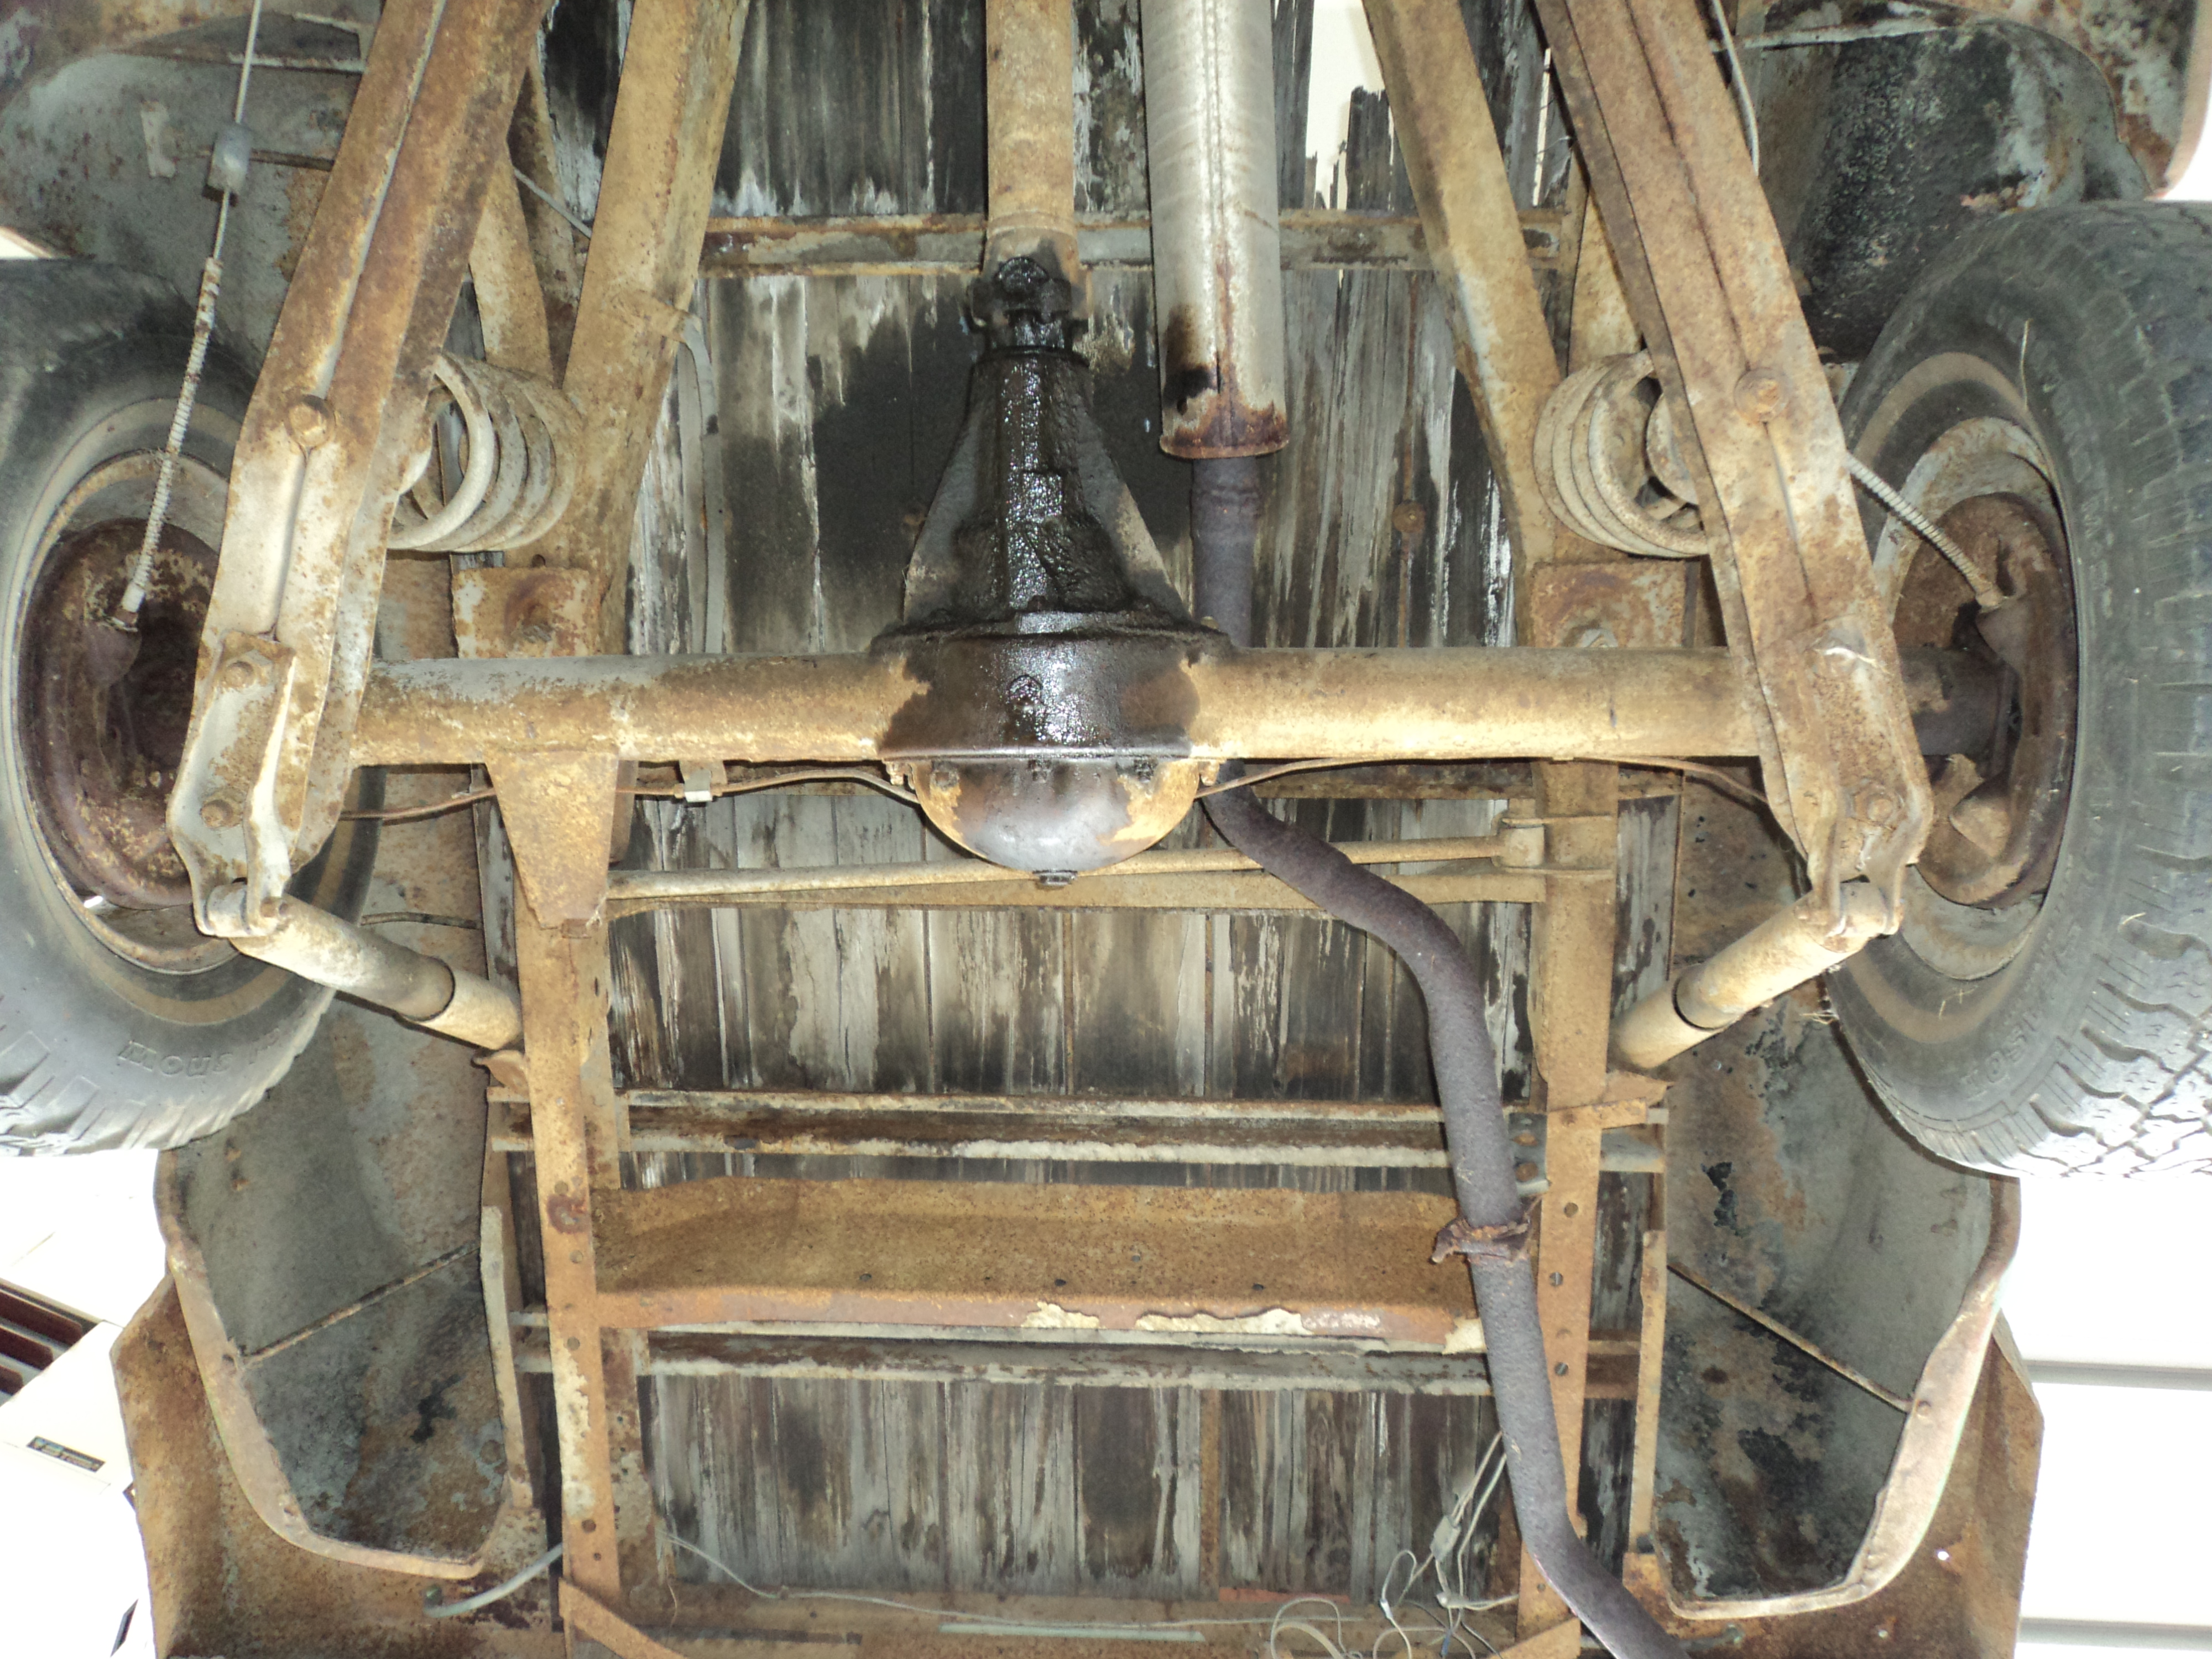
It -looks- like it could lay rocker easily, as the frame rails are a lot shorter on these X-Frame trucks. Pancake the front crossmember, sure. Do something about the bottom of the X, maybe. Will the Trailing Arms tuck in high enough at the back of the frame??
I picked up a set of 88-98 2″ spindles as well as a Ford 9″ axle, plus some 18″ Grand Cherokee wheels (5×5 pattern). I need to figure out how I want to deal with all that. The axle swap is easy. Keeping the torsion bars is nice and convenient and affordable, but a challenge.
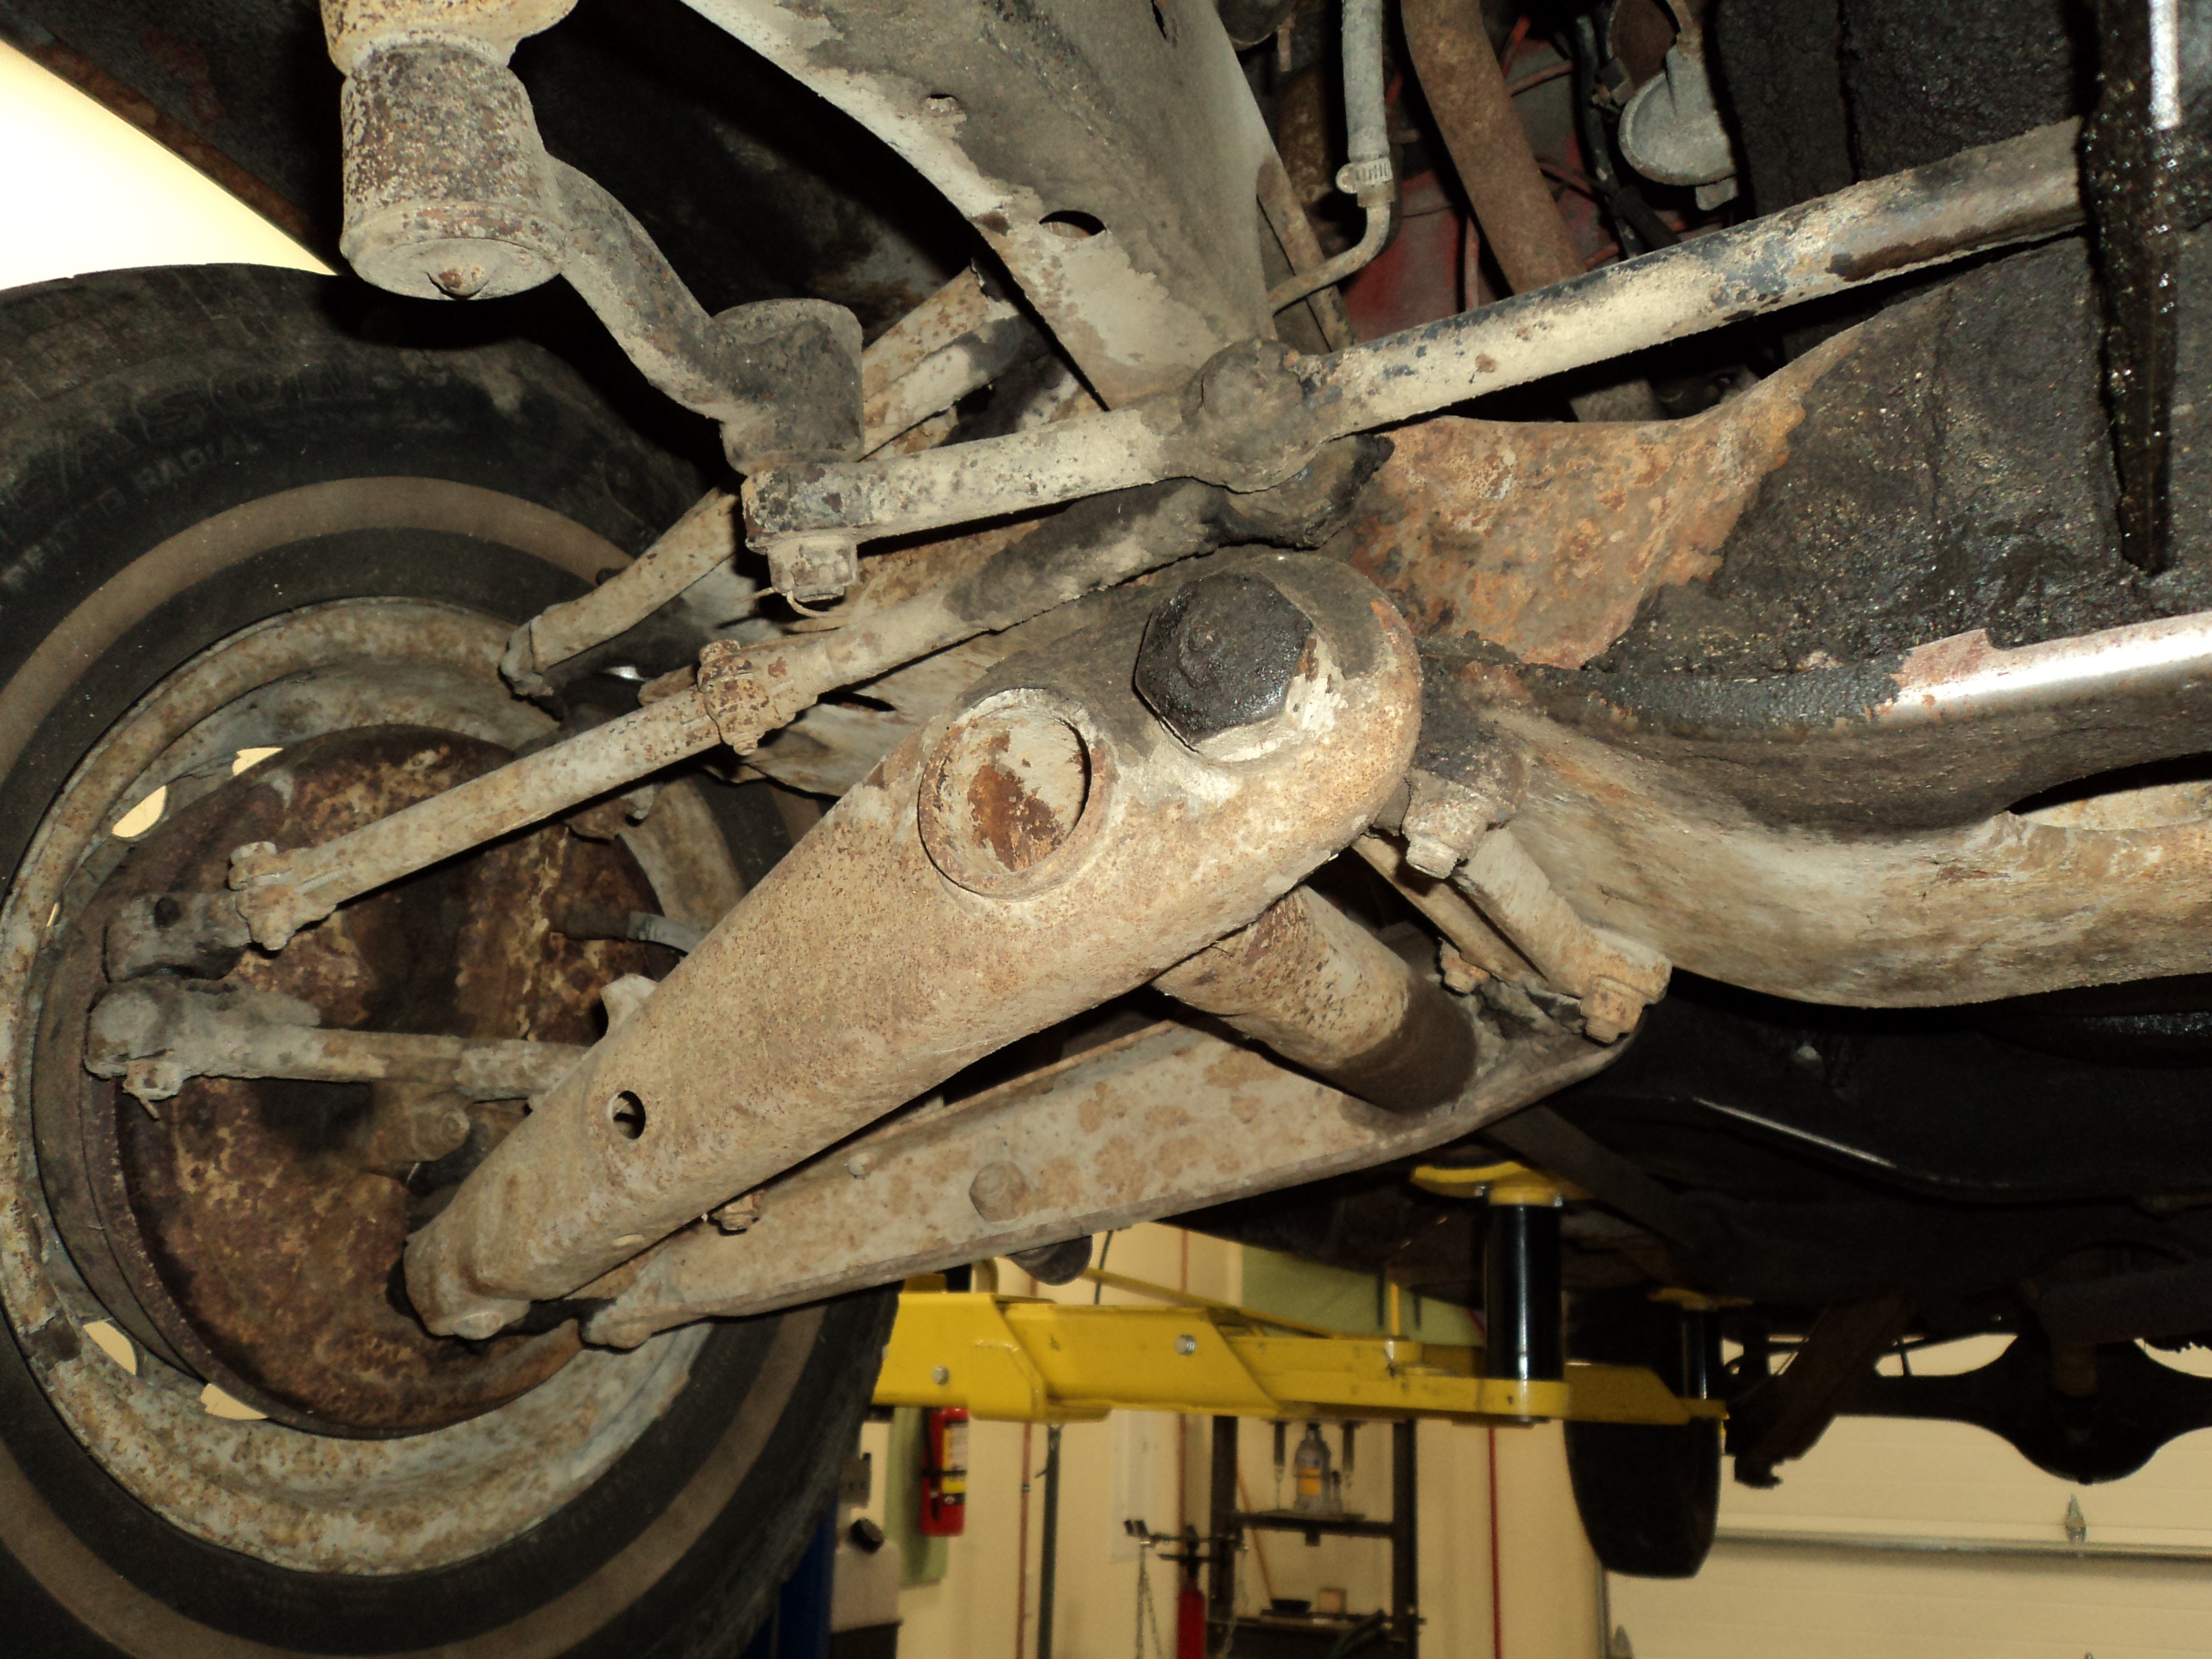

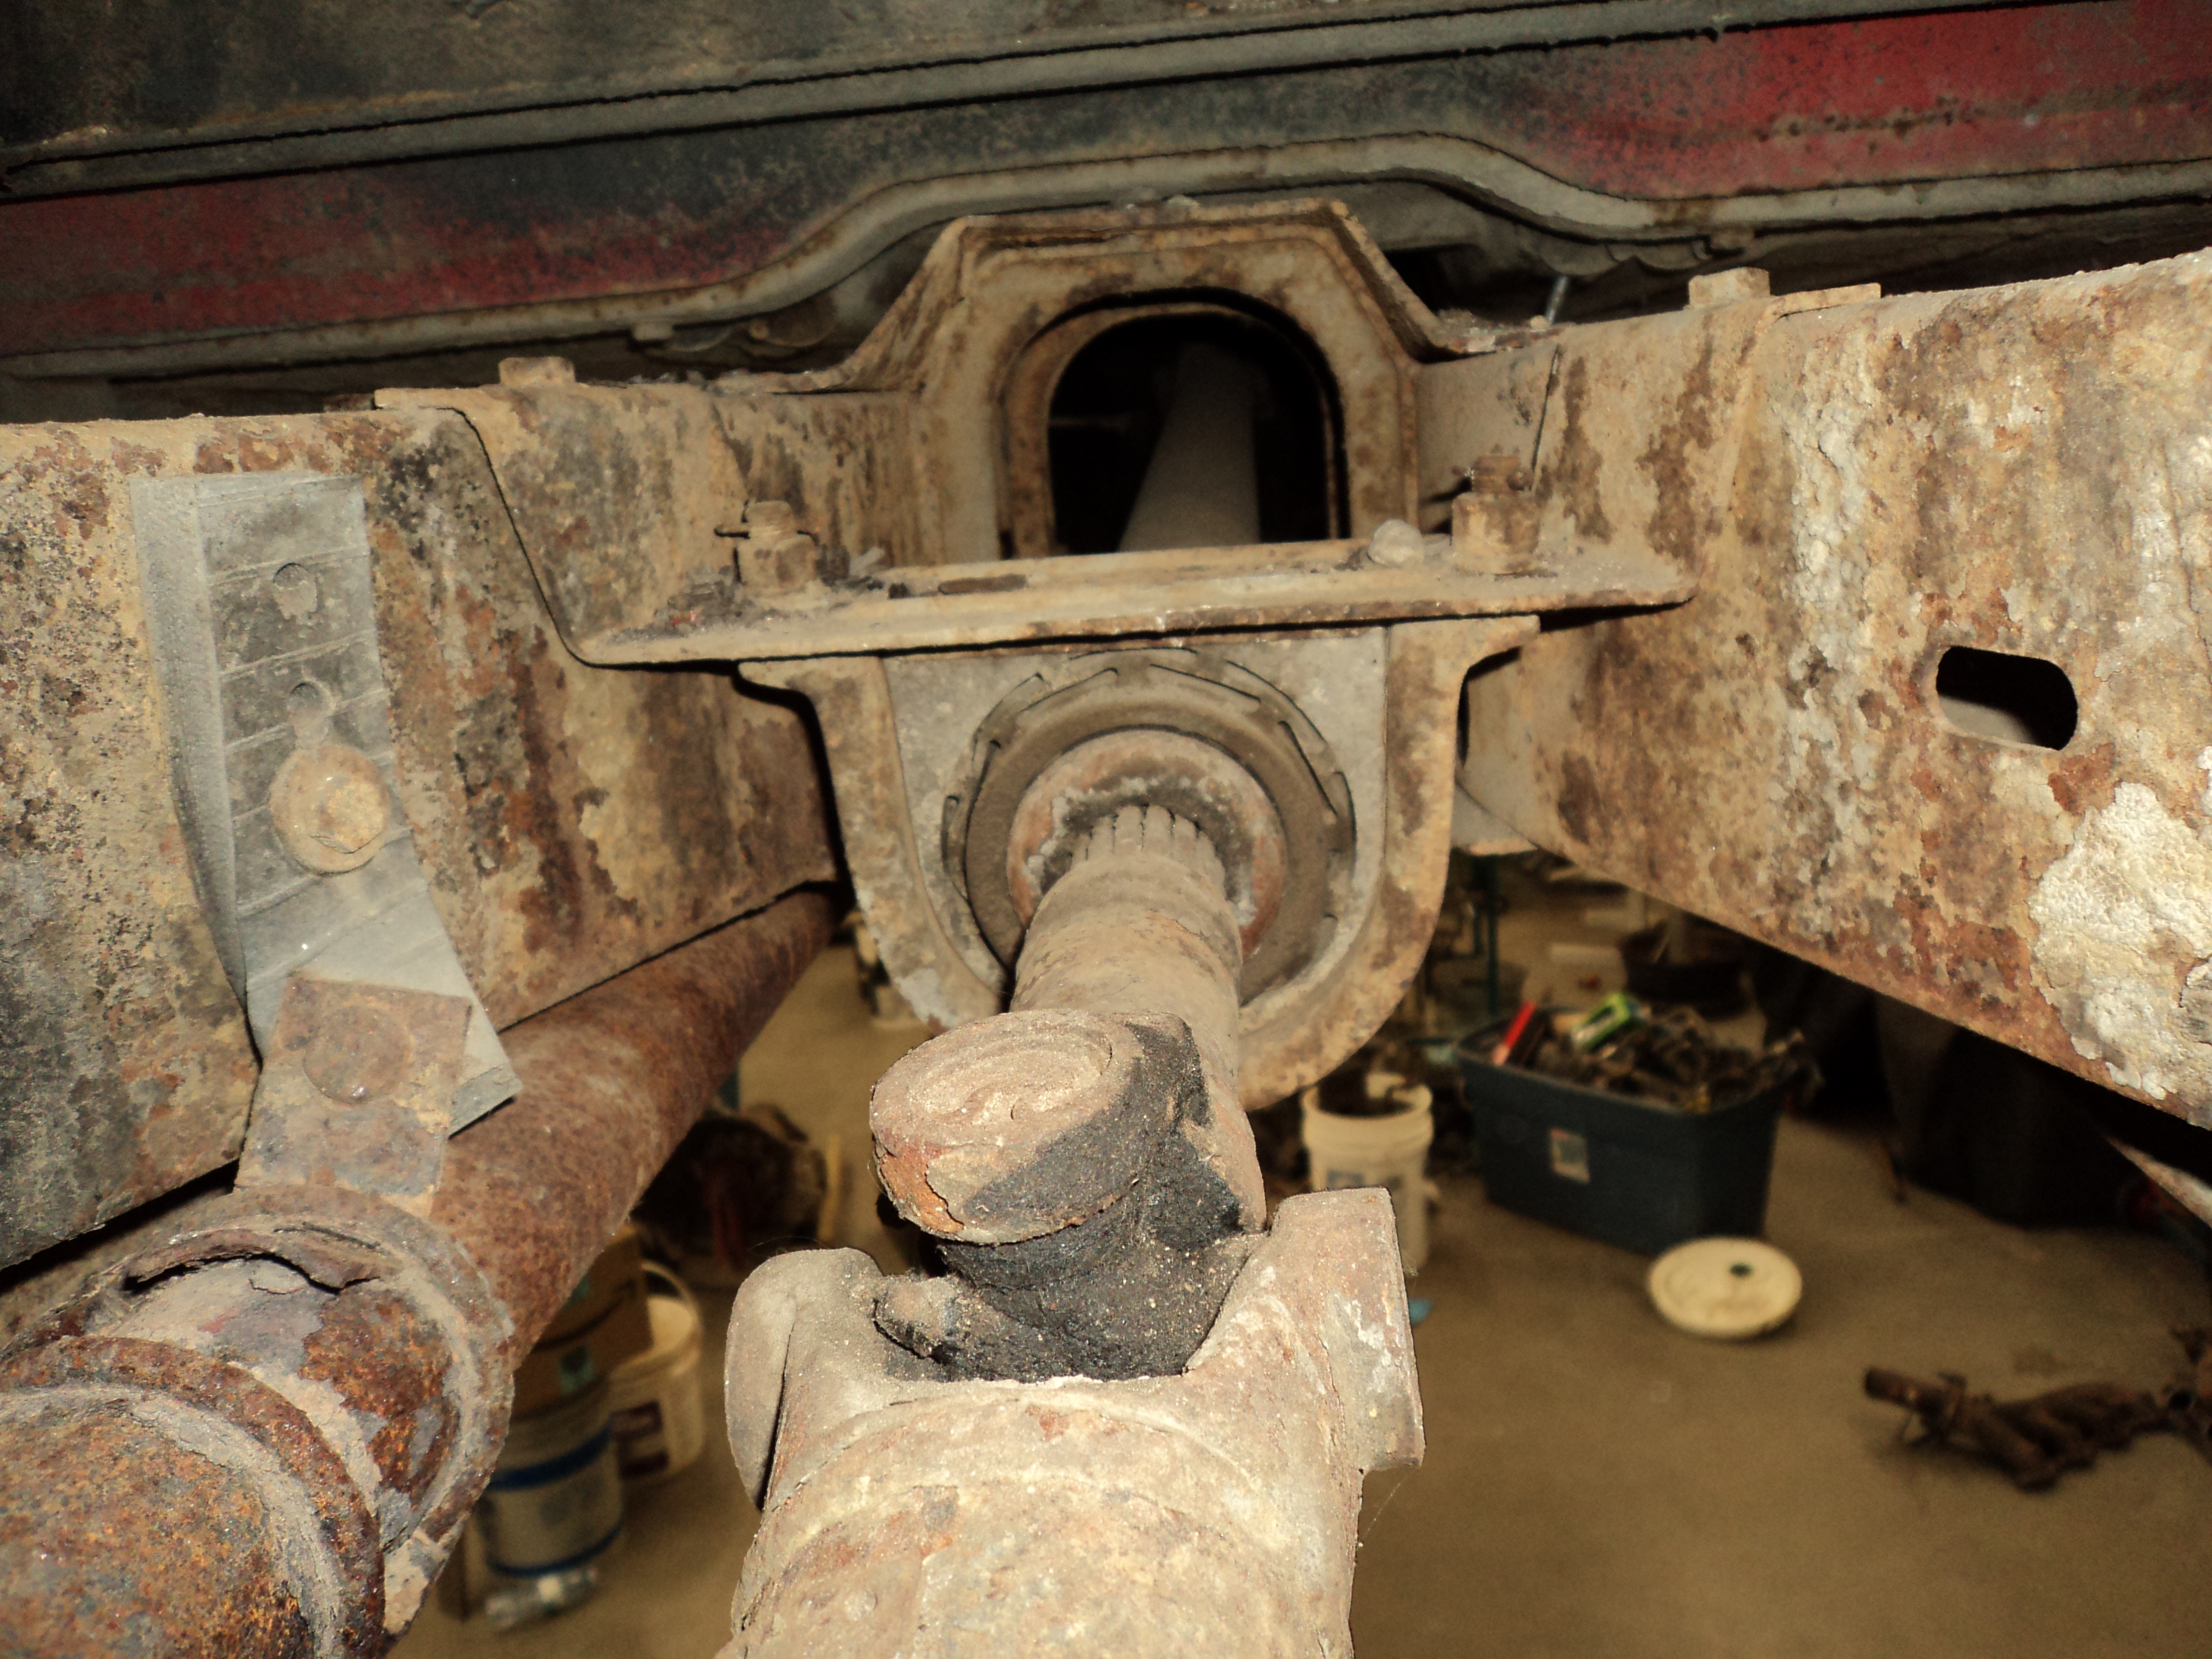
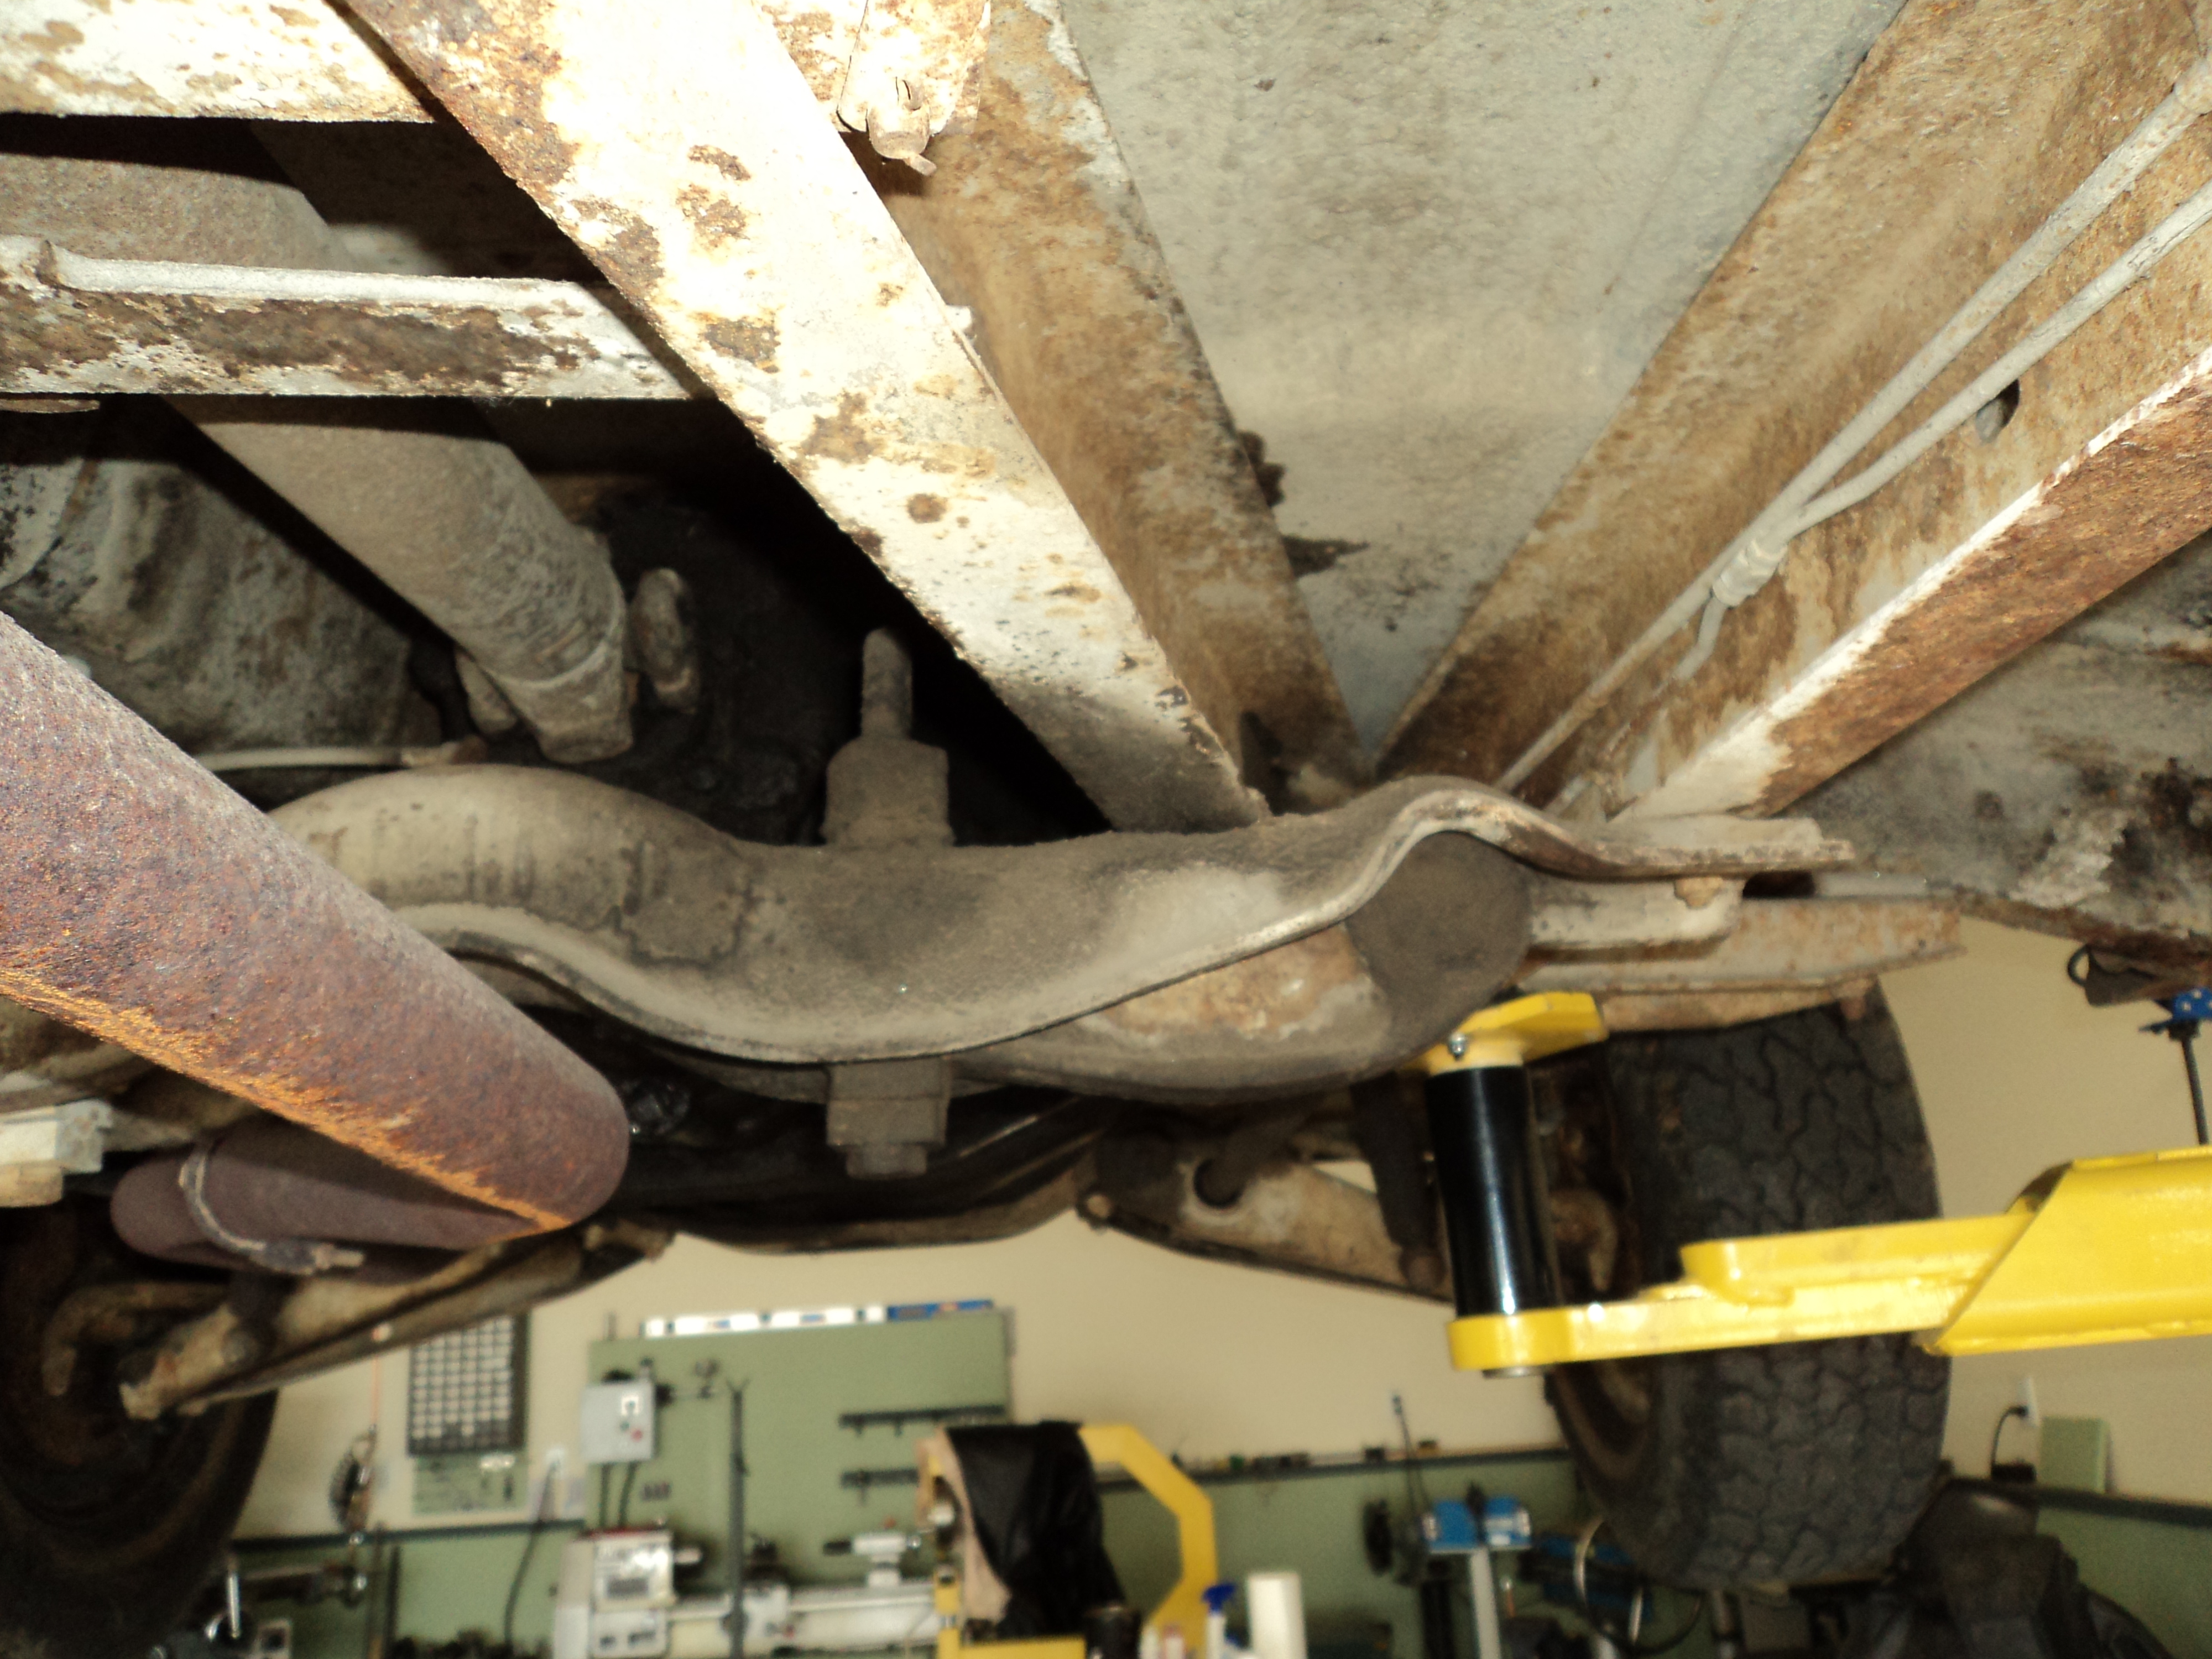
Something in the front of the truck kept creaking as it sat on the lift. That wasn’t scary at all </sarcasm>.
And things start getting pulled.