[ Start ] [ Index ] [ Parts List ]
In Which I Fit the Cab, Raise the Bed Floor, Shorten the Bed, Mount the Tank, and Build a Hitch
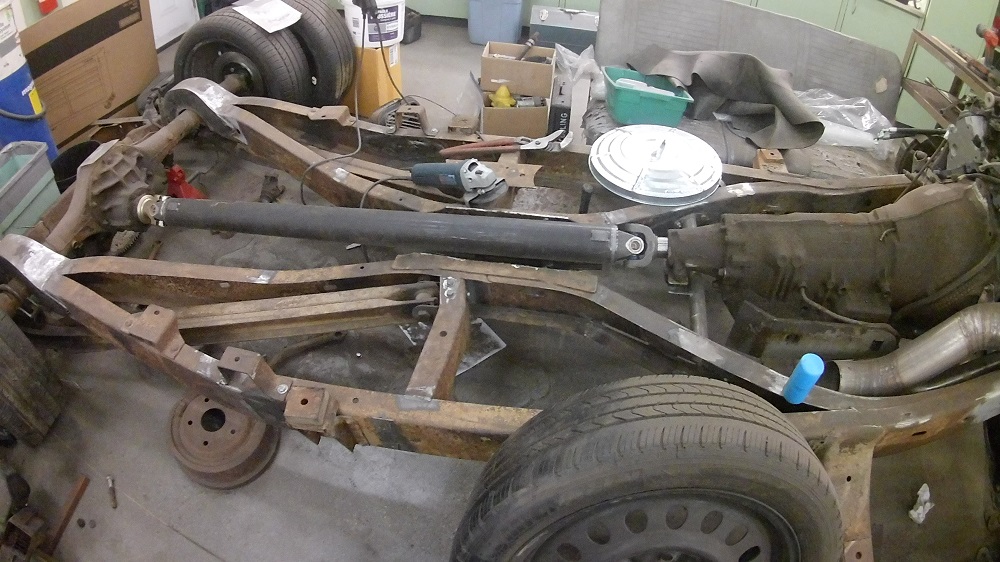
Before placing the cab back on the frame, I cut the top off the “X” in the frame to clear the driveshaft. I haven’t decided if I will use part of the original “bottom of X”, or fabricate a new piece to cover it.
I decided.
Sexy shot of the manufacturer’s sticker:

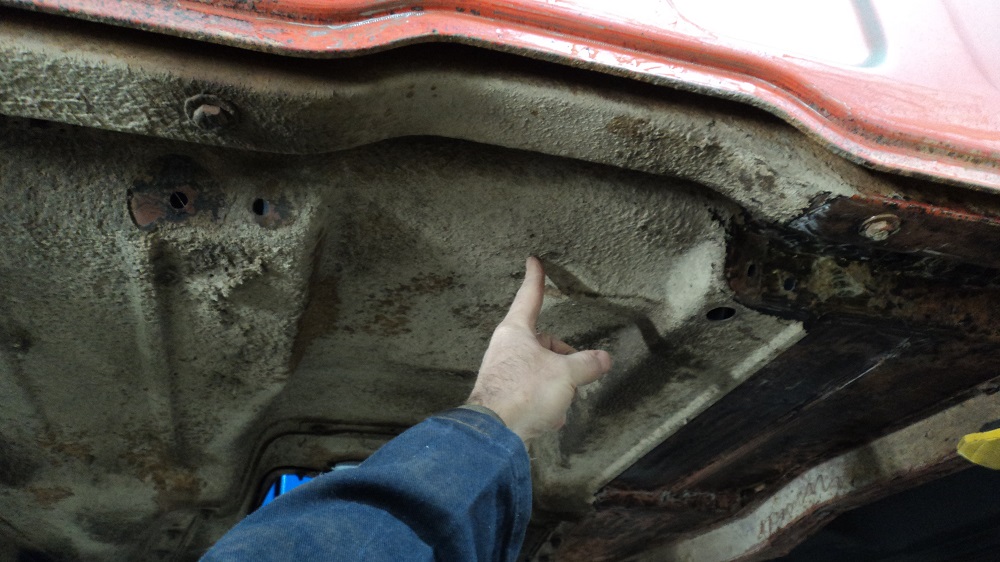
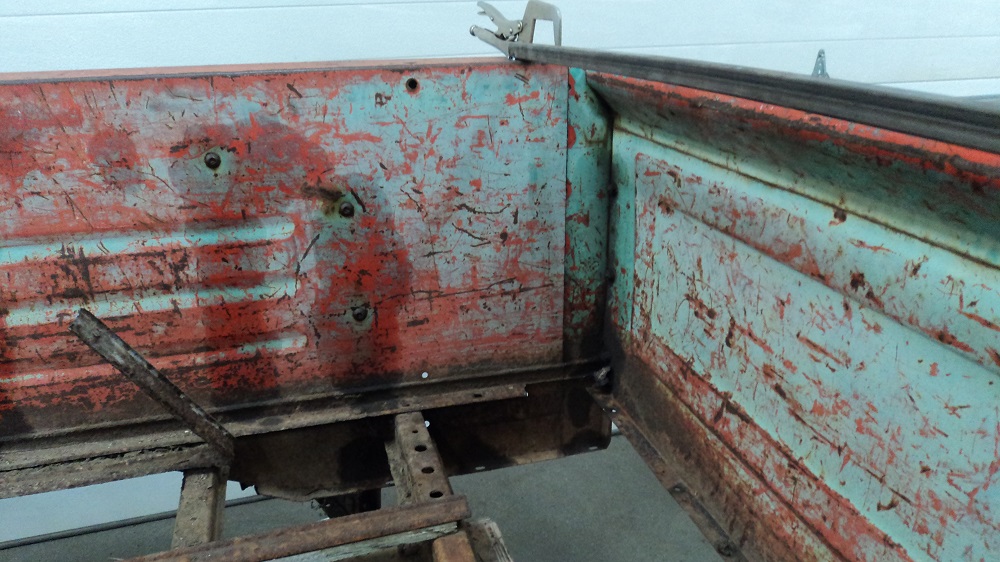
I have to raise this section of the floor. I don’t think I have to raise the boxed section under the rear cab wall:
I’ll need to cut a hole through the frame for exhaust exit:
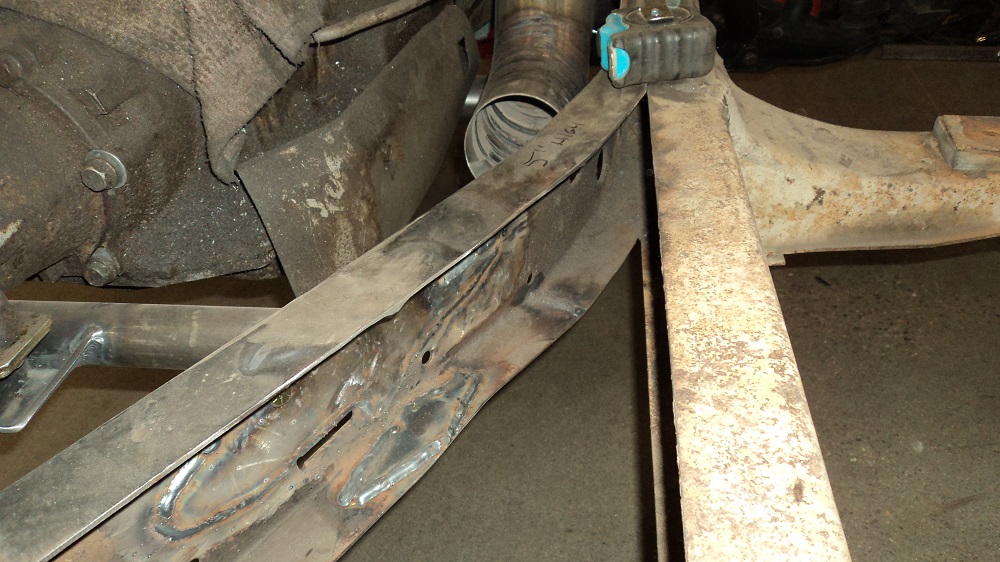
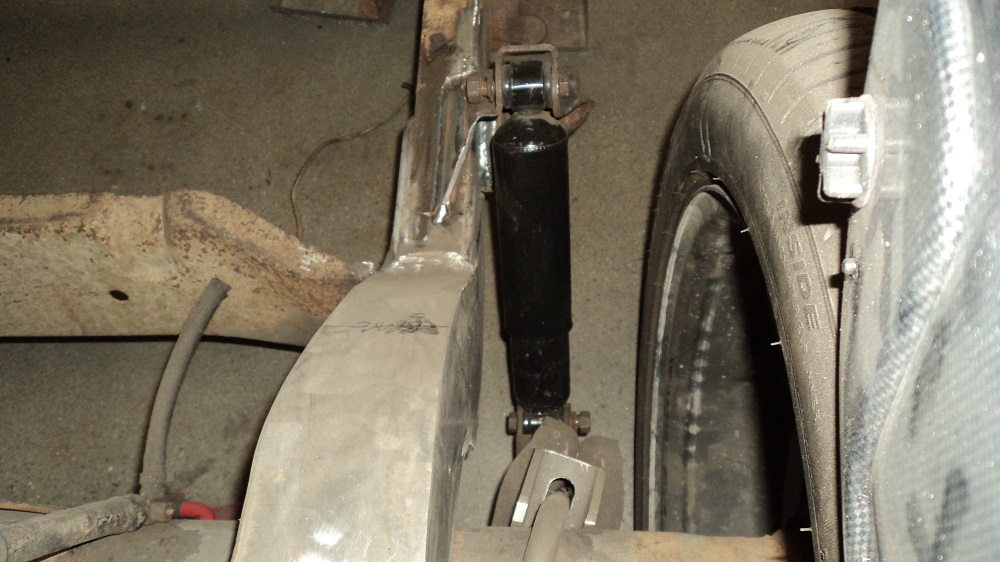
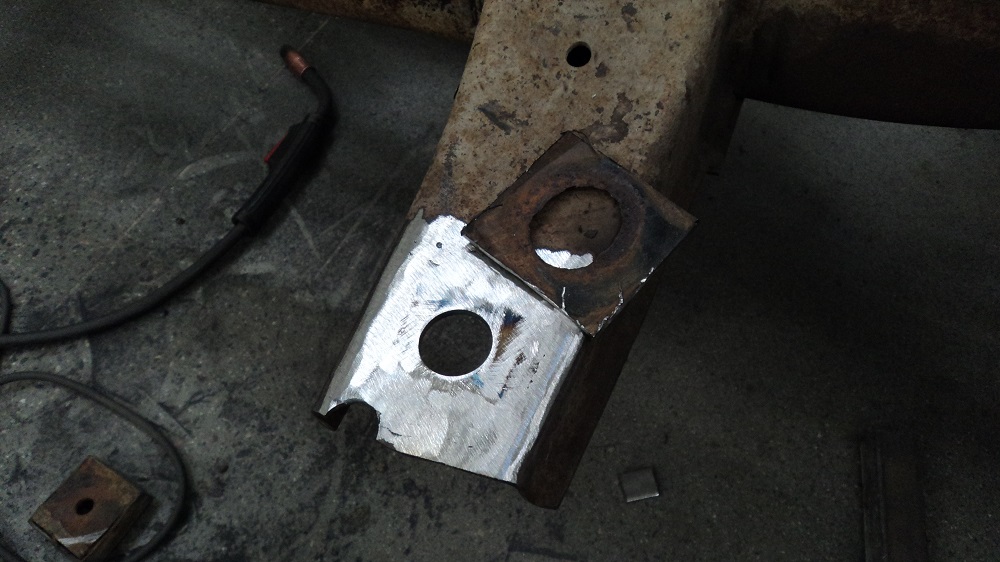
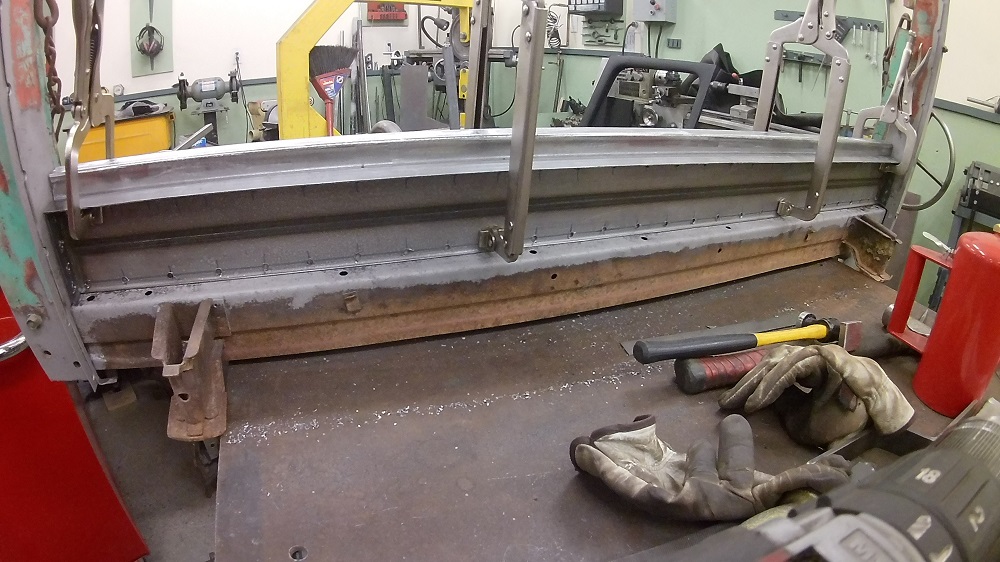
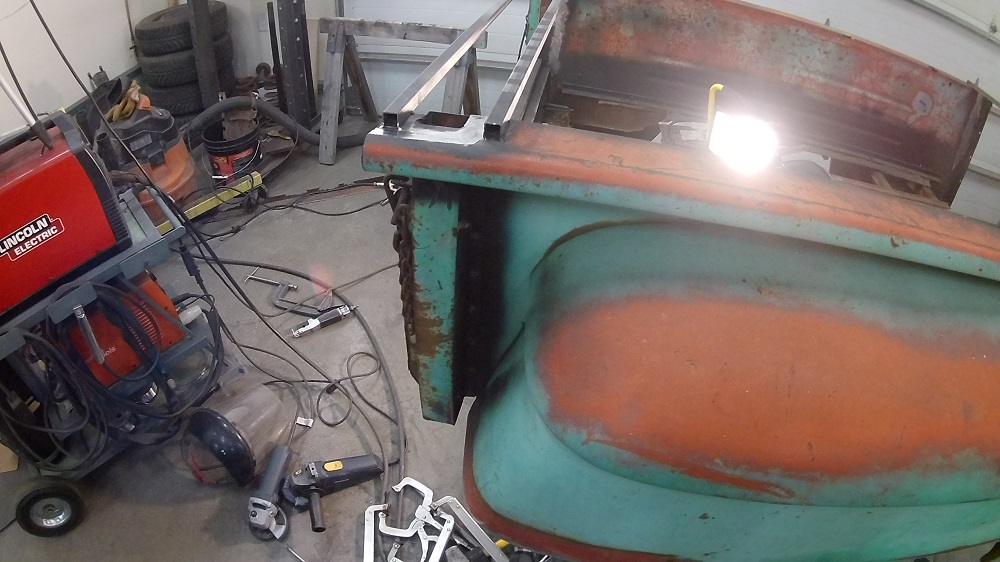
And I finalized the rear shock mounts. Modified and relocated stockers:
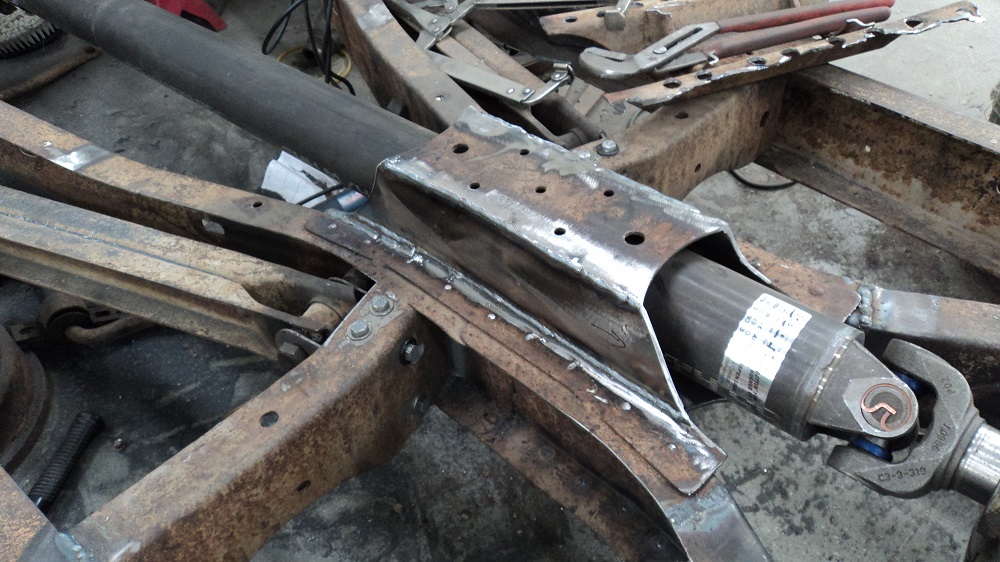
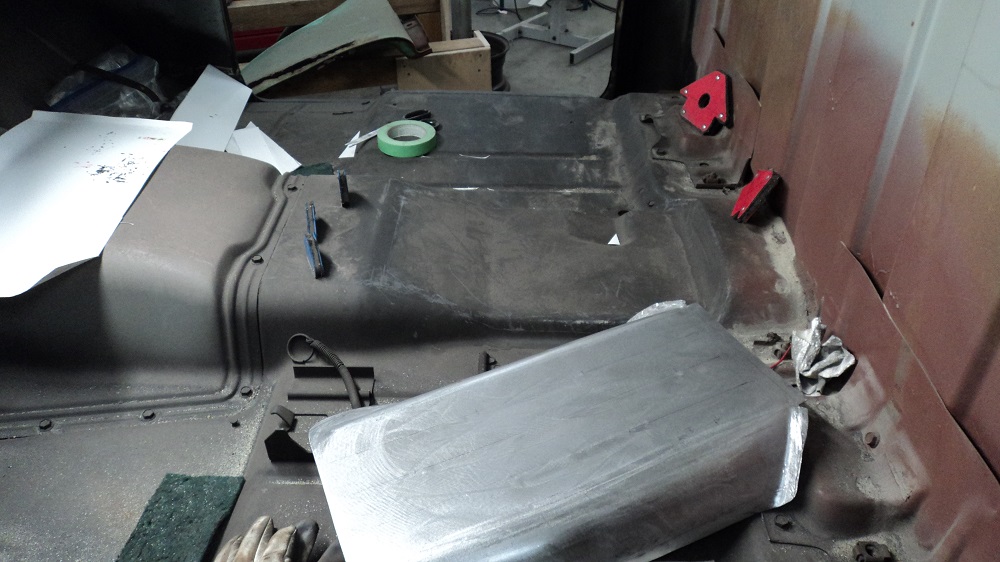
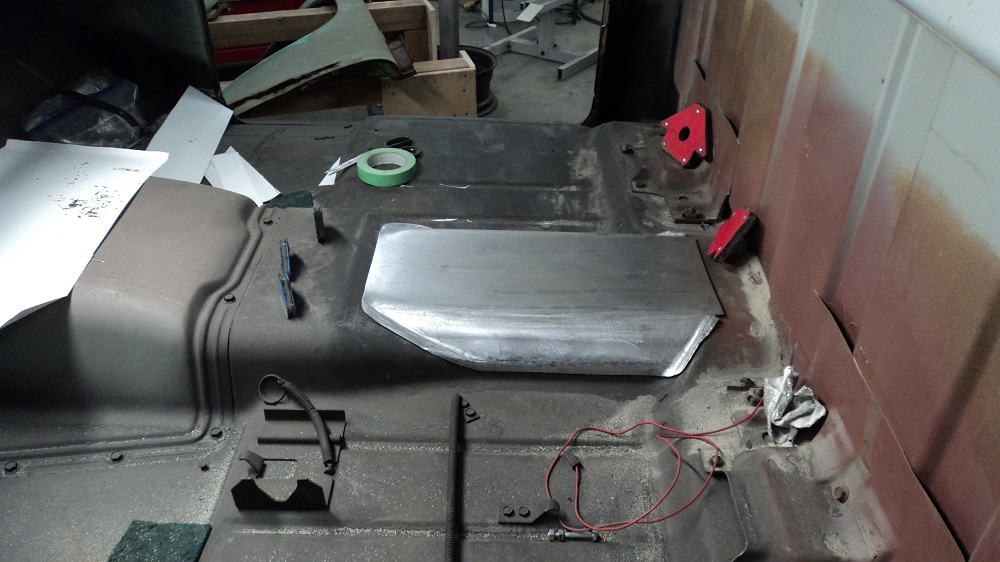
Of course, with the raised “X,” I need to clearance the floor. It -looks- like this will be an easy fix. I just need to cut the floor out. 5 hours in the shop, and I formed this new panel. It will be epoxy primered, and then spot welded into the floor. Spot welding significantly reduces the amount of warp I can introduce to the panel.
I also knew earlier that running your thumbs through the French Wheel hurts. Today I found that running your pinkie under the Tipping Die hurts too.
Center cut out, and spot-weld holes are drilled:
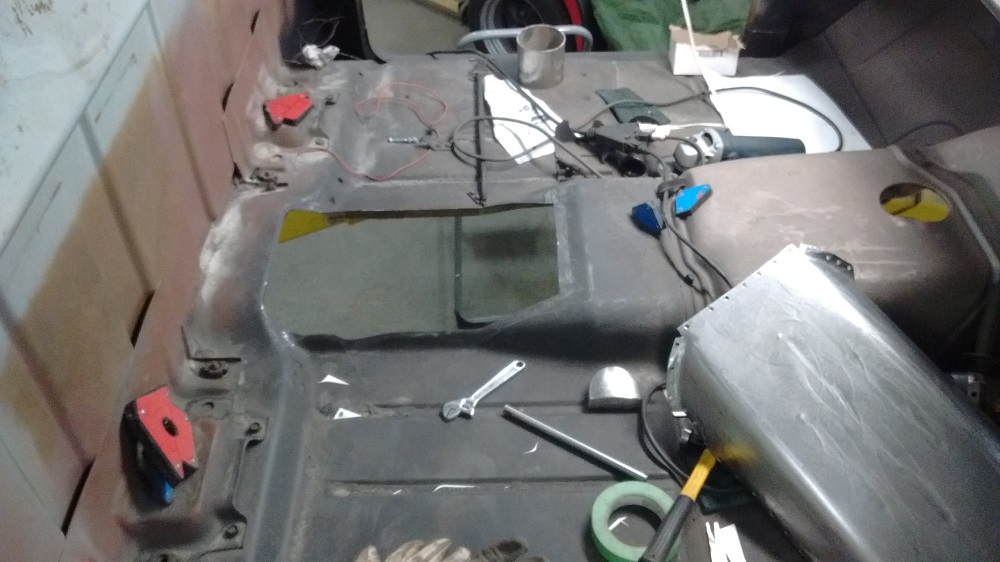
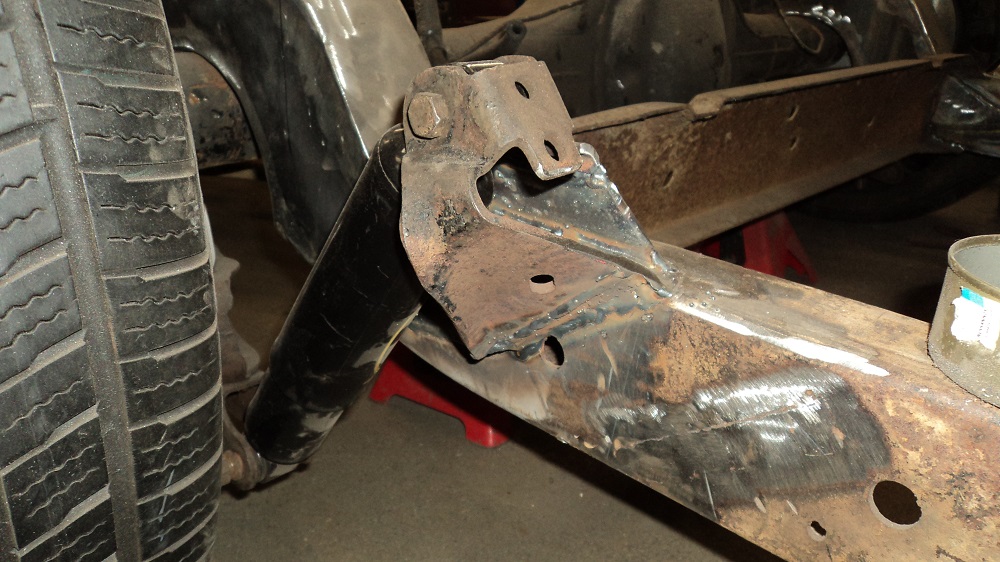
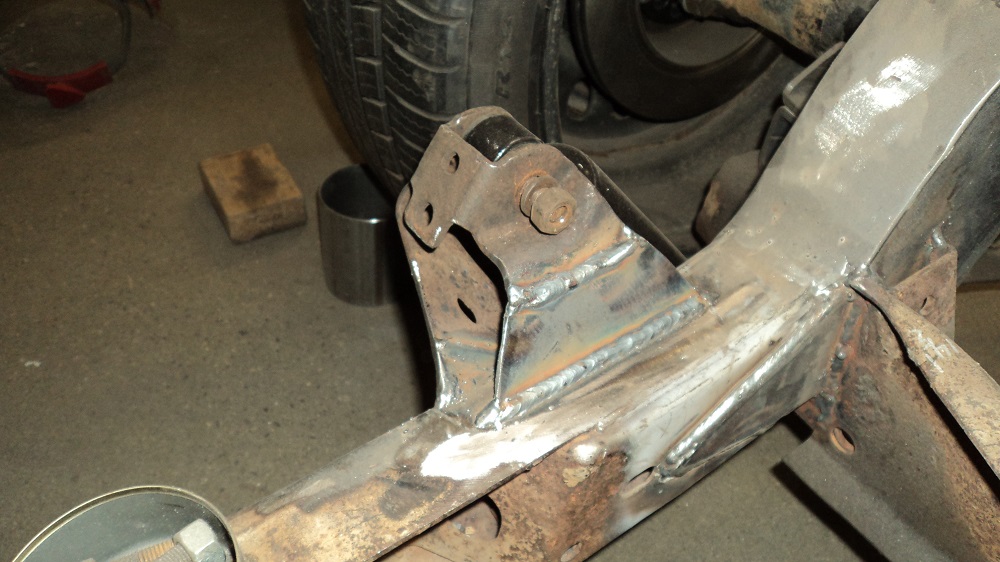
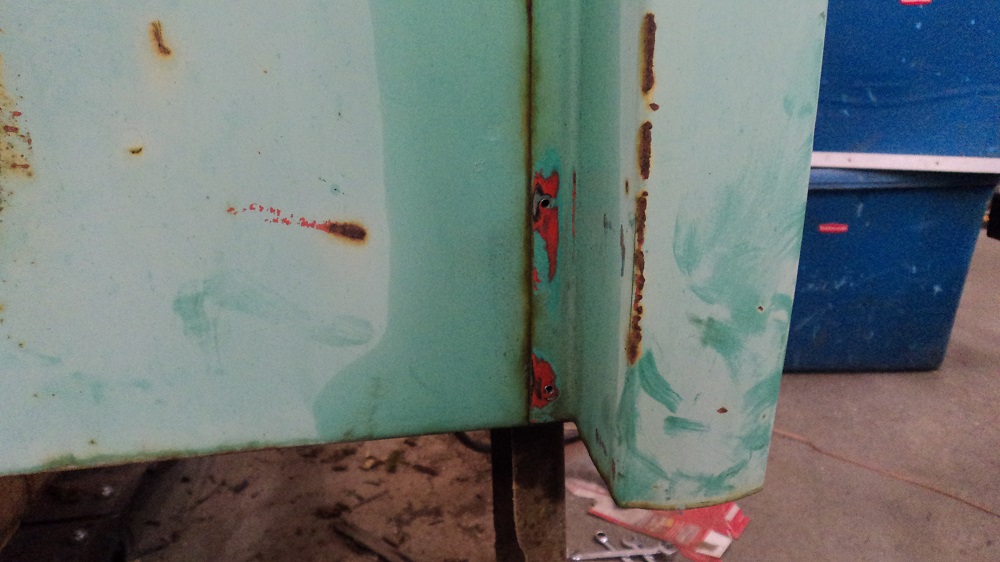
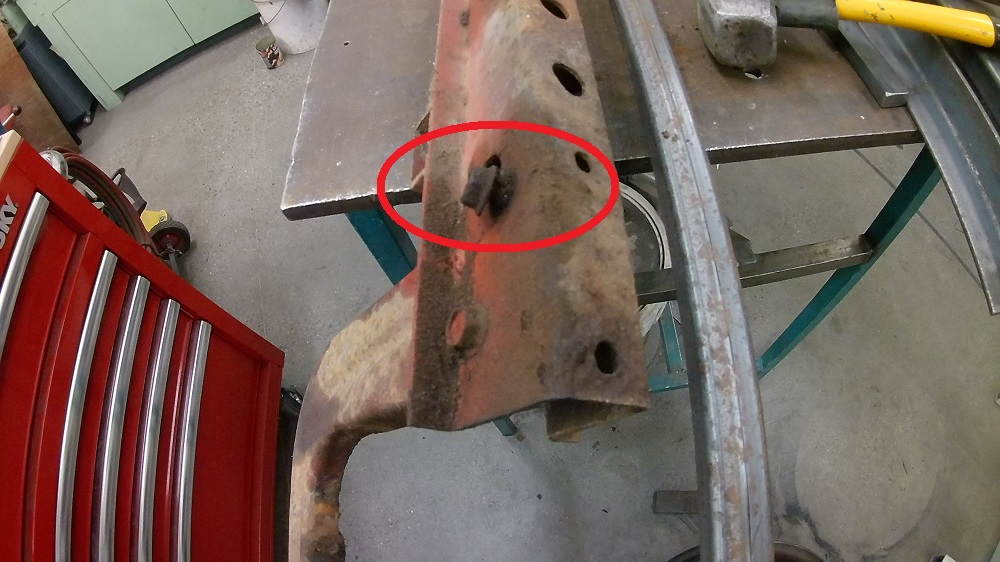
I needed to see if this all fit, but before I did, I repaired a badly corroded cab mount with 3/16″ plate (a bit thicker than original).
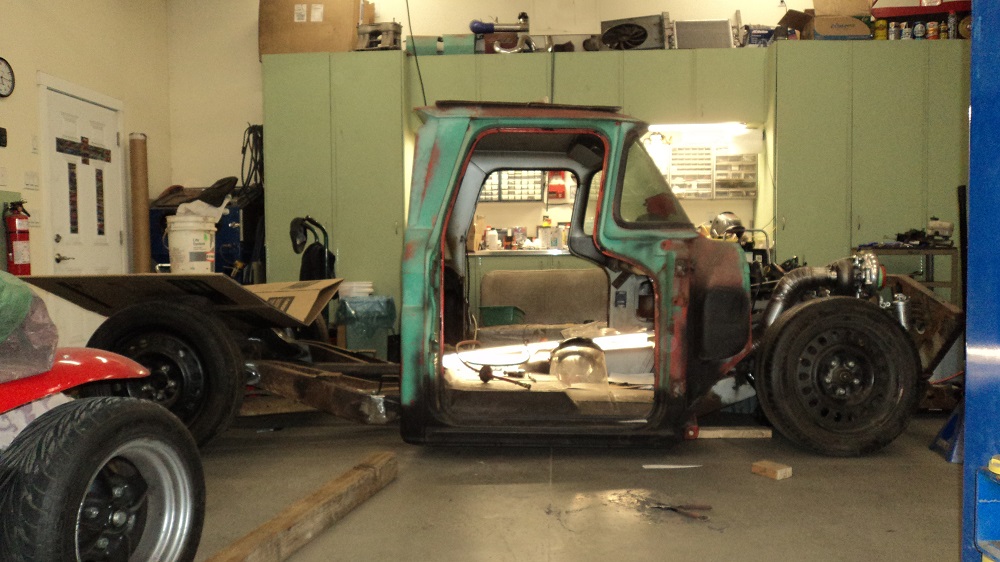
Cab went back on the frame to check for fit. I added some strengthening ribs on the passenger side of the raised “X” to strengthen the top, since due to the lateral angle of the driveshaft, it was no longer trapezoidal.
Welded on, and I am -very- pleased with the result. Driveshaft clears the back of the cab by 1/4″.

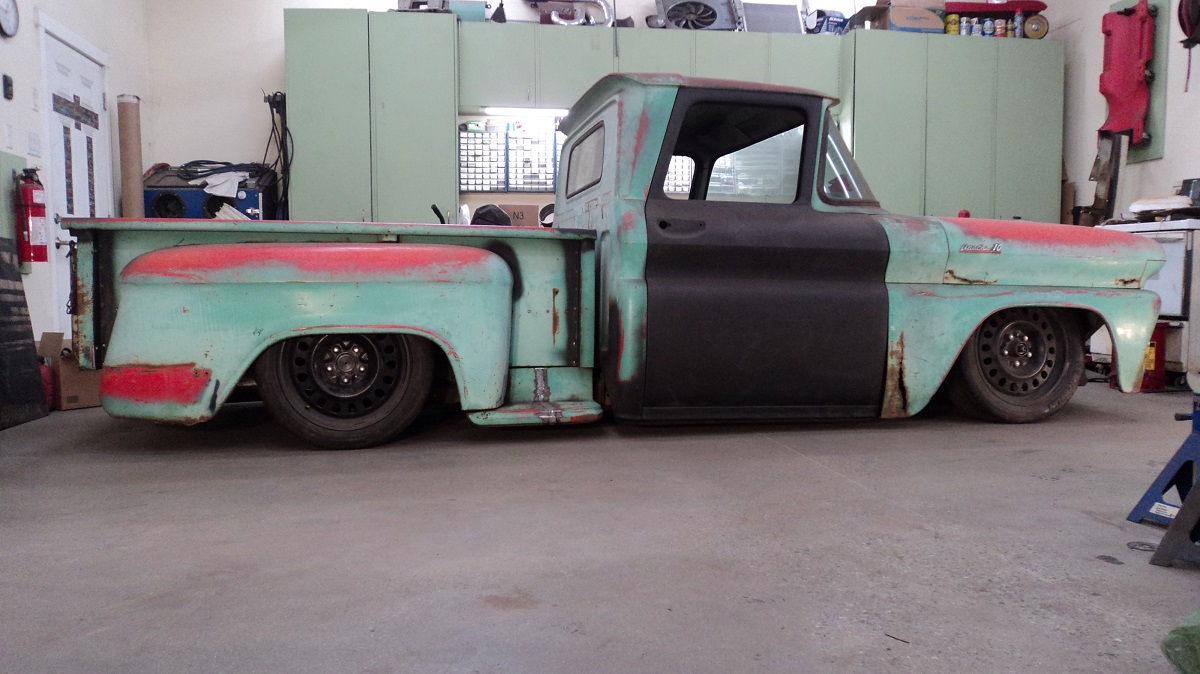
Glory shot, control arms on the ground:
Shortbed the Longbed
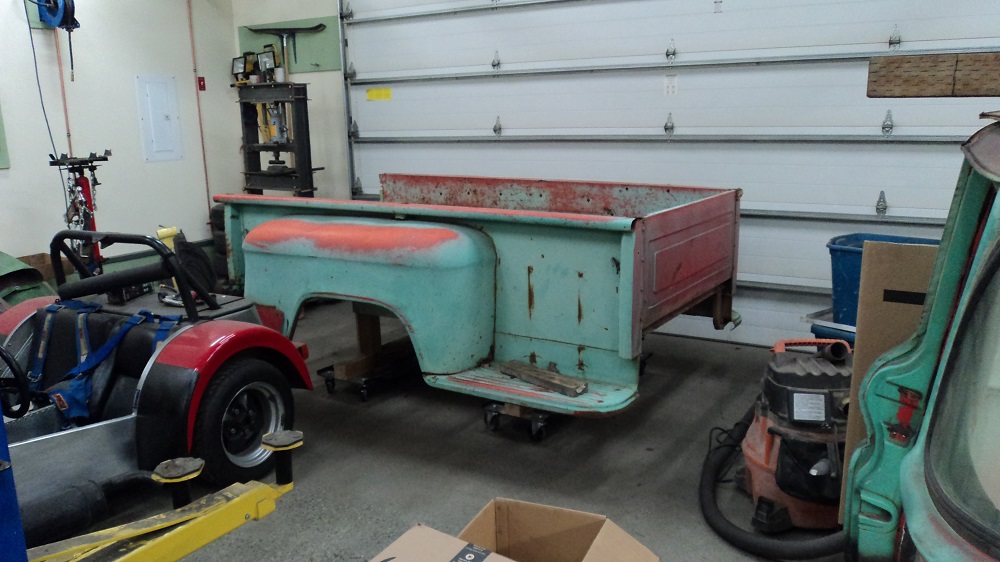
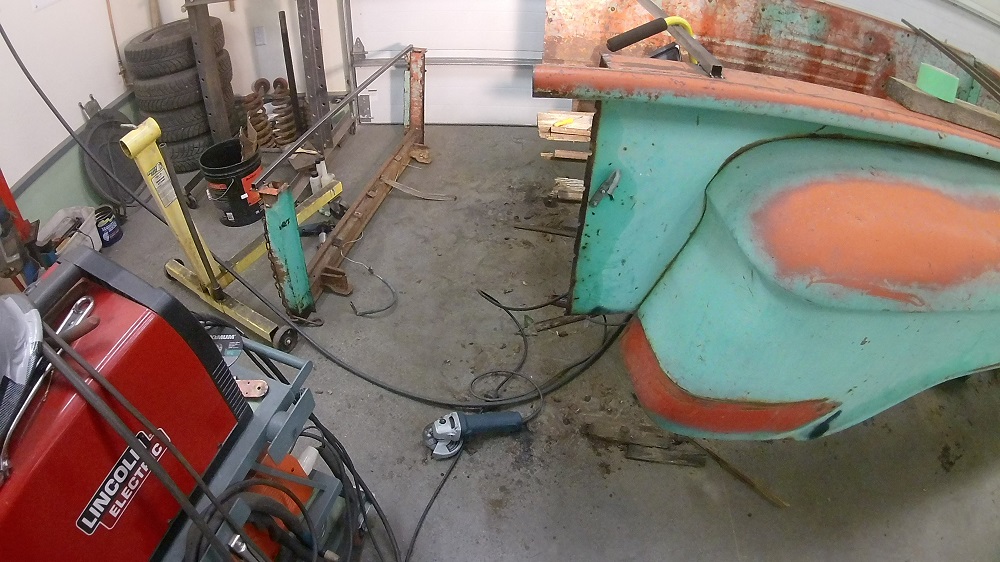
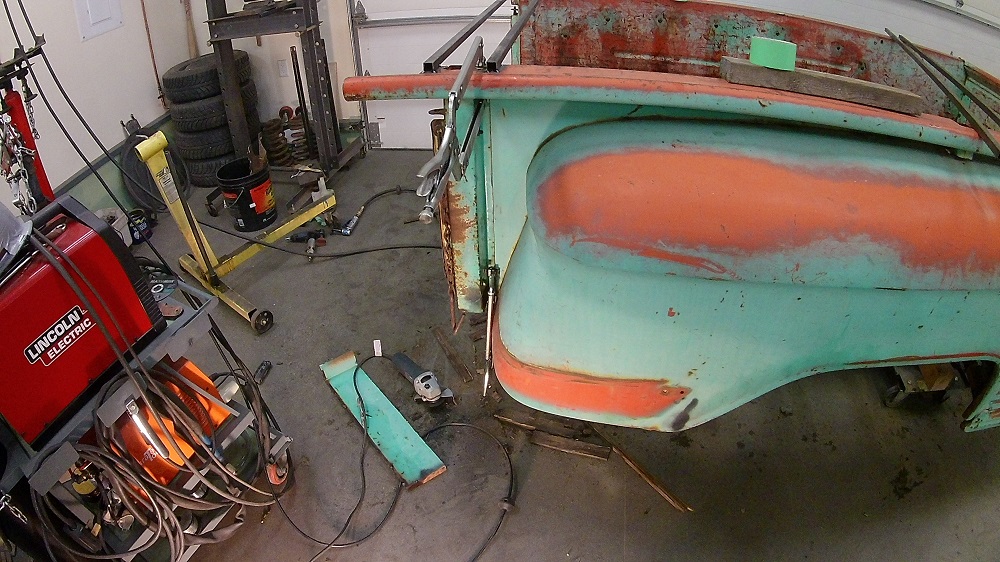
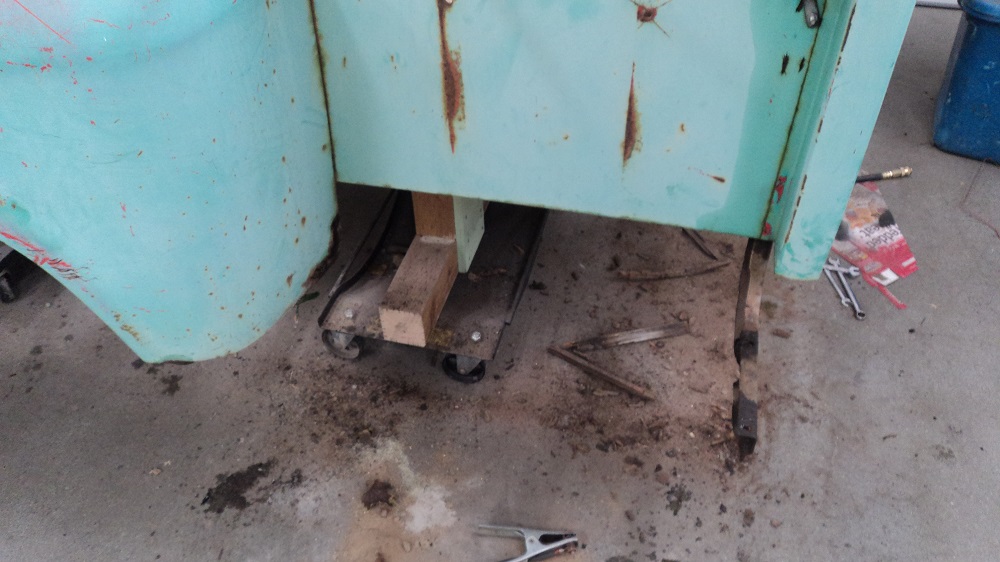
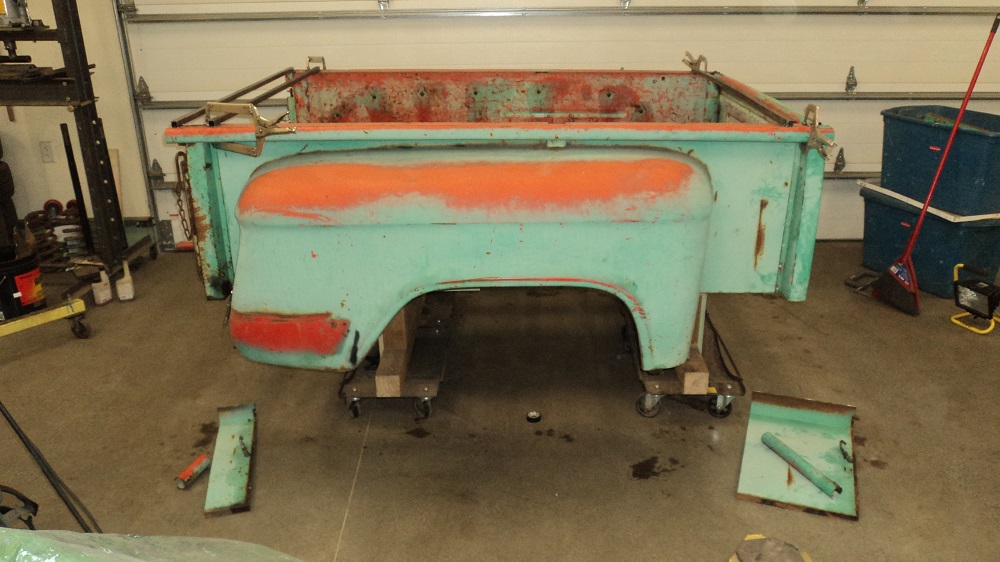
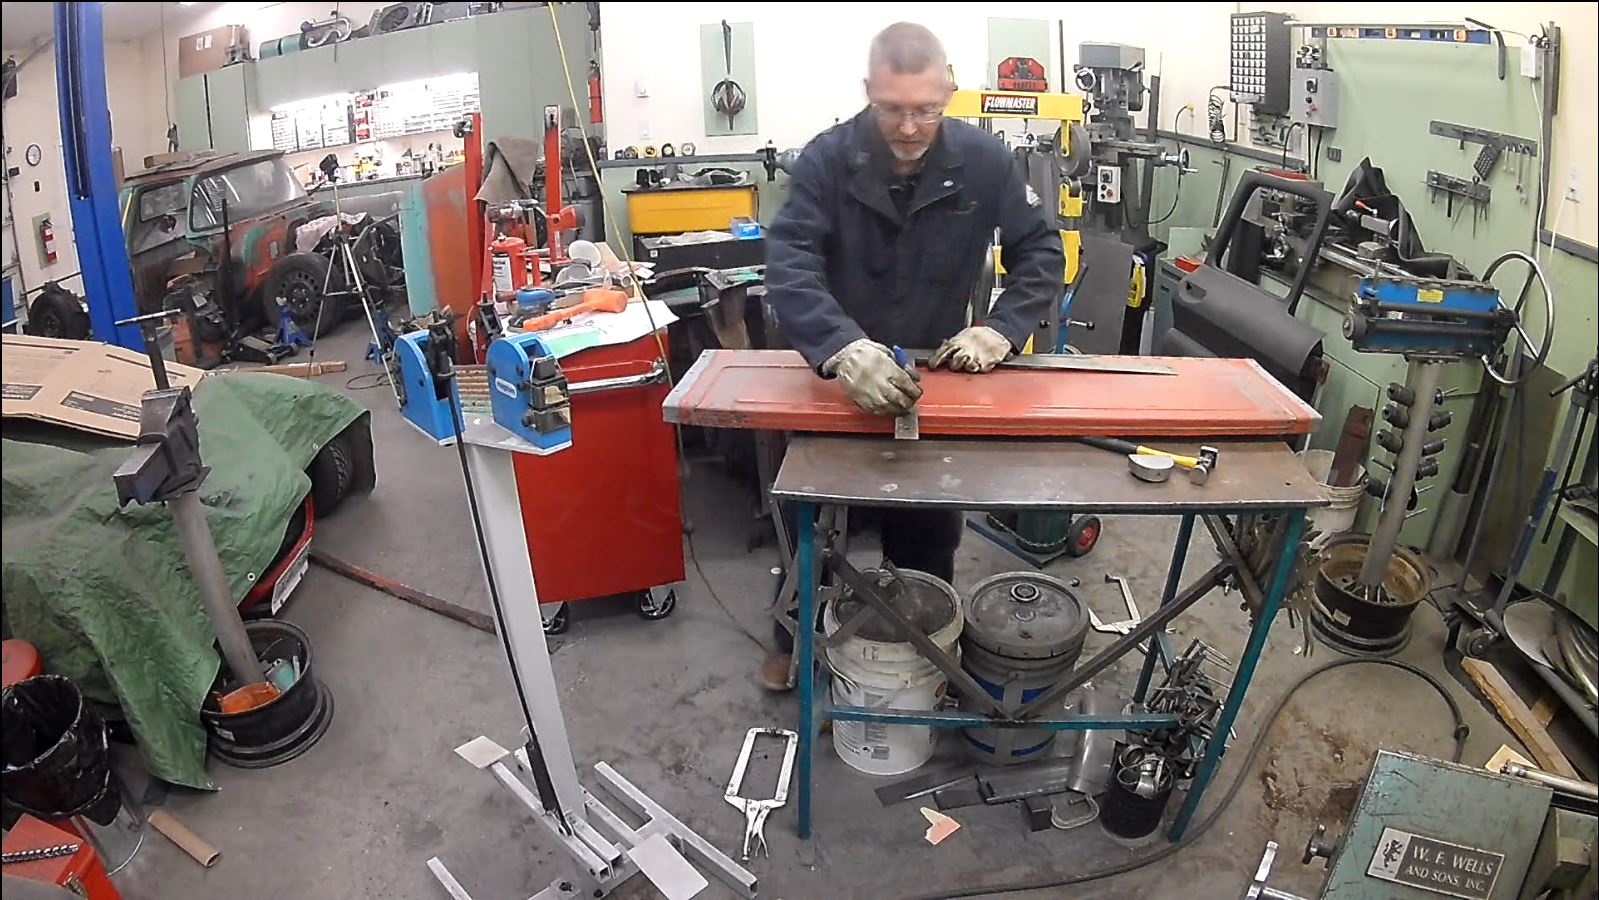
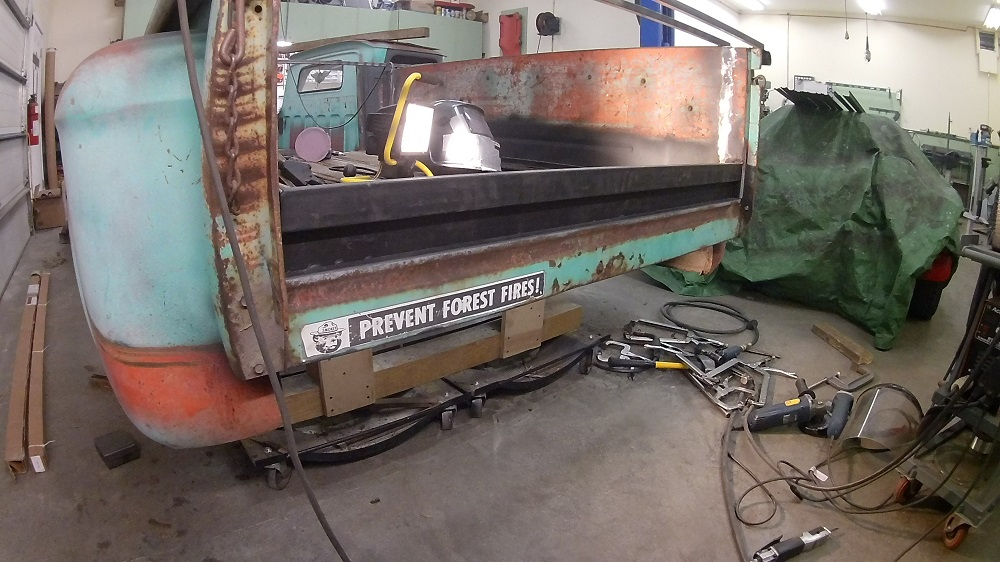
Put the bed (which had been stored outside) on the rolling stand I made for moving the cab around, and brought it into the shop.
Did some thinking and measuring, and things were not adding up at all. It was looking like I shortened the rear of the frame WAY too much. Oh no!
I scoured the internet, I looked for lots of pictures of a stepside frame, and couldn’t figure out why the rear bolts won’t meet the frame. I had cut 8″ off the back.
Oh but wait.
A stepside bed is 14.5″ shorter in the front, and 5.5″ shorter in the back, to equal 20″.
So the 5.5″ the back moves, PLUS the extra 2.5″ at the front, is 8″.
I’m good. Whew!
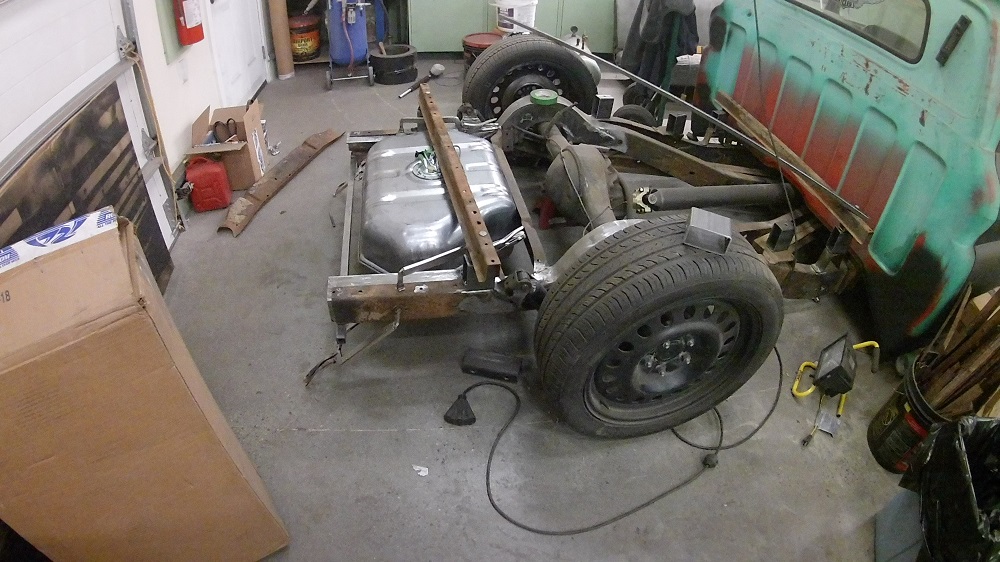
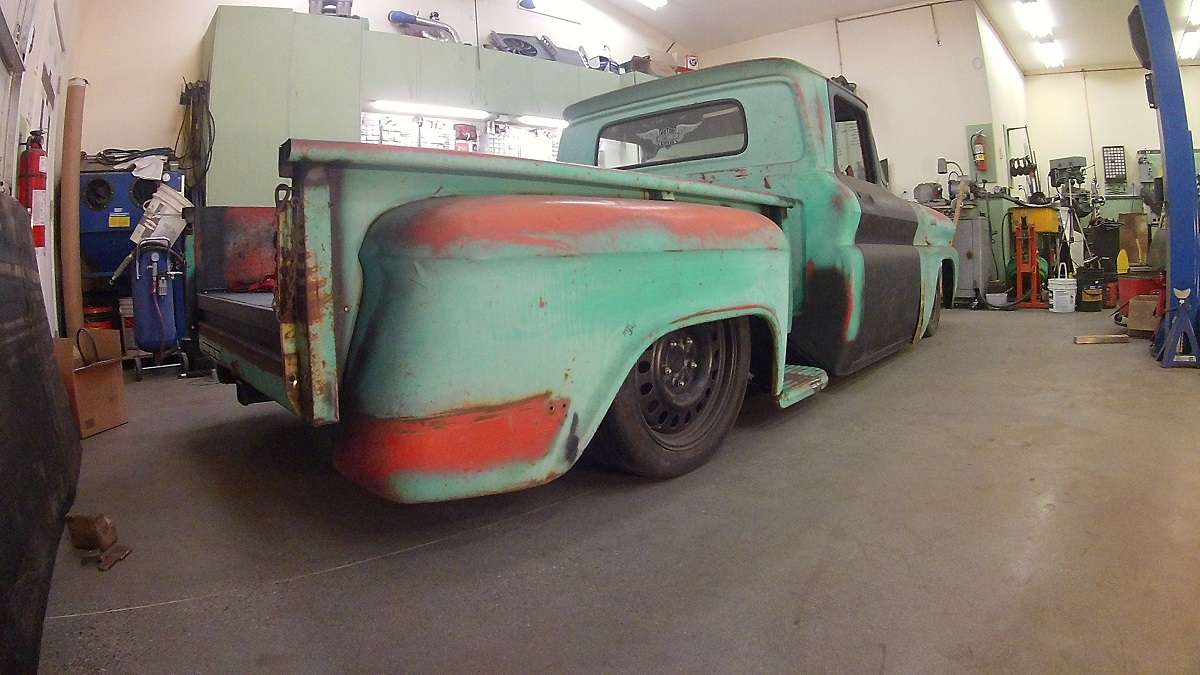
Not entirely sure the bed mount holes behind the axle are really where I want them, but I can make something work.
I also looked at a variety of bed floor options.
Options:
Bed wood kit: $750 CDN
Make my own wood using composite fascia boards: $630 CDN
If I do a wood or woodesque floor, I’ll need new bed floor strips and angles: $150 CDN
New steel fleetside bed floor I can cut down: $1300 CDN
Maybe find/modify a bed floor from Pick-N-Pull: $190 to $430 CDN (I’m not sure how they would price this)
Find a local bed and cut a floor out: $500+ CDN
Decision:
In the end, I can buy wood through the school wood shop at cost and make my own. So that’s what I decided to do, in Red Oak (I didn’t; I ordered TREX). I ordered bed strips from Bill’s Truck Shop in Ontario.
I intend to do a black stain, and then an oil finish so I can just keep oiling it off and on, maybe even with used motor oil since I will have some at every oil change.
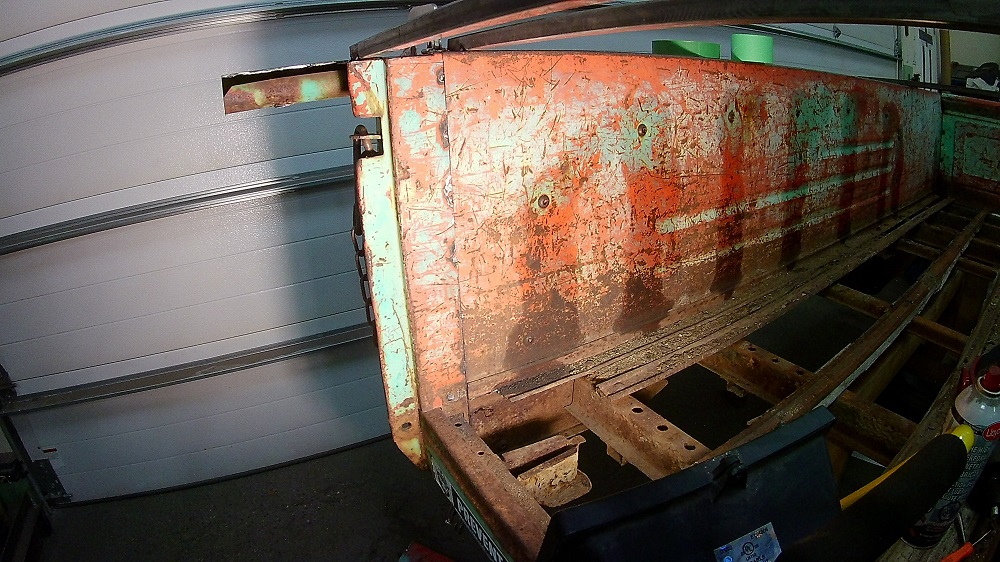
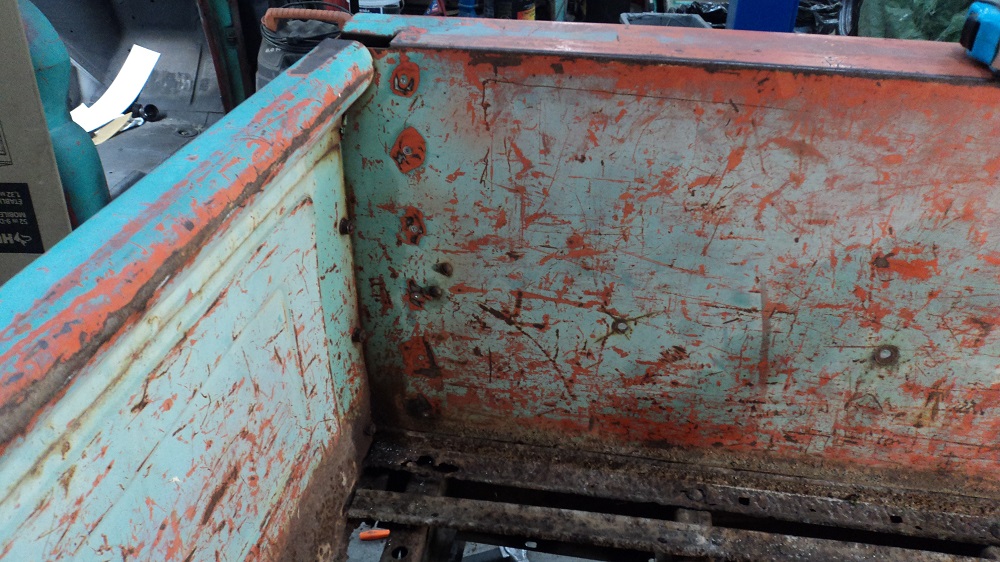
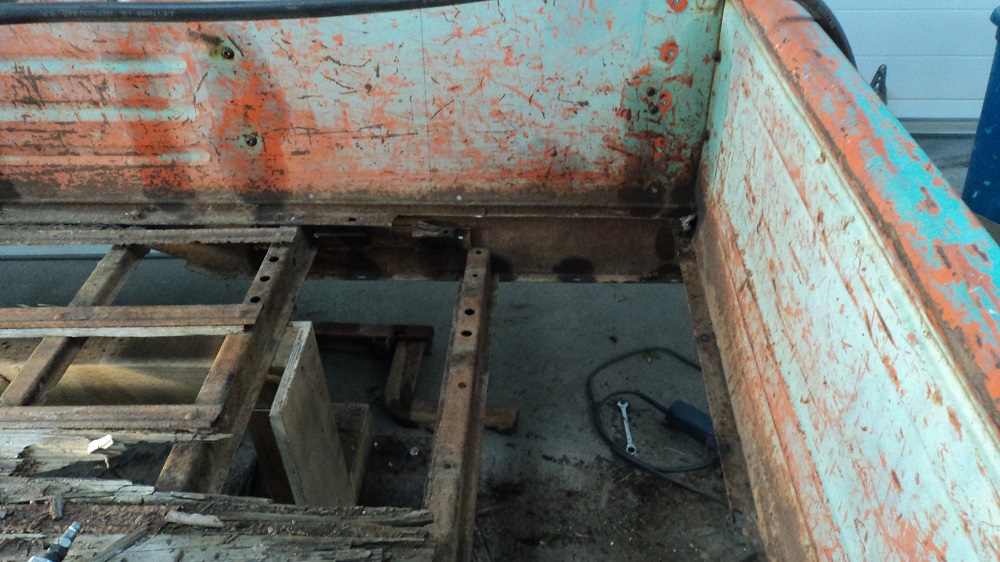
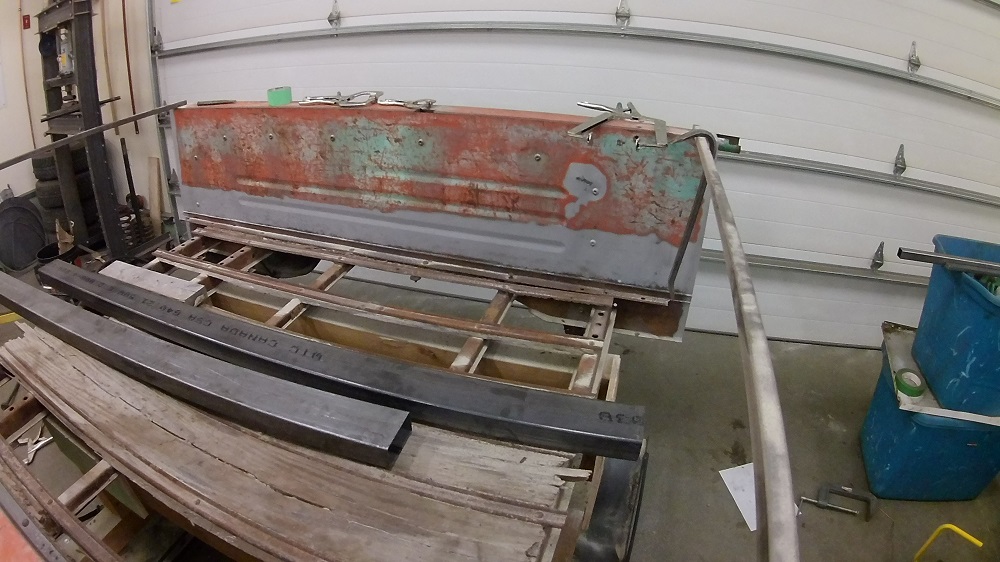
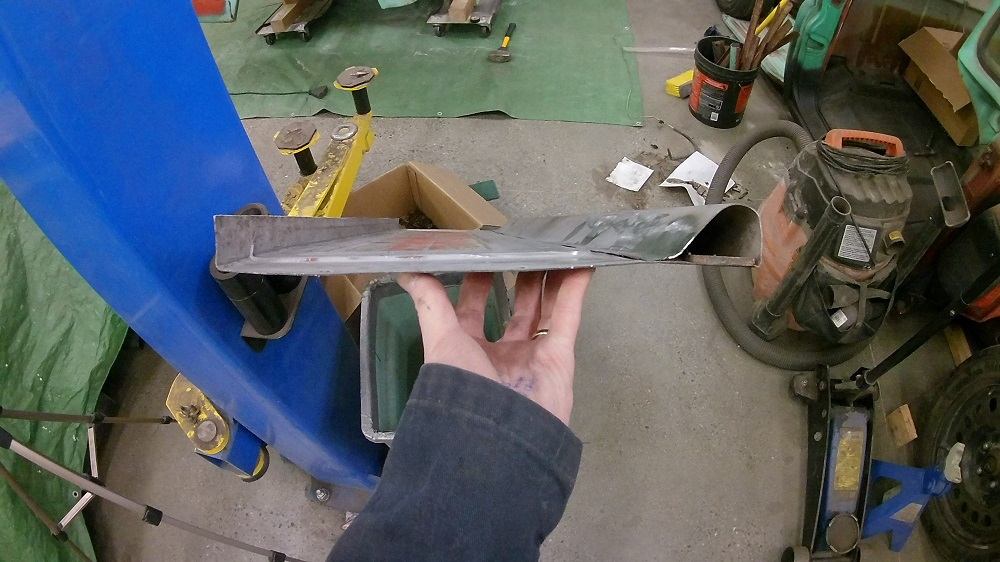
I shortened the back of the bed today. I cut through the spot welds of the rear stake pocket box, and exiting along the top of the rolled edge so as to be able to cut a fresh end when it’s all welded back together. (Note: if you’re shortening a fleetside, you’re cutting 12″ out of the front and 8″ out of the back)
For the front, locate the spot welds:
Remove the steps:
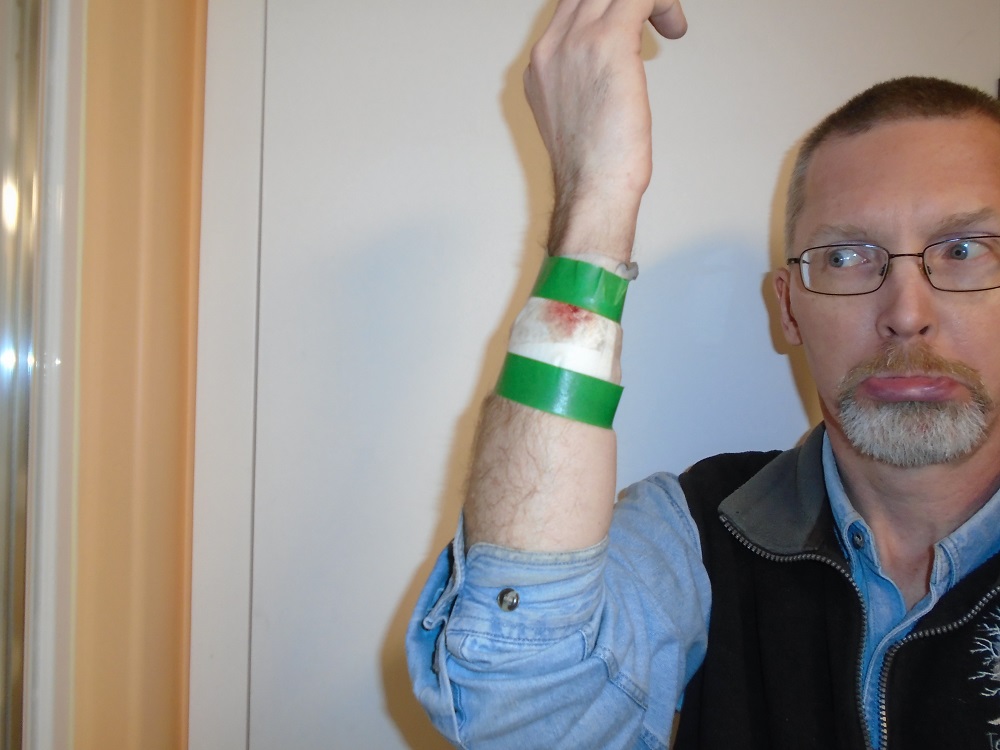
Get some first aid because thin rusty metal bites when the bolt breaks (yes, my Tetanus shots are current, I -do- work with metal):
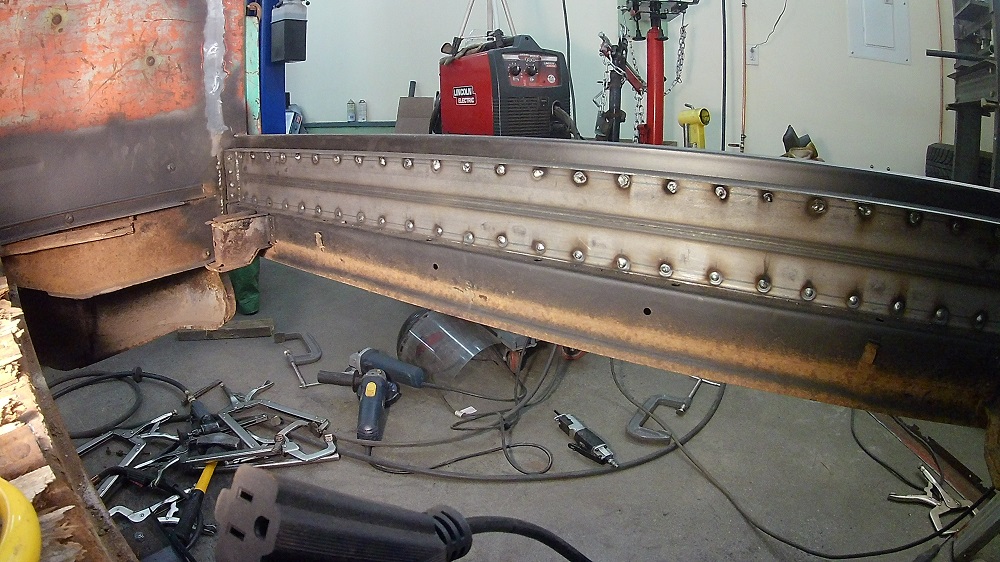
The bottom two spot welds were drilled from outside (easier to get to):
Mark cutting lines (14.5″), cutting right through the spot welds:
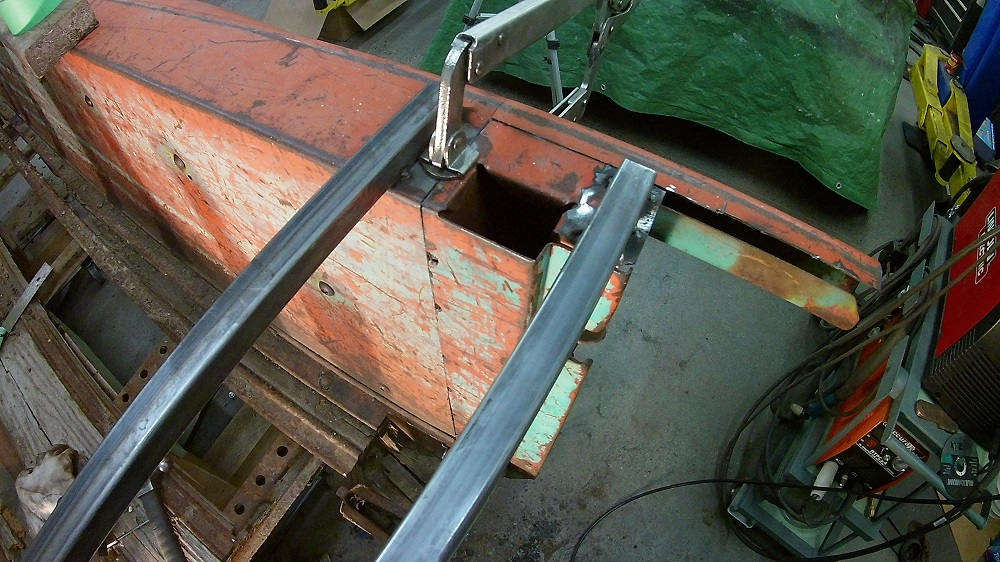
Weld a brace onto what will be the new front of the bed:

Cut along the cut lines, removing the 14.5″ section. Pay attention to which side of the cut line you cut on:
Remove the front, and clean up the spot weld remnants on the flanges:
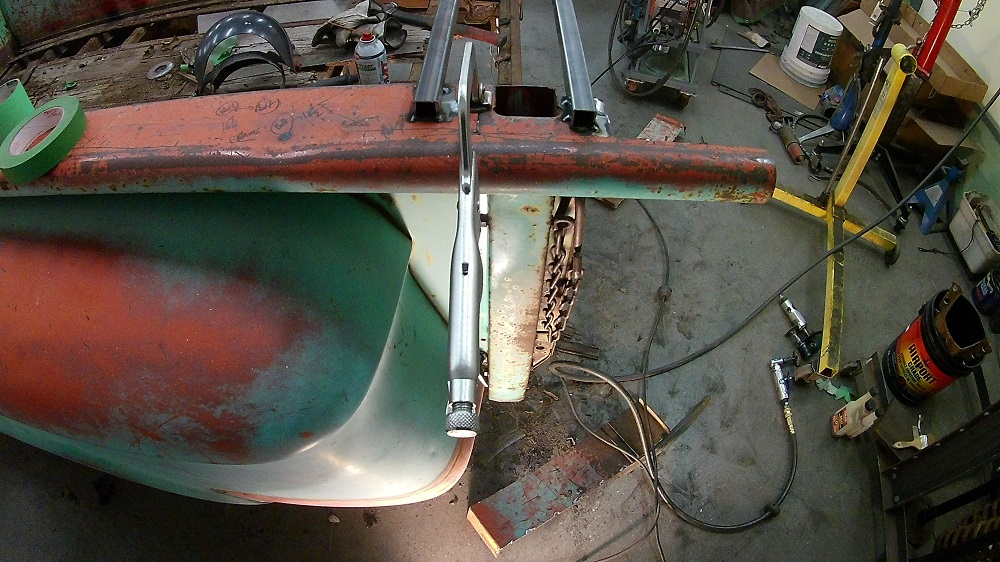
Shove the front half on to the shortened bed:
Bask in a fuzzy picture of accomplishment:
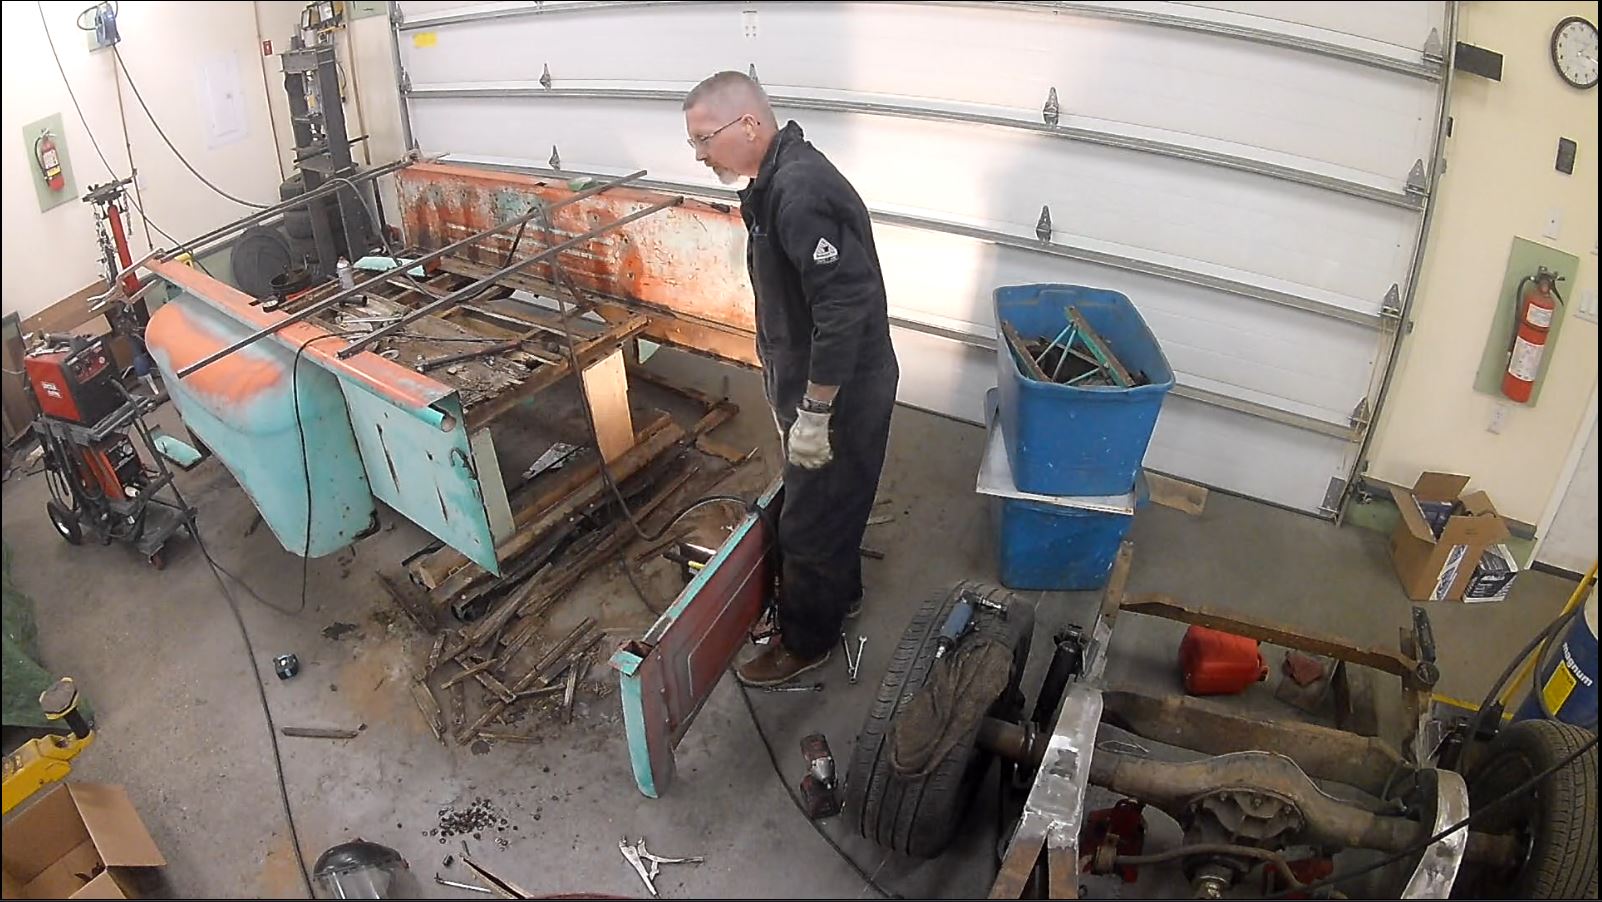
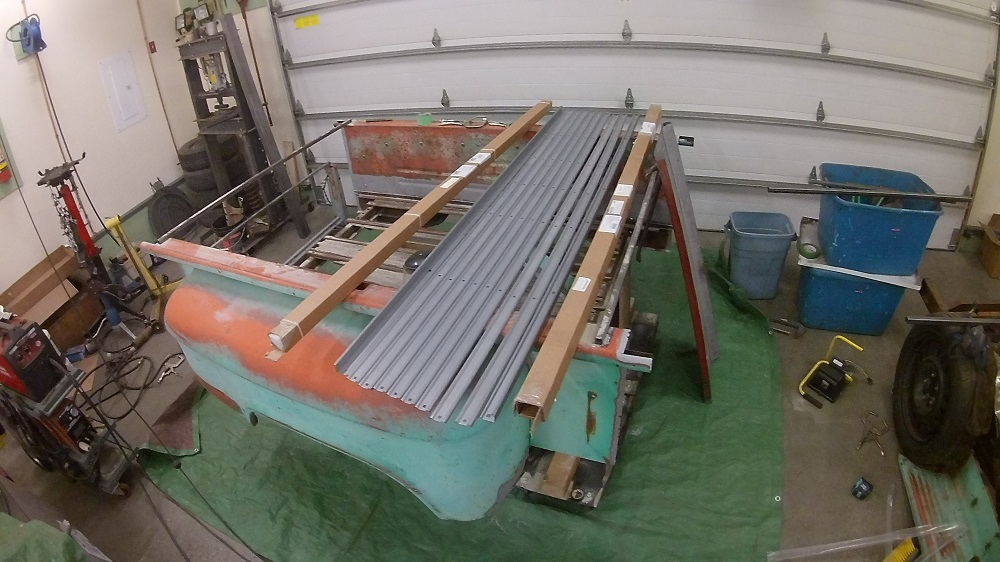
A narrow window of dry weather meant I could blast the areas I needed to deal with. This is now Christmas break 2020, and I’d like to get the bed assembled and on the truck by the time I go back to school. The hope is to have the truck ready for paint in the summer.
All this time, I was busy second-guessing my choice in bed wood. I decided, instead, to go composite.
Trex “Winchester” composite deck board were ordered (no longer available). In order to fit these, an eighth skid strip had to be ordered since these boards are much narrower than OEM. The single skid strip came with no holes, so I had to drill and then file the holes square.
Also picked up some 2×4″ 0.120 to raise the bed floor, and some 2×4″ 0.063 to raise the rear of the bed frame.
The bed header (?) was disassembled, and the board flange raised 4″. Also spent a LOT Of time trying to straighten and shrink and true the panel. I have no idea what I’m doing; I’m figuring this out as I go.
I got it pretty close to straight. I’m not going to chase this panel to perfection – it’s just going to get dinged up as -I- use the truck.
First, some brainstorming, because people don’t seem to have a lot of detail in their builds to follow. That, and maybe I’m a little fussy:
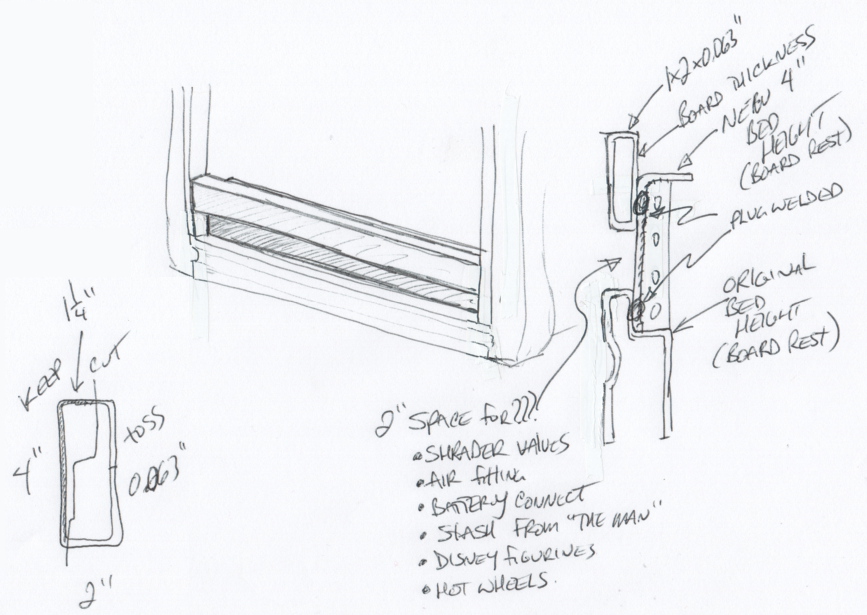
Future Me: That upper 1×2 needs to be about 1/8 to 1/4″ “forward” so the tailgate beadwork can clear when the tailgate is closed. Grrr.
I sliced the 2x4x0.063″ rectangular tubing to an “L” that is 1-1/4″x4″, and welded some flats on the ends so I can plug weld them to the bed. This is a LONG stretch to weld, and it’s going to warp all the heck, so plug welds are a good idea.
I will place a length of 1×2″ to create a new “back” to this, to recreate the raised stop at deck height. Should all look like this:
Then I cleaned and scrubbed all the skid strips, angle strips, and blasted bits and epoxy primer. I’ll give that a few days, and then weld the front and back back on.
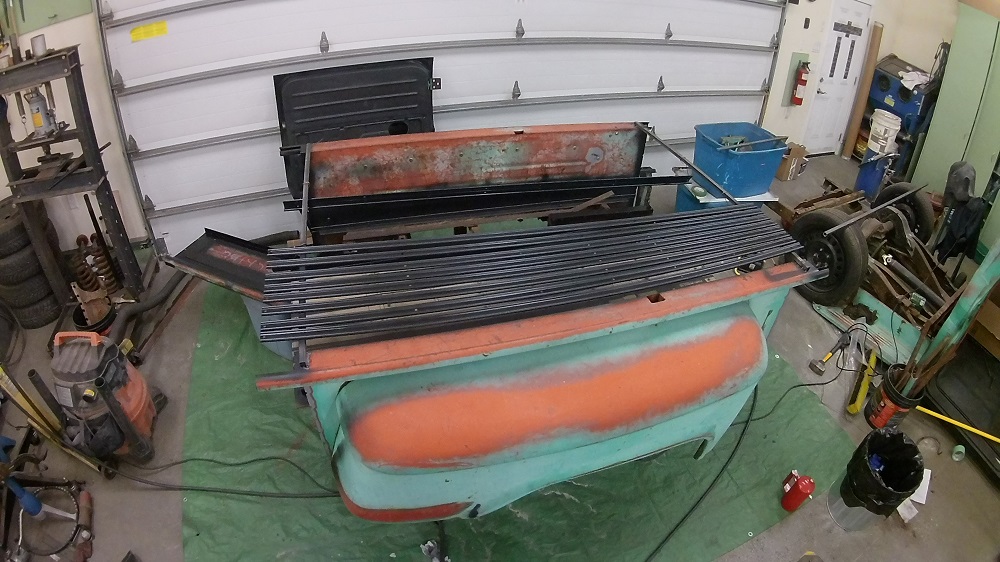
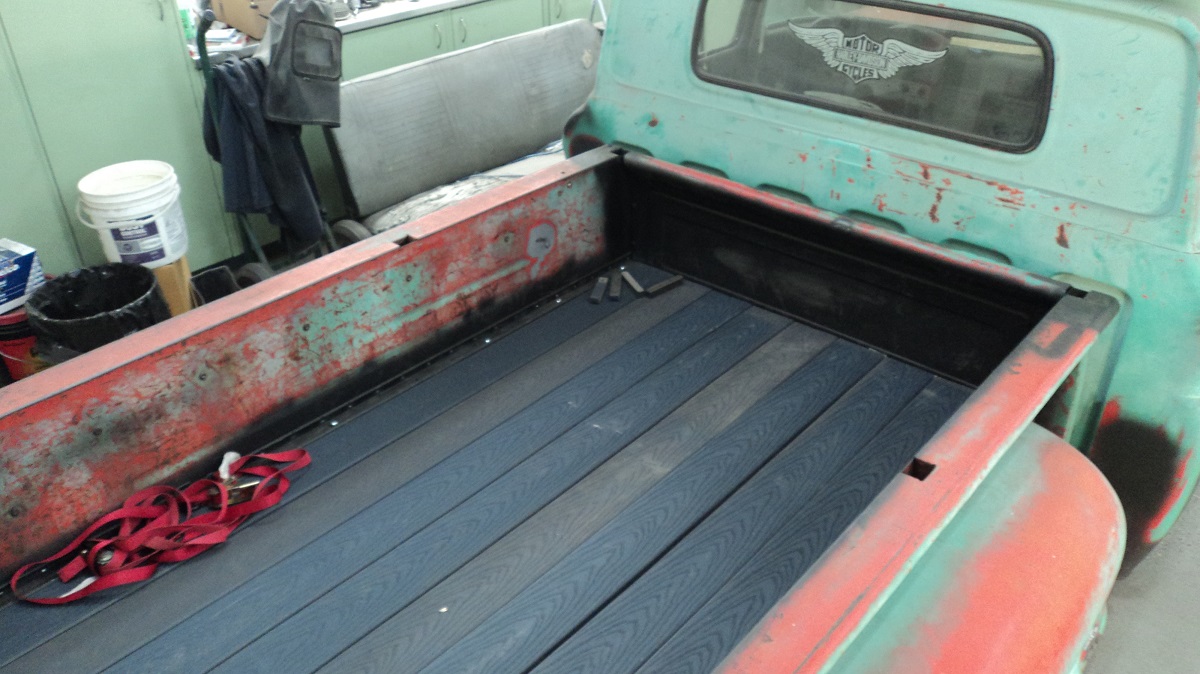
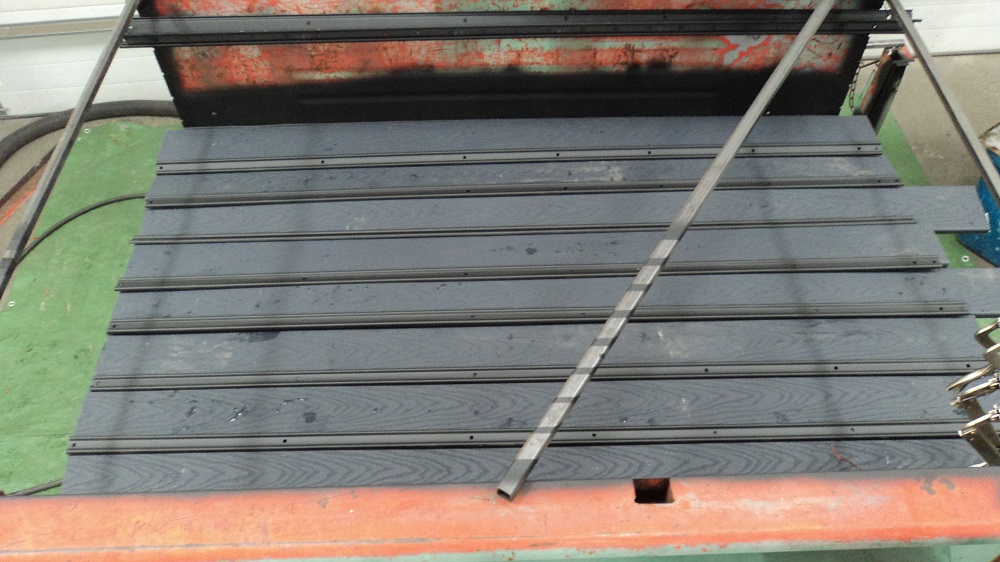
Boards just set in place with strips for that “feel good” moment:
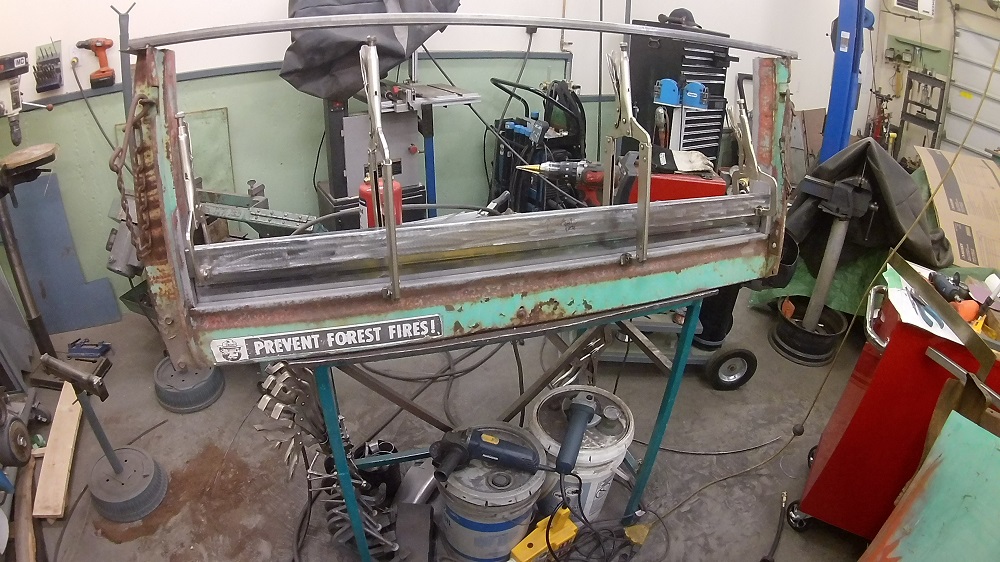
Started welding it back together today.
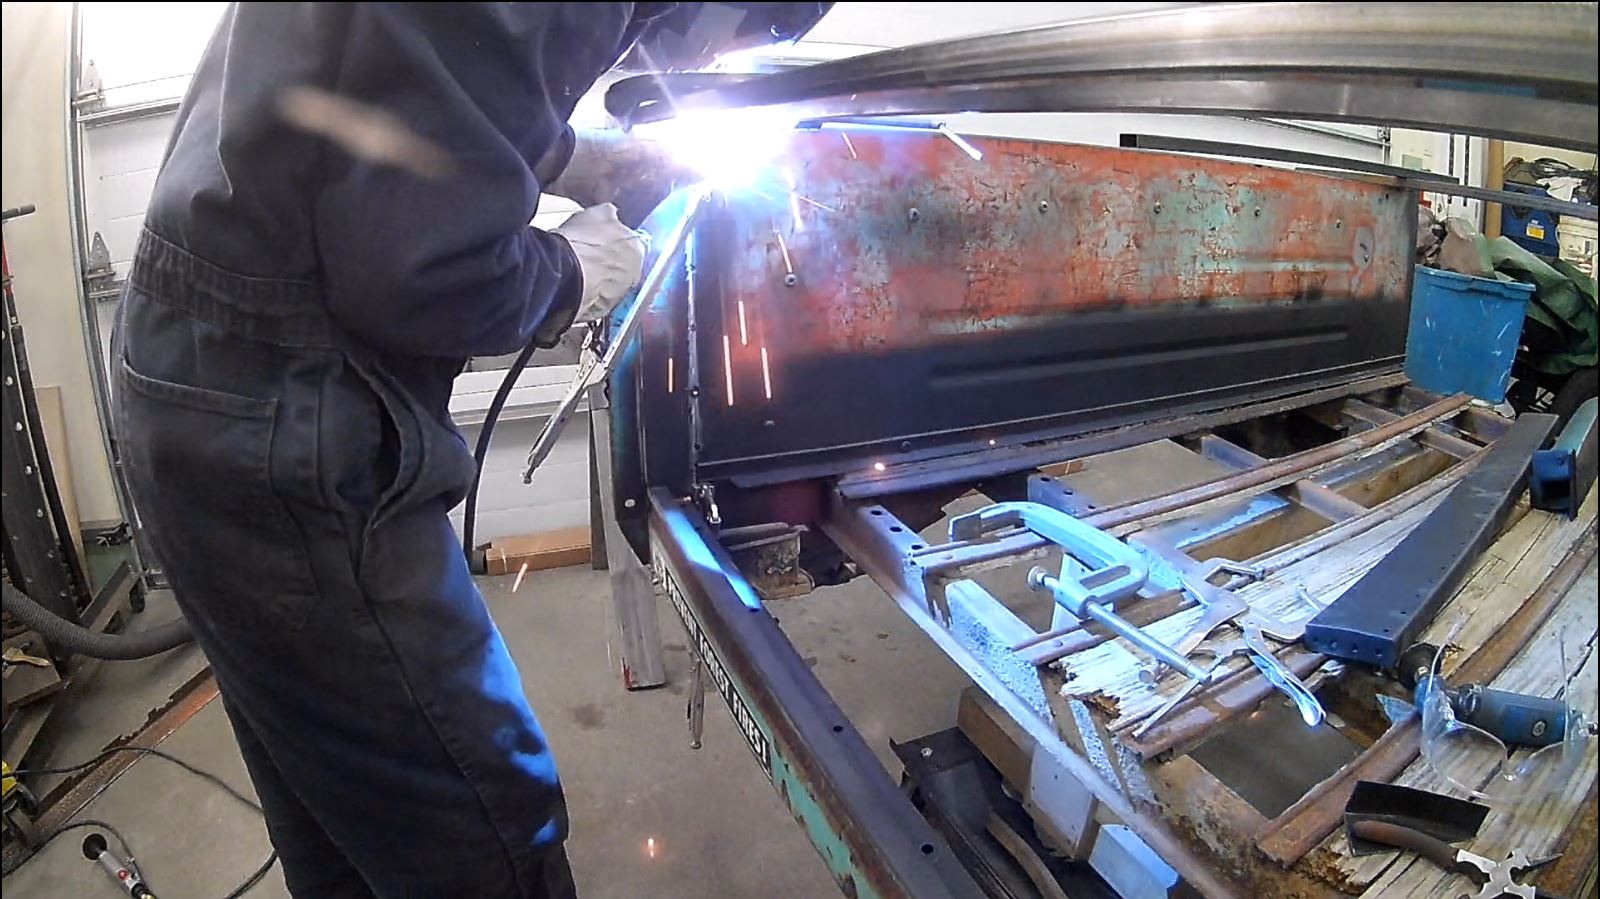
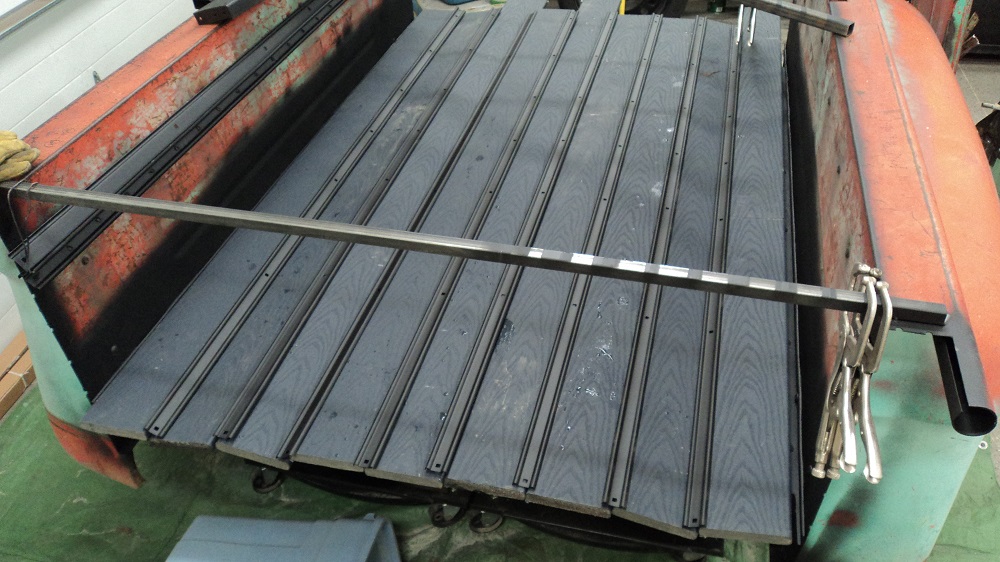
Added my 4″ floor riser at the rear. Turns out the Trex decking is 0.850″. Spot welds mean less warping.
Bed supports now located at their new height:
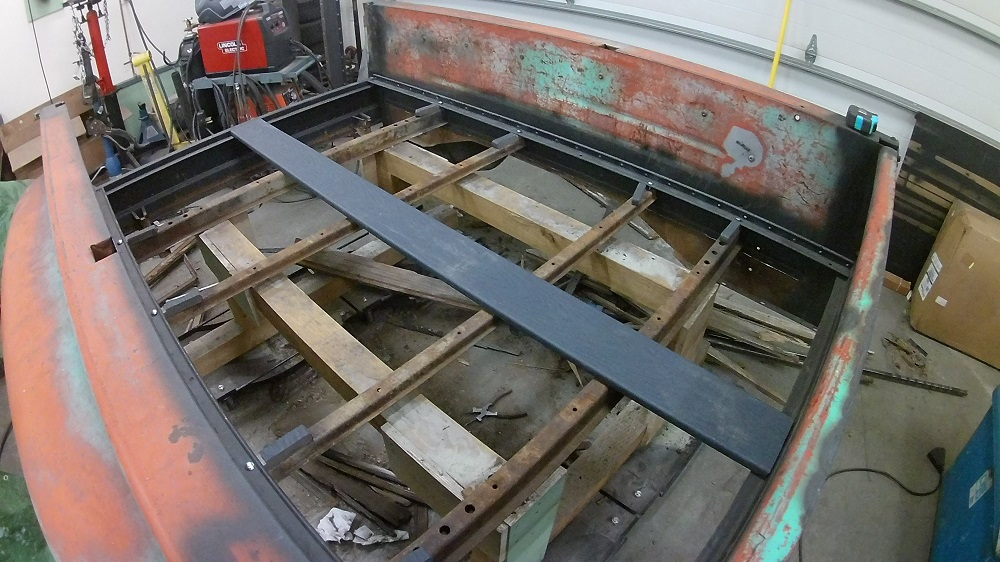
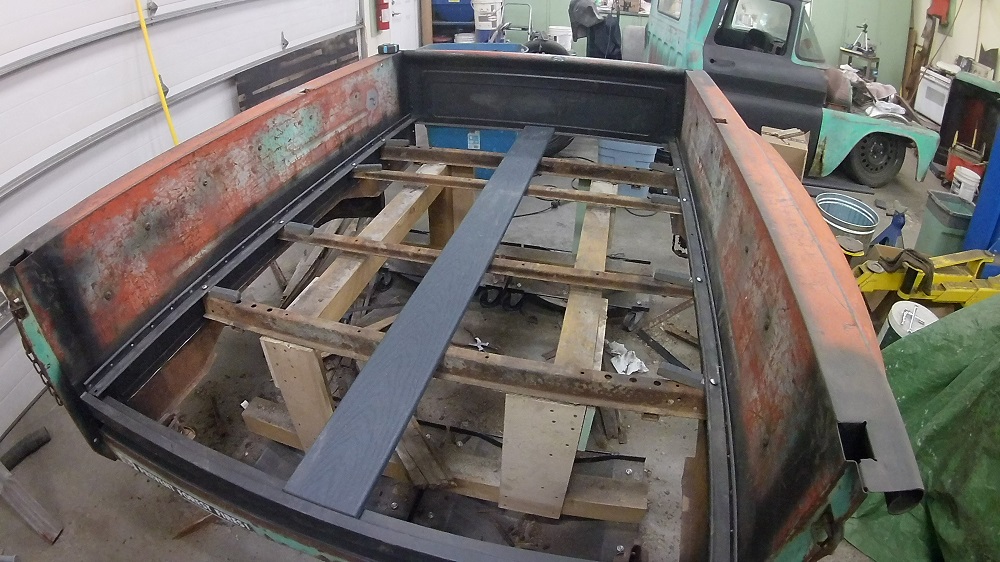
4″ Bed risers, made of 2×4″ rectangular tubing:
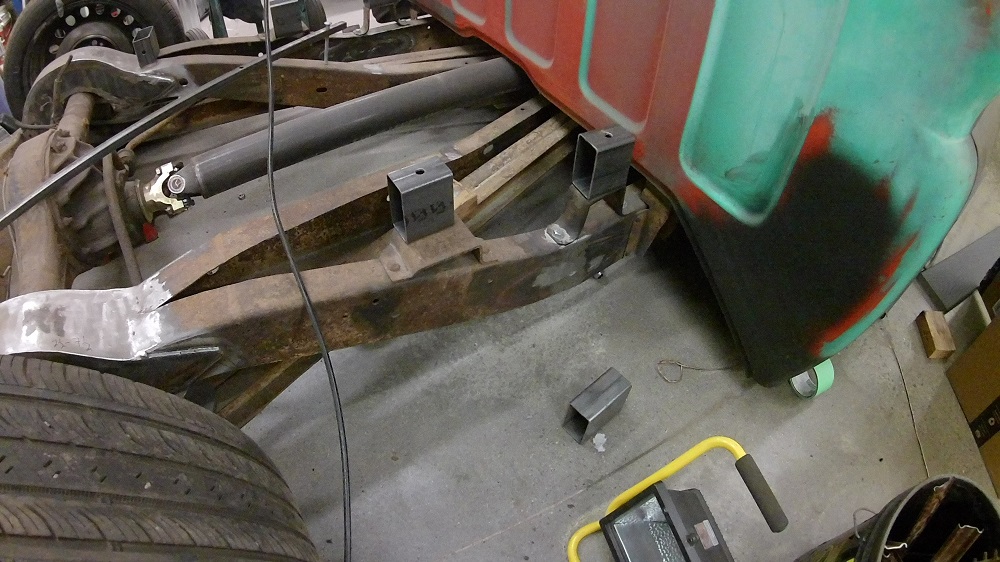
I need to lower the step braces 4″ as well. Thank you GM, for being drunk and disorderly on the assembly line:
I lengthened the Step Brackets by adding a 4″ length of 2×4″ box tubing, with one end cut off. I then transposed the mounting holes 4″ down.
I also fully welded the bottom “stand” of the bed brace since I want to hide the bed mounting bolts. These are merely spot welded from the factory, as the whole shebang is clamped down by carriage bolts – but I don’t want that.
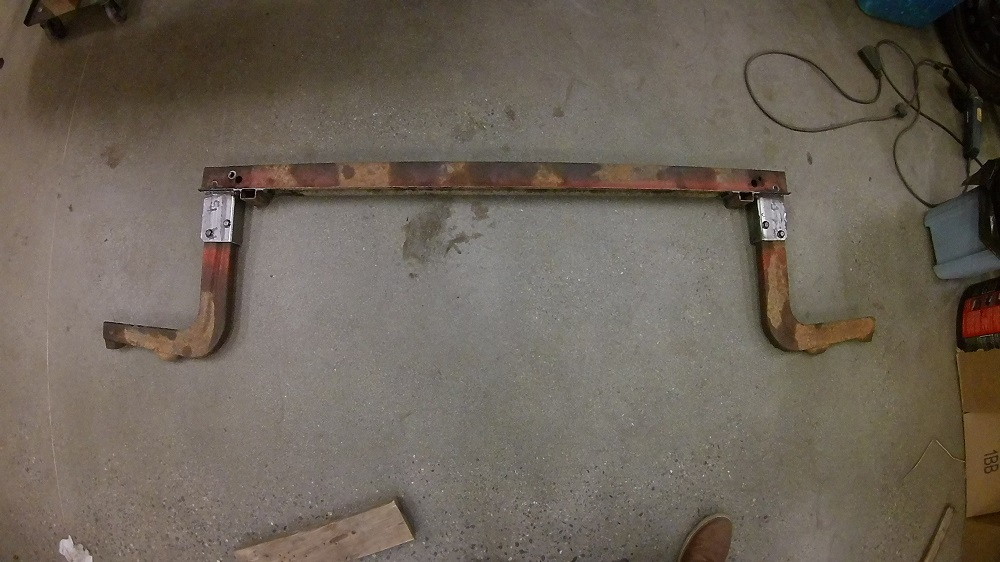
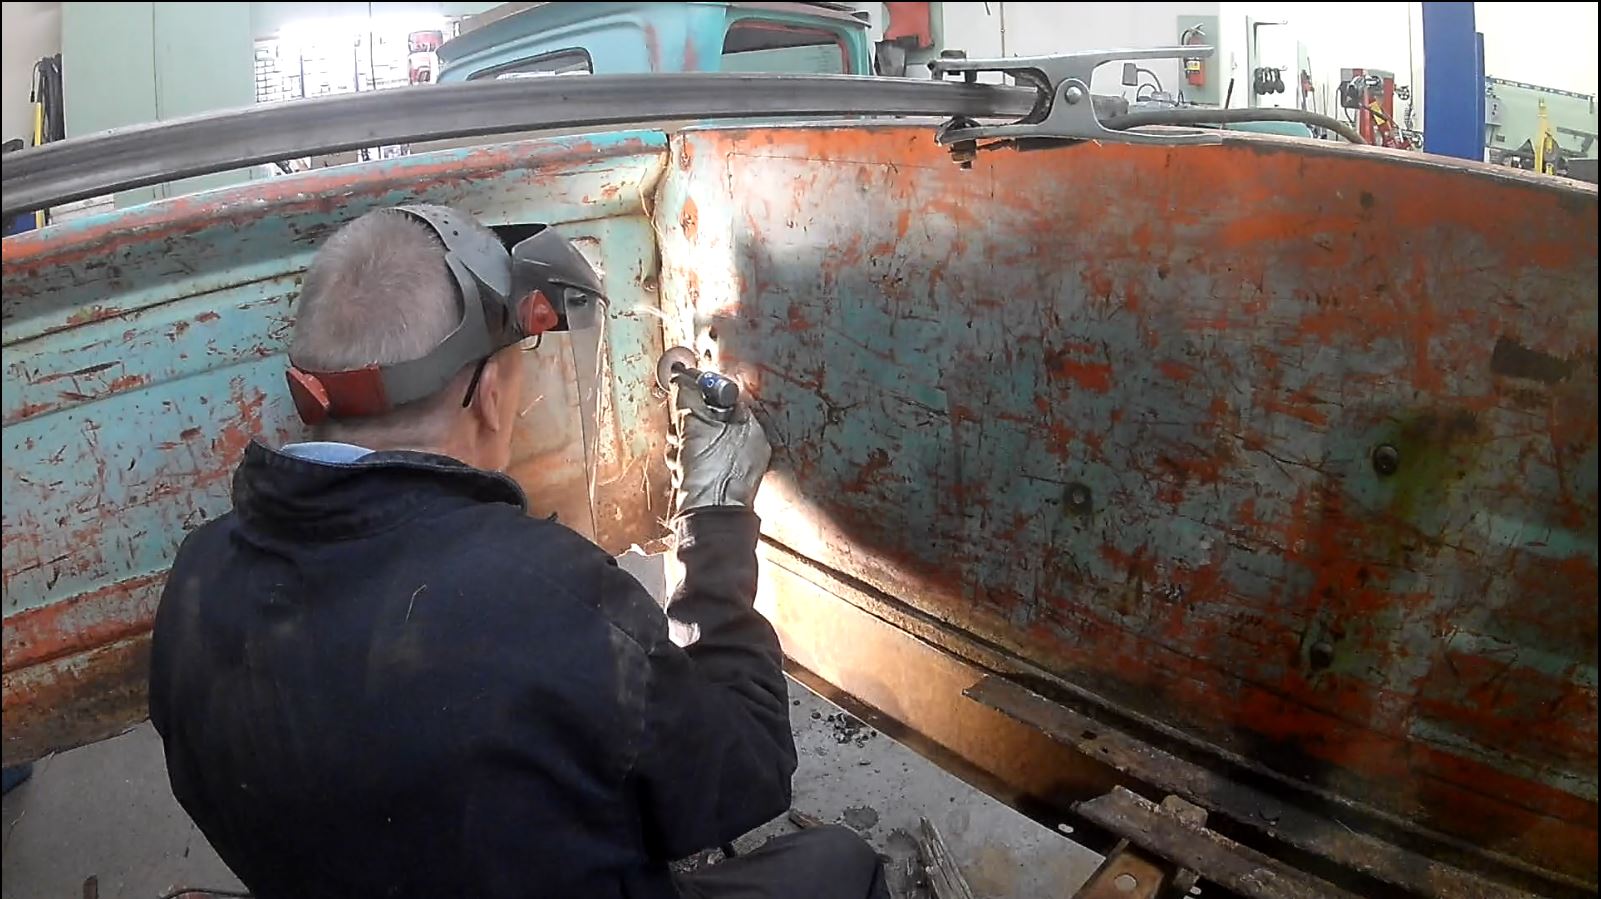
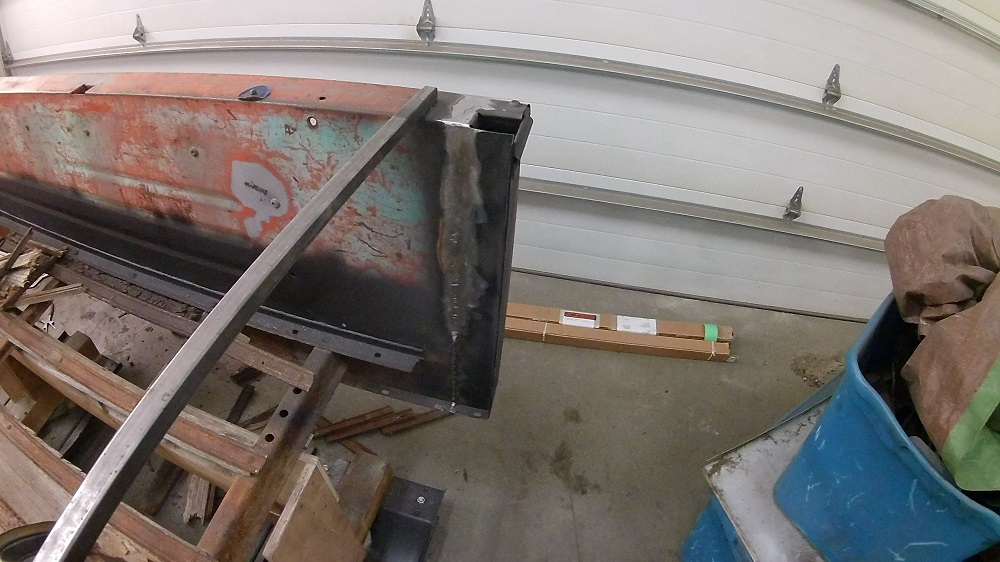
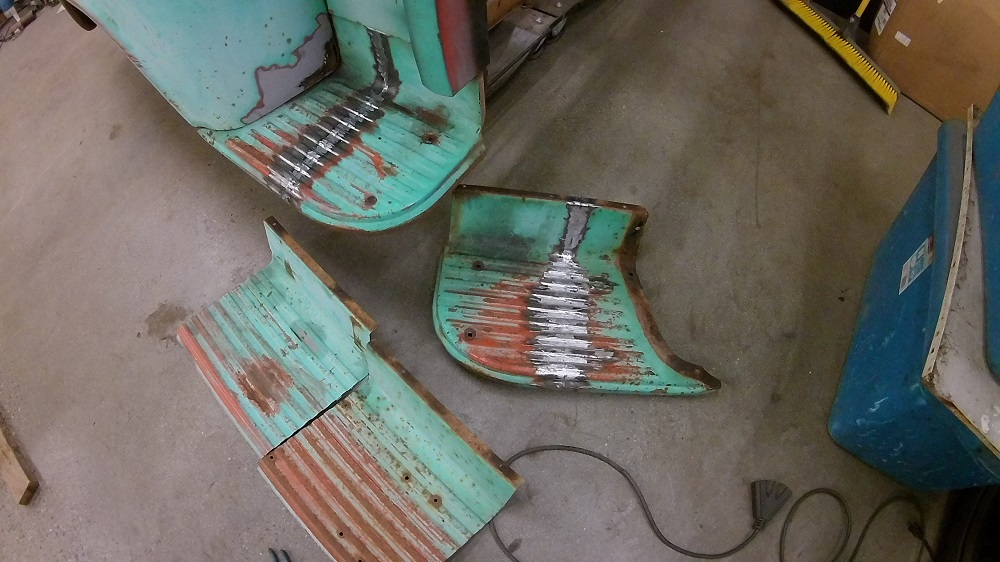
The step was shortened by removing the box brace underneath, and I cut 14.5″ out, removing some stress-fractured holes.
The undercoating was wire-wheeled off (knotted wheel on an angle-grinder), and the step was clamped to my welding table (1/2″ plate steel), washed with lacquer thinner and TIG welded with zero filler (though I kept a length of 0.023″ MIG wire in my hand for the three spots that needed it).

I went TIG on this, because TIG welds are so much more malleable than MIG welded, and if I needed to correct any misalignment of the “beads” I wanted it to be easy. MIG tends to crack as you beat on it. I went -against- Oxy-Acetylene, as I’m finding it harder to work with such a large Heat Affected Zone. With TIG I set it on pulse to keep the heat down.
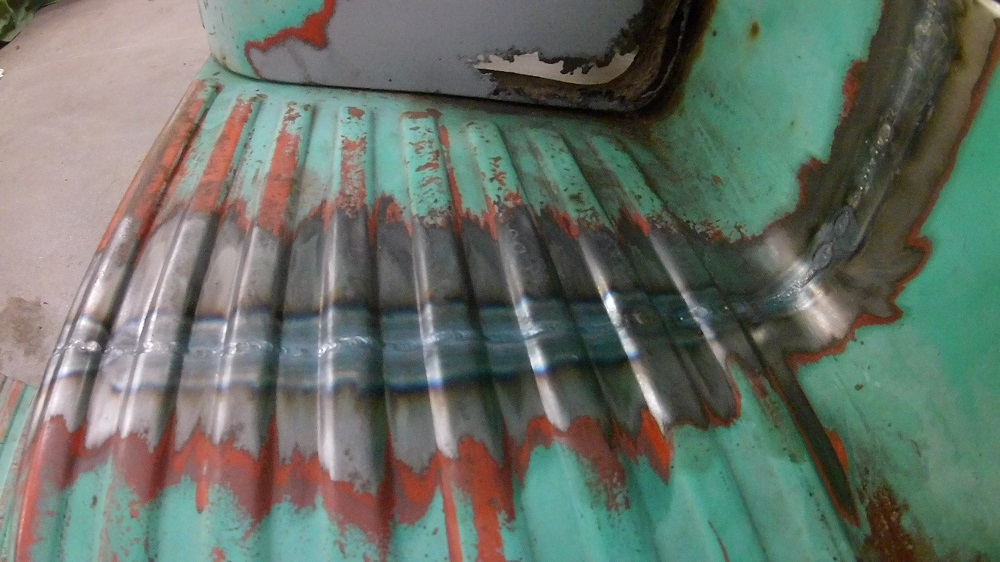
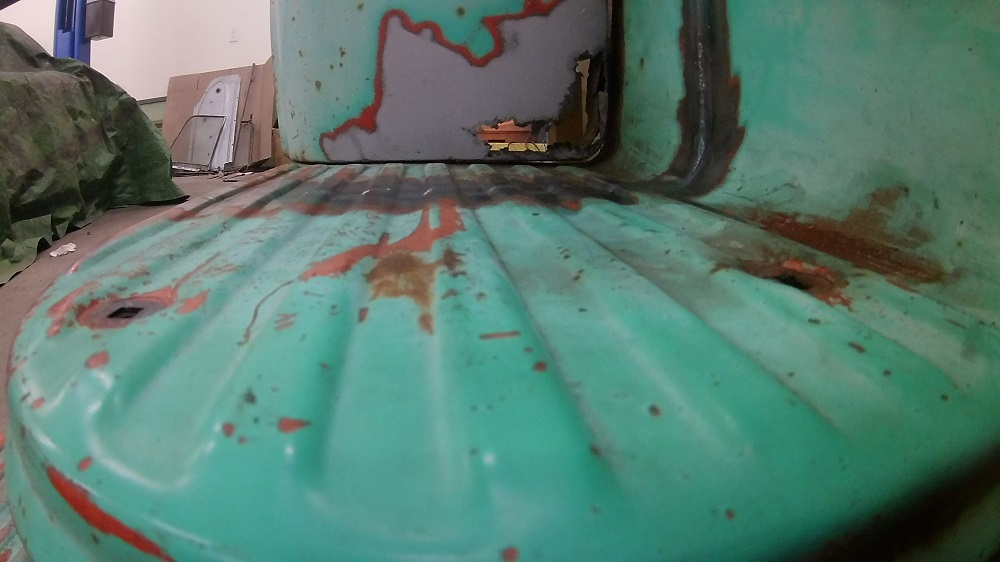
And the driver’s side step is done. I had some measurement irregularities, so this one didn’t weld up as tastily. I know you just buy reman ones of these, but they are $150CDN each – I save $300 cutting them down myself
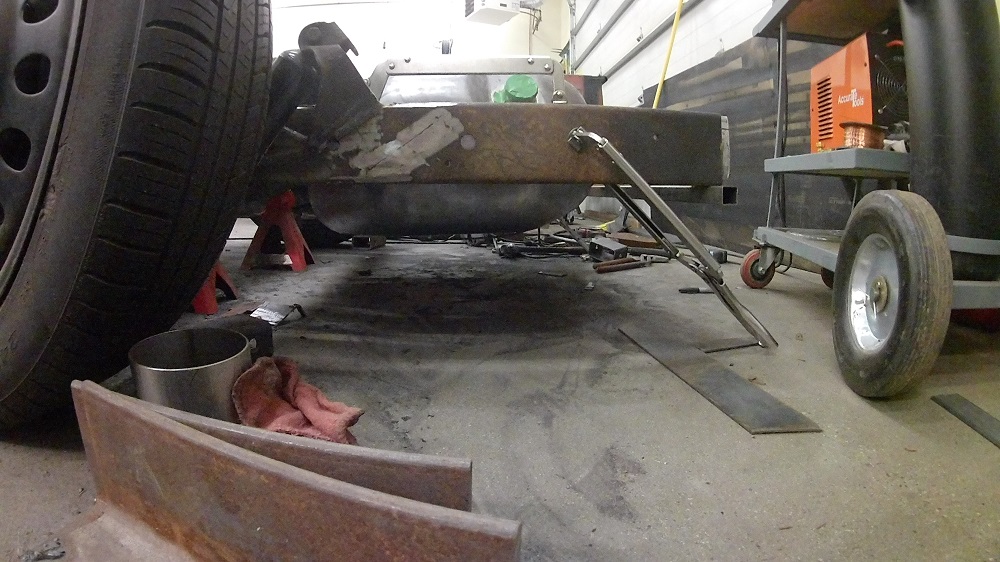
Fuel Tank Mount & Trailer Hitch
Also started figuring out the gas tank, and then started making a trailer hitch.
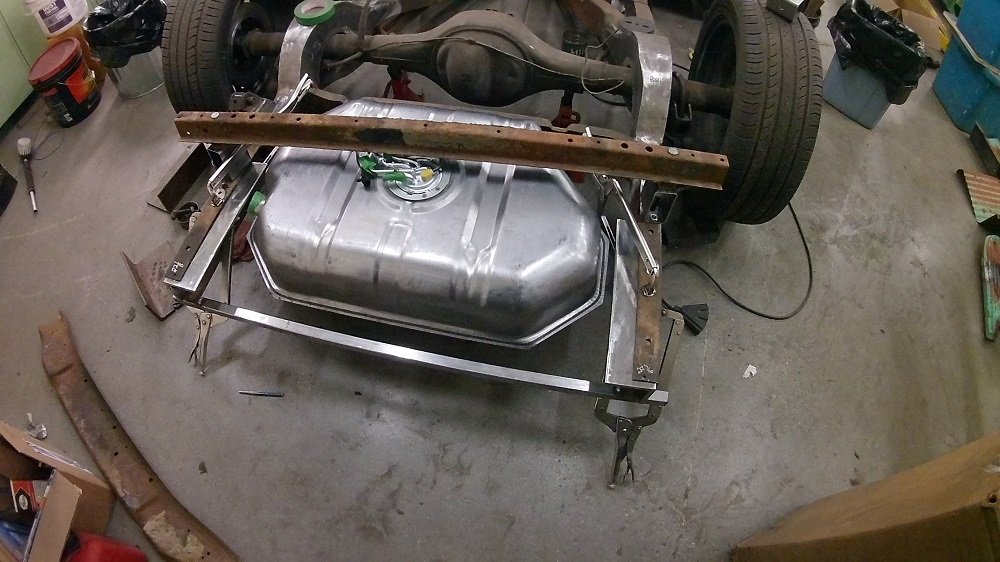
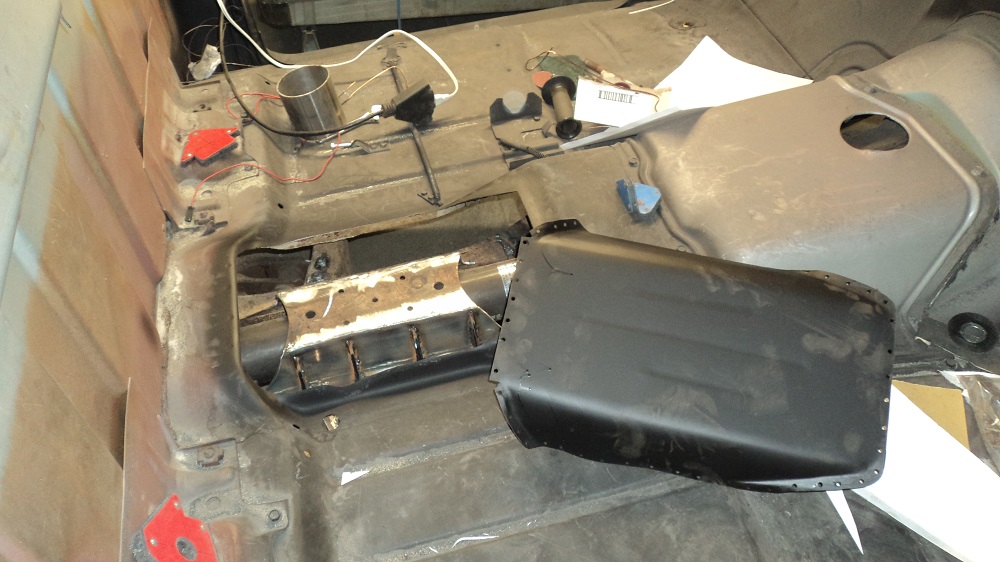
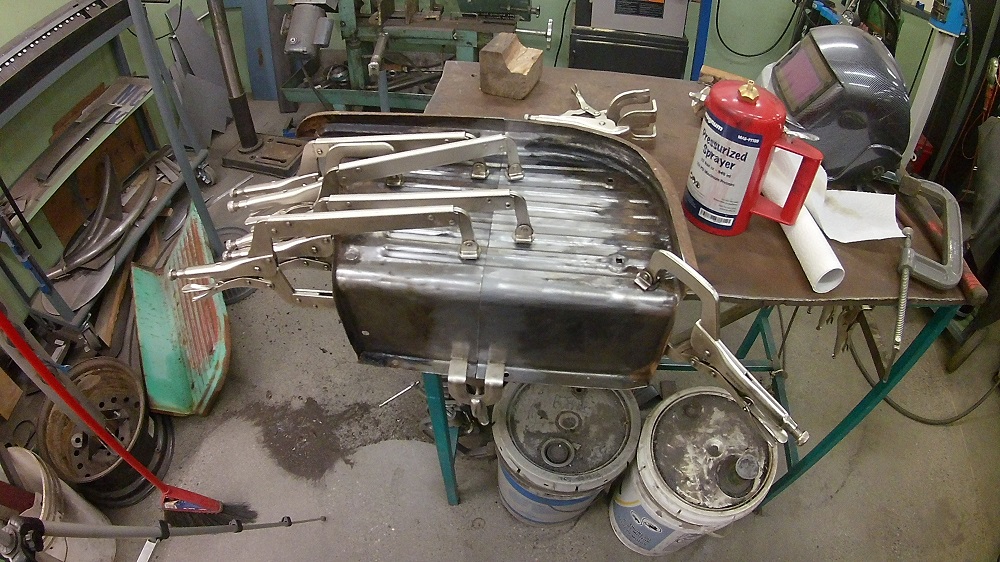
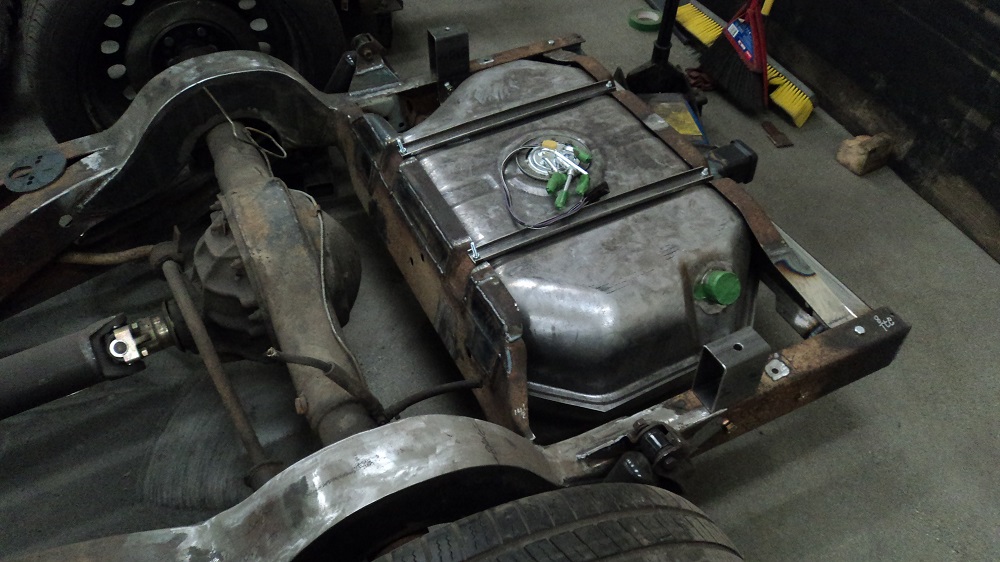
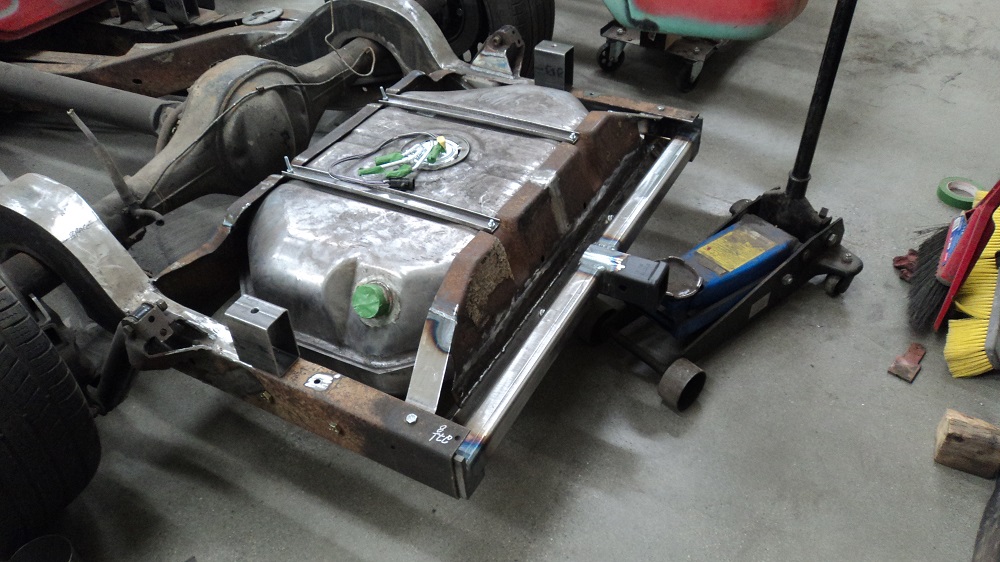
Reused the original in-cab tank straps, but I’m not sold on that yet.
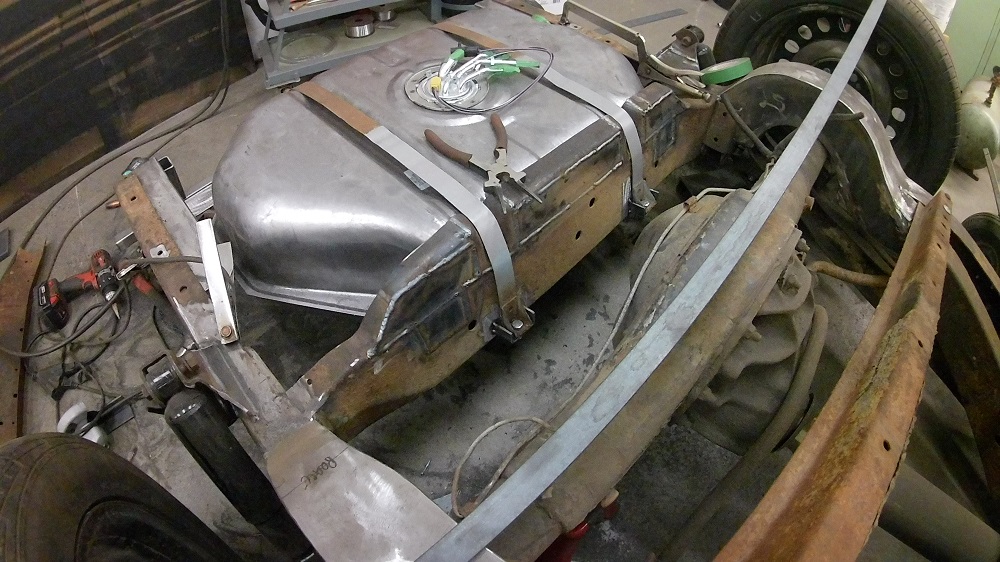
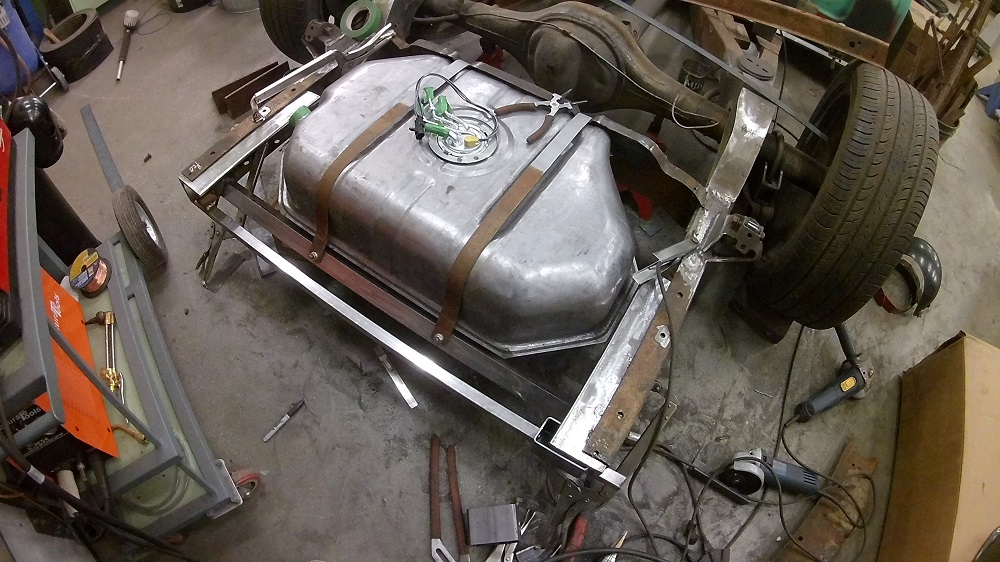
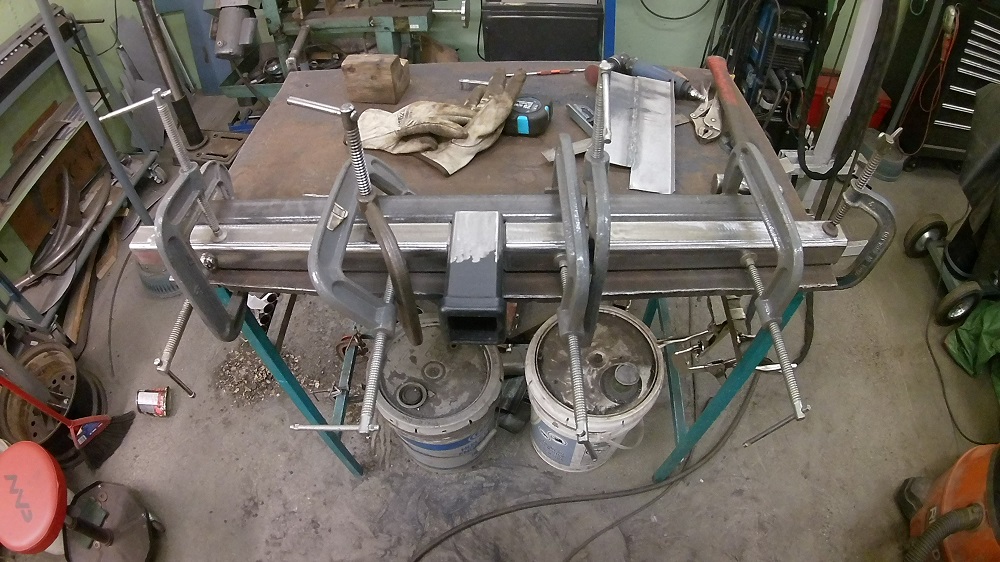
I wasn’t happy with the first version of the upper straps, so I made new ones out of 1-1/4″ square tubing sliced to 3/8″. The top straps had to be removable, because the back panel had to be removable, because the hitch had to be removable, and this arrangement made sense to me. Which, of course, required finishing the trailer hitch (yes, the chain loop thingies are not on yet). Truck is only rated to pull 6000lbs.
And here is where I got by the end of Christmas break 2020:
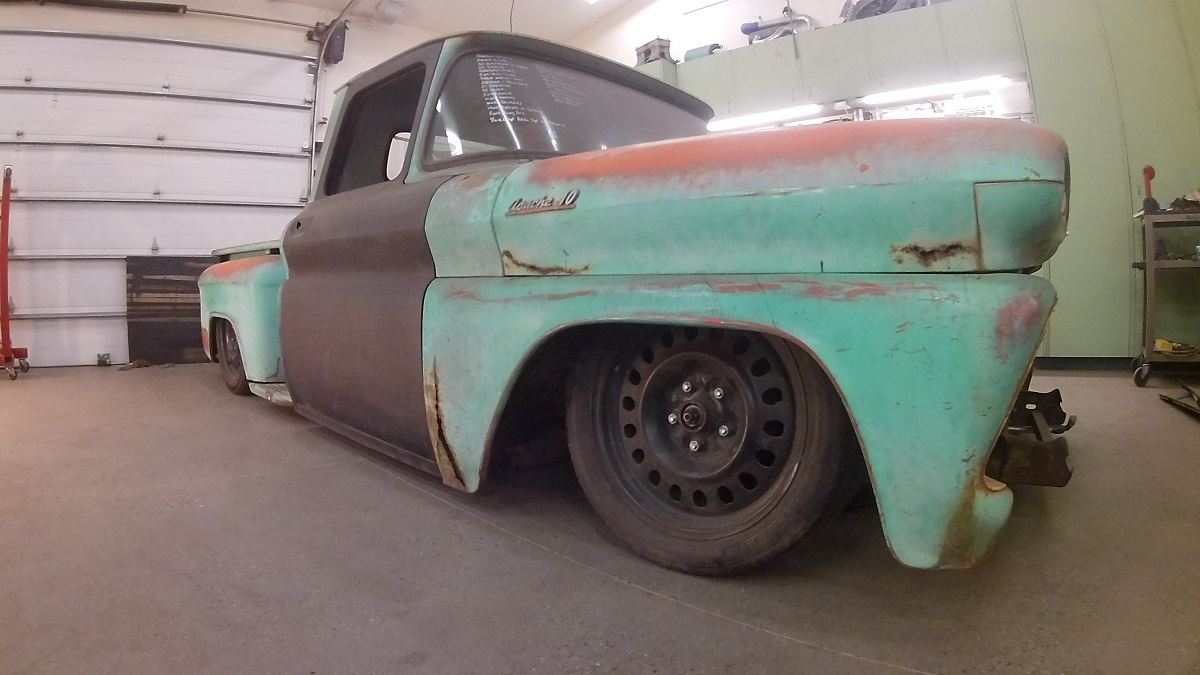
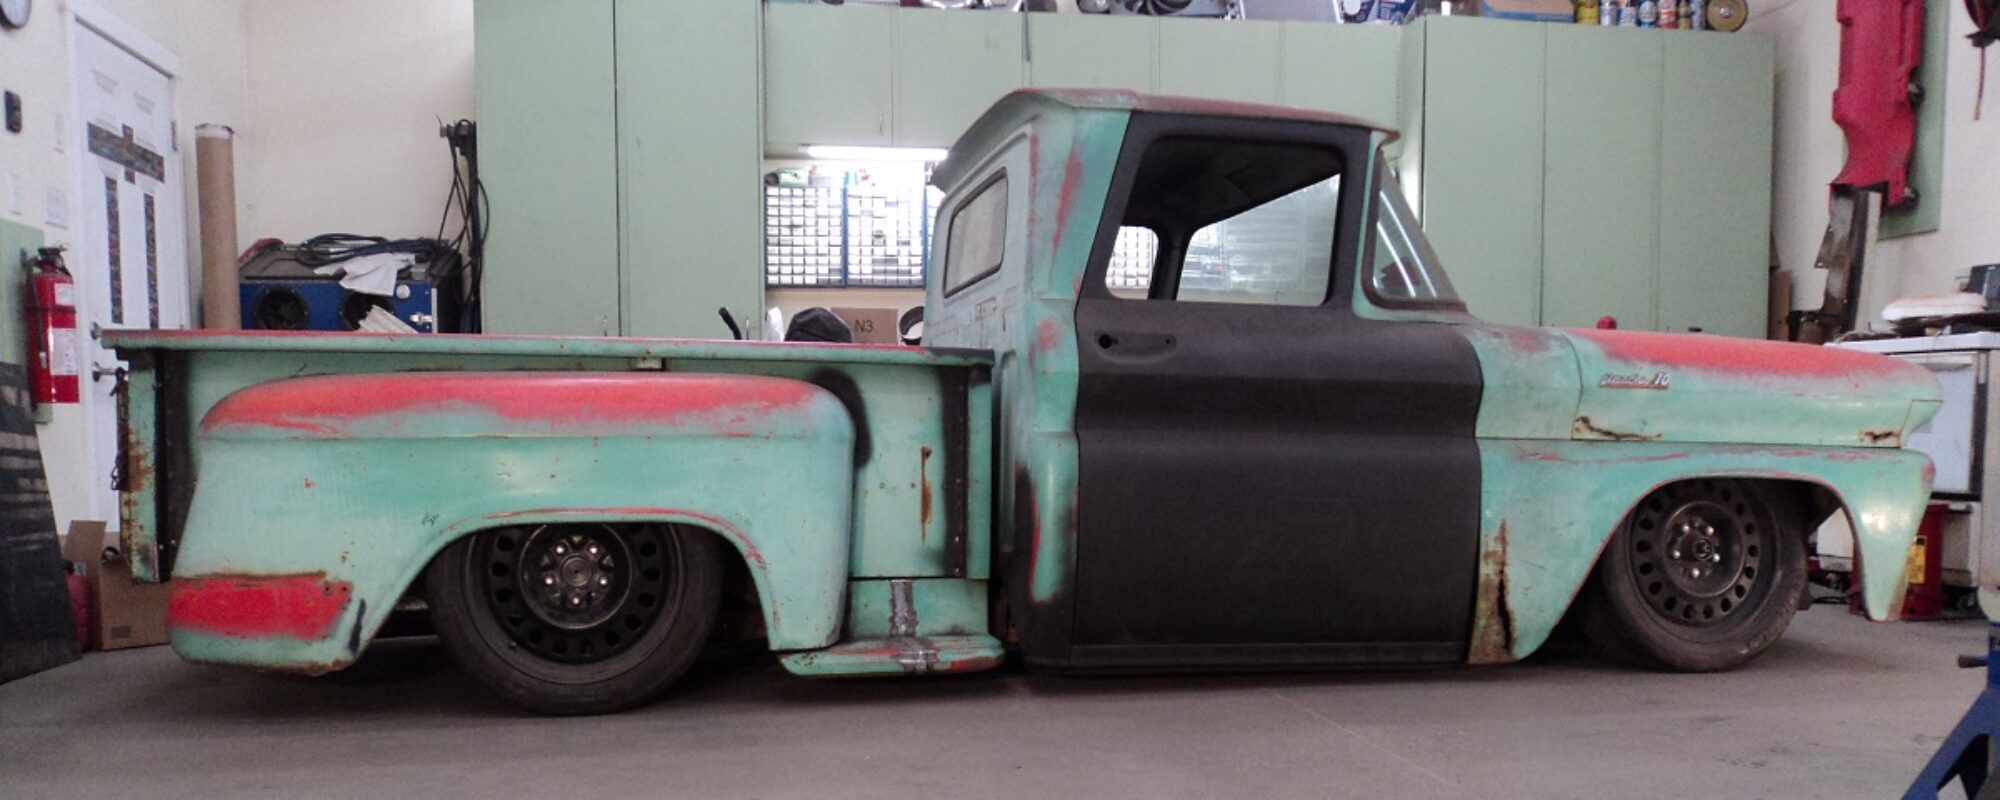
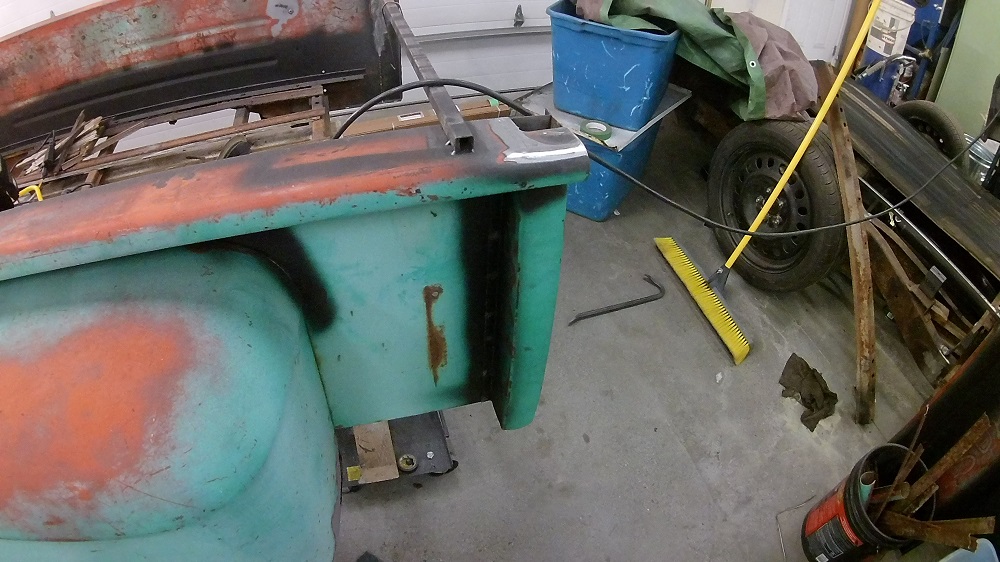
And you can hardly tell the bed was raised 4″: