[ Start ] [ Index ] [ Parts List ]
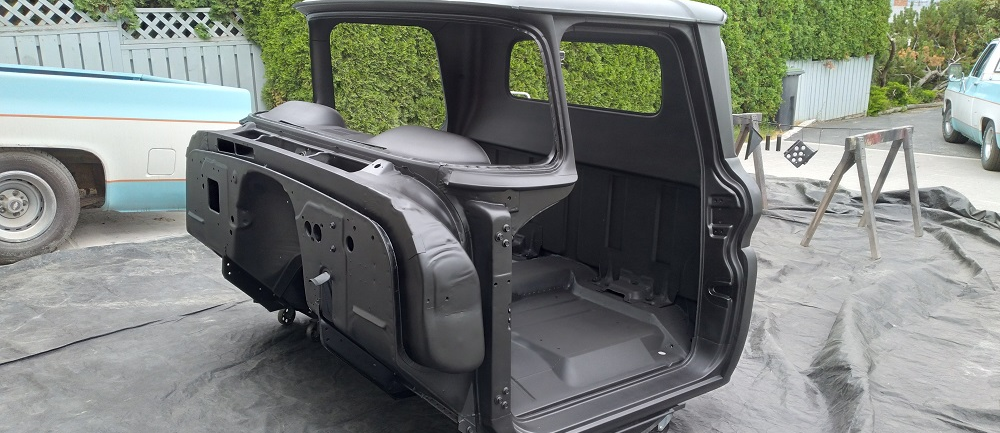
In Which The Rust Ends, And Primer Begins. Oh, and Disc Brake Conversion!
The last page was getting long. These rust patches are the last to do.
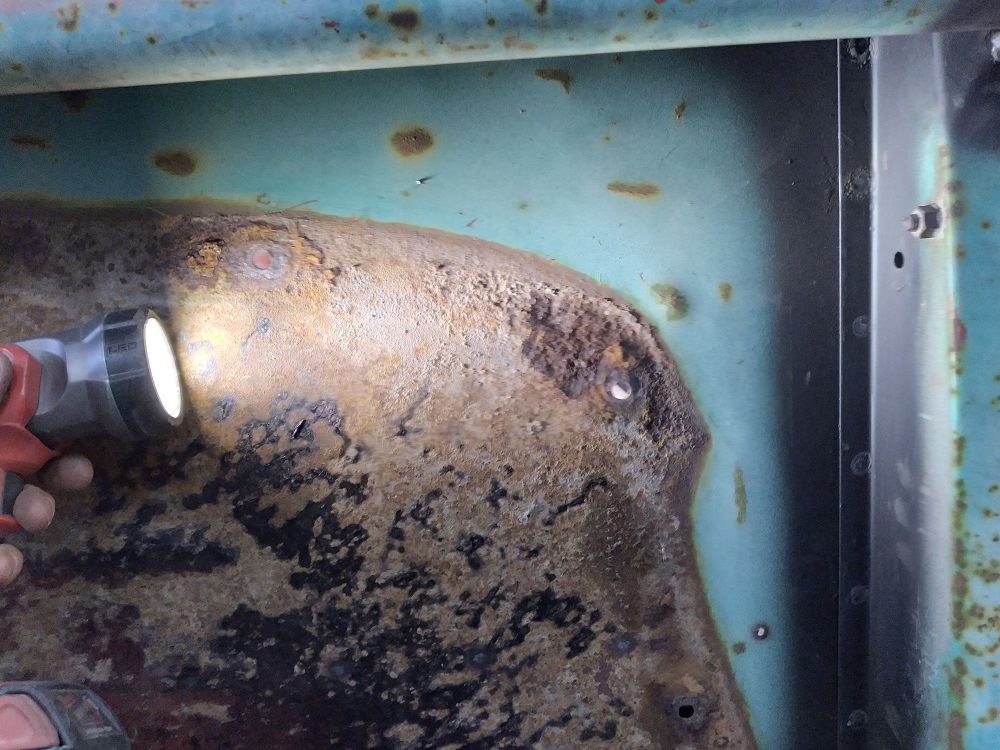
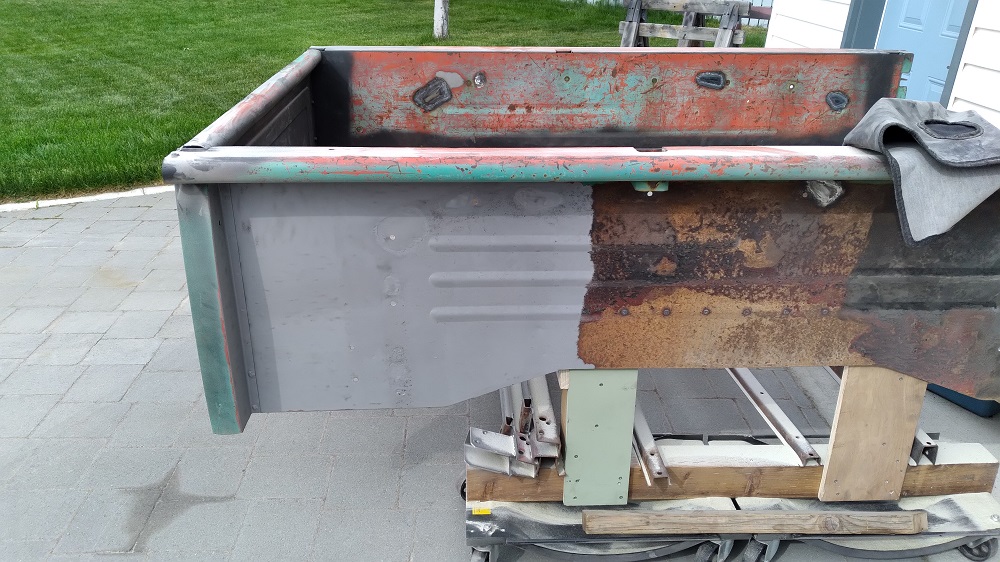
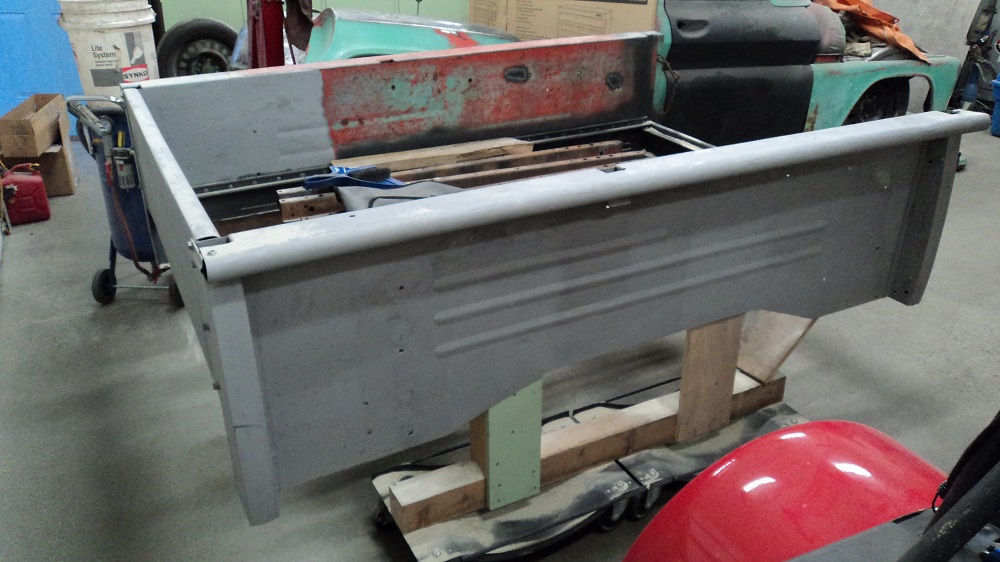
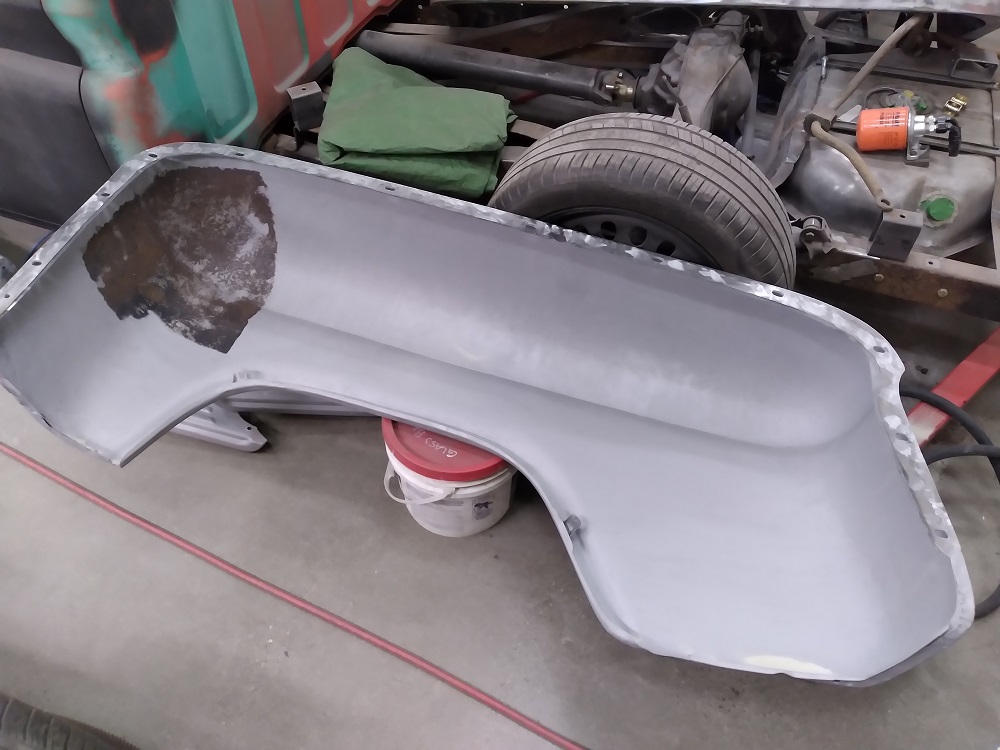
Bed sides.
There is quite a bit of corrosion where the fenders mounted (and subsequently rusted the fender flanges). I’m curious if the bed was assembled bare and then primed and painted, or primed first. Nevertheless, they will be epoxy primed at a minimum when I’m done.
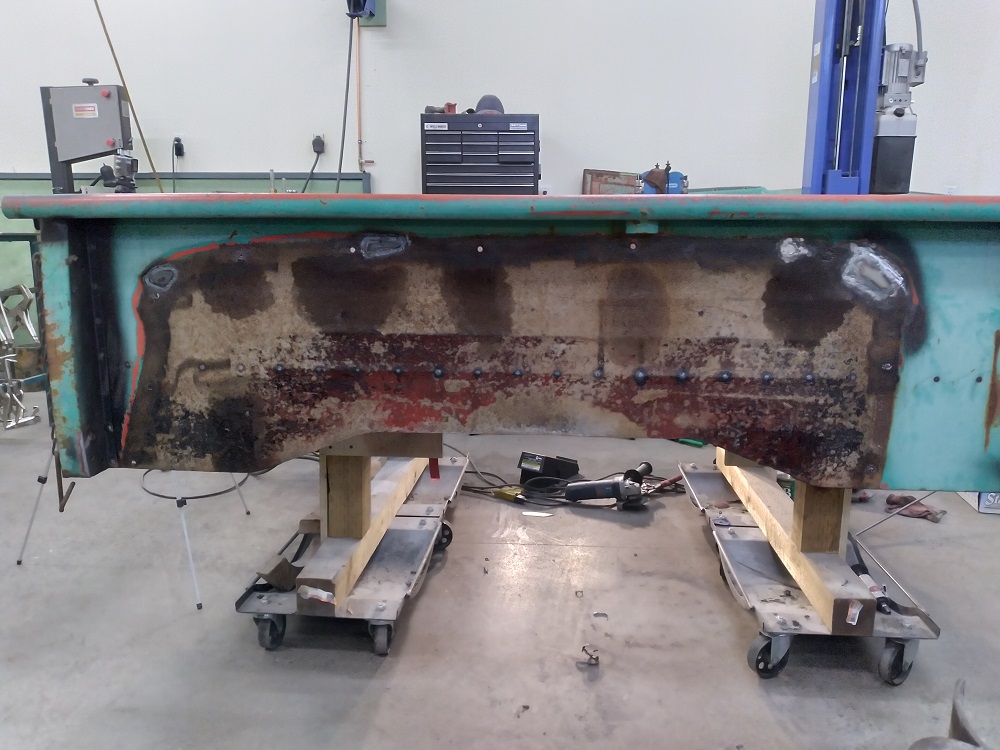
Left side with no patches:

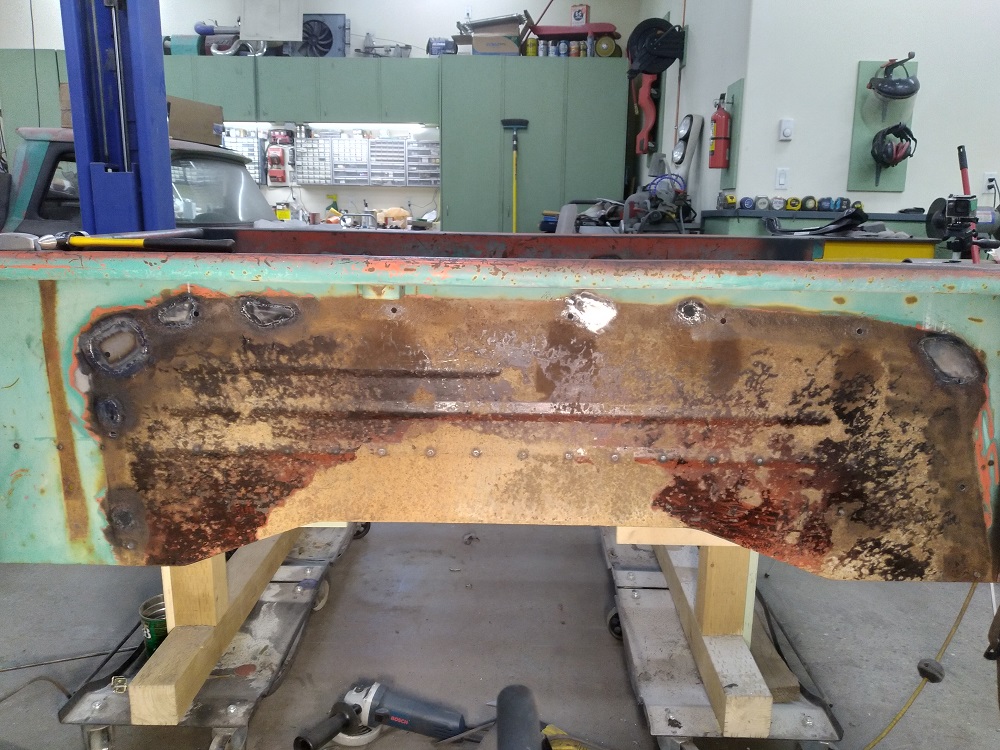
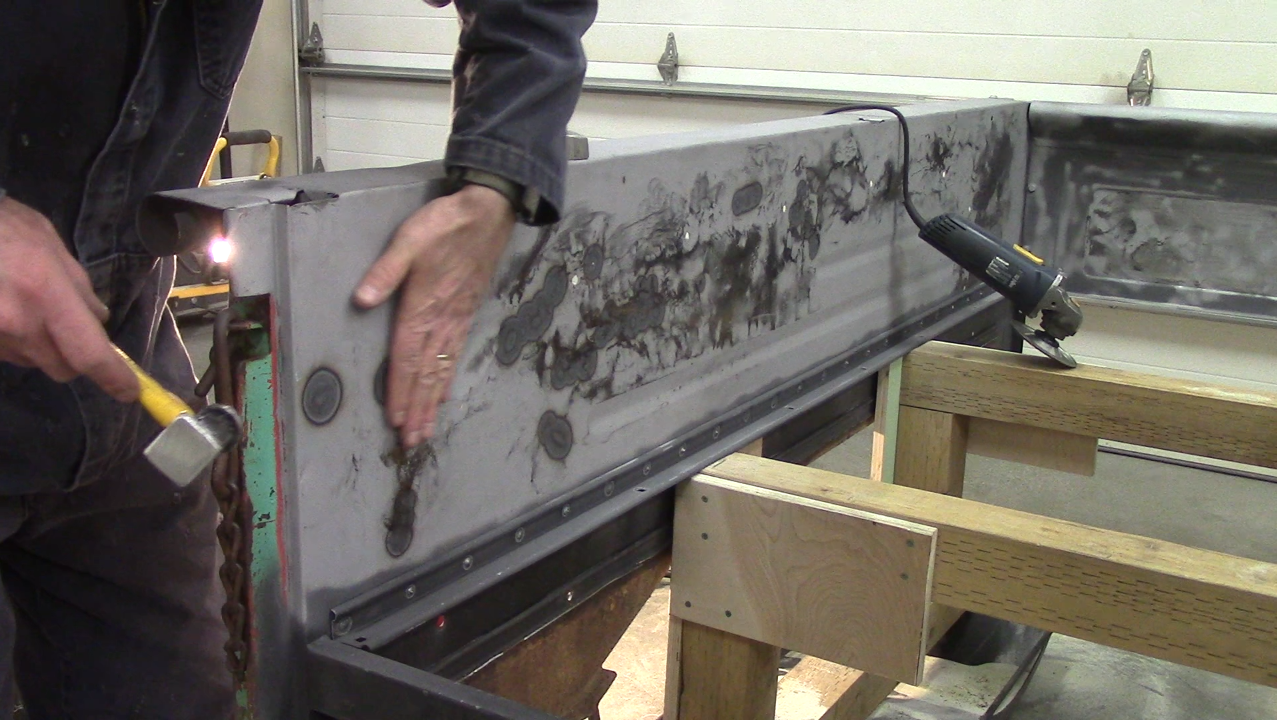
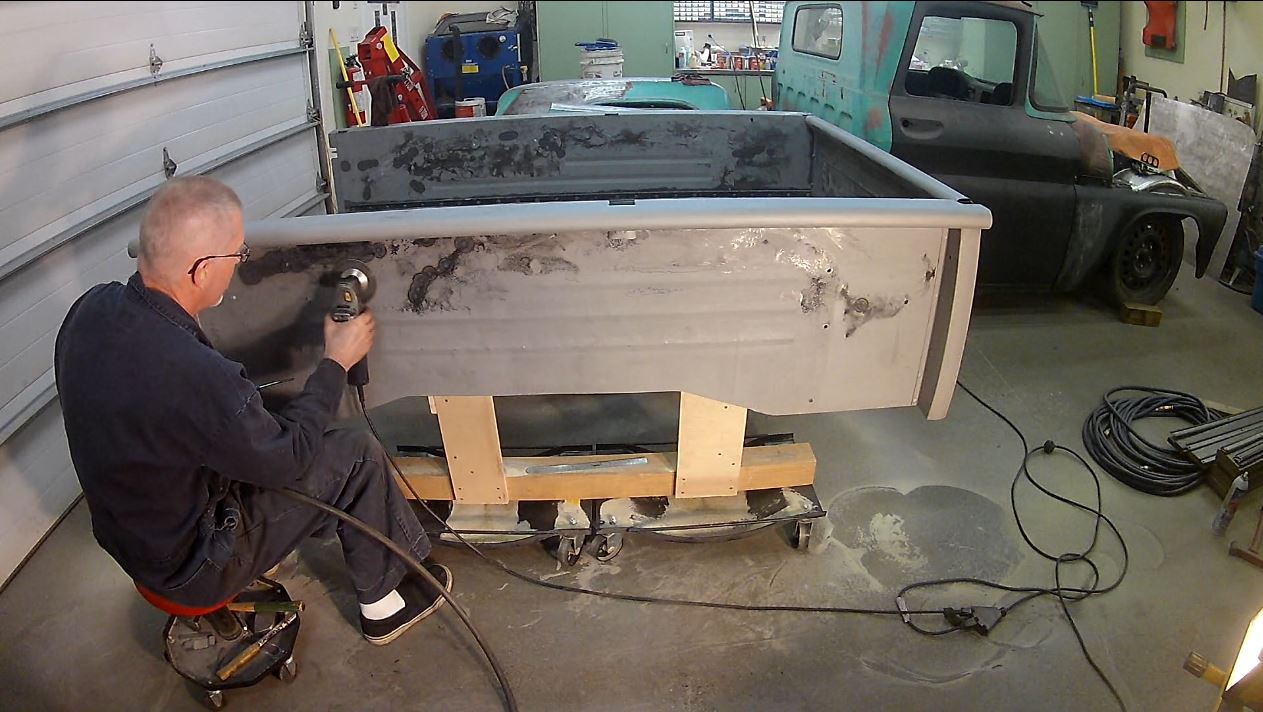
Both sides are patched. Now to make them flat.
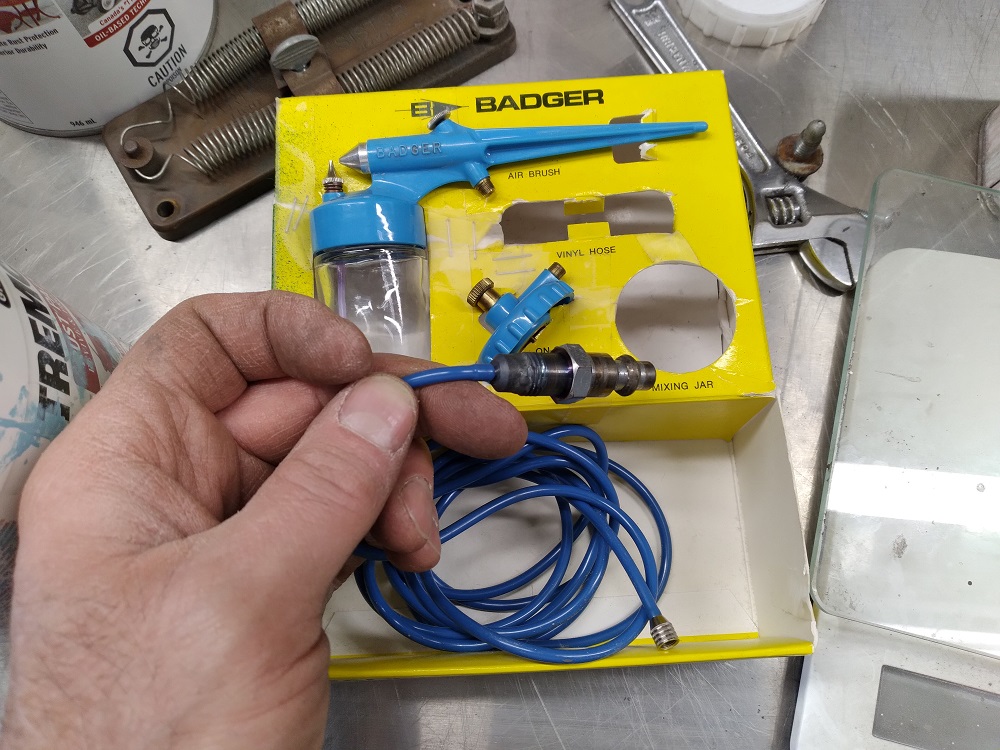
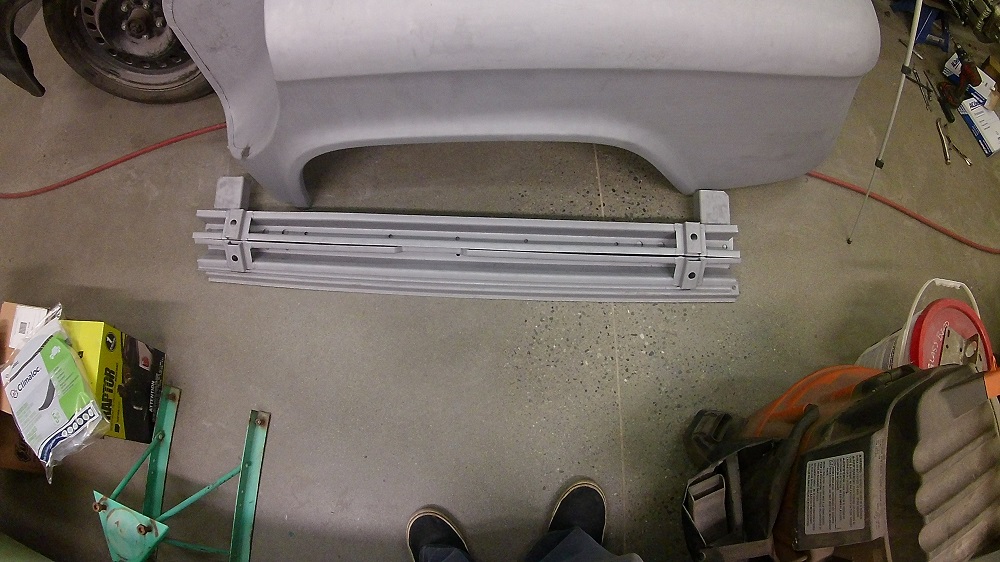
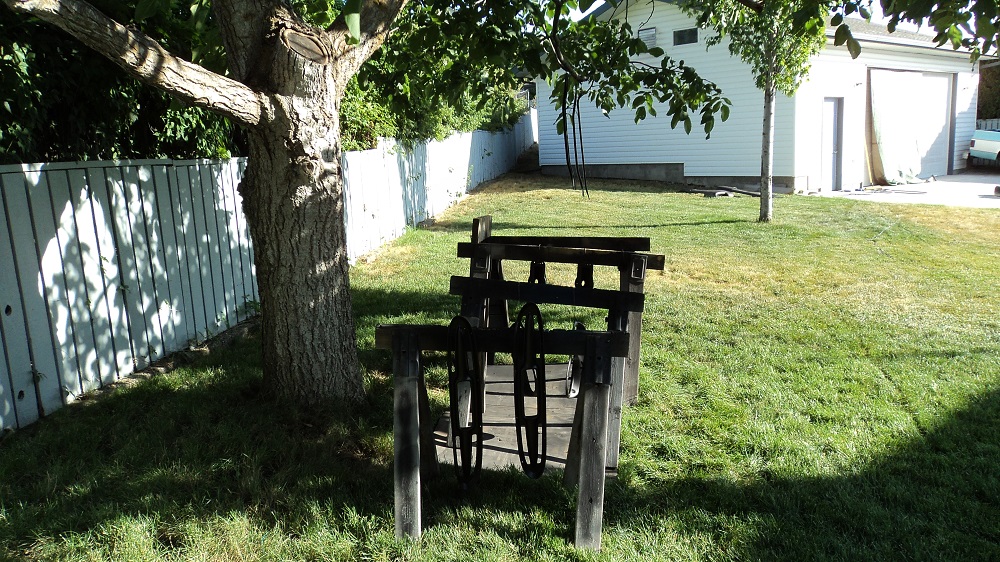
Also fabricated an adapter to use the air brush I bought in about 1981 so SkinnyKid1 could do this:

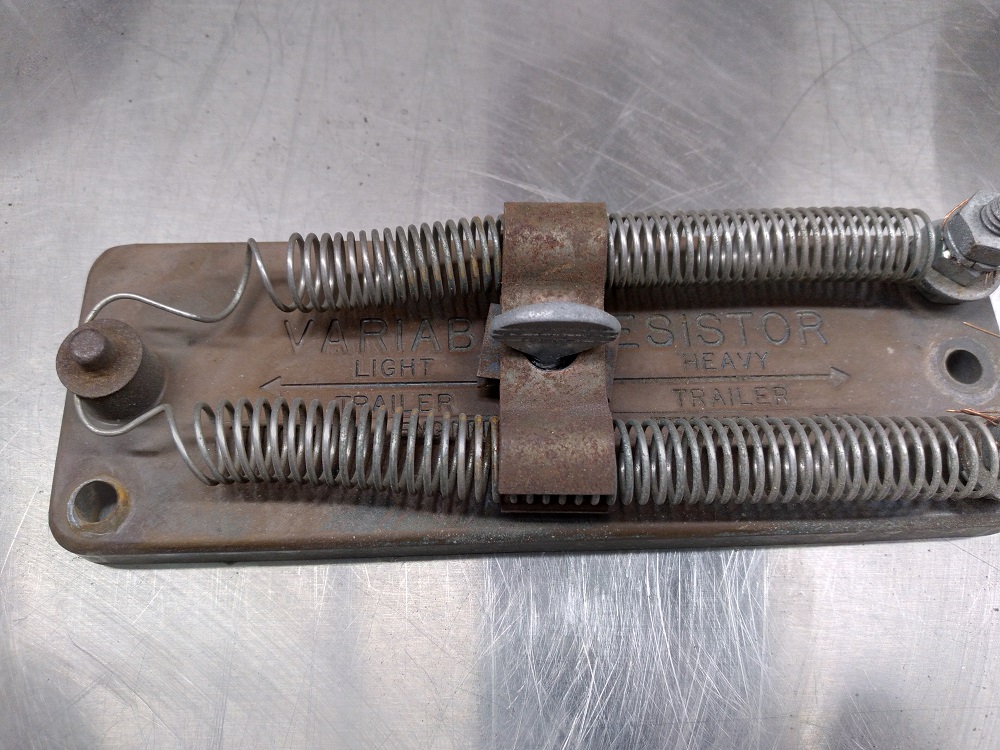
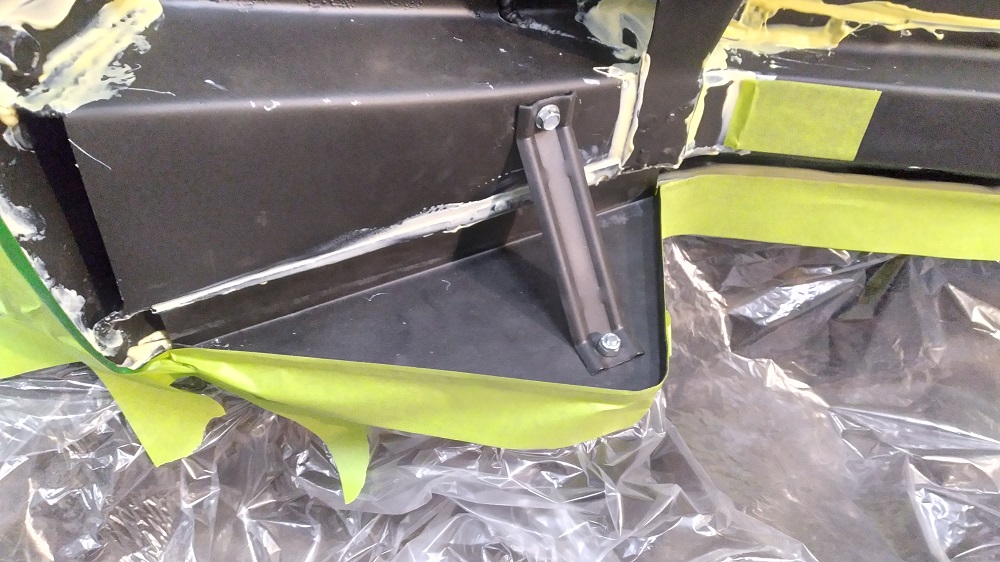
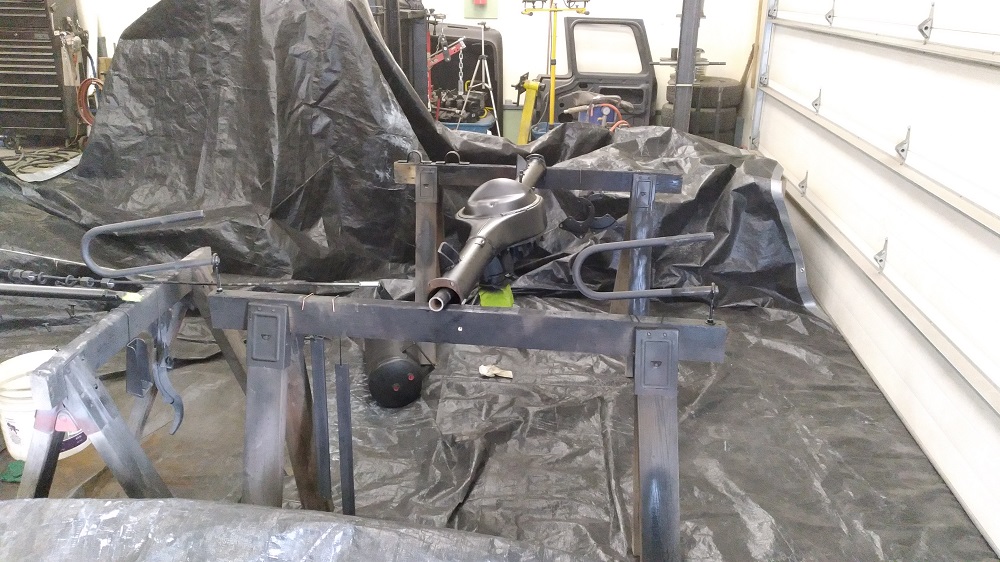
I wasn’t sure what this is – must be some kind of trailer brake balance adjuster?
Then I was starting to get O Hungry and irritable, so I came in for some tea.
Half hour of blasting:
More blasting today. At least I did this in the evening – it was much more comfortable. The other side left to do. And the tailgate. And the braces. And the fenders. And the steps. Oh my.
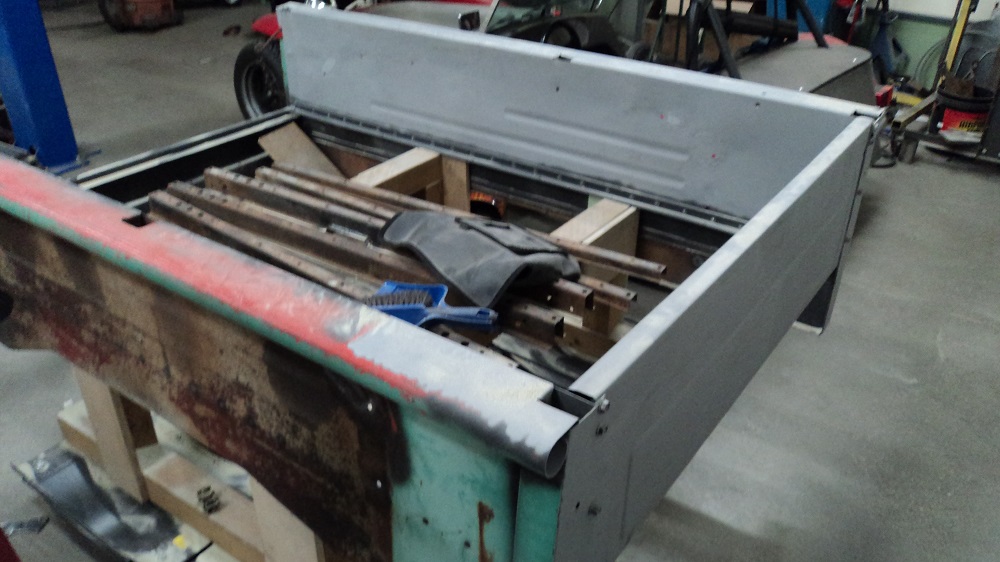
Lots of hammering and shrinking to get these bed sides flat again. Wow.
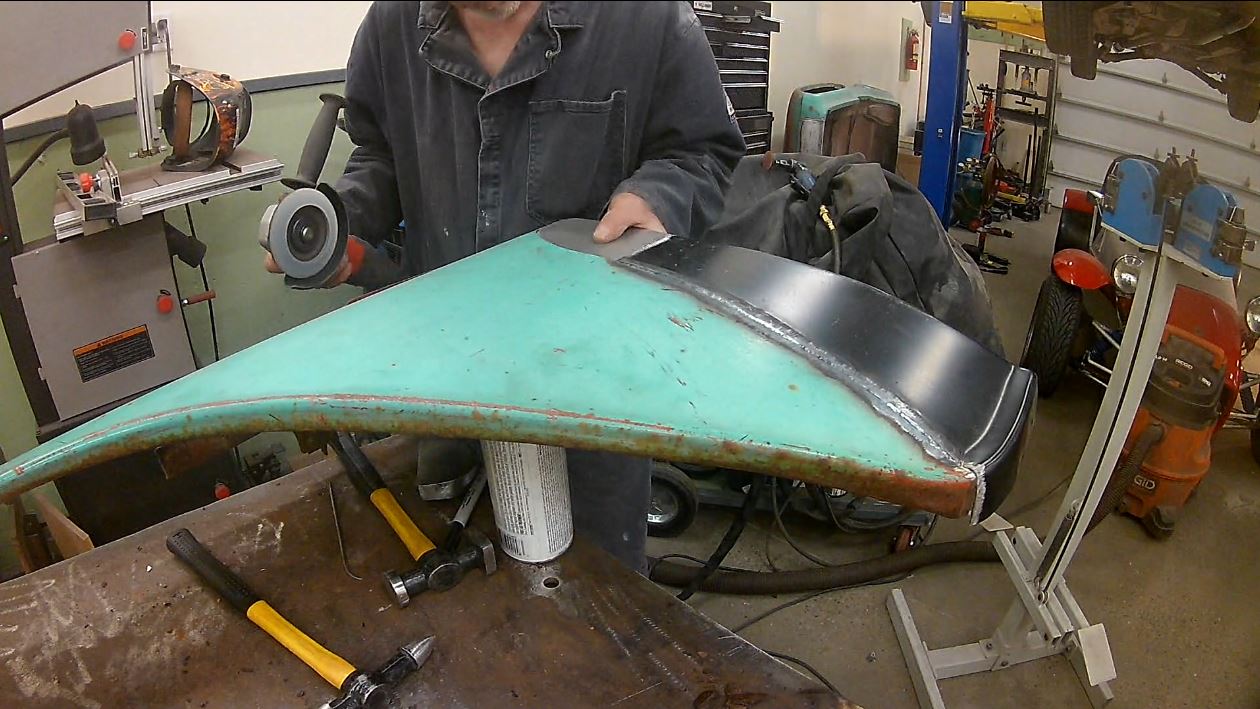
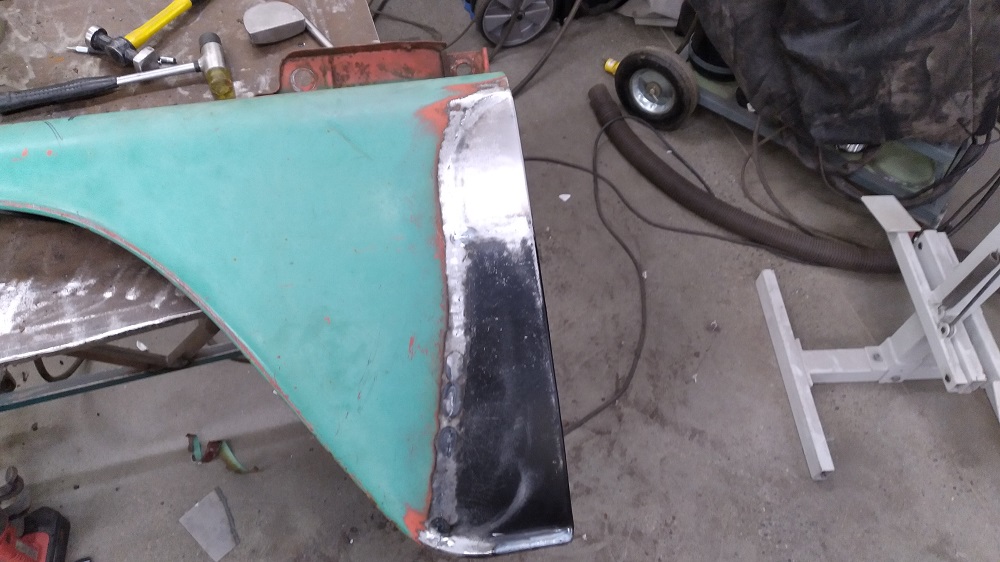
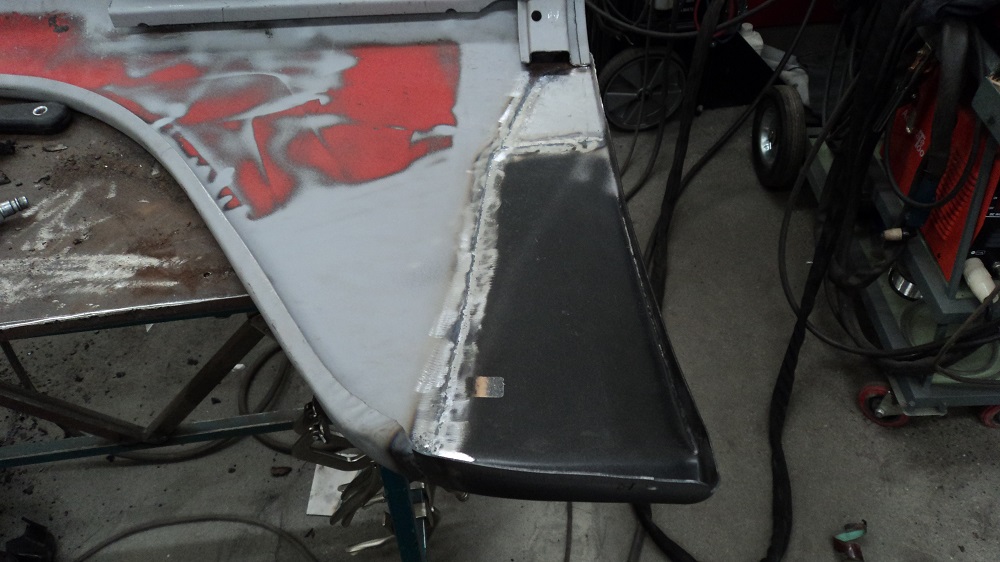
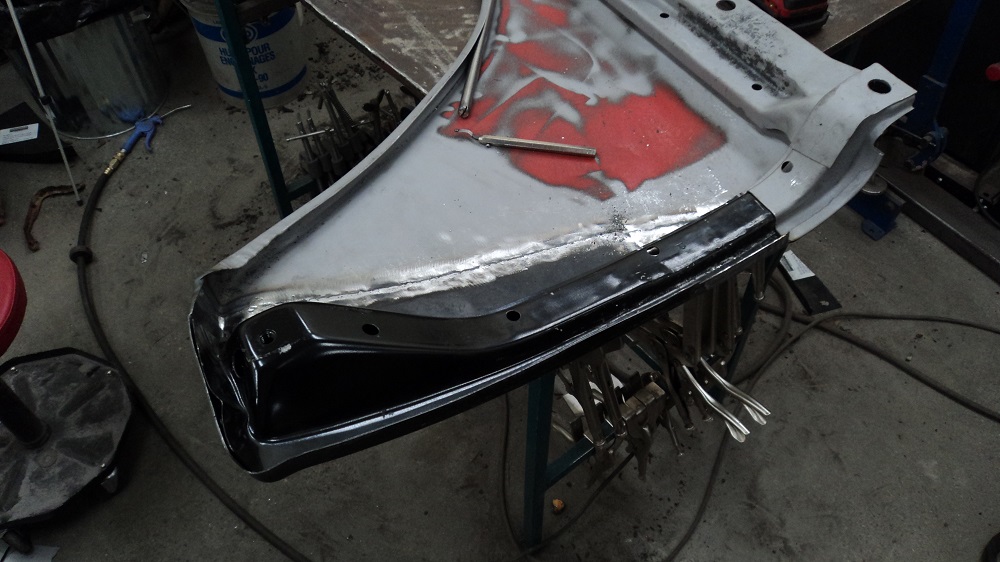
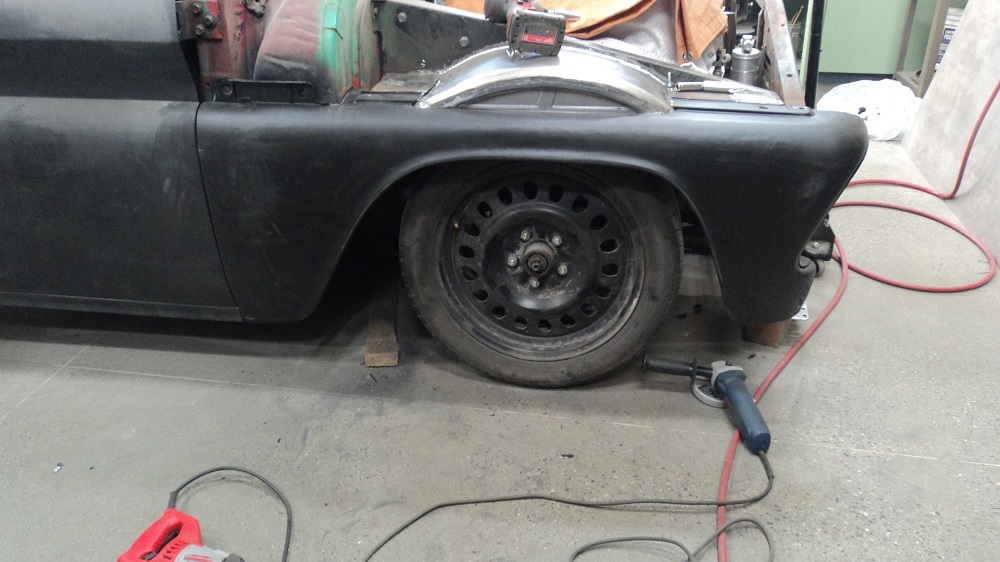
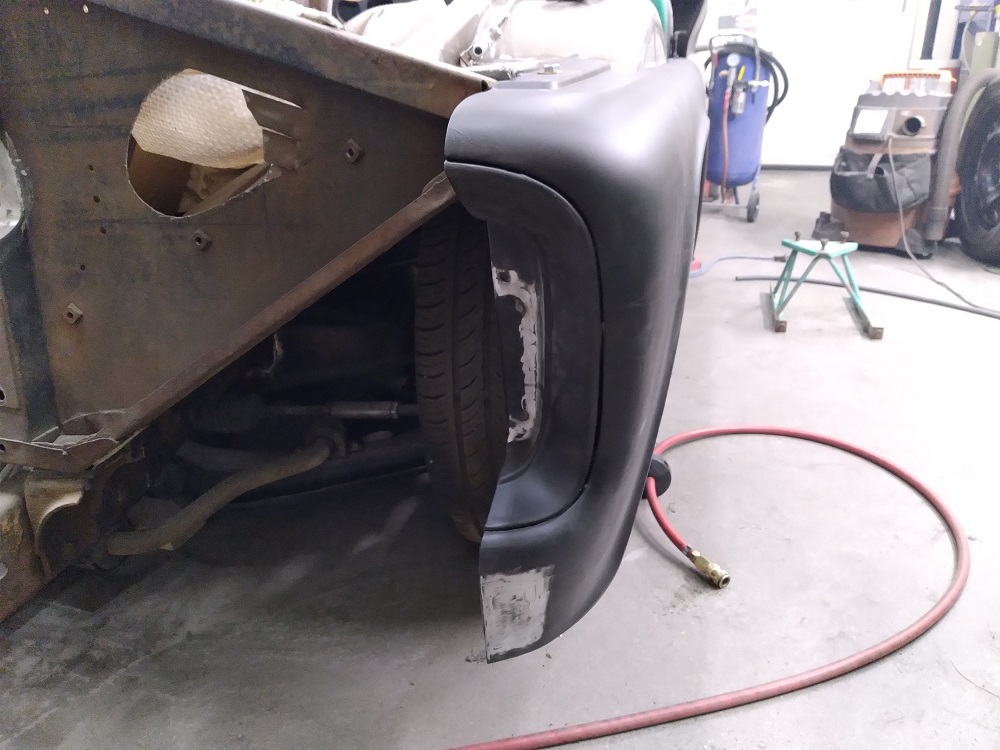
Front Fender Repair
Got this far, close-to-zero-filler TIG:
I wish I did a better job of estimating how long it takes to do things.
Yesterday I did some screwing around with my compressor, and some blasting, and fitting a patch on the right fender. Today I scraped out the last of the undercoating, fit more patch, planished a ton, fit the brace, and cut out another rusty area that needs blasting before I can repair it.
No more bungie cords!
Was securing a tarp so I could sandblast under some shade, and had one bungie hook let go, zing past the skin over my jugular vein, and draw a bit of blood. Could have been very very very worse.
No more bungie cords!
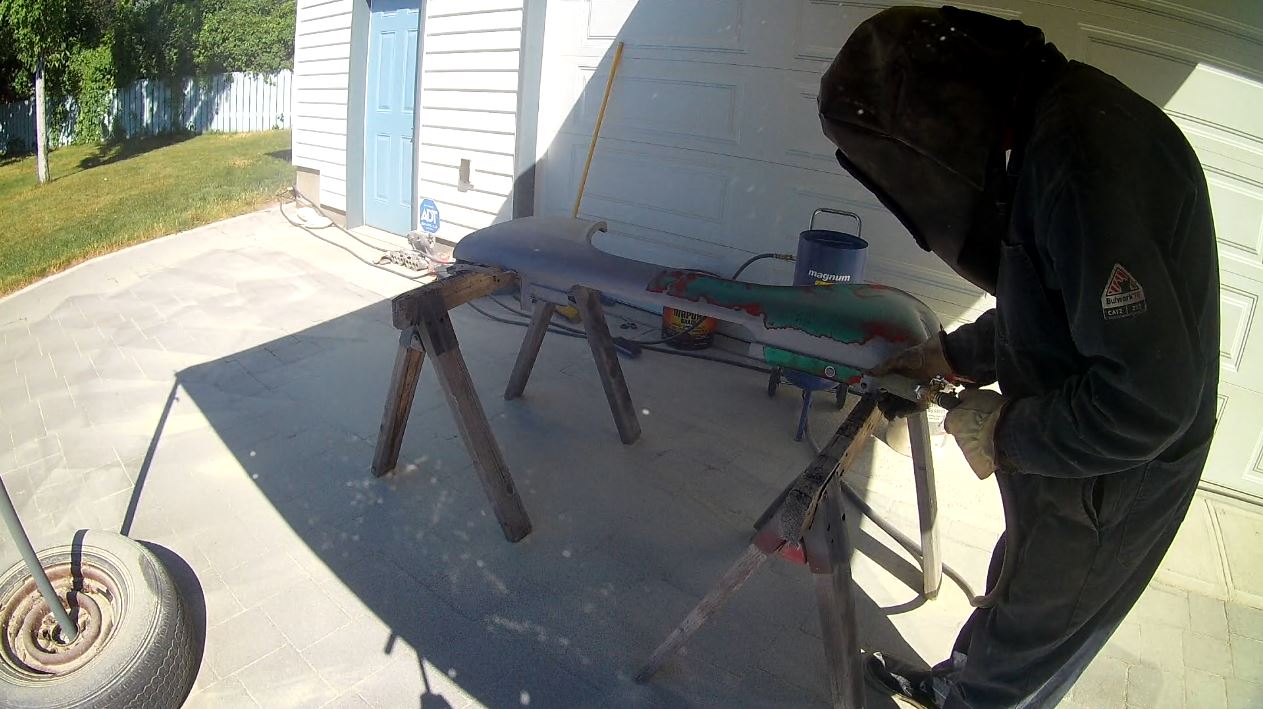
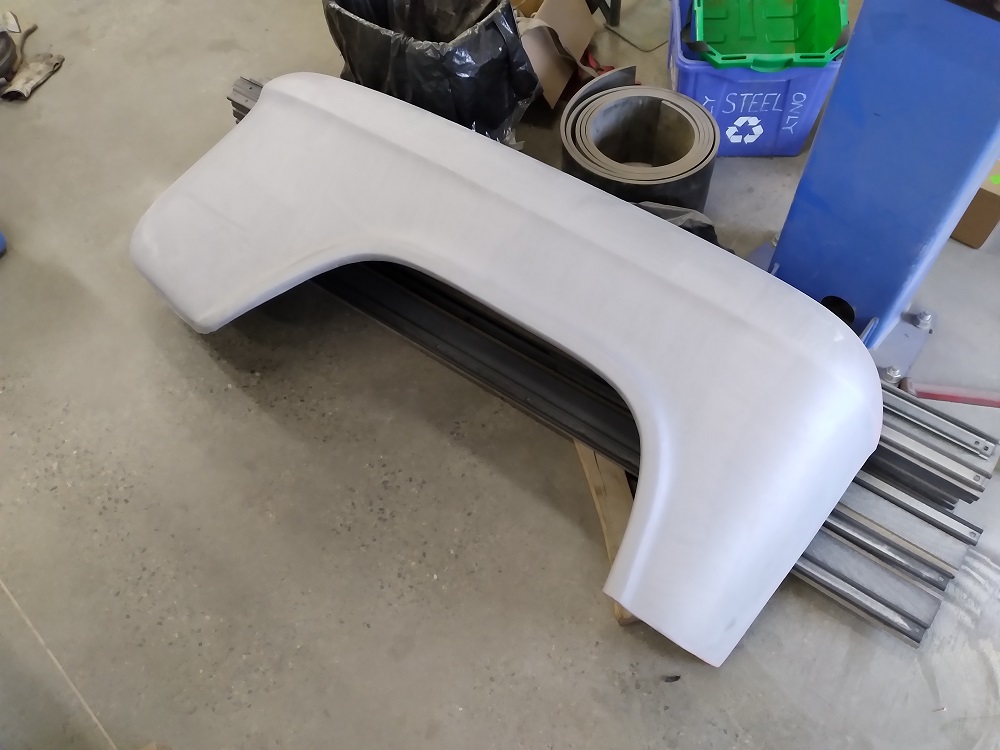
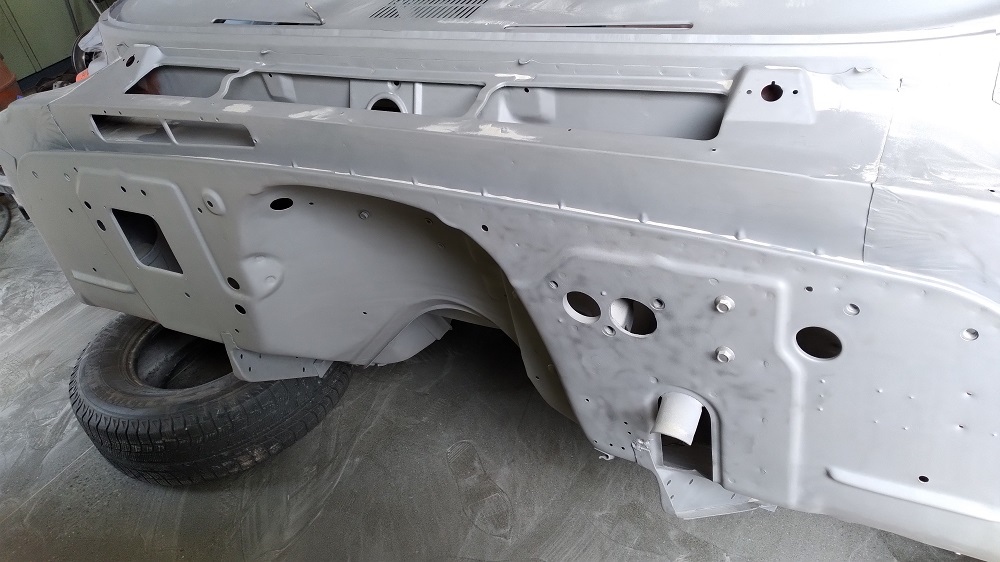
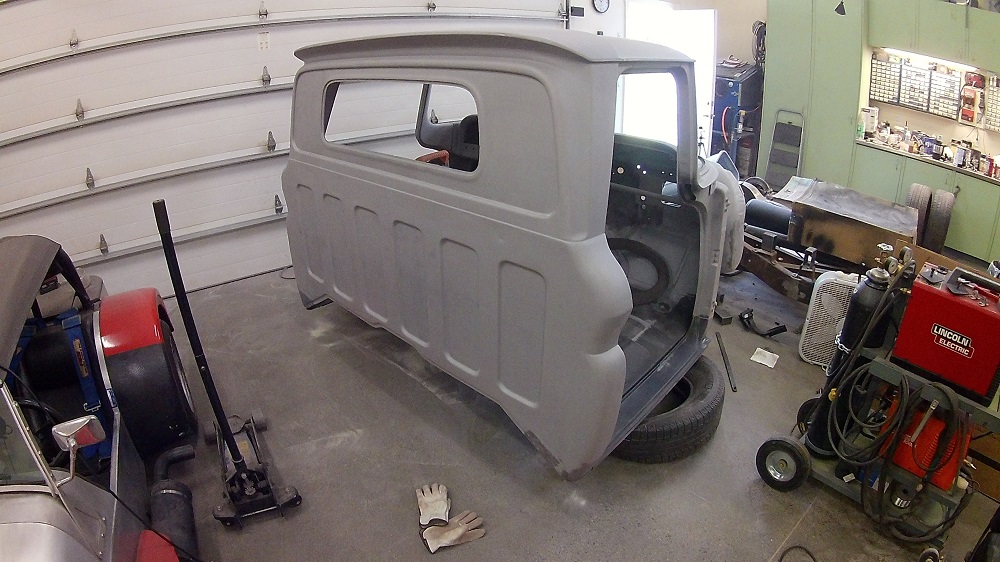
Last blast of the front fenders. Primer next, but it’s 40°C today
Two coats of epoxy primer. Give that a few days to cure, and I’ll weld the patches in.
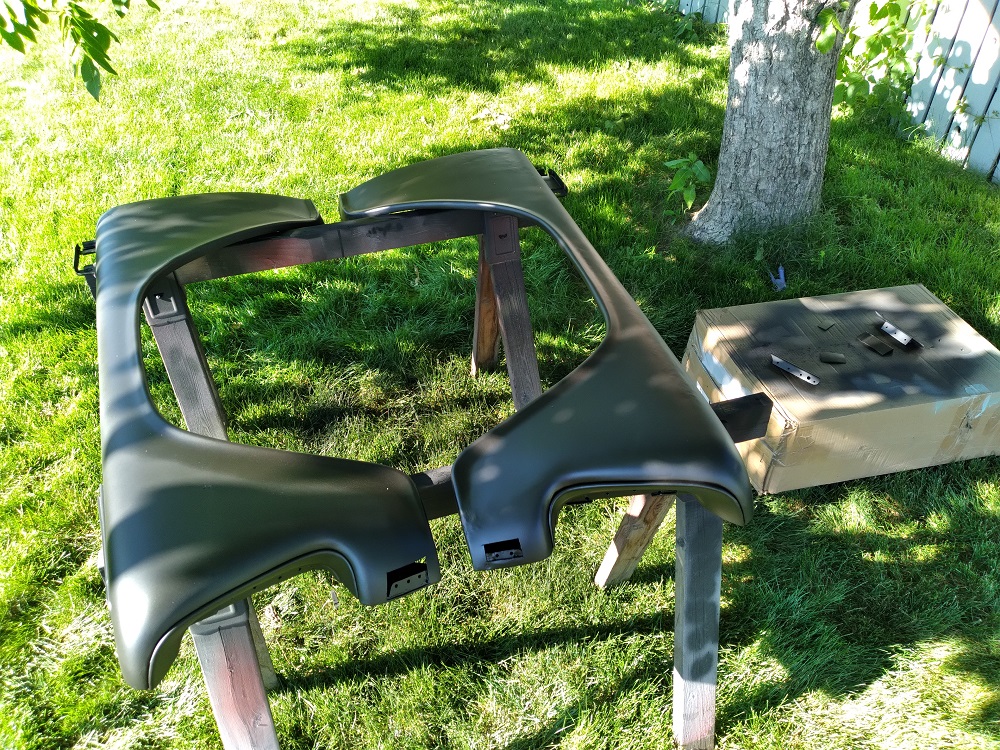
And the other side. The more I work this, the more I want a satin paint. To hide my mistakes.
Other bed side done. Very reasonably flat. Got some good shrinking with the torch until I ran out of Oxygen, then did the rest with the shrinking disc.
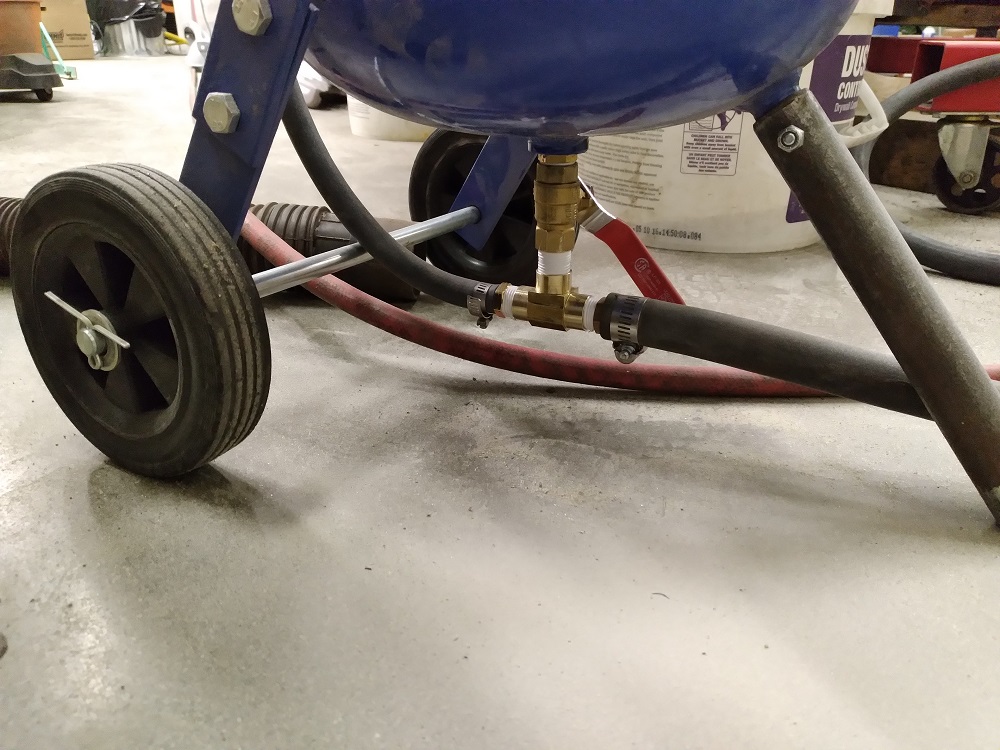
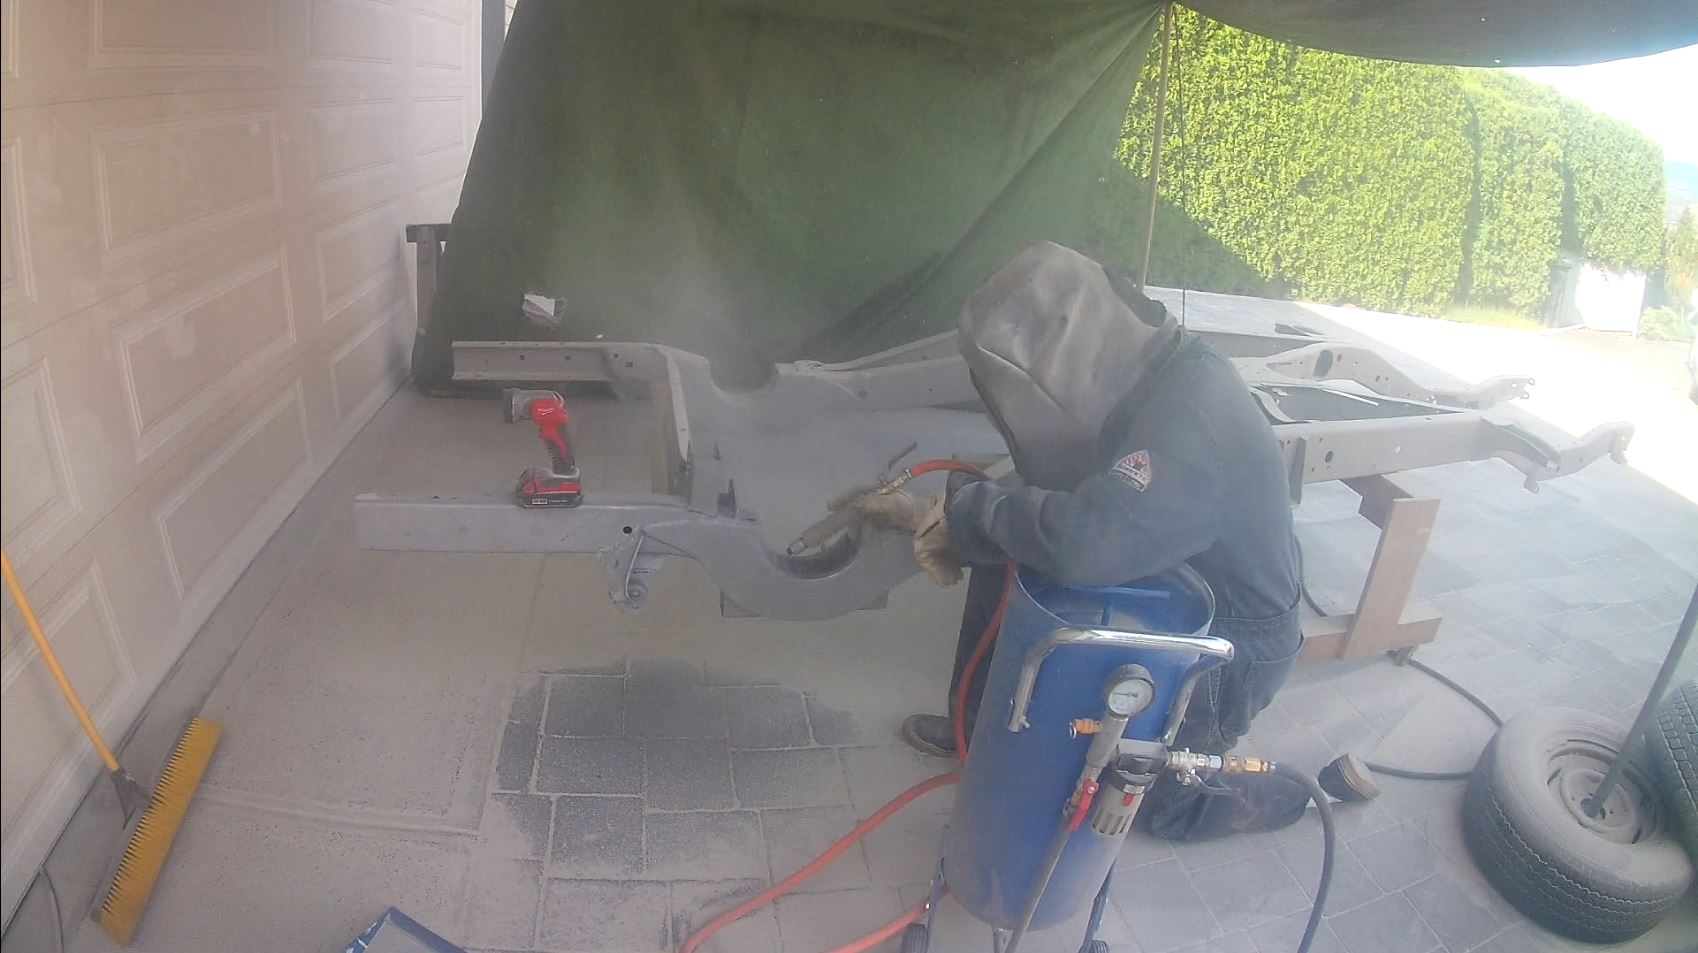
Today was blasting. Using my smallest tip, and 20-60 grit crushed glass, 100psi in the tank, 50psi at the pot, I had zero problems with the compressor over-heating. Yay! But this was four hours of blasting:

Two and a half hours gave me this:
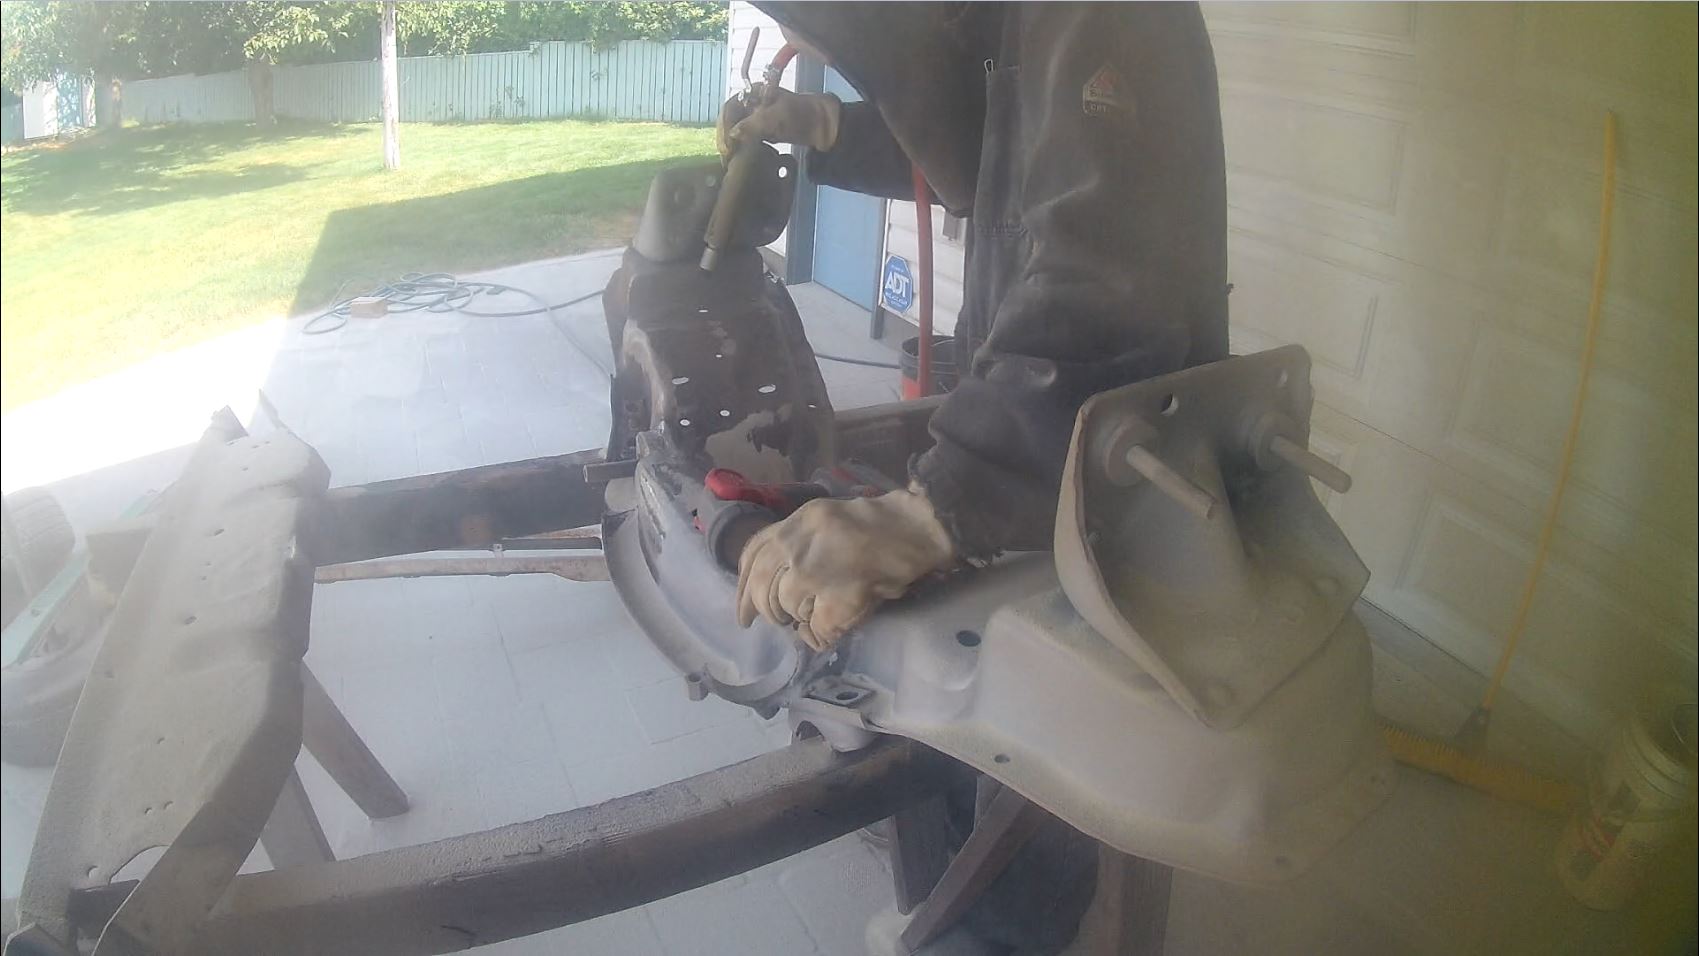
When the handle of the abrasive/air valve fell off, and the leg of the blaster broke off. Upgraded later to a bigger, better flowing black iron T:
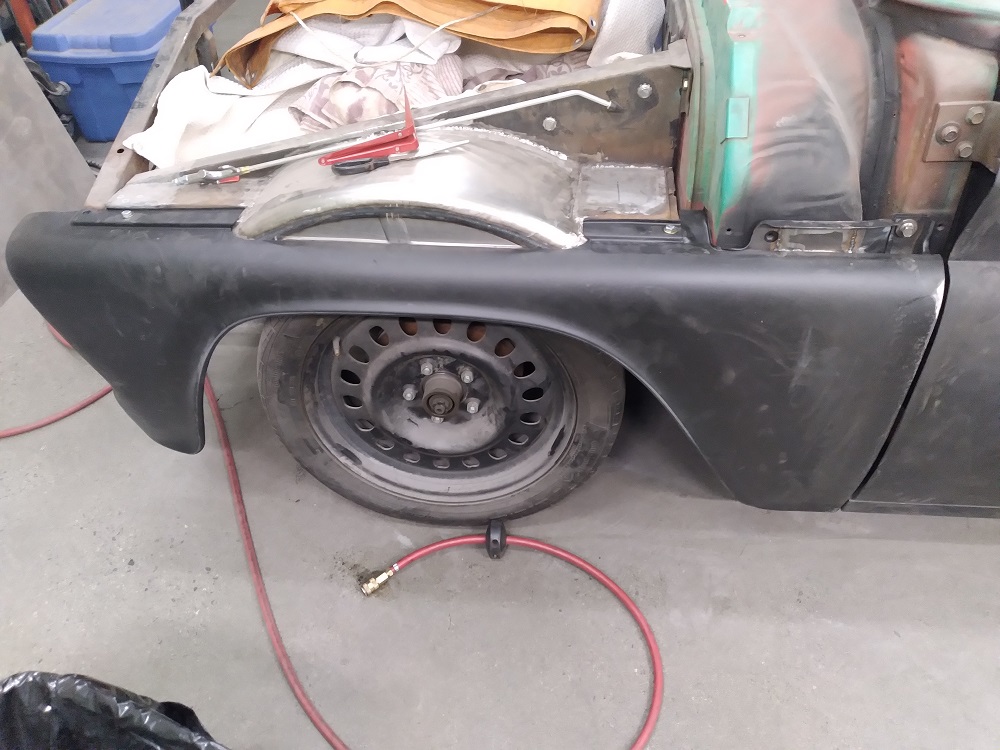
Finished the right fender, and got about as far on the left fender before it started to rain.
Primed the nose, the underside of the steps (so I can weld the reinforcement, then I’ll prime the tops), as well as the inside of one of the fenders (so I can flip it over tomorrow). No blasting done today because comedy of activity timing.
One more bed brace to blast, and I think I’ll be doing the final light blasting of the bed for primer.
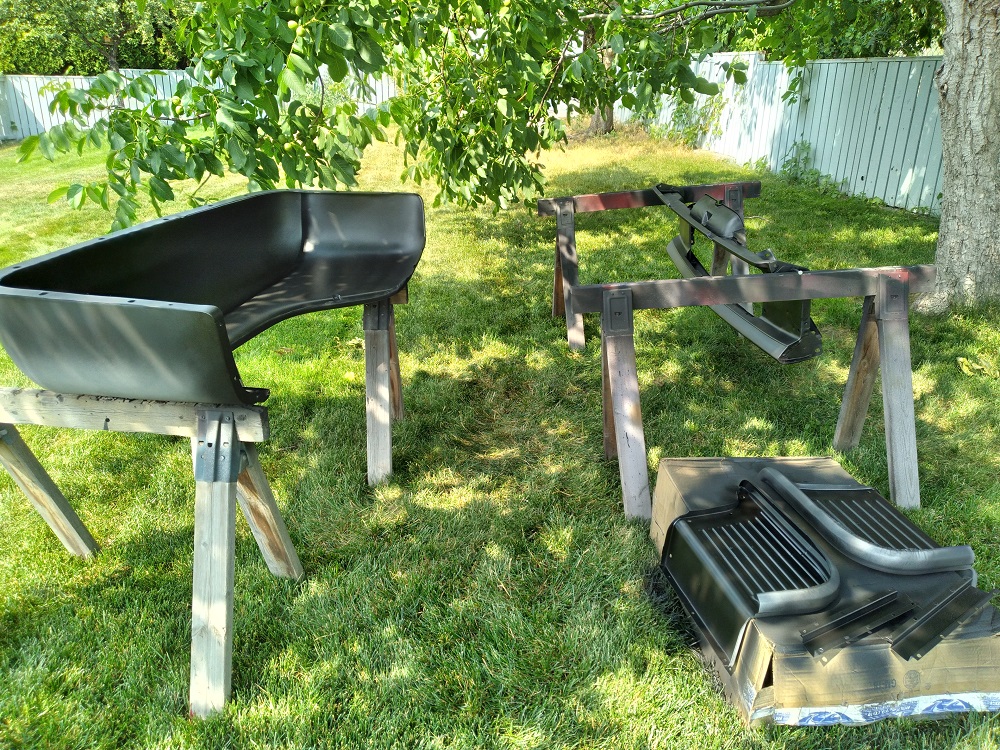
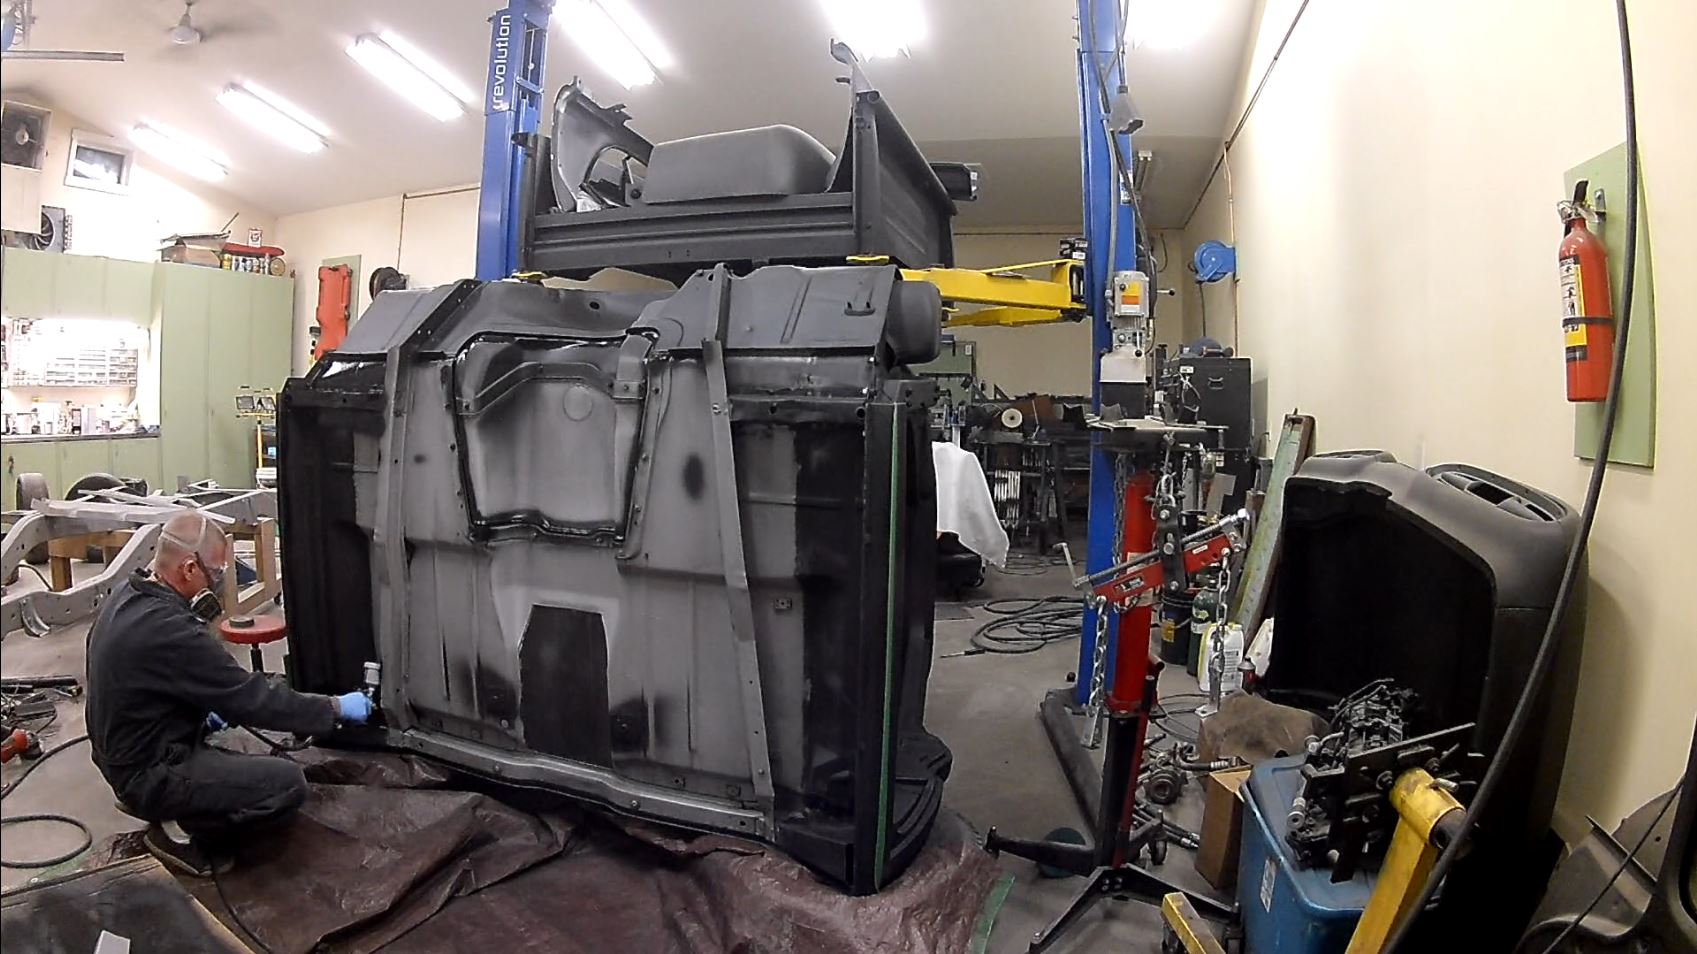
First side of bed parts being primed. Second side tomorrow morning. Trying to work three times as fast.
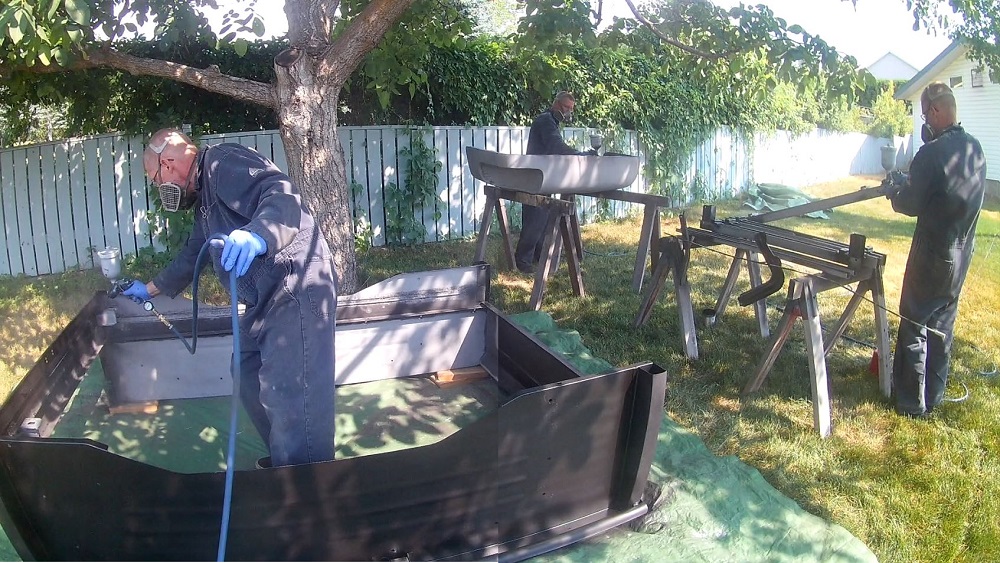
In the morning I flipped everything over and did the other side. What surprised me is the bed parts took an entire gallon of Epoxy Primer. Mixed 1:1 with activator, that’s two gallons sprayed! At over $200 for both, I can see this truck taking $1000 in primer alone. Wow.
I’m pretty sure I put three gallons of primer (and three gallons activator) into the cab and doors, front fenders and nose. Hmmm. Make that $2200 in primer once the cab and frame are done. Wow.
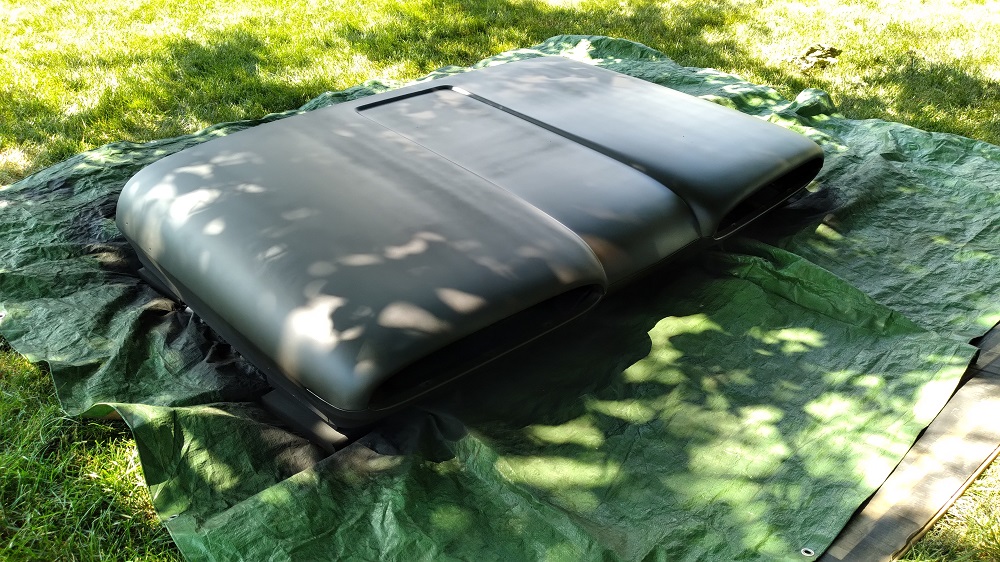
Ten hours of hood blasting got me here (another two left):

Hood primed:
Glass removed, decent mounting surfaces:
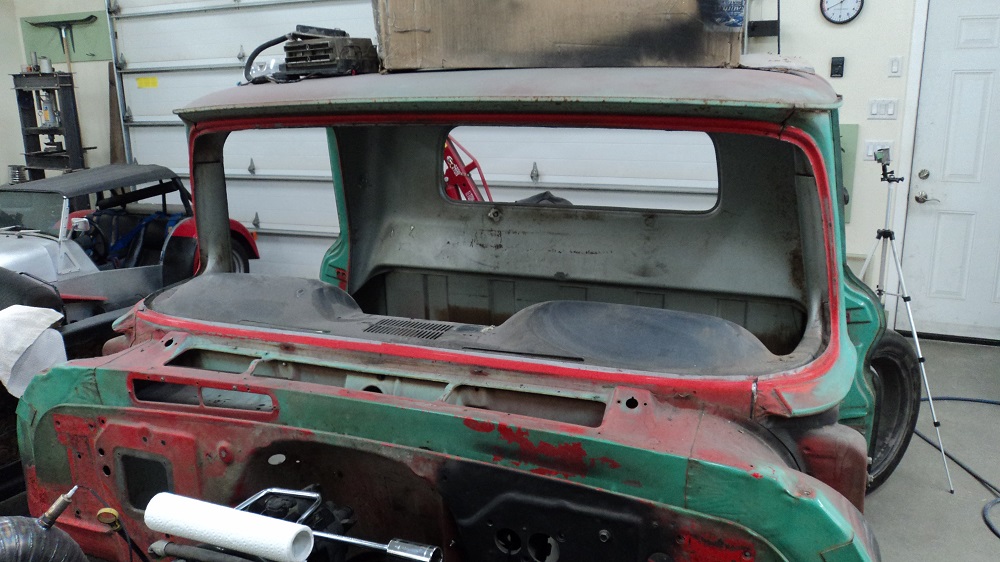
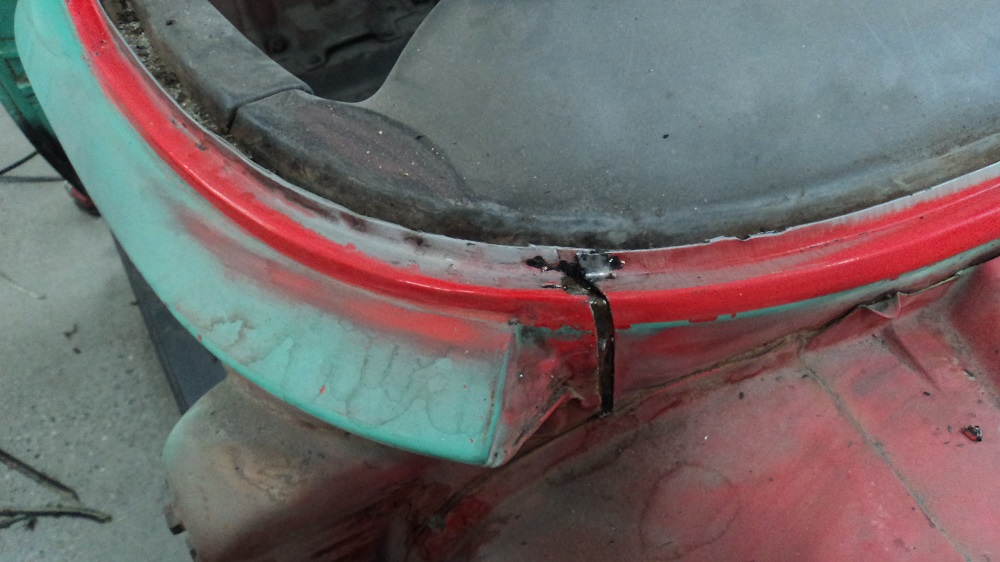
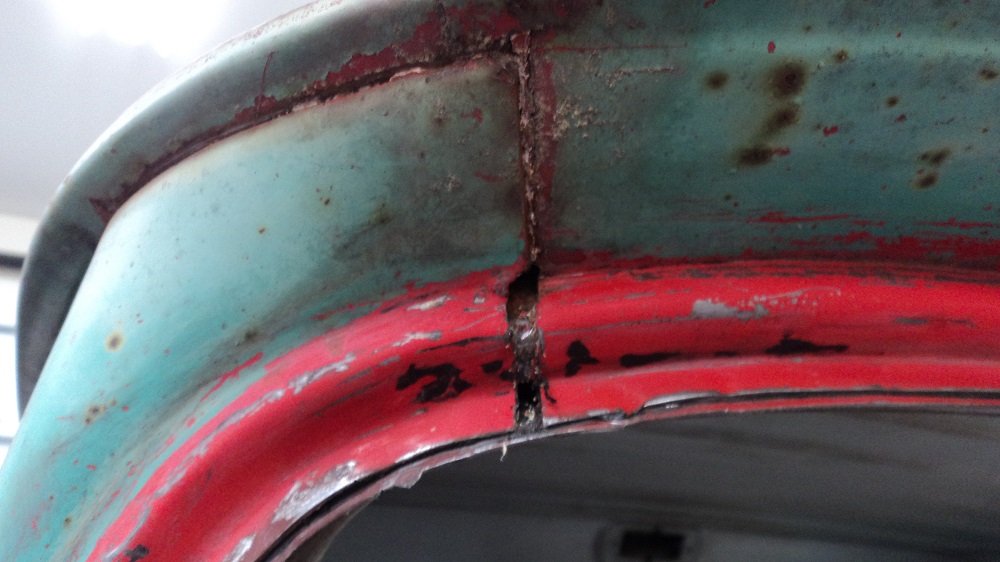
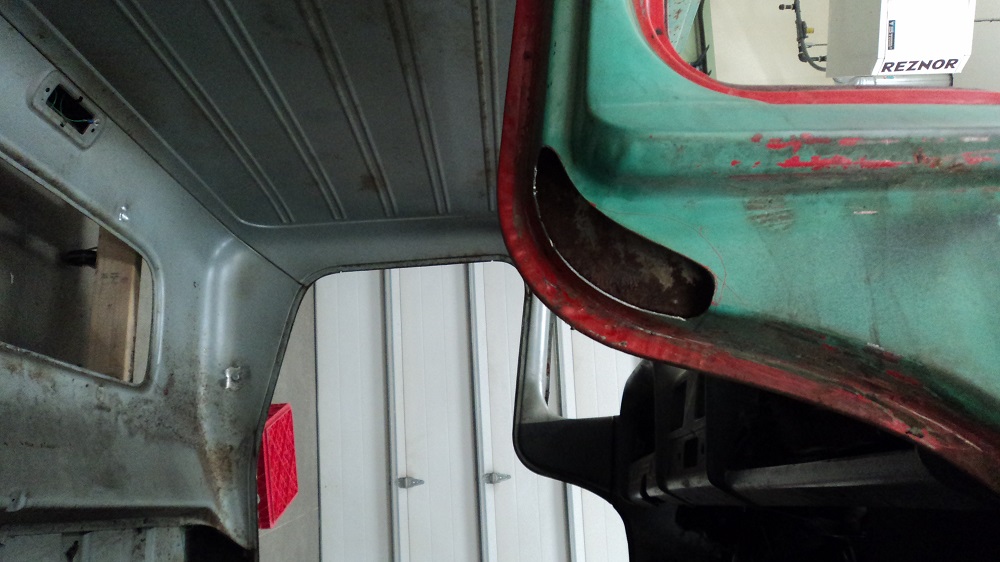
A bit of rust I need to fix:
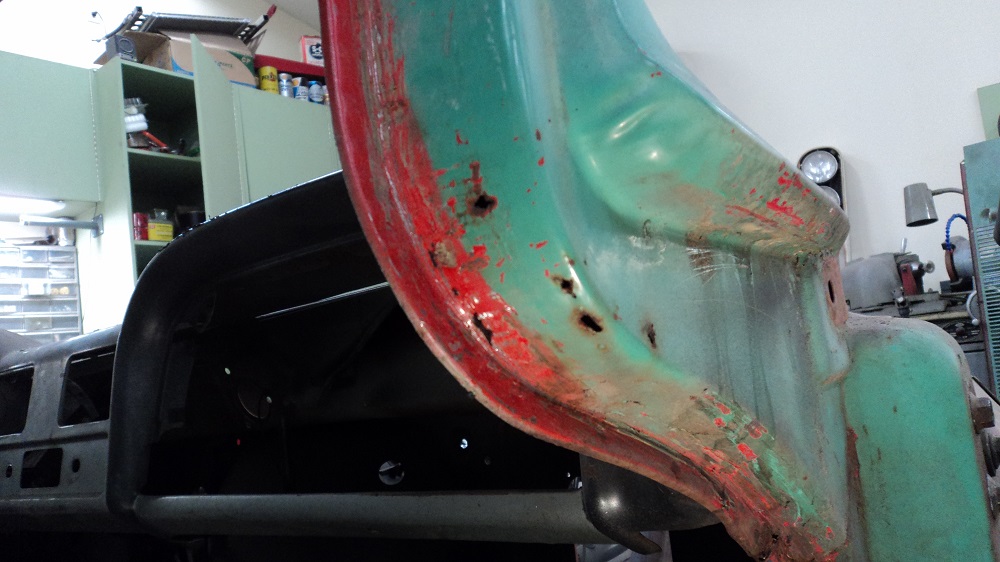
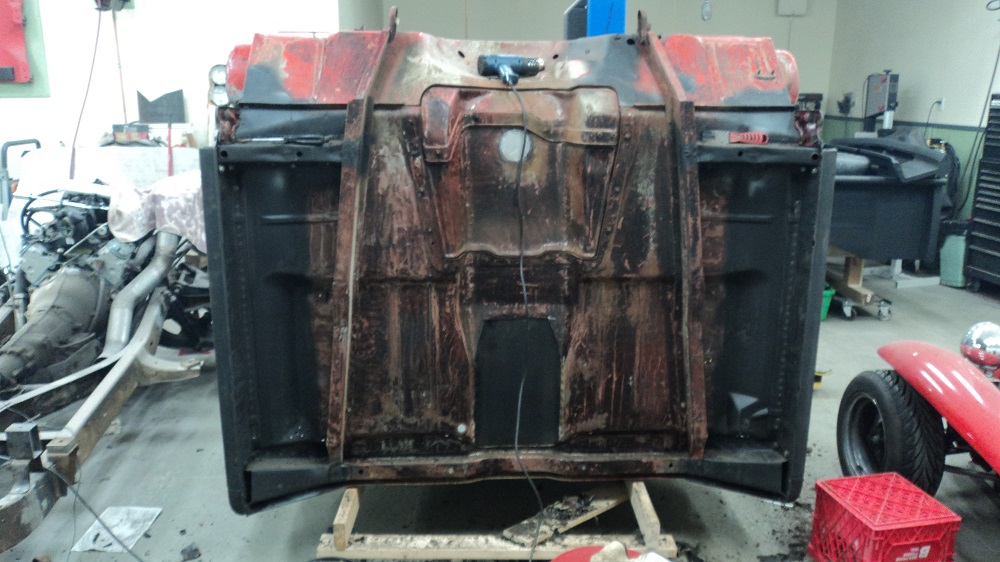
Cab removed and flipped back to scrape the rest of the undercoating off:
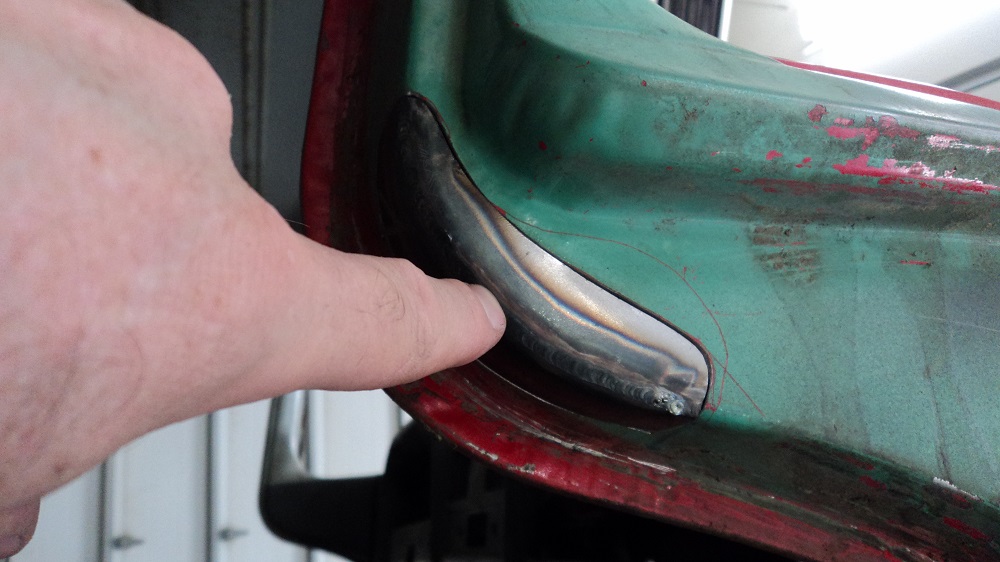
Patch. Will be welded once I’ve blasted and epoxy primered inside:
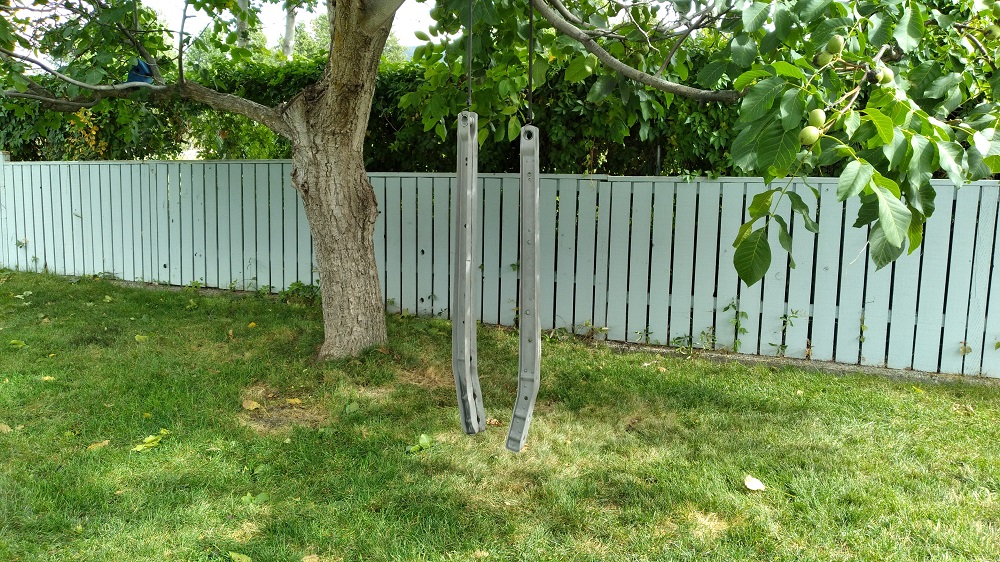
I did some blasting in my blast cabinet and on a dry day epoxied these smaller pieces. Redneck Windchimes:
45 hours of abrasive blasting with my pressure pot blaster full of crushed glass, and we got this:
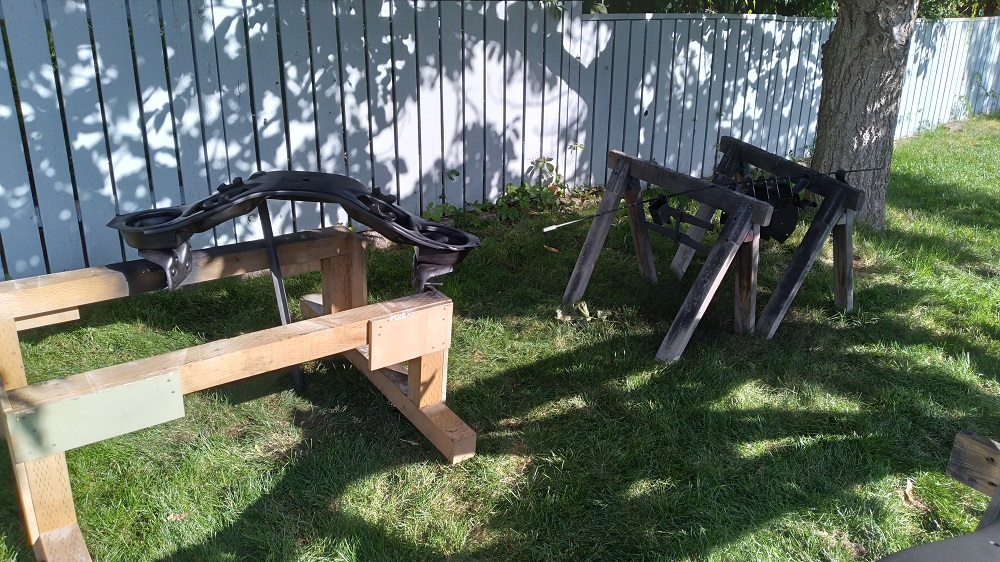
Then I had a good day to get some primer done:
And then this happened:
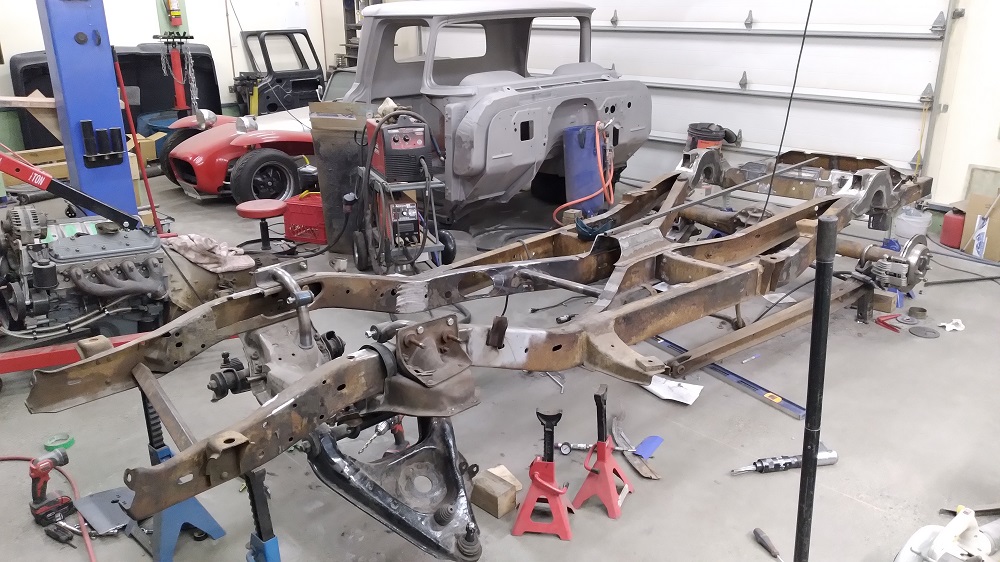
Twenty hours of blasting got the frame done:
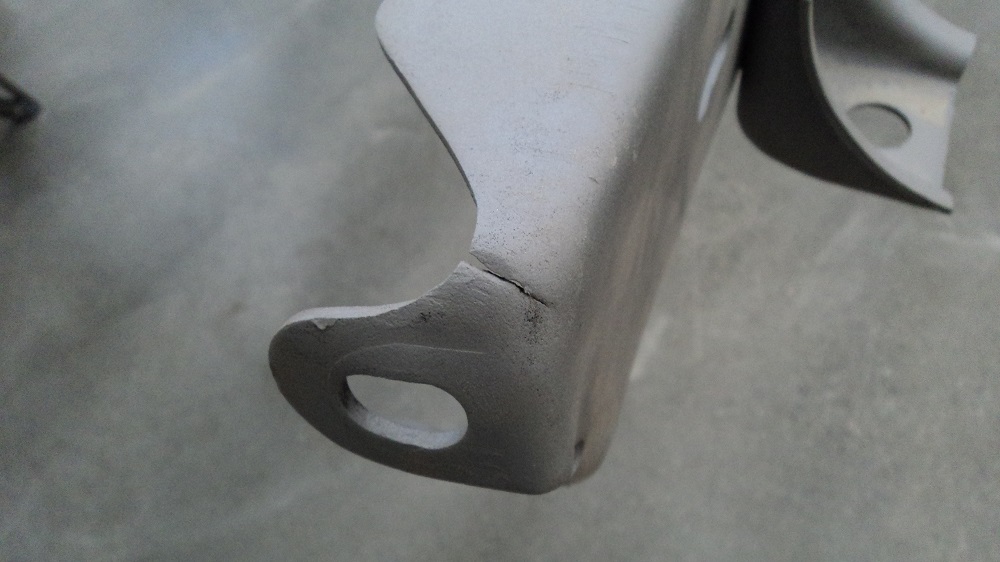
Found a crack too. Easy fix, though: drill the end of the crack so it cannot propagate, grind a V and fill it in.
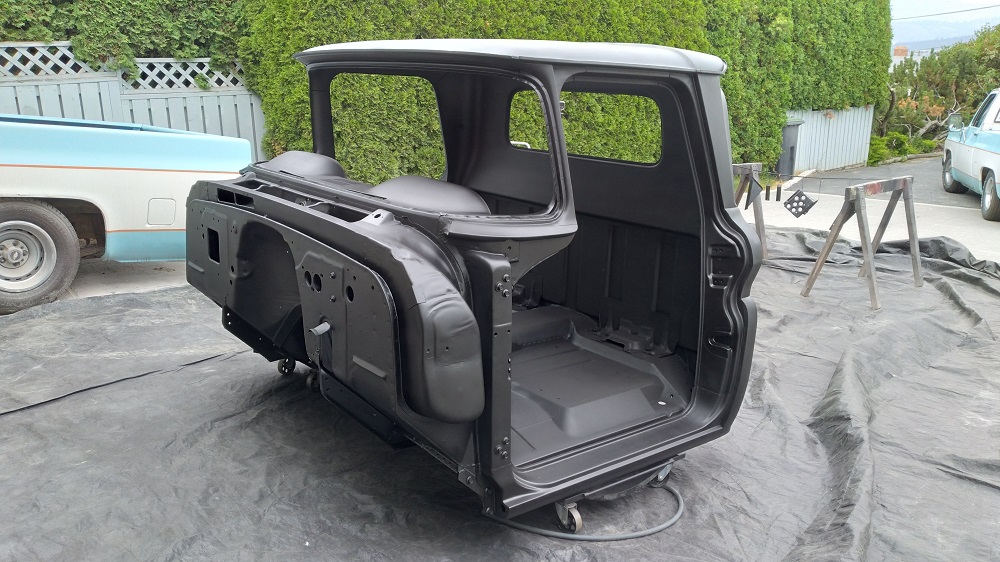
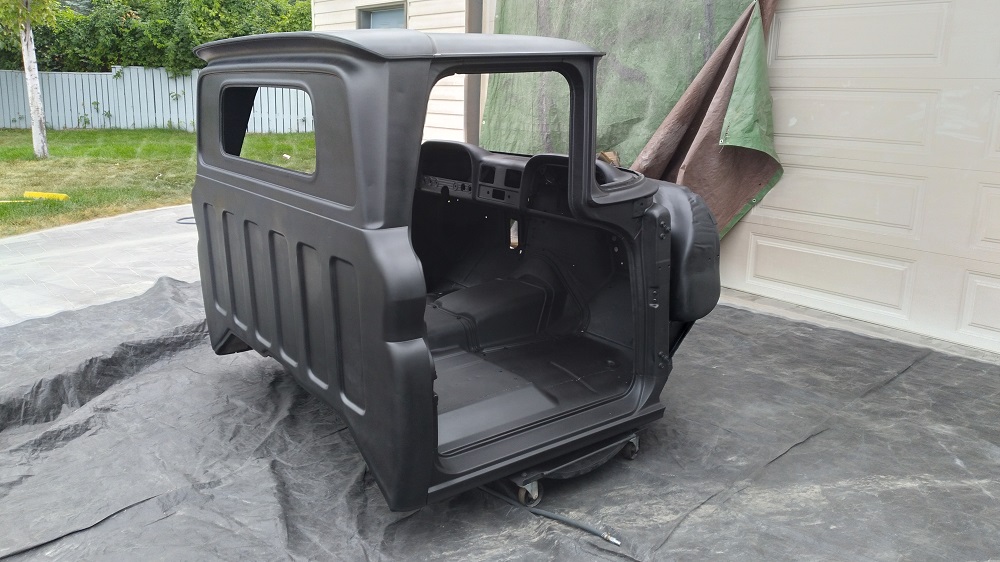
Super easy to move/flip the cab when it’s on tires. Finally got the bottom done:
NOTE all of you doing a stepside: the aftermarket rear cab supports are not made at the correct angles. I followed a youtube video and altered the inner rocker flange end to fit, but I should have altered the floor-side flanges to fit – the “shield” used on stepper cabs attaches to the cab support, and needs to be perfectly inline with the rear of the cab so there are no gaps.
I needed to bend a sort of off-set flange in these shields to attach to the drunk shape of the cab support, but accurately fill the gap on the outer body. These are pop-riveted and 2K Seam Sealed into place. I hope they stay.
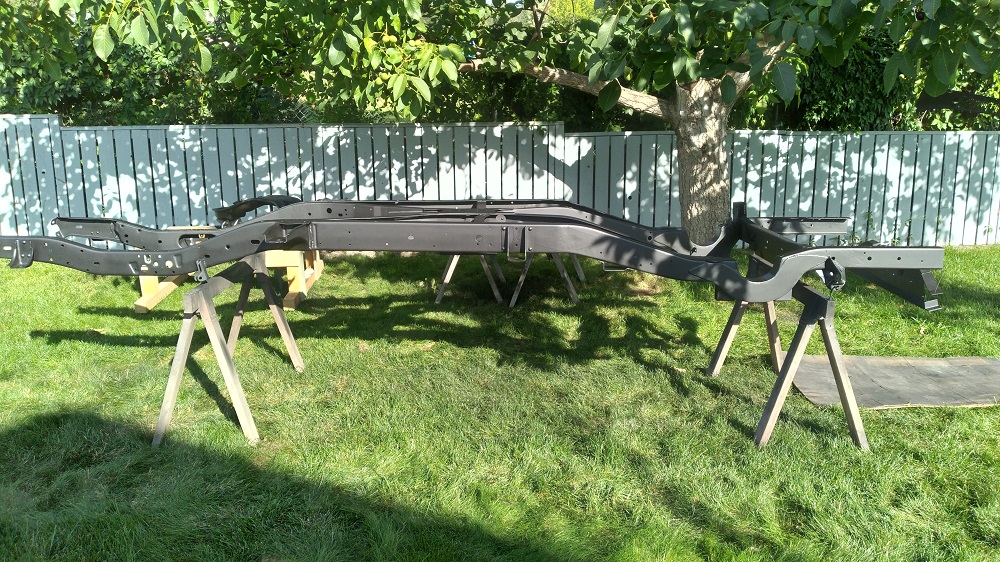
And the frame and some frame-related bitties got primed (it’s upside down in this pic):
And some Redneck Windchimes:
And a fuzzy picture on how to hold fasteners with MIG wire for painting:

And primer:
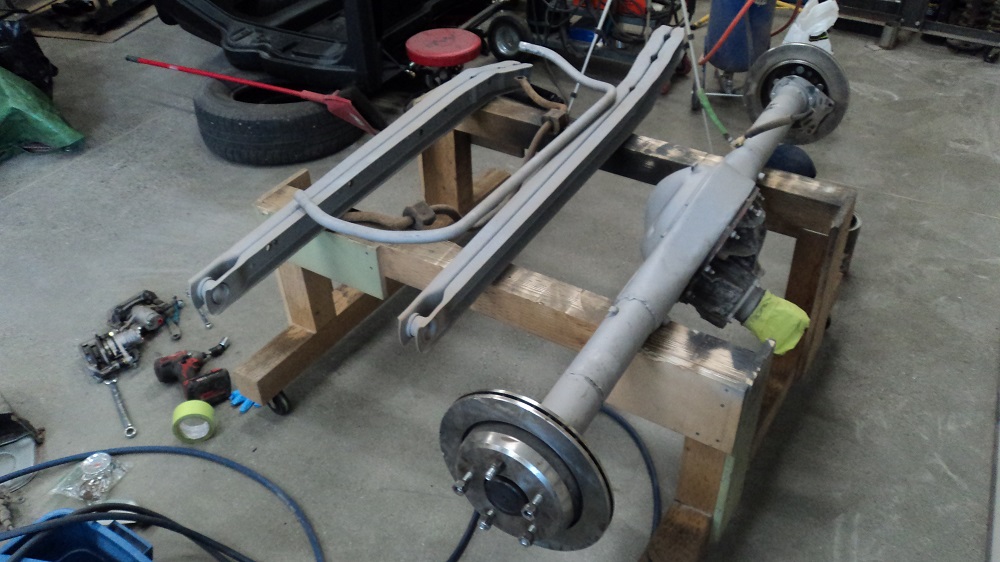
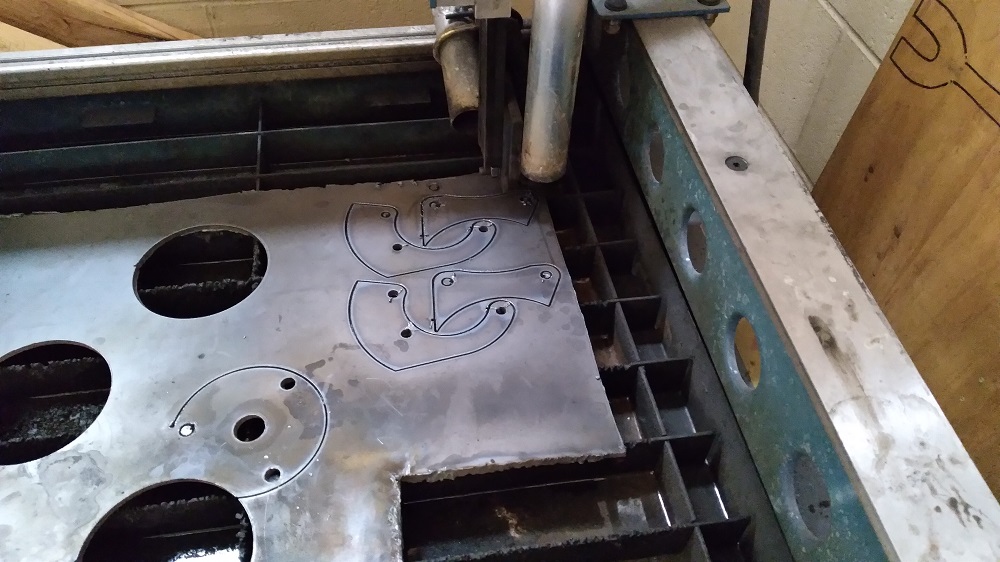
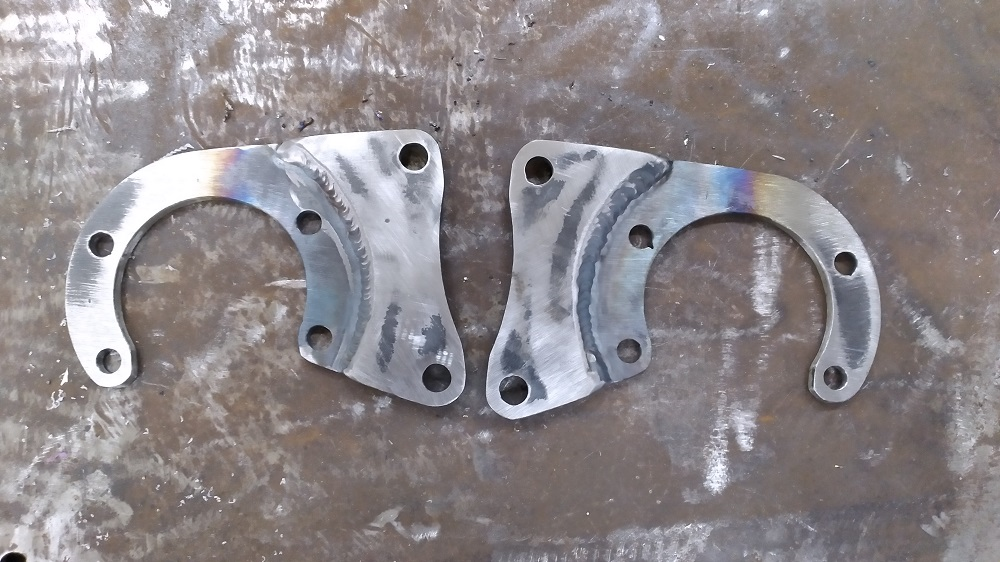
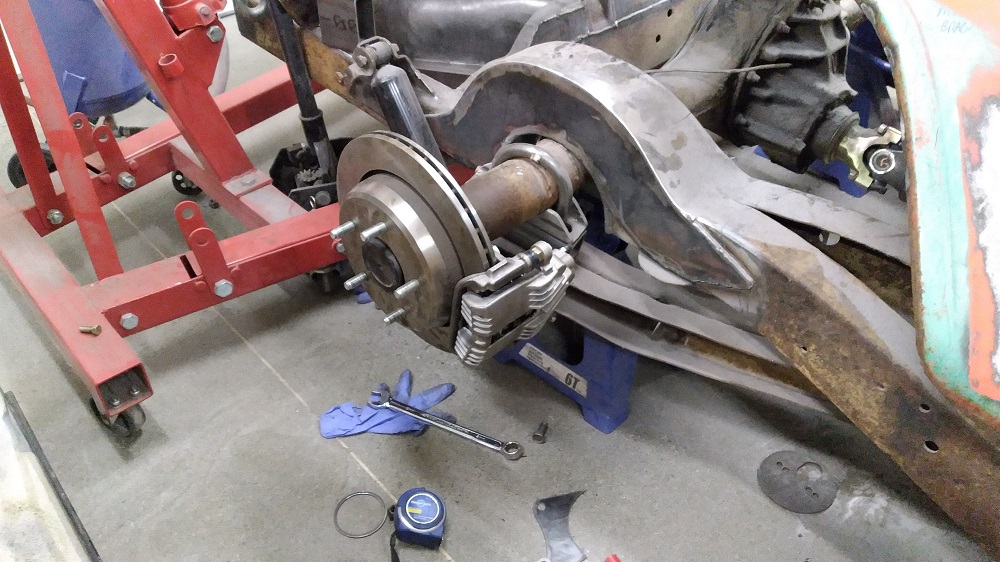
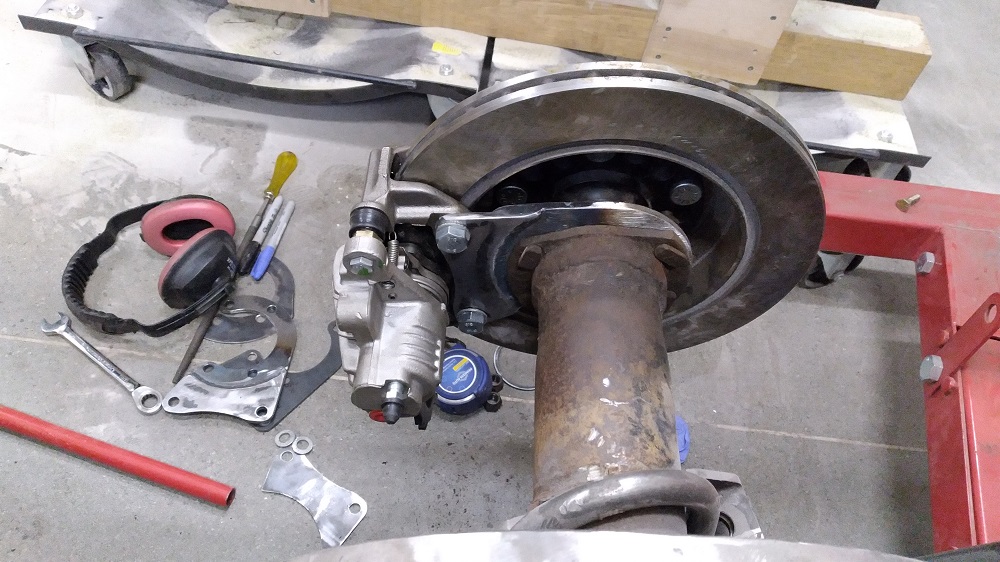
Rear Disc Brake Conversion
Five kicks at the design/test can, and we now have 9″-Ford/Z-28/Caprice brakes. CNC plasma cut, TIG welded together.
Future Me interrupting:
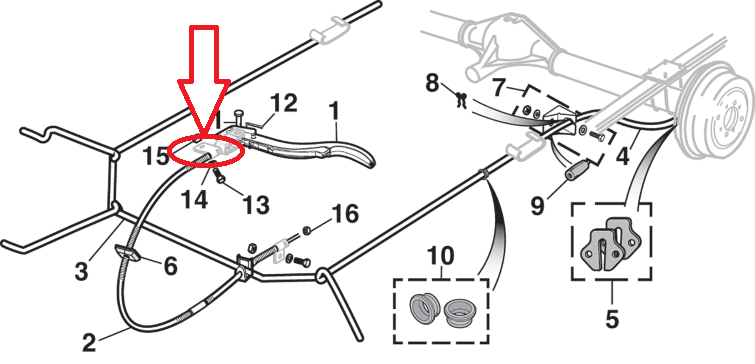
I had a dickens of a time making the parking brake work. Two things:
1. The e-brake sheathing at the column was not bent as a stopped. Me? Previous technician? GM in 1961? Who know. It didn’t have a “stop” and had slipped on me, losing most of its travel so it never really fully grabbed.
-
-
-
- I got lost on “adjustment but did not catch on that I had no travel
- I also fabricated a ferule for the frame end of the sheathing. Not sure it’s needed, but any other cable-operated brakes have them, so why not?
-
-
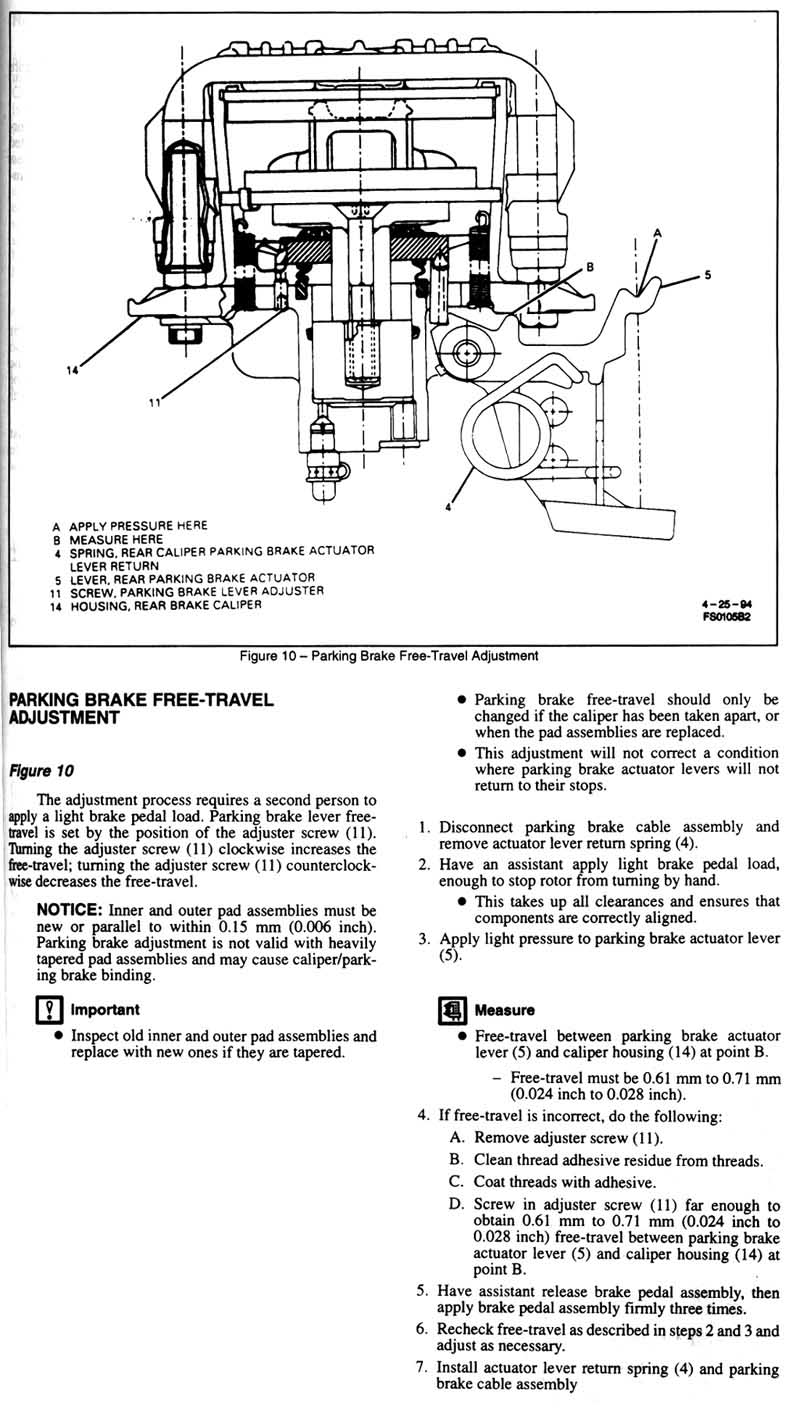
2. Follow the factory parking brake adjustment procedure:
Finish blasting the bed. Eight hours, ran the abrasive through about six times, then added a new bag which I ran though probably three times. Went through two plastic screens for the hood.
Overheated the compressor motor twice despite its own fan blowing on it and an extra fan blowing on it and another fan circulating air and the compressor shed door open to the outside. It’s an IR 5hp 2-stage rated for 100% duty cycle. Odd.
Each time I waited for the motor to cool down, I worked on fixing the front fenders.