YEAR ago, Princess Auto had a screaming deal on a Sand Blast Cabinet, so I bought one and kept in the storage locker of our condo unit. We bought a house that winter, and then years later built The Workshop which finally had a compressor big enough to feed it.
I had it stored at work where I used it occasionally. It wasn’t awesome.
I’ve made some changes.
Now it’s AWESOME!
1) LIGHTS
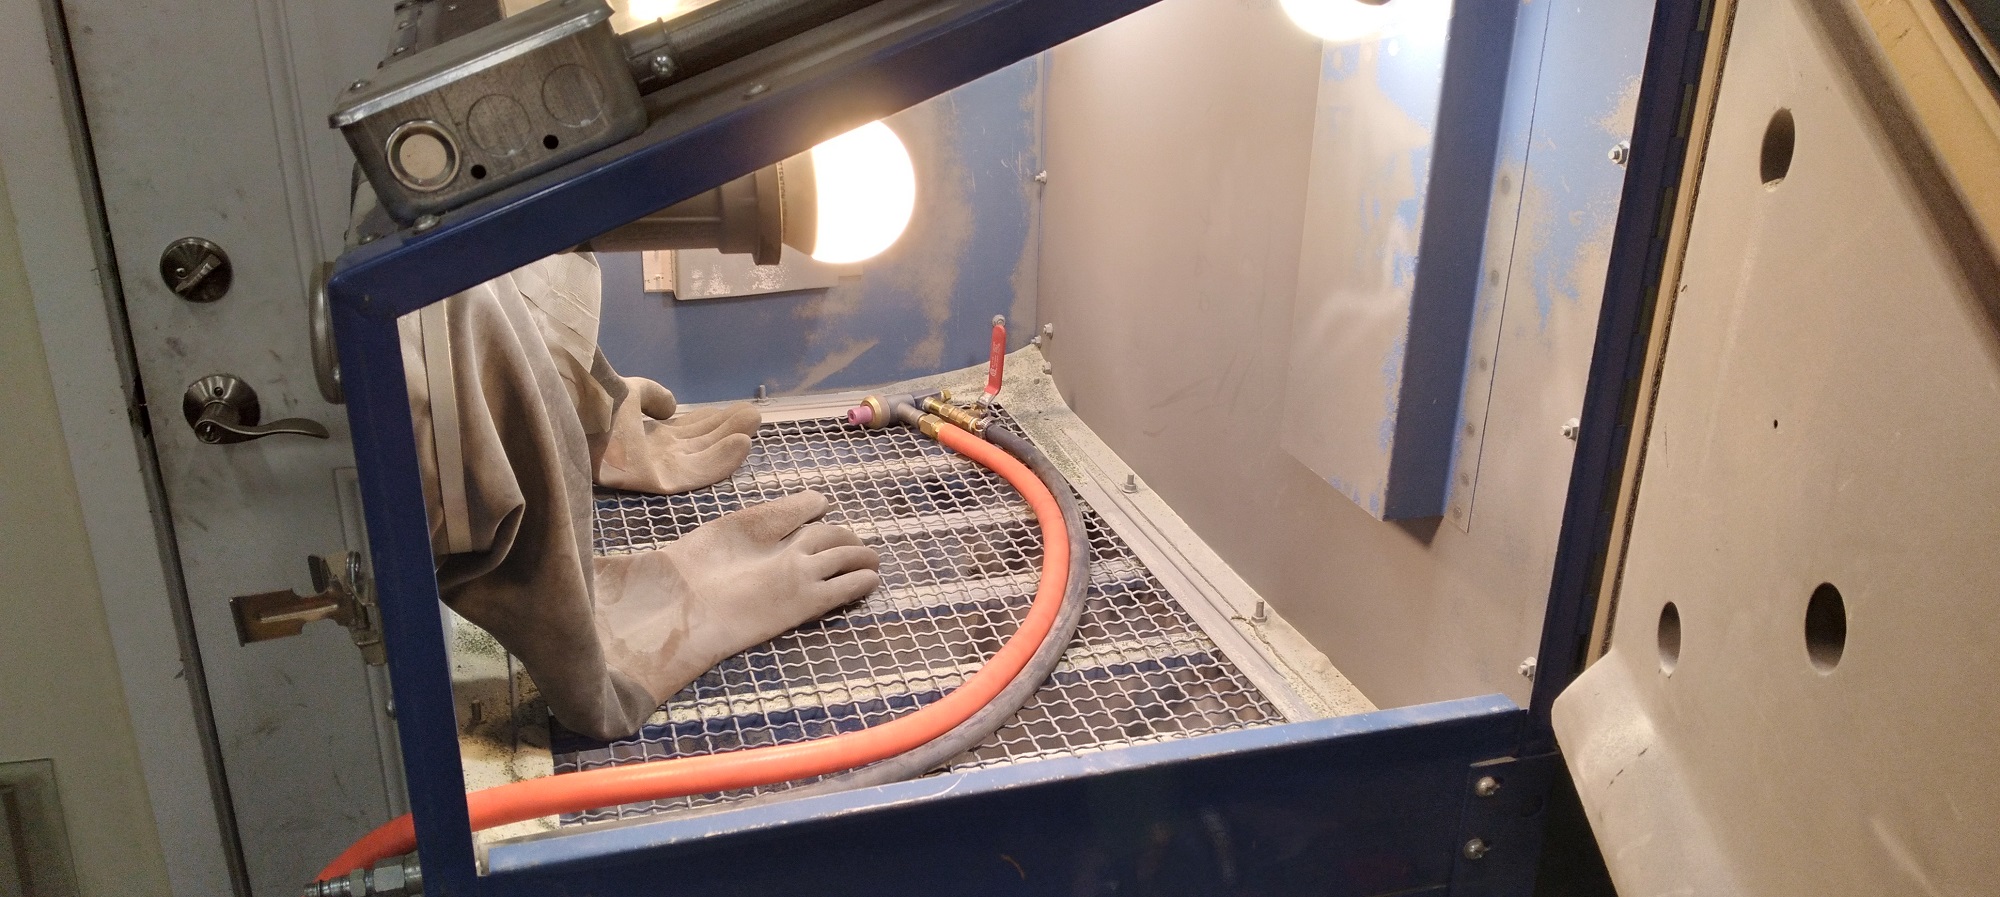
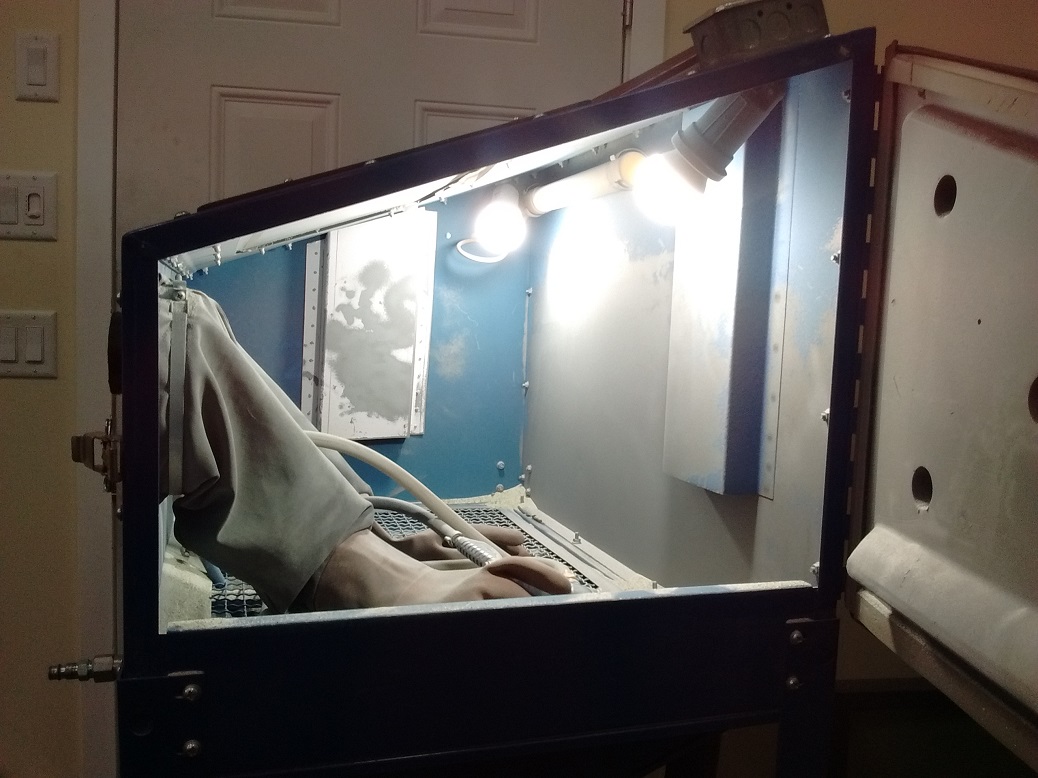
It HAS to be bright inside. The original (optional) fluorescent light is mediocre at best. I drilled holes, ran a couple boxes, and put two 100W LED bulbs inside. You need to be able to see.
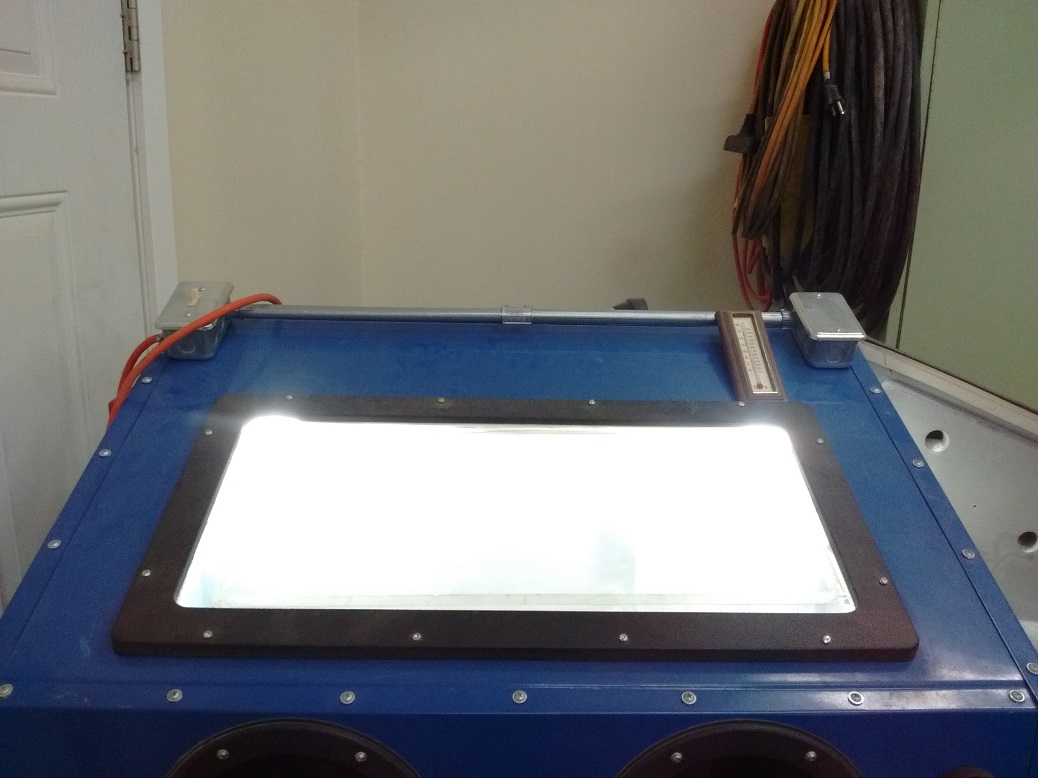
I later added two more, for a total of four 100W LED bulbs inside. It’s awesome.
2) VENT SHIELDS
The hole on the back side is shielded – this is the exit port. The hole on the left side is the intake but was not shielded, so I fabricated a shield to help prevent the abrasive from escaping. I may add an air filter on the outside, but it seems to be under control.
3) VACUUM
You don’t want your shop vac filling up with sand or dust, so run it into a Hookah pot. Initially I tried a 20L pail of water, with the tube from the cabinet immersed in water, and the shop vac hooked up to the pail lid (turn 90° inside so you don’t just suck up water).
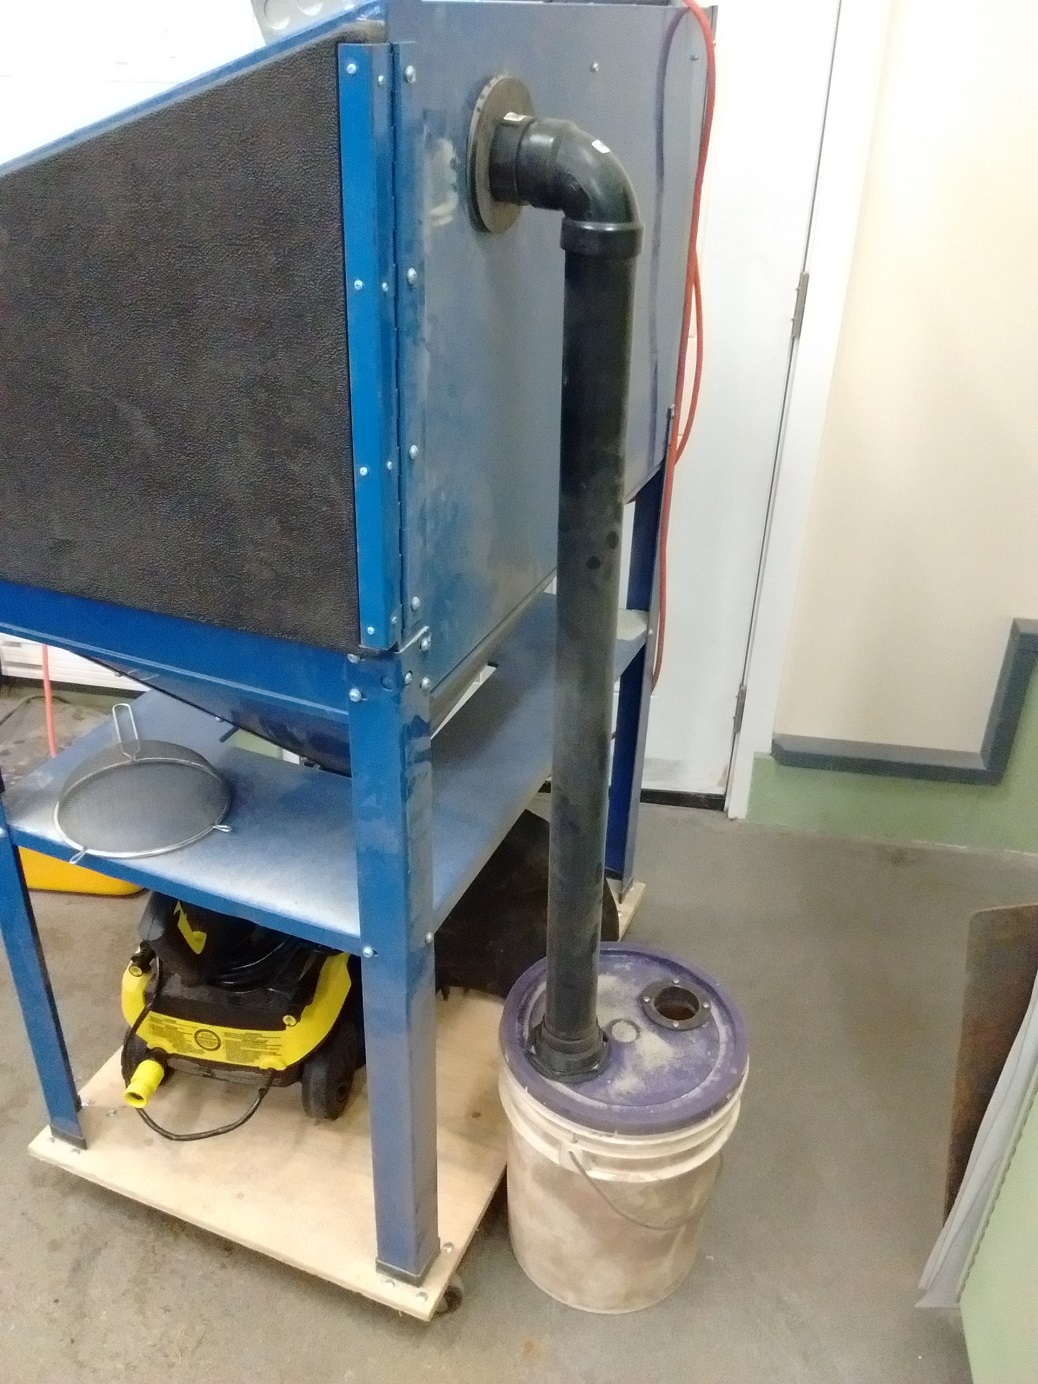
That didn’t work, but THIS DIY CYCLONE DUST COLLECTOR worked FREAKIN’ AWESOME (pics of mine soon).
4) WHEELS
The cabinet sits on a simple sheet of plywood with four caster wheels. When I’m not using it, it is rolled totally out of the way behind the door (see above pic).
5) METERING VALVE
The cabinet has a tendency to blast in spurts. Blast… nothing… blast… nothing… I’ve found if you run a really large nozzle and run very fine abrasive, it’s not too bad. But I followed a few videos on YouTube about improving the blast action.
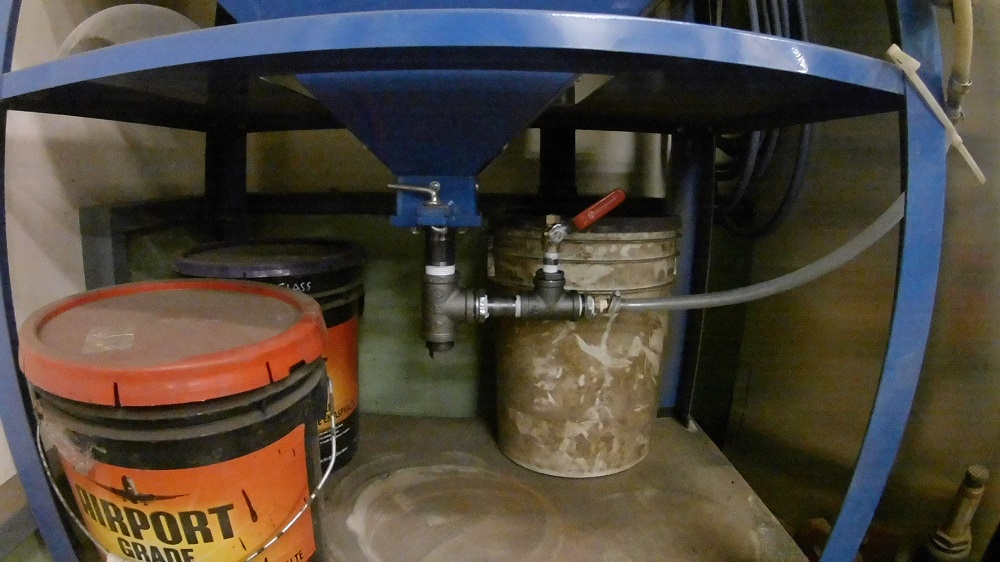
What this new arrangement is going to do, is let gravity assist the vacuum in feeding the abrasive up to the gun, with a small air-bleed to improve this “siphon” action (moving air siphons better).
A Floor Plate is attached to the bottom hinged trap door, add a 3″ long 1″ NPT nipple, a 1″ Pipe T with one end capped (for drain), then reduce to 3/4″ NPT into another Pipe T, which reduces to a small ball valve (I used 3/8″) out the top, and reduced to a 1/2″ Hose Barb to feed the gun.
This upgrade was only a mild improvement, but what totally changed this cabinet from “meh” to “OMG!” was….
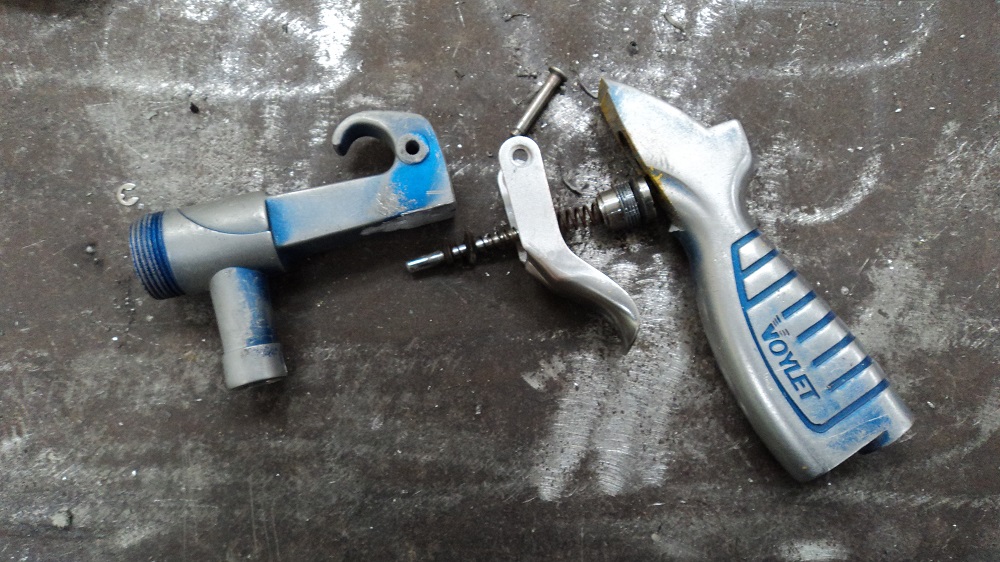
6) MODIFYING THE GUN
I really liked the ball-valve upgrade to the Pressure Pot Sandblaster, so I decided to do the same to this one.
I cut the handle off the gun (I’ll cut it even shorter later):
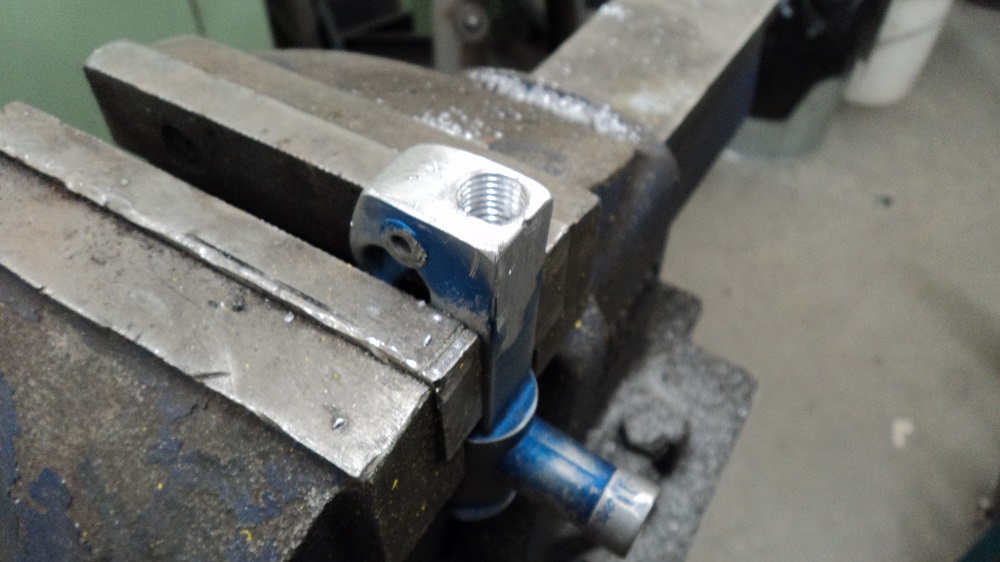
And threaded a new feed hole for 1/4″NPT (it’s not shorter yet):
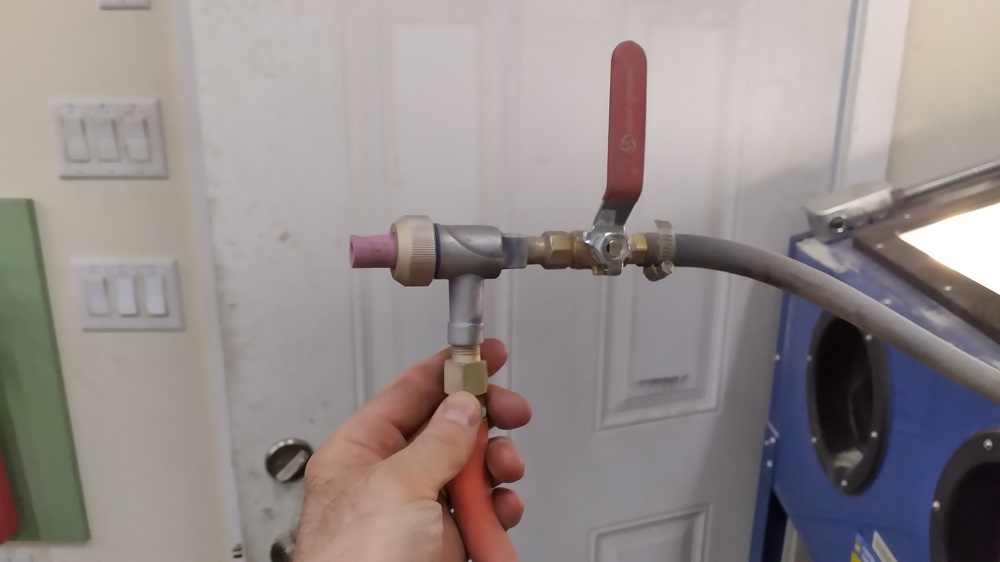
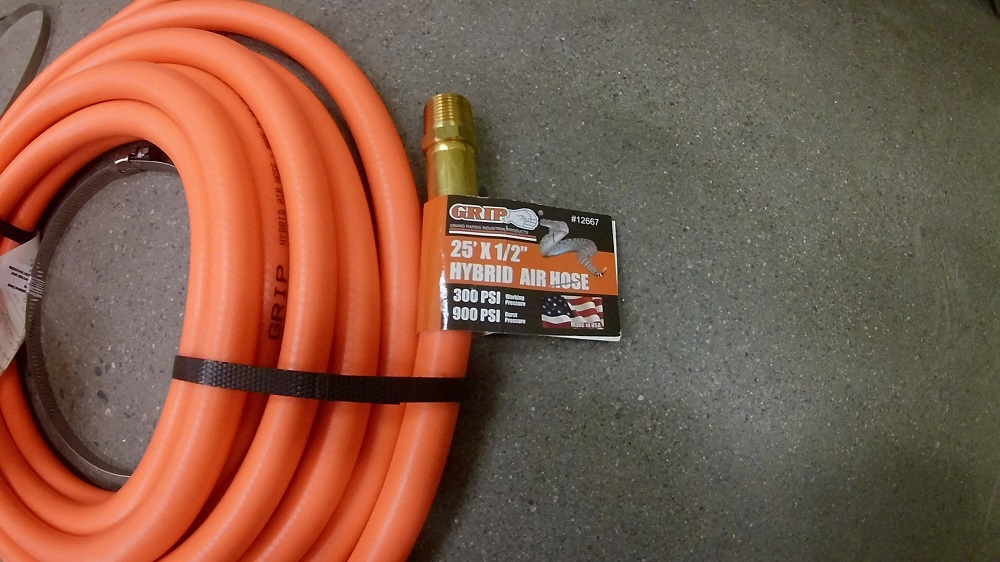
I bought a length of VERY flexible 1/2″ air hose (from Princess Auto) to use as abrasive feed (the factory braided clear hose is garbage and inflexible). I’ll probably use some of it to lengthen the reach of the Pressure Pot Sandblaster as well. (And it’s WAY shorter). Keen eyes will notice this version is different than the title pic version (it will change again).
Since the gun was aluminum, I padded the abrasive feed area with metal, and changed it to be a 45° connection without any need for reducer, for an easier blend of abrasive into the air flow.

The result was amazing! Absolutely a joy to use. What used to take an hour, now takes 12 minutes. I am very pleased!!