[ Start ] [ Index ] [ Parts List ]
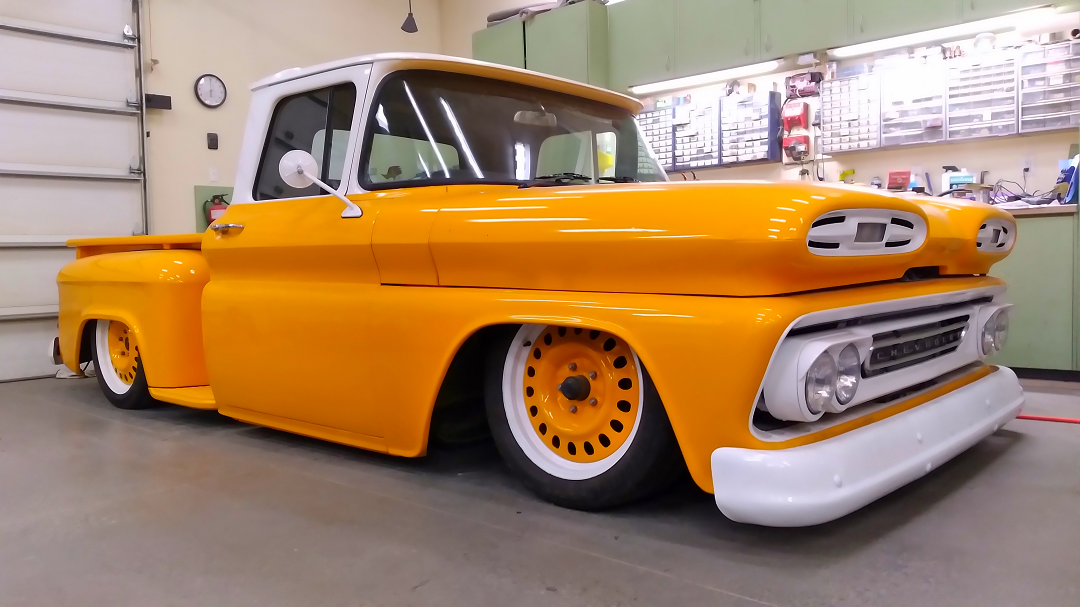
In Which We Put it Back Together!
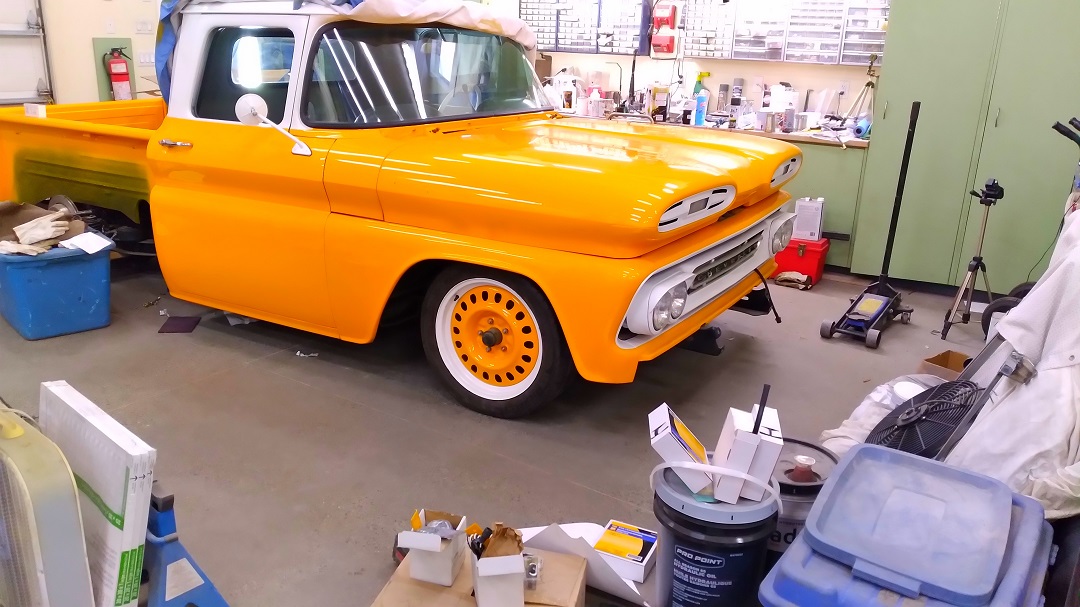
Puttering in the shop, trying to stay relaxed leading into the new school year (one week left till show time).
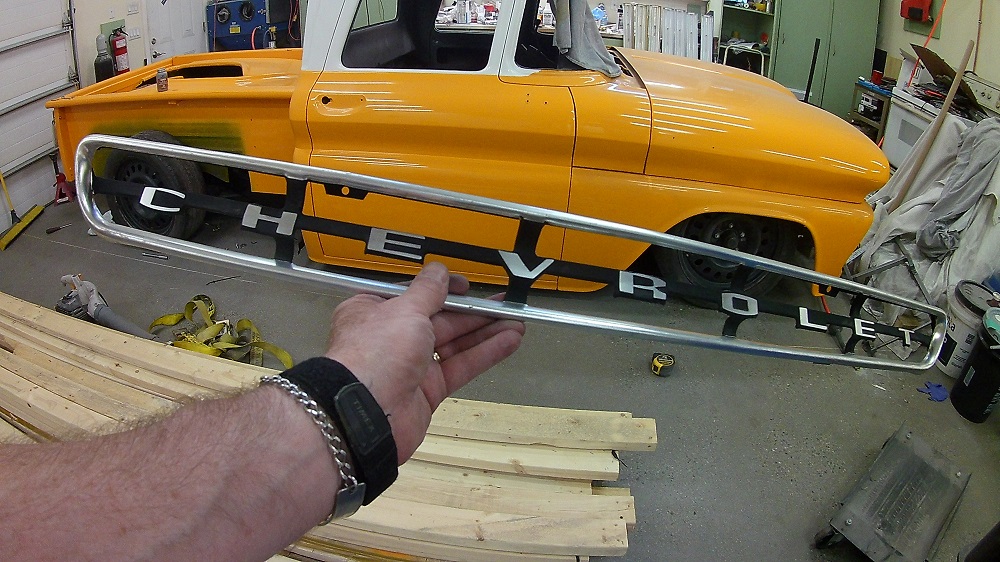
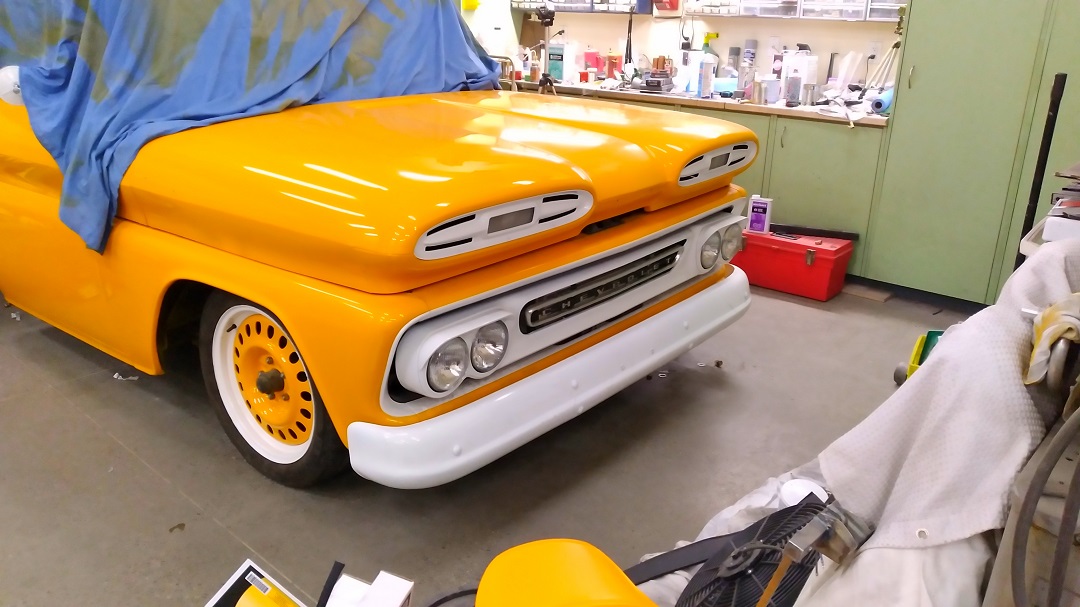
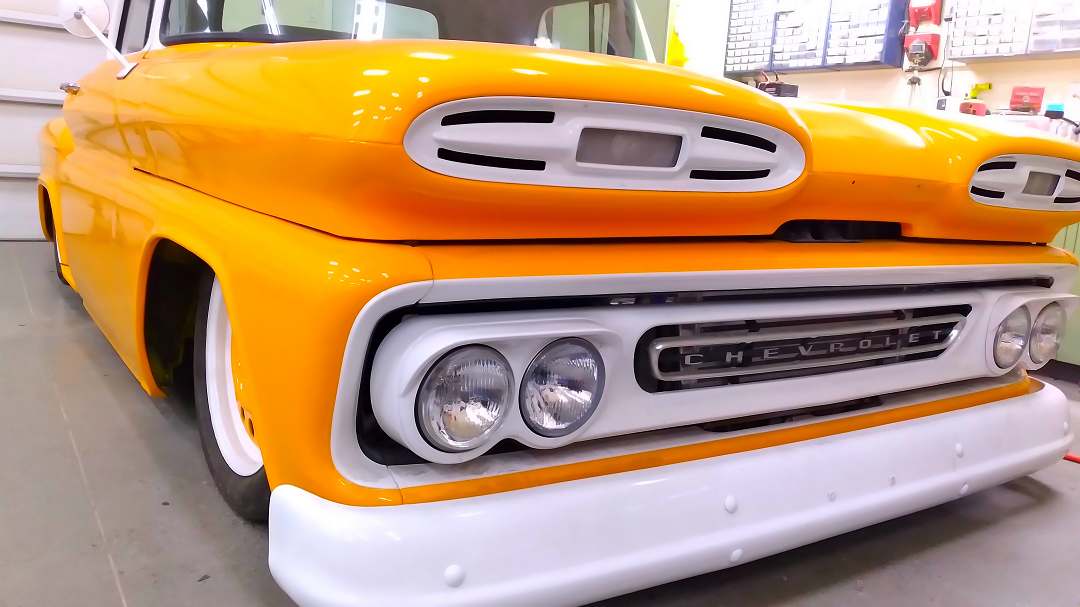
Grill center was removed (drilled out the rivets), had slight tweaks and was straightened, the center epoxy primed, PPG Delfleet Flat Black, and the letters sanded up to 1500grit:
(Fender removed because the bed will be coming off for some more chassis work).
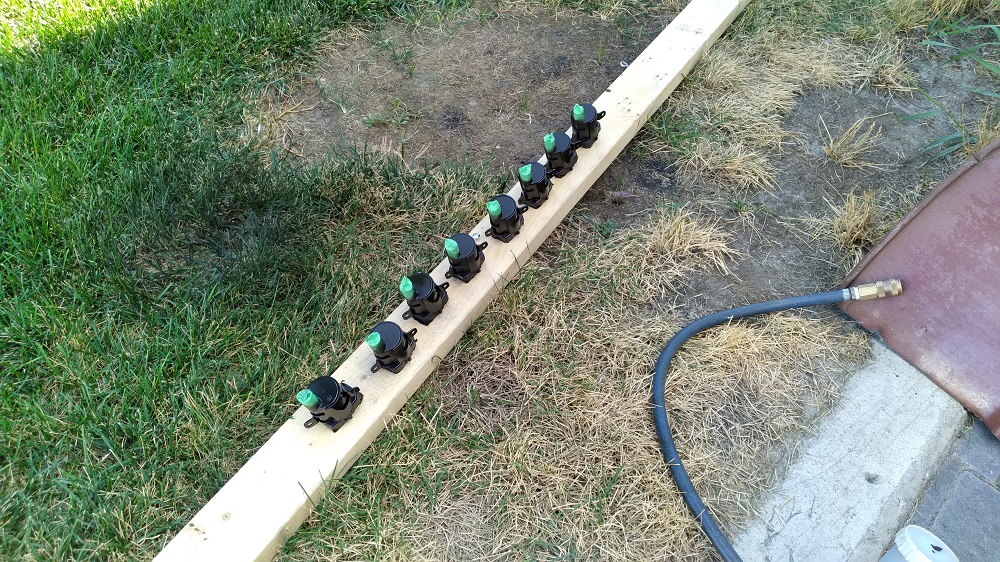
Disassembled, blasted, and primed, the headlight hardware.
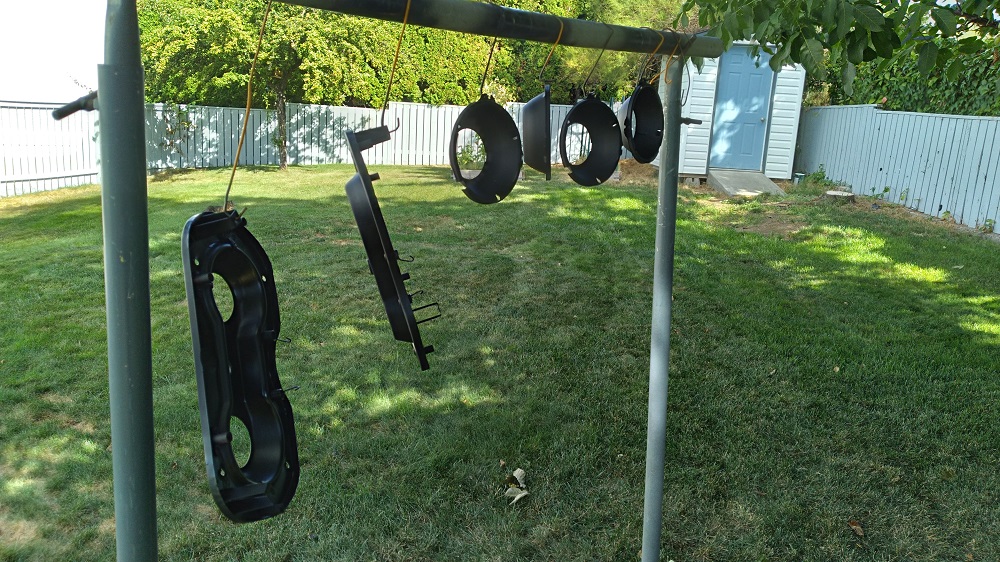
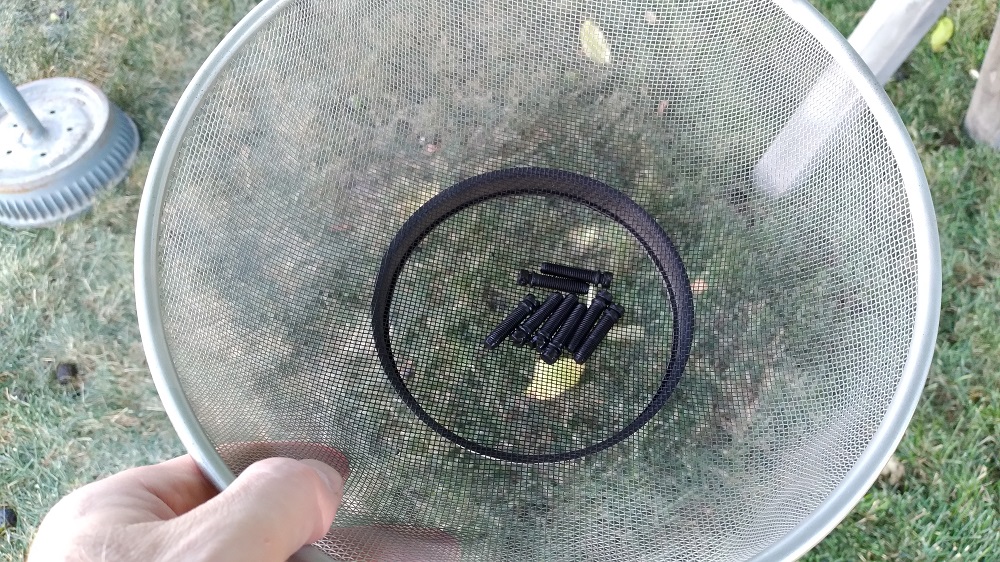
Blasted, and then primed the headlight adjusters while shaking them in a basket. So much easier.
Blasted and primed the rusty coils:
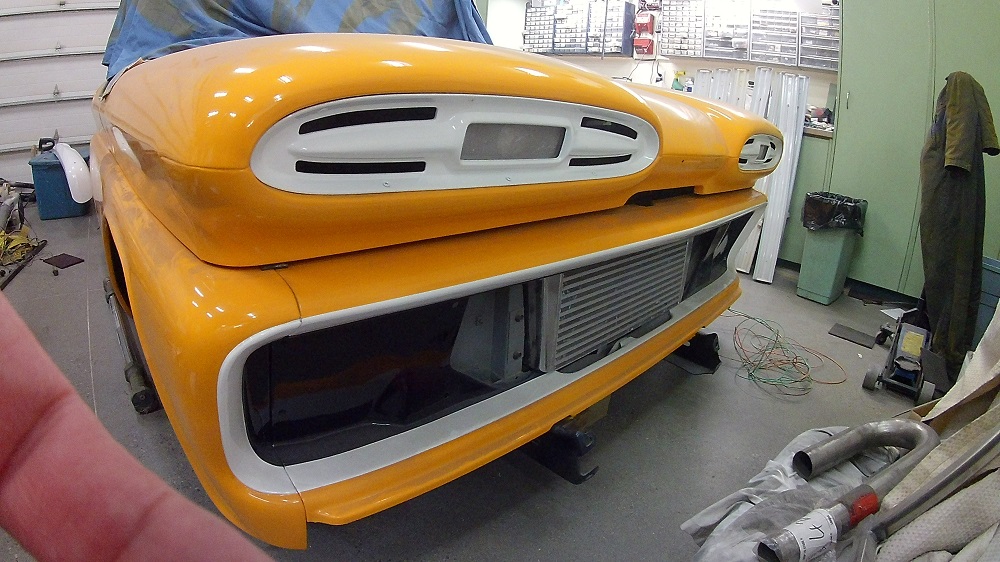
Got the signal-light/hood-inserts back in.
And I’m experimenting.
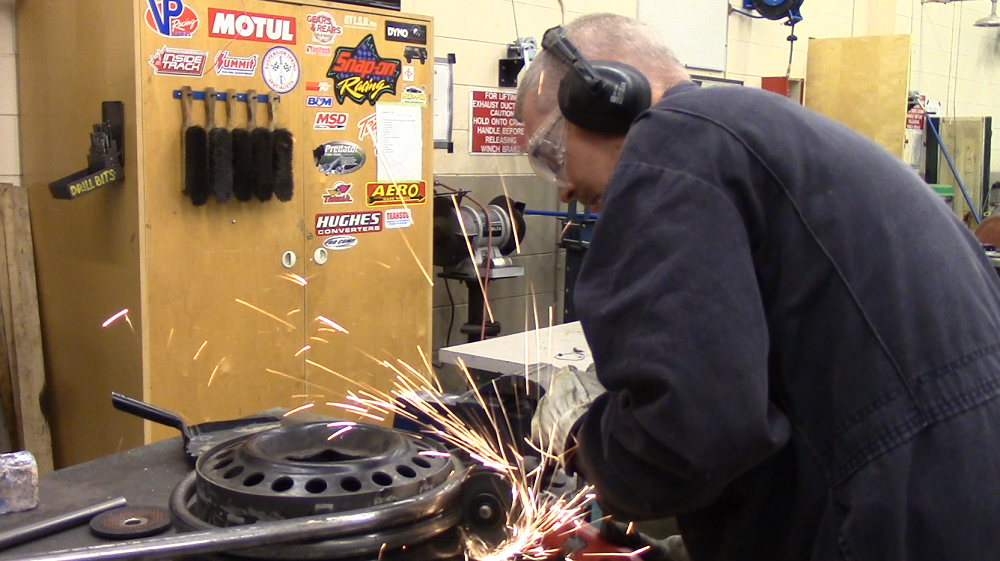
Modernize your vintage steering wheel. 17″ pencil-thin to 14.5″ 1″ thick.
First, make a hoop. I took a length of 1″ tubing and bent it around the drop center of an old Cavalier wheel (perfect diameter to get 14.5″):
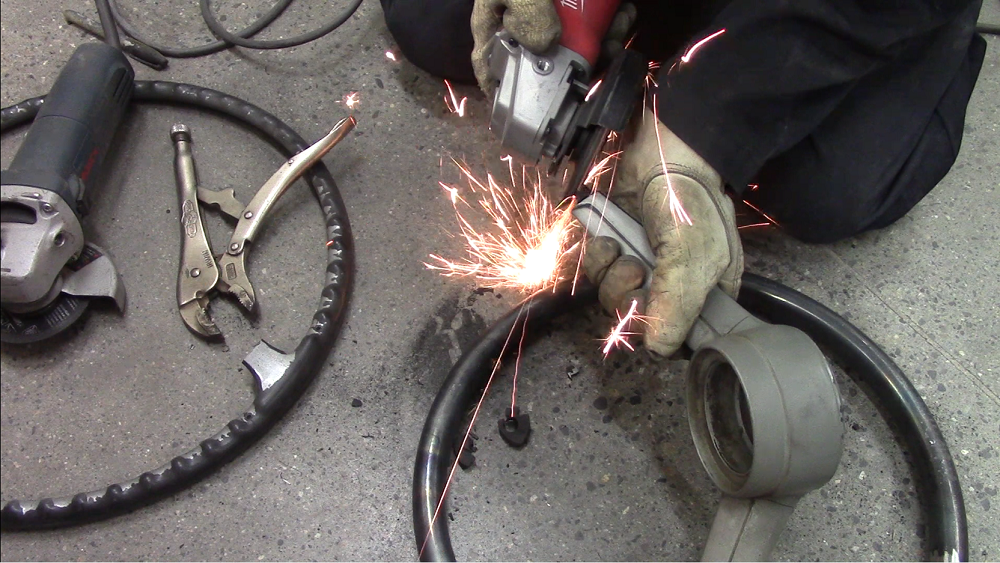
Cut where they overlap with a cutting disc on your angle grinder:
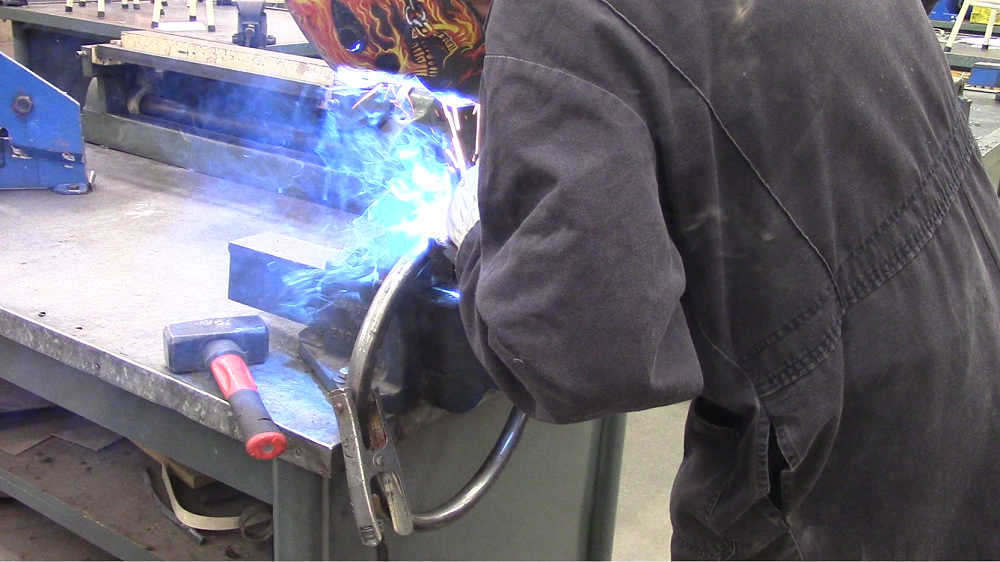
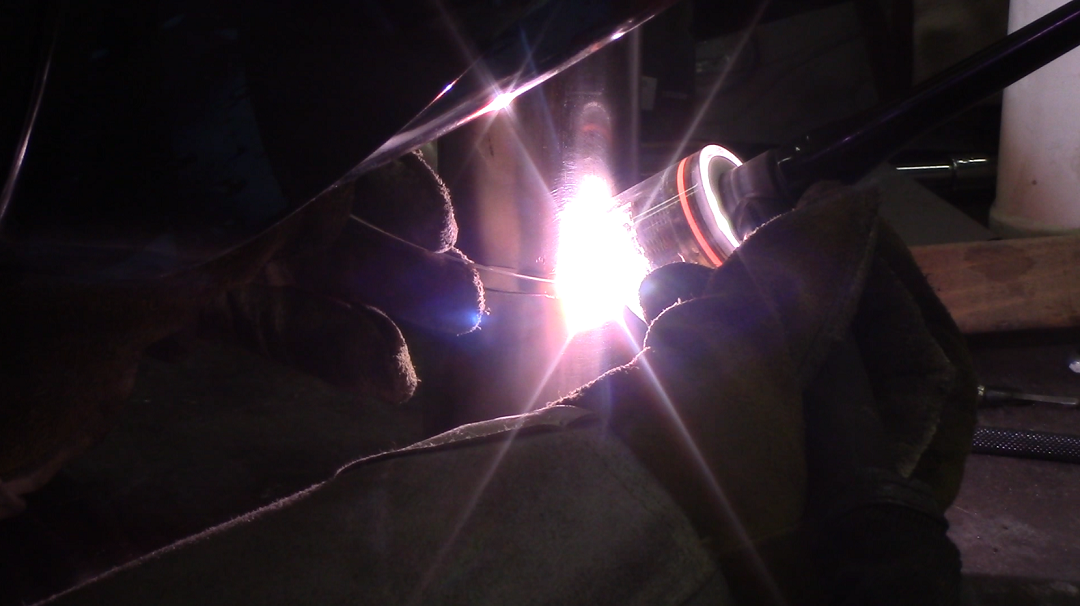
Clamp in a vice and weld together:
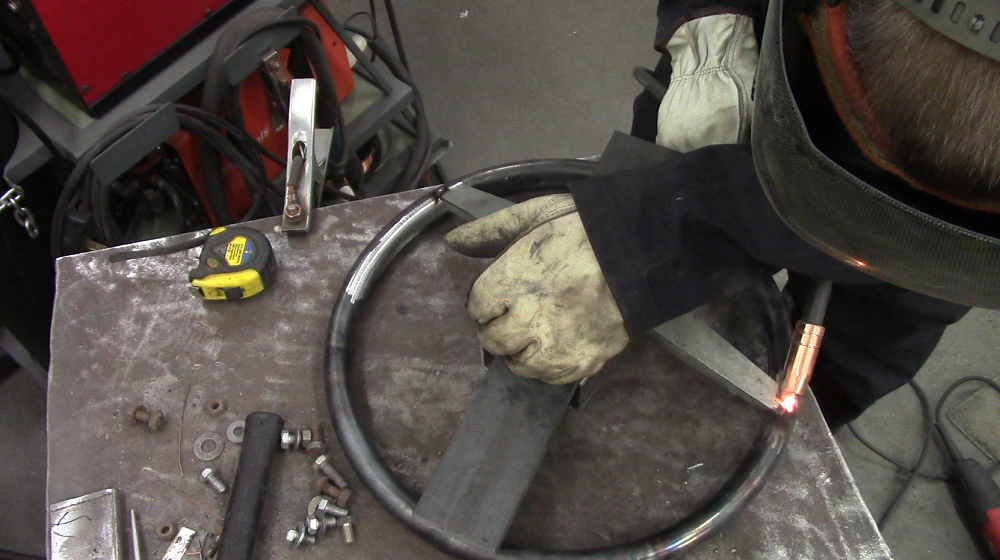
Cut and shape to fit:
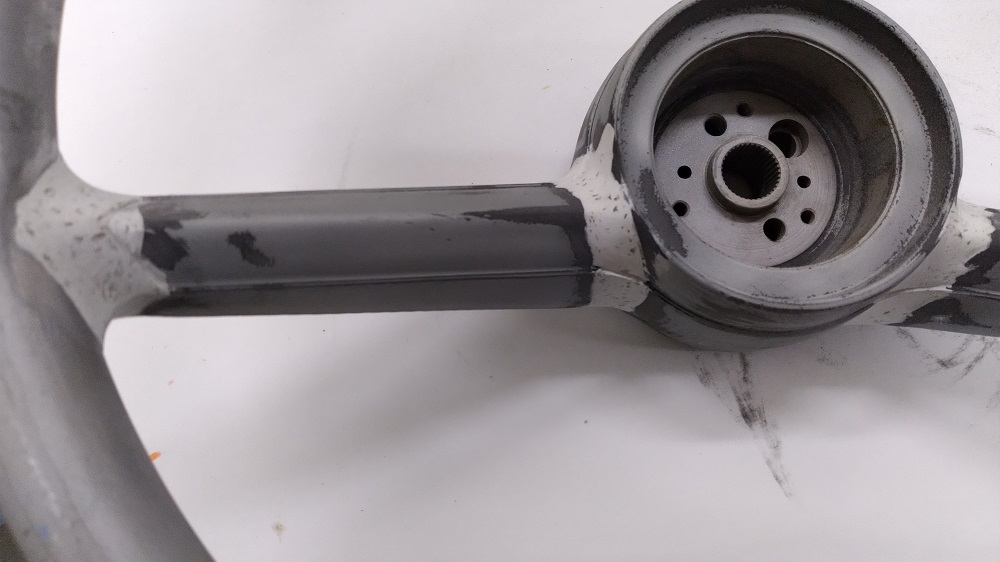
Tack in place (I used a stack of metal to get the right height, and square):
Fill the voids (I used JB Weld’s Plastic Putty, and I also chased and filled the age-cracks):
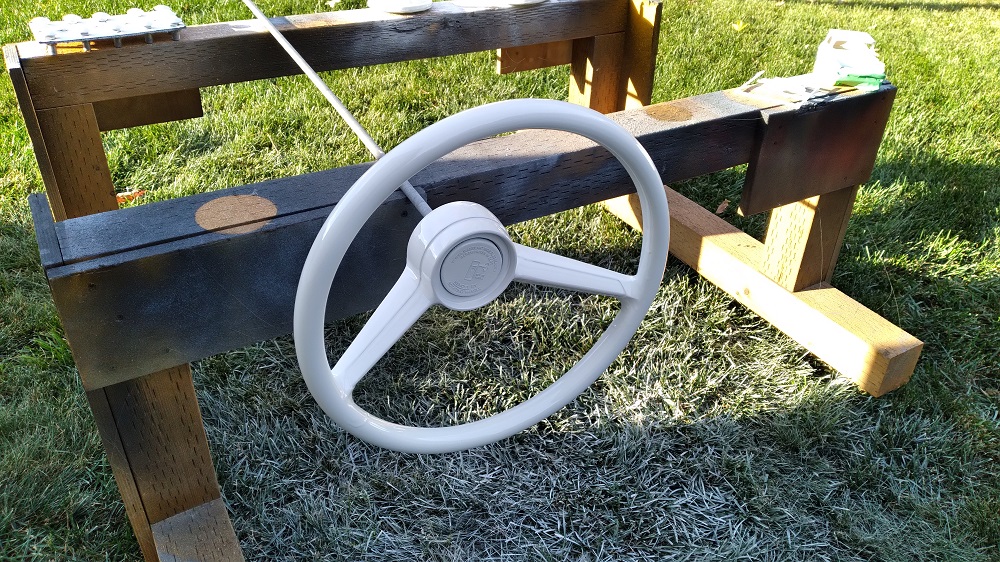
Primer:
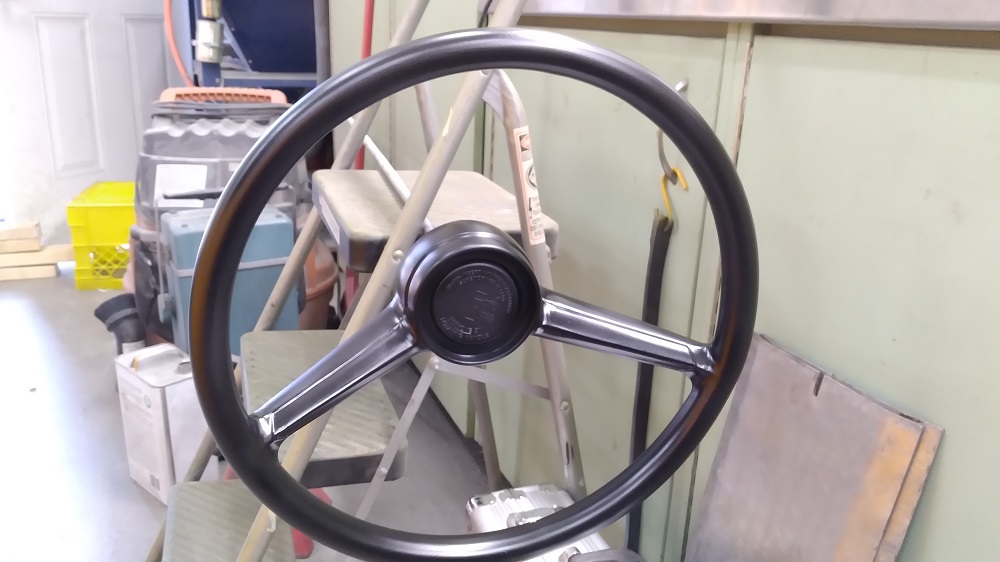
Paint:
Installed:

Back glass installed:
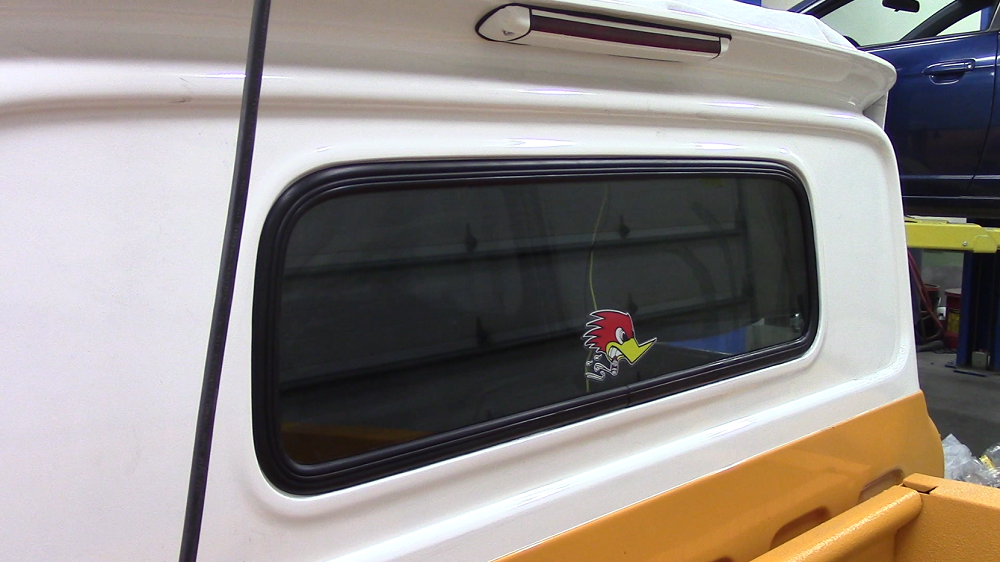
This Clay Smith Cams sticker got peeled off and replace with Moon Eyes. Reasons.
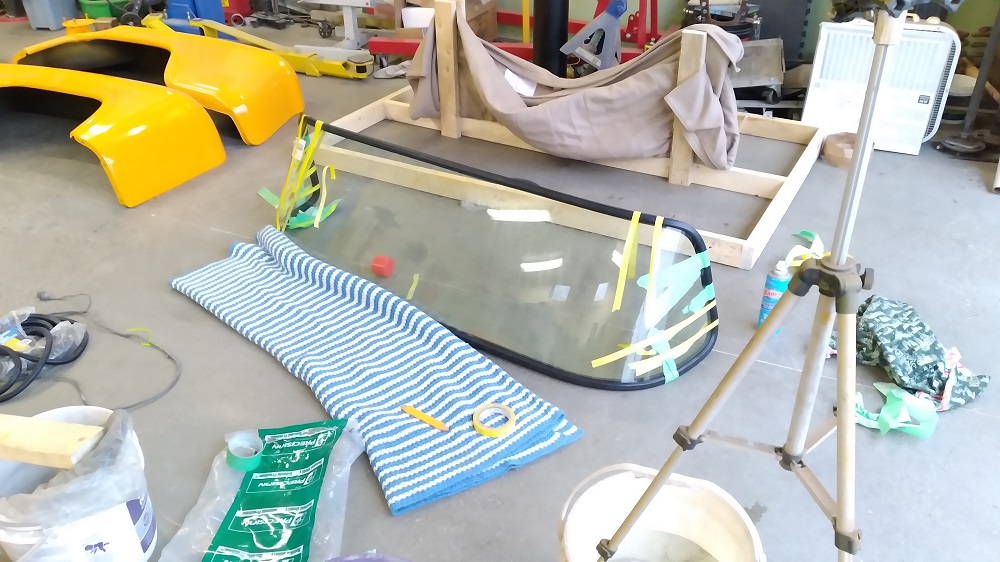
Front glass with seal:
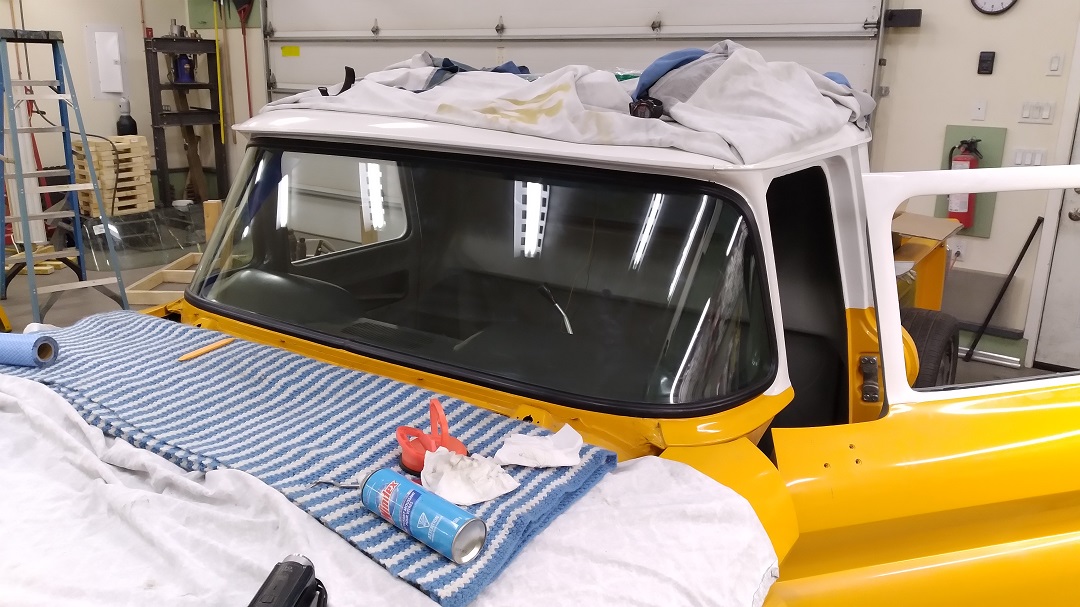
Front glass in:
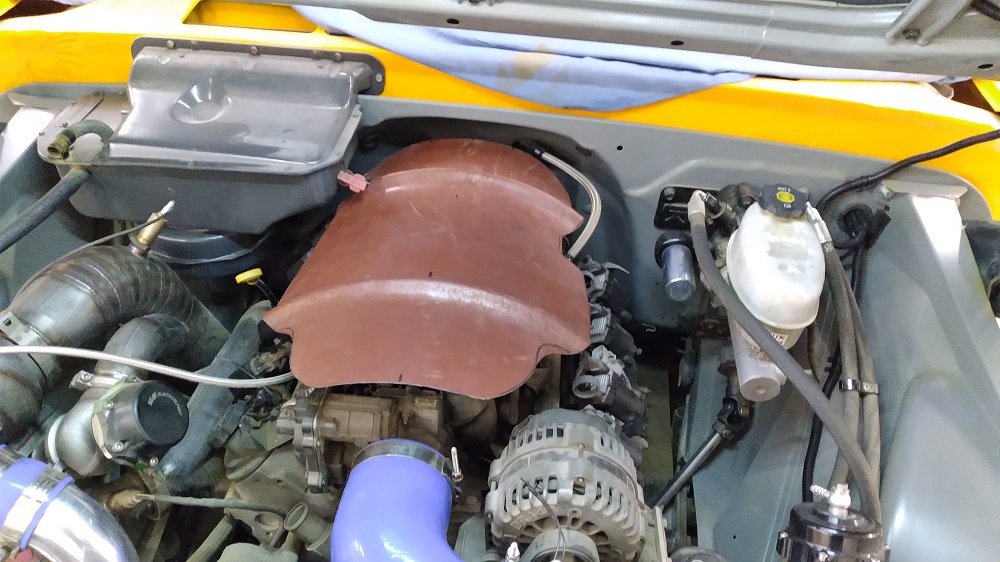
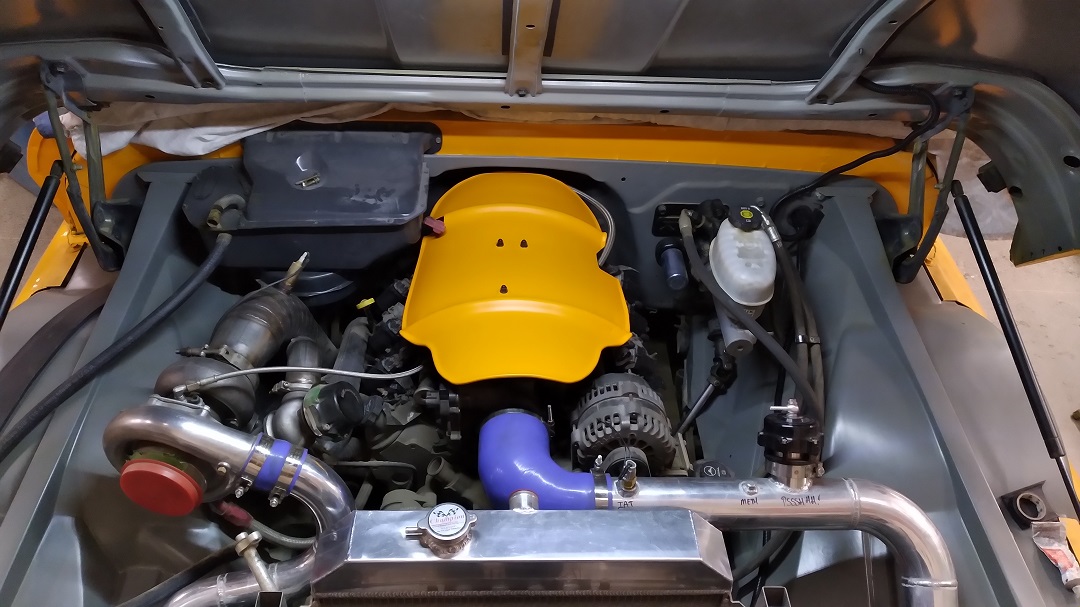
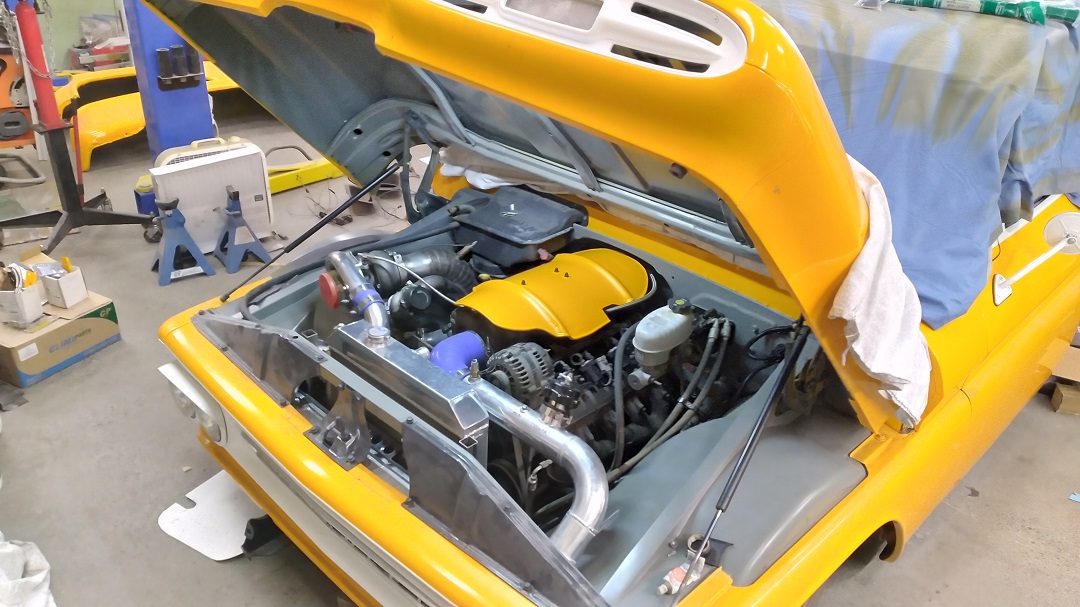
And an LS Engine Cover (still working on it):
Added a 1/4″ bead to the perimeter of the engine cover. Ready for blast/prime/paint:
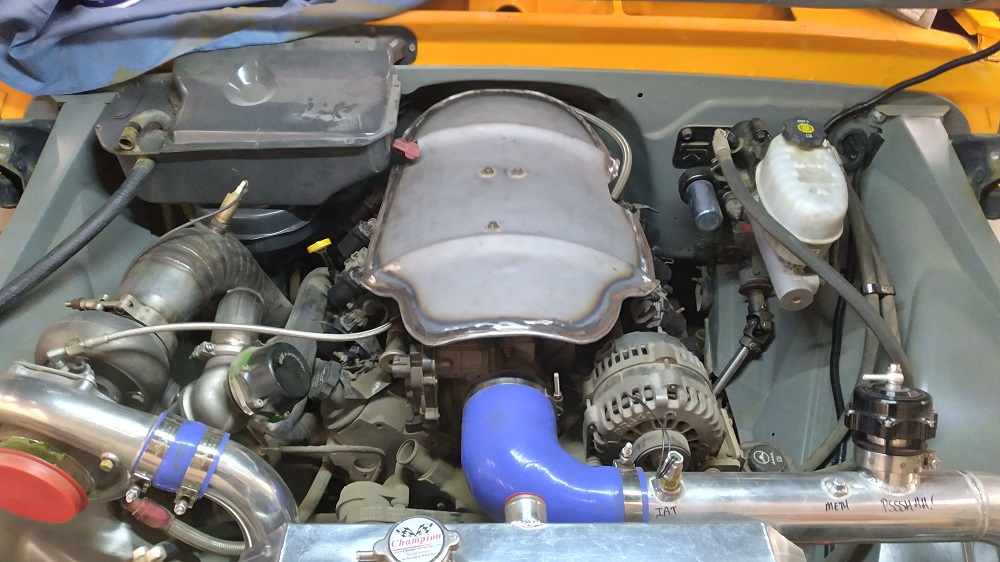
And in satin body colour:
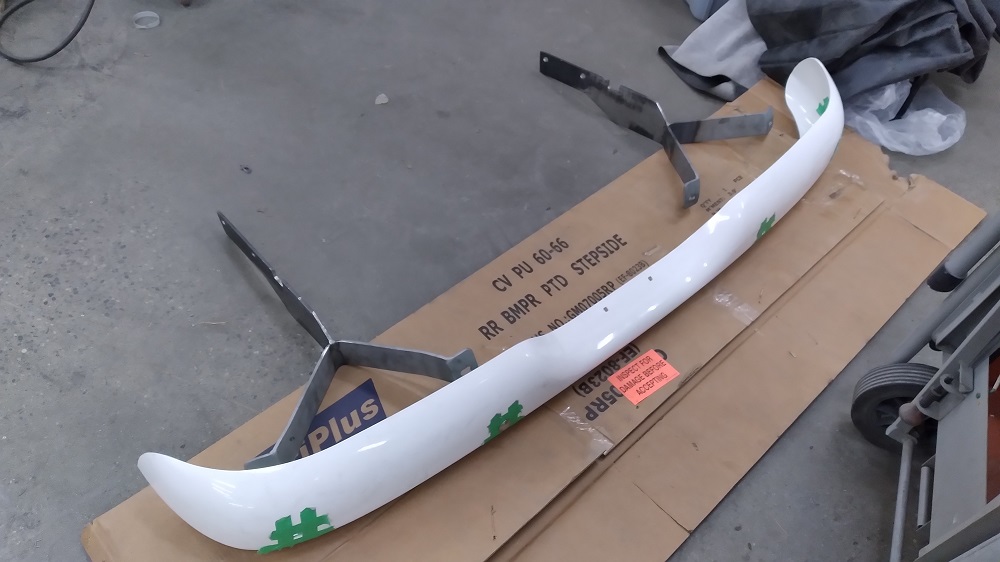
Fabricating bumper brackets. Yes, I know you can buy them, but I wanted to make sure everything was exactly where I wanted it to be.
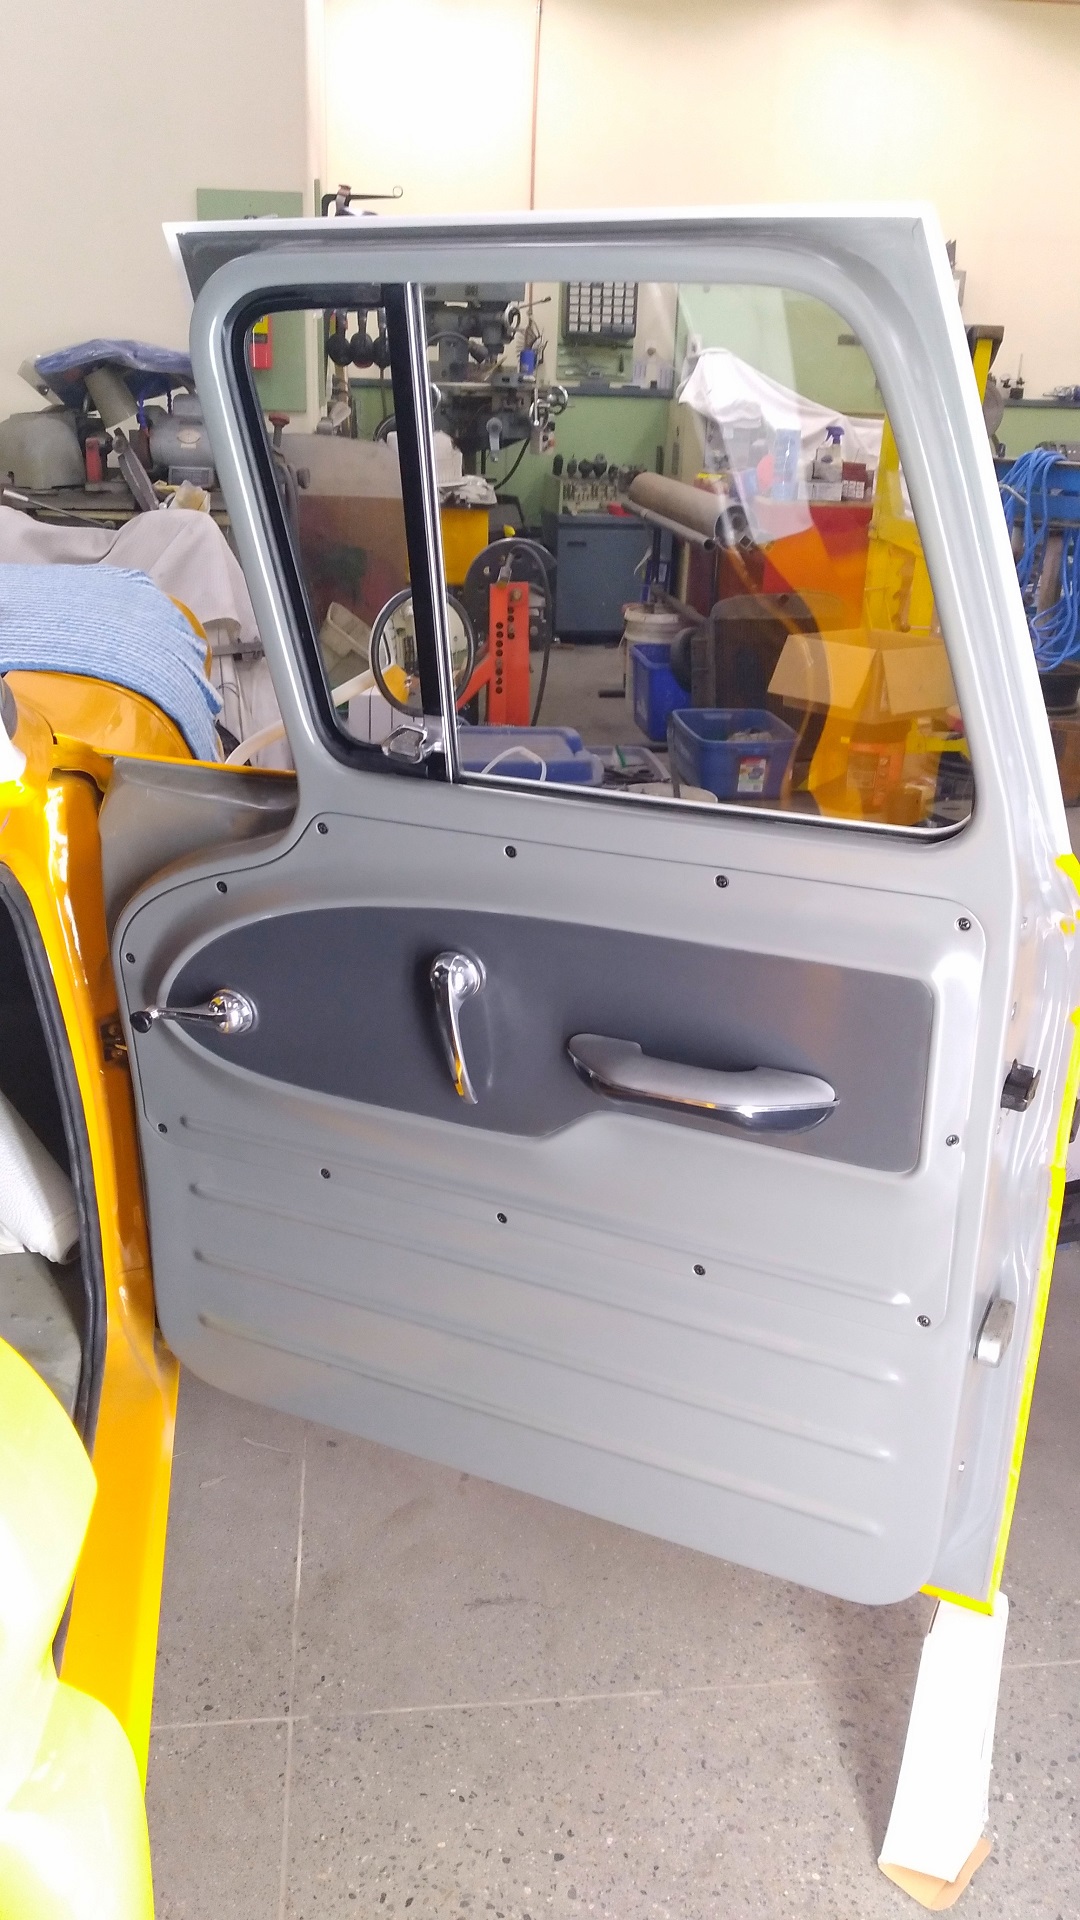
Note to self: Door Glass Screws
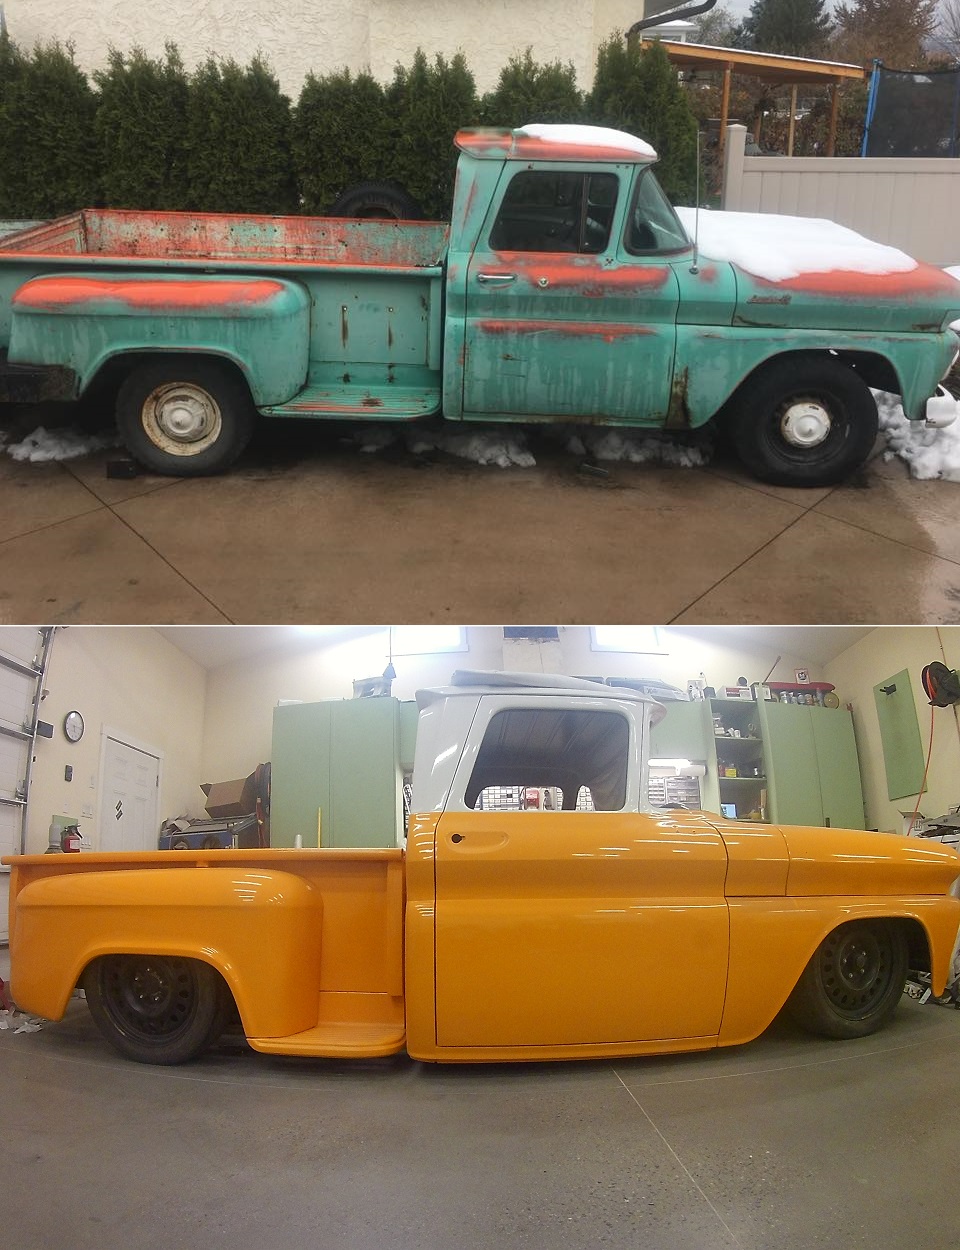
Before and after (at this point):
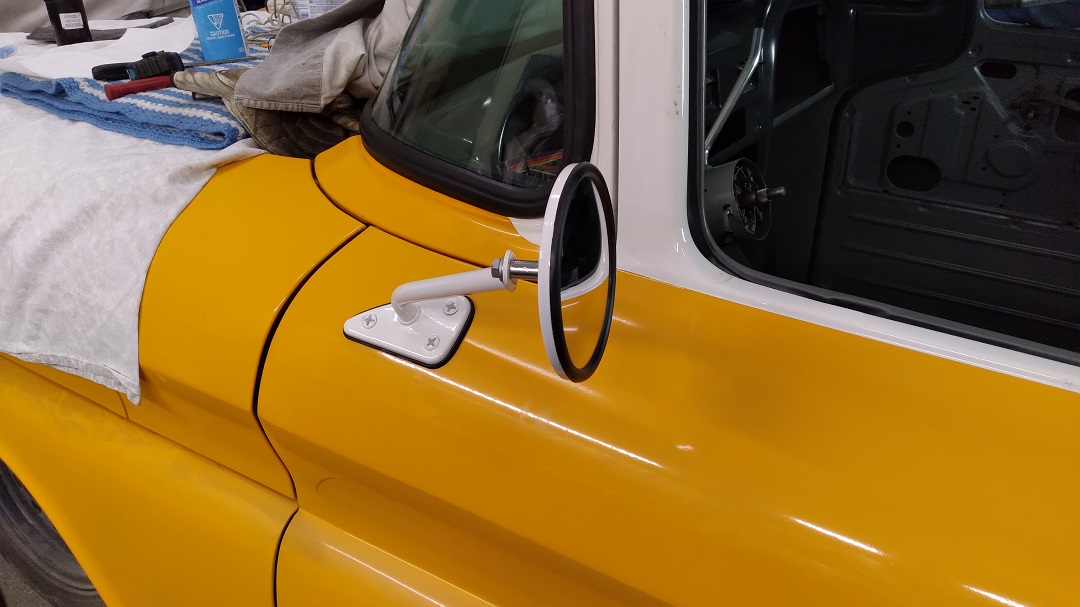
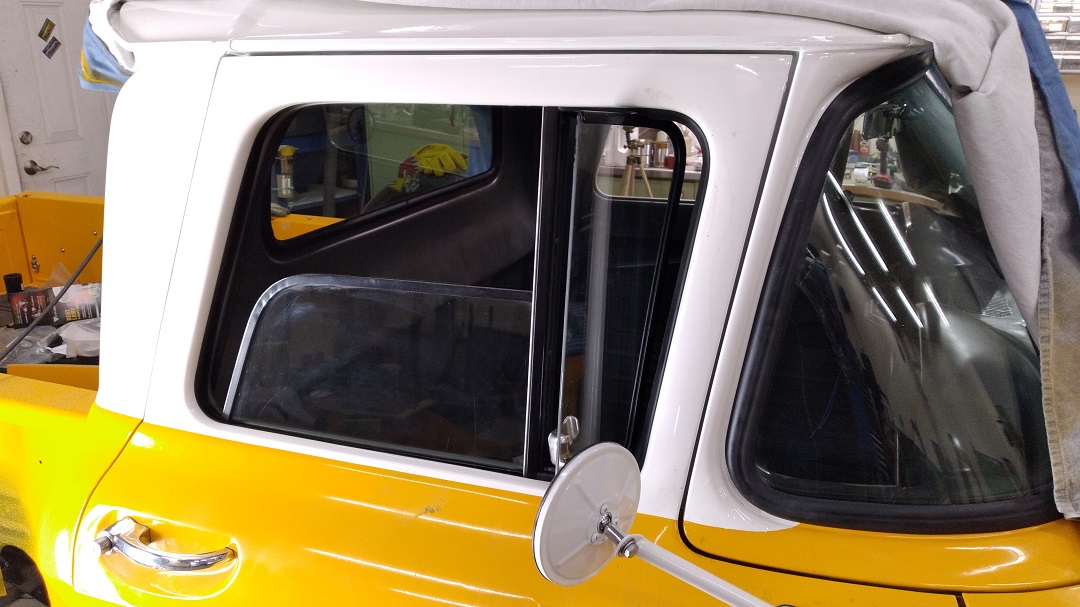
Outer mirrors installed:
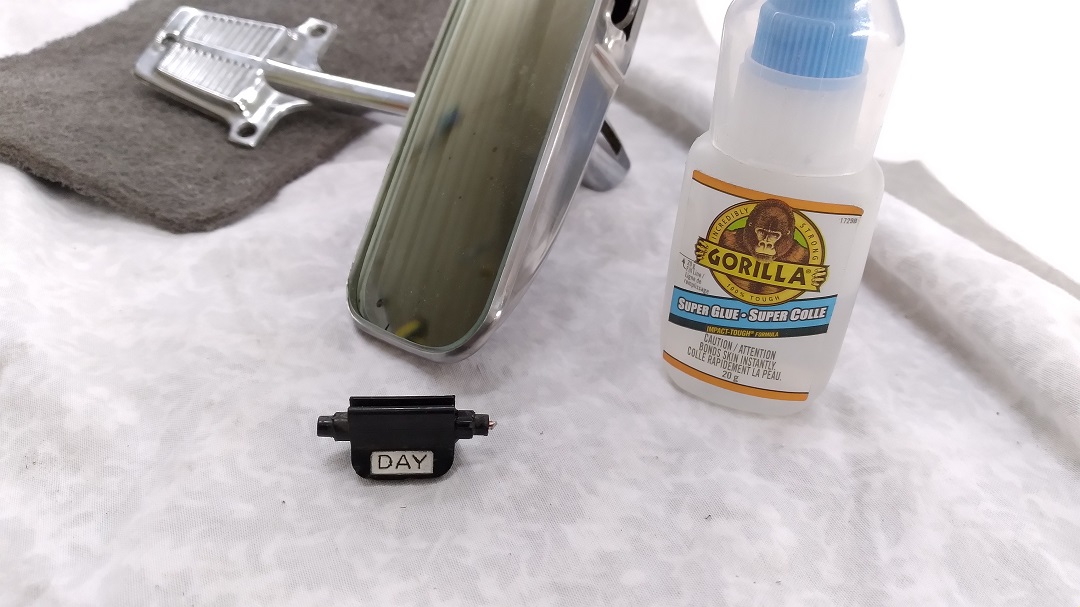
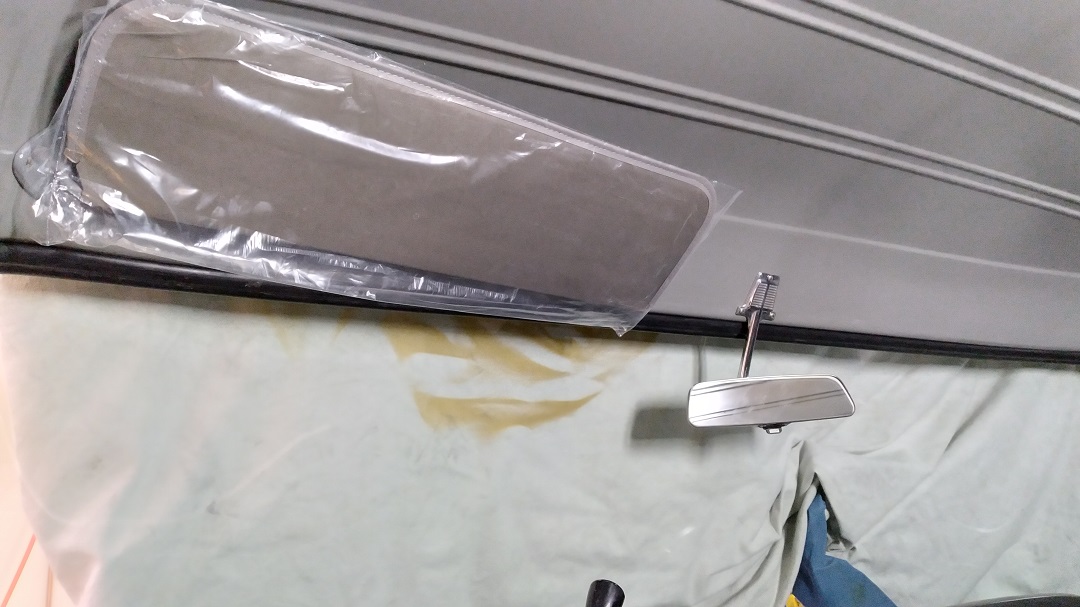
Inner day/night mirror repaired (1/16″ TIG rod and Gorilla Glue), and installed along with new visor:
Tire Teaser:
Grill supports got painted in semi-gloss polyurethane, and the grill got properly mounted with 3/16″ aluminum rivets and rivet washers.
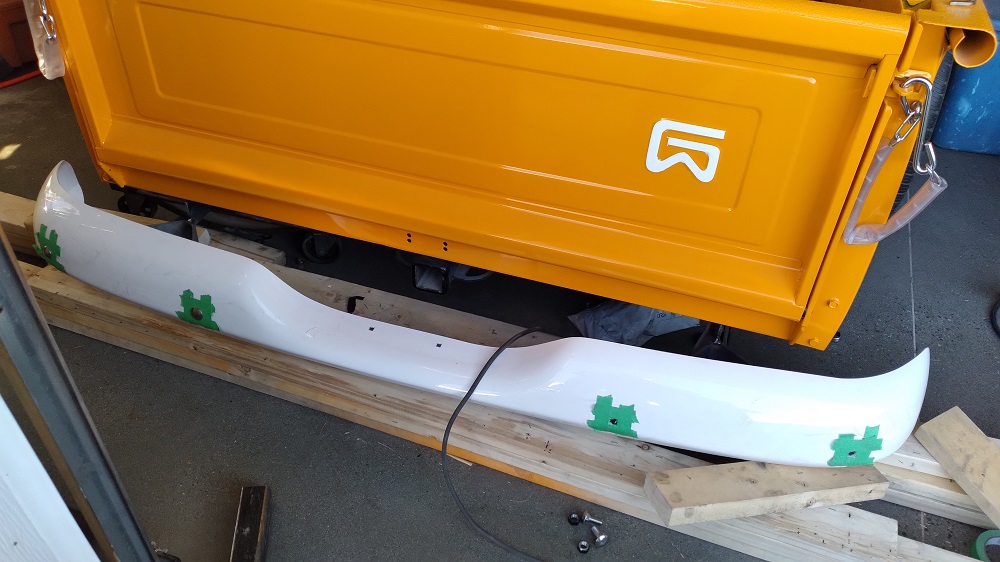
Bumper also got mounted with stainless carriage bolts I had blasted and shot in polyurethane back when I did the steering wheel.
Not shown, I have door seals installed. Working on wiper motor mounting.
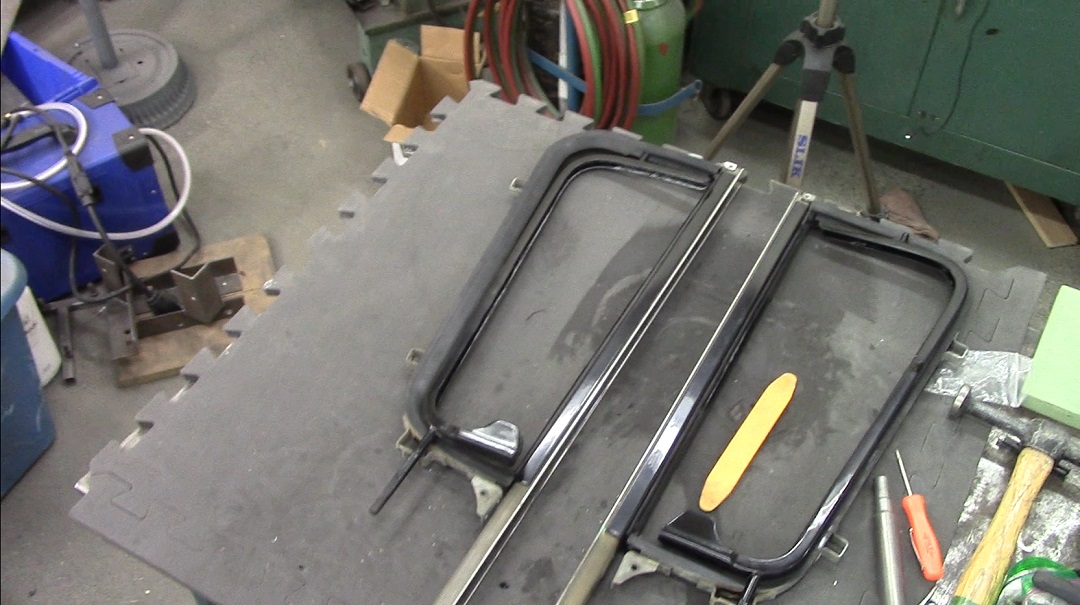
Prepping the vent windows. Waiting on glass setting tape to come in:
Installing the glass reminds me of how crappy the factory parts are, how crappy aftermarket parts are, how fragile paint is, how ham-fisted I am when assembling this truck, and how much less I’m caring about perfection as I complete every task. *sigh*
Squish and shave the door felts like this. This is how the factory did it:

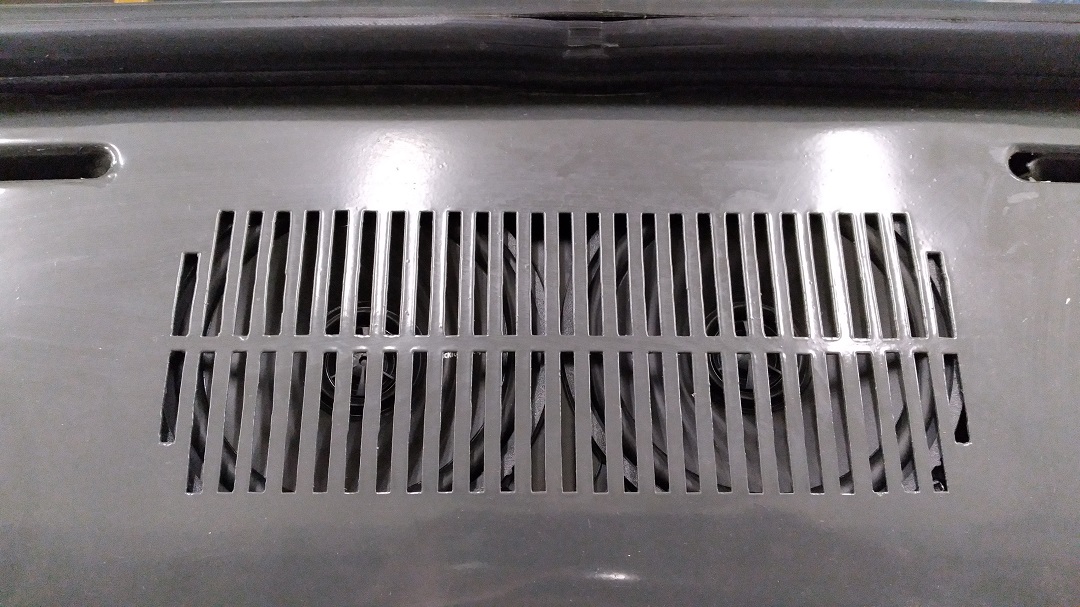
I had previously made a fancy speaker holder that would angle a pair of 5-1/4″ coax to hopefully improve the soundstage from a center-mount speaker. Sadly, it did not clear the heater controls, or the modifications I did to the ashtray to house the air ride gauges. Grrr. So…. flat panel it is.
I had also added 6 more rows to fit the speakers better than the single opening was:
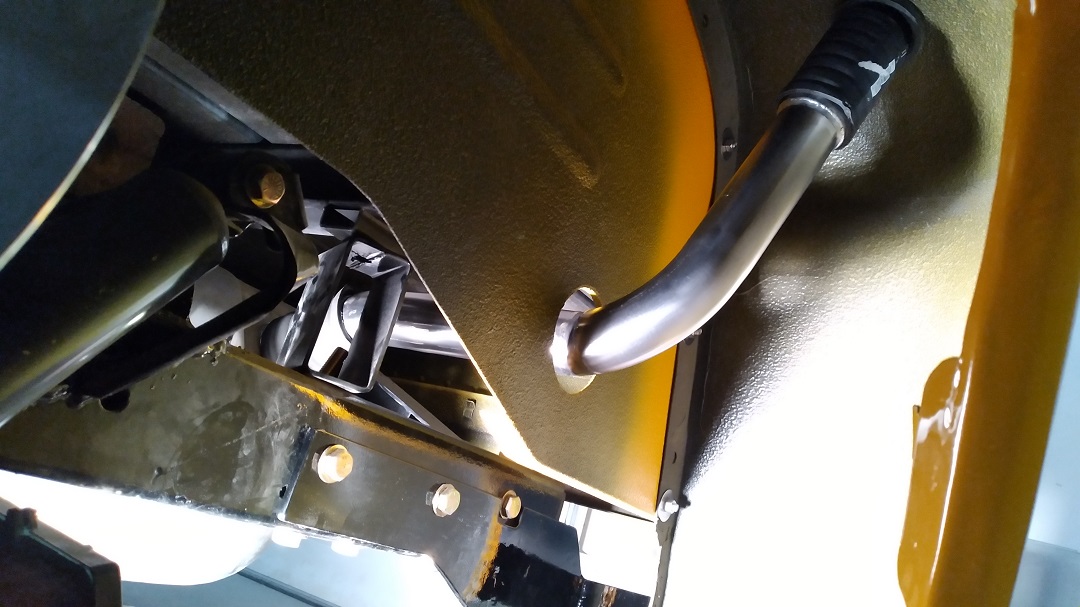
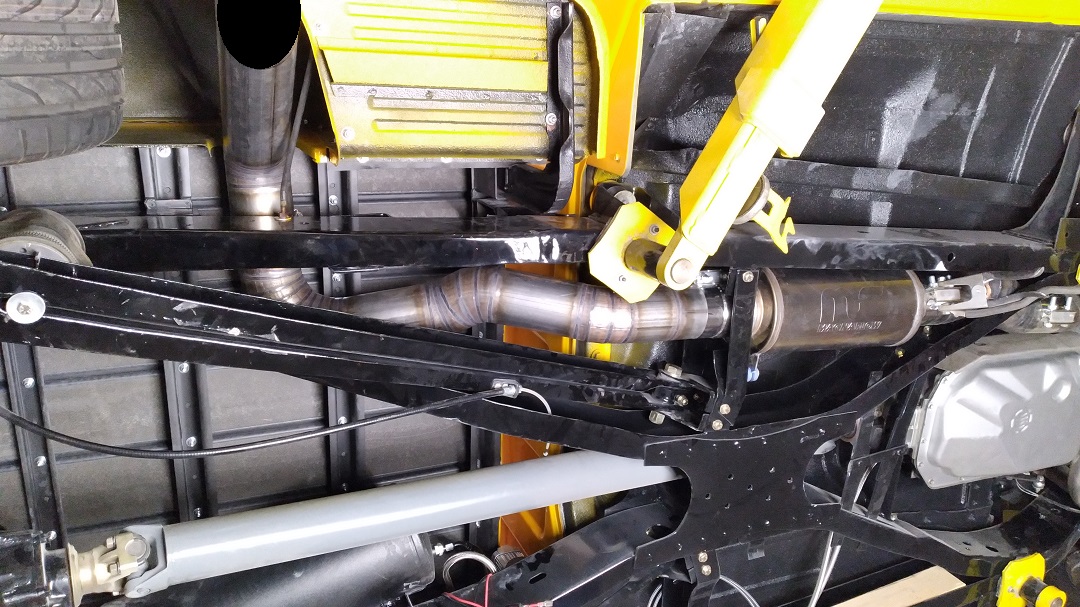
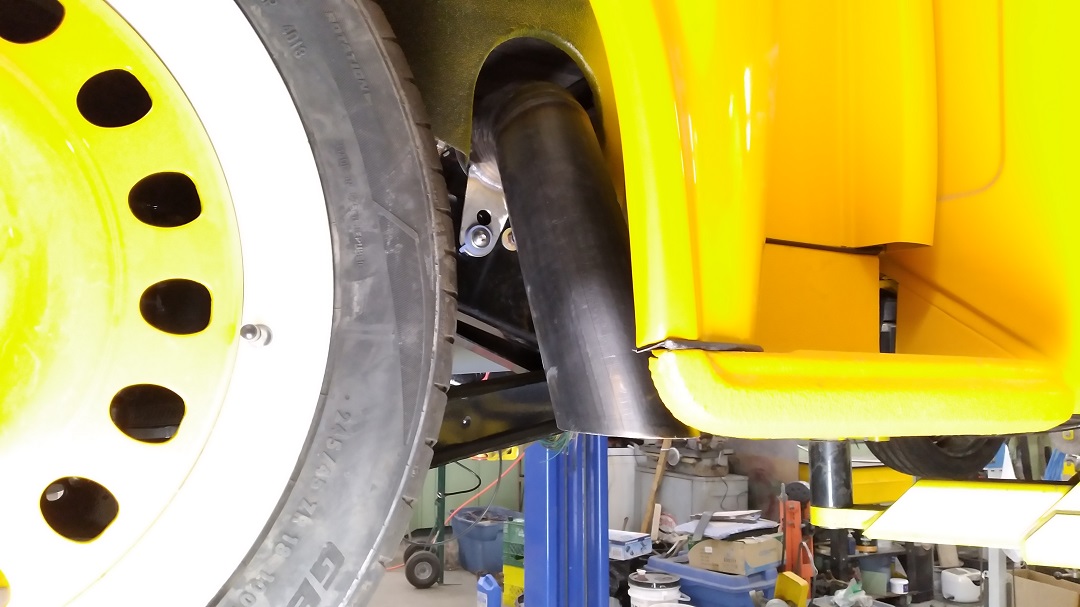
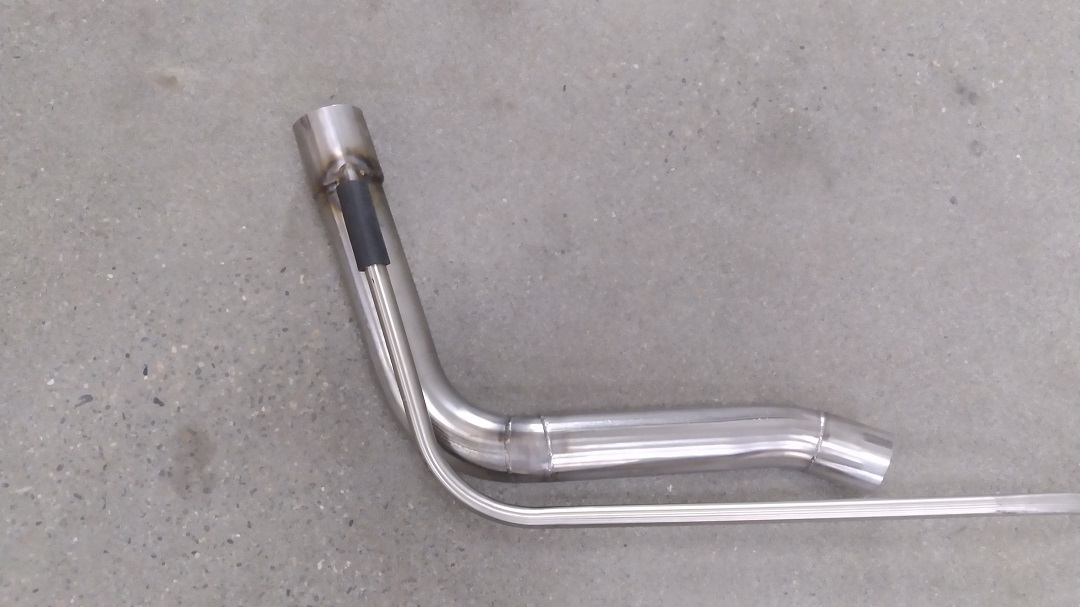
Fuel filler tube fabricated out of stainless. Tank inlet was 2″ and the filler neck was 2-1/4.” I had bought an exhaust reducer, but it really didn’t fit well, so I hand-flared the 2″ to match a 2-1/4″ section I had laying around. Filler neck uses original (but new) rubber seal.
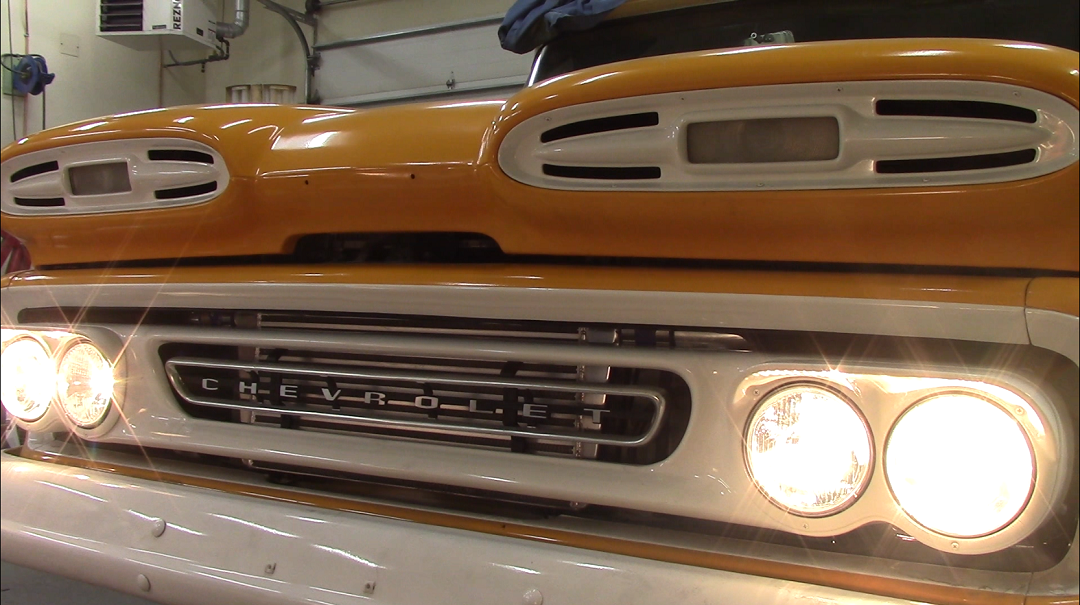
And we have working headlights!
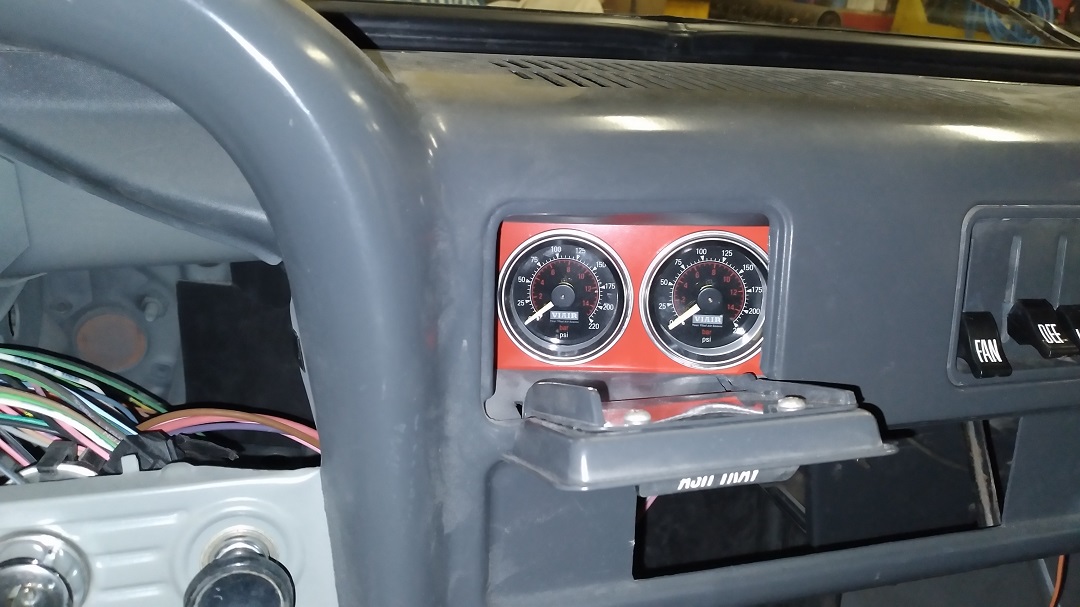
Air Ride gauges hidden in what used to be the ash tray:
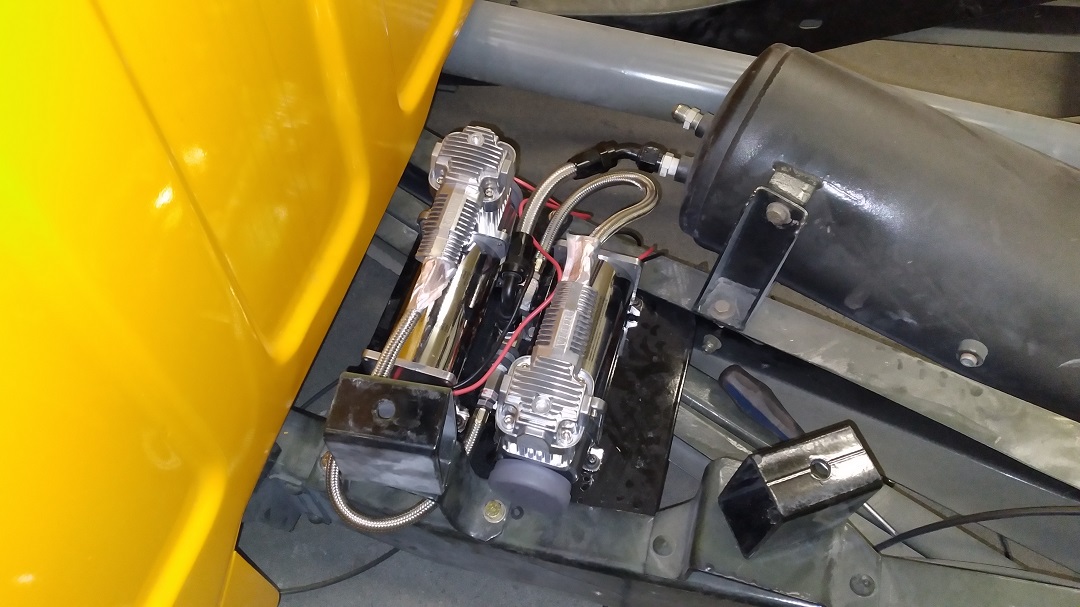
Plus two Viair 400’s:
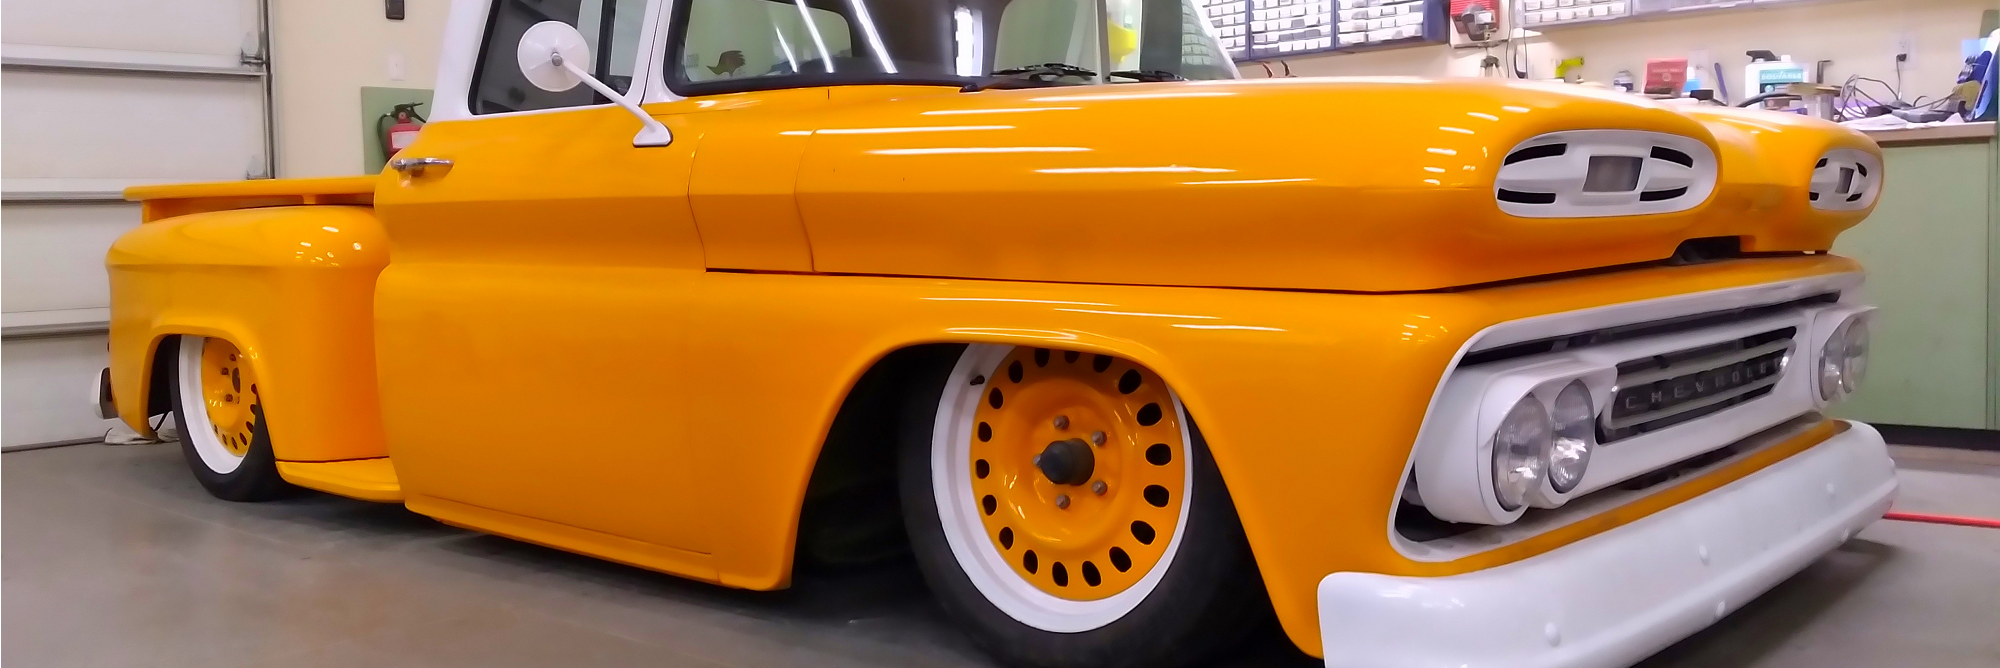
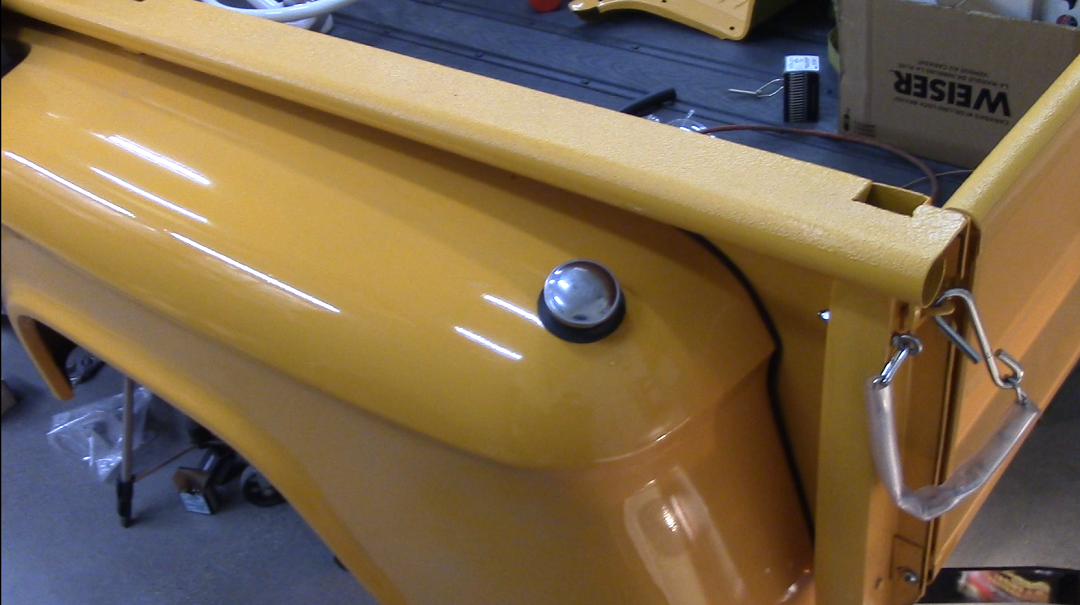
Slow slow progress of late. Bed back on, bumper on, fenders got welting, steps added, taillights added, wheels on, aired out:
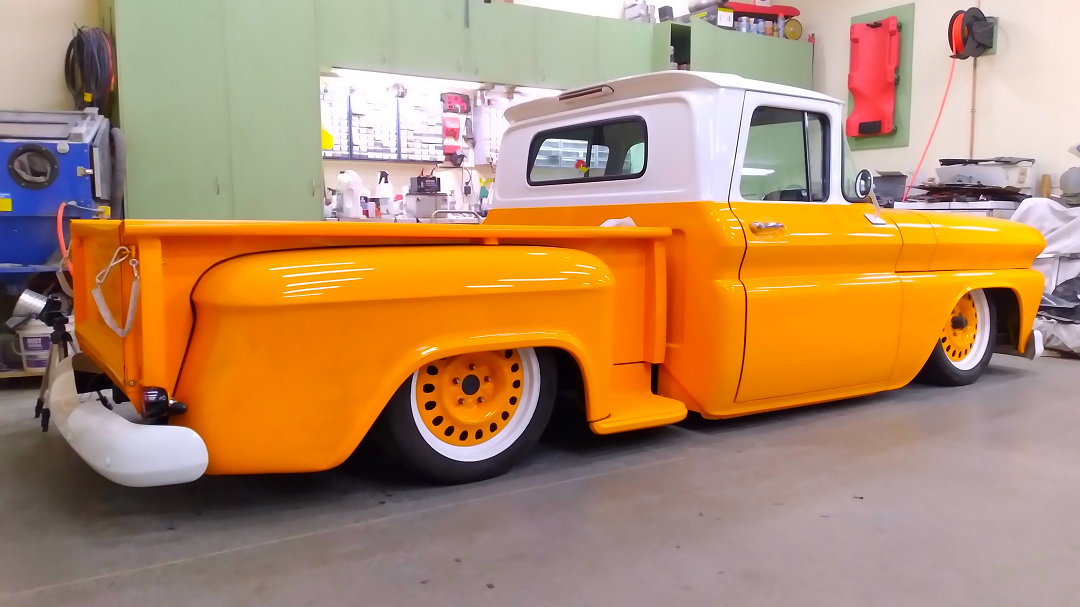
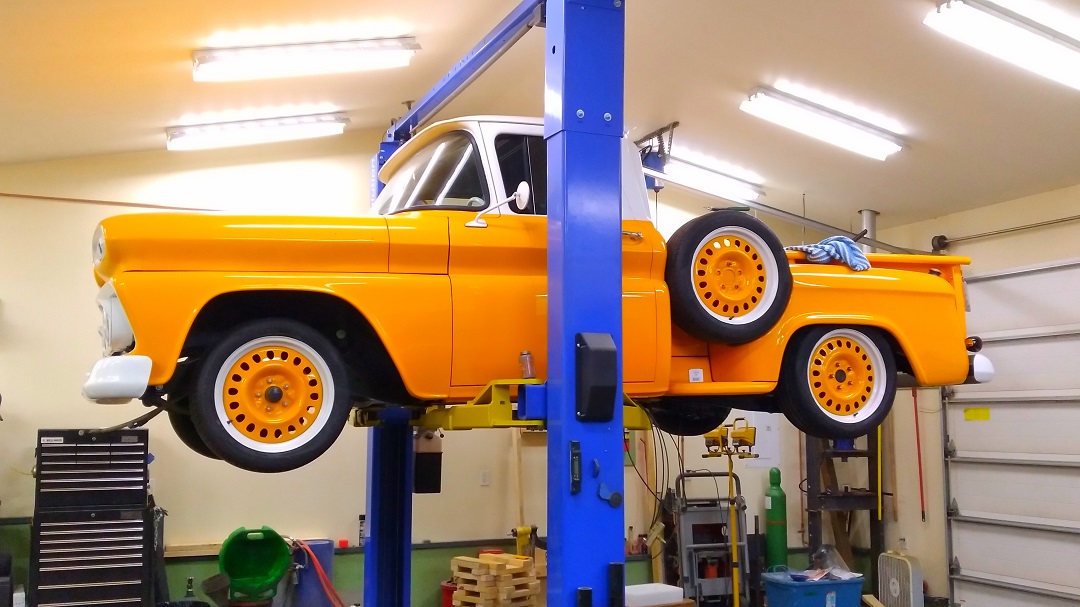
Moved over to the hoist:
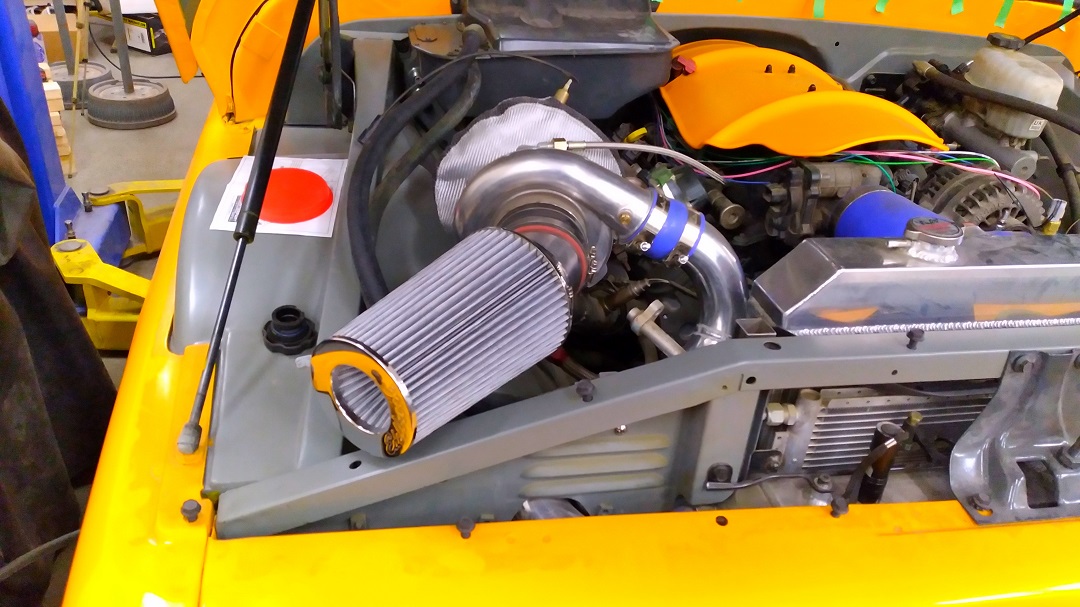
And fabricated an air filter elbow as well:
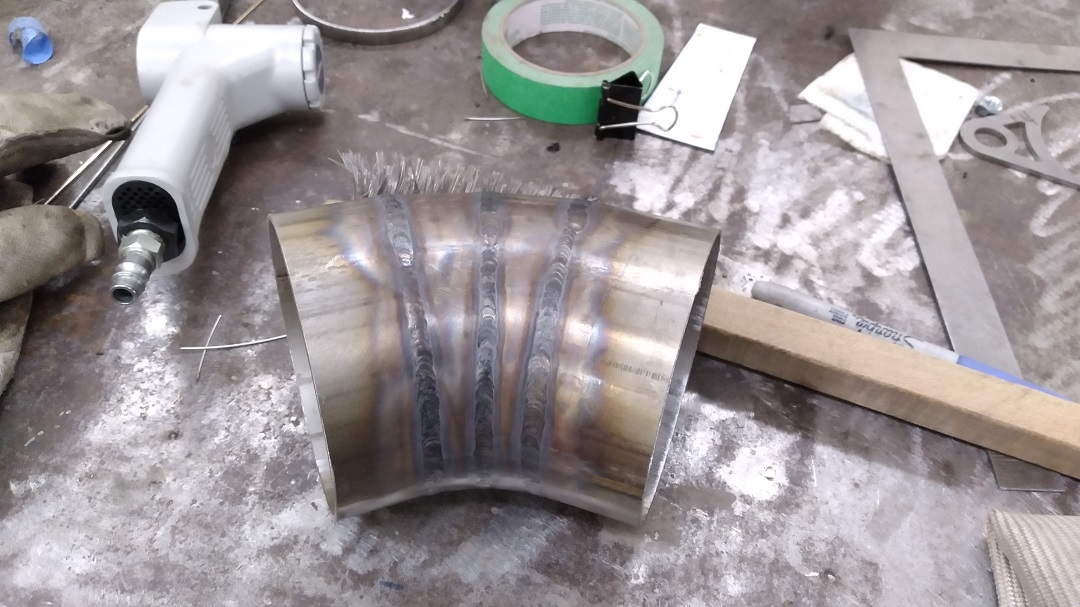
Except I did have to cut a bit off to actually fit the filter. Just.
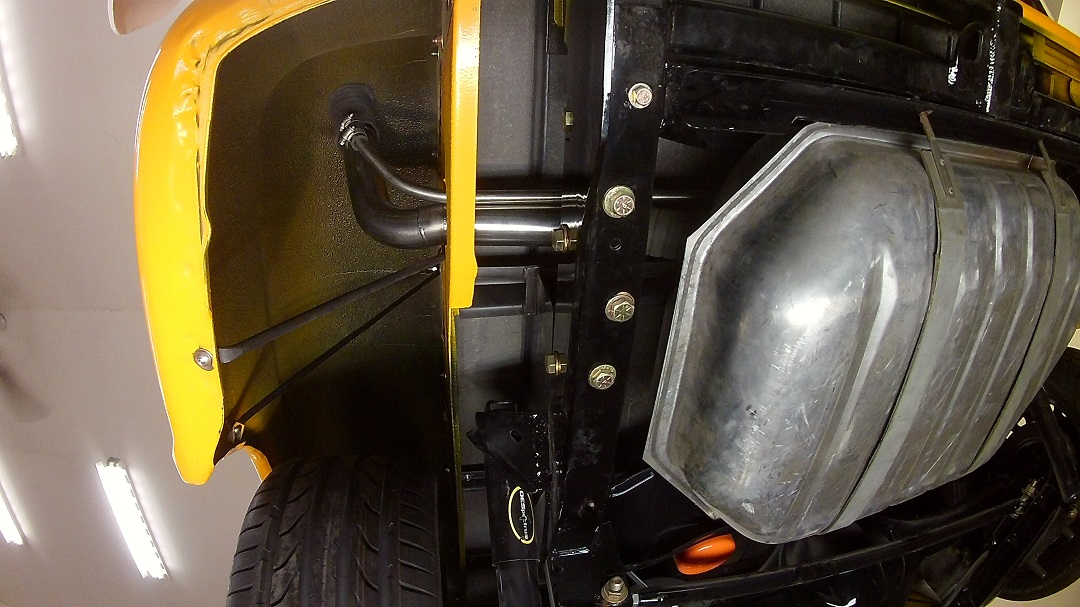
Back on the fuel filler, with the vent to make filling much easier:
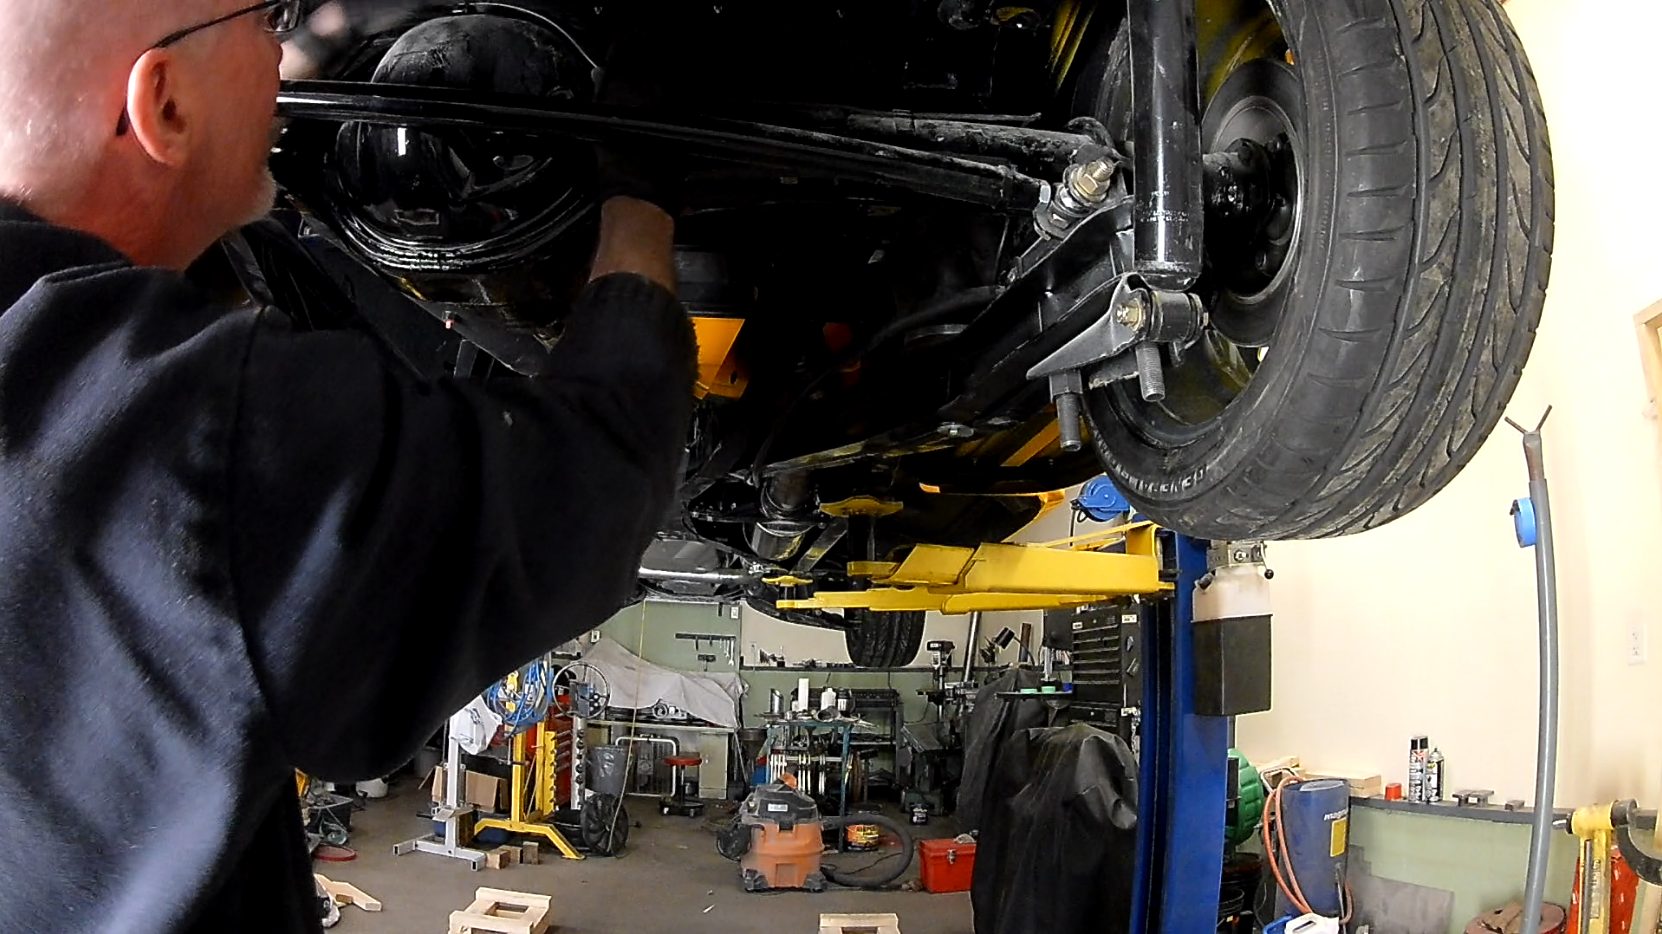
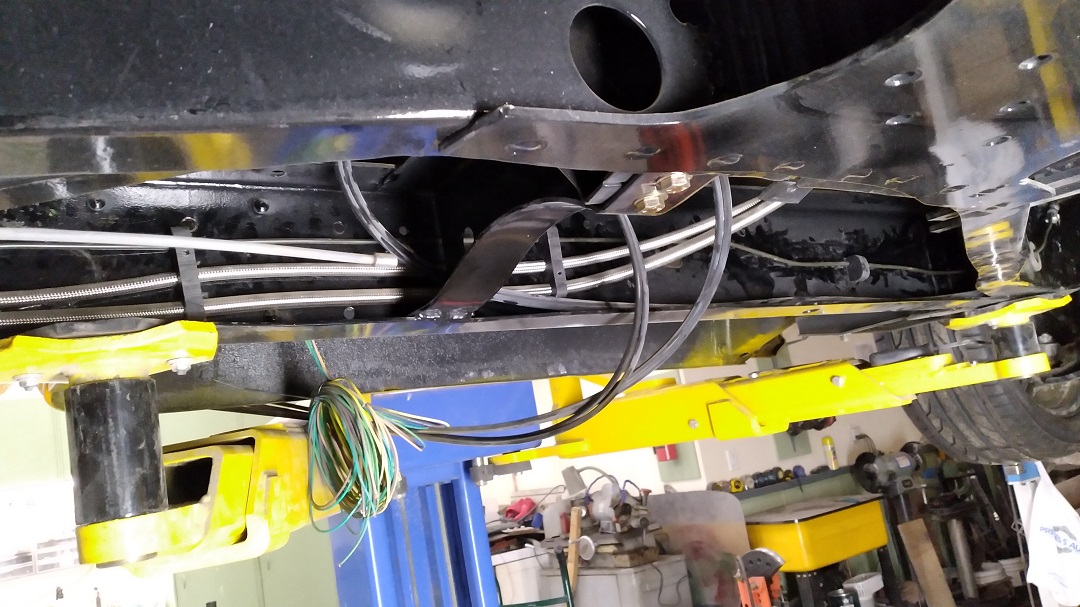
Back Brakes are plumbed from the Wilwood proportioning valve back.
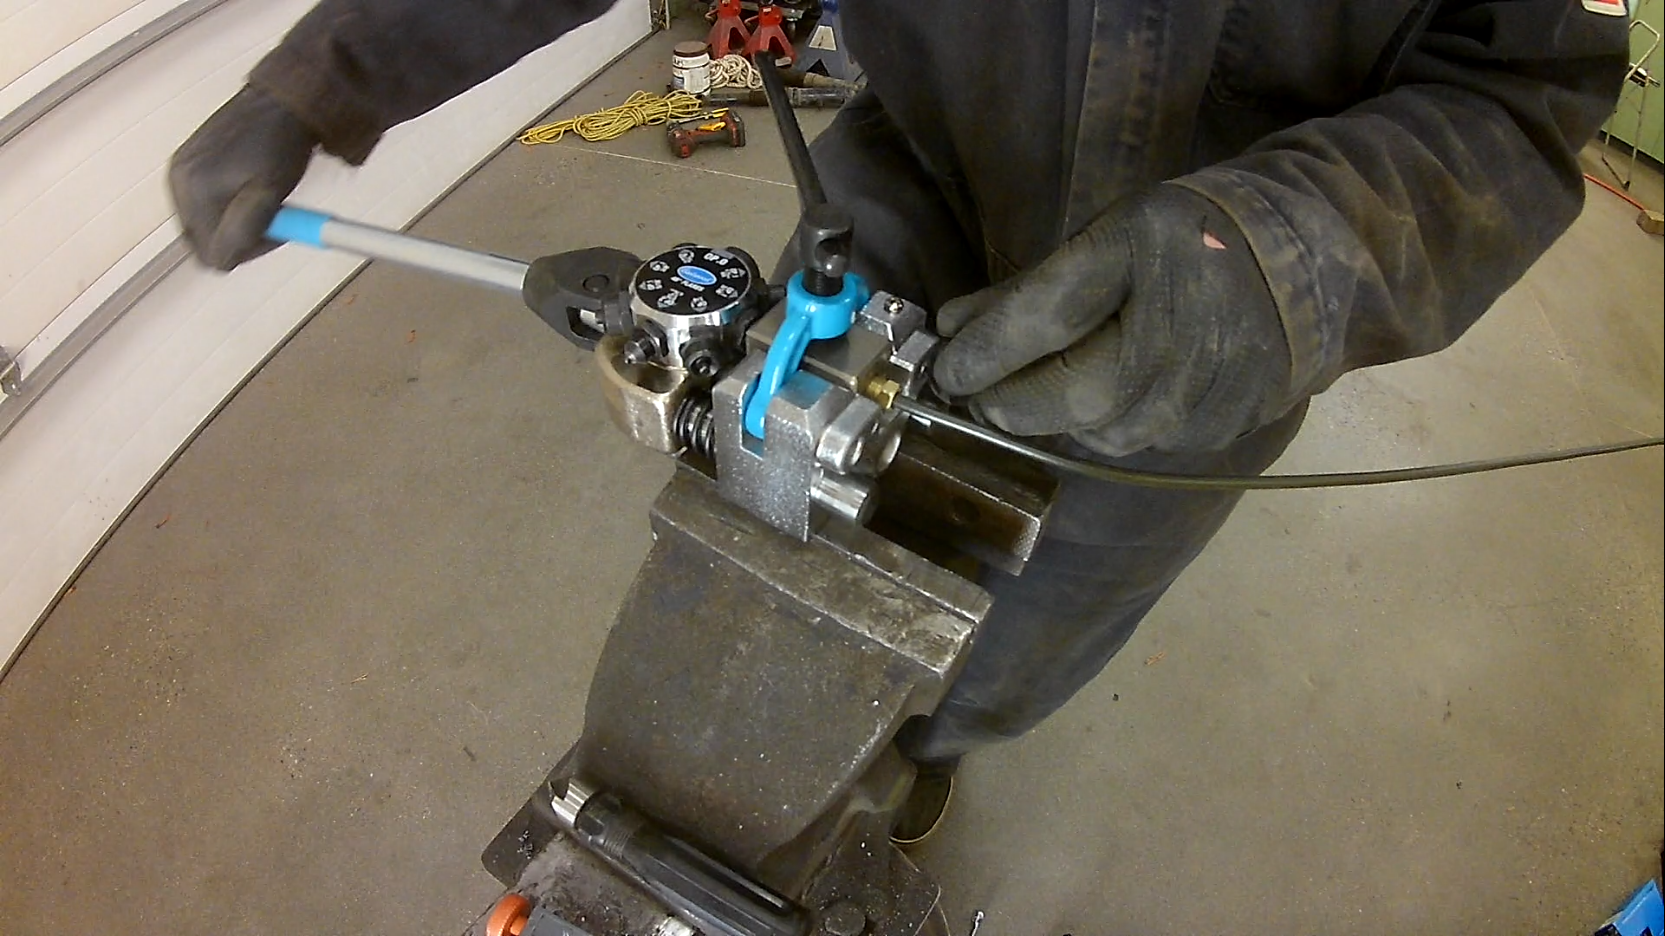
You have GOT to get one of THESE:
Fuel and brake line clamps made from some sort of plastic I bought two years ago.
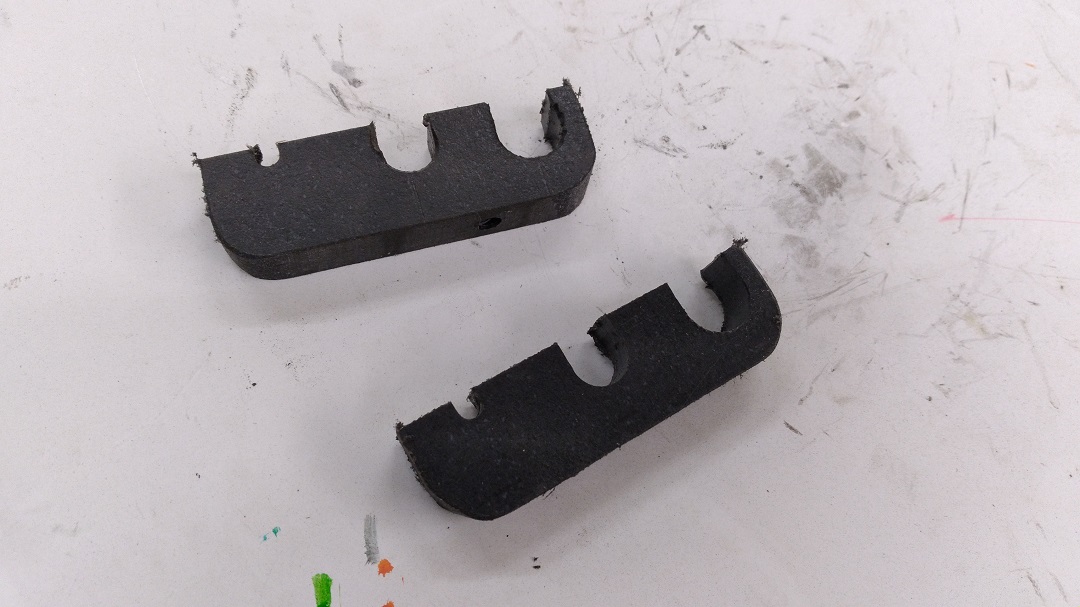
Four large ones, and that one wee one on the right. Air lines and wiring dangling:
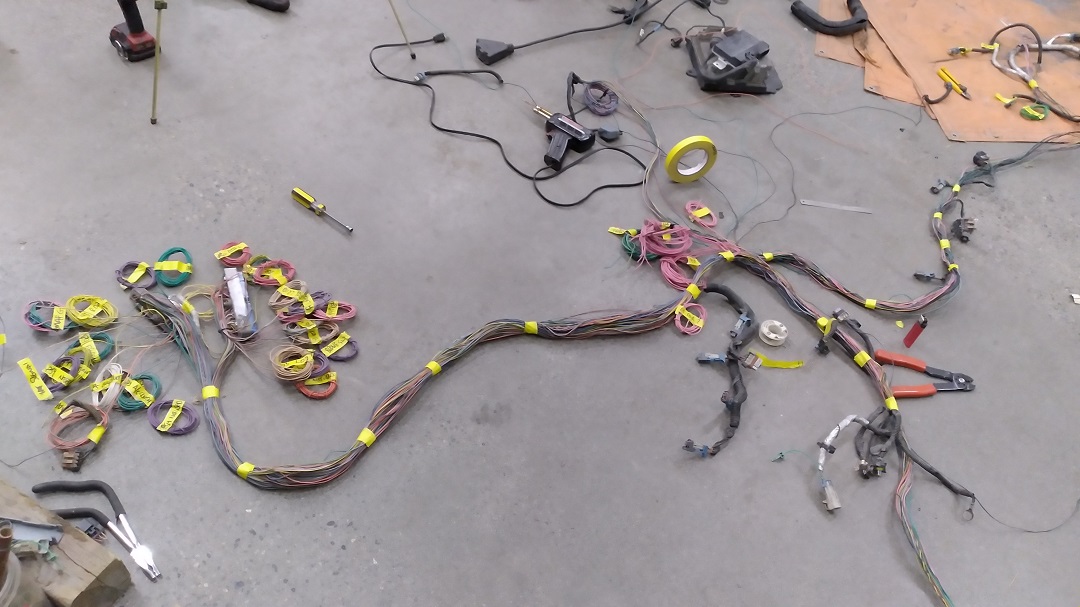
Working through one of the parts I really enjoy. Sorting out and stripping down the LS harness:
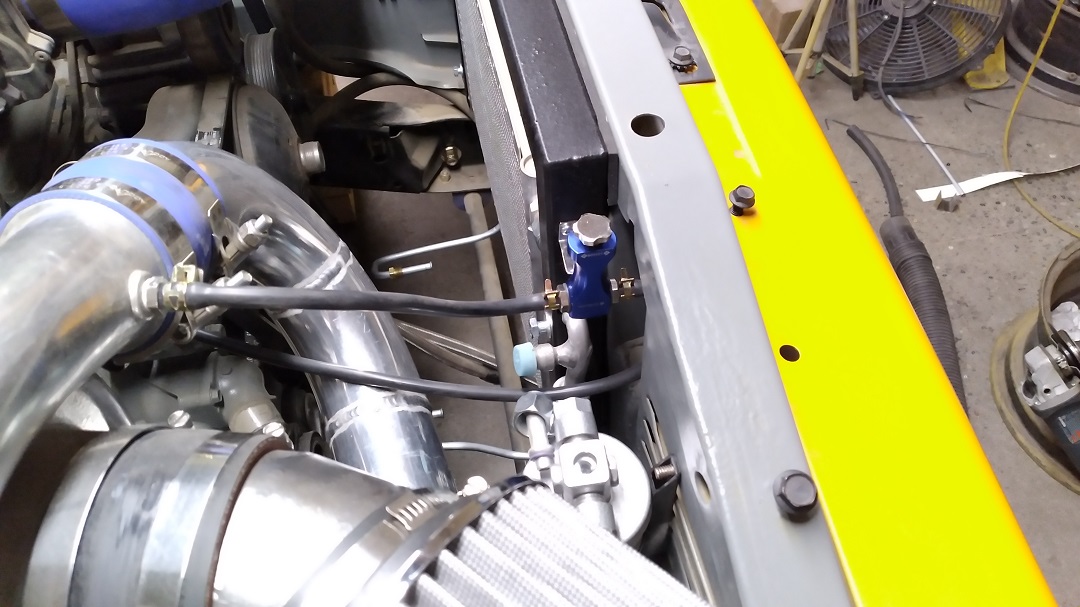
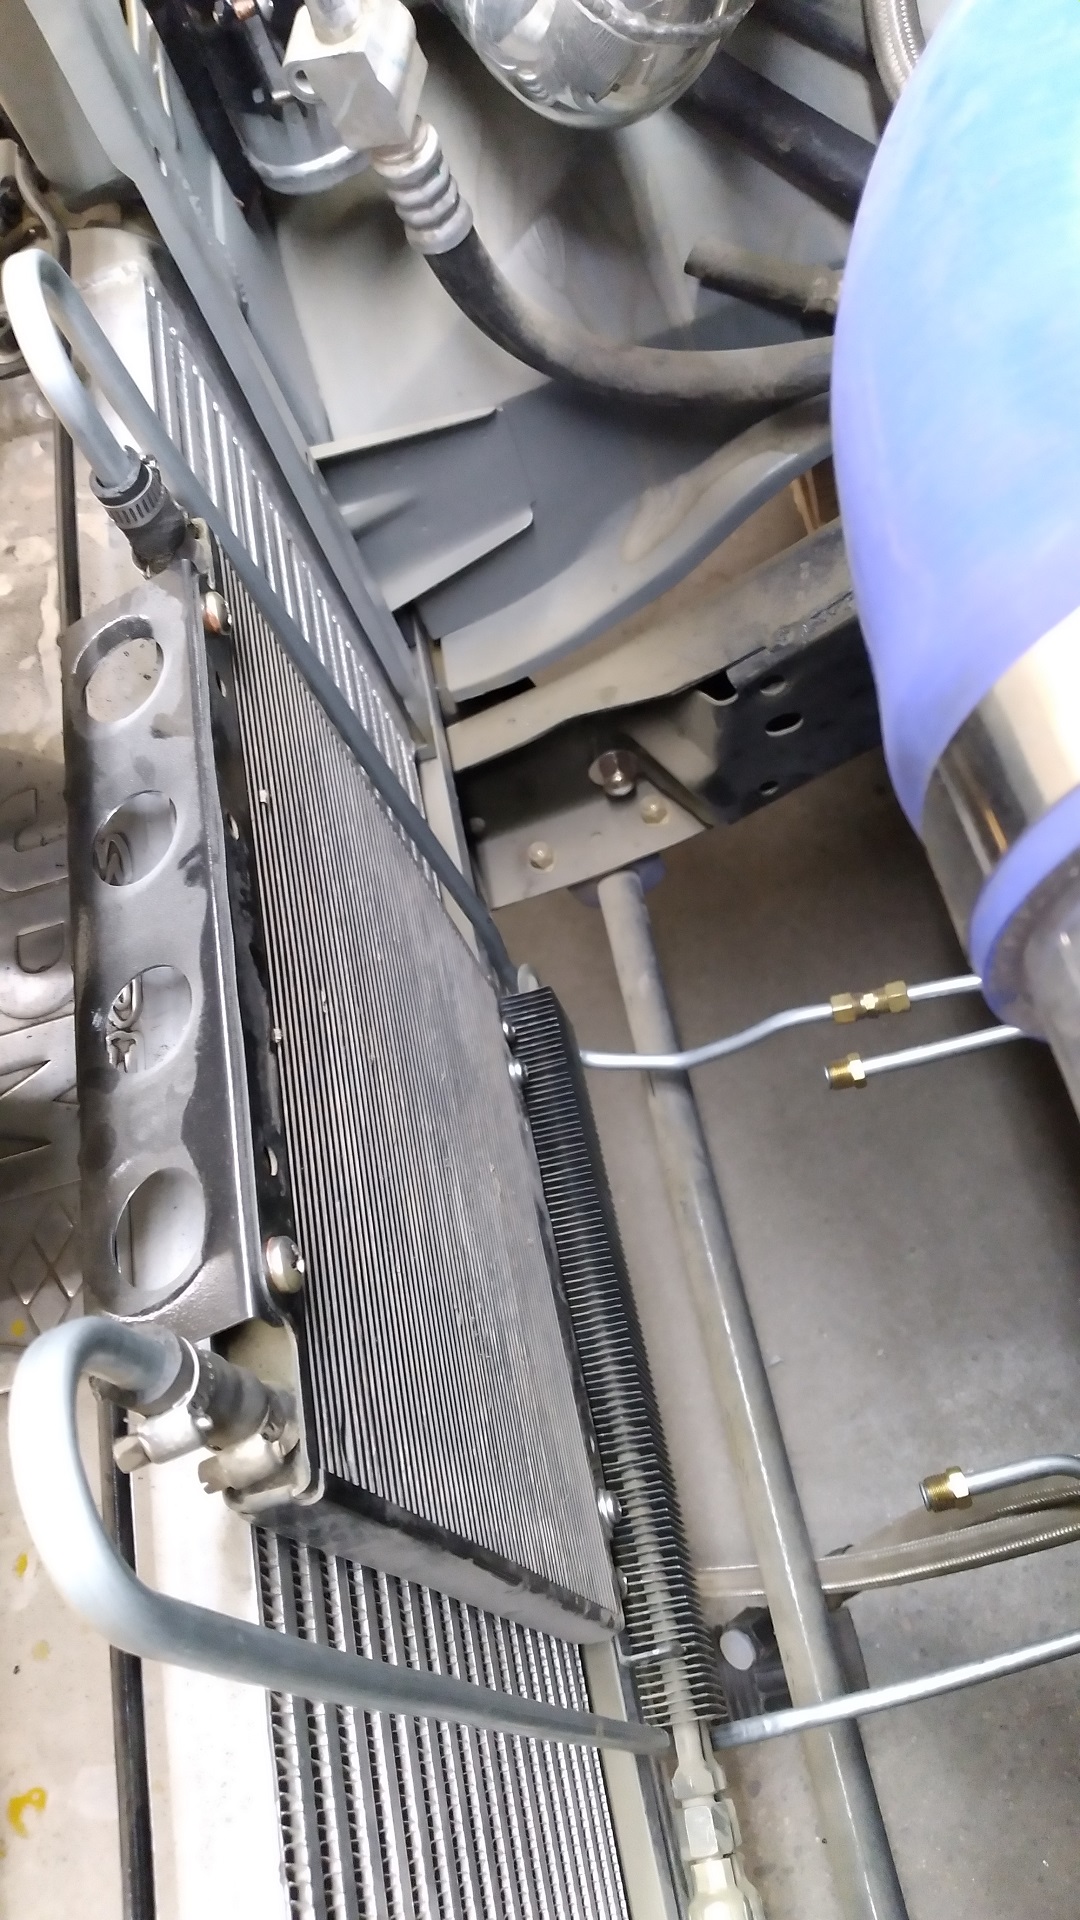
Taking a bit of a break from wiring, I plumbed the trans cooler lines to the rad and external cooler and back, I had to use a compression coupler as I couldn’t do it all in one piece:
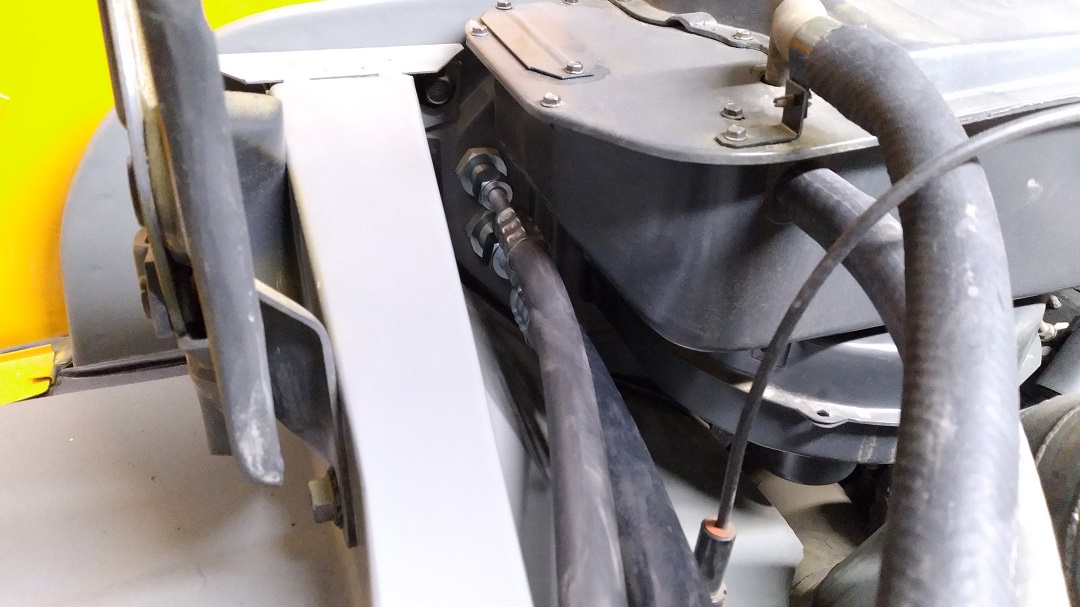
Then I finished fabricating the A/C lines. Out of the firewall:
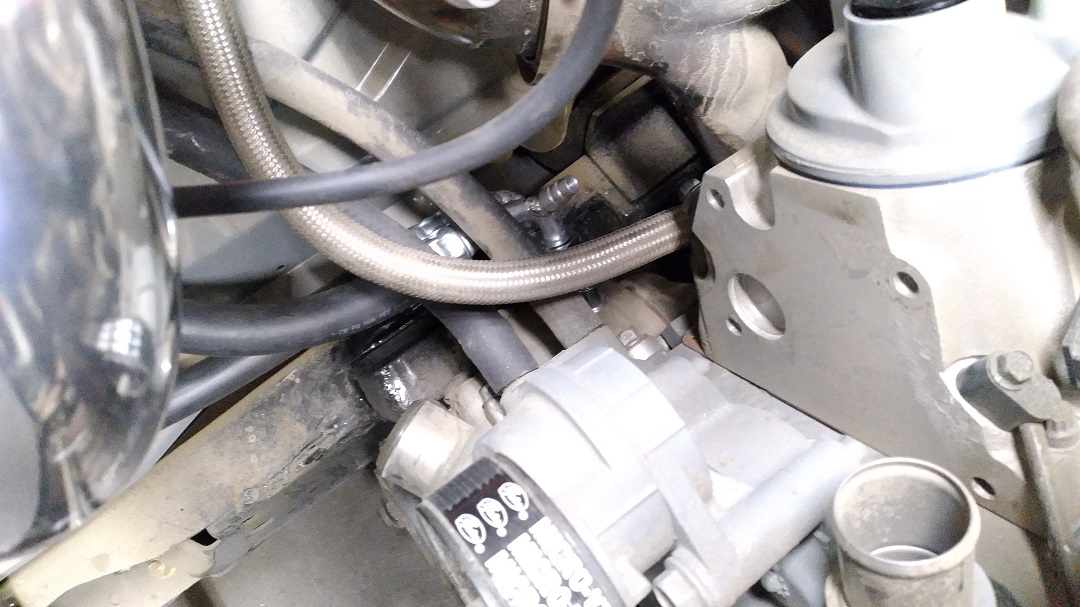
Into the compressor. I had to relocate the Low Pressure fitting on this generic hose kit:
Also trial fitting the Methanol Injection tank:
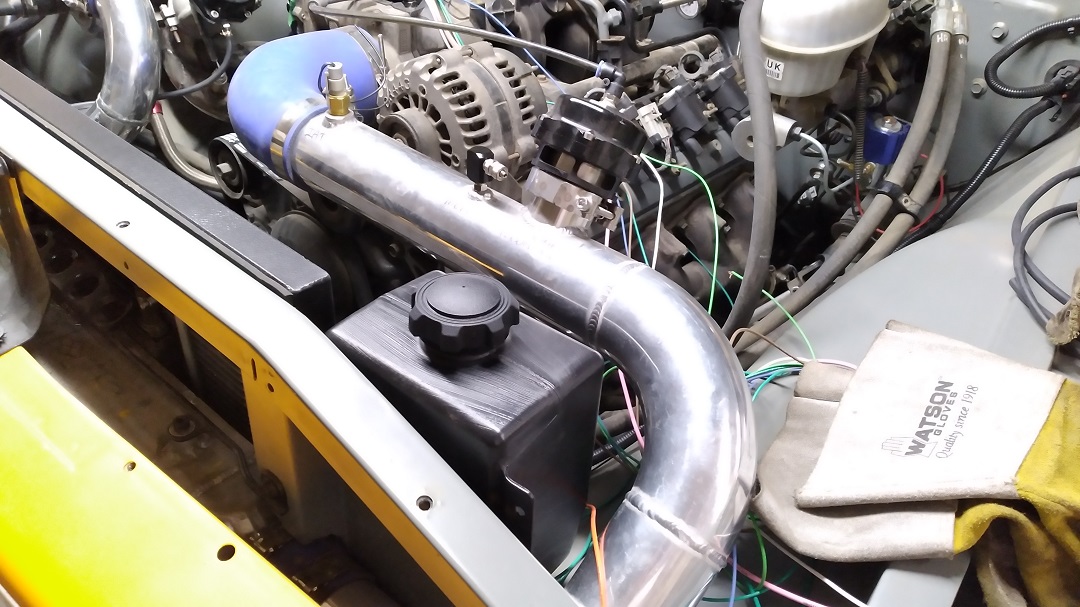
And mounted and plumbed the manual boost controller: