
[ Titleblock ] [ Tutorial ] [ Get a Property ][ Get a Floor Plan ][ Draw a Floor Plan ][ Elevations ] [ Plot Plan ] [ Kitchen ] [ Model ] [ Section ] [ Paper-Space ]
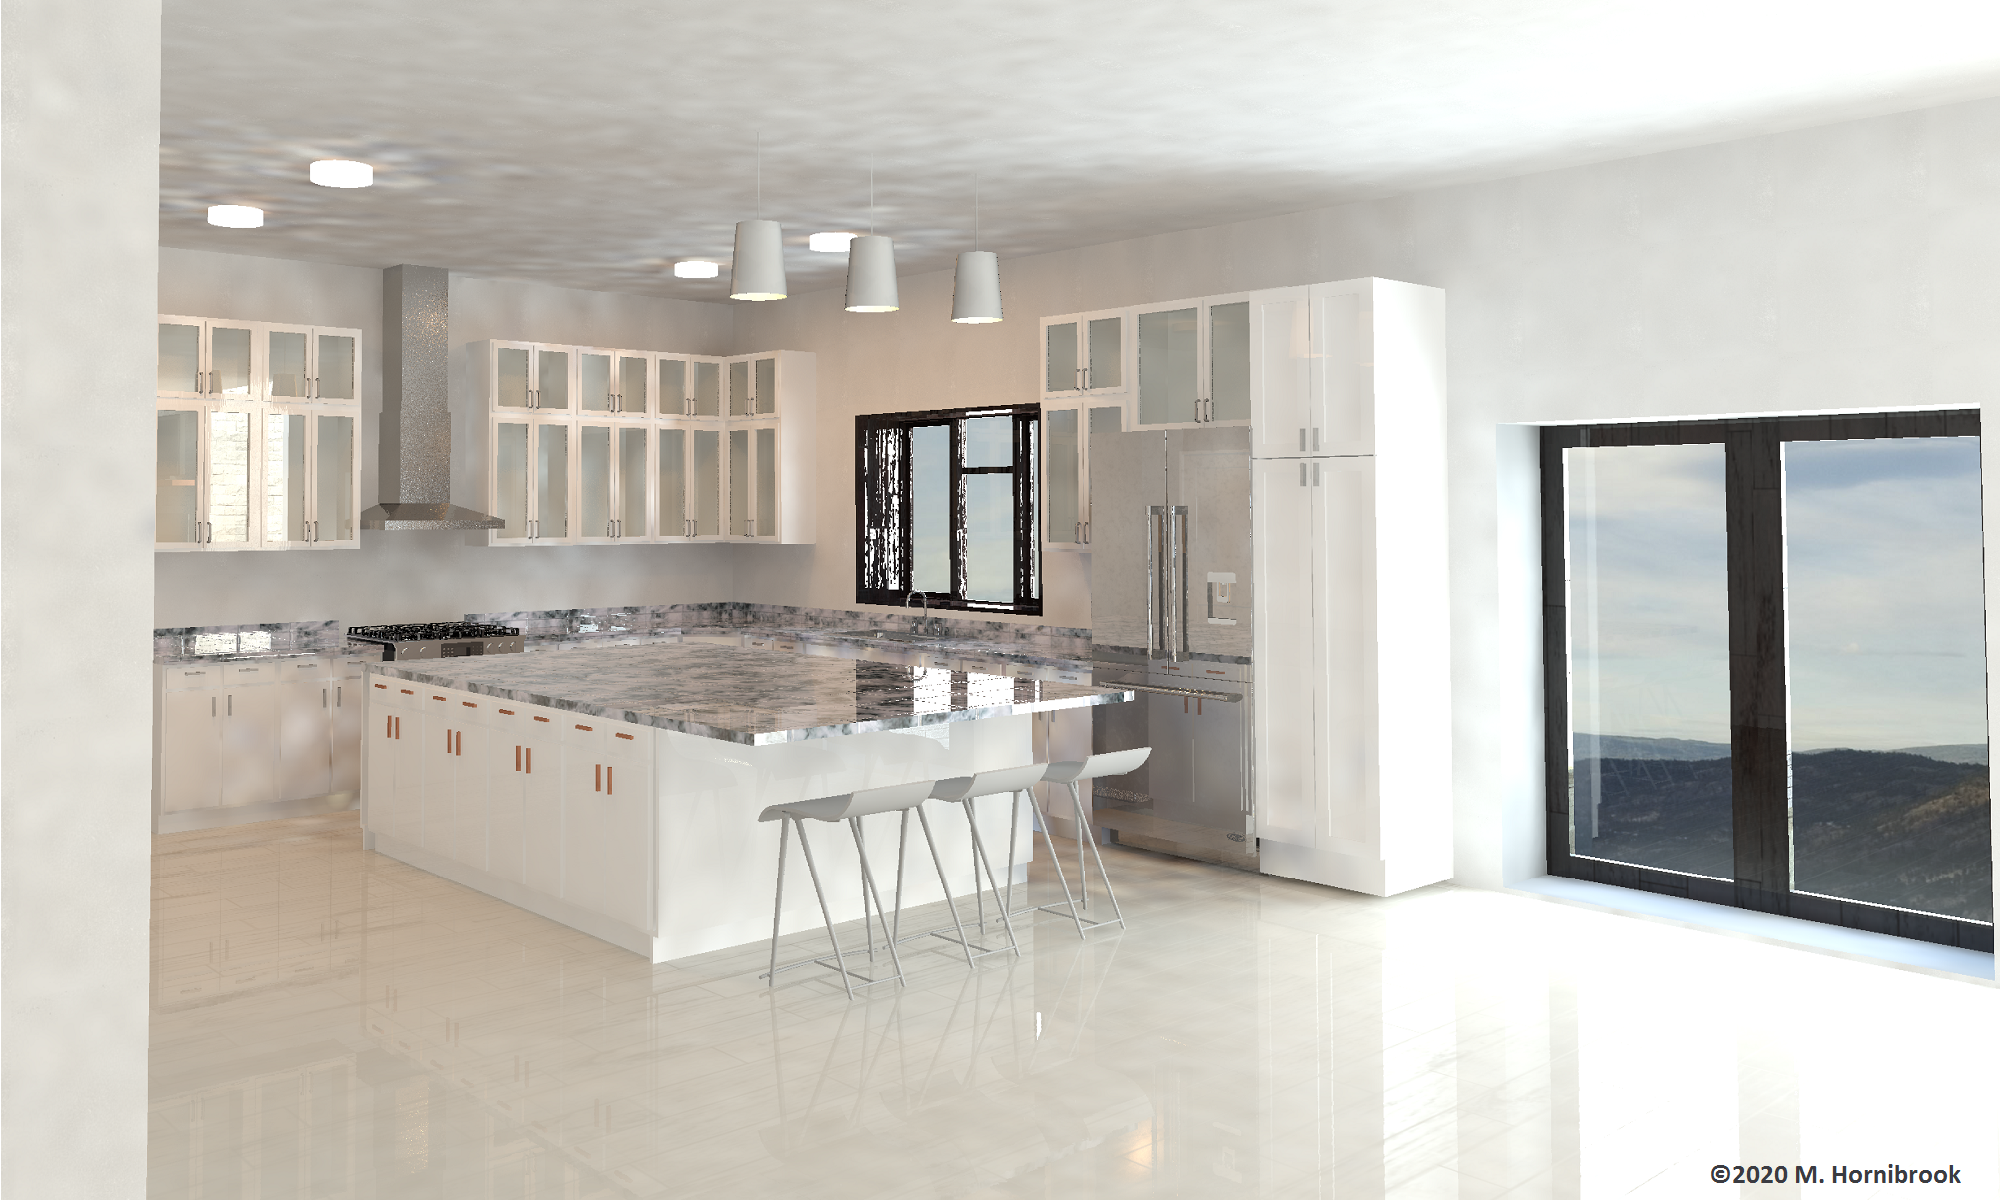
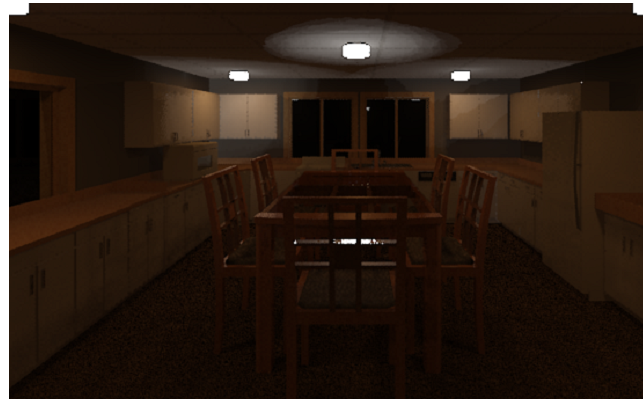
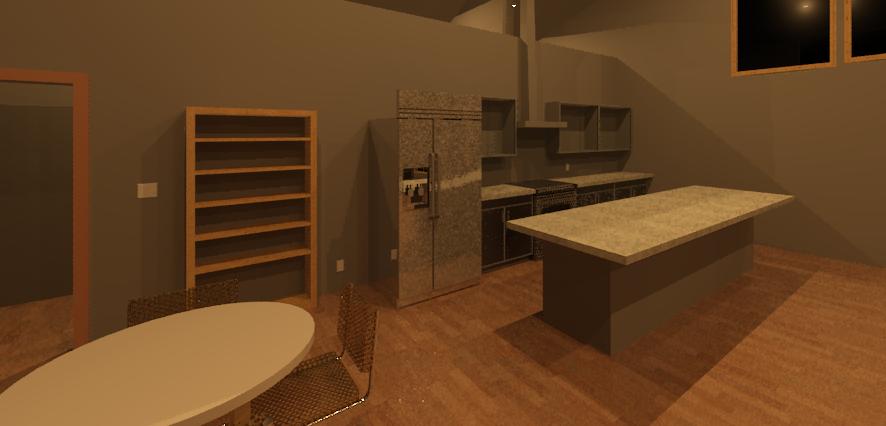
These pictures help “sell” your designs to folks who can’t visualize off the Floor Plan
-
- Right-Click and “Save As” PERSPECTIVE TEMPLATE and insert into your House Drawing File.
- Check out the example video below to see how to do this – you will ALWAYS reference the “Vanishing Point”
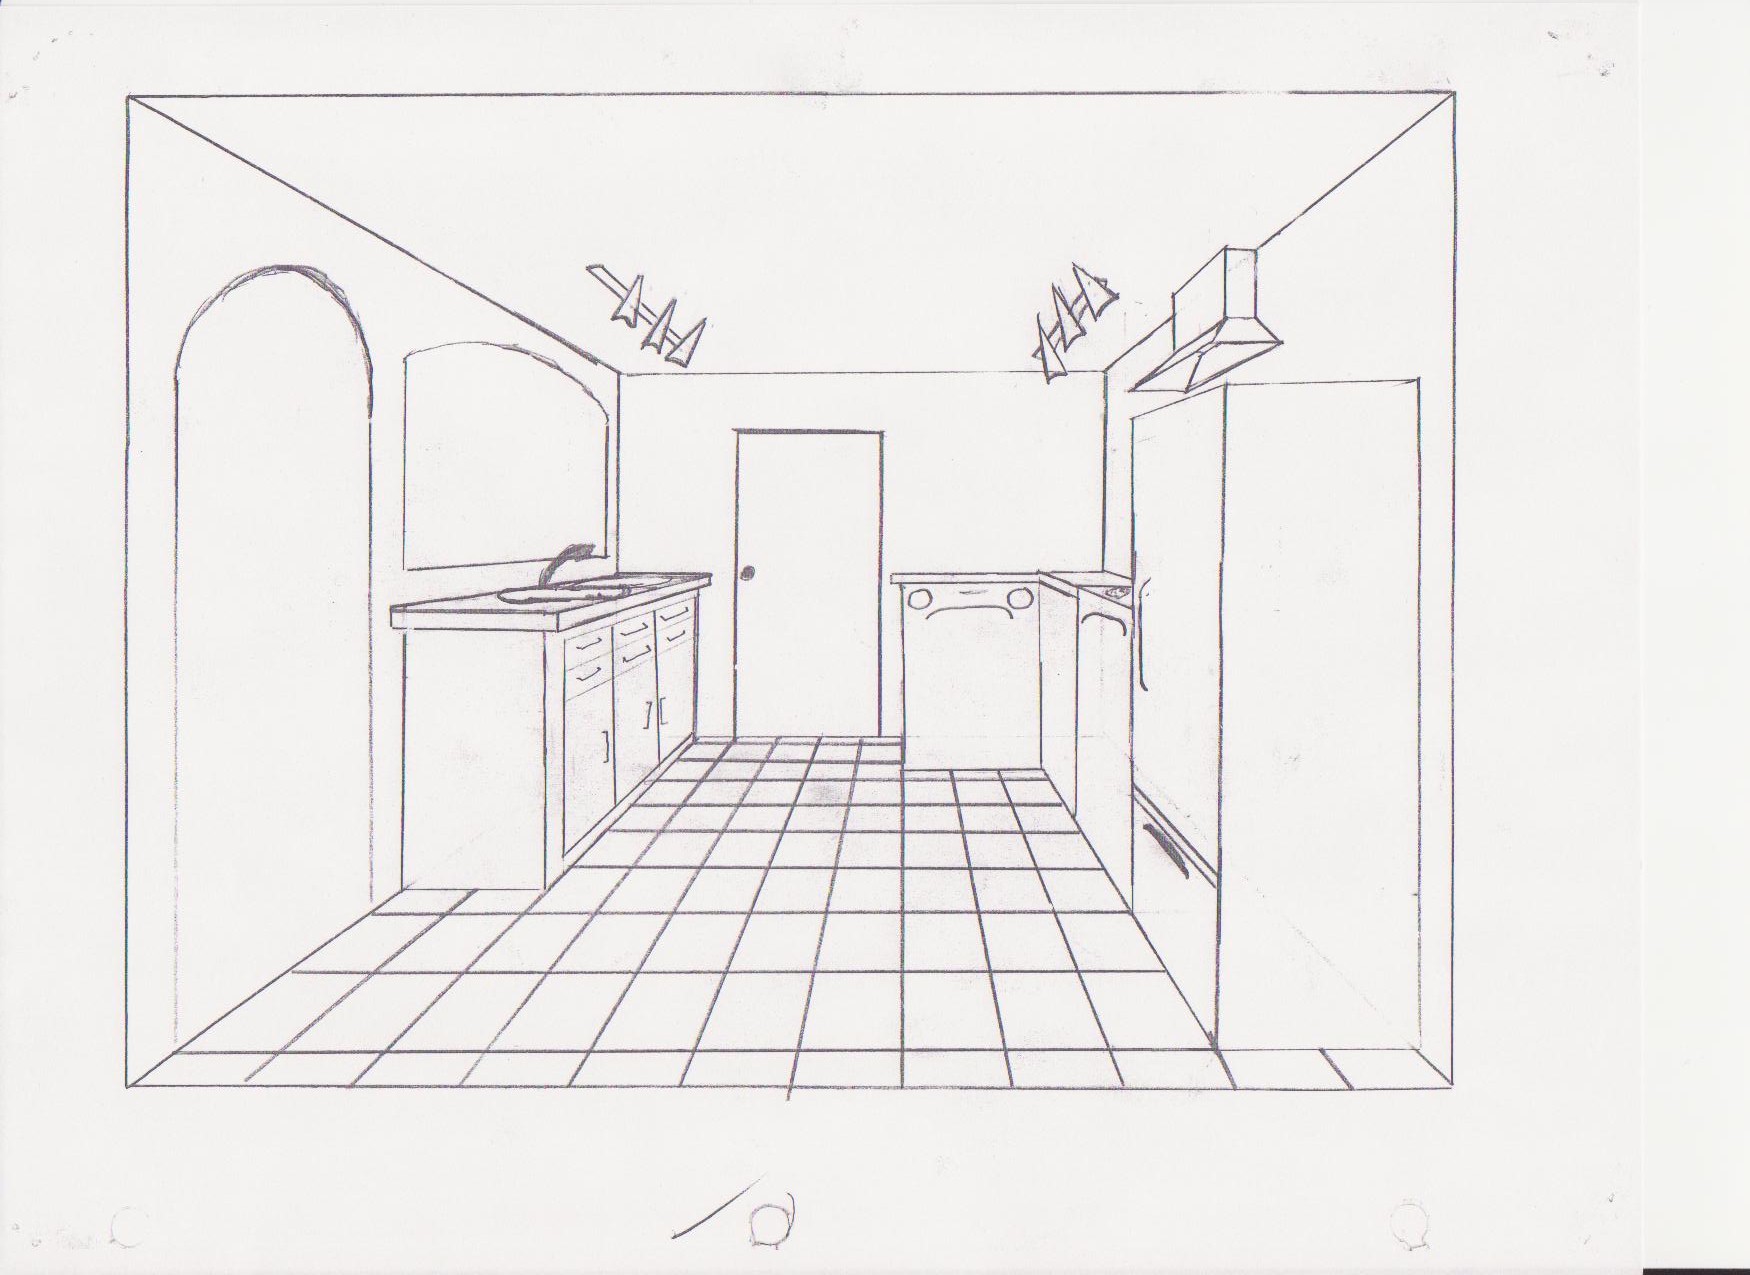
- Use the Room Perspective template to get you started
- EACH SQUARE ON THE GRID IS 1′ x 1′
- DON’T WORRY ABOUT DIMENSIONAL PERFECTION, JUST MAKE IT LOOK CONVINCING
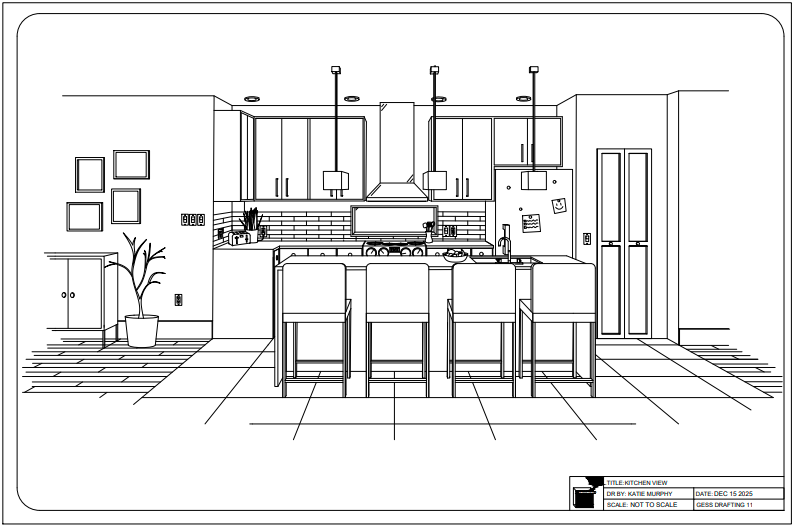
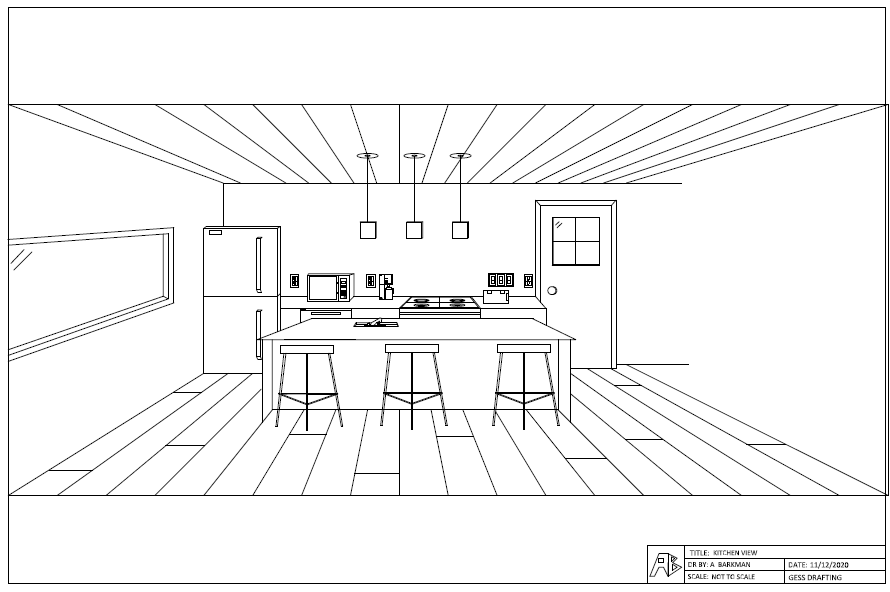
- Pick a really cool view of your kitchen
- The template is created to fit a 30′ wide kitchen – only use the lines that YOU need for YOUR kitchen width.
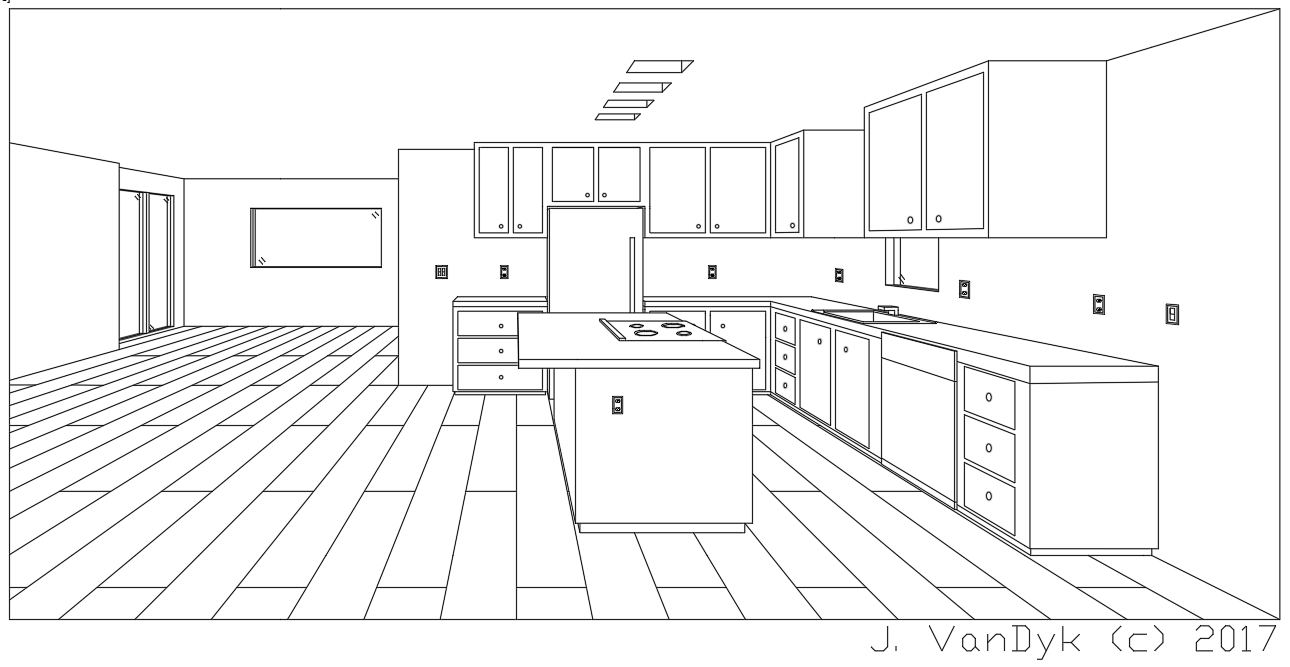
- Start by drawing out the location of counters on the FLOOR
- Counters are 24″ deep, and 36″ tall (use the squares on the wall to find heights)
- Use ELIPSES for circles like oven elements or ceiling lights or drawer pulls
- Click the Light Bulb to “turn off” the grid to have a better look at your kitchen
- Start by drawing out the location of counters on the FLOOR
- Everything references the “vanishing point”
- In paper space, make the view fit the page nicely. Title Block Scale will be “NOT TO SCALE.”

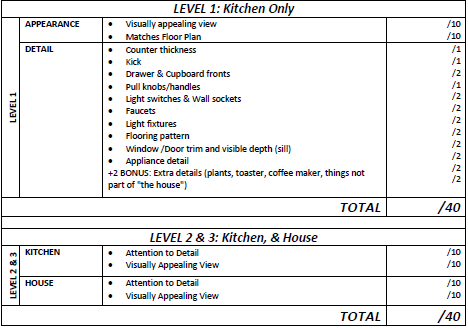
L2 & L3 ONLY:
|
HOW TO PRINT to see about printing a PREVIEW on 8.5 x 11″ (classroom printer) to check for errors. Get me to check!!
HOW TO PRINT to PLOT an ARCH D in (probably) SCALE: NOT TO SCALE
Print out the MARK SHEET
Next: ARCHITECTURAL MODEL