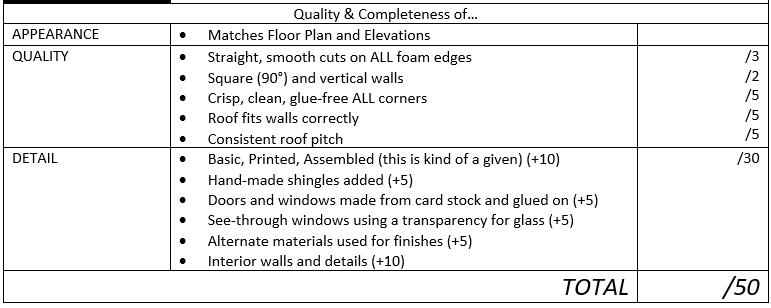
[ Titleblock ] [ Tutorial ] [ Get a Property ][ Get a Floor Plan ][ Draw a Floor Plan ][ Elevations ] [ Plot Plan ] [ Kitchen ] [ Model ] [ Section ] [ Paper-Space ]
If a picture is worth a thousand words, and a video is worth a thousand pictures, a touchable model is worth a thousand videos
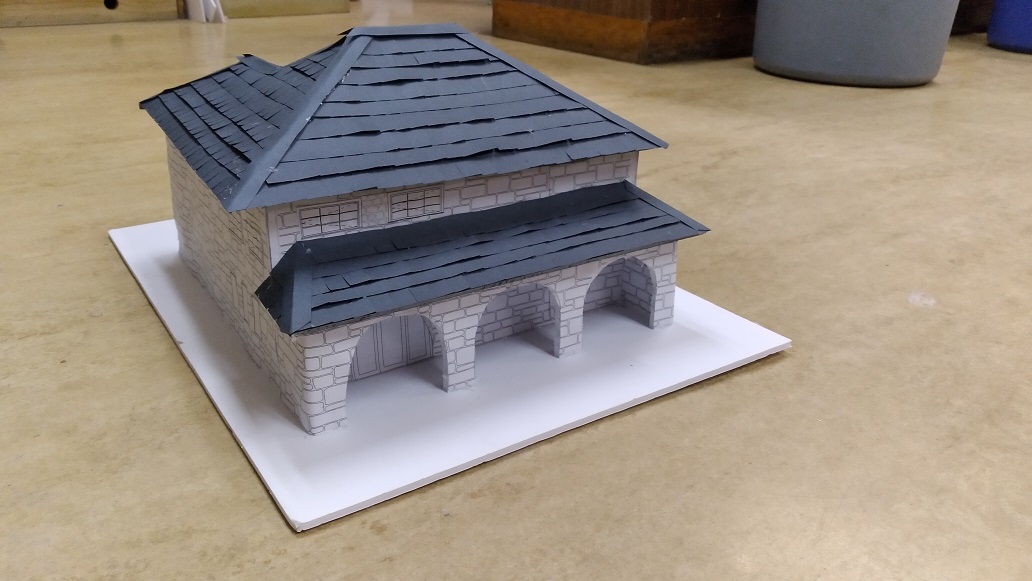
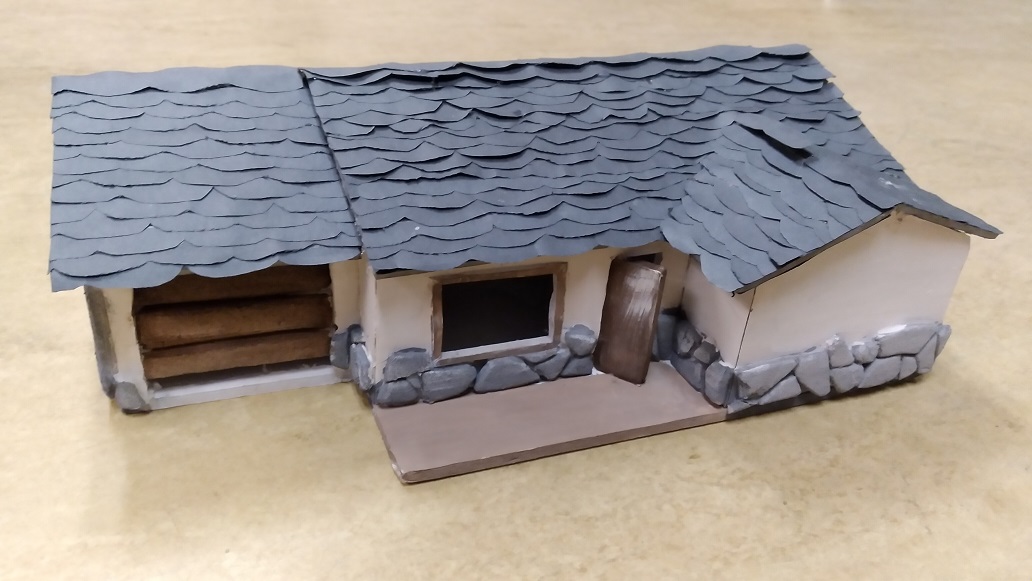
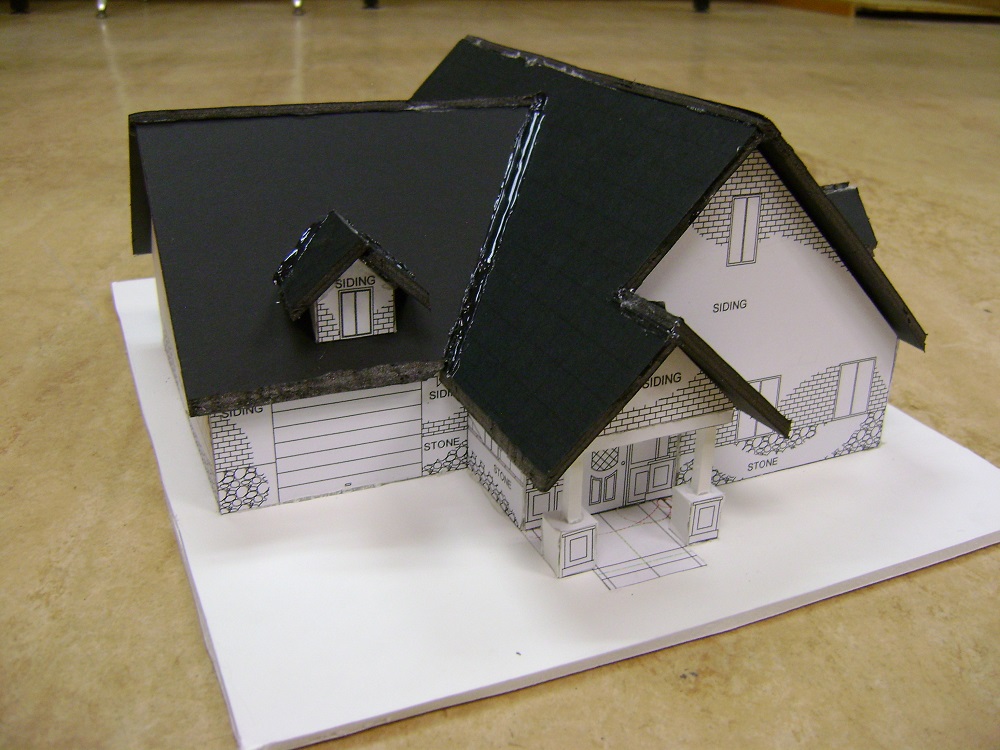
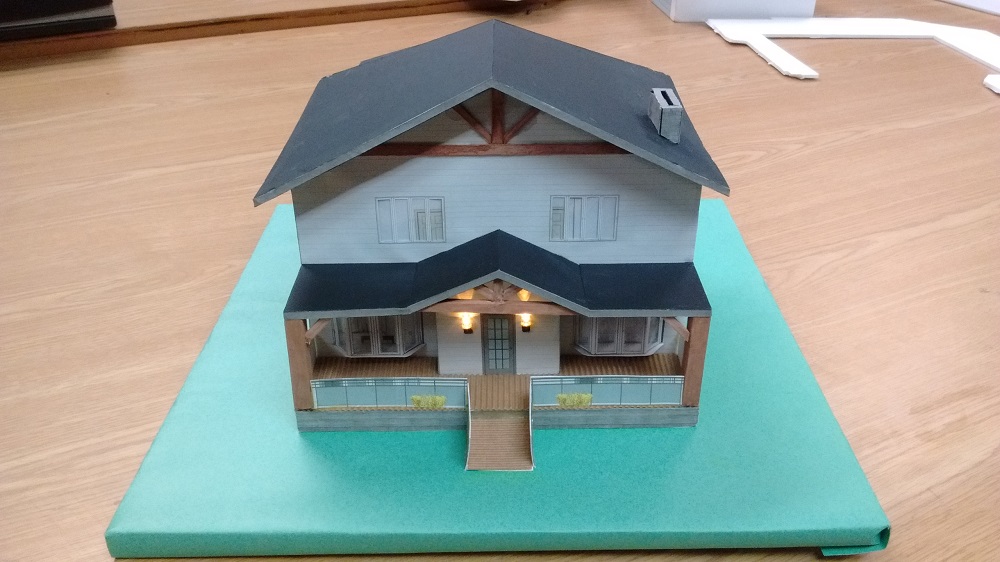
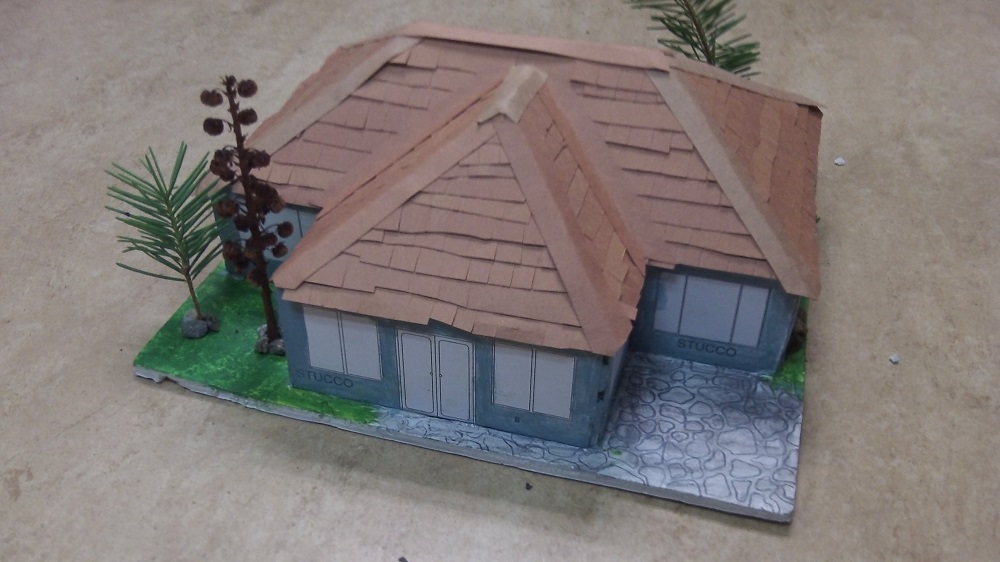
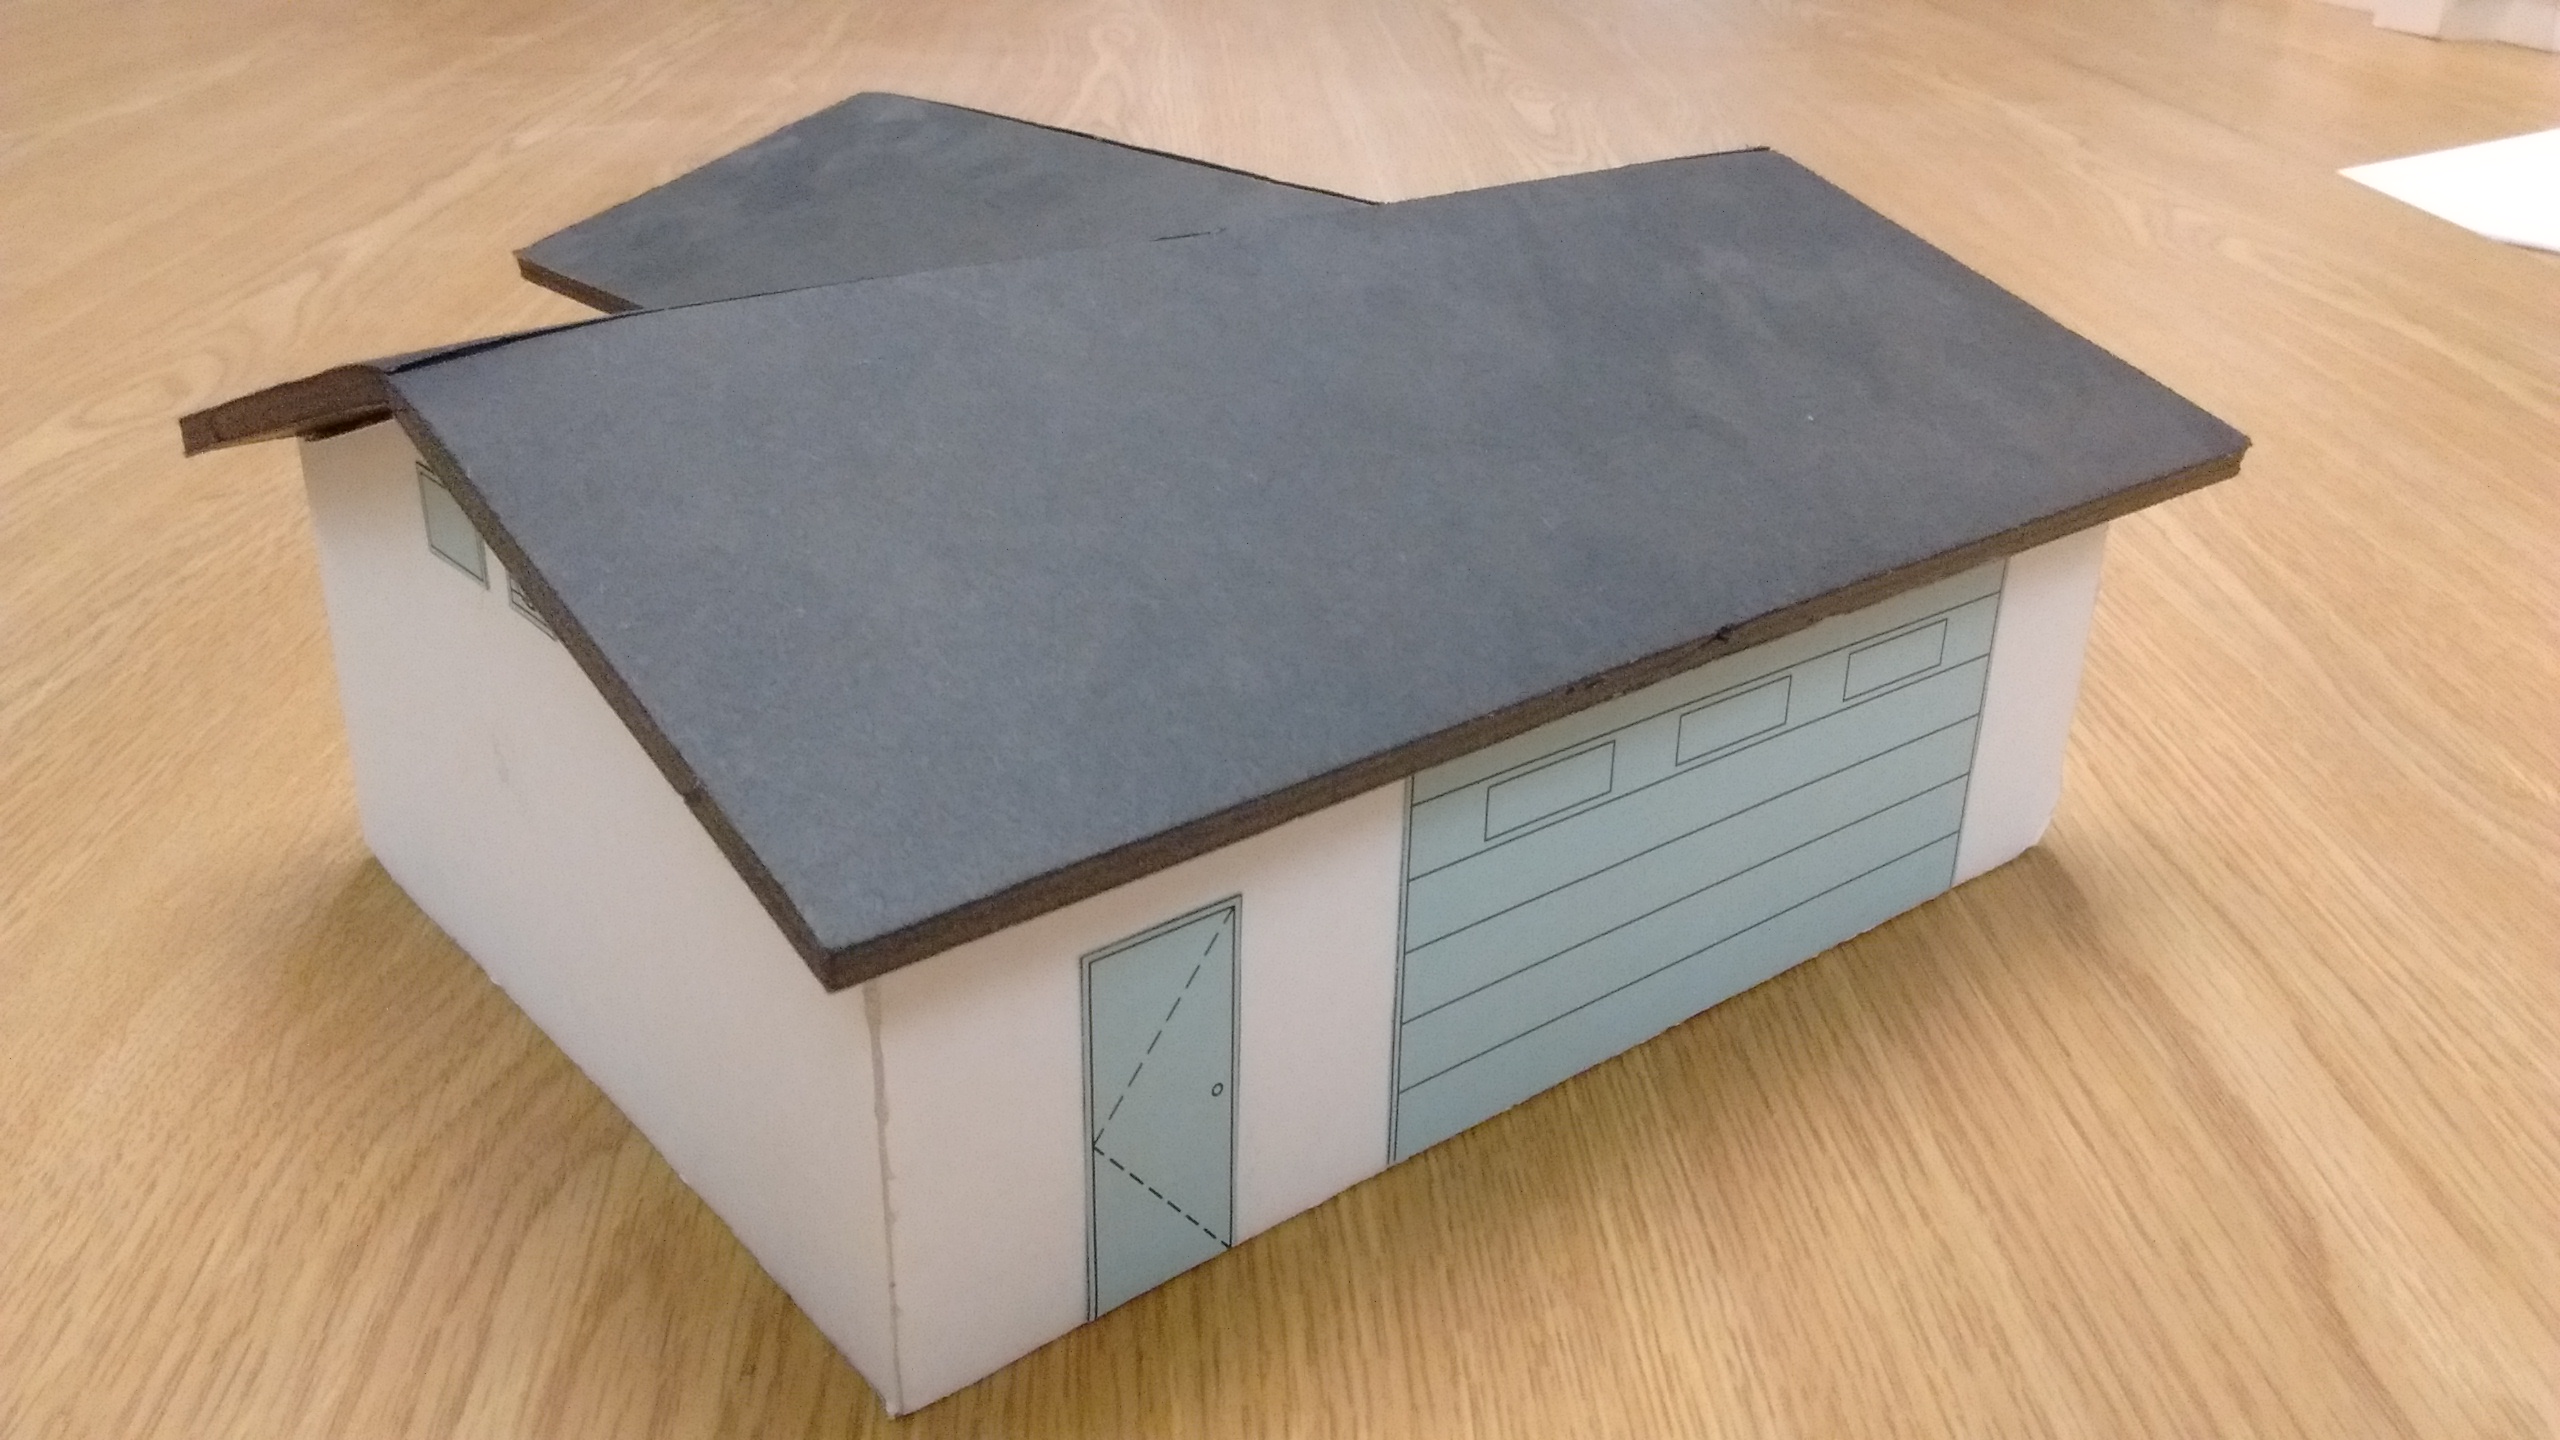
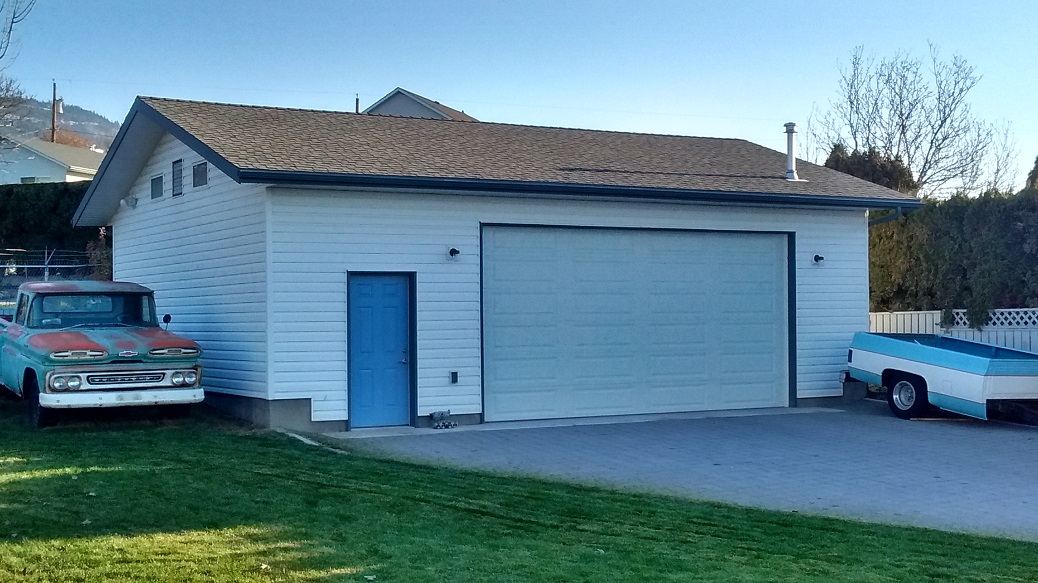
Build a Foamboard Model of your house
REVIEW HOW TO PRINT to PLOT house pieces on regular. SCALE: 1/4″ = 1′
LEVEL 1: Stack/arrange your Elevation Views (NO ROOF!) to try and fit as many on a page as you can
LEVEL 2/3: Create a SHEET, drag in your elevation views, HIDE the roof, and arrange so you can fit as many as you can on a ARCH-D sheet
It’s nice if you can print 1/4″ = 1′ on the SMALL printer (I don’t have to pay for paper or toner)

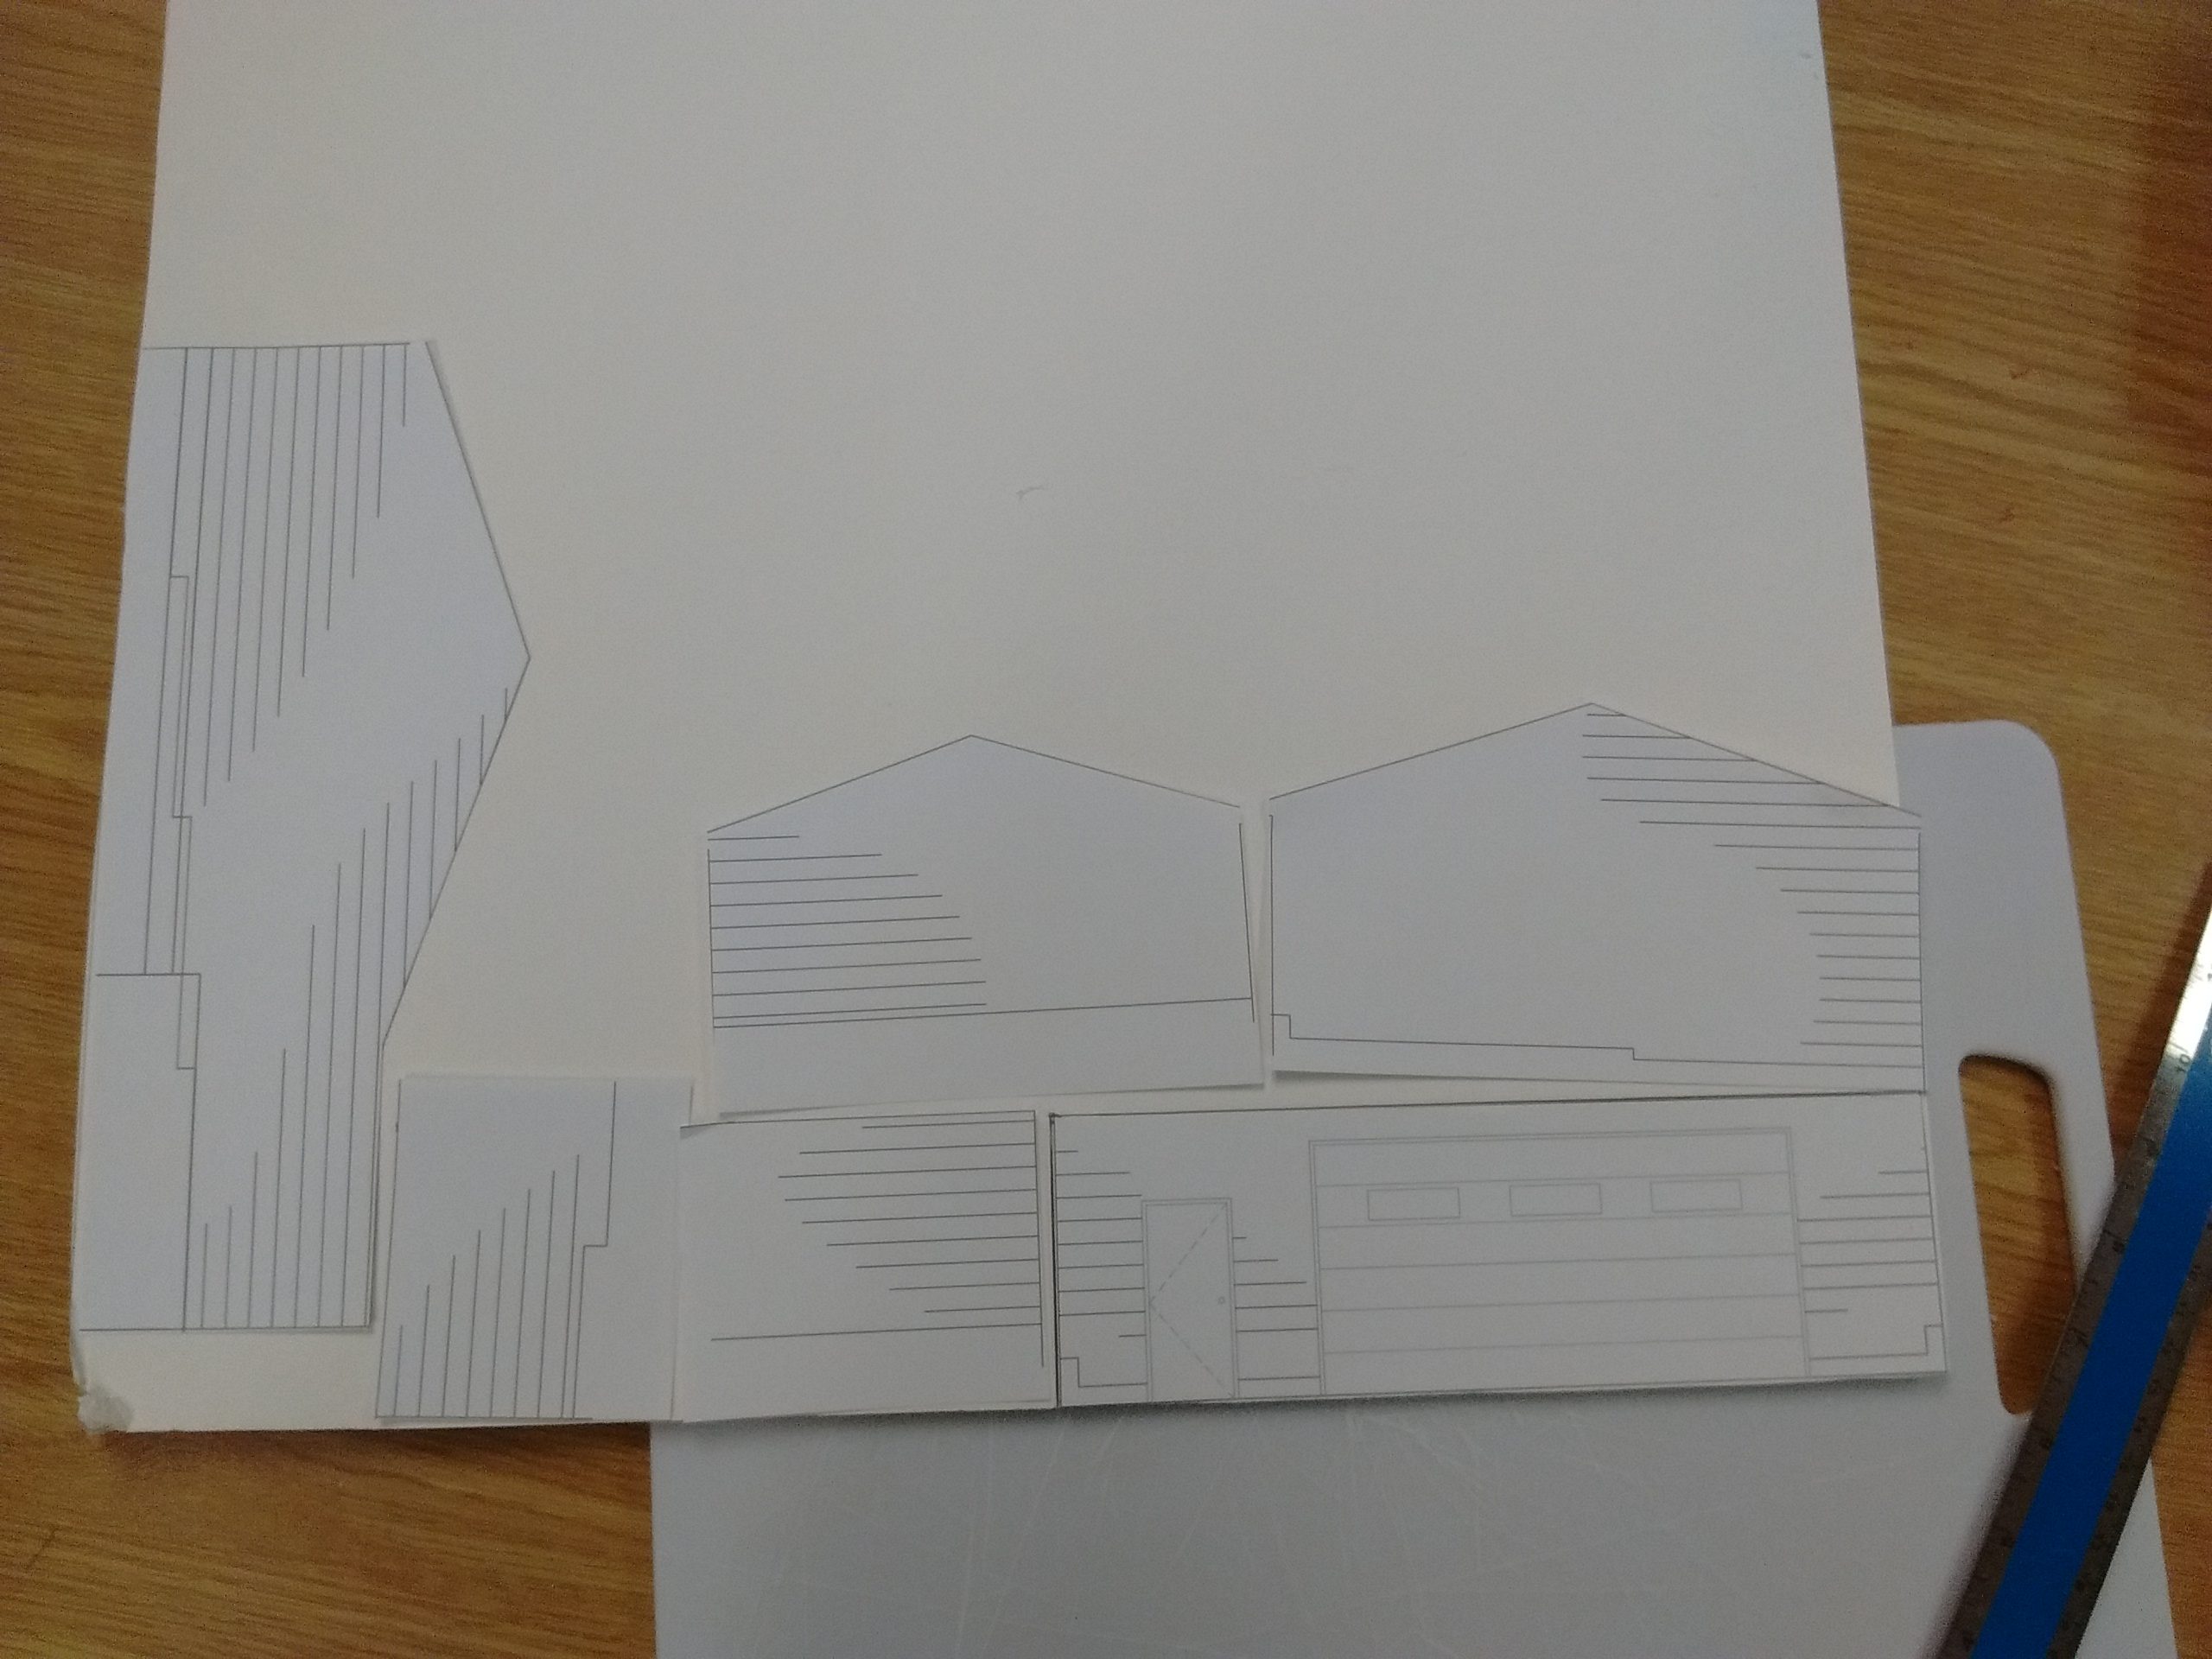
Arrange your wall sections onto the foam board
FOR THE LOVE OF MERCY – MINIMIZE WASTE!
NOTICE THERE ARE NO GAPS BETWEEN EDGES OF THE BOARD AND EDGES OF THE WALLS AND EACH OTHER!!!
(BELOW) GOOD
(BELOW): OH MY GOSH, ARE YOU DRUNK?
DON’T WASTE MATERIAL LIKE THIS!
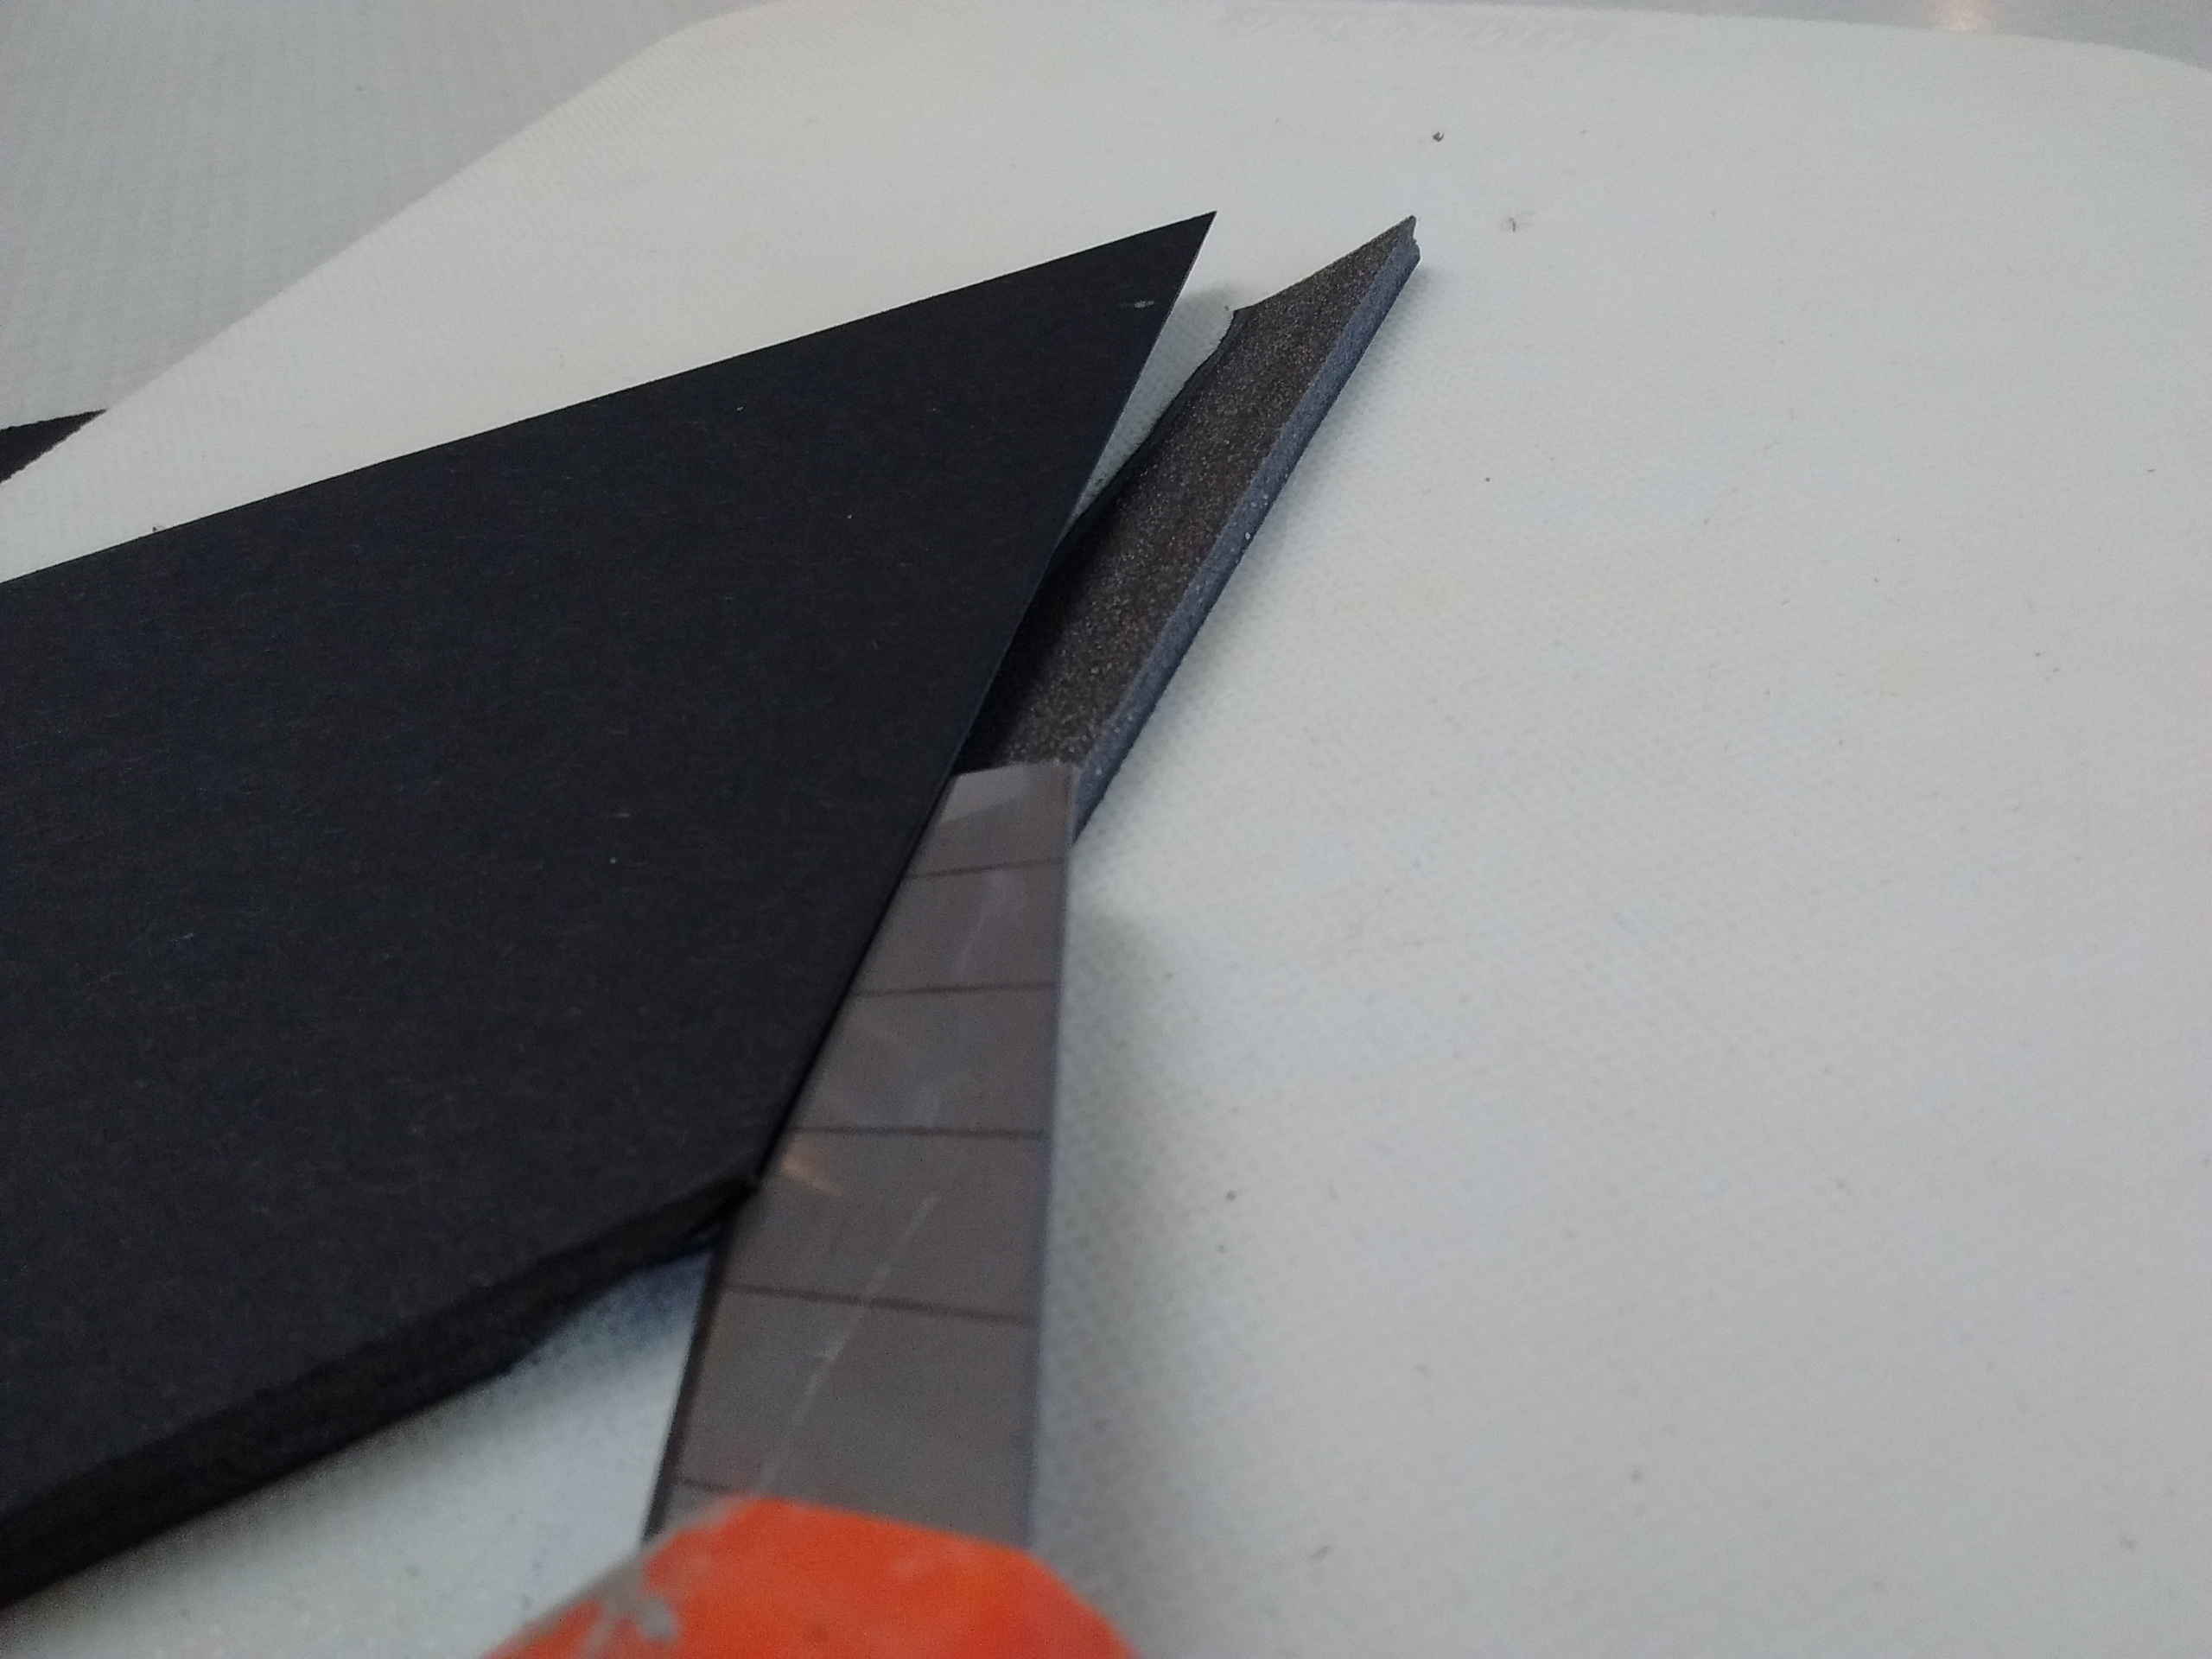
Use a LOT of blade and smooth cuts with the X-Acto knife for the best edges
Use a Cutting Board – DO NOT cut into the classroom counter tops!!!
Slice a greater-than-45° angle on the corners….
…. So you can join them like this (the wider angle allows you to pack the join with glue on the INSIDE):

INSIDE corners will need to be cut similarly, with ugly glue on the INSIDE.
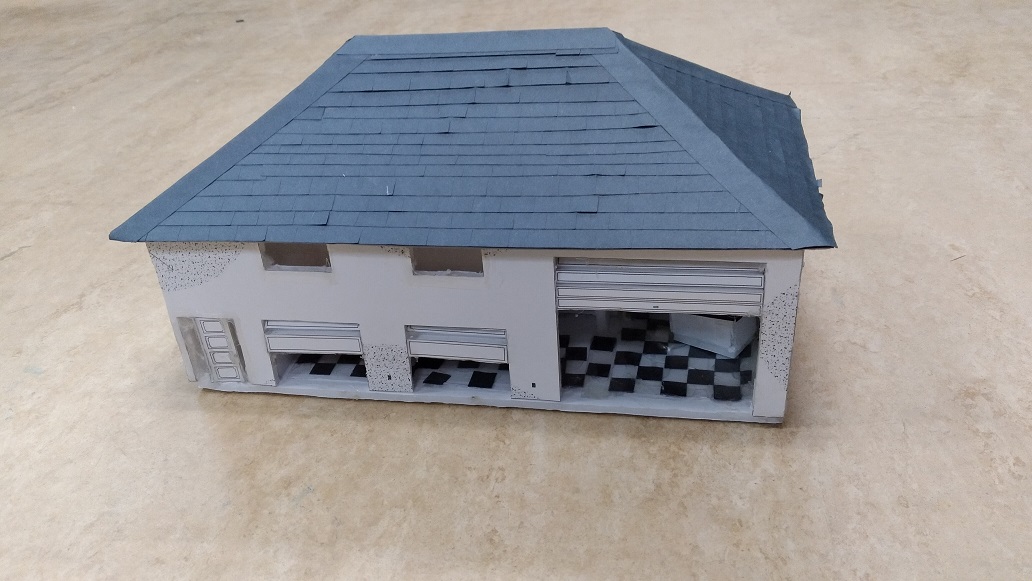
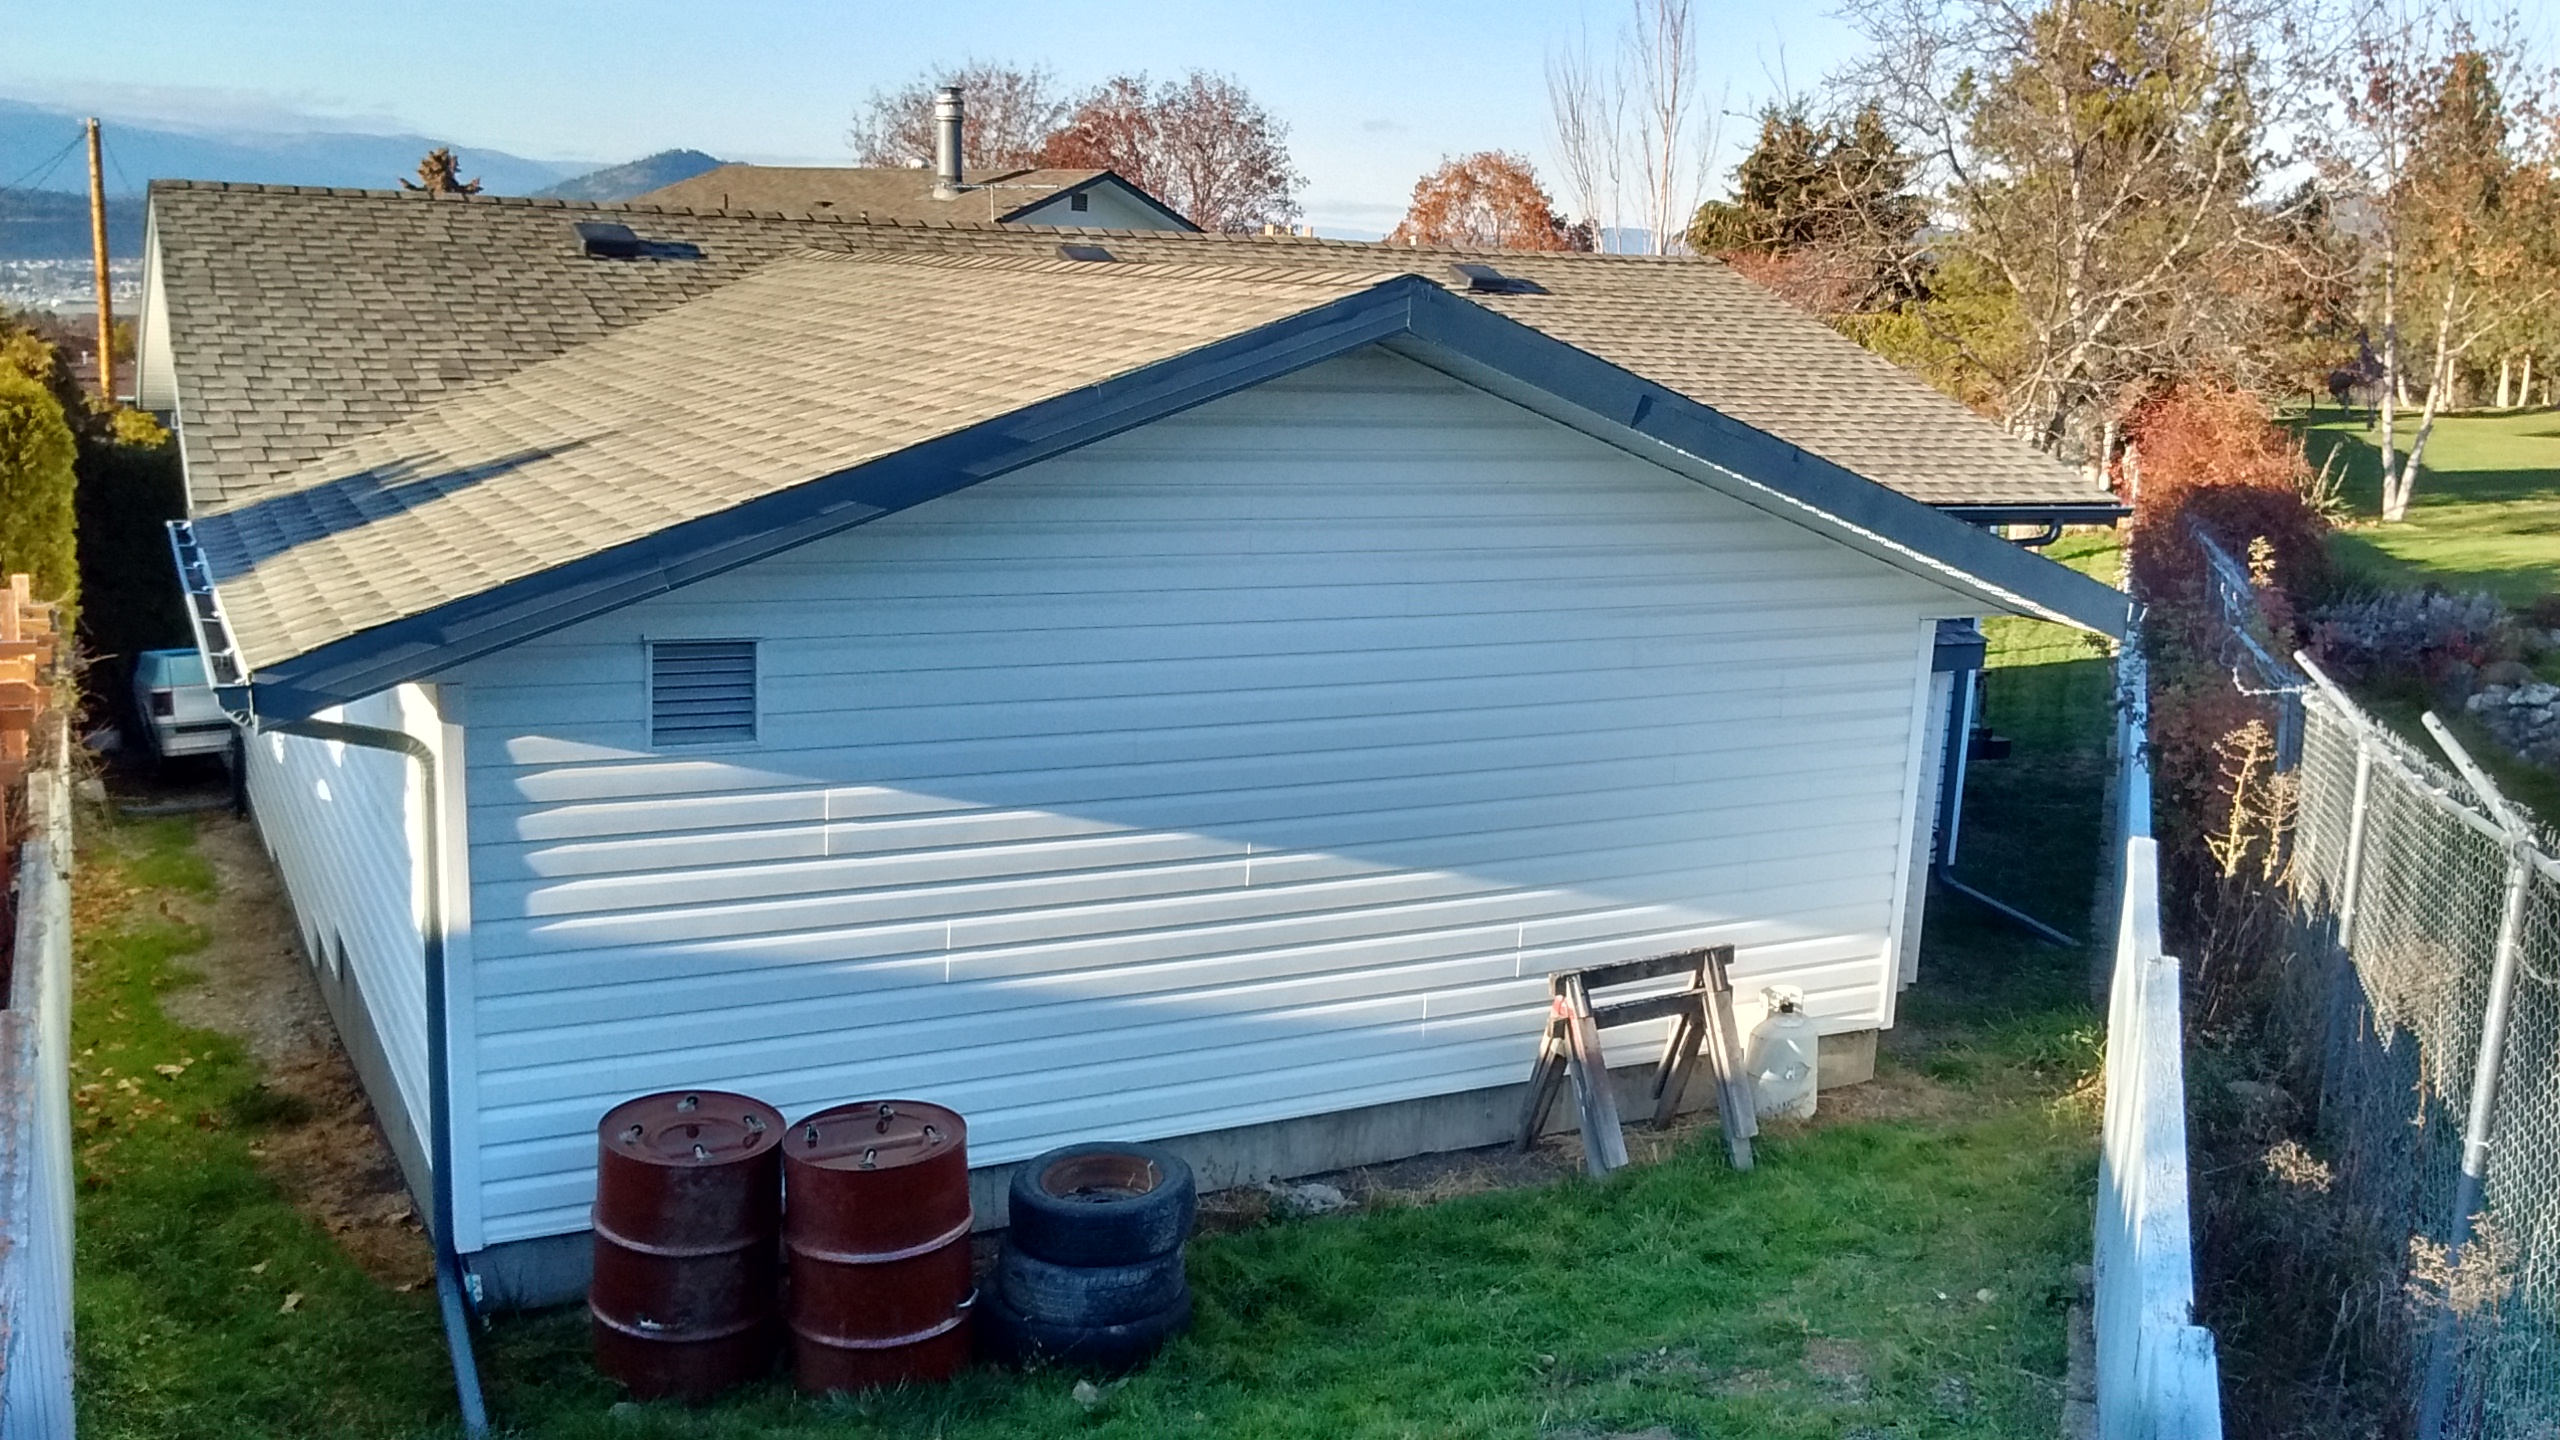
Gable roofs are relatively easy, you may need to do some measuring.
Measure twice, cut once
HAND TIP: Make “paper” patterns of your roof pieces – paper is WAY cheaper than Foam Board.
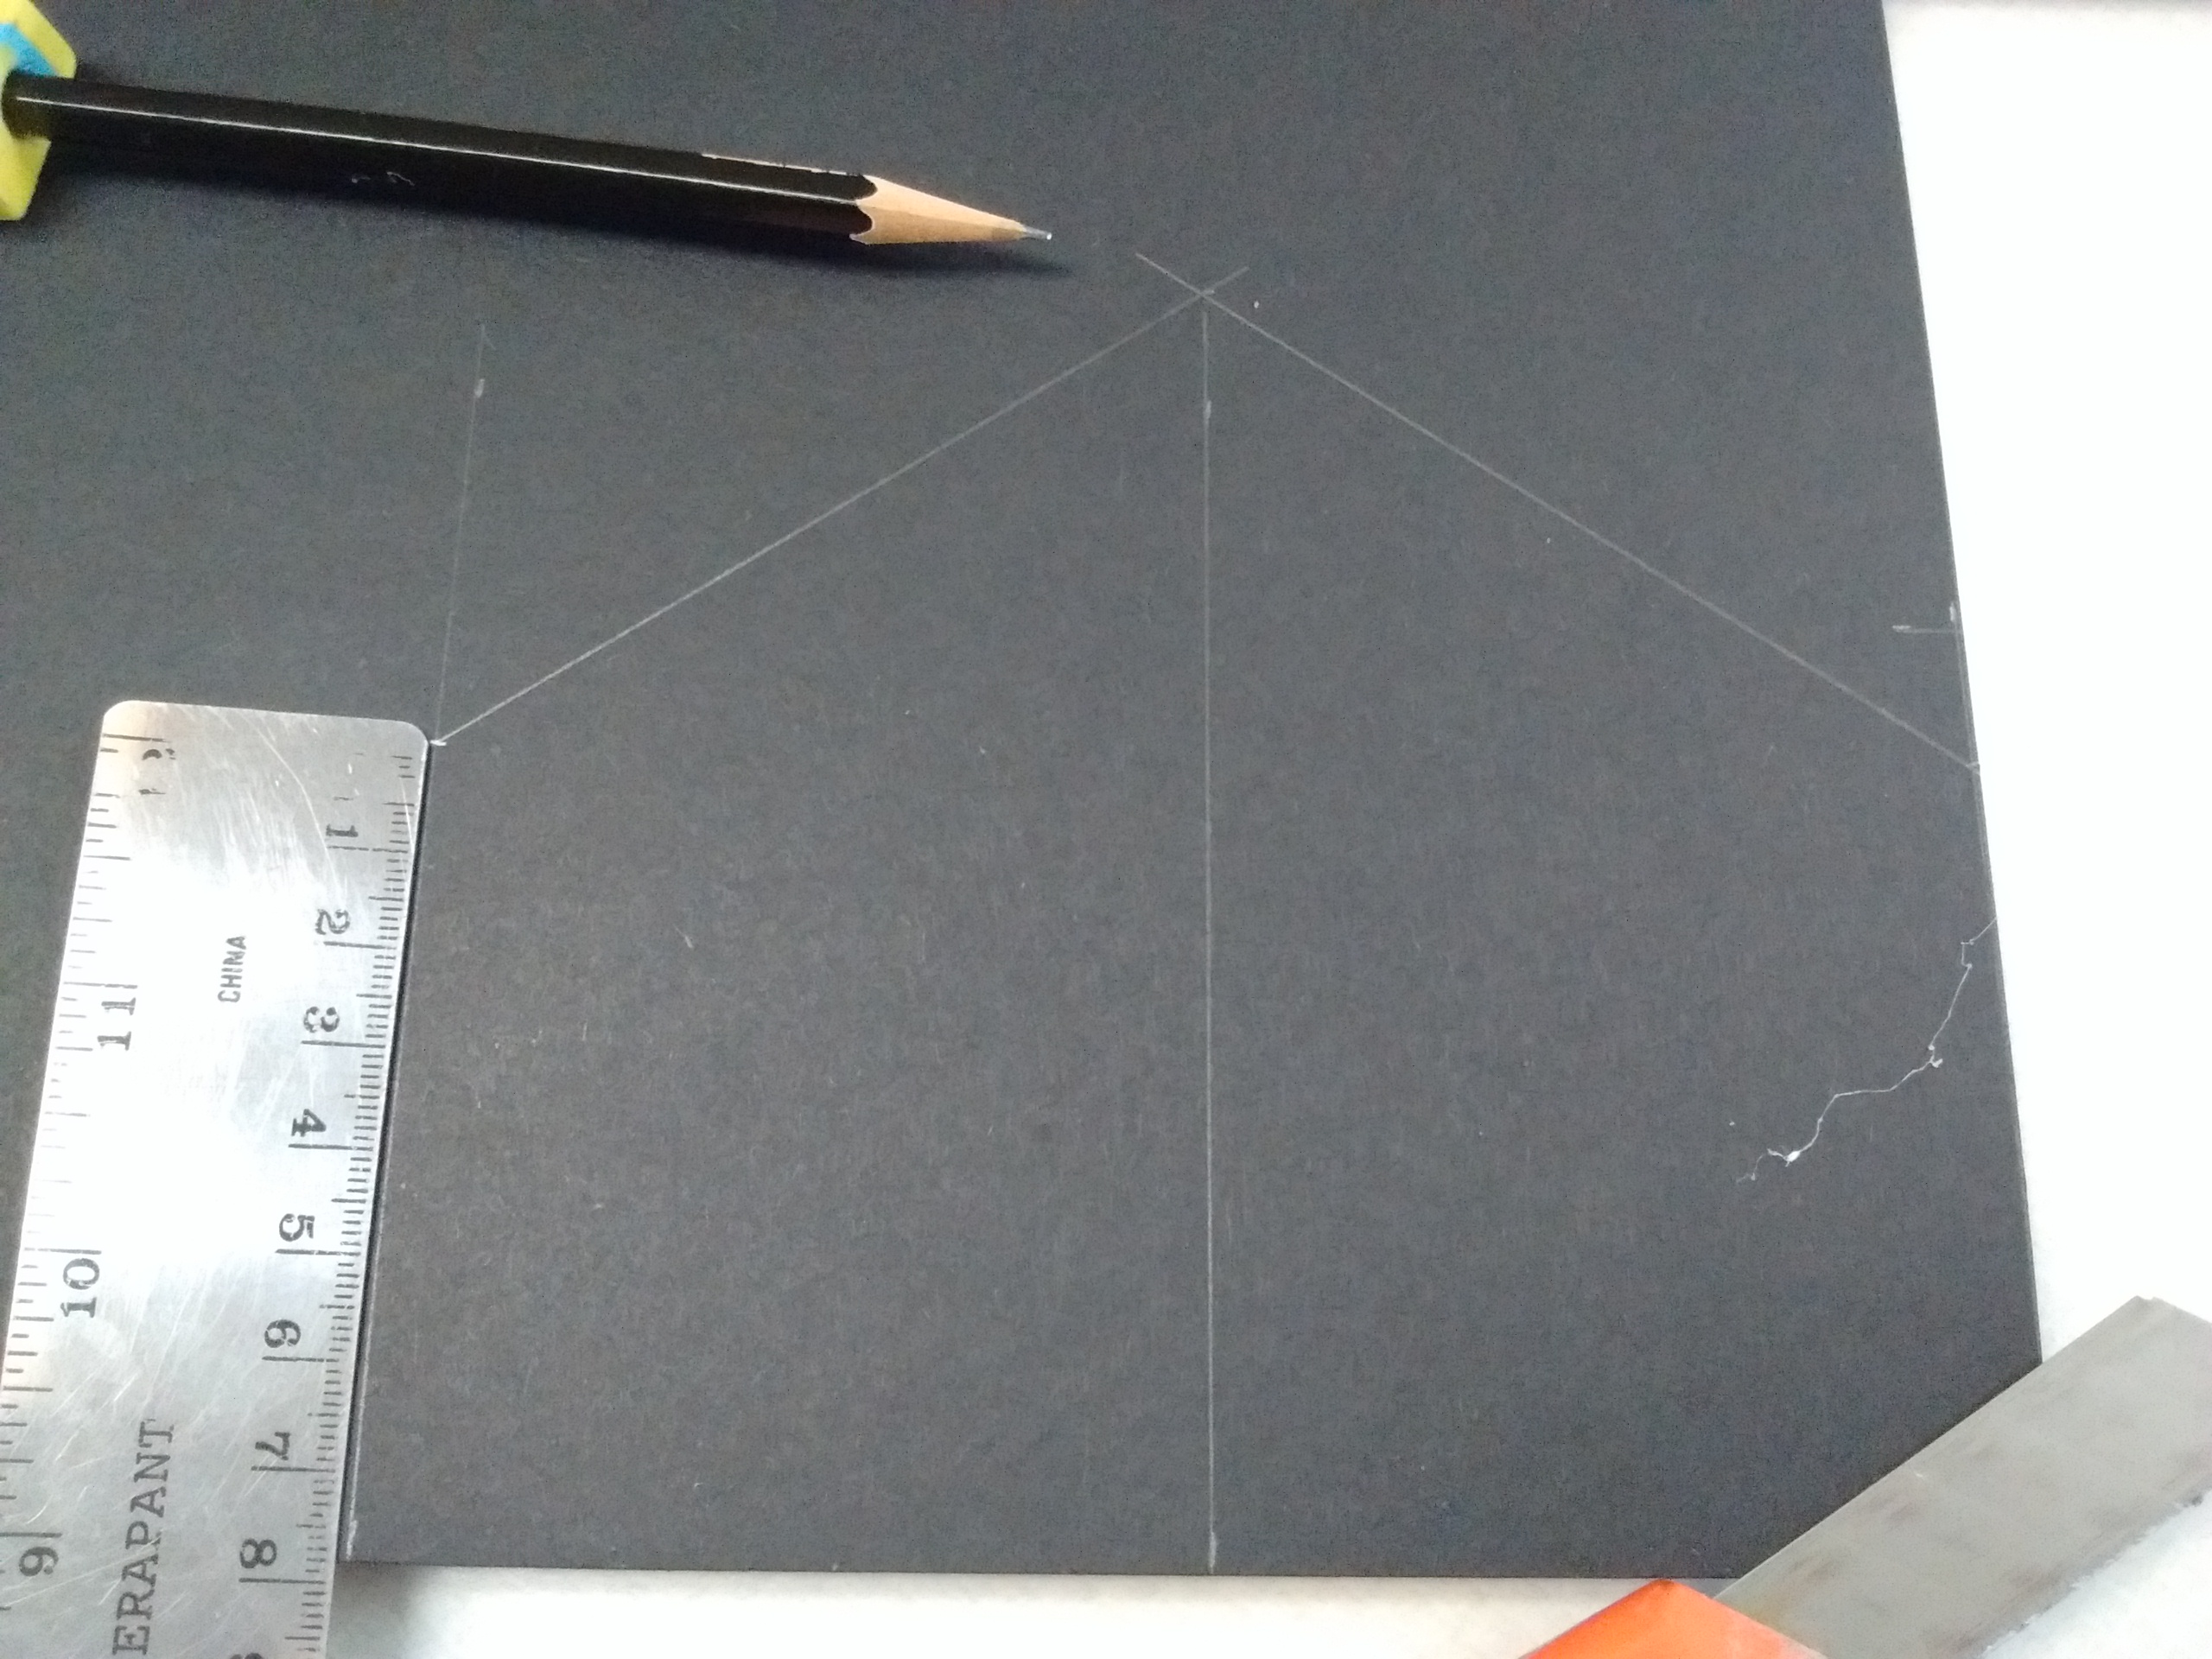
Be as accurate as you can be
Super shallow slice to intersect roofs
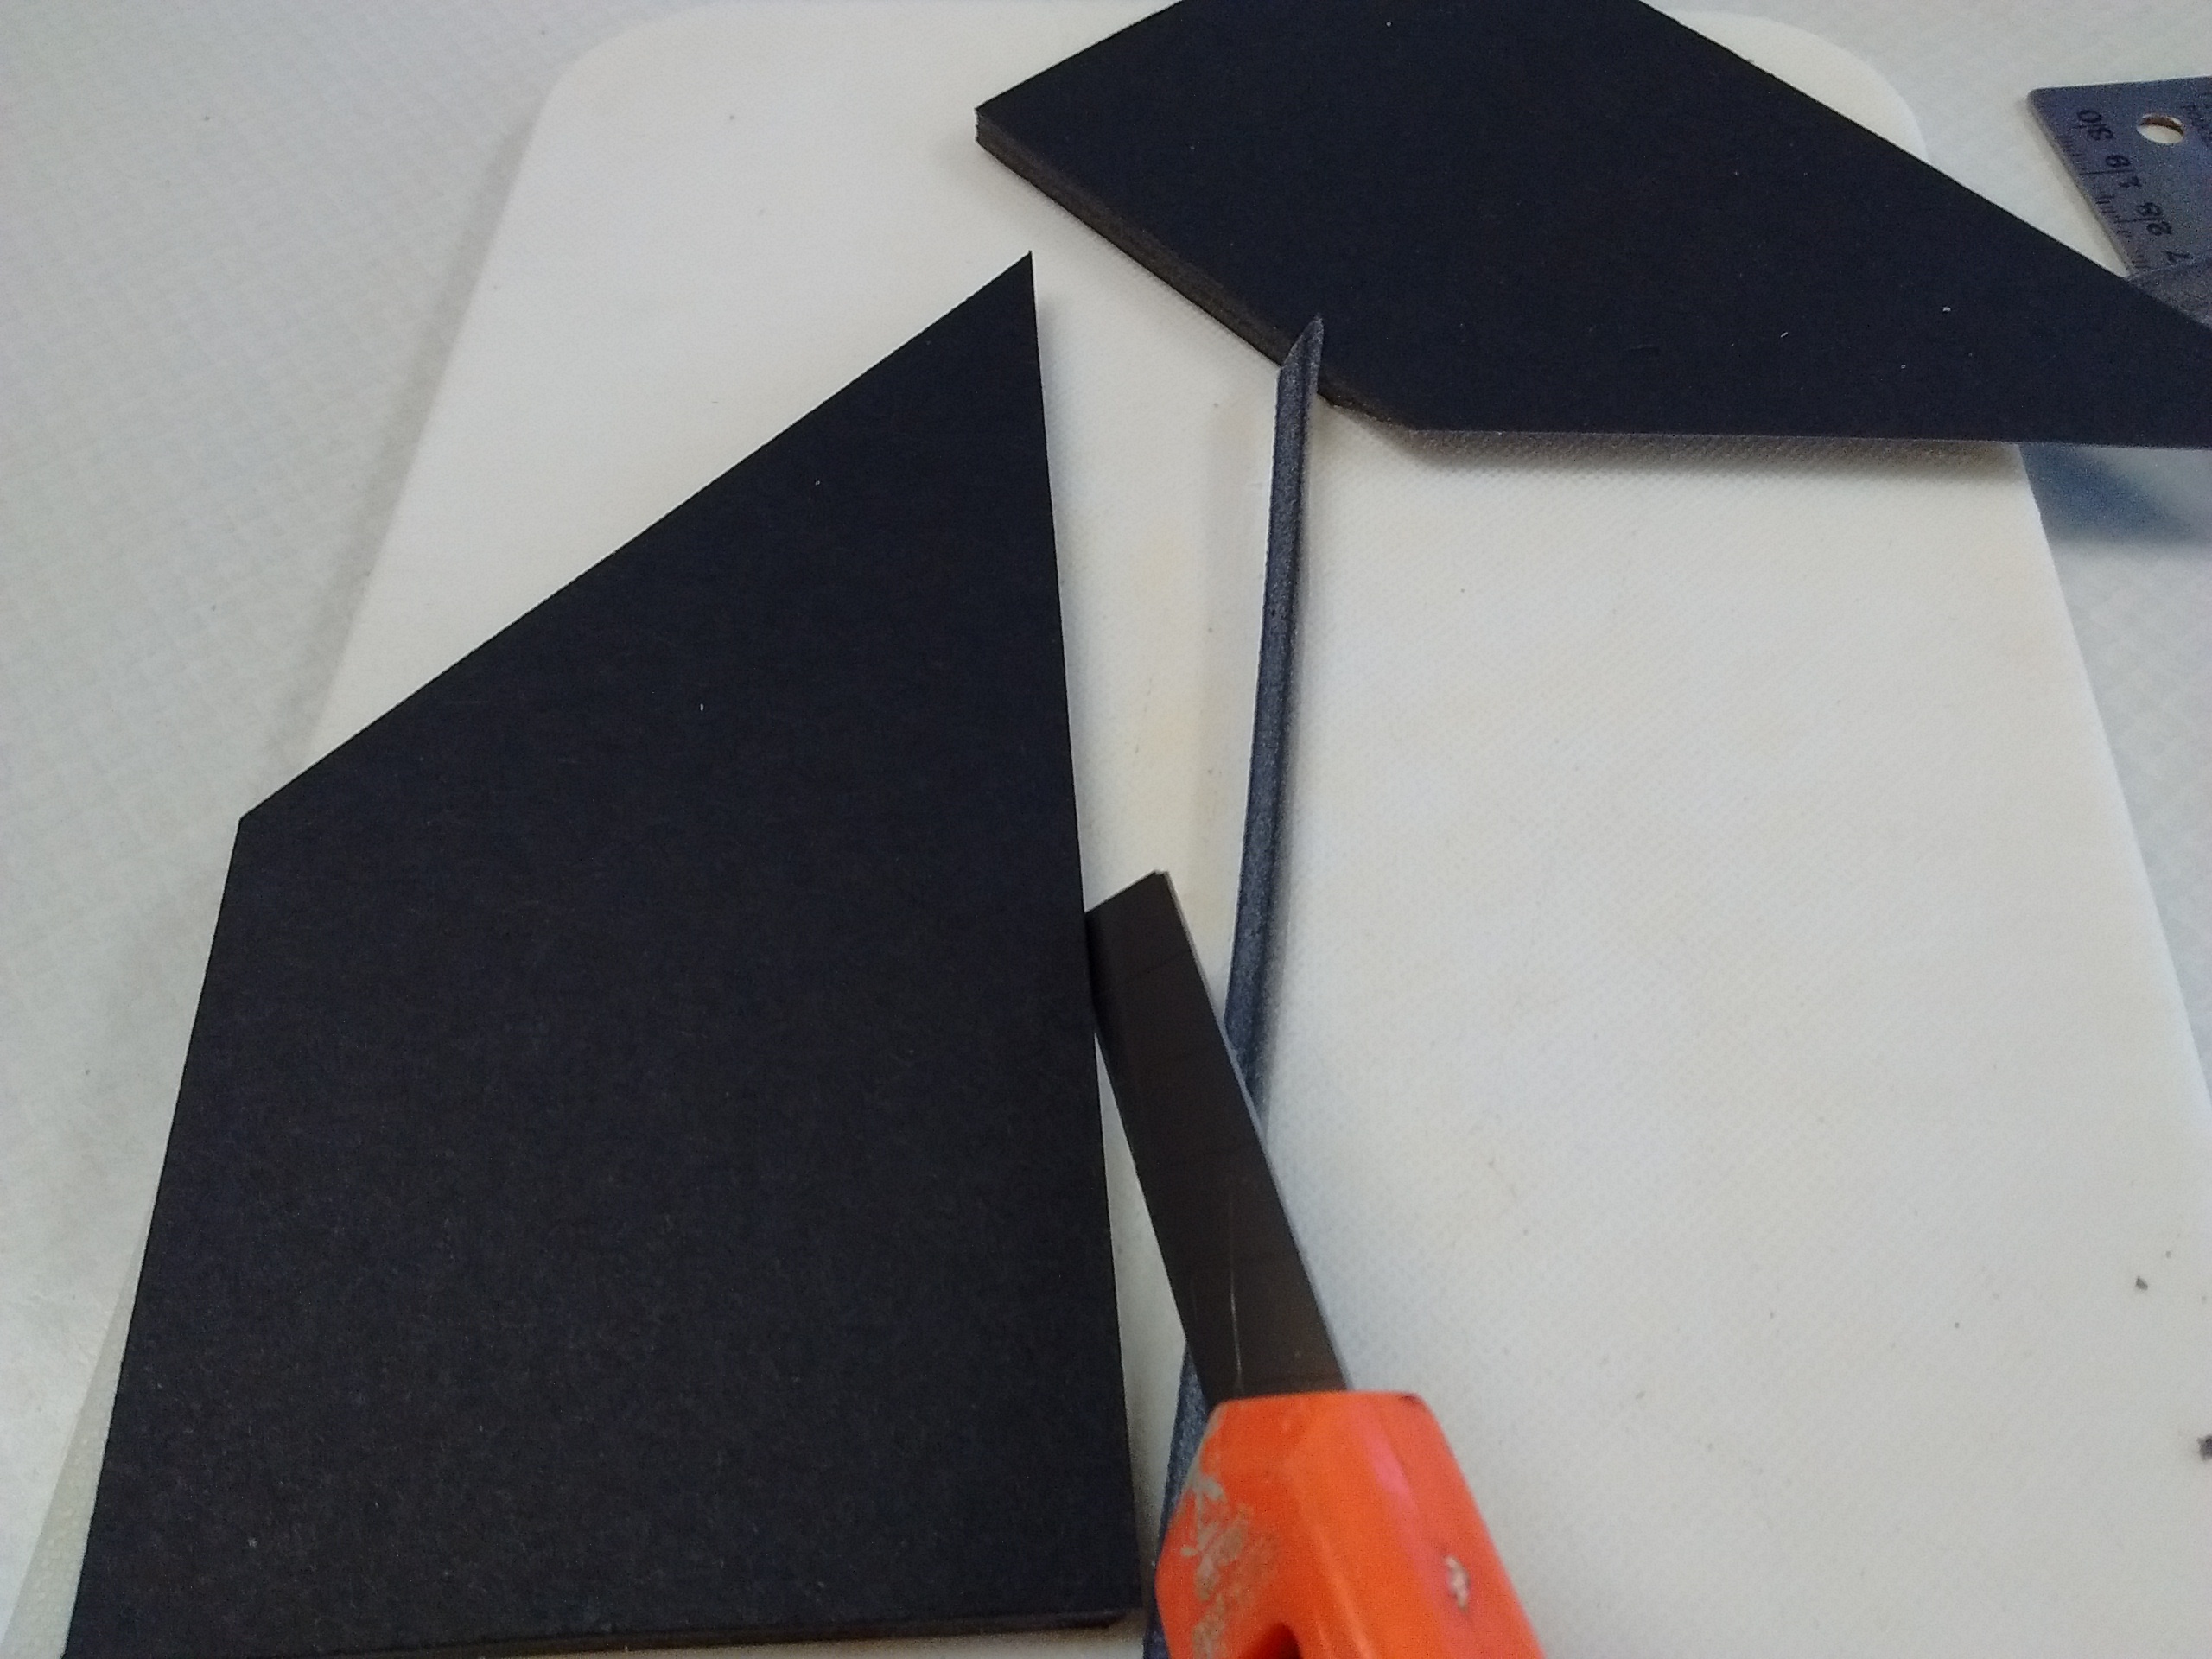
Wee slice for roof peak intersection
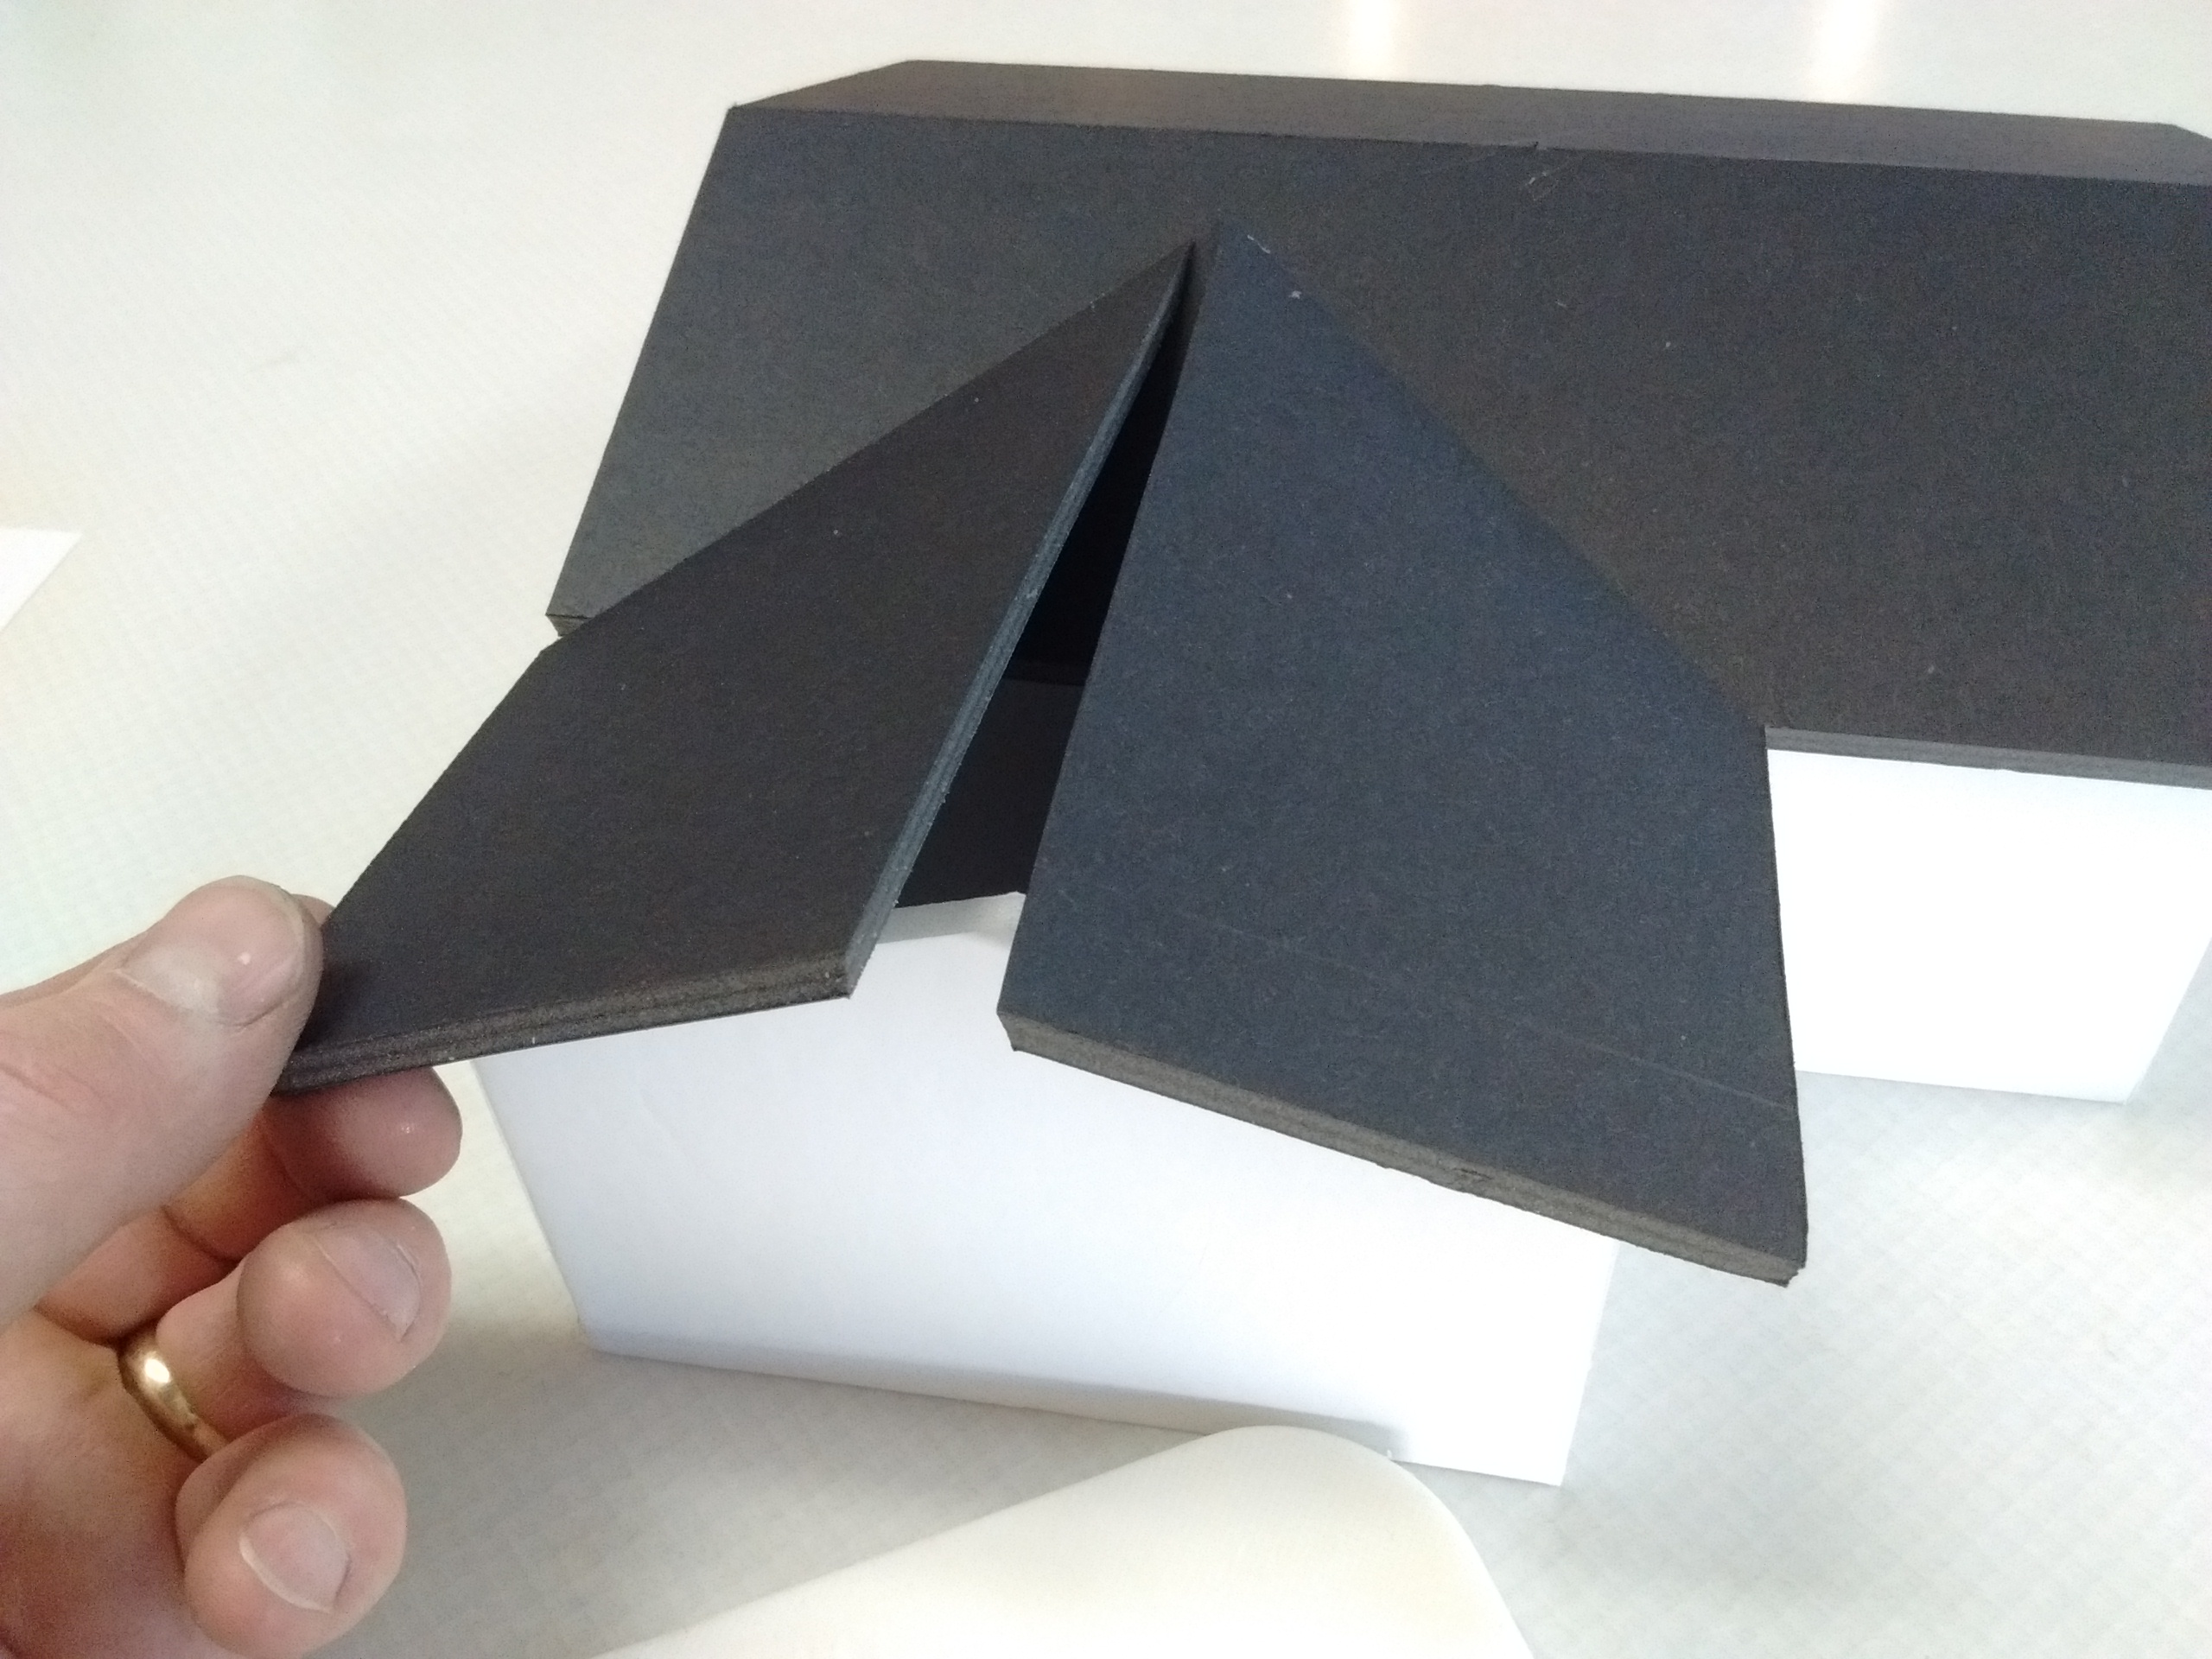
Test fit BEFORE gluing
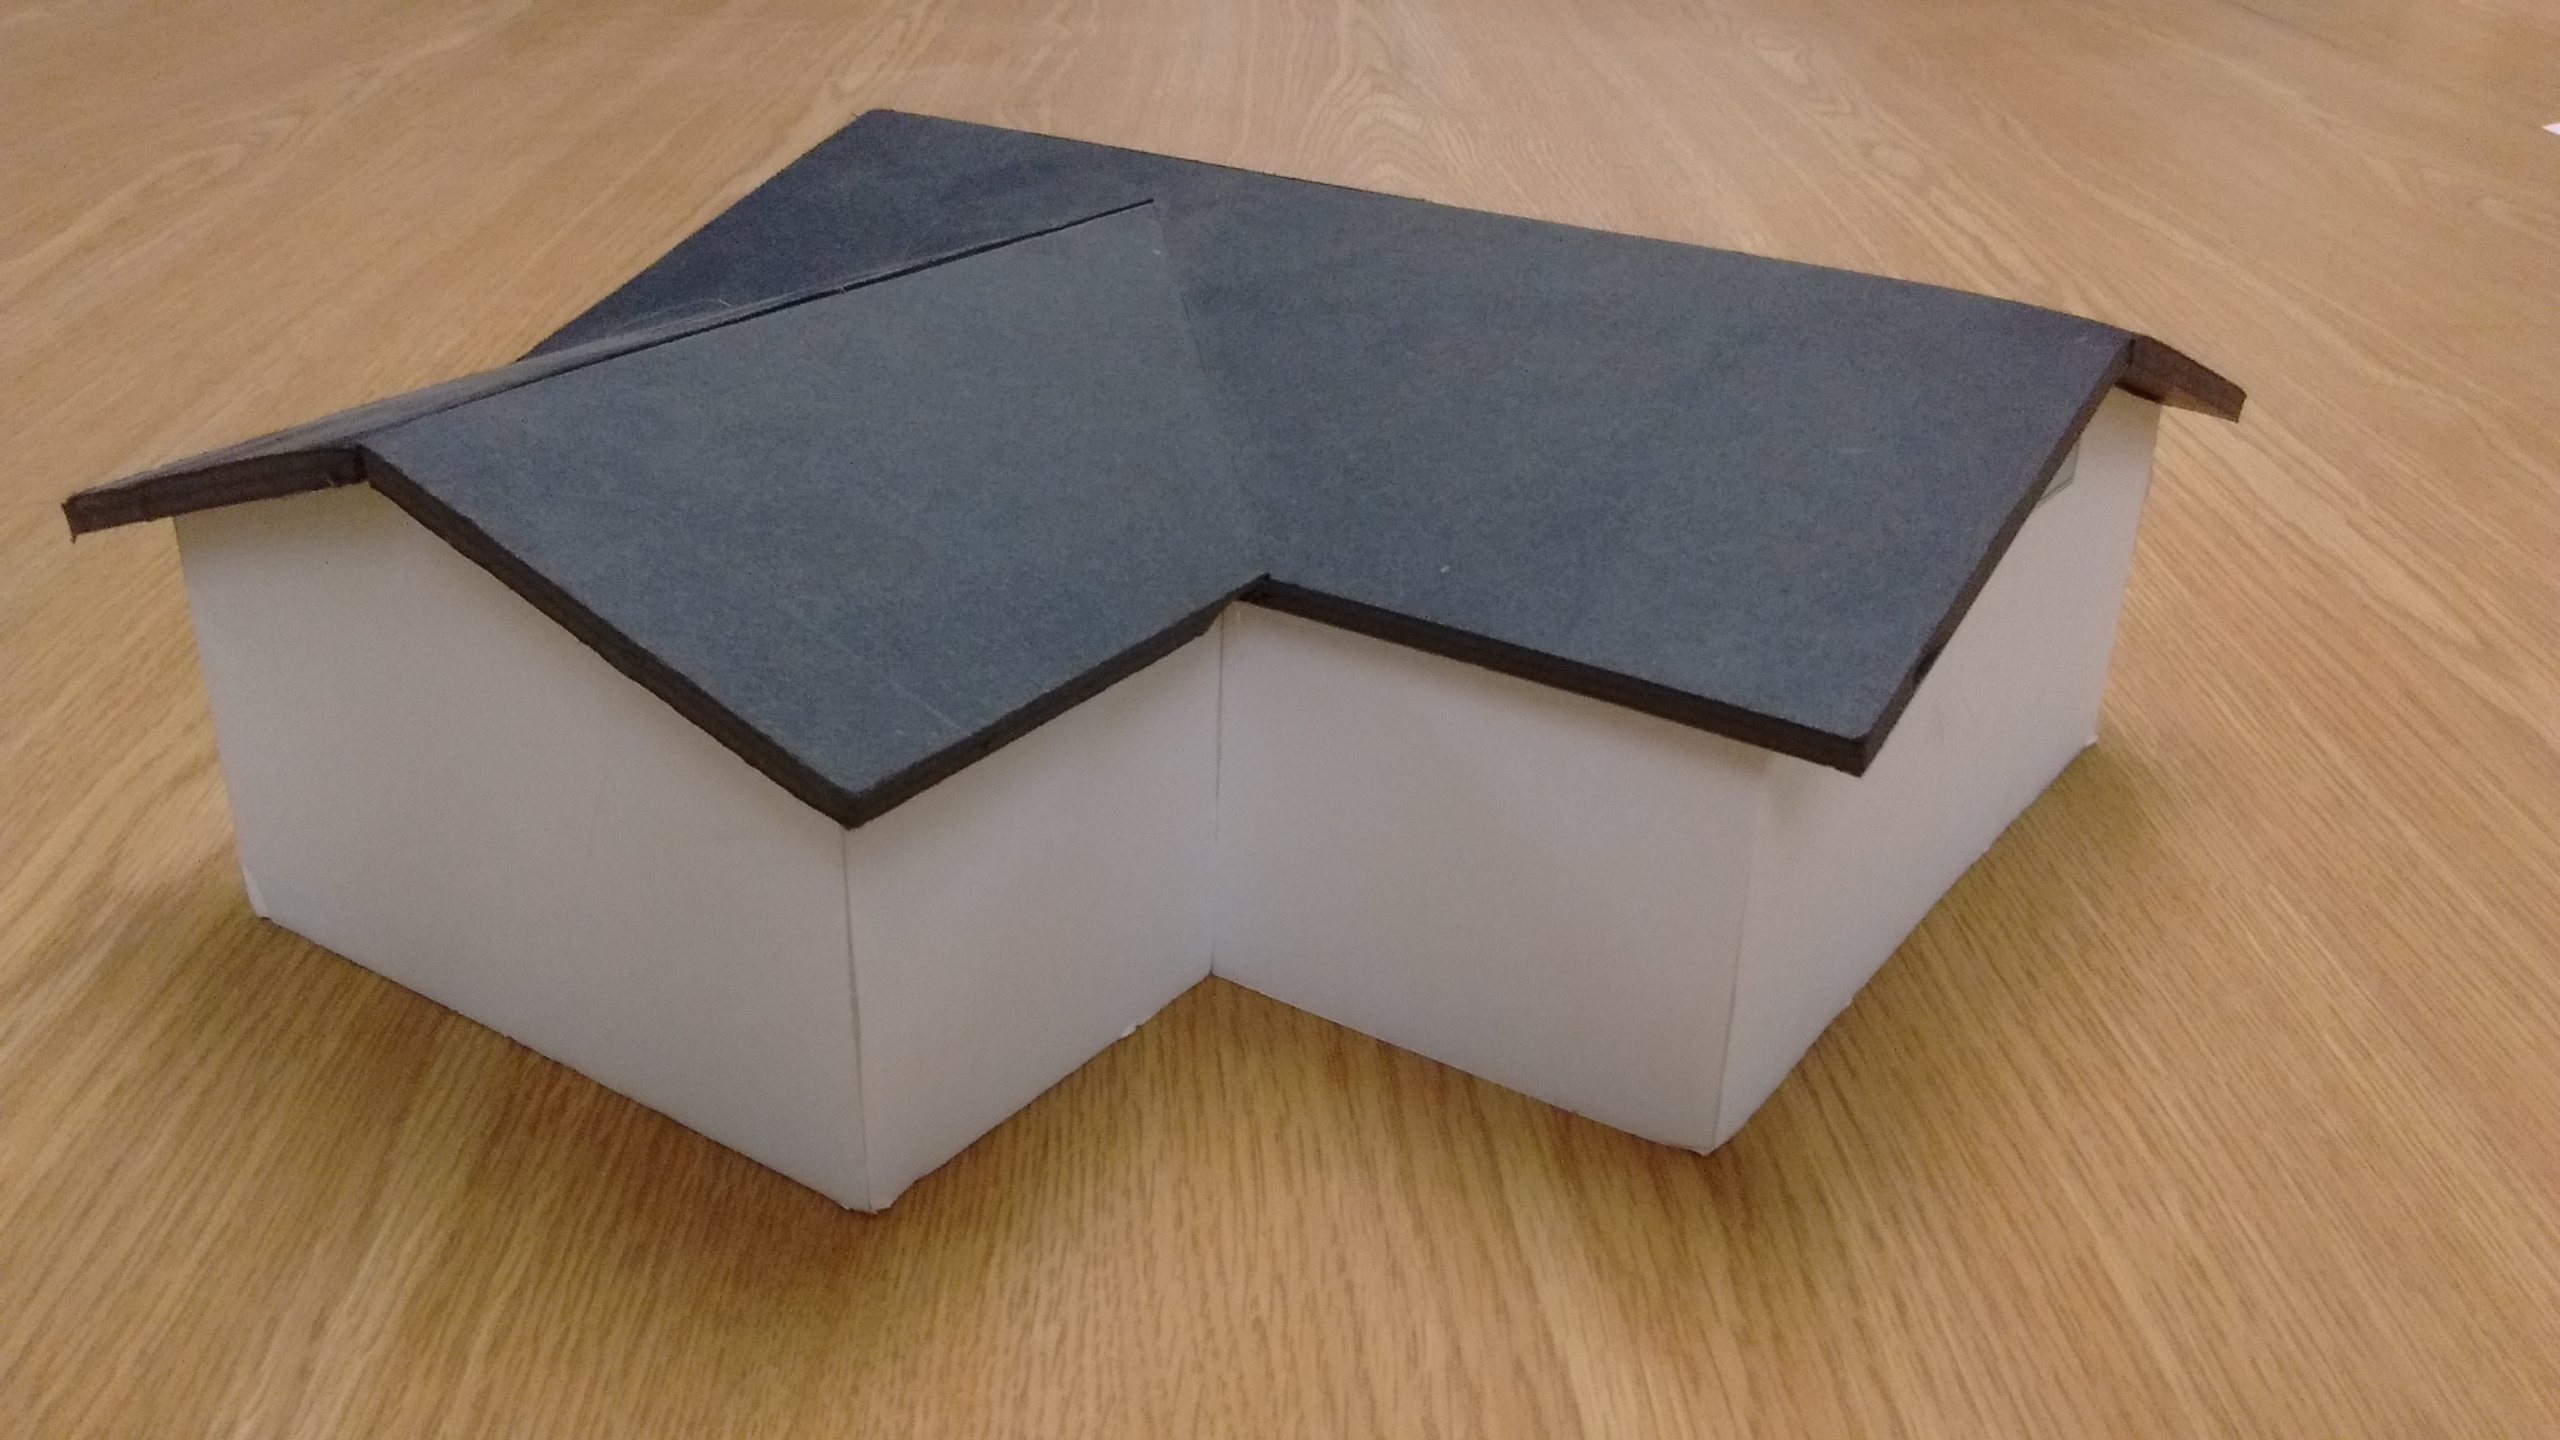
Oh, look:
Use additional materials for more detail
Print out the MARK SHEET