
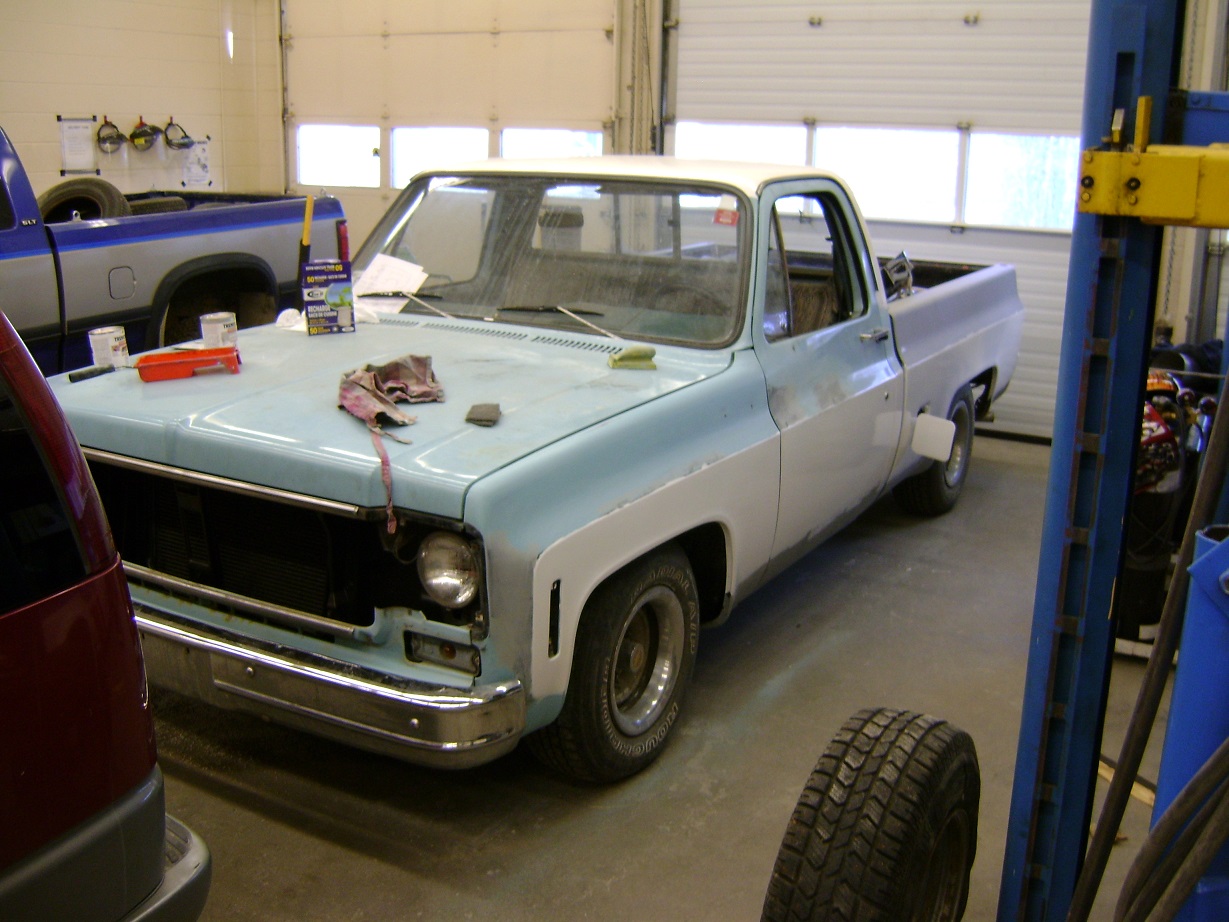
LOTS of internet hype on “The $50 Paint job,” done with numerous layers of Tremclad or Rustoleum and a foam roller.
I was inspired by Trucks! ClasSix Fauxtina ’49 Chevy (done all in Lacquer, if I’m not mistaken), and thought that might be a good way to go on this truck.
Why would I perform such a heinous act?
- It’s a truck
- I am not interested in doing the proper bodywork in order to spray perfect paint
- $5000 paintjob on a $1000 truck makes no sense
- I do not want to stress over the inevitable rock chips, door dings, dents, and the continual fight against rust
- Tremclad is easy to touch up, and matching cans can be purchased at ANY hardware store in ANY town in ANY province of Canada at ANY time
- Fauxtina is easy to maintain, and with cheap paint, it will look more real with each passing year
- While it’s argued that you cannot paint over Tremclad, IF I CARED ENOUGH TO RESTORE THIS TRUCK, I would would have the entire body stripped anyway and do it proper (turns out, the base paint is wretched and dissolves with Lacquer Thinner, so it would all have to have been stripped off anyway)
- It’s a truck
Of course, while “Patina” is currently the “in-thing,” rest assured, as soon as I complete this, it will instantly be out-of-date and look SO early 21st century.
A couple things had to be done first:
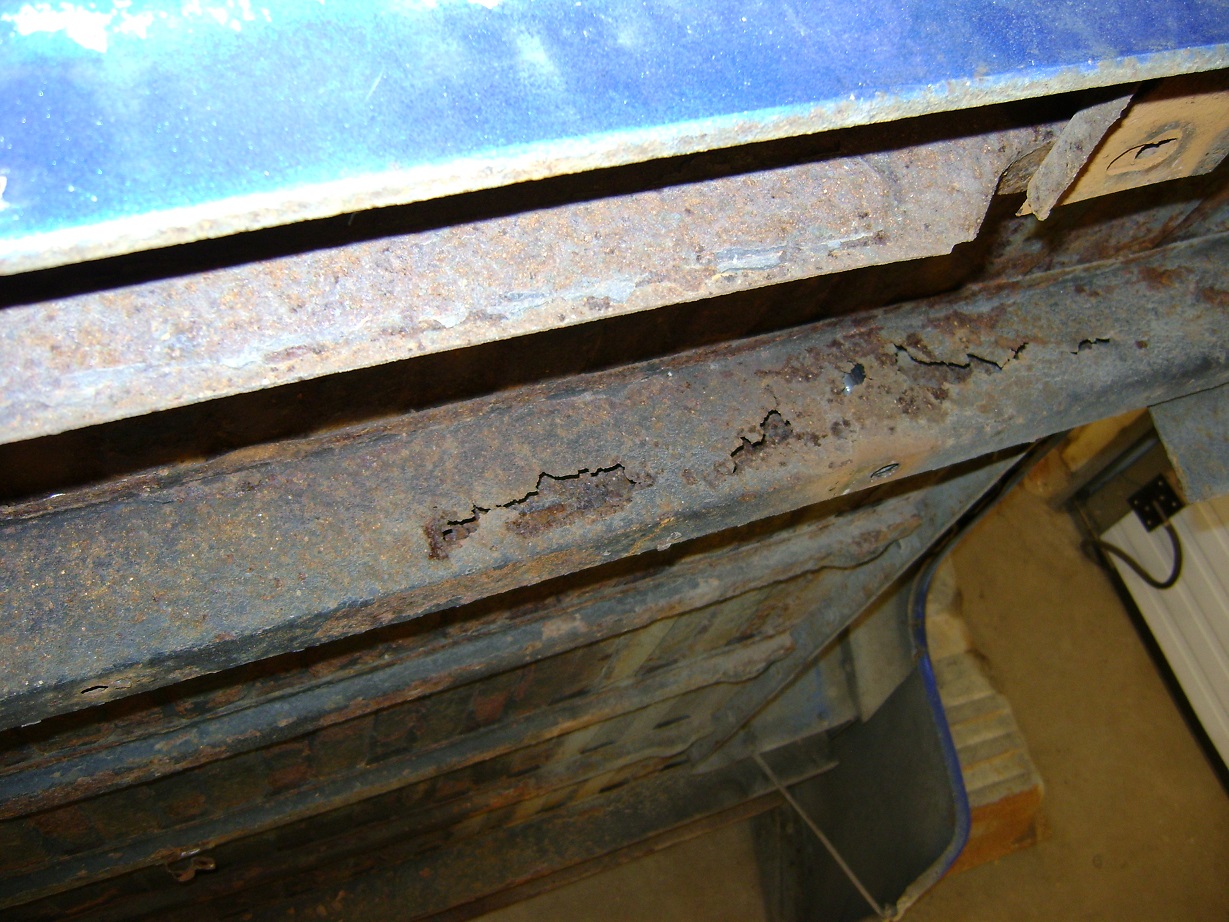
Rear cross brace was cut out on replaced with a good one (amazingly) from the old long box.
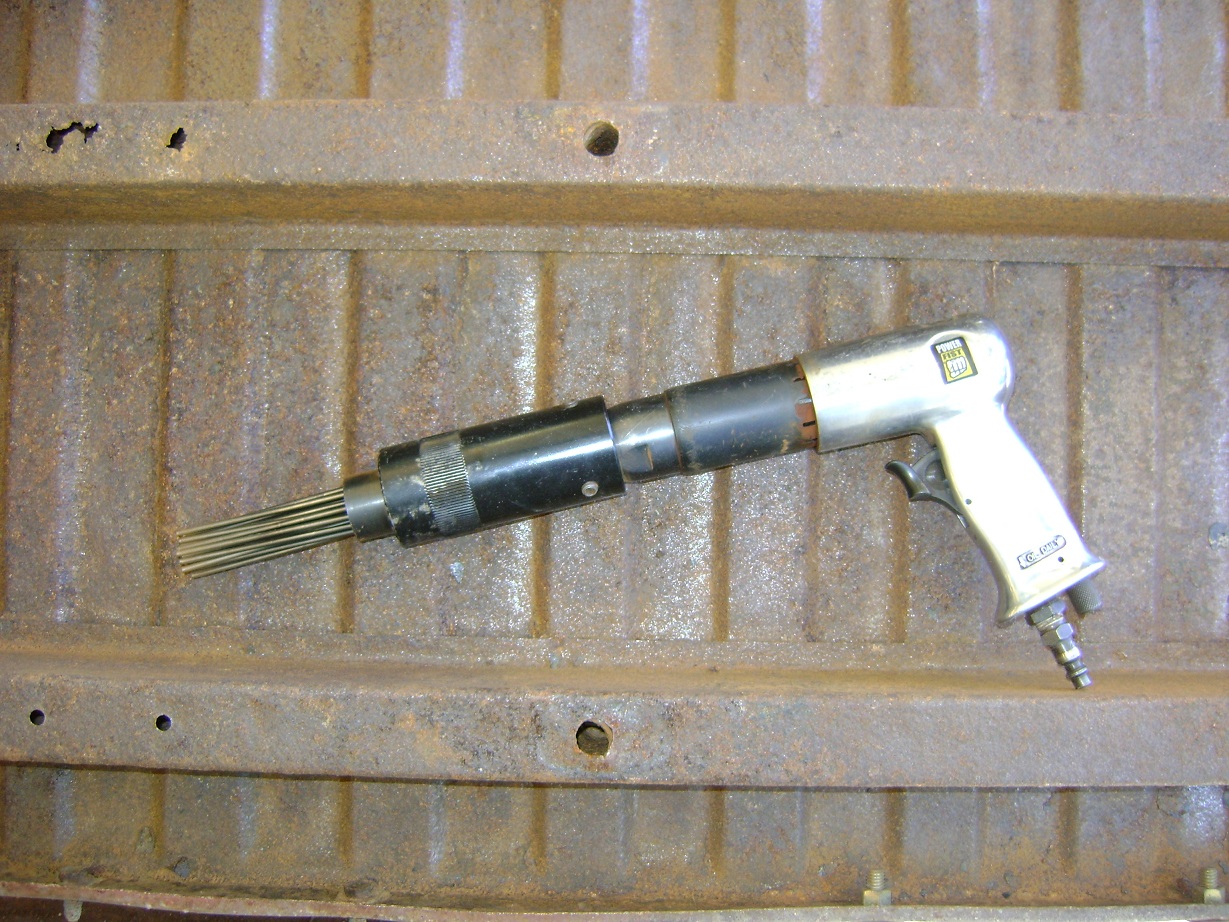
A killer Needle Scaler was purchased from Princess Auto and all the flaky rust removed from the bottom of the wretched bed. Years of physio in the undoing.

Zero Rust applied to the bottom.
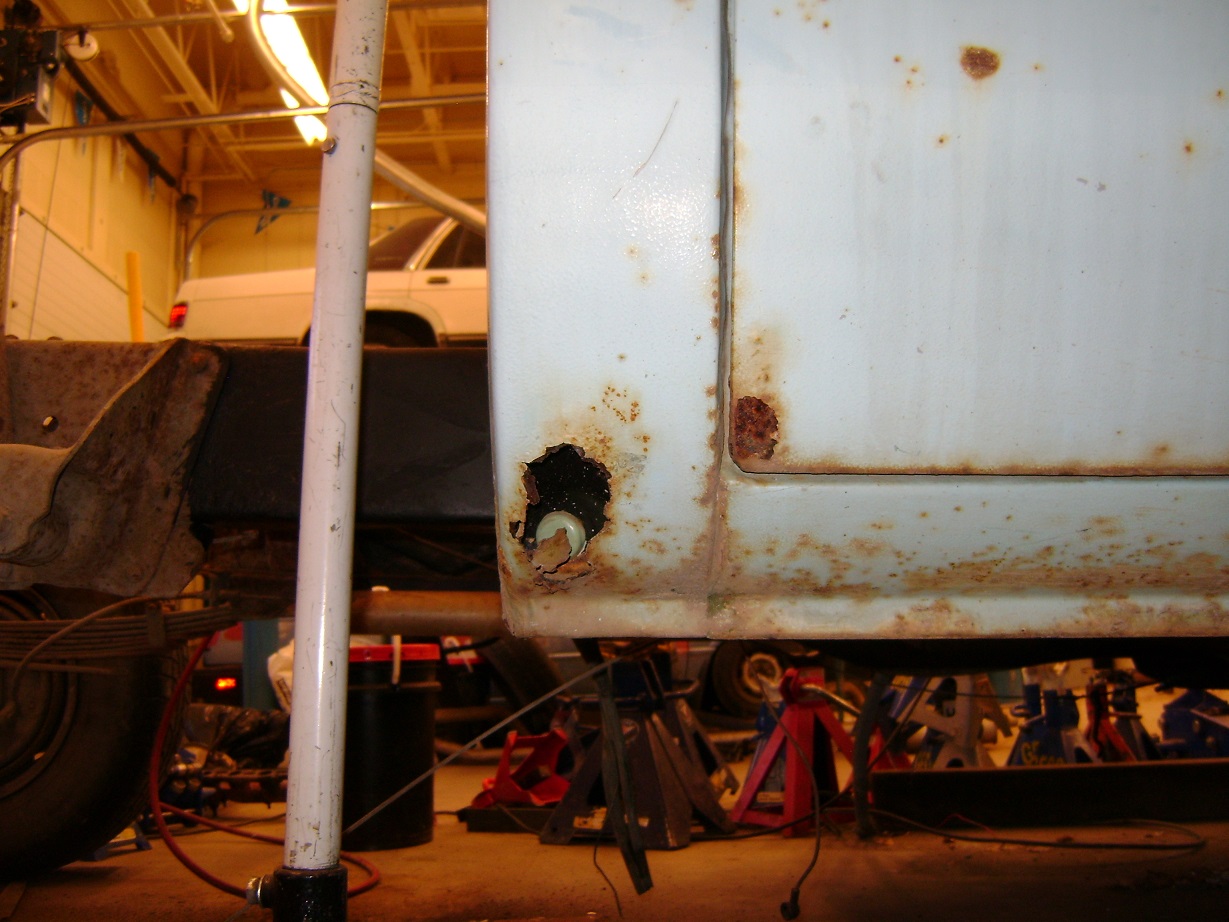
Parts of the old box became patch panels for the cab corners:
On the “new box” I added a second gas tank, and patched in a filler door, so now I have dual tanks.
I had a student chase some cracks in the short box just to see how far they went. Pretty far, it seemed. So we mixed up another heavy coat of filler and just filled it back up. The “new box” box is not a worthwhile one.
I fabricated patch panels for the bottom of the passenger door, and also replaced all the door pins while I was at it.
I machined door striker thingies out of Polyethylene – the doors close like butter now. Apparently 1/2″ PEX works great too.
I fabricated patches for the inner fenders (where they meet the firewall), and deleted the triangular “reinforcement” bit that the trucks came with. Rust just waiting to happen with those. I’ll discover just ~why~ those were there in the first place soon enough.
I ended up buying front fender bottoms since they were $30 each, and probably saved me 40 hours of fabrication. I am just not that good at body work.
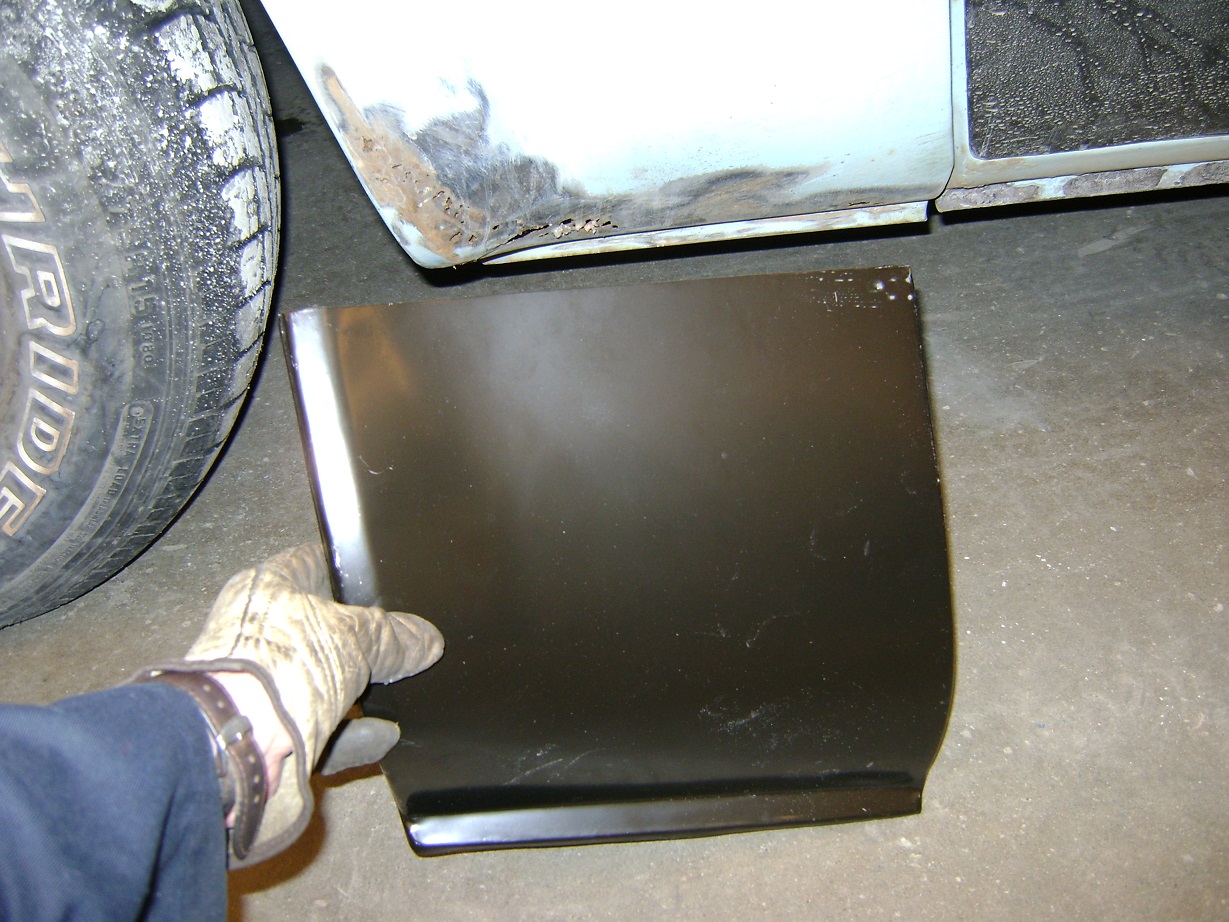
Patch panel.
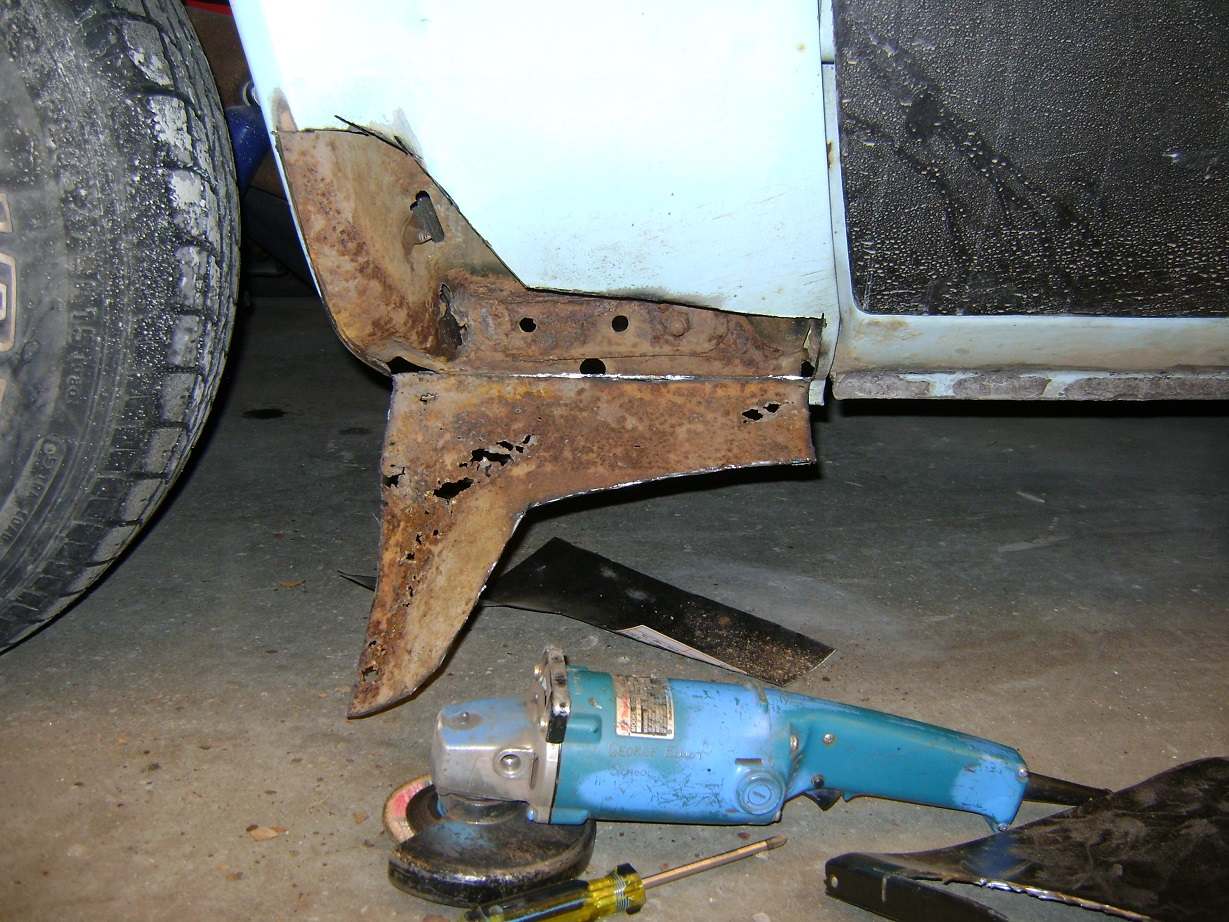
The nastiness within.

Scrubbed down, slathered in Rust-Mort, painted in Zero-Rust, and sprayed with Bed Liner. No, I didn’t patch the inside. Drainage is good.
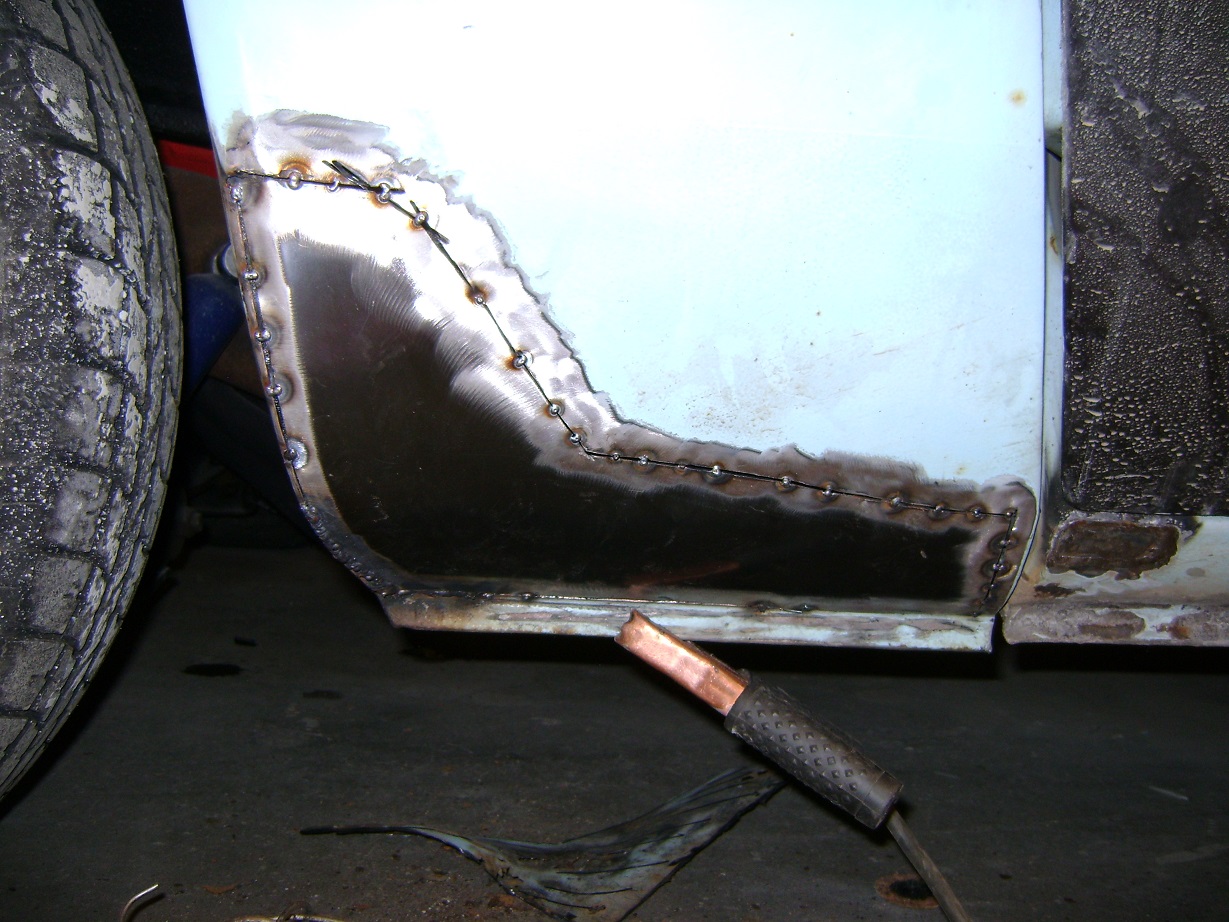
New panel tacked in.
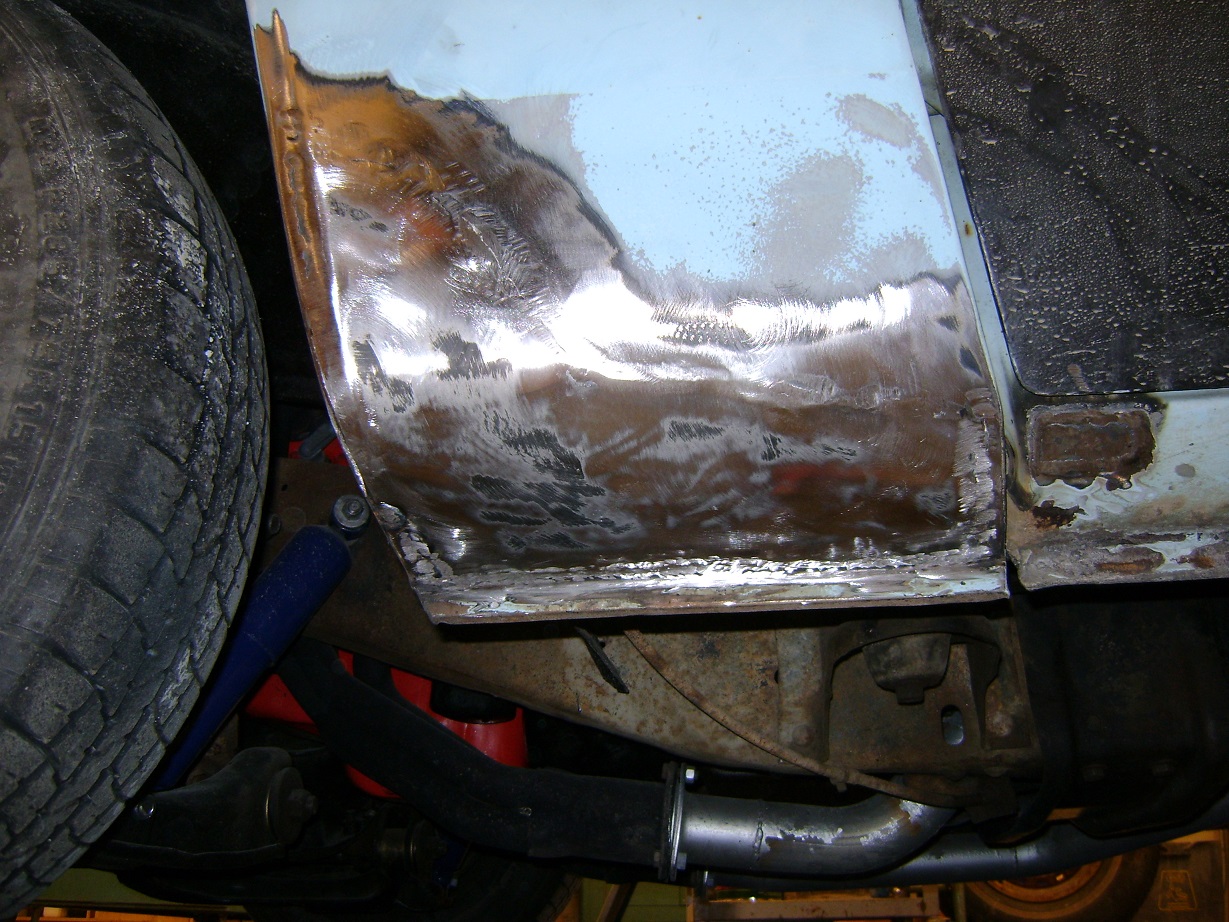
Ready for filler.
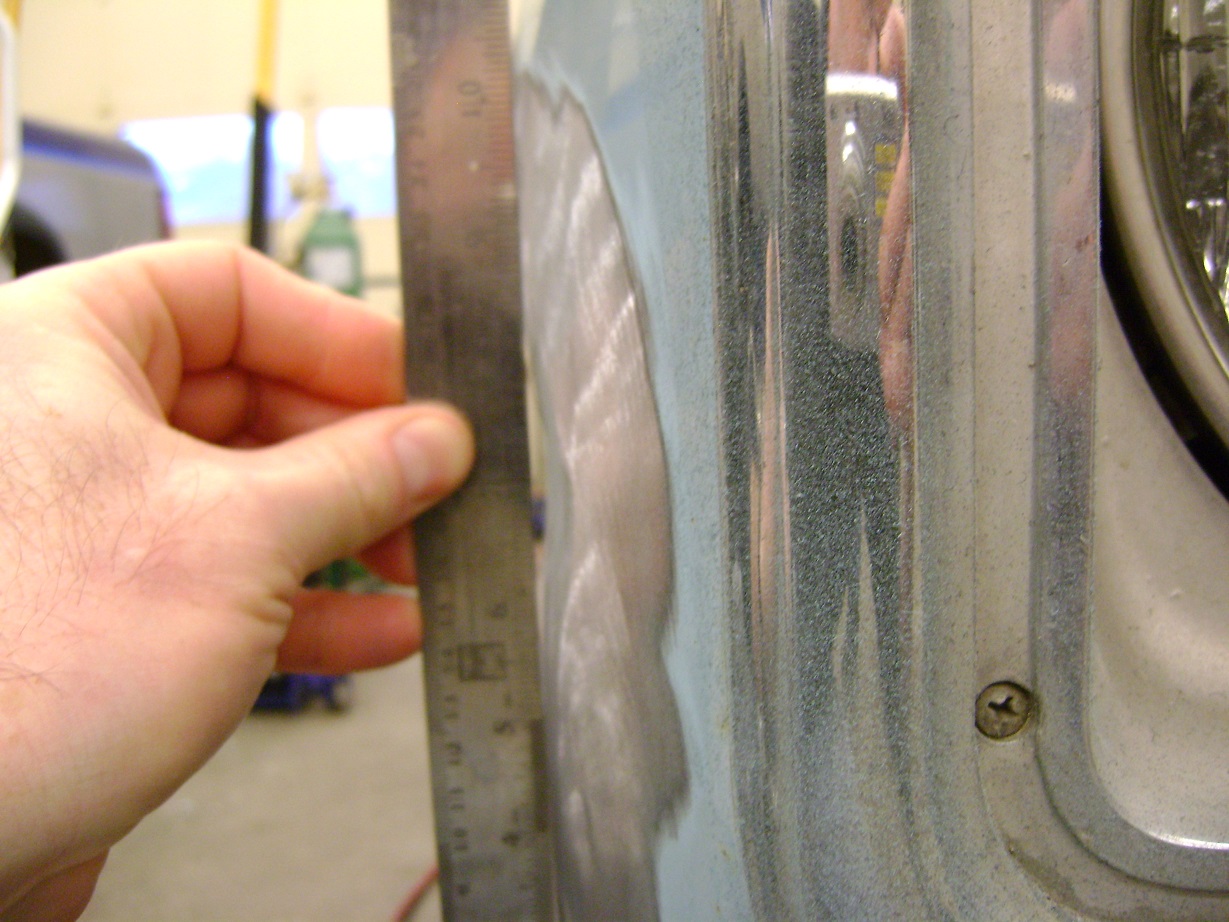
Another area where obsession rears its ugly head is dent removal. While this truck had quite a few, one I am quite proud of is a crease in the right front fender. I made a Vice-Grip slide hammer, and welded a bunch of nails through the dent to persuade it into being.
You can see daylight through here.
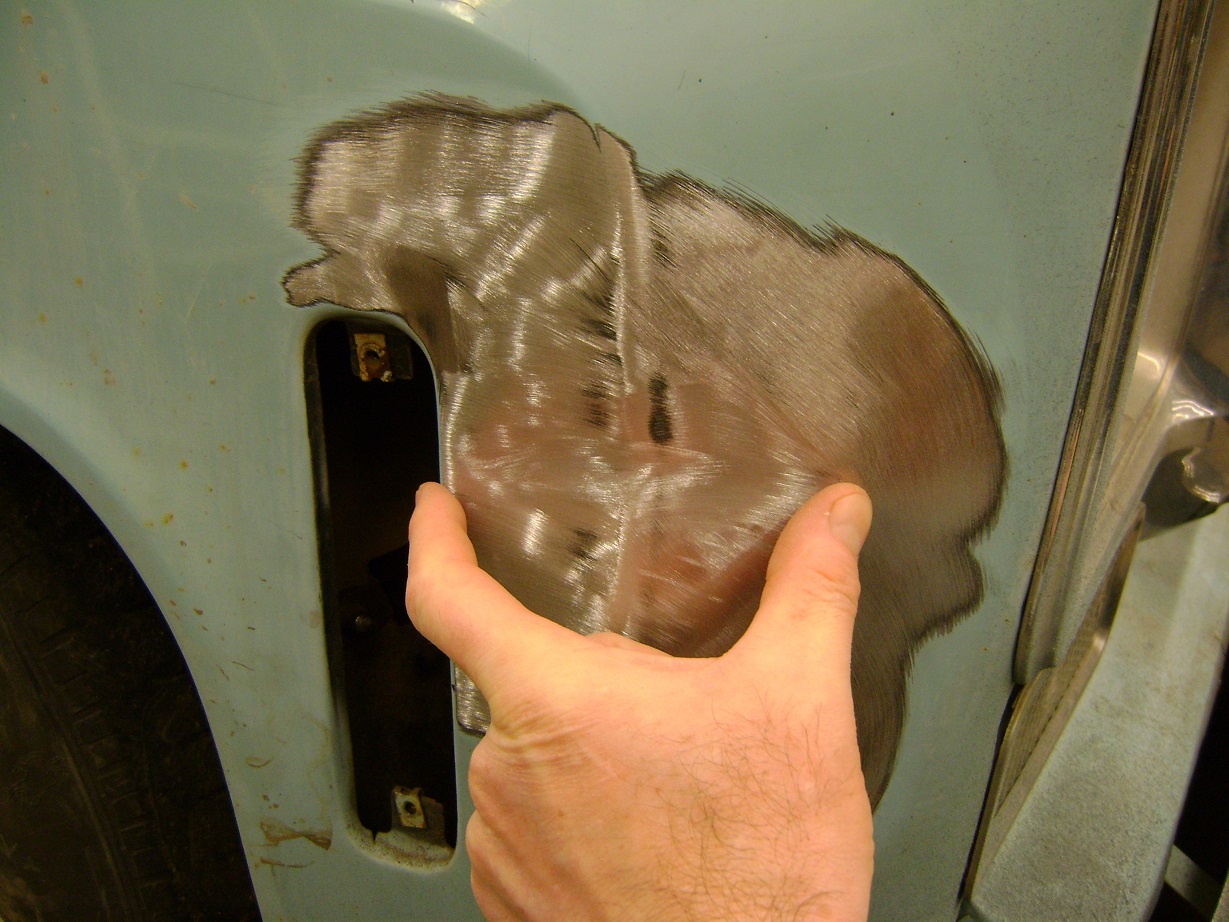
Crease is between my finger and thumb. It was ugly.
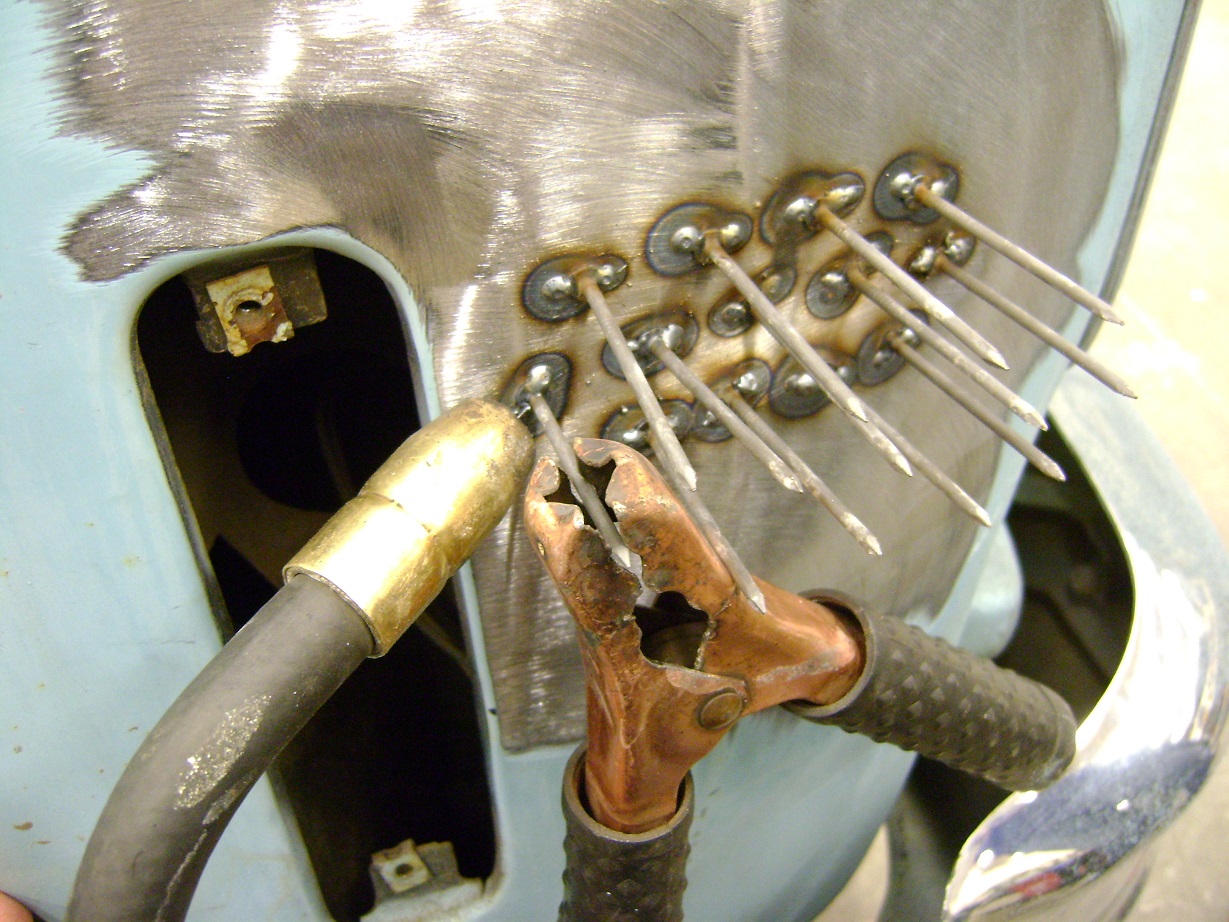
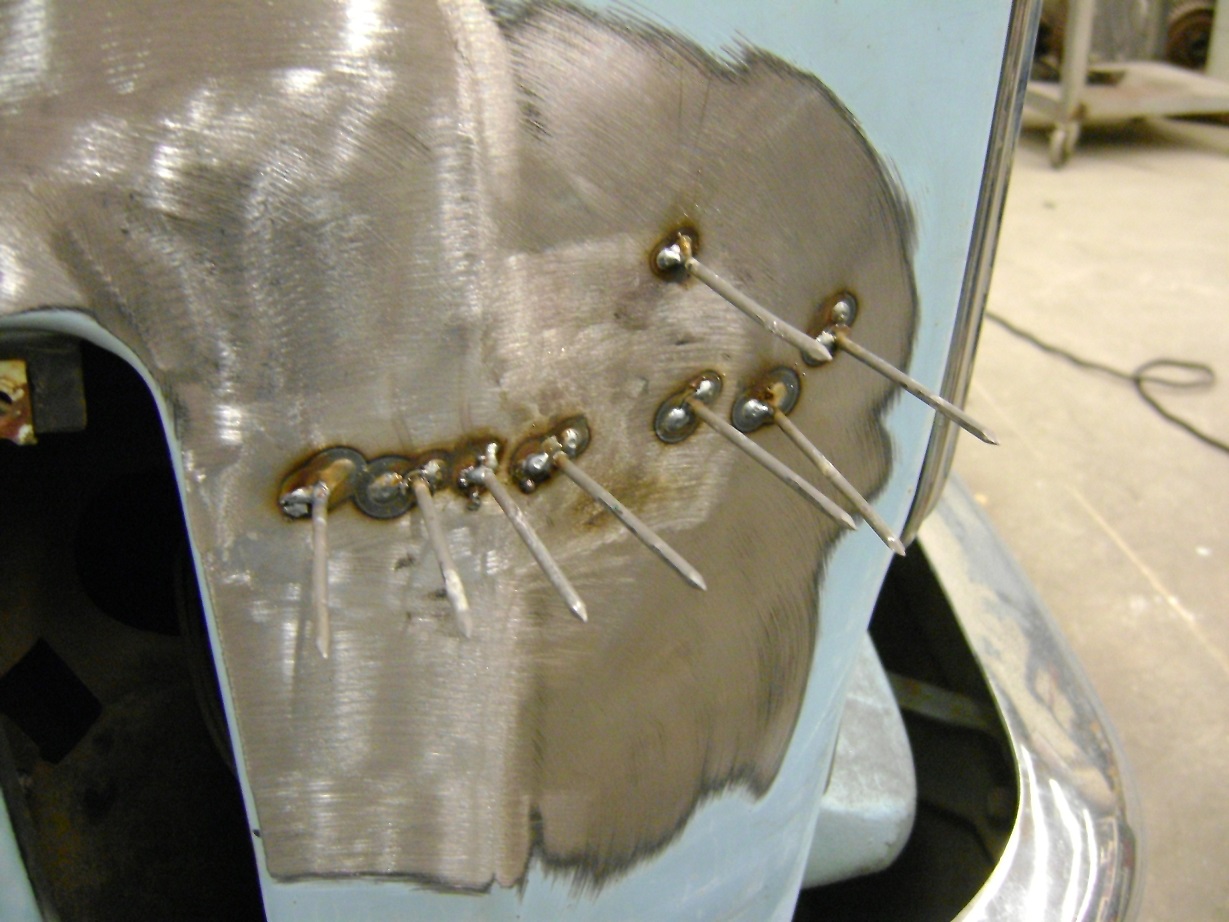
I welded a wack of nails.
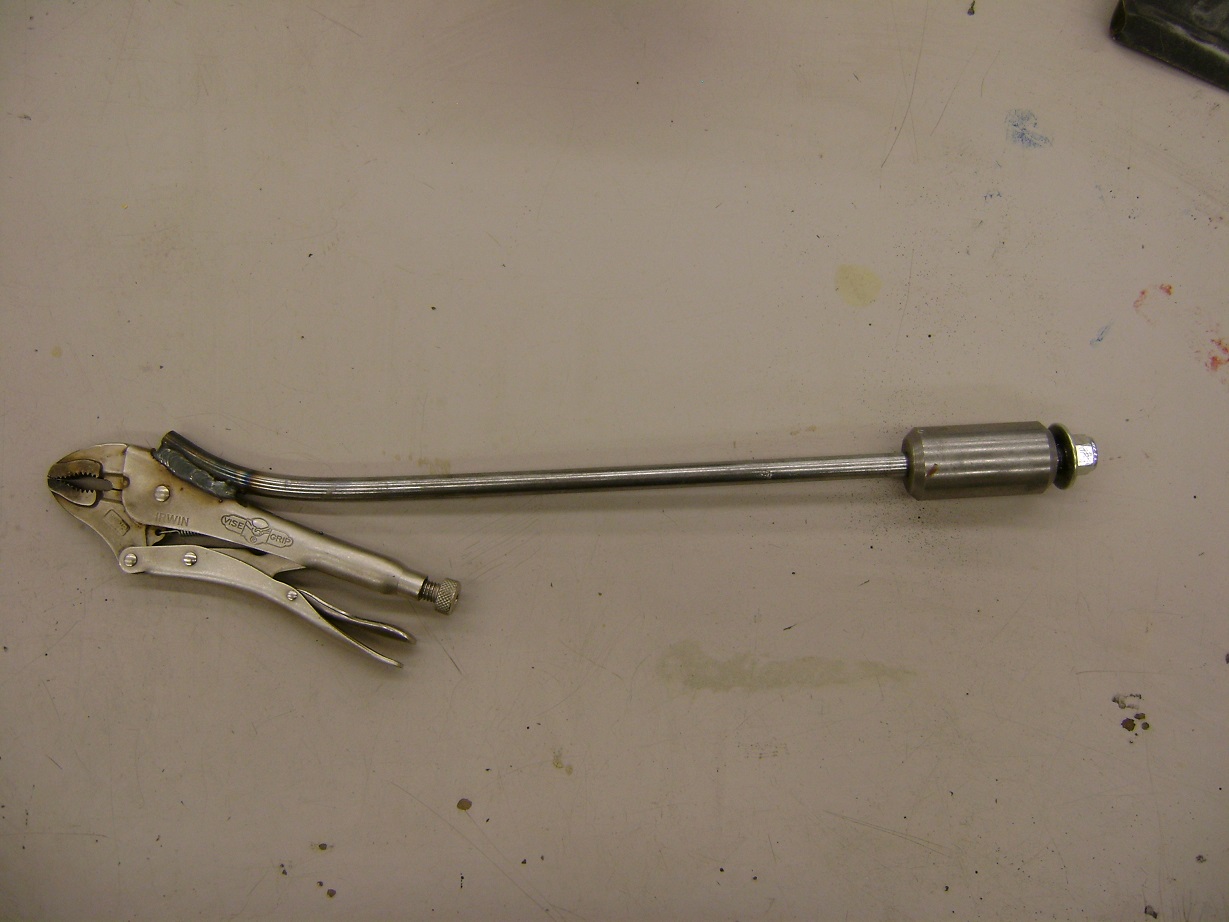
Home-made Vice-Grip dent-puller.
Start around the perimeter of the dent.

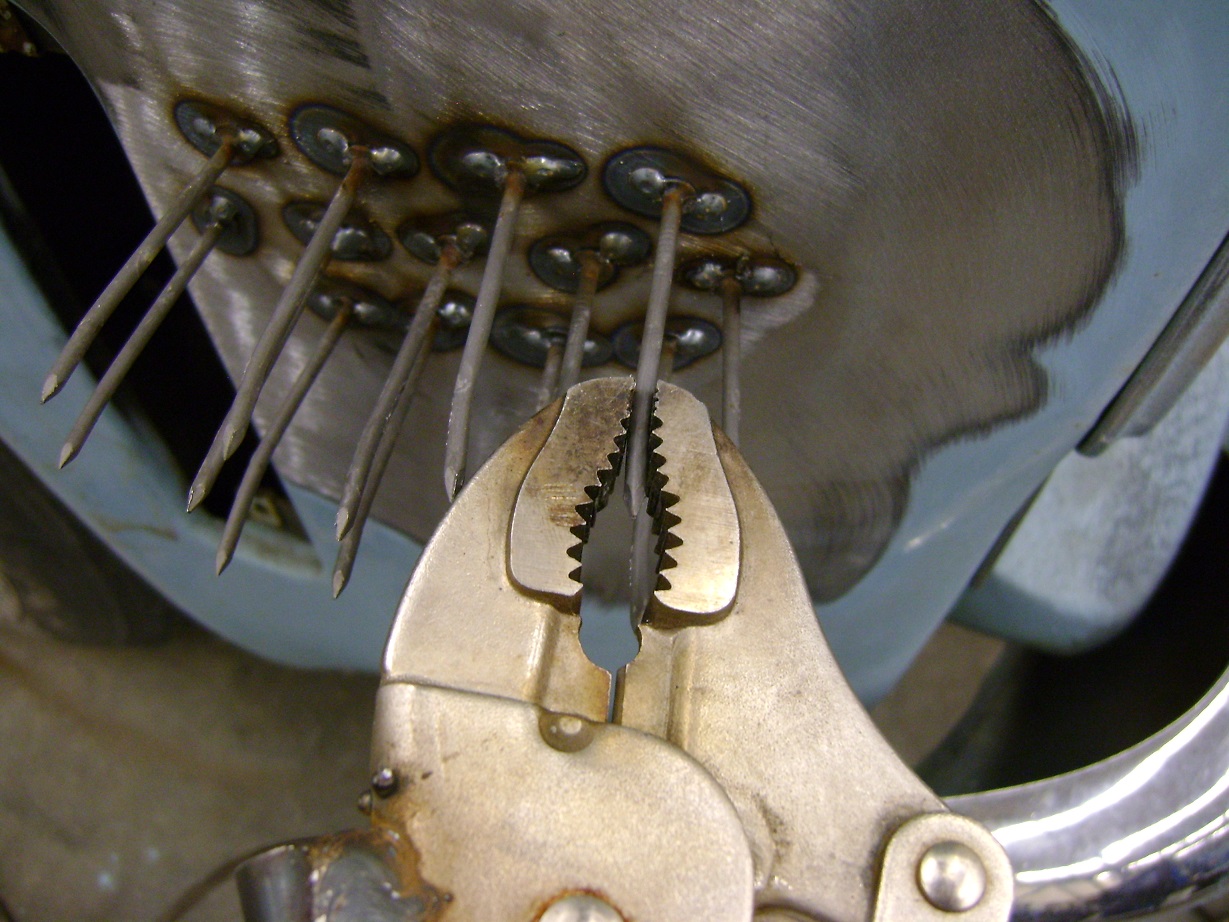
Gently persuade them into reason, working yourself into the center.
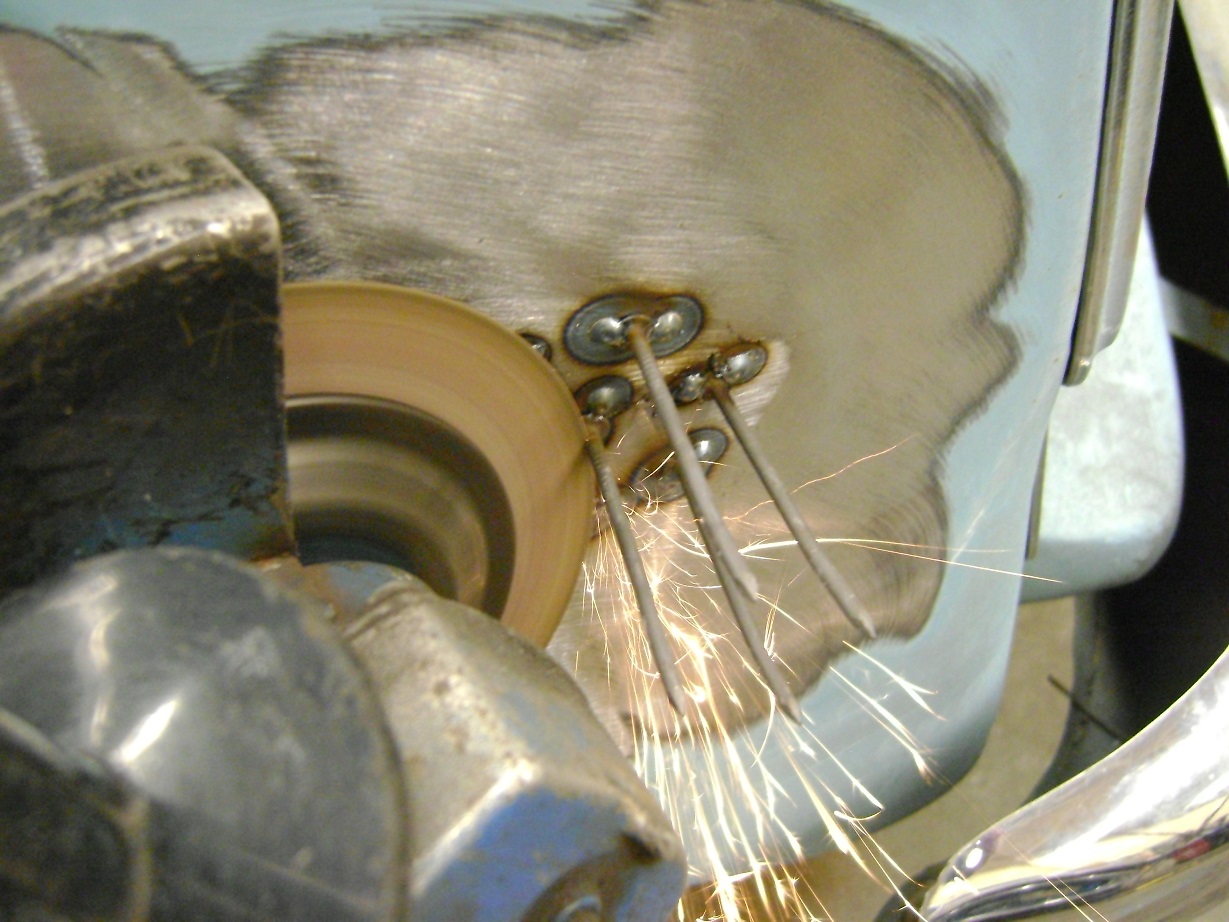
Grind off the nails.
Might need more than one shot at it. This is “Take II.”
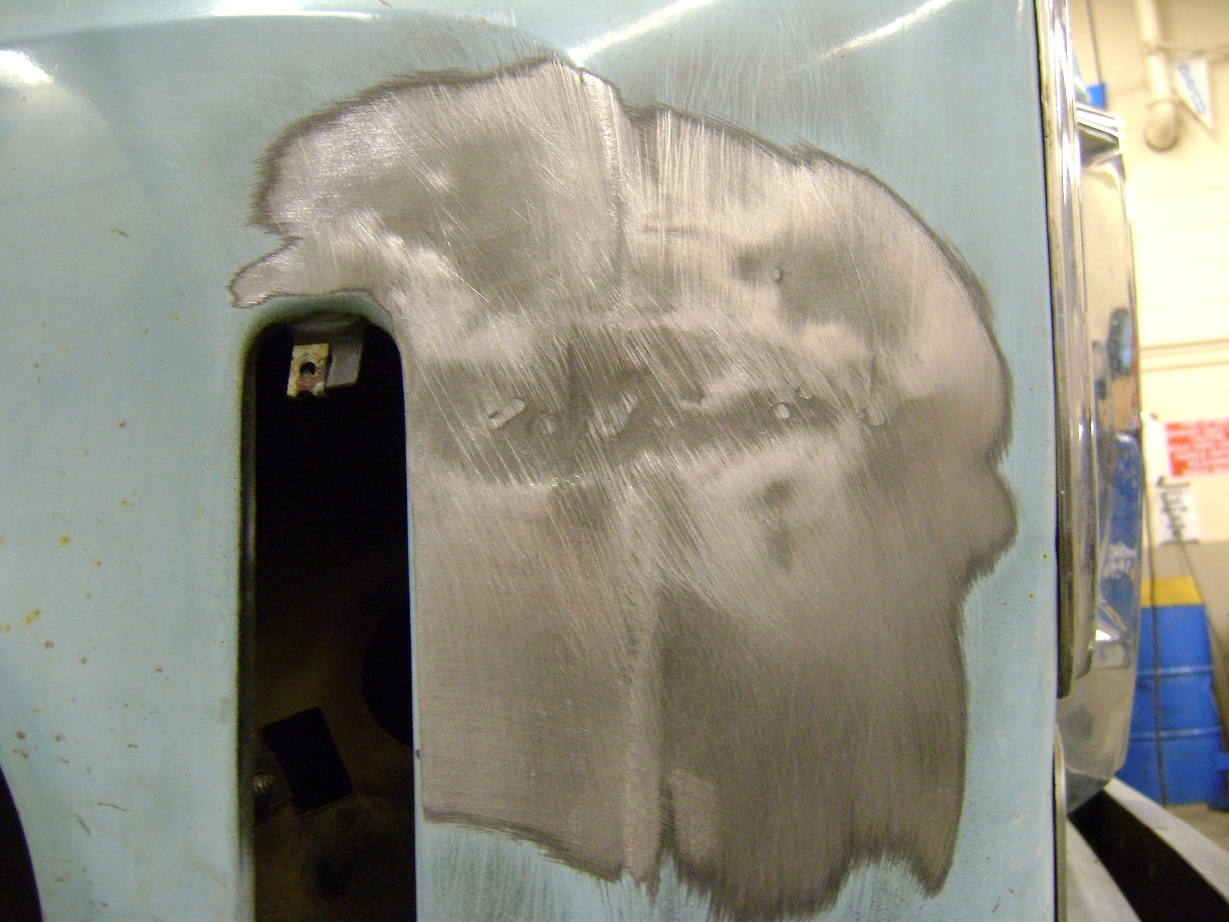
Light spray of black paint and a quick sand and you can see the high spots (shiny) and low spots (dark). Repeat as necessary. Or until you can’t stand it anymore.
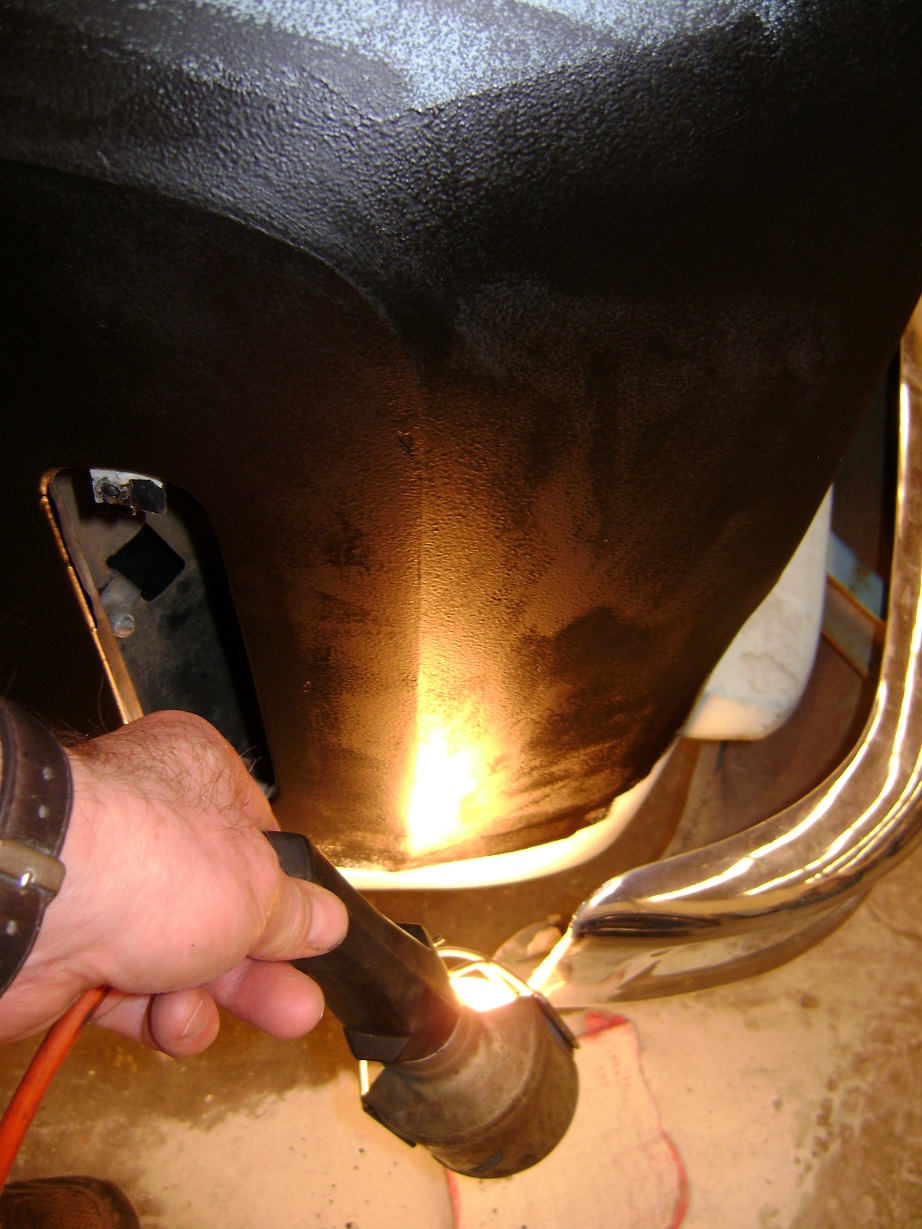
After a big fat roll of Zero-Rust.
A “Rutland-Size” can of filler was used to smooth things out. “Zero-Rust” was rollered wherever I had doubts about sealing. I like thick paint.
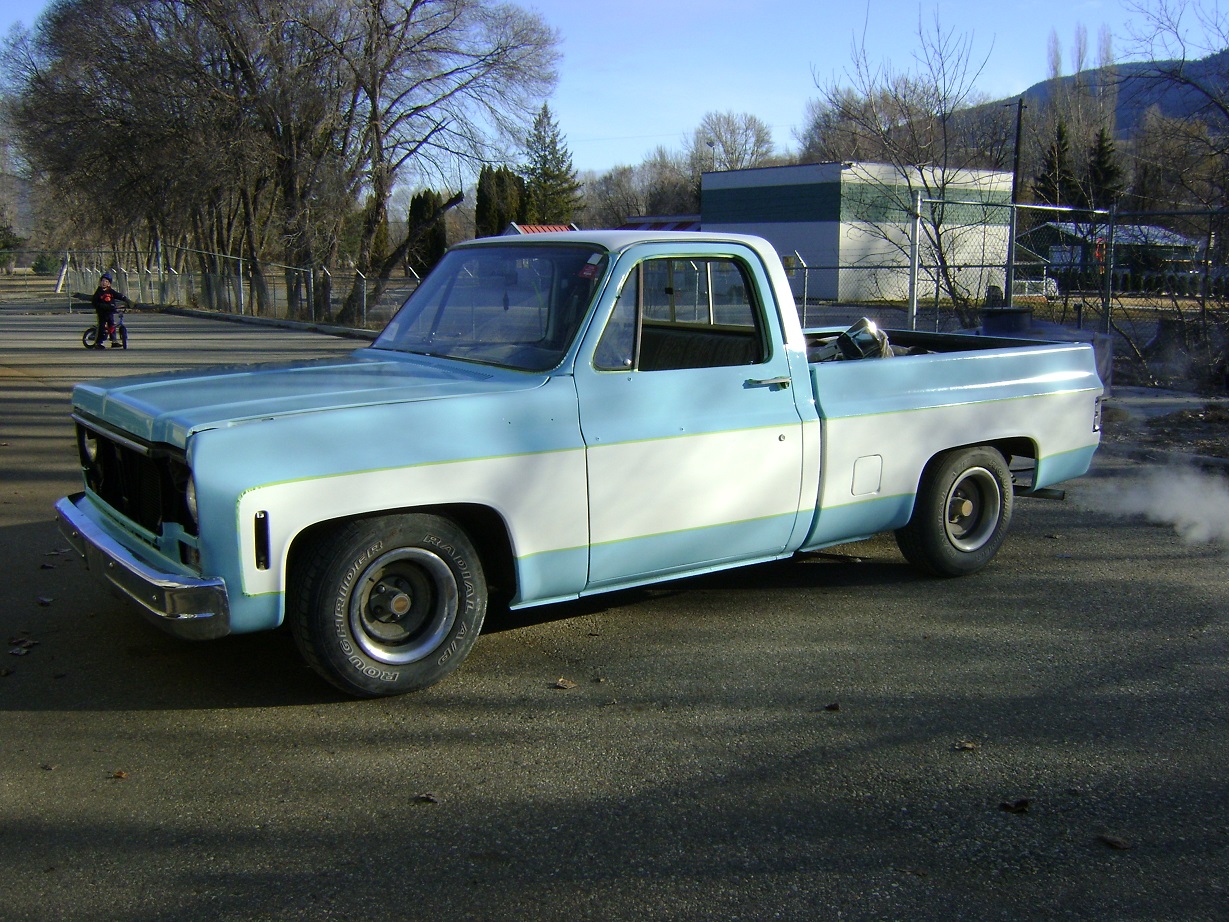
About this time, I decided not to do the Fauxtina.
The truck was originally two-tone. I wanted to go back to that. Originally I wanted to paint it Tremclad Dark Gray, because buying touch up paint would be SO easy. But I knew that seeing the original blue on the firewall and inside the cab would drive me nuts.
Instead, I sweet-talked Home Depot into experimenting to see how close they could match the original paint using Tremclad as the base.
I painted the cab roof and sides white (turns out the original paint was white sides only), unthinned, three coats. No sanding in between. Because I don’t care enough to do that.

Tremclad? This feels just so wrong….
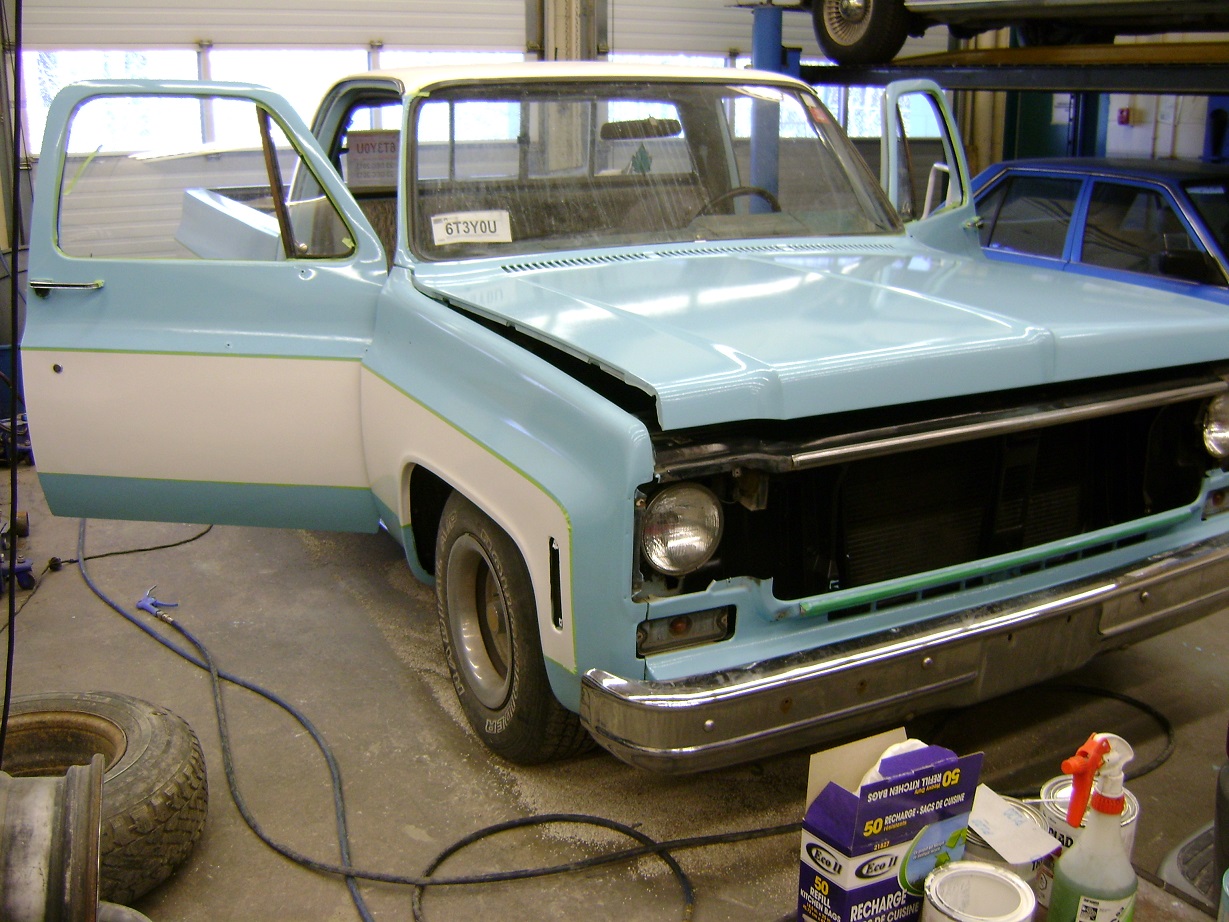
Three coats of white on the front fenders and the doors.

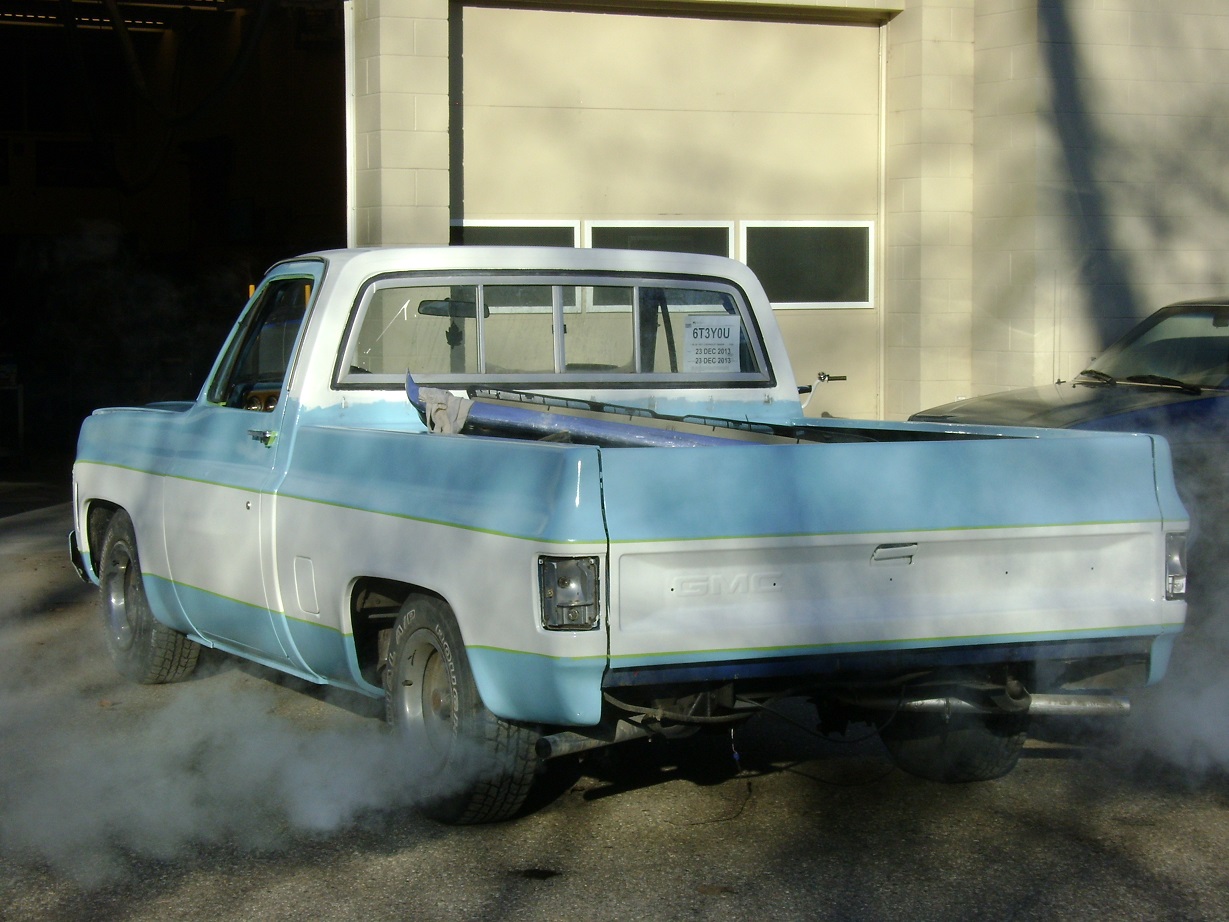
Two coats on the box at this point.
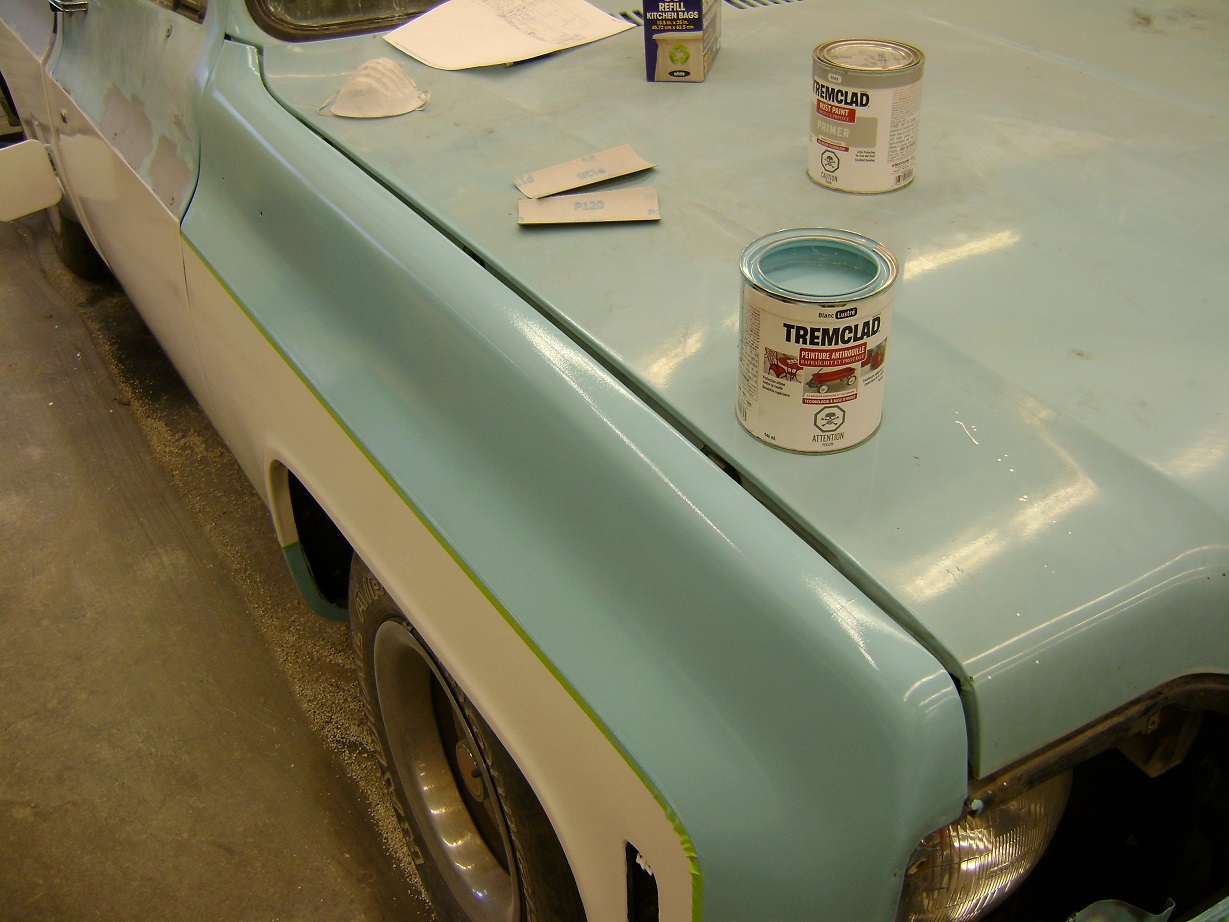
First coat of the blue on the front fenders – I like this colour much more!
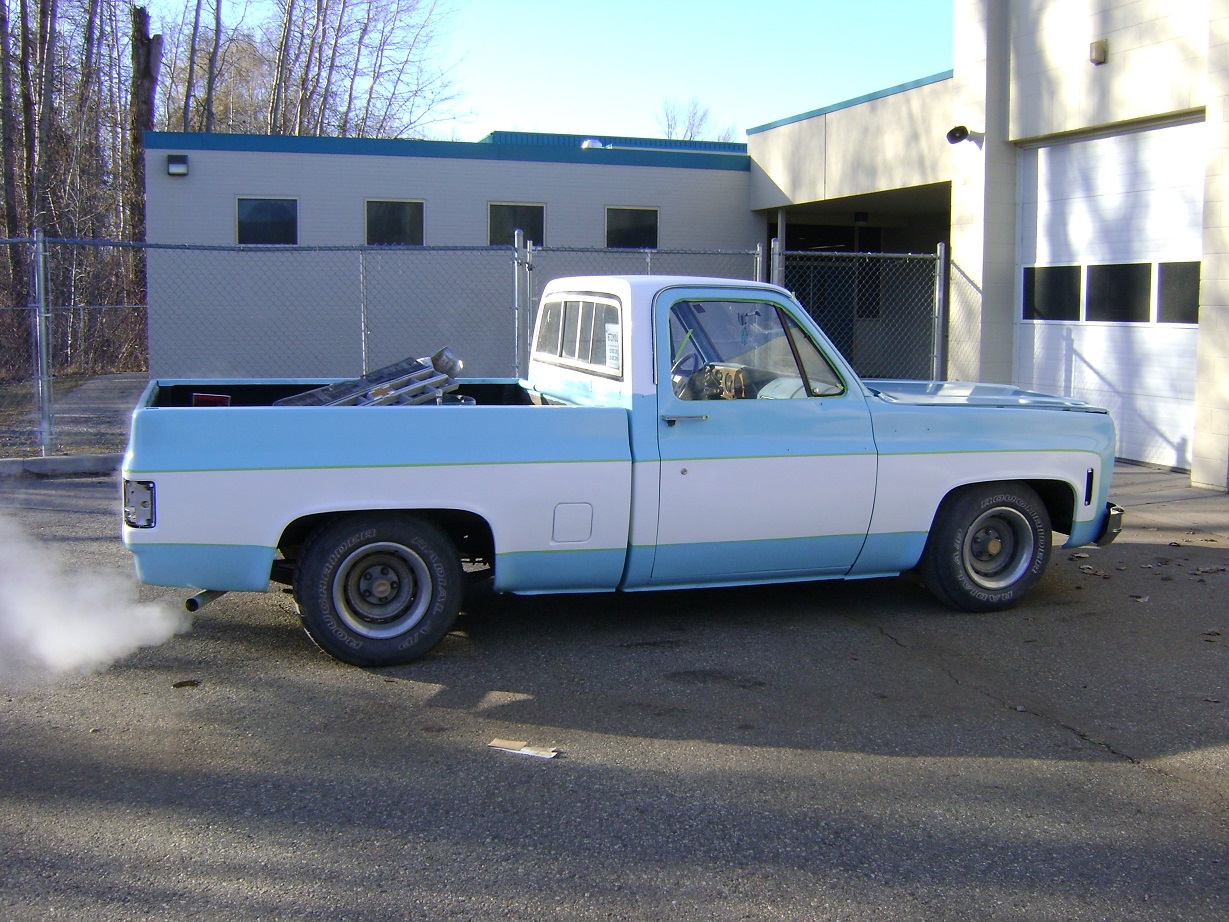
New boots, “Corvette” style Rallye wheels with 235/70R15 and 275/60R15 BFG T/A’s. Pinstripe got done in Orange:
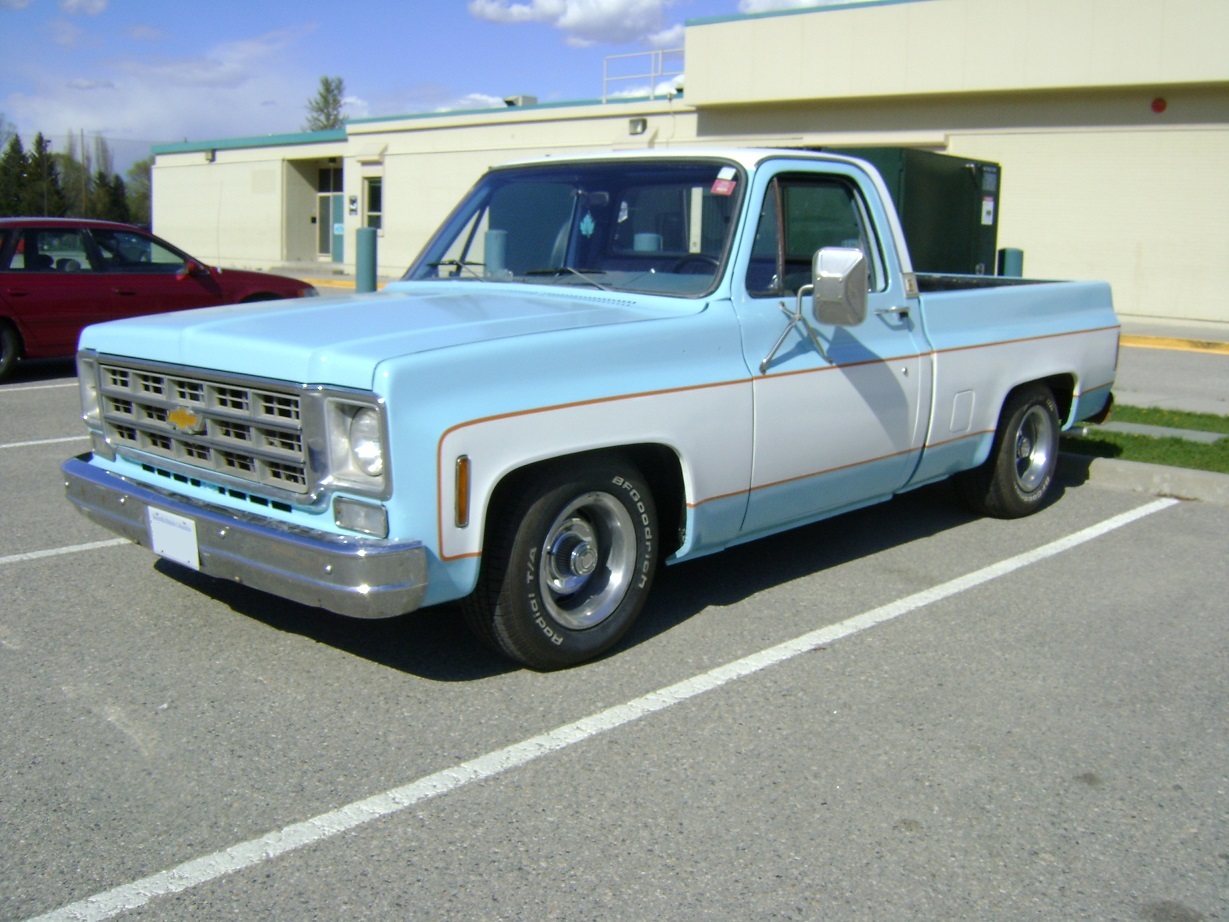
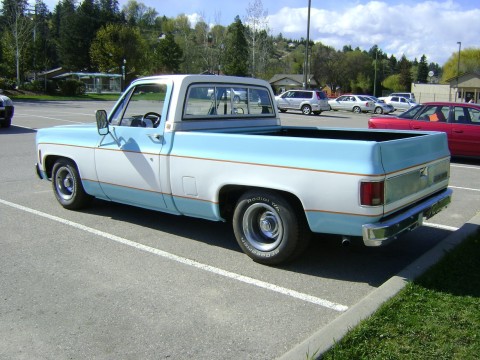
Done enough.
Update – 4 years later
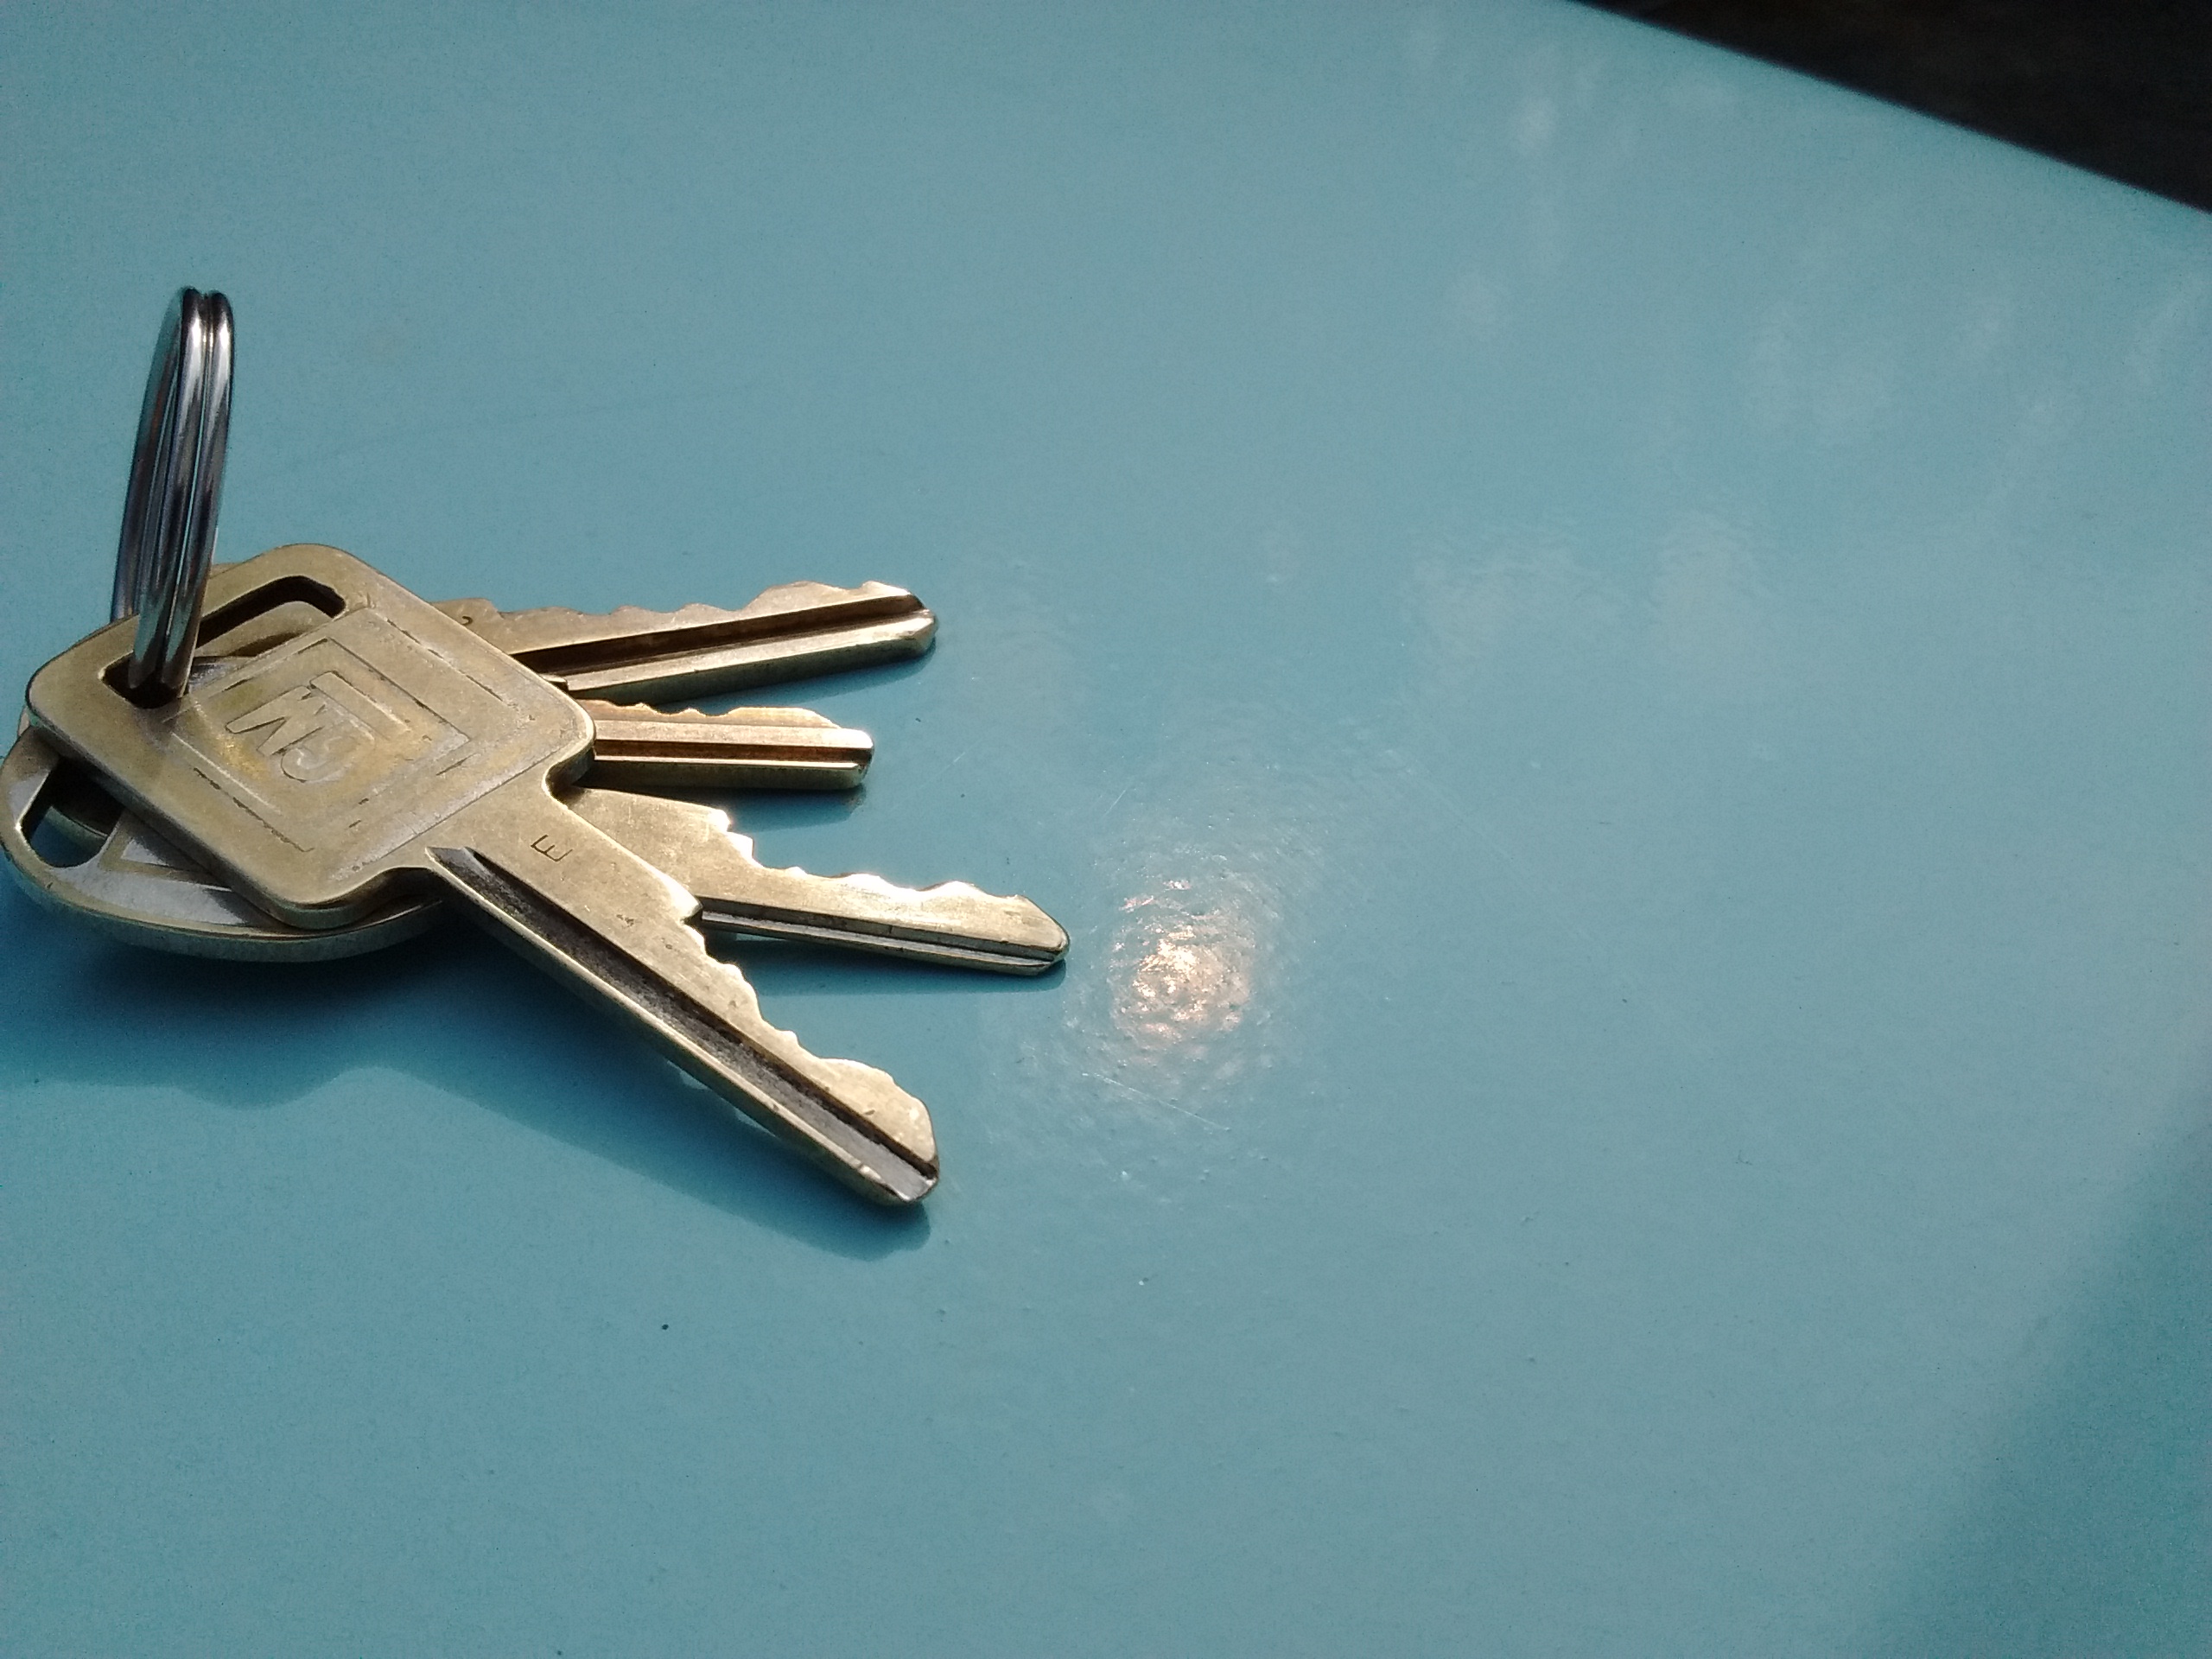
I never did wet sand of buff the paint. I wash it maybe twice a year. It’s only ~starting~ to ~think~ about going chalky. It is not as shiny as when I initially put it down, but I don’t really care – I use this as a truck, and (while I haven’t yet), it is (or can be) easy to touch up.
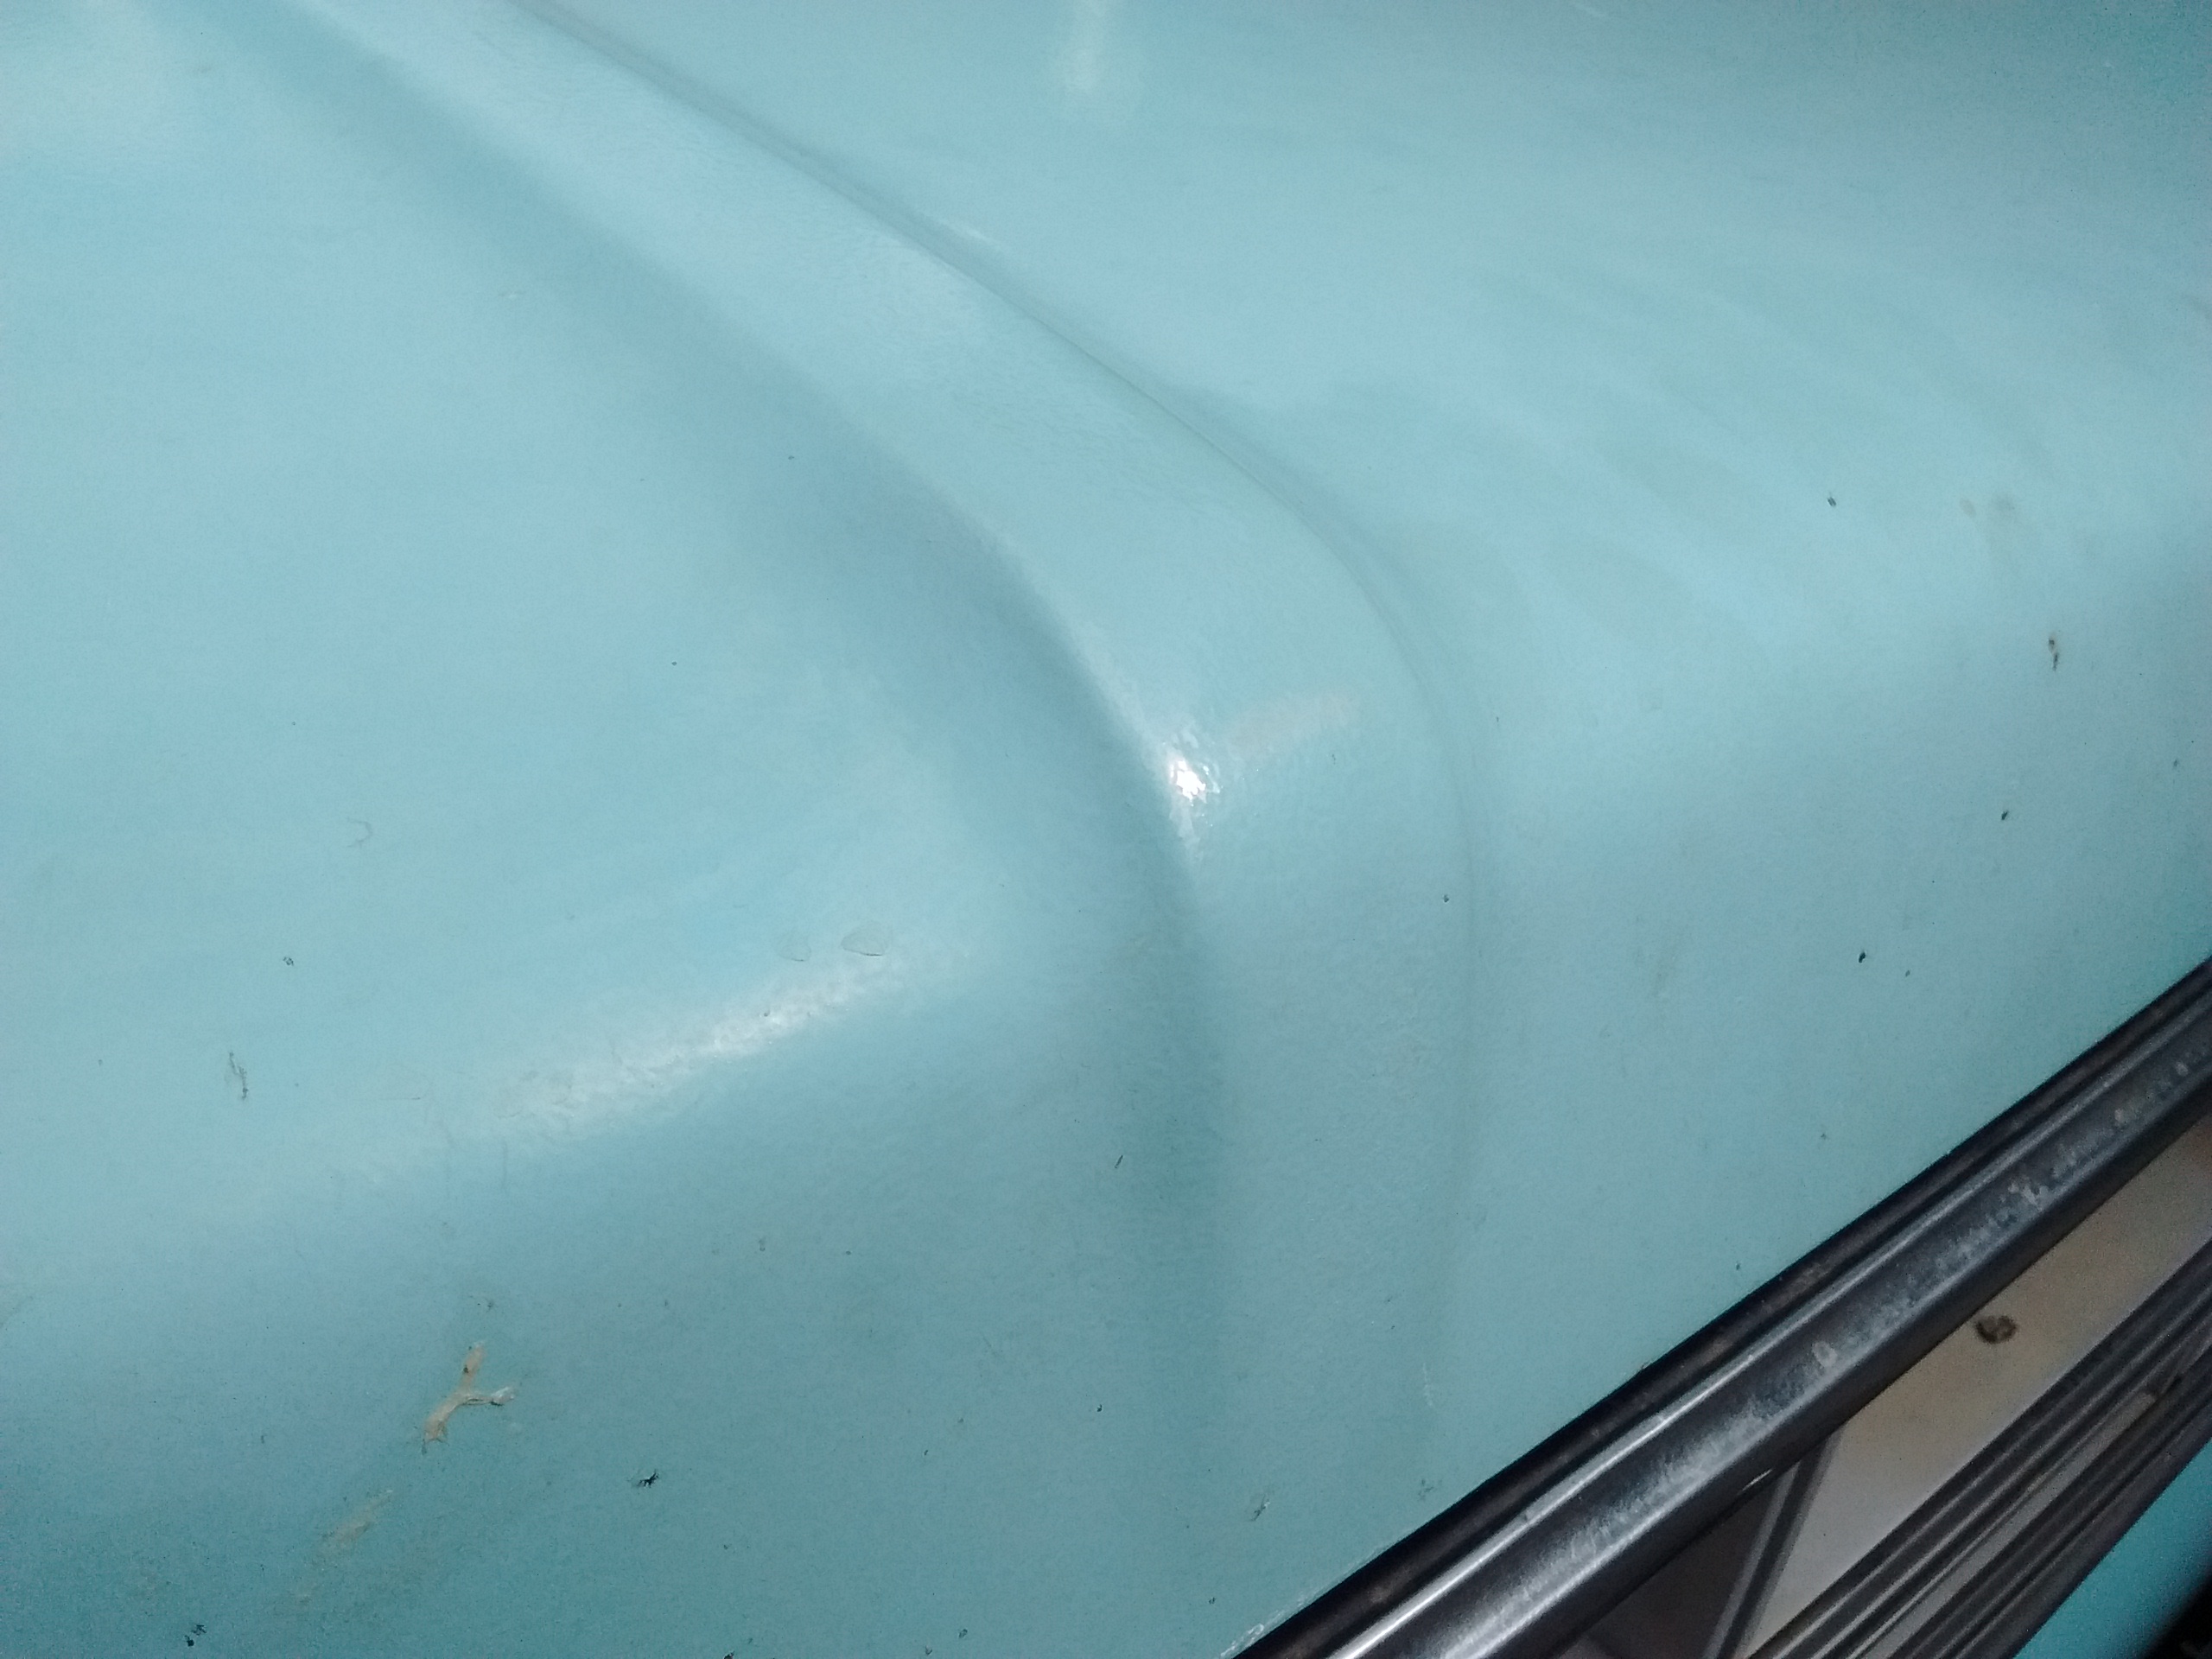
Close up at four years, also showing orange peel:
Update – 7 years later
Rust coming through the rocker panels, cab corners, and some really shoddy work on the used bed I had bought.
And then this: