Have I mentioned that this project needs to be CHEAP?
Rear bushings, Flip Kit, and Shock Extenders
We fabricated our own flip kit and shock extenders.
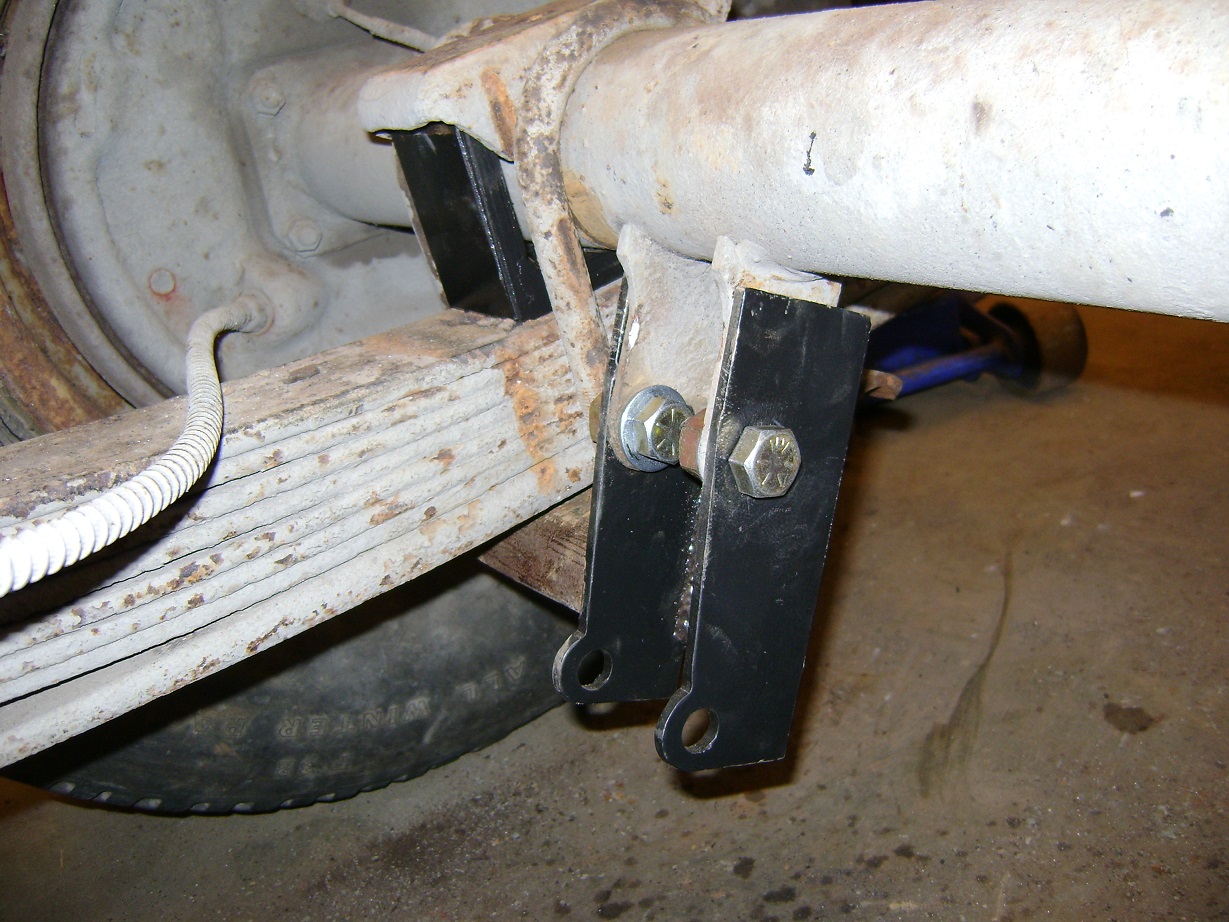
Chevy was apparently drunk when they made the shock mounts – left and right are not identical.
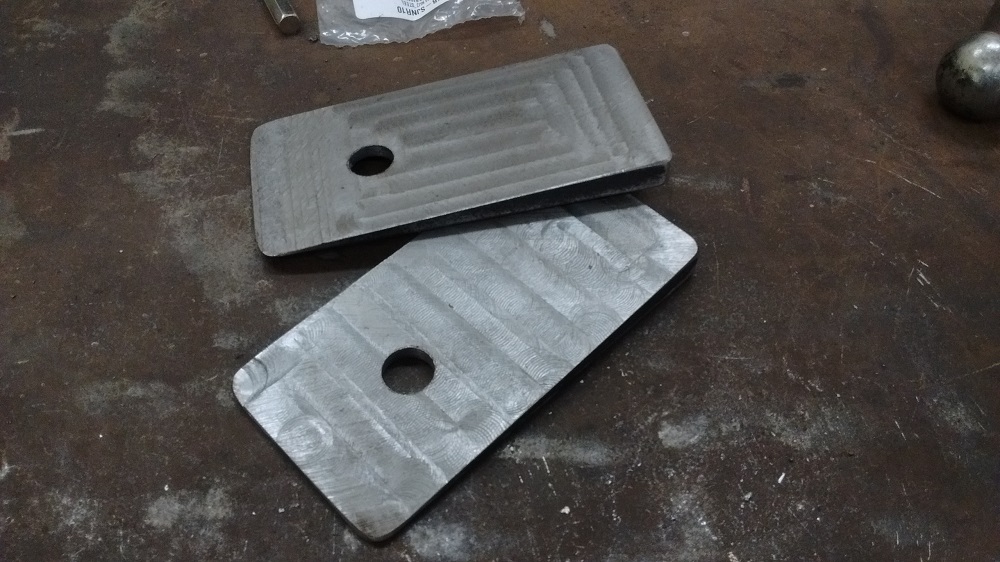
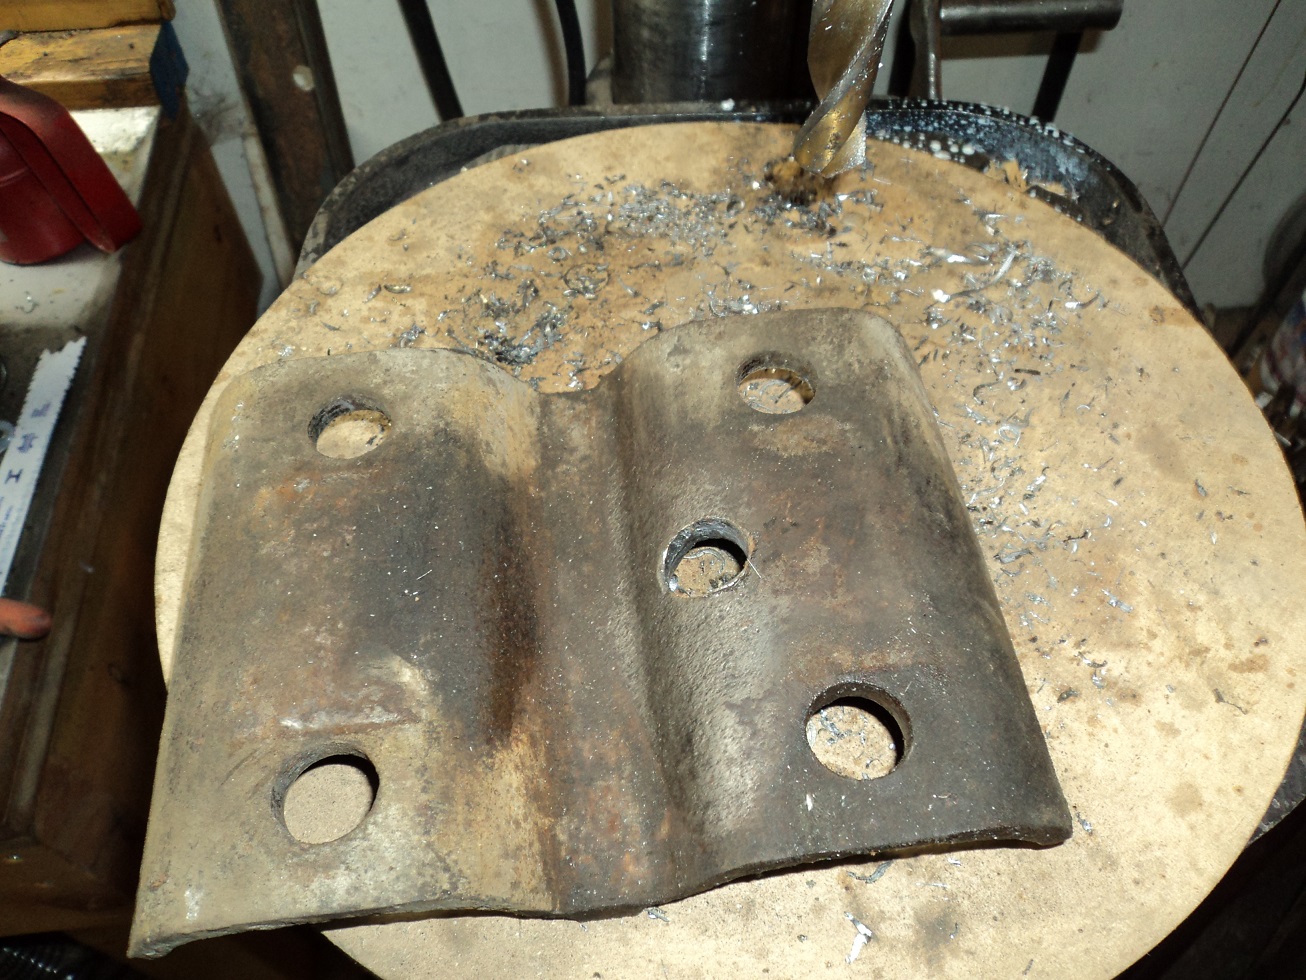
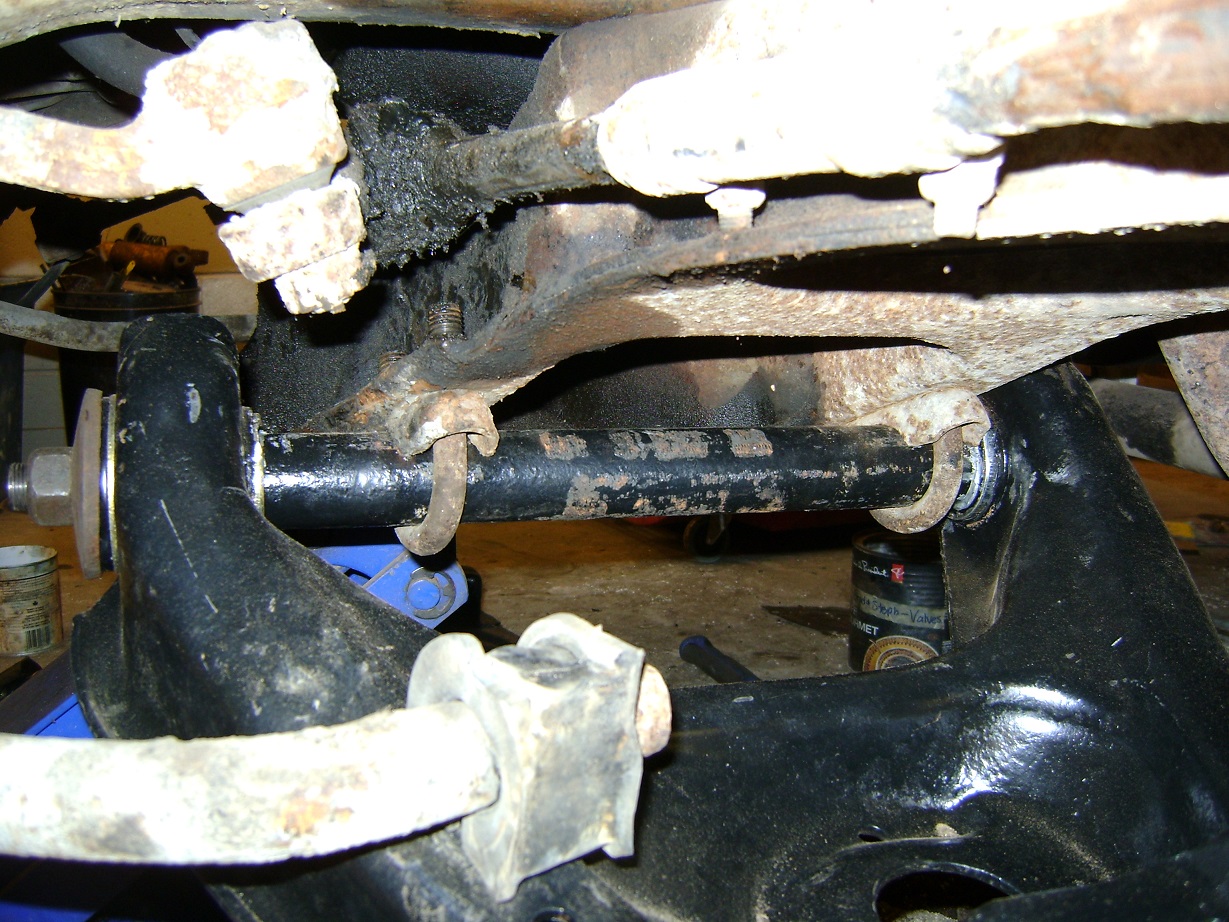
In chasing a driveline noise which turned out to be unrelated, I ended up switching to a pair of Leaf Spring Saddles from the local Dodge dealer (#P4120074, $11.27, cheaper than Summit Racing, and no hideous shipping & handling), and milled a 5/8″ hole 1″ forward. These following changes are not “better,” just another way to do this.
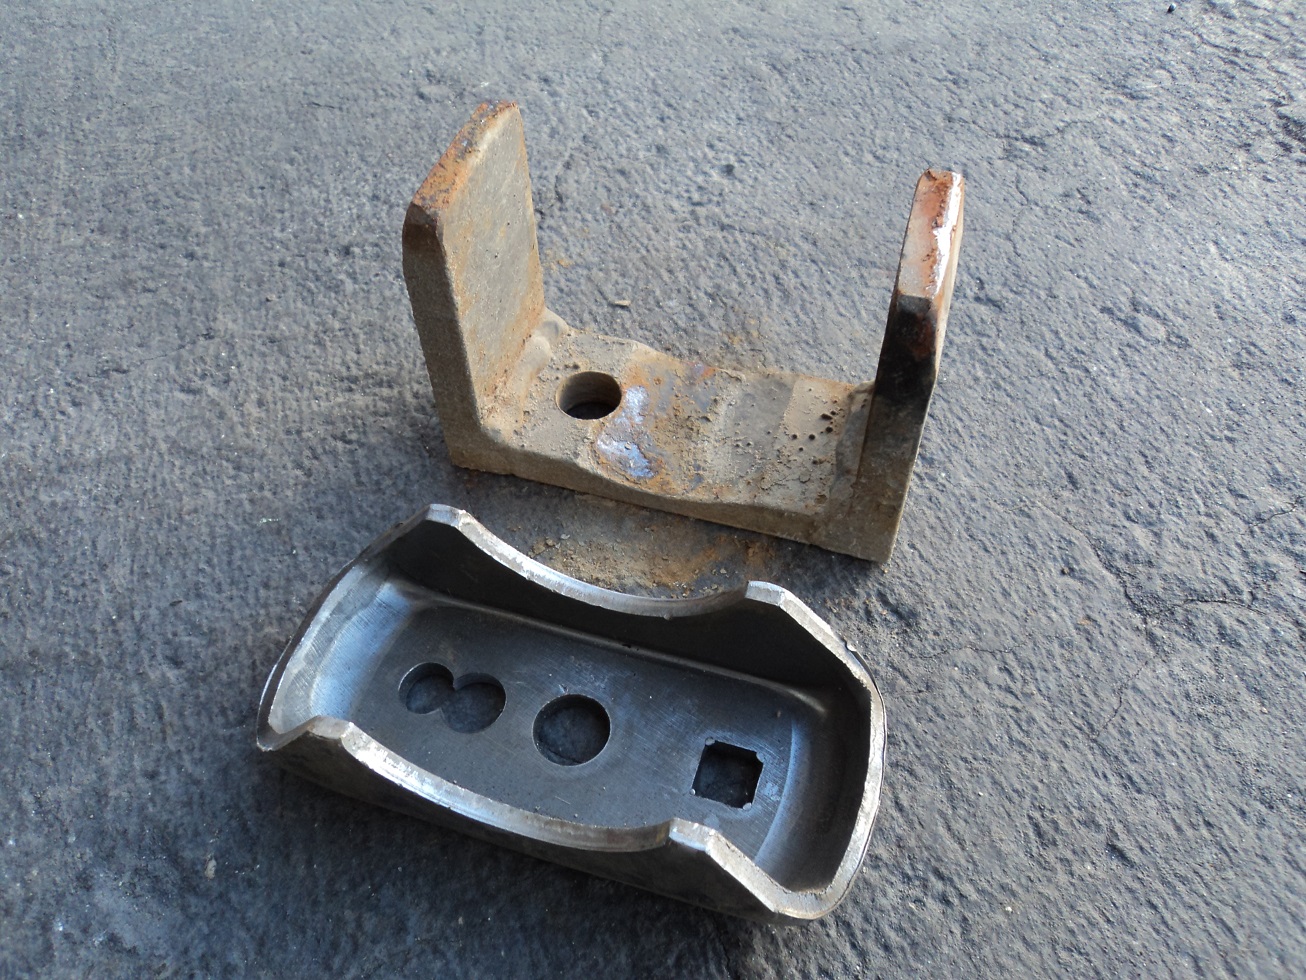
Then I drilled another 5/8″ hole forward on the u-bolt plate, since there was some evidence of movement against the center bolt. This also makes the u-bolts clamp more vertically.
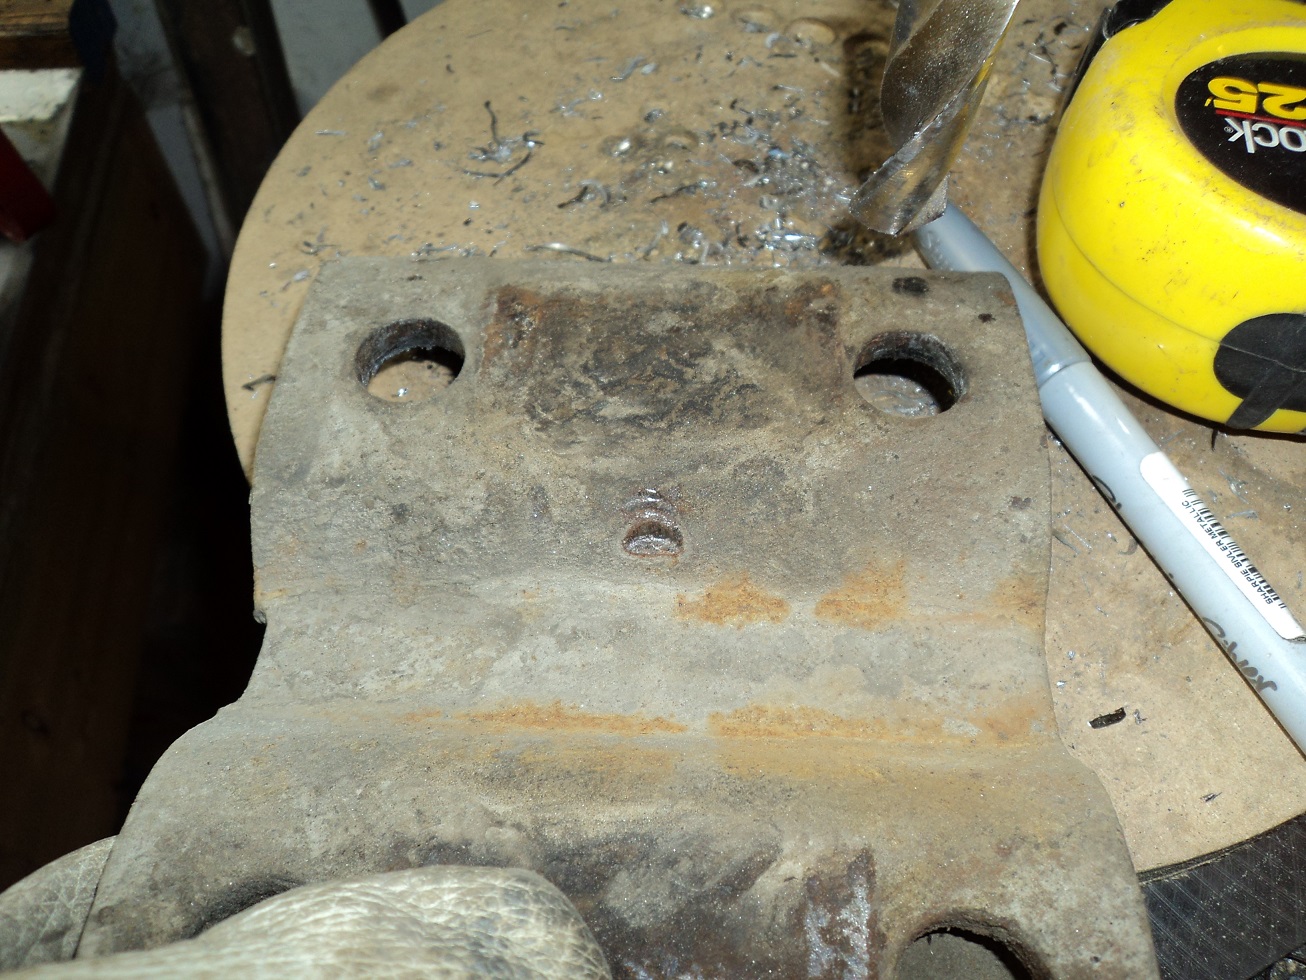
Marks from the center-bolt making contact
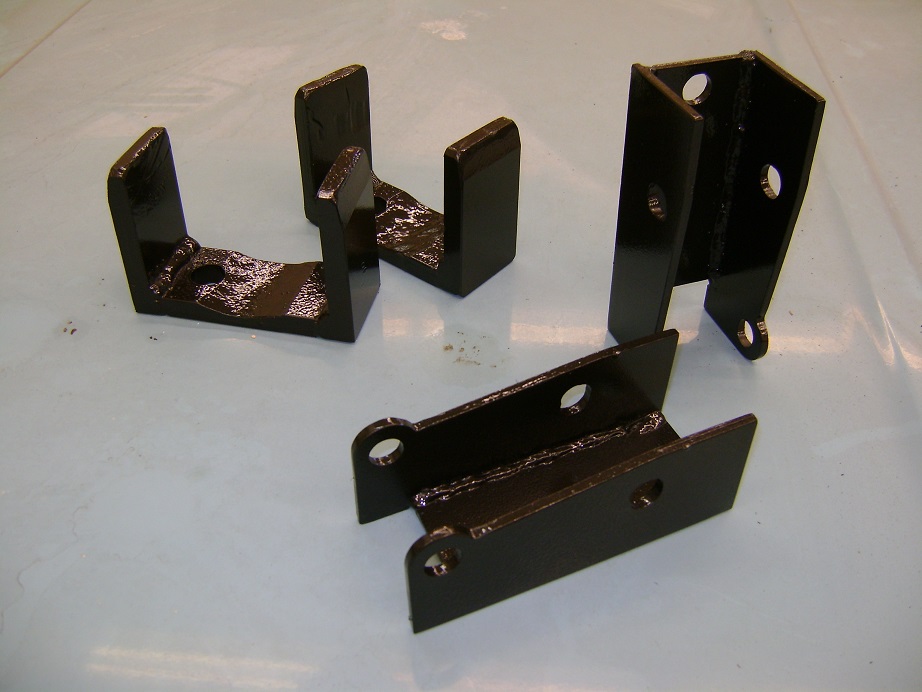
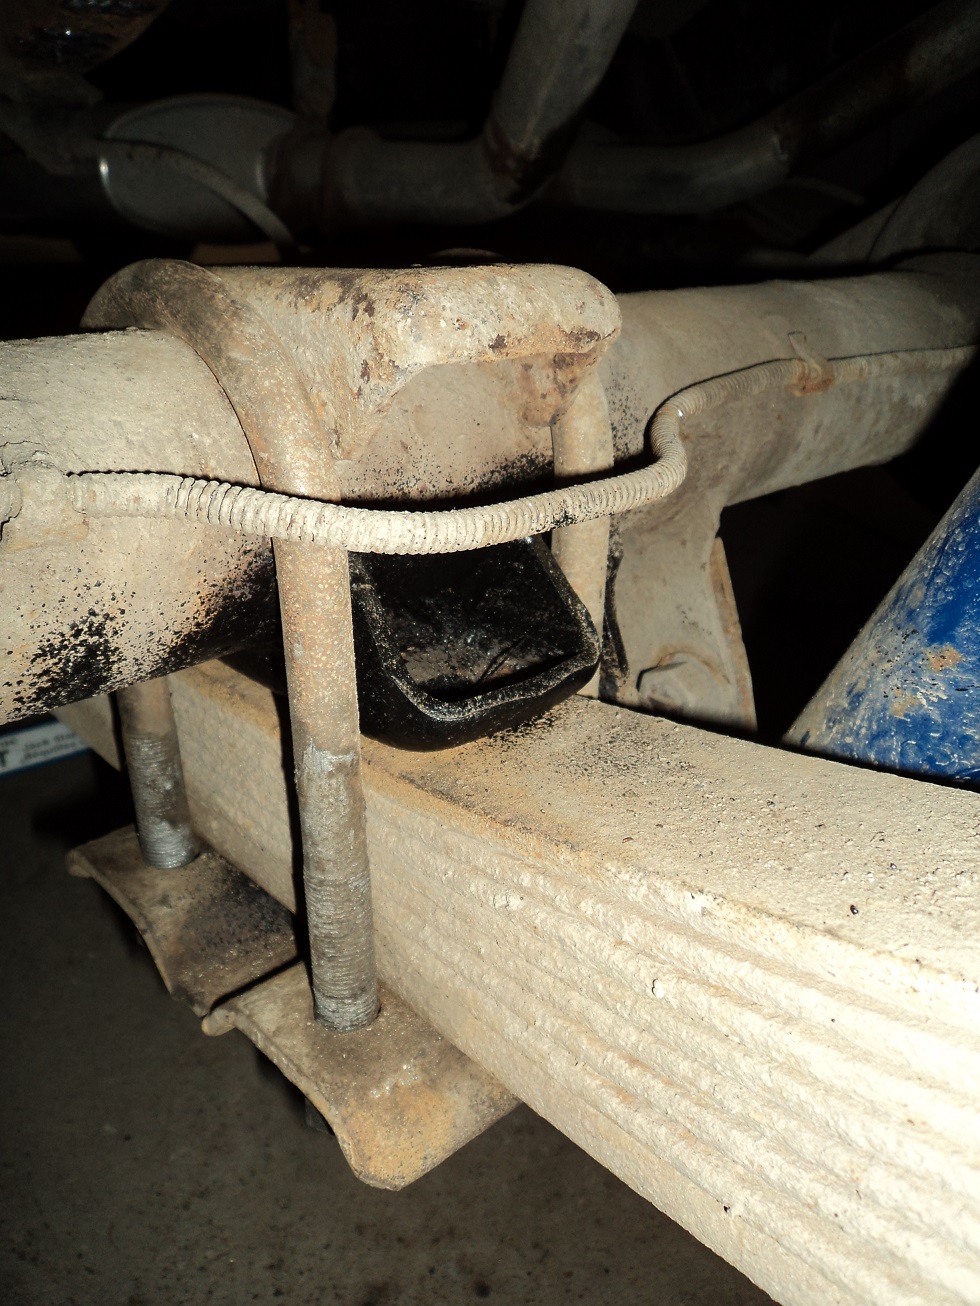
I matched the angle of the original perch, welded the perches on, sprayed with boxliner (my favourite paint) and assembled.
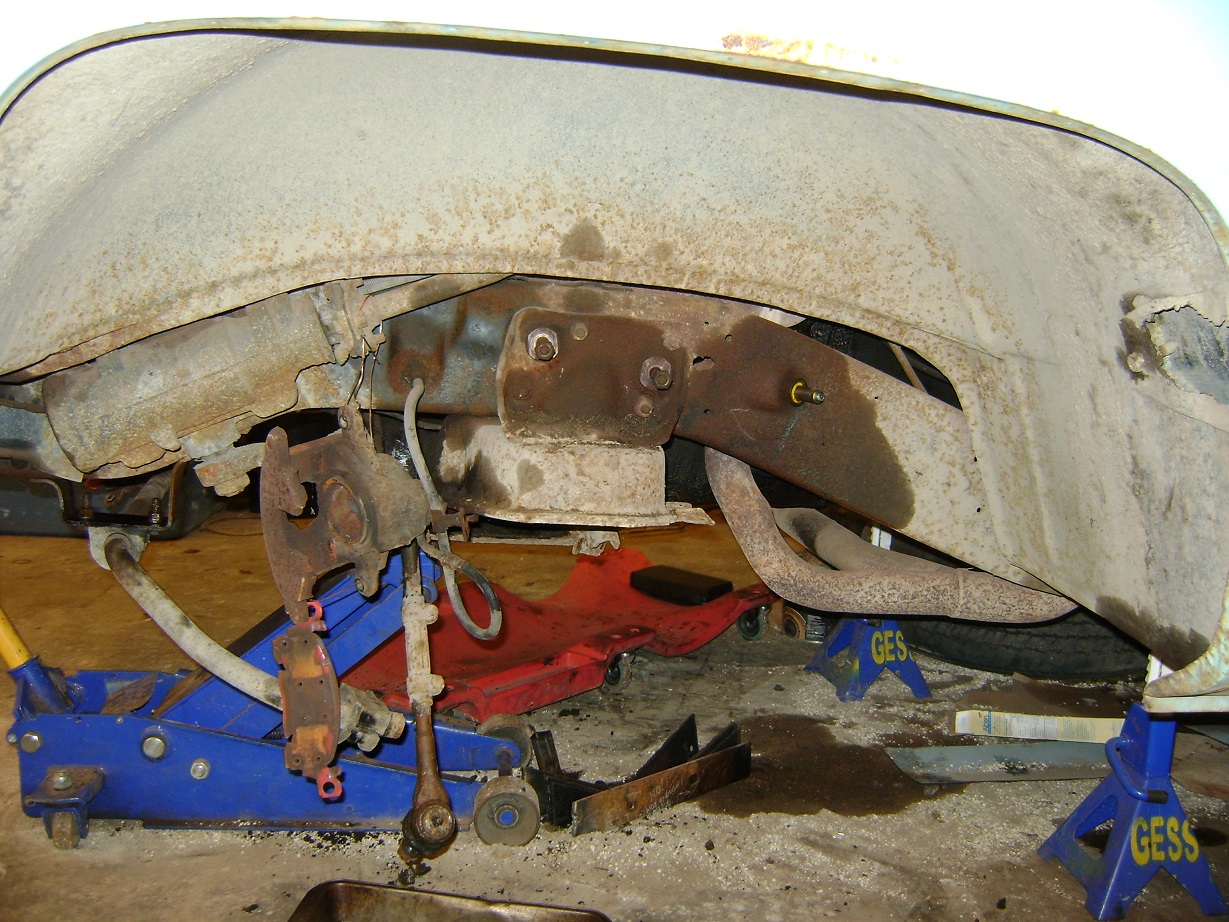
C-Notch

Frame was notched with some pipe and flat we had in the Metalshop.

Boxed on the backside for strength.
Energy Suspension Polyurethane bushings were pressed into the leafs, and reassembled.
Front Bushings, Caster Mod, and Spindles
Front suspension was ripped off, right down to the frame.
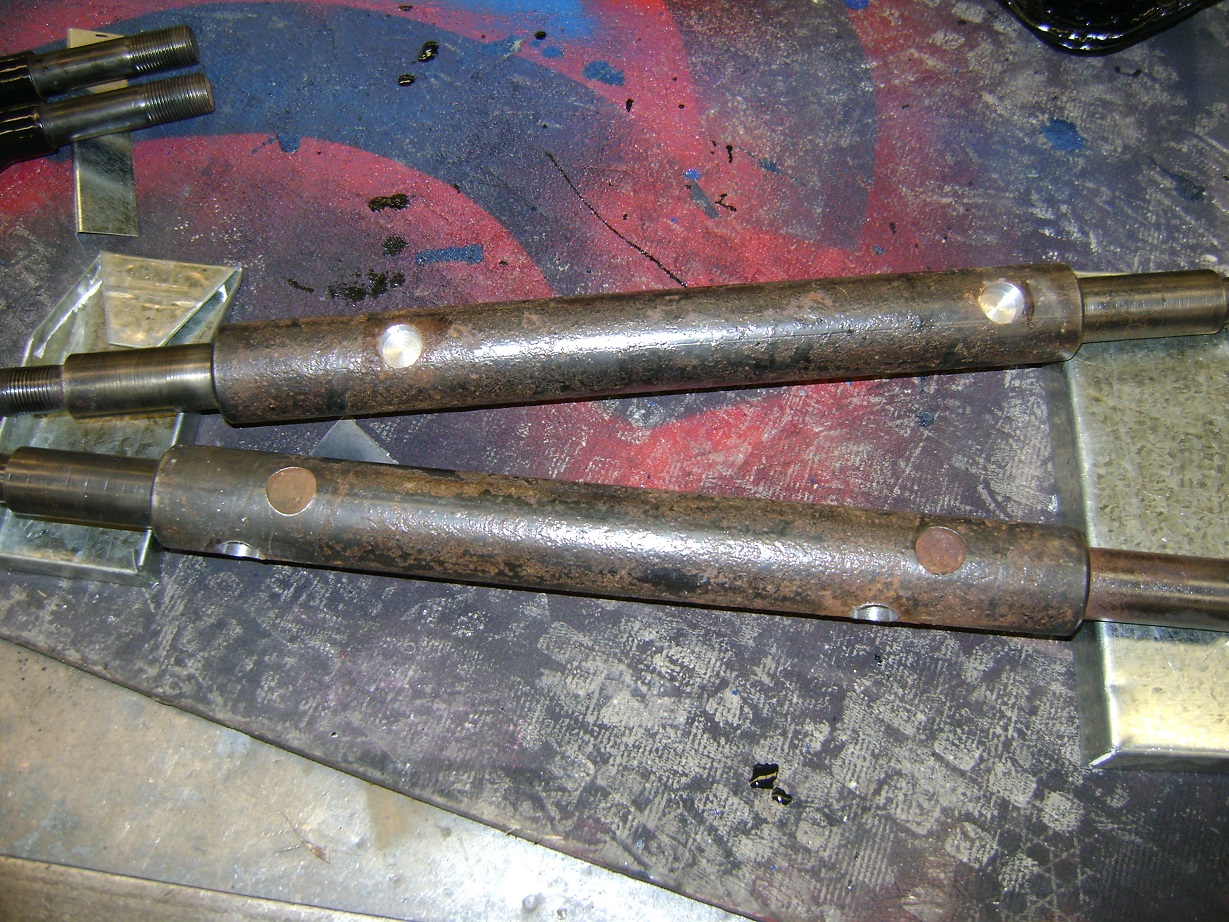
Lower control arm shaft locating holes we re-drilled 0.75″ rearward.
This will help center the front wheel in the wheel arch a bit better, and the added caster should improve steering response and “feel.” It looks like I only needed to do the front hole – there is no locating pin for the rear. (Note: this modification resulted in 4° caster, with equal shims front and back on the upper control arm).
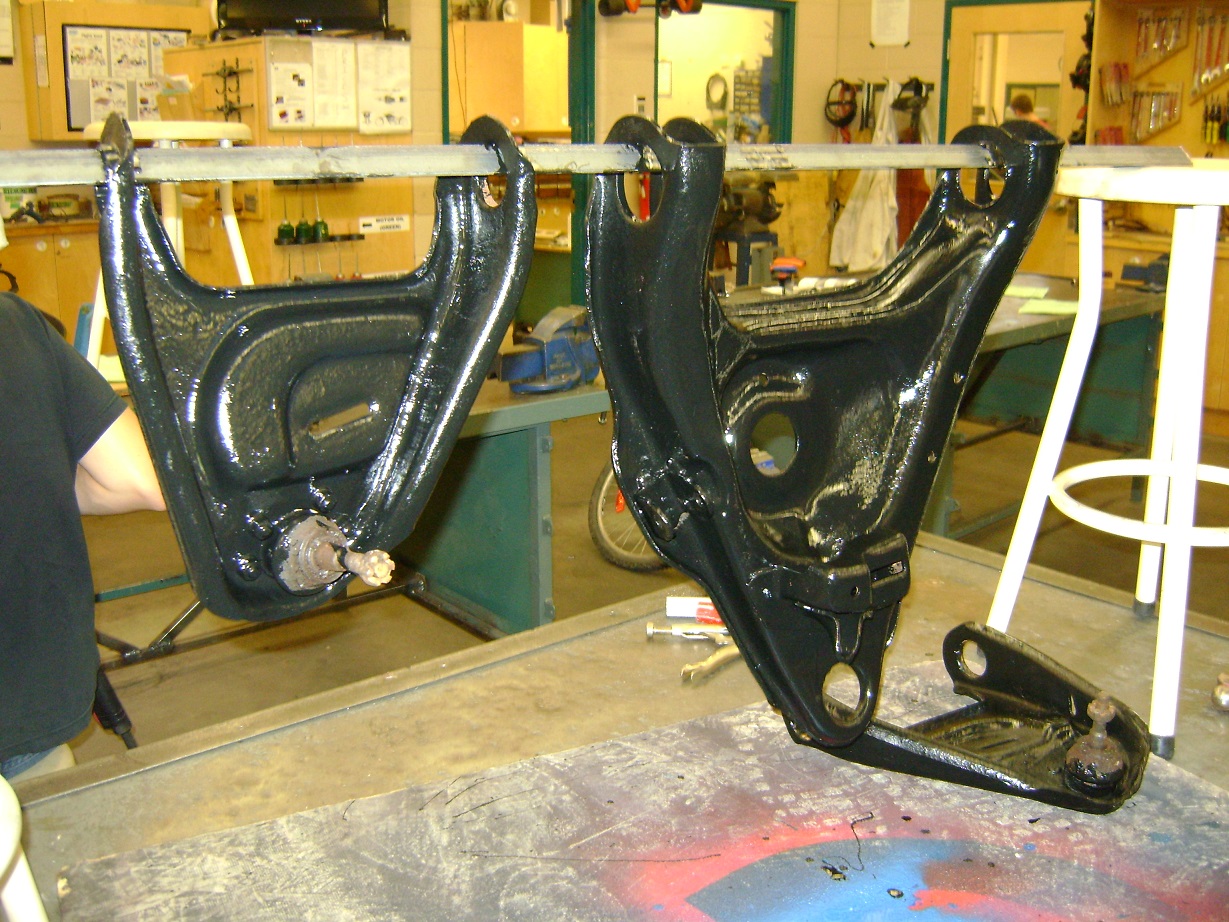
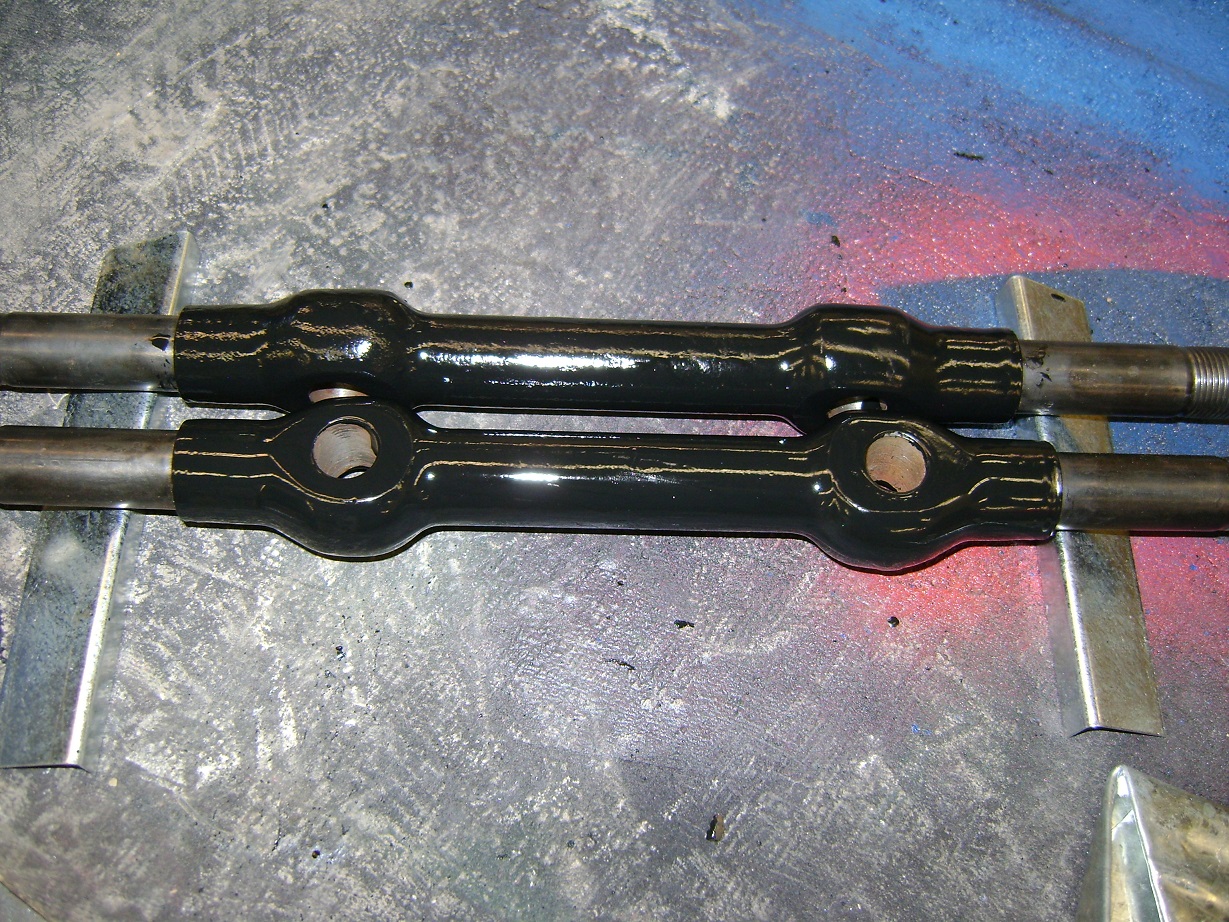
Control arms and shafts were painted Tremclad Semi-Gloss Black. I wish my powder coating gun was in….
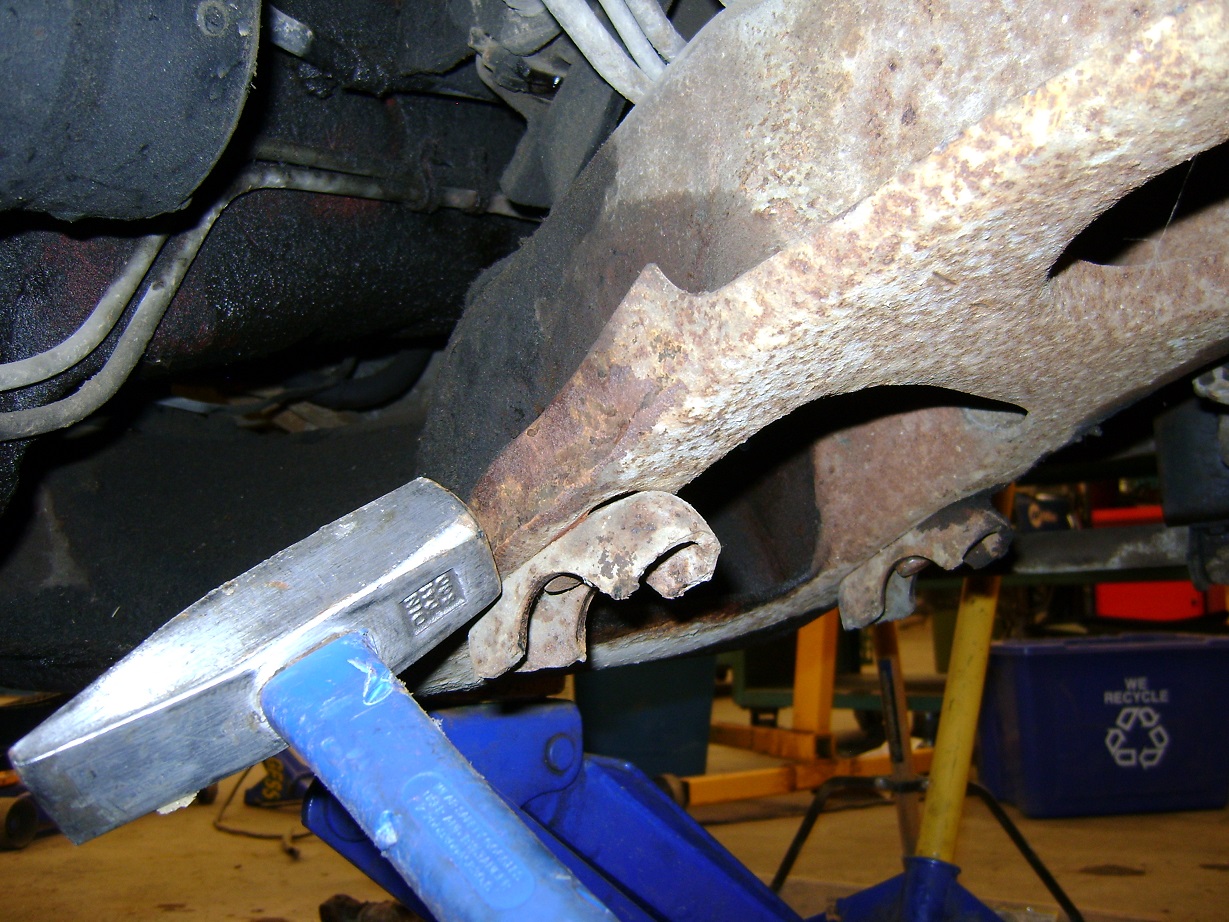
Rear portion of cross member was beaten into submission with a hammer, so as to clear the caster-adjusted lower arms (right side shown).
Lower arms installed (left side shown). Tremclad not holding up to the abuse.
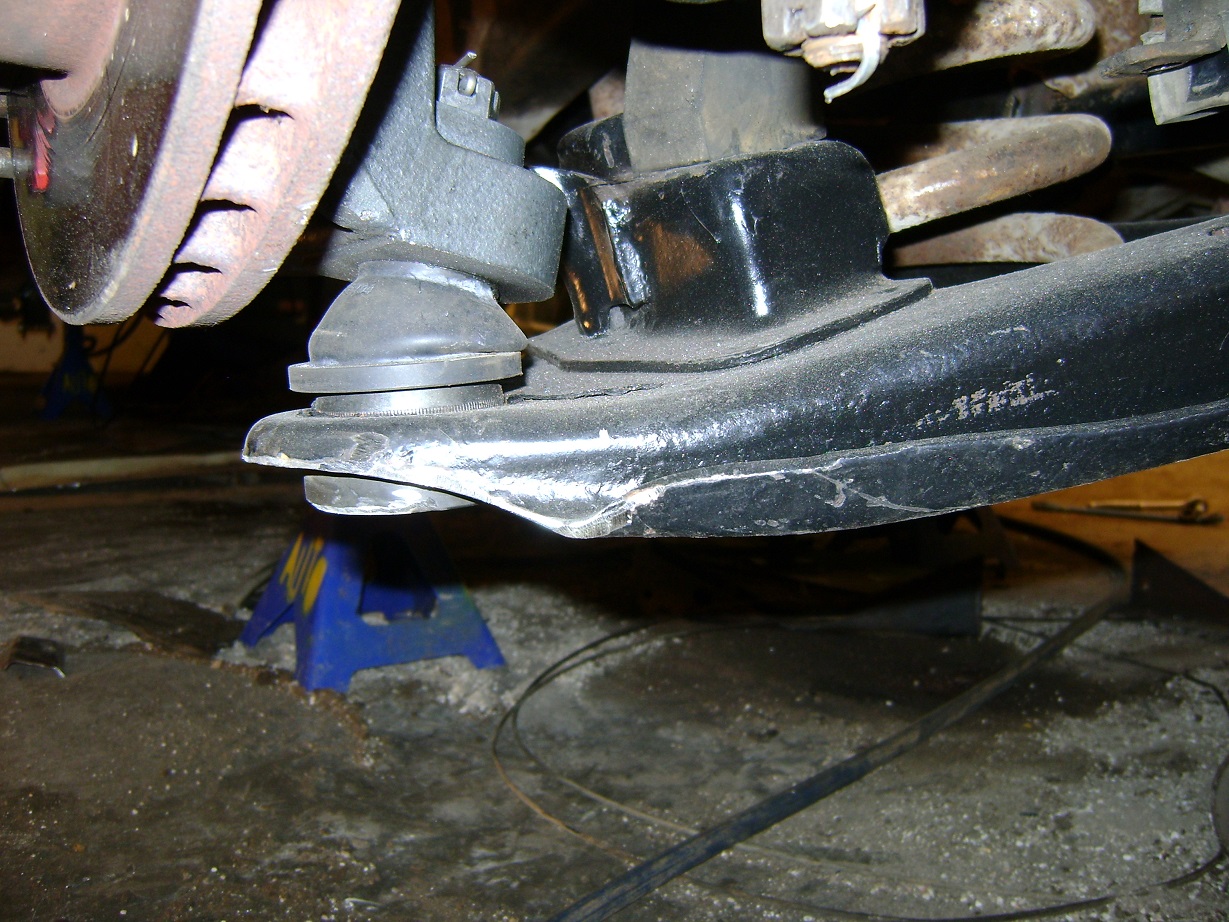
BellTech spindles drop 3″, which require some generous grinding to clear the 15″ wheels. Half a coil was cut from the stock springs.

Slight grinding on the bottom of the new Moog “Problem Solver” ball joints was required on the passenger side.
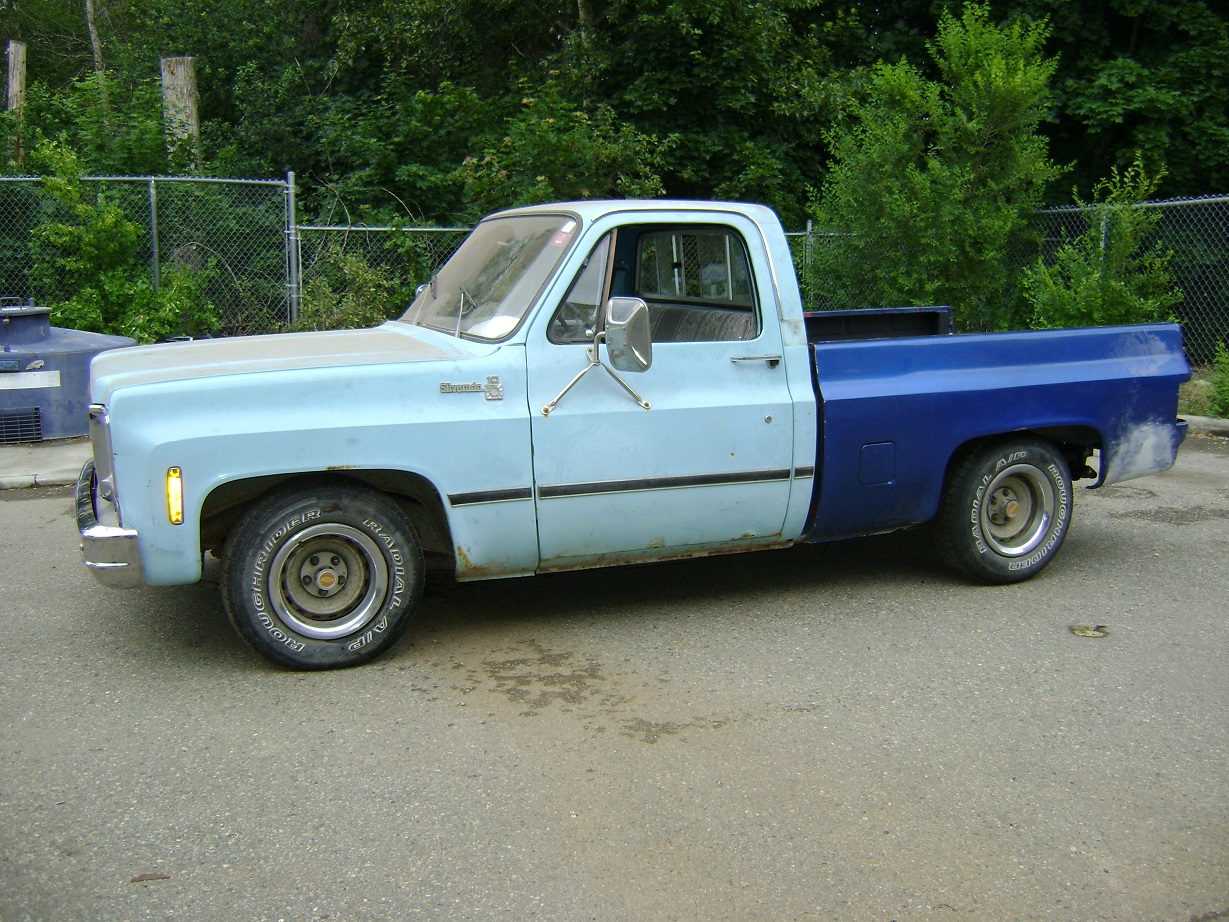
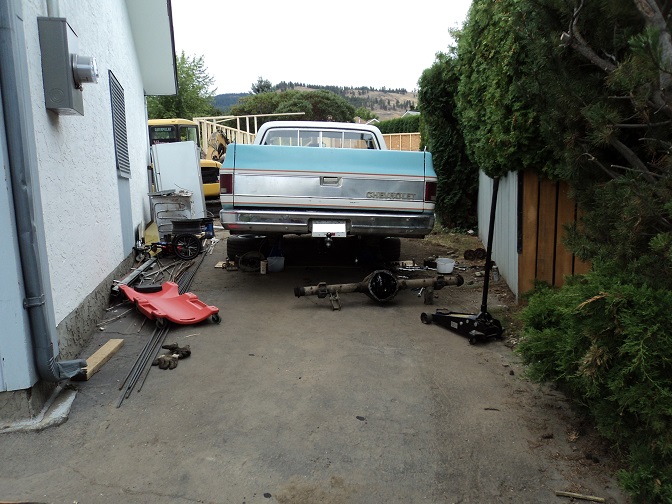
How it sits as of this writing. 4/6″ drop, I suspect (did not measure before)
Later we took the front coils out and lopped another 1/4 coil off, for a total of 3/4 coils removed. It was a bugger getting the coils to seat properly because the spring pockets are in specific places, and anything other than full coils cut at a time place the stub in the wrong place. Having said that, a full coil would have been too low for me.
Not sure I would do spindles again. With 15″ wheels and 3″ spindles, the control arms hang lower than the rim. This is not good. I may get 17″ rims instead. I’ll have to measure and see if a coil-only drop would stay above the rim.
Once the truck was on the road, factory height front tires (235/75R15) would rub the underside of the fender on large bumps. These coils were pulled out and MOOG 6454 1-ton coil springs were installed, with one coil removed. The truck rode much much better, and in fact felt better balanced since the truck had Heavy-Half/Big-10 leafs already.
Cab Mounts
I replaced the cab mounts once the truck was licensed and on the road. As far as work goes, this went really, really, really well. I was expecting broken bolts, drilling holes in the floor to access the captive nuts, re-drilling, tapping, and general unpleasantries. This went super easy and slick.
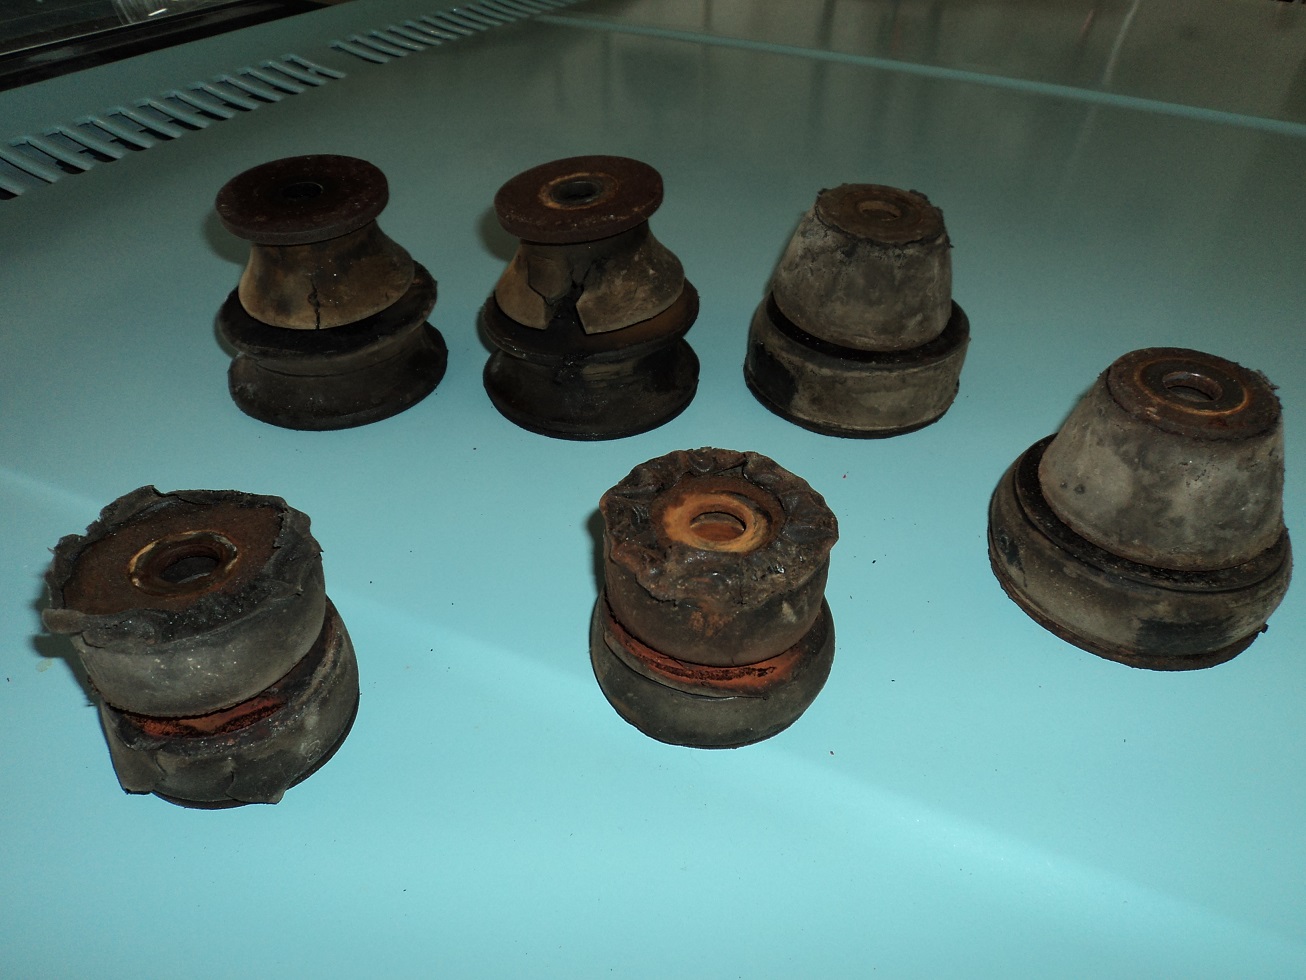
Old and Busted

New Hotness
If your bolts break, here are the lengths:
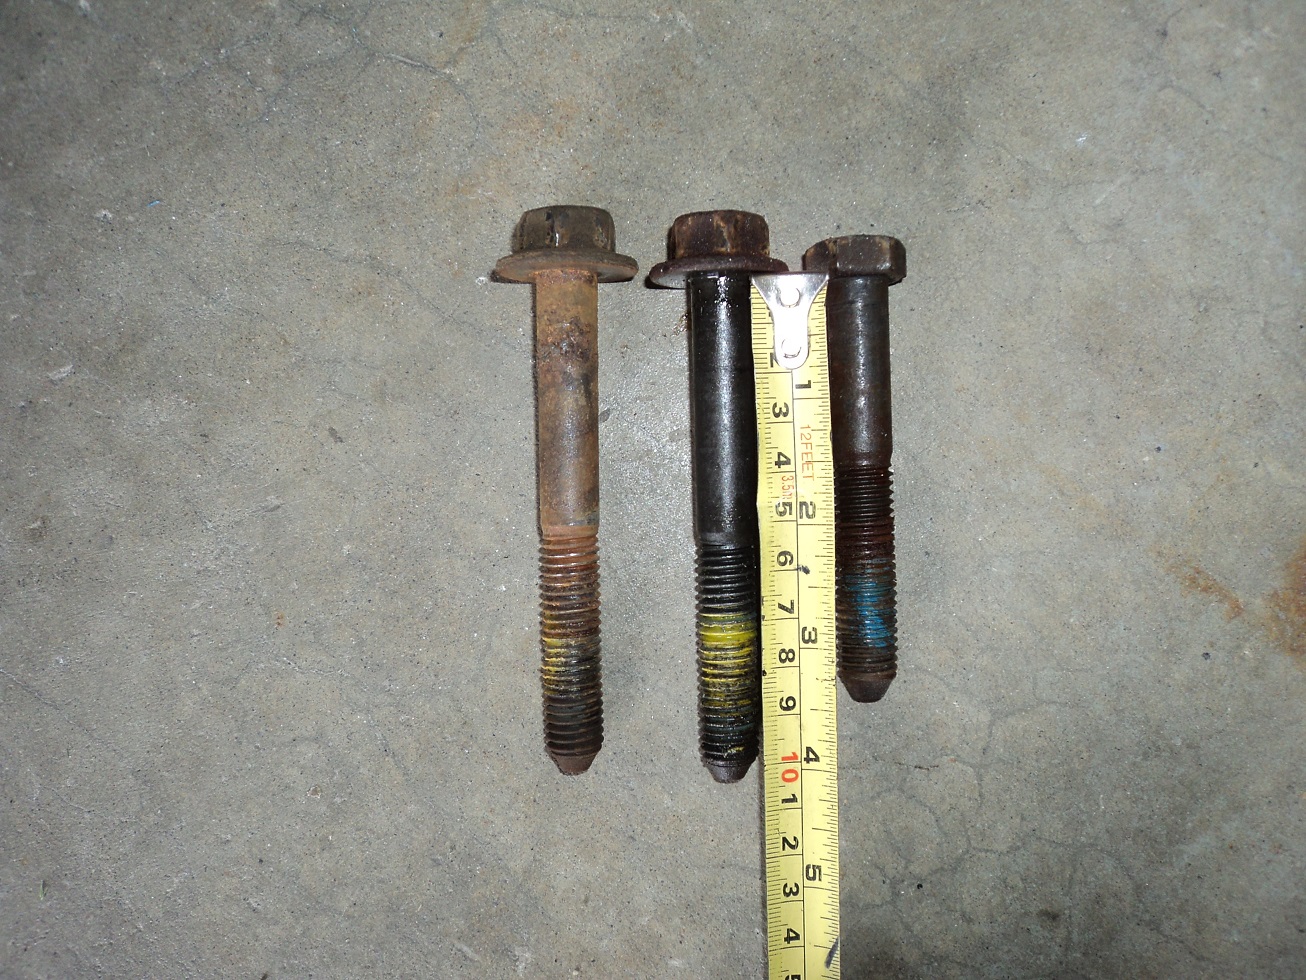
Showing one side only
The polyurethane cab mounts, combined with the polyurethane motor and transmission mounts transmit a significant amount of driveline vibration into the cab. This is somewhat annoying. The cab mounts were probably the worst offenders, since I had the truck on the road for a while before I swapped them, and really noticed the difference afterwards.
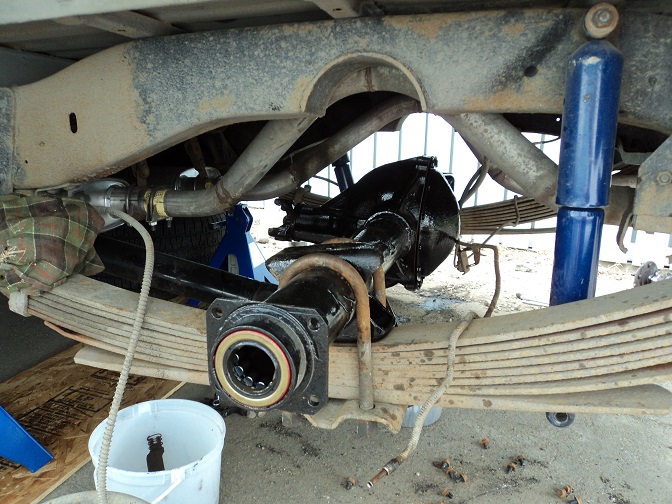
Then I happened across another 12-bolt axle, so I took my sweet time rebuilding it, with all new everything, including 3.73 gears and a Detroit True Trac.
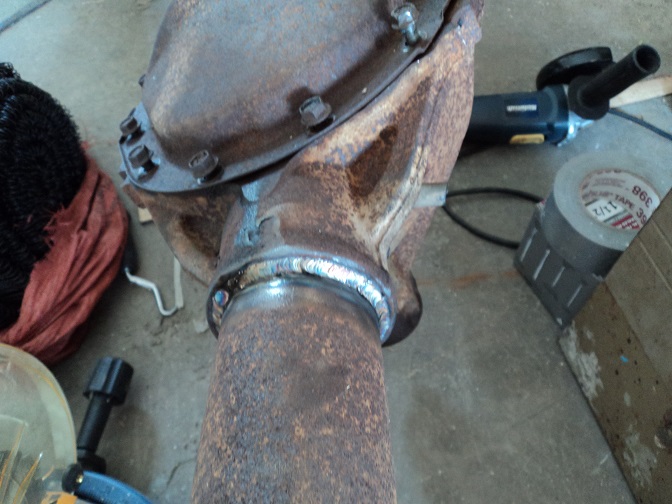
Axle tubes TIG’d to the housing using 309L
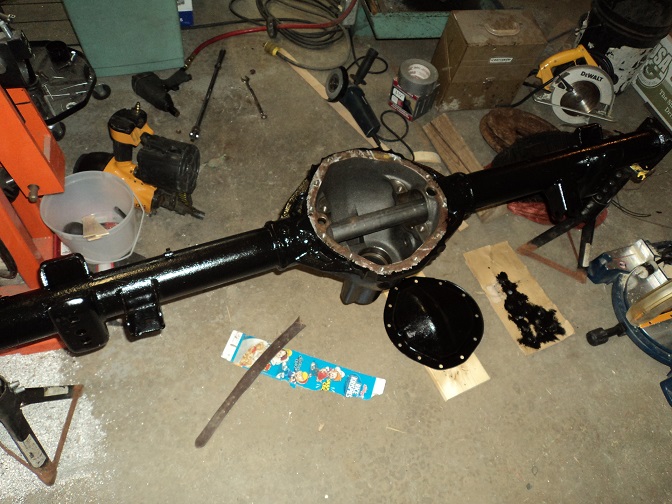
Thorough cleaning and a coating of POR15
Original axle had 3.07:1 gears, an open diff, becoming even more open via a metallic sheen to the oil.
My truck has Heavy Duty brakes and the replacement axle does not, so I needed to swap the backing plates. Phase I complete.
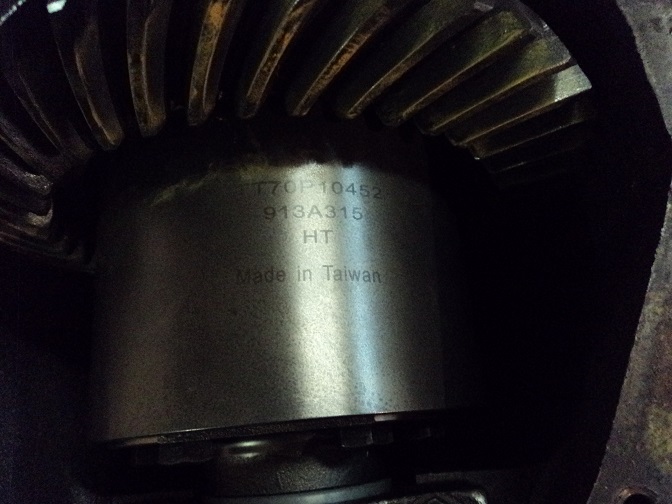
Detroit TrueTrac made in Taiwan?!
Phase II: ???
Phase III: Profit!
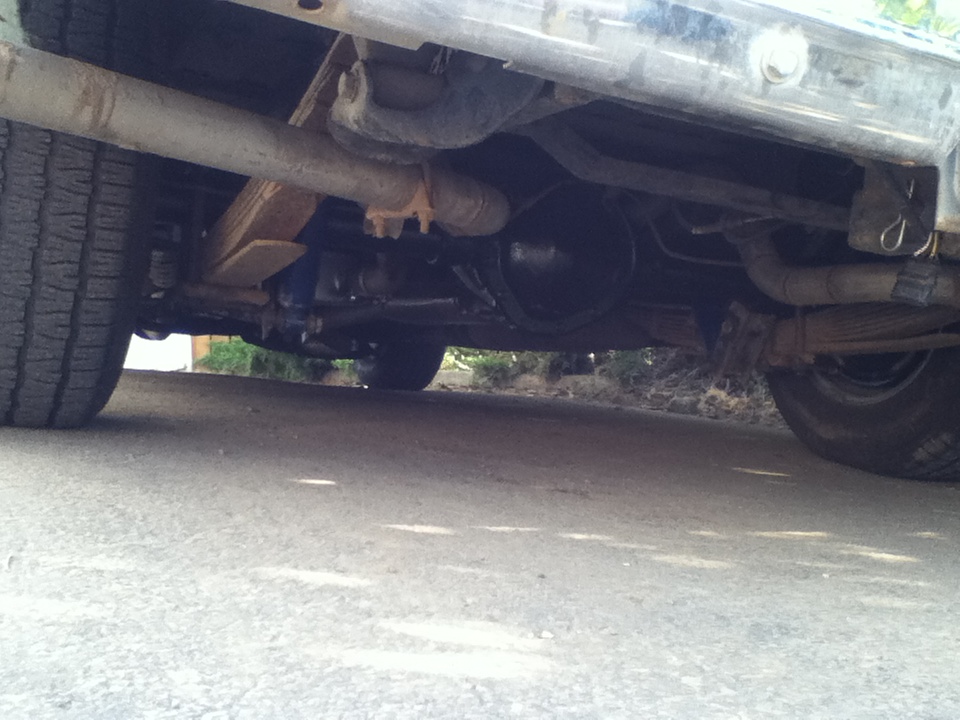
Maybe not. There was a horrendous driveline vibration after installing this axle. I checked the balance of the tires (good), the balance of the drums (one of the new drums needed 4.50oz of weight added), and then looked at driveline angles.
It seems that the transmission points 5° down, the driveshaft was horizontal, and the pinion was 1° up. Ideally, the trans and pinion should be within 1° of each other, unless there is something going on that would cause extra pinion movement (such as lowering/lifting blocks). Might have been fine from the factory, but the flipping the axle reduces the amount of anti-squat, which reduces pinion movement, probably necessitating less of a difference between the two.
The 5° of the transmission also created a rather extreme operating angle of the trans u-joint. (you want operating angles to be between 1° and 3°).
I tried shimming the transmission as high as I could, but it made only a little difference. I figured I needed to shim the pinion up about 4° more.
I also noticed, after an previous accidental 1700lb load of wet sand, that the right rear was sitting about an inch or two low. Good time to kill two stones with one bird.
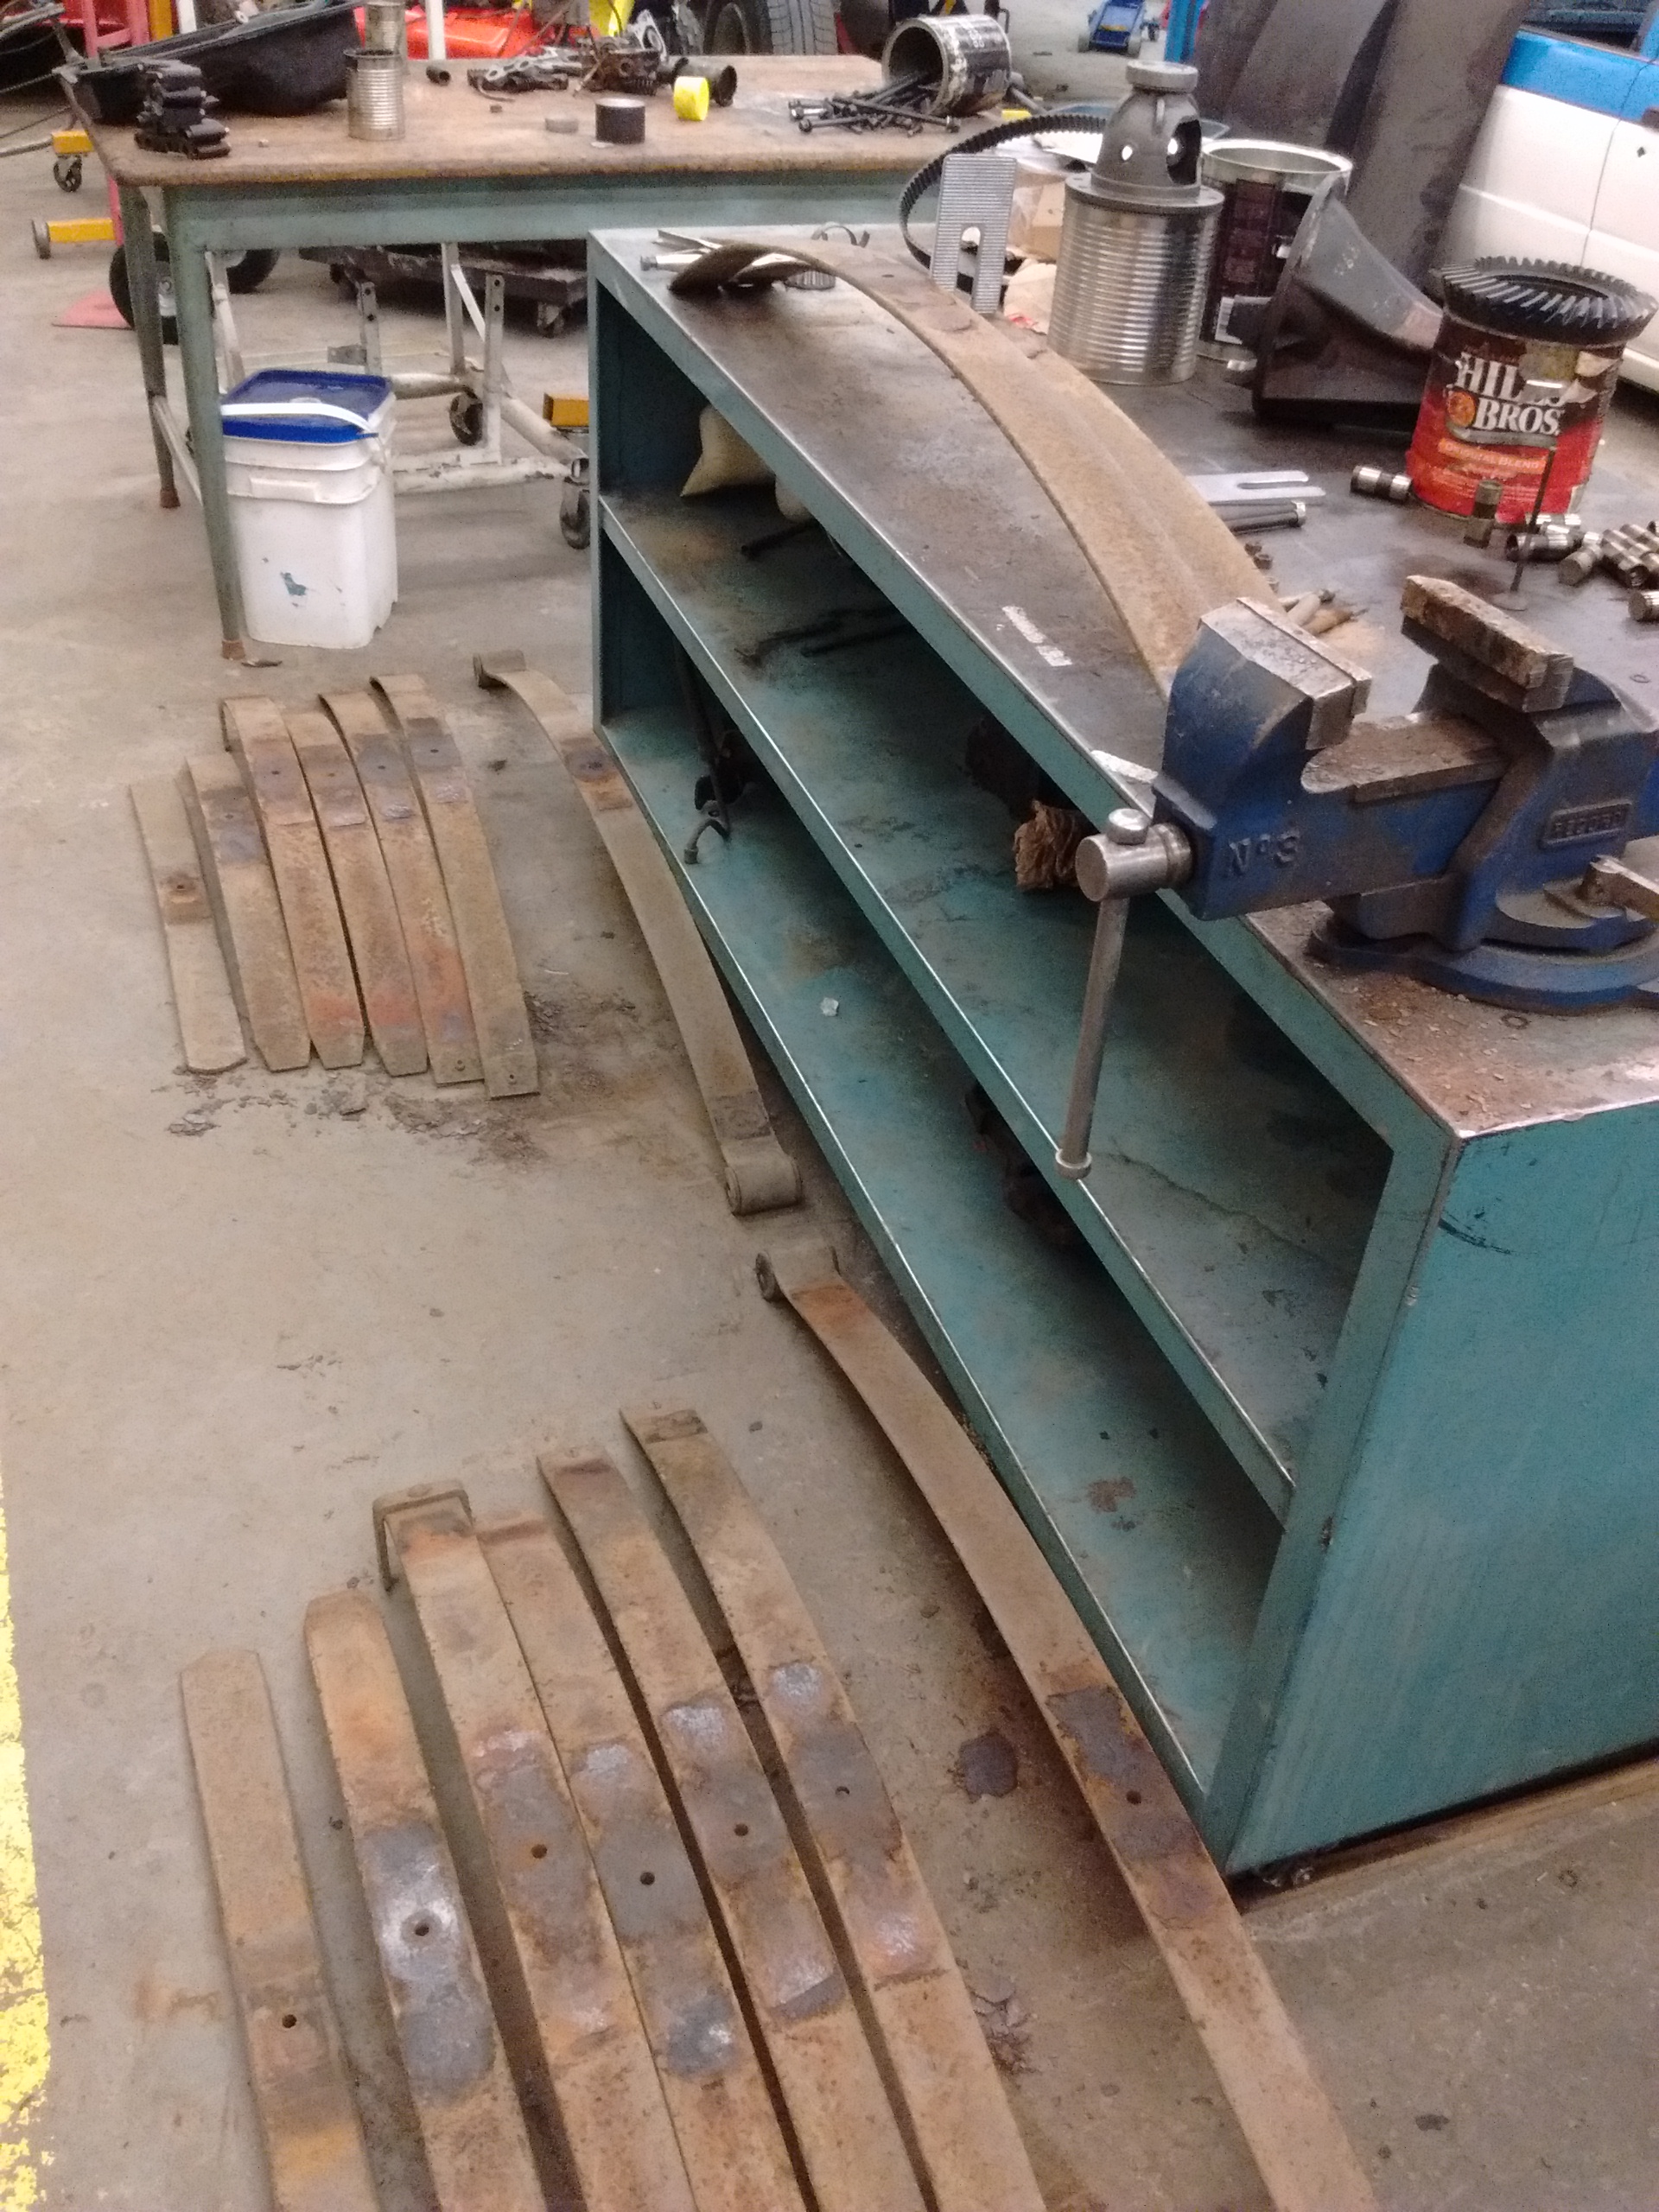
Pulled both leaf packs
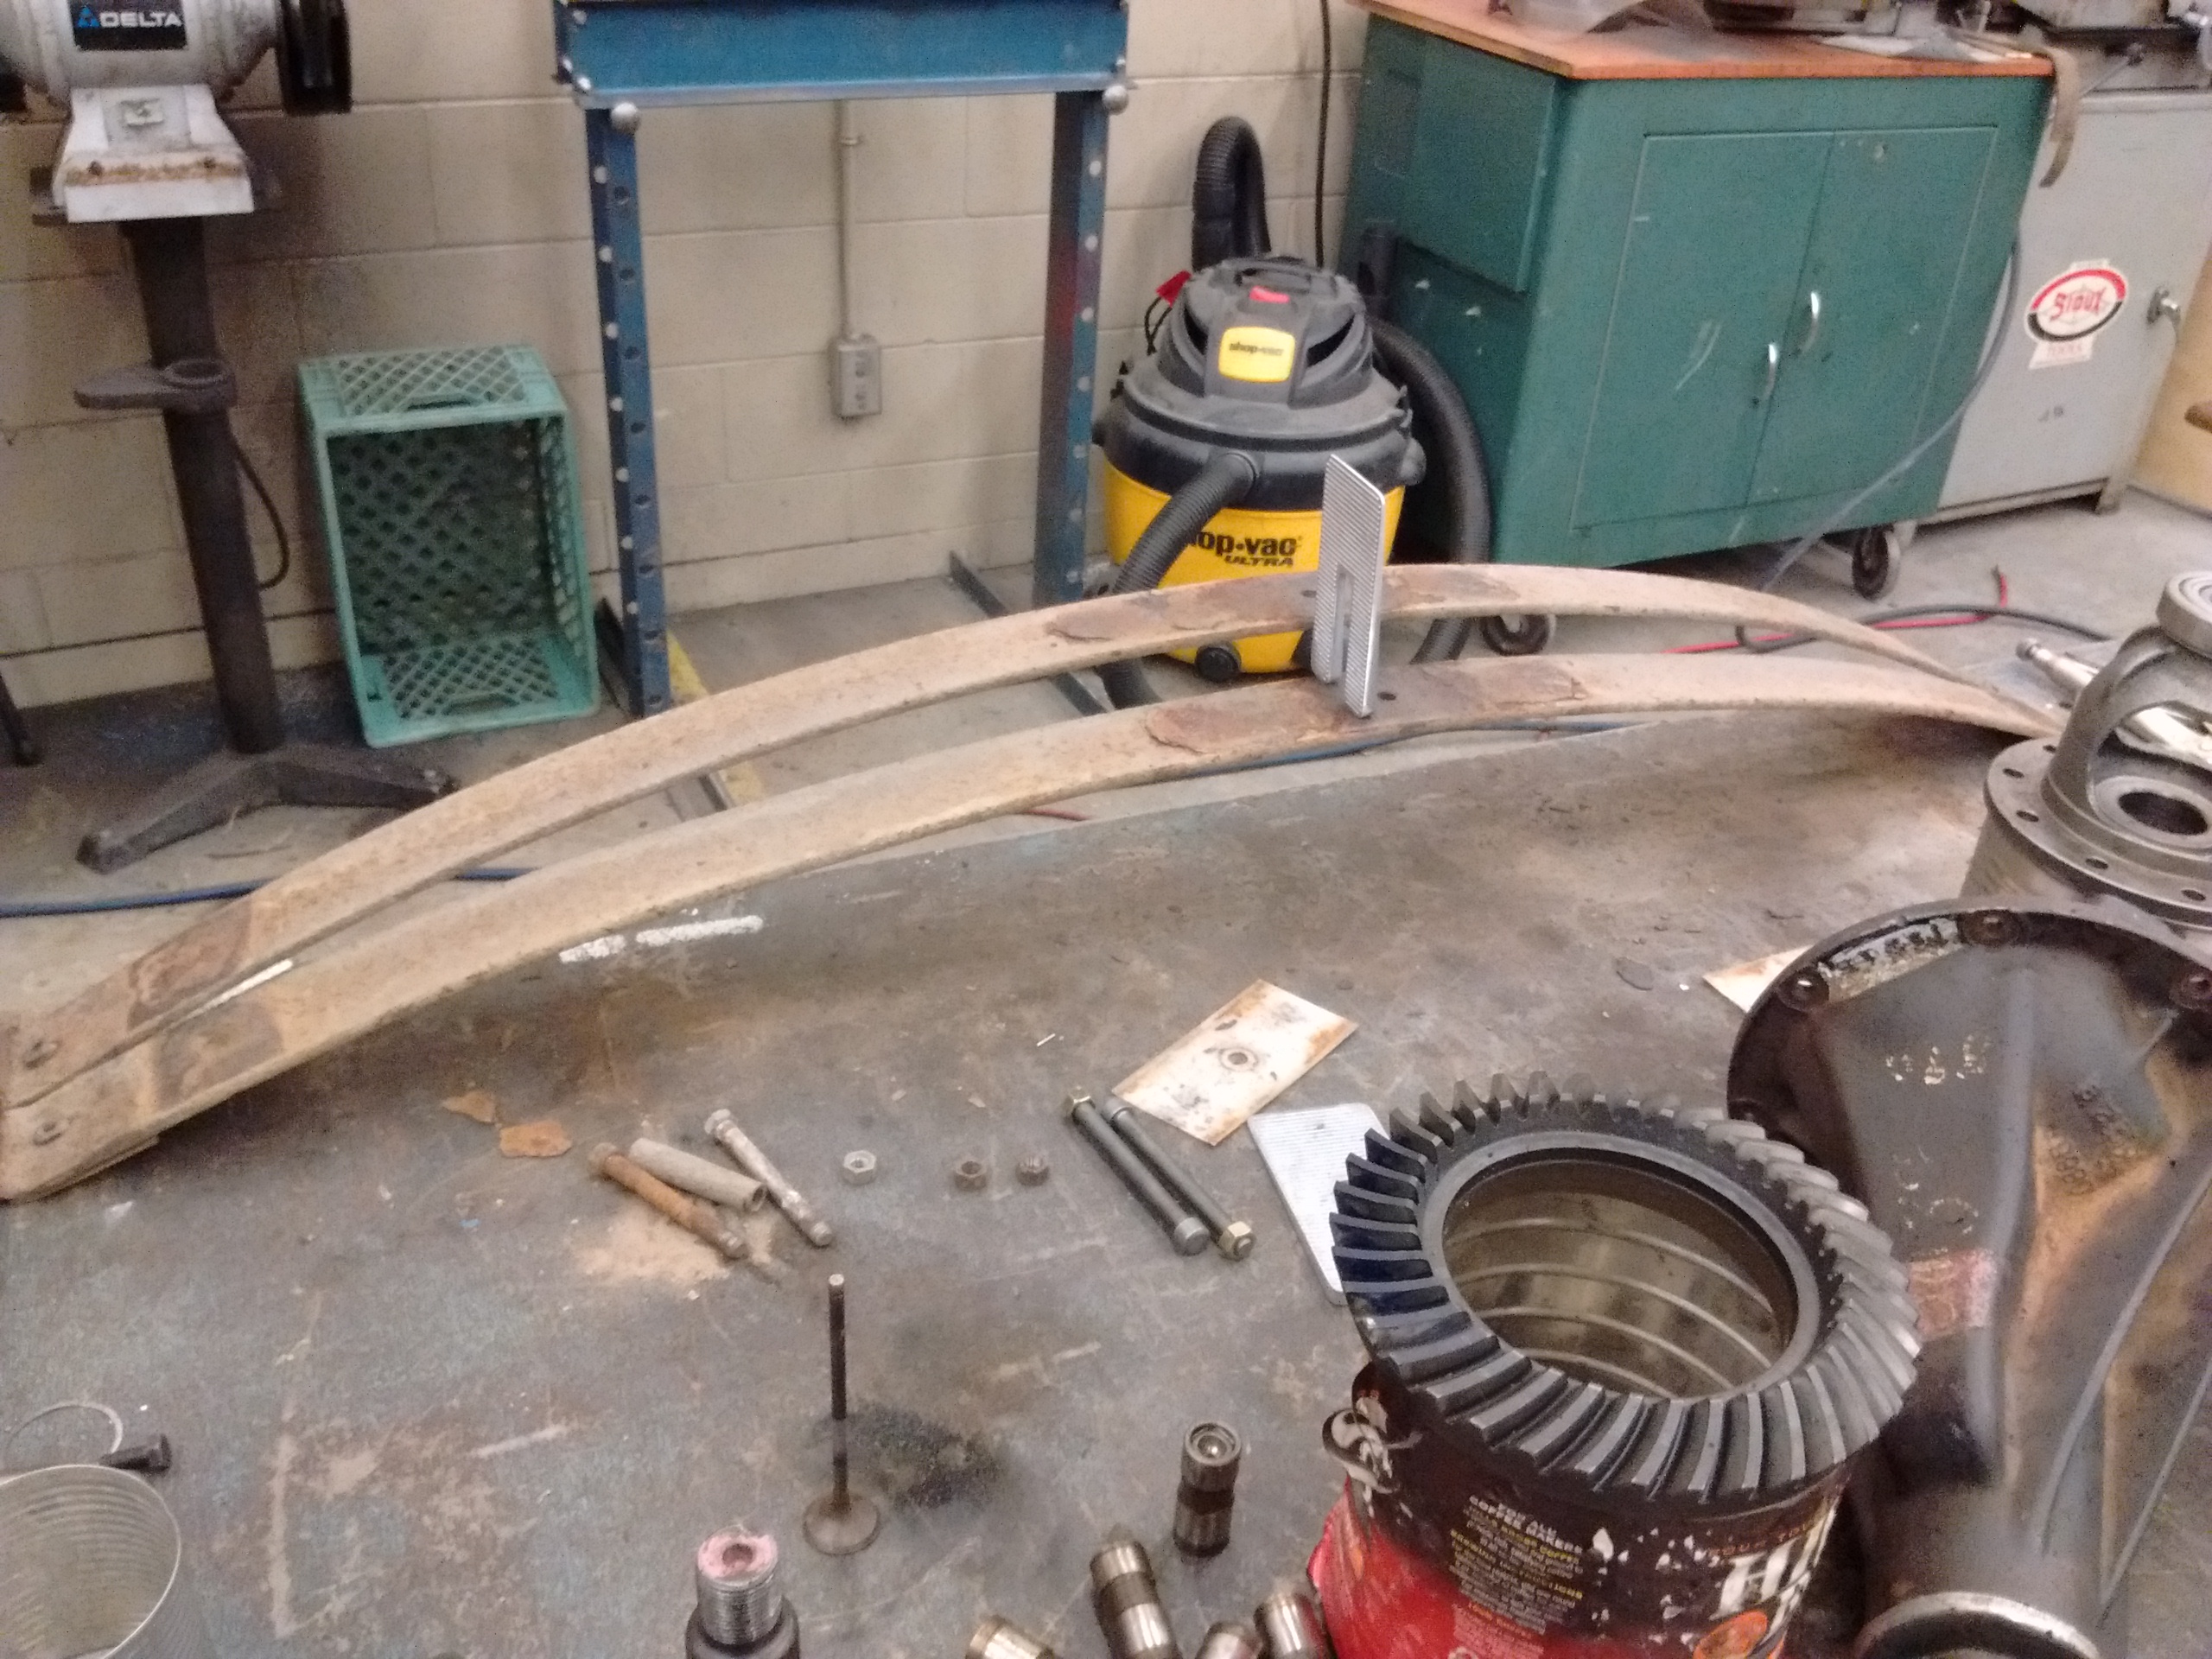
Pretty significant difference between the 2nd leafs. There were other minor variances in other leaves as well.
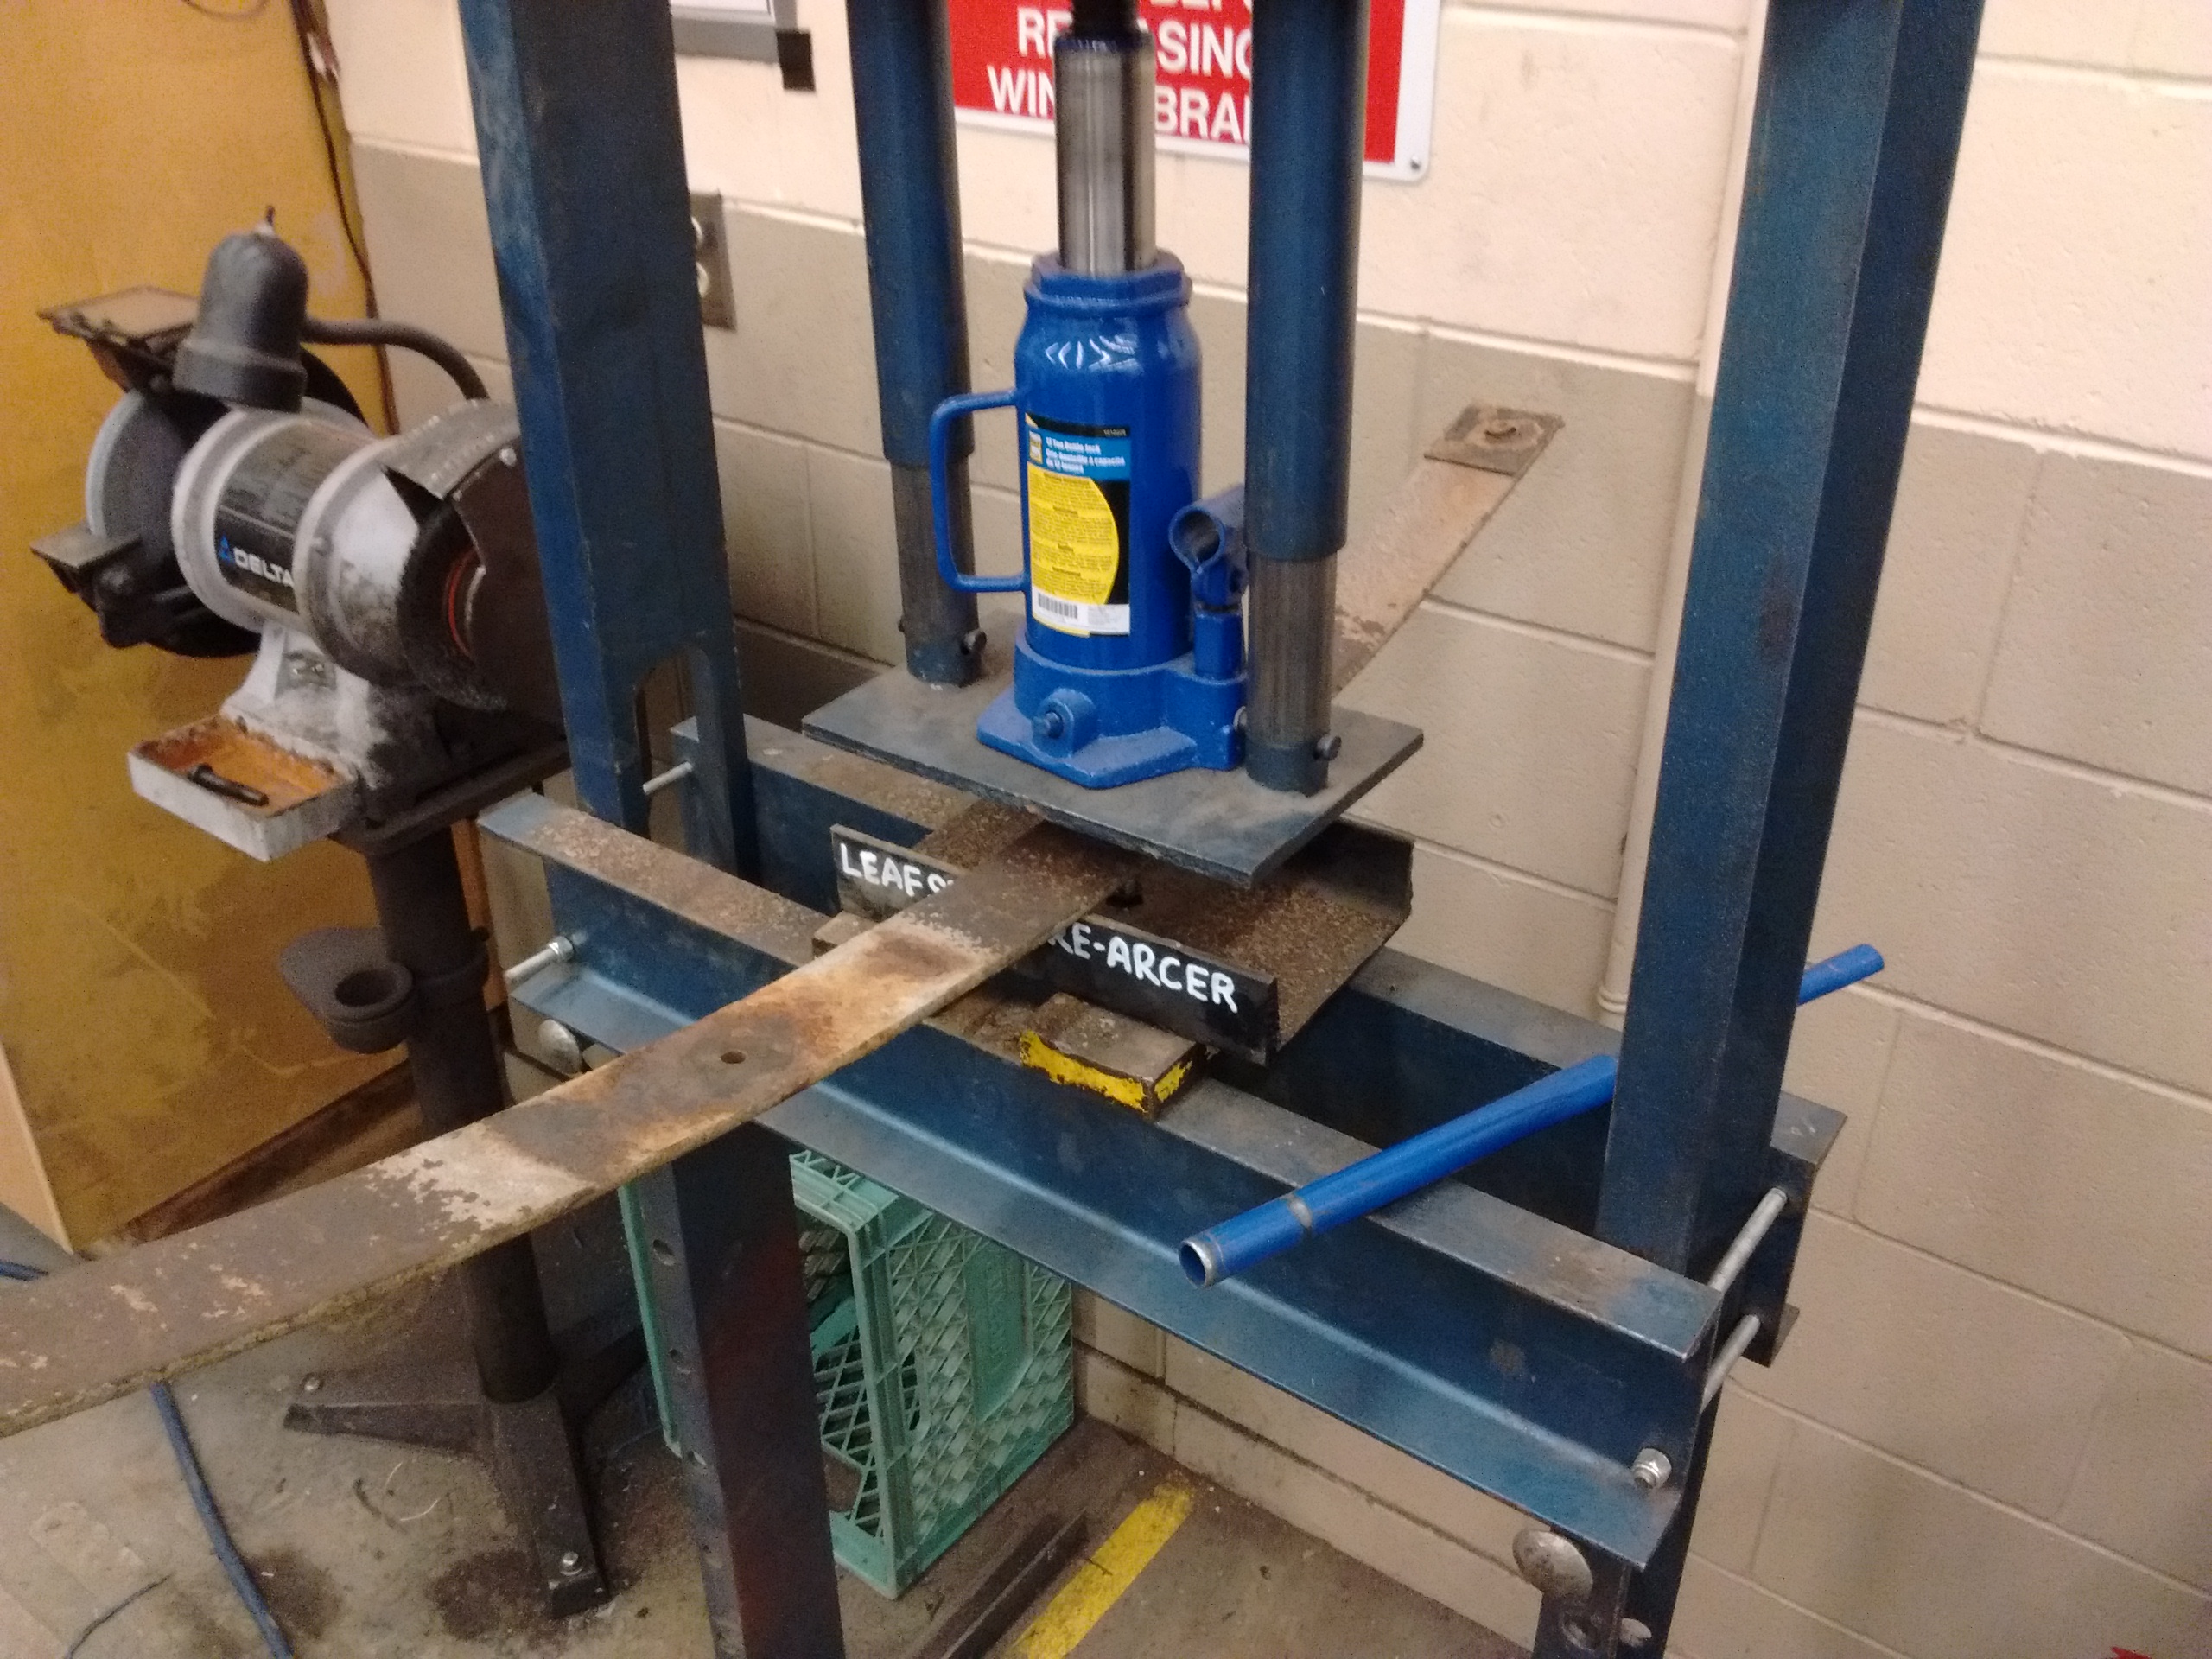
Re-shaping the leaves.

Reassembled, with a 3° shim for testing.
Result? MUCH better. Though I will try a 4° next and see if it’s even better.
UPDATE
So far, I’ve shimmed the trans up until the trans and yoke are less than 1/8″ from the floor. I’ve shimmed the pinion every which way but loose, and haven’t found the magic elixir yet.
Matching the trans and pinion to be parallel was the worst. Then I looked into matching the operating angles at both ends, and not worrying about having the same angle of pinion and trans. I was able to shim the pinion down such that the operating angles were both 2.3° (though now the trans is down and the pinion is down), and while much better – not awesome.
I am still trying shims.