[ Start ] [ Index ] [ Sold 2019 ]
In which the front suspension is designed and built numerous times.
Somewhere around this time I bought a 1988 Pontiac Firebird out of the local ads, with a blown 700R4, for $200. Did I mention I bought the Firefly for $200? I had previously sold the Firefly drivetrain for $400.
So far, I’m into this for the cost of tubing.
The Firebird’s TBI 305 ran beautifully, and came with an MSD box (I ended up using the box on the high-compression lumpy-cam Crusty Chevy).
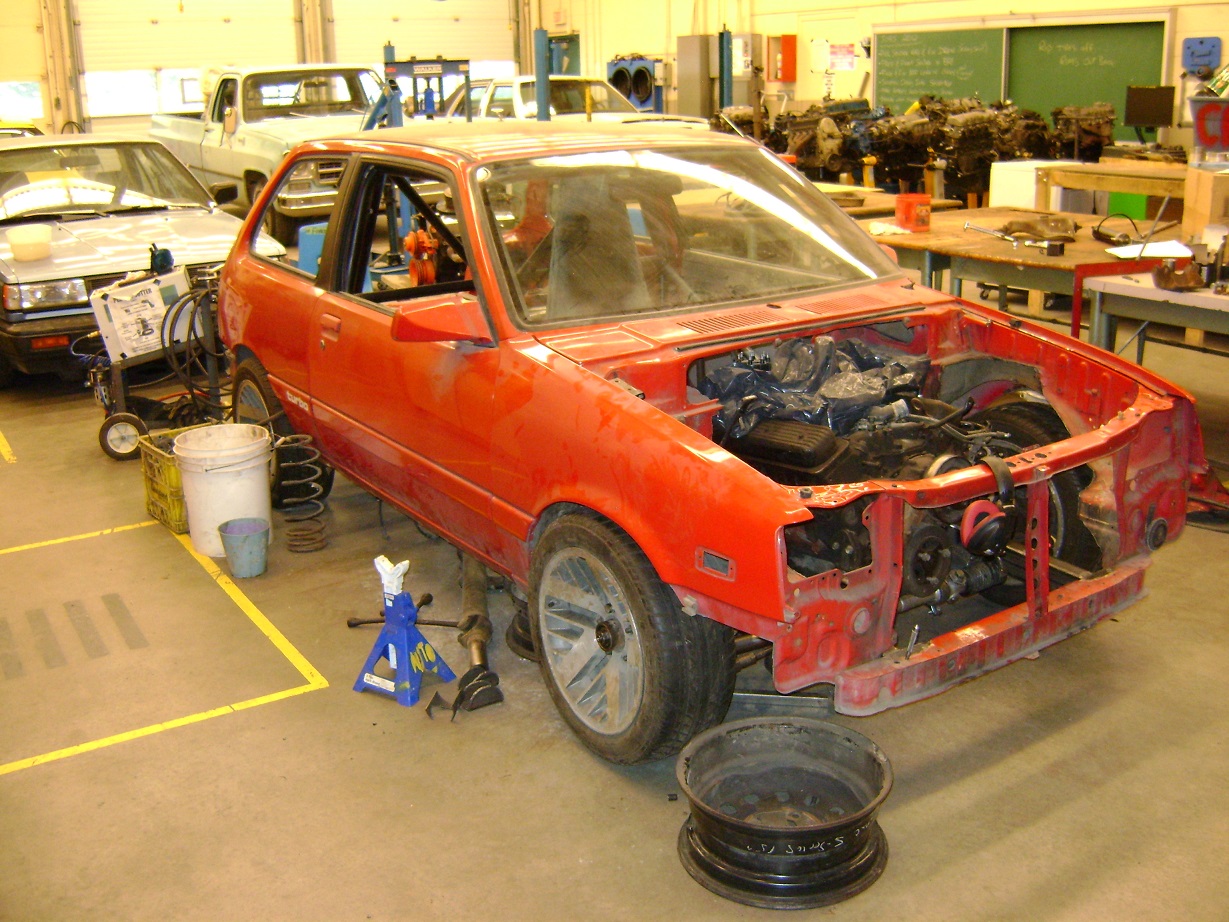
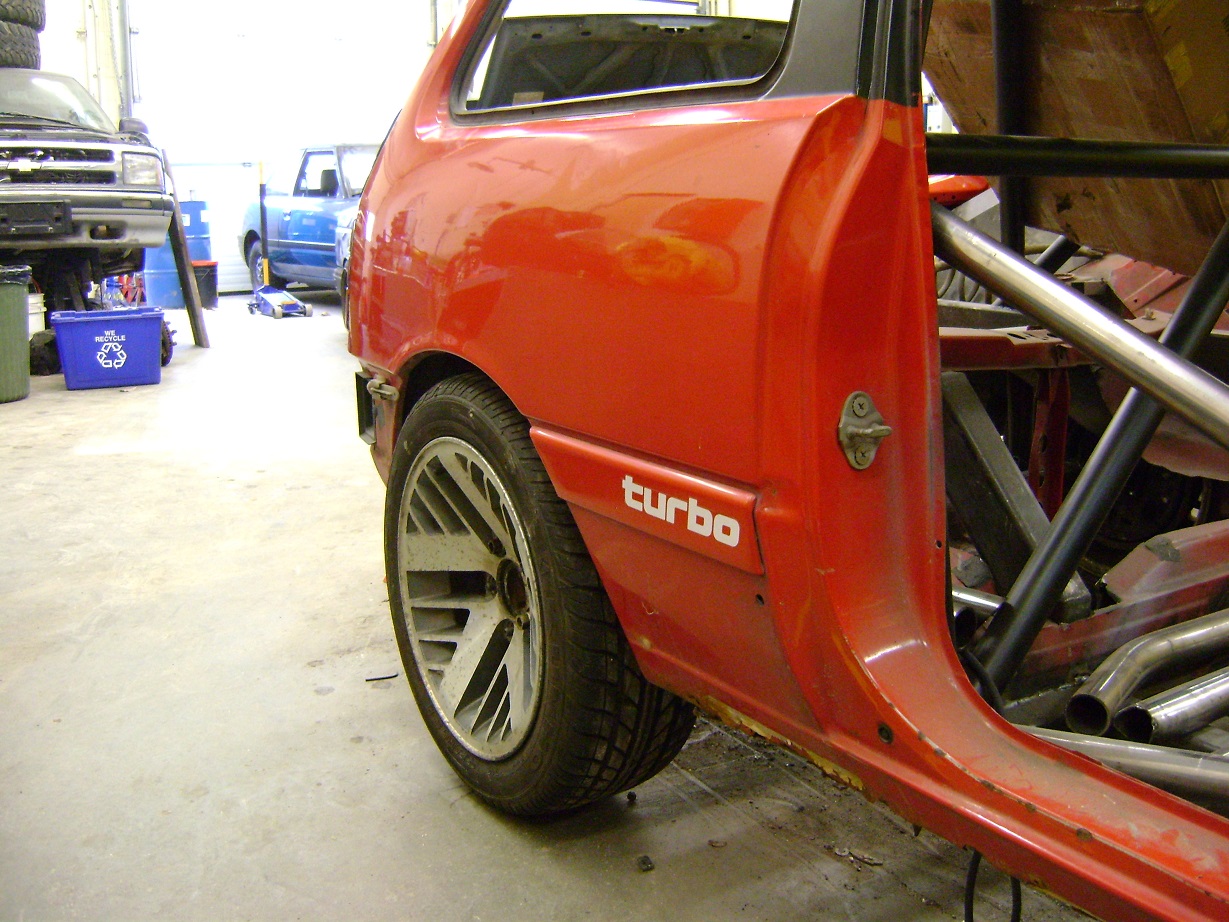
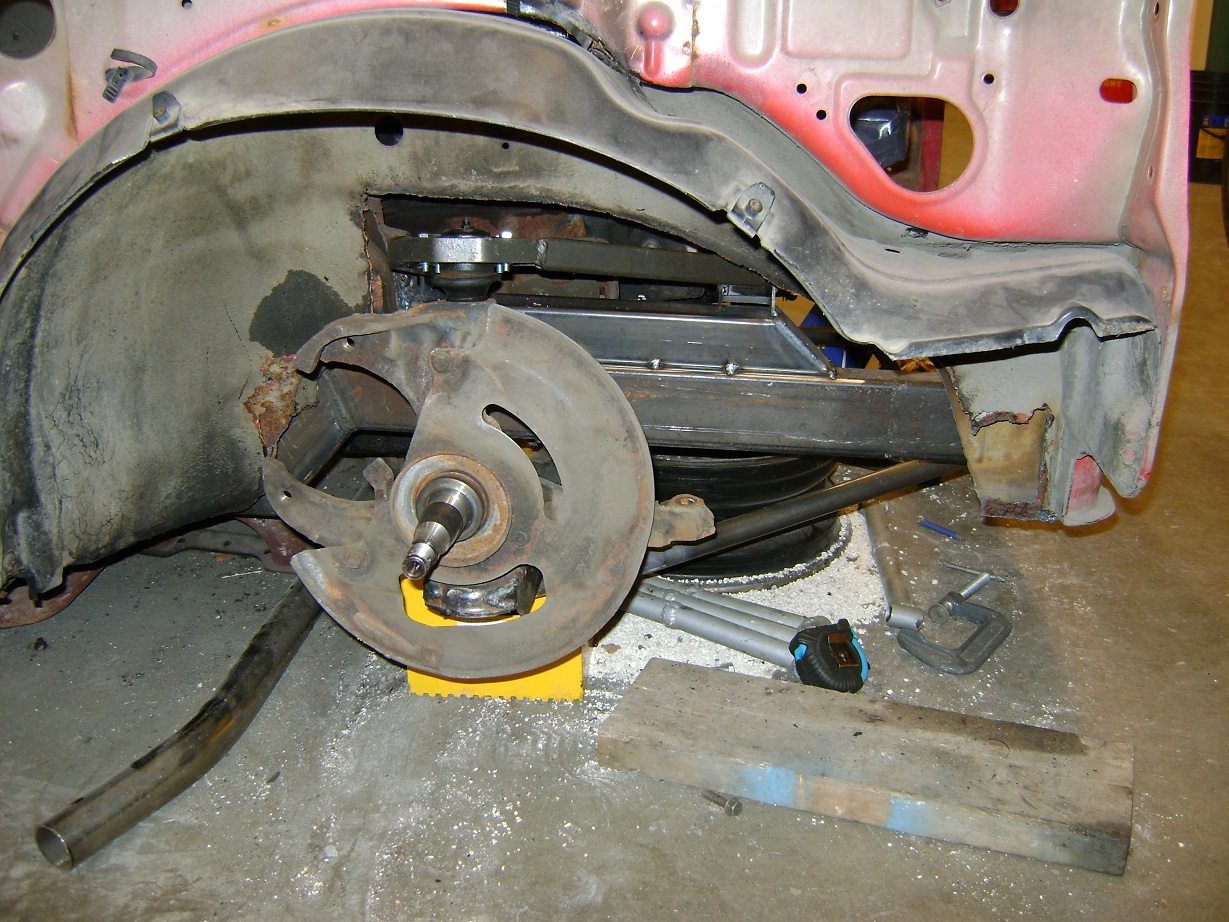
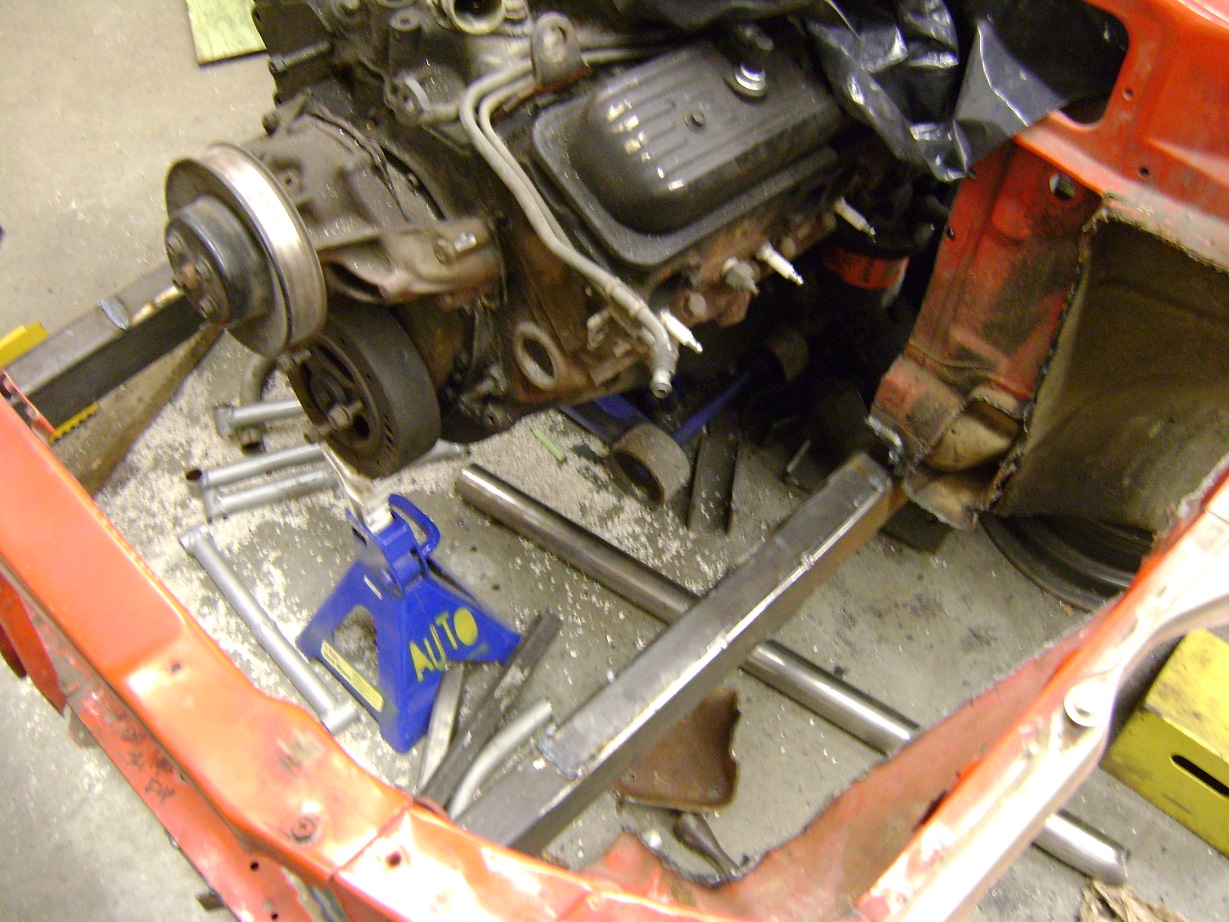
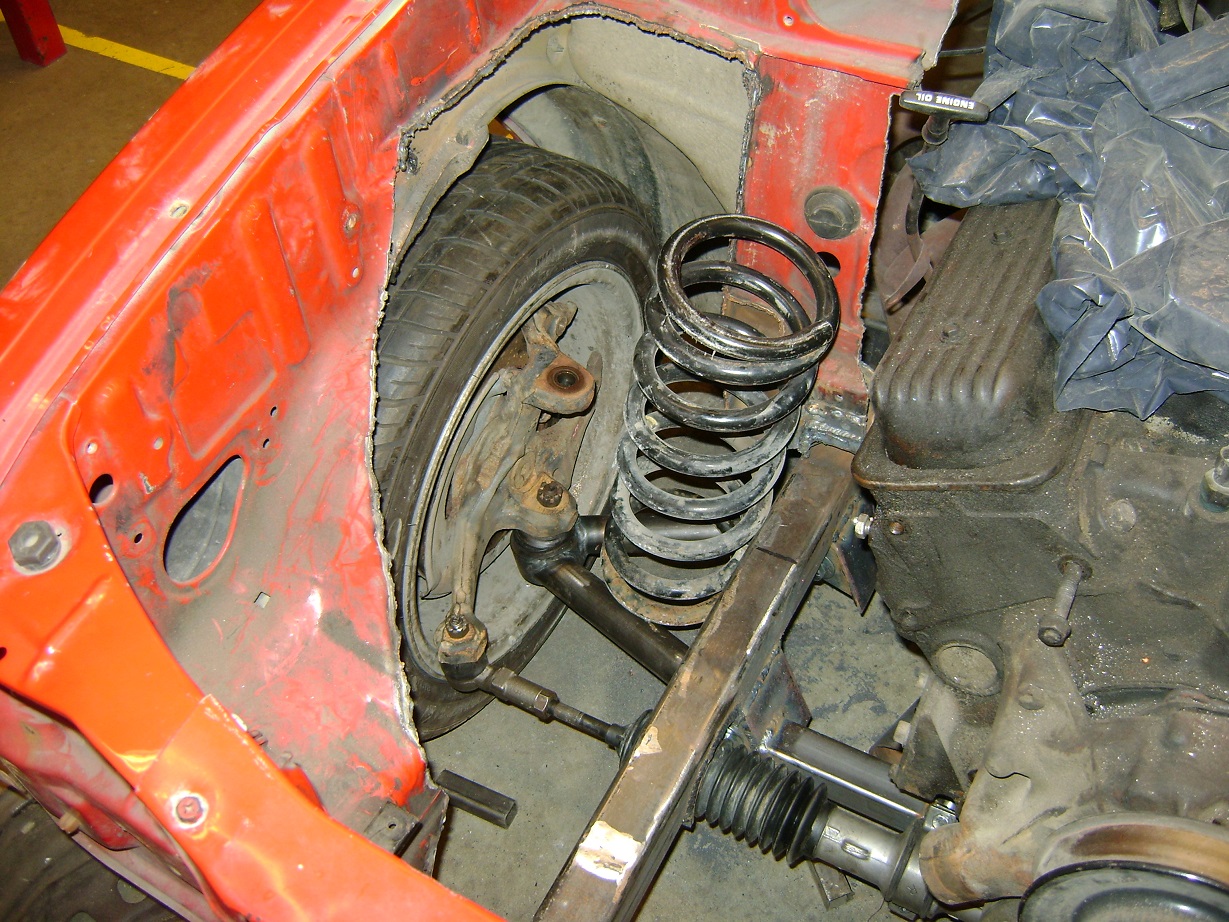
This is how the engine sat in the car at this point:
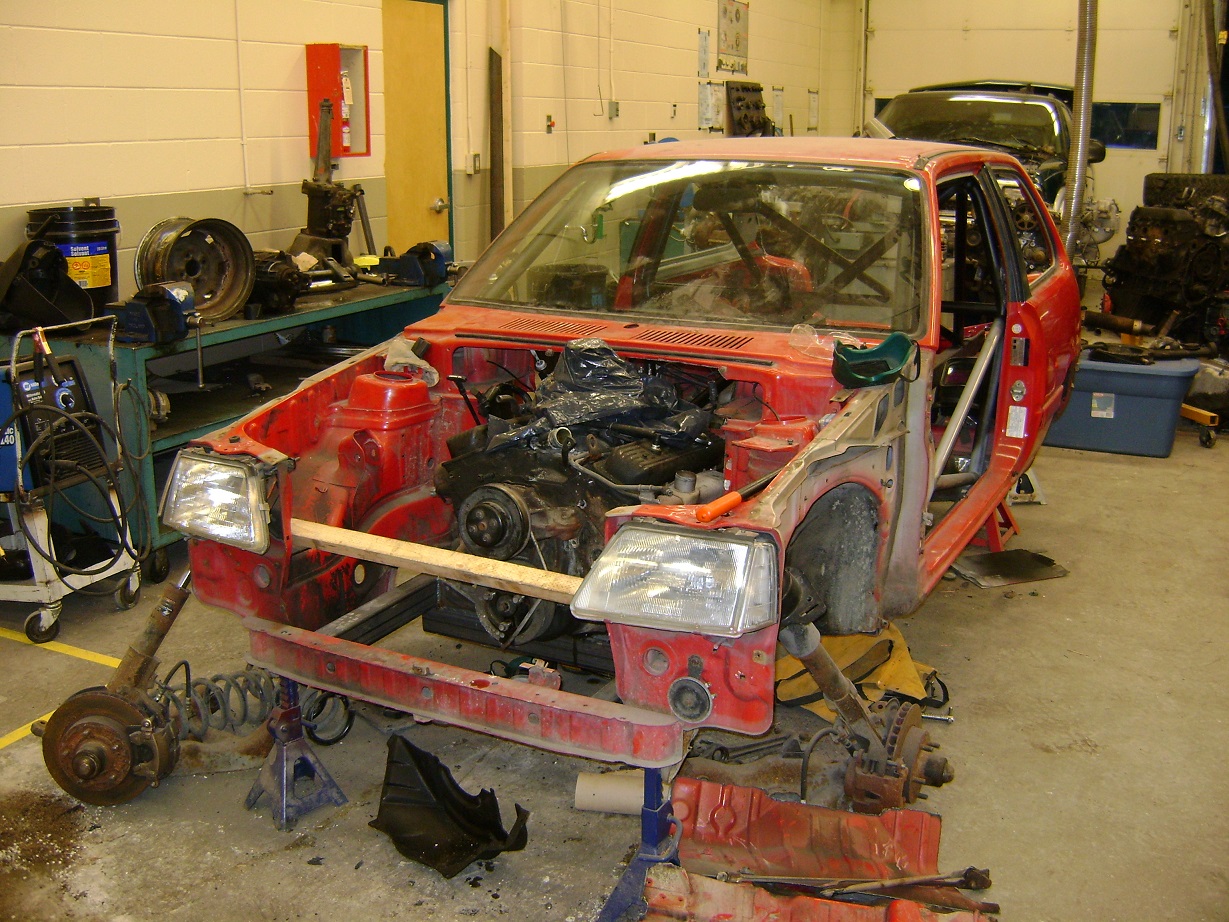
May 2010
The engine is narrow enough to fit between the shock towers, short enough to fit under the hood, and the whole thing will still fit under the dashboard. It’s like it was meant to be! How can anyone possibly say no to this? Not me, I tell you!
Sadly this Pontiac/Pontiac swap wouldn’t be SM legal. S&M maybe….
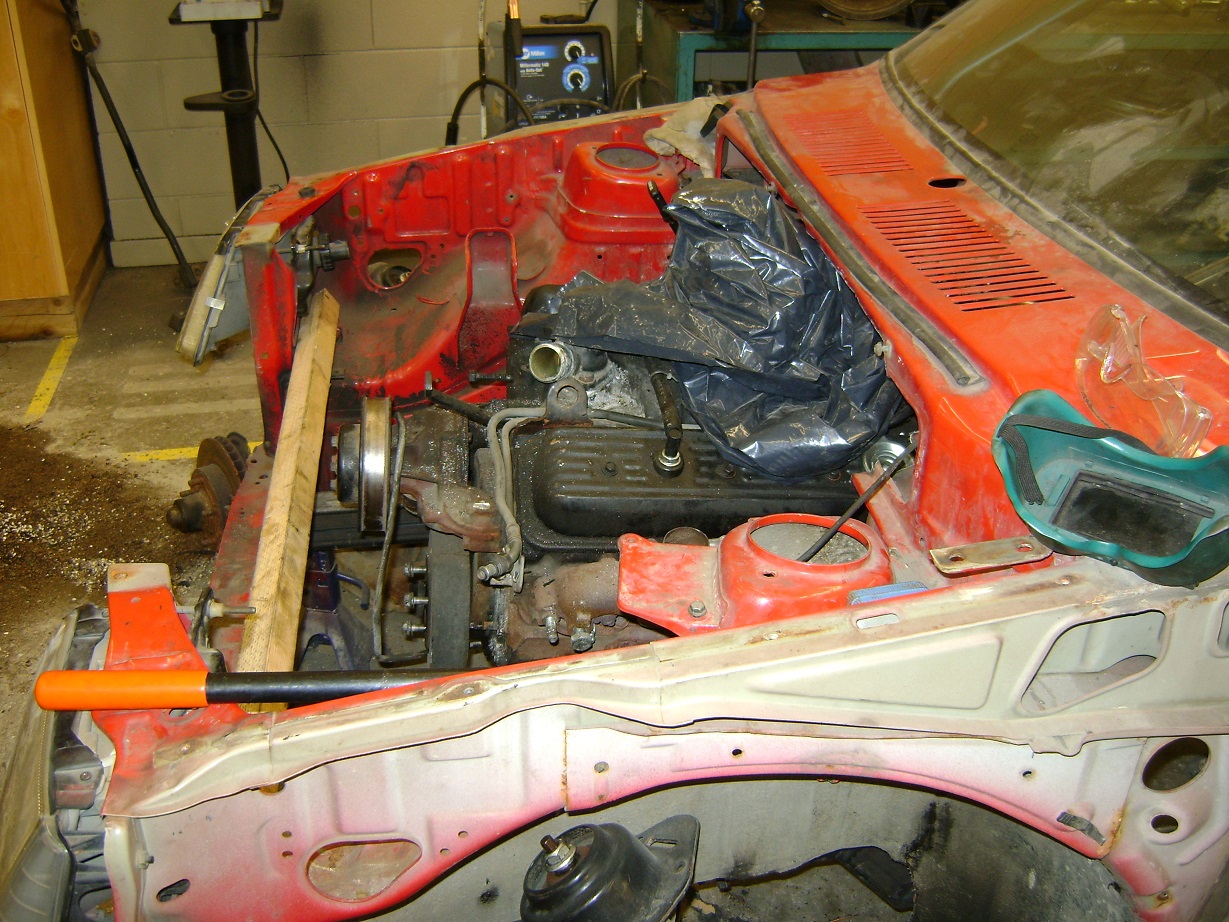
There actually is room for your feet in there.
I sold the blown 700R4 as a core for $50 since I already had a TH350 sitting around.
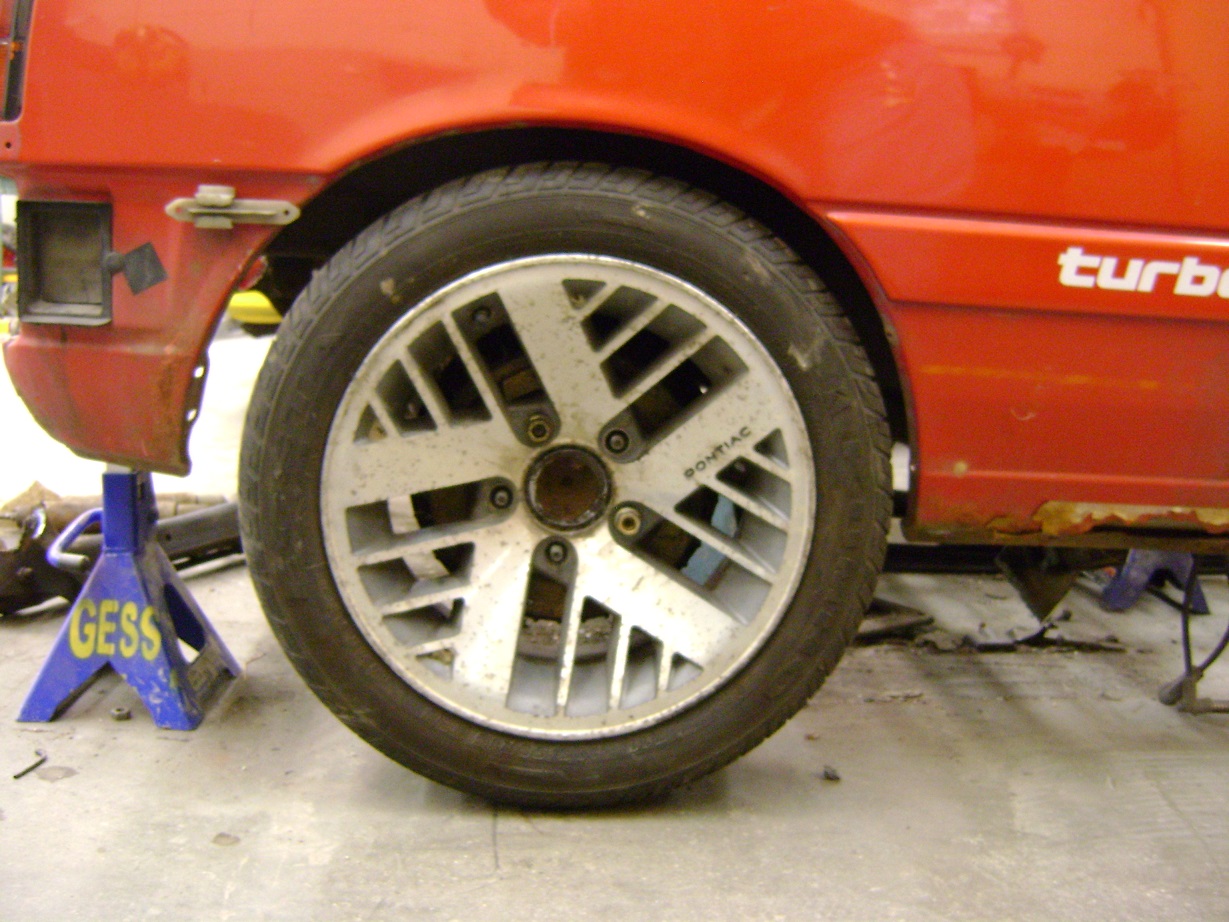
You can see the Firebird front suspension in the pics above, as I was trying to find a way to use as much from the Firebird as I possibly could to keep costs down.
I mean, when being pulled over for a VI in this thing is almost a certainty, you want to be walking away from as little a financial investment as possible. Plus, a “condemned” vehicle has no liability – getting VI’d might even be a money maker! How could I possibly go wrong?!
The ’88 Firebird wheels actually suit the car really well.
I sent the axles off to Moser Engineering to have them shortened and re-splined 4-1/2″ each, whilst I narrowed the Firebird axle myself. I could not find anybody locally who could re-spline, but I knew Moser could. The cost in shipping was more than the cost of the machining. They did a perfect job, and the whole thing went together great.
(March 2010)
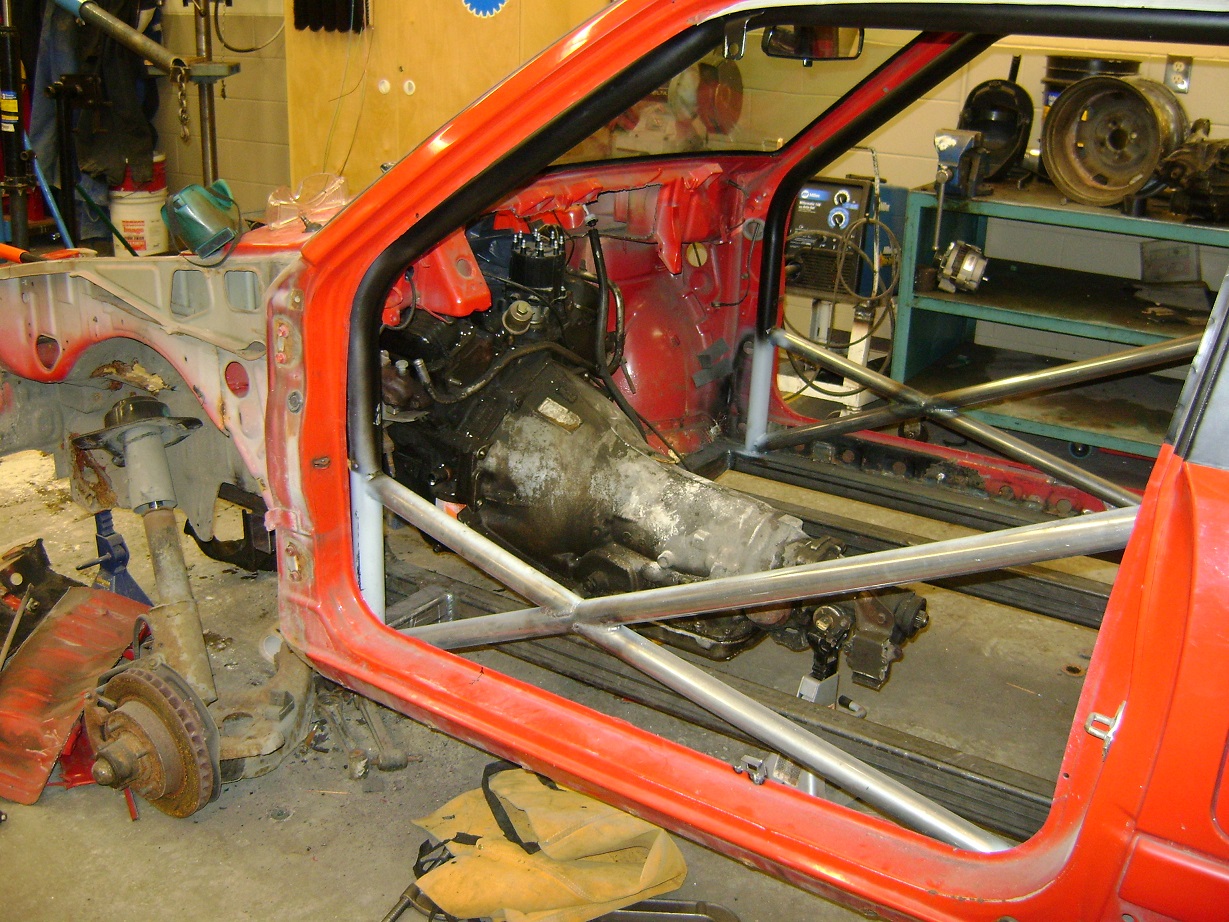
At this point, the back axle was being located with fabricated lower trailing arms, a fabricated panhard rod, and the shortened torque arms from the Firefly. This actually was a problem, because there is not enough room for two seats (because of the width), and marginal room for a fuel tank and mufflers (in the back). This will be changed shortly – I intend to do some triangulated upper trailing arms soon.
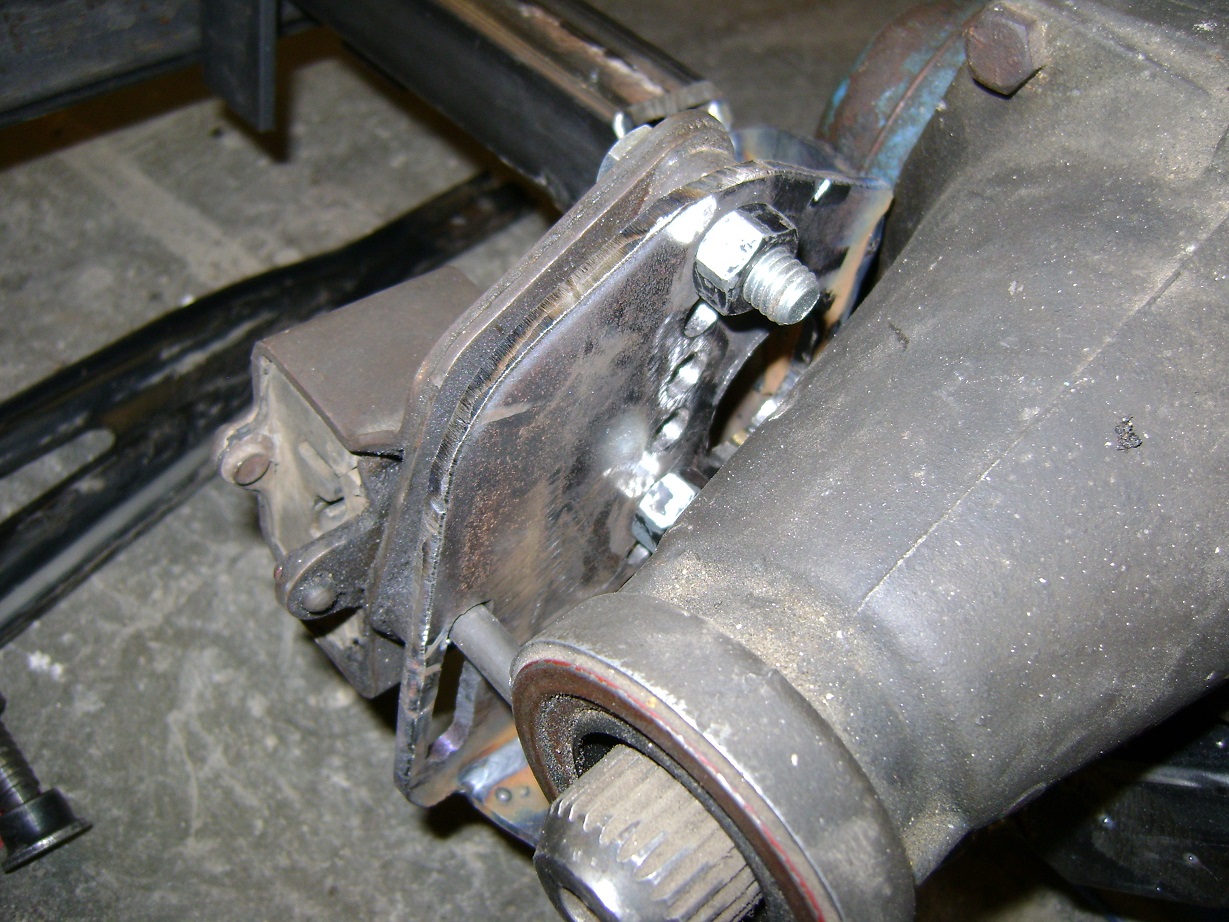
The Firebird’s 700R4 was blown, so I replaced it with a TH350 that I had.
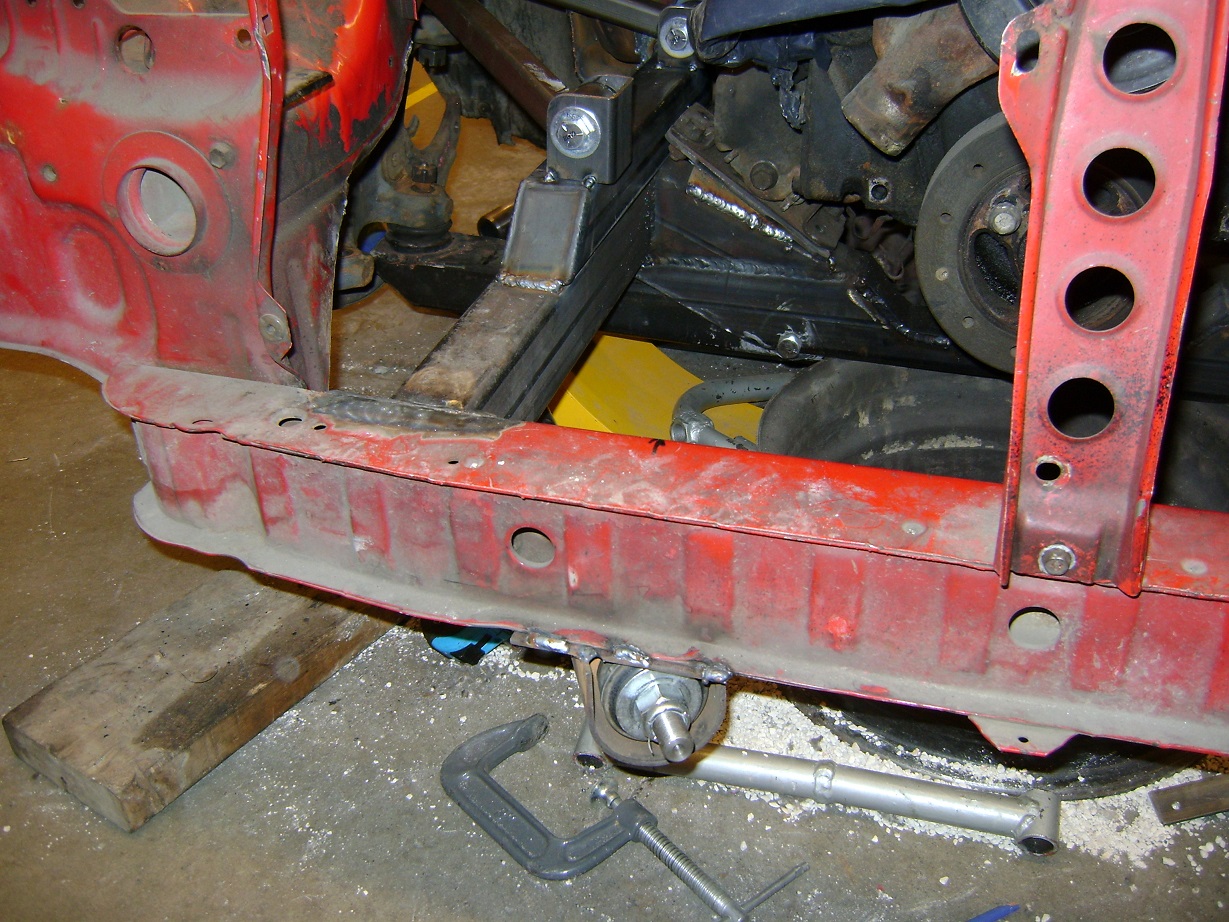
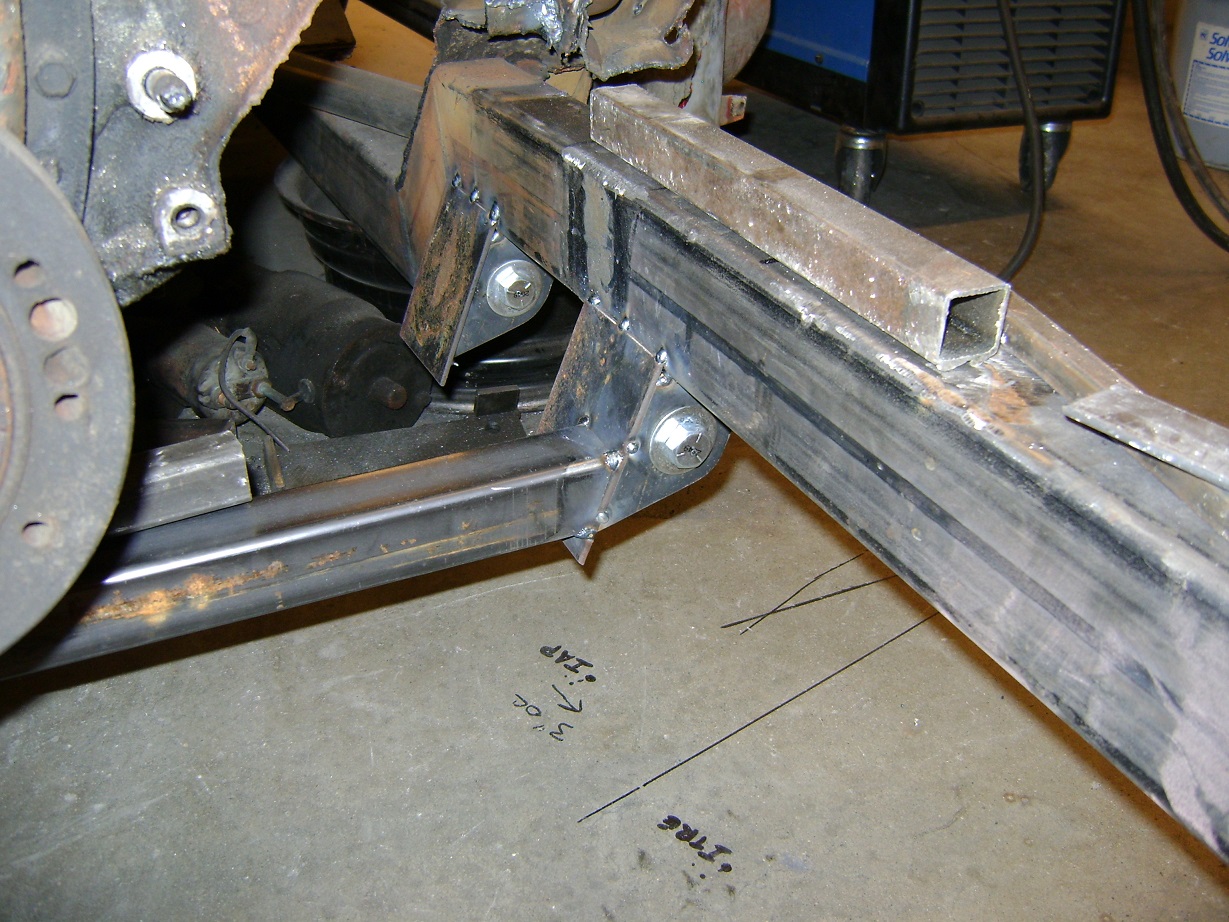
This meant I need some method to attach the Firebird’s torque-arm, since there was no bracket on the TH350. In the interest of “what the hell was I thinking?”, I made the front mount adjustable.
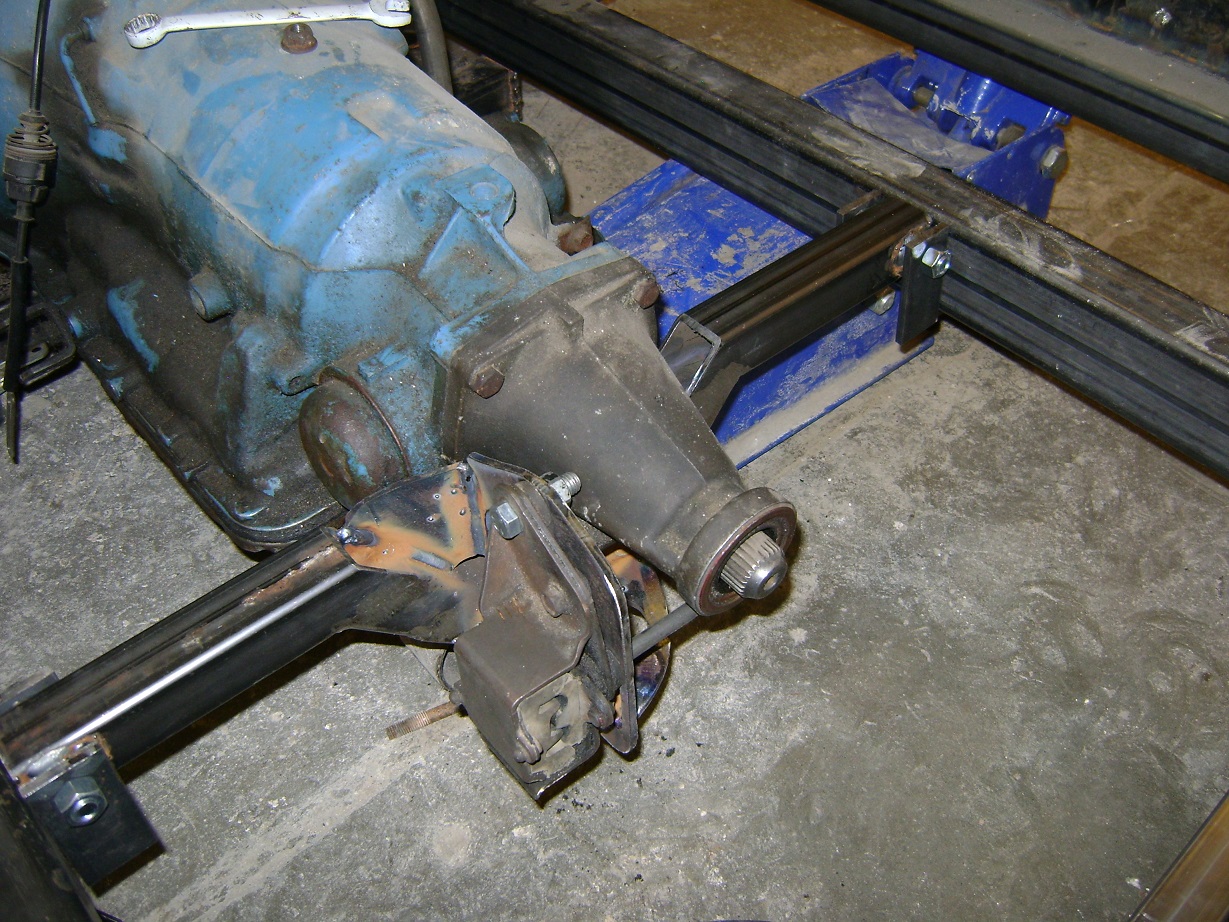
(March 2011)
I did not have a tubing bender when I made the crossmember. I’m not sure this will stay this way – I can do better.
I mentioned I intended to use as much of the Firebird as I could in this project. This would keep costs down.
One significant problem was that the Steering Axis Inclination and Caster built into the struts became a problem now that the front suspension had to be 9″ narrower. I gave up and bought S10 spindles, S10 upper control arms, and a Chevette Rack, from Pick-N-Pull. Everything is interchangeable between the S10 and Camaro/Firebird.
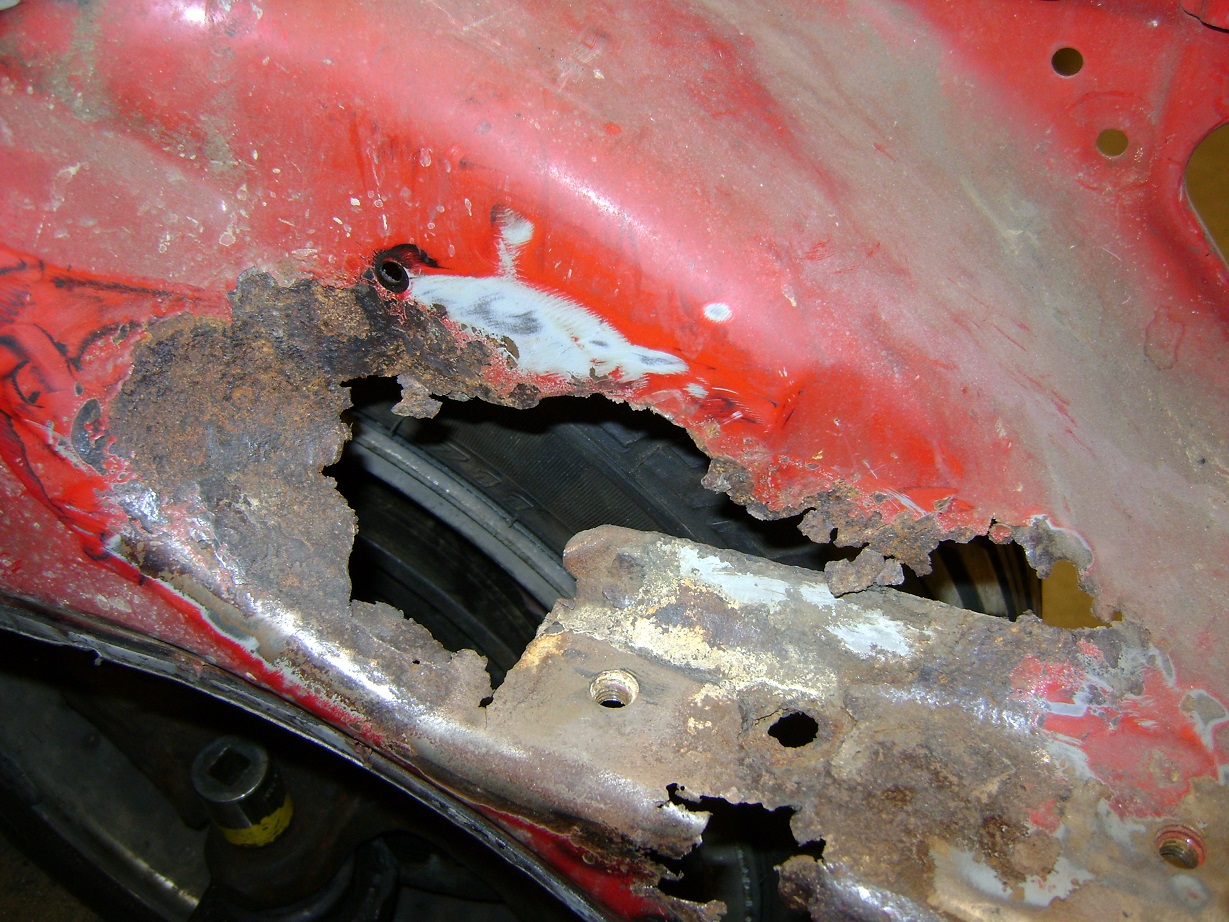
A bit of battery rust.
I could not use the lower arm from the Firebird due to packaging. Being a thinking man, to make it easier to use the S10 upper arm, I fabricated a lower arm the same length as the Firebird arm (same as S10), and (to ease packaging) I fabricated some Strut Rods using the original rubber bushings from The Hideous Hardbody (saved from when I did poly bushings).
But then I couldn’t use the upper arm anyway, due to packaging. So I fabricated a new upper arm, the same length as the S10 upper arm, thus keeping the geometry in an easy-to-find ballpark.
But to reduce bump steer, that would have resulted in shortening the Chevette steering rack about a foot – meaning I could only use ONE clamp to hold the rack down, and no way to get the steering shaft to meet up with the rack. Whose stupid idea was this anyway?
Hmmm…. Suspension arm travel might be limited….
Also had to slice down the crossmember to make room for the oil pan.
Not a lot of room for a steering shaft here. This might be poorly planned out.
This is where I begin to reveal just how much of a two-bit hack I am.
When I realized how much I had to shorten the rack, I came to the realization that continuing down ~this~ path was hopeless. I slept on it, and then came back and hacked the whole thing out.
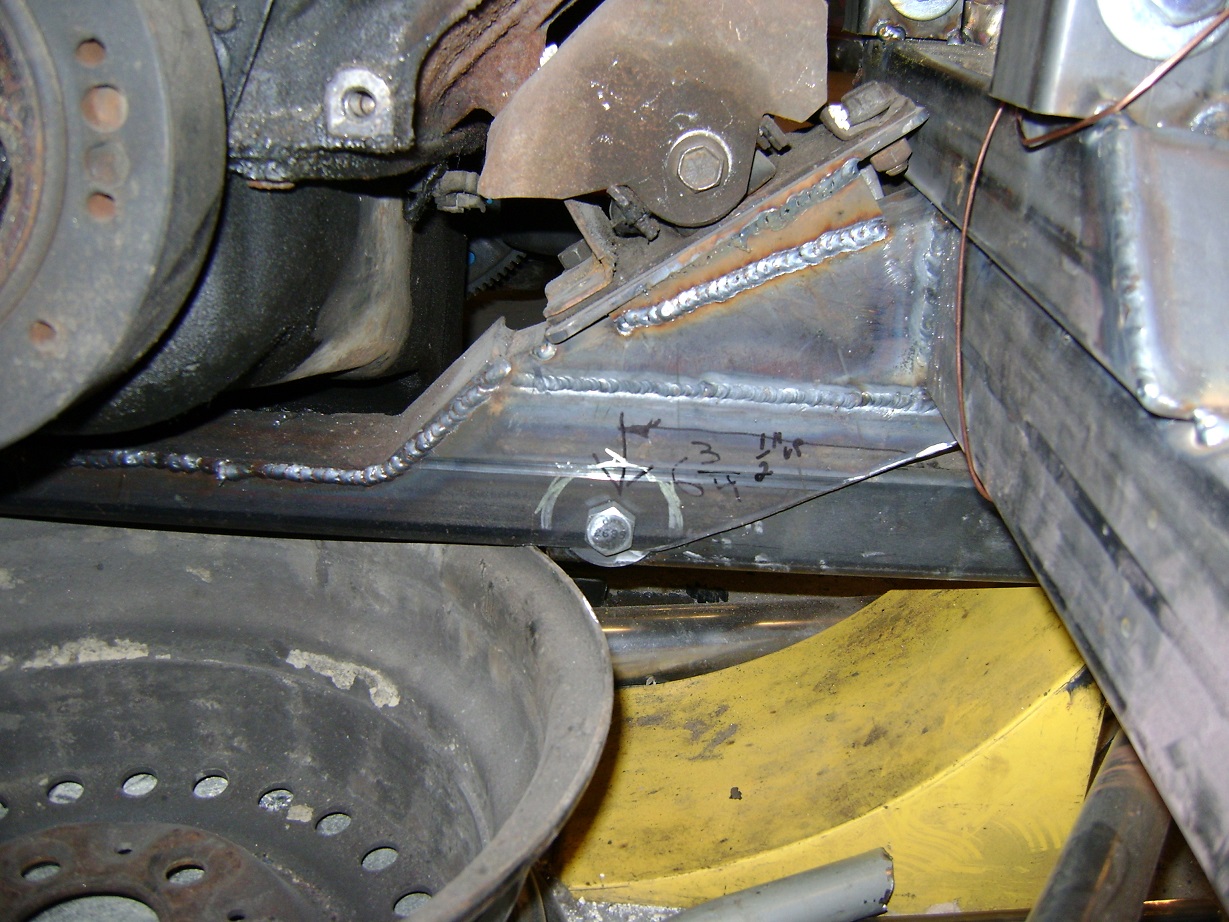
I re-designed the front suspension around an un-molested Chevette rack. The resulting arms were pretty short. It will work. New brackets for the new (yet again) lower control arms:
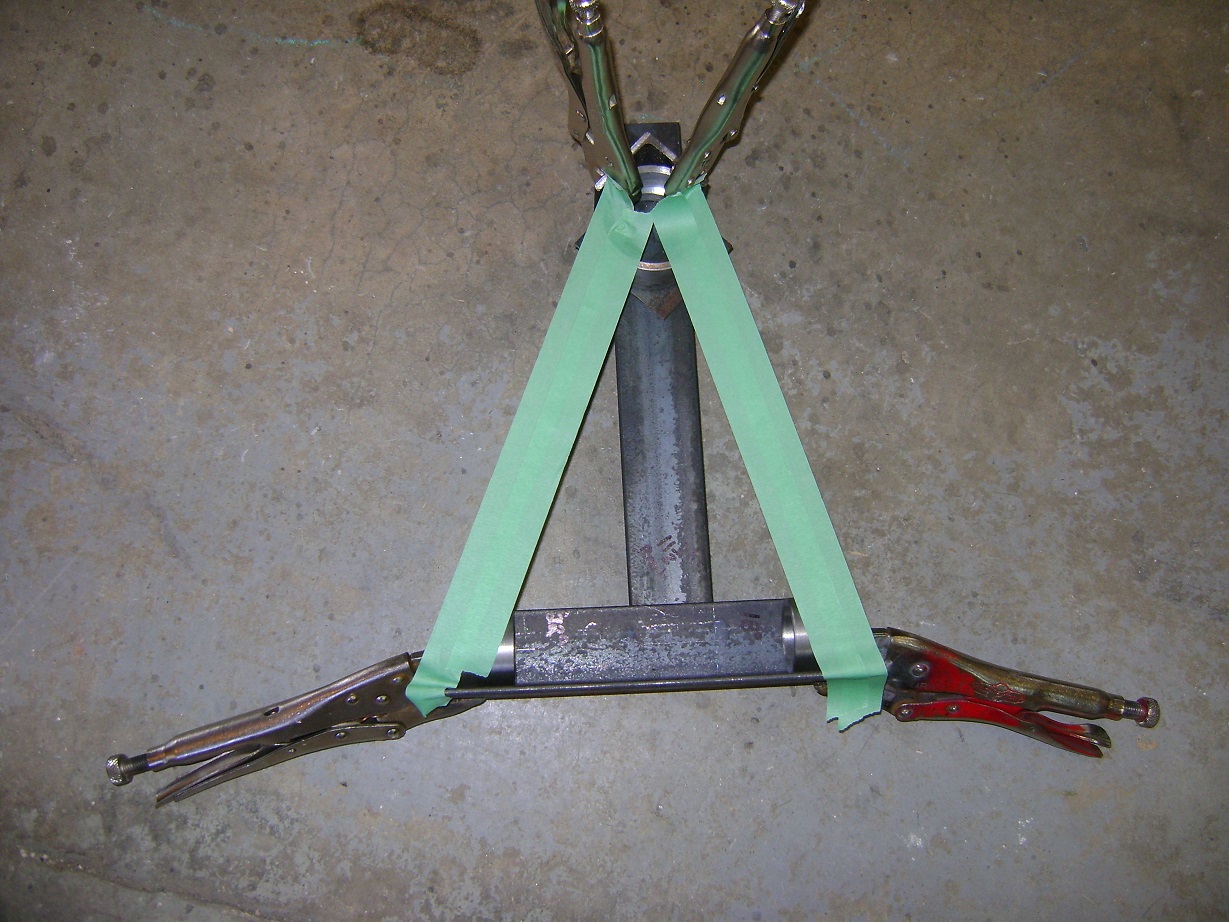
Figuring out control arm tube angles
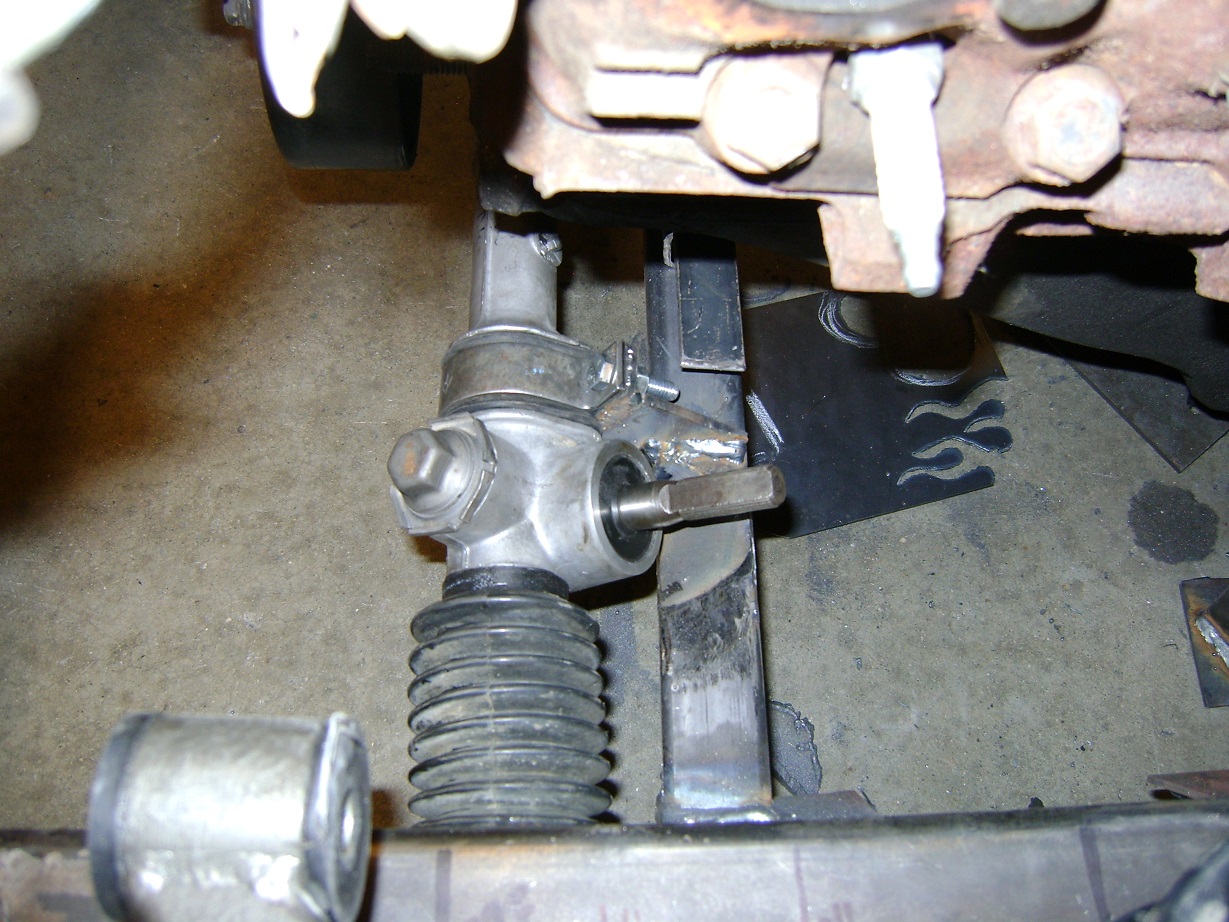
New rack placement, with a wee cut in the new crossmember
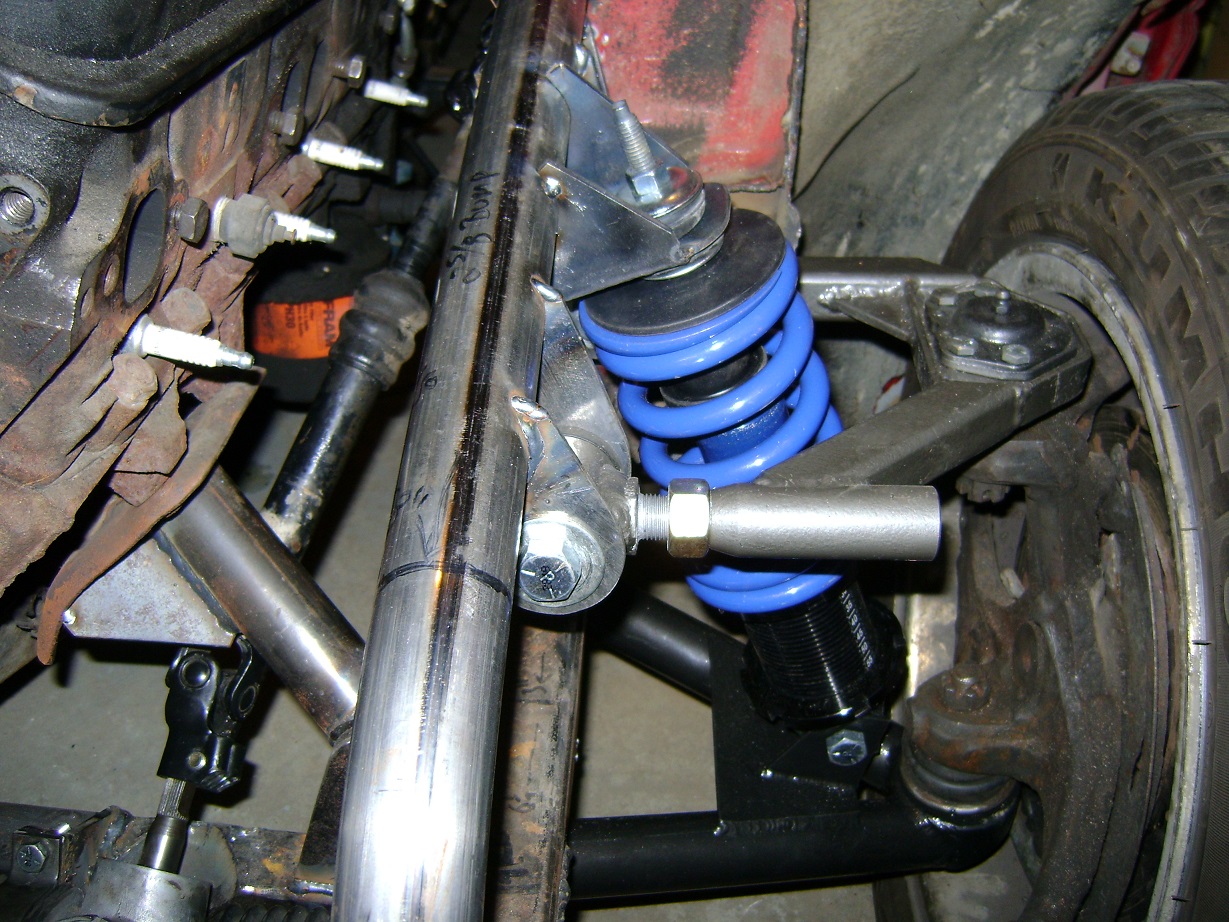
And now we have lower control arms and a rack that makes me happy. Spring packaging is going to be a problem.

How it sat at this point (August 2012)
This brings us to the summer. I sensed God telling me it was time to get this project car out of the school shop. By September I knew it to be true; I had a mechanics class with a handful of disrespectful and destructive students I could not trust. Among other things, they ended up trashing a vehicle that had been donated to the school. As of this writing, I do not miss them in the slightest. Even as I write this, I am trying to be respectful – more respectful than they were…. *sigh*
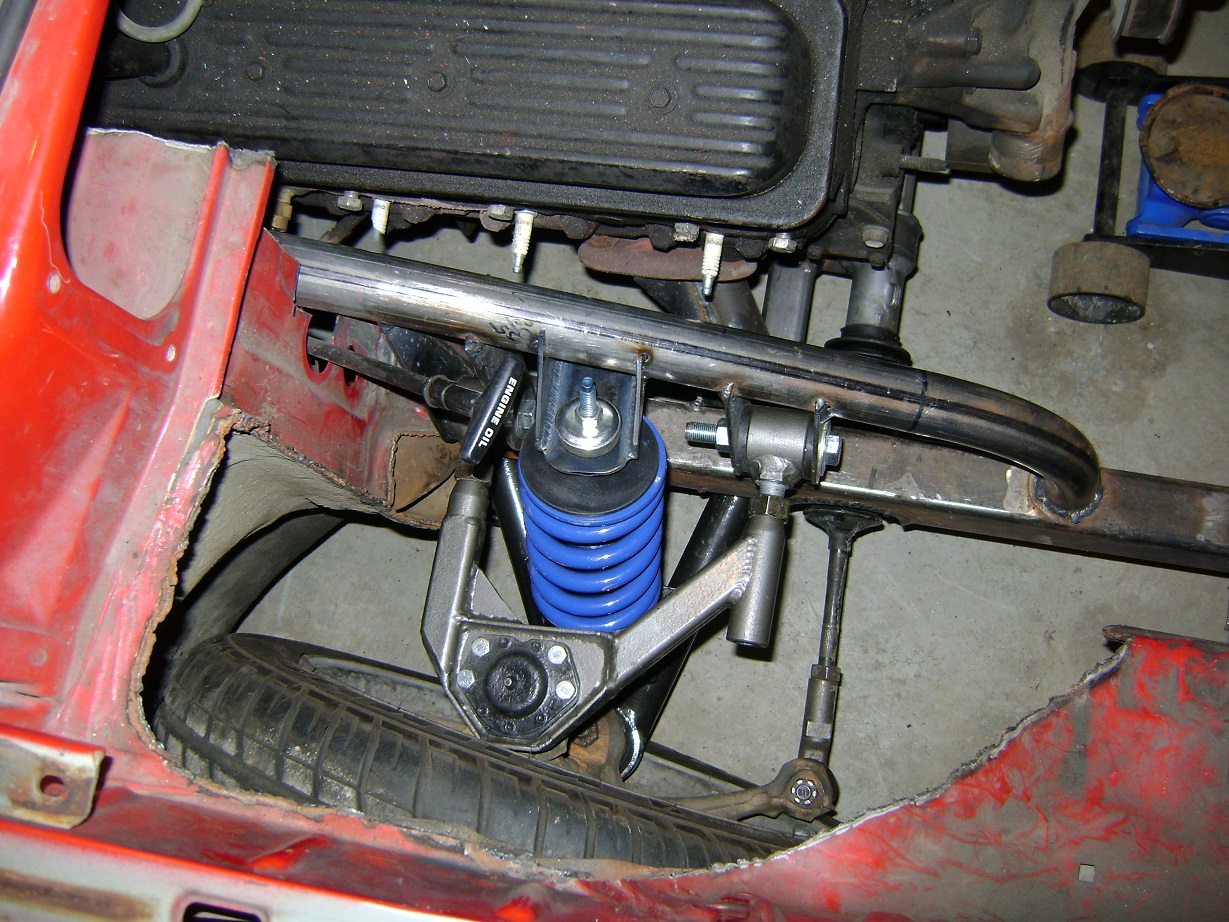
With the vehicle in my own garage, I finished the upper control arms (again), and picked up the cheapest eBay coilovers I could find.
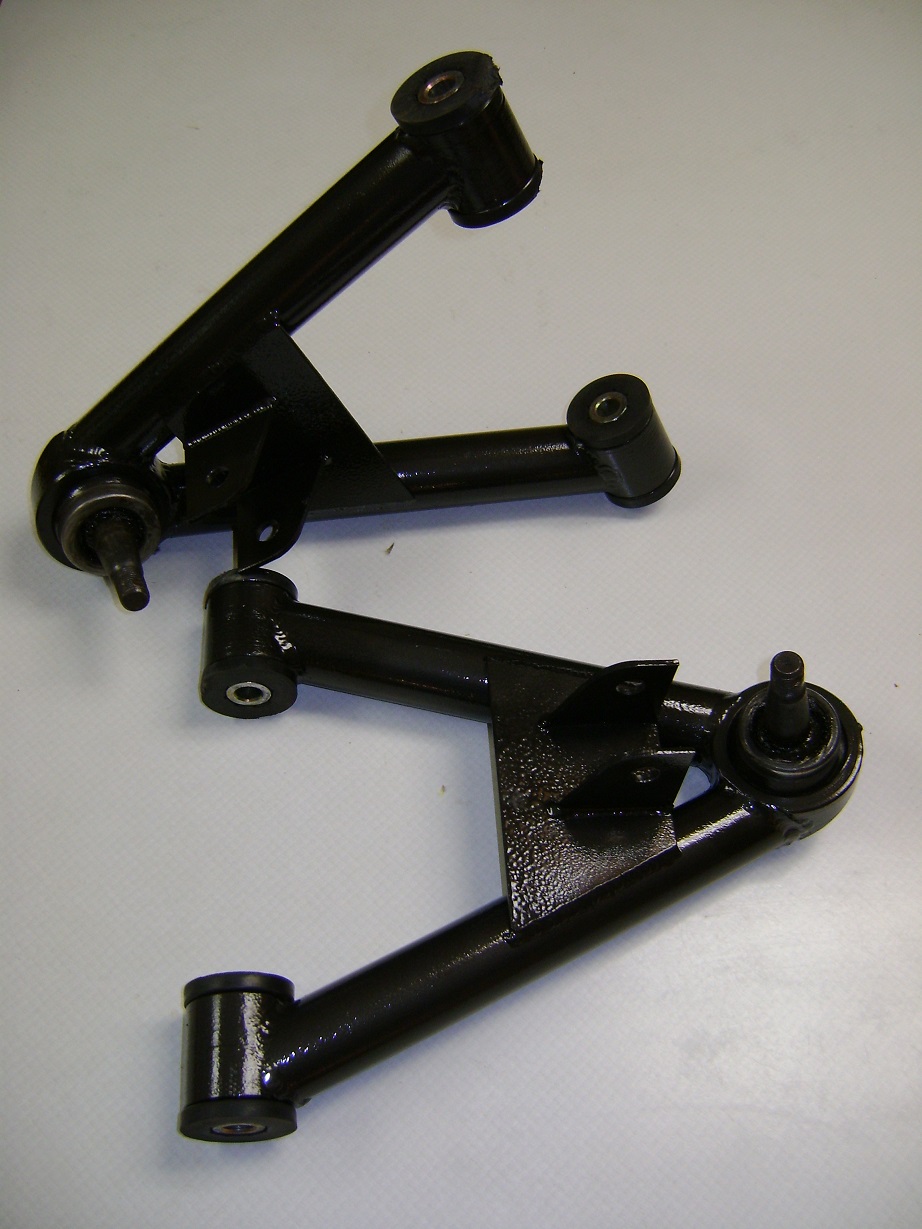
Lower control arms painted in Tremclad Hammered Finish.
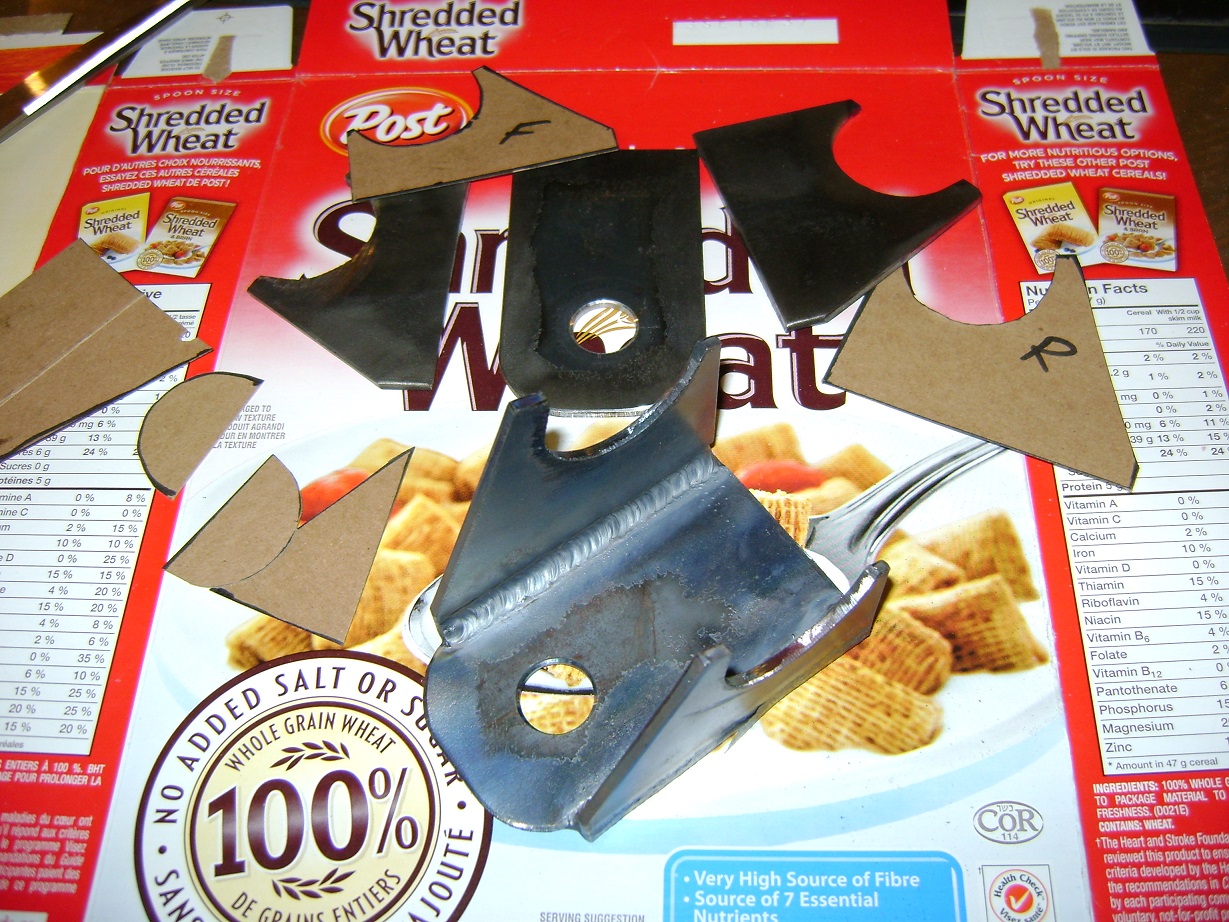
Showing my students how to model something in cardstock before ruining metal. But…. will they listen? (I know, I know, “the Old Man don’t know nuthin'”).

How to attach coilovers to shocks that shouldn’t really hold the weight of a vehicle.
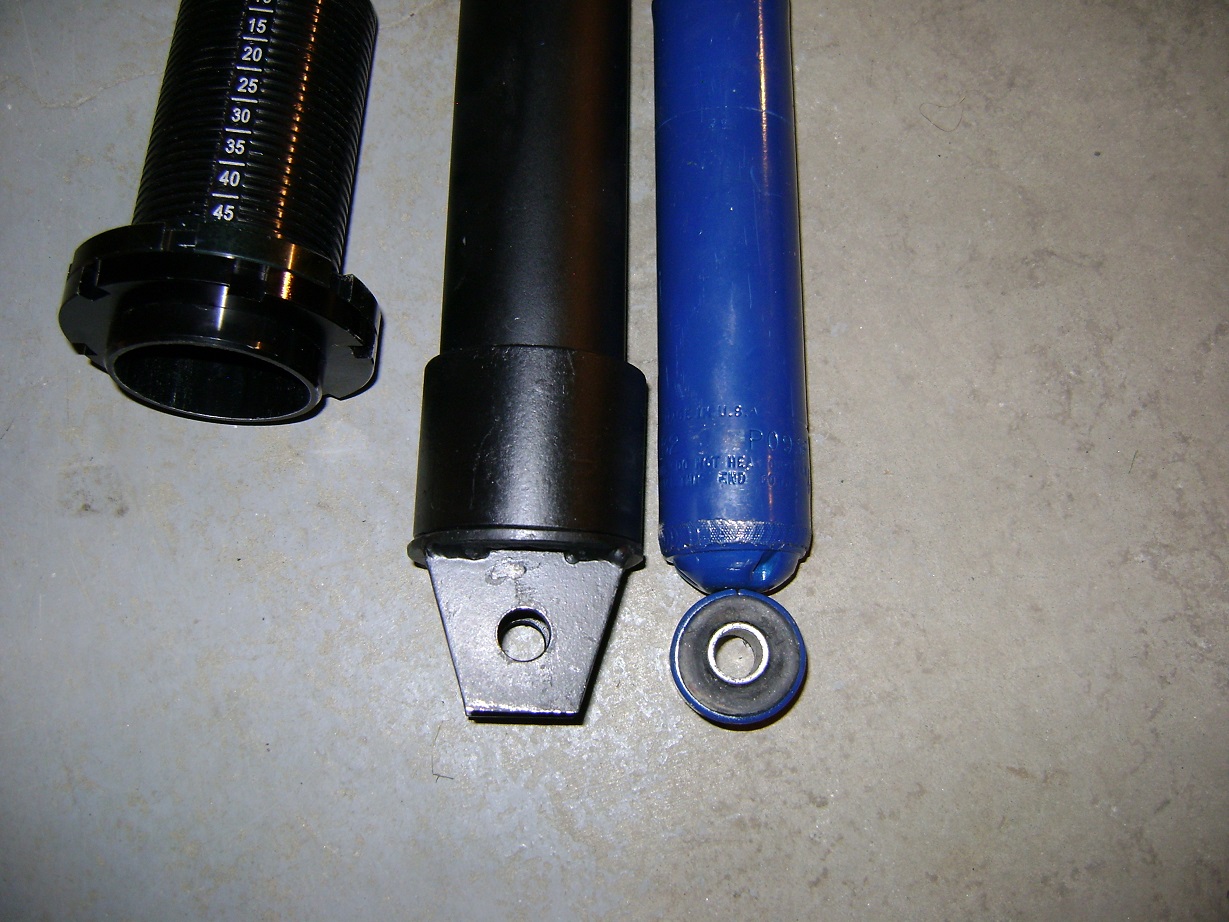
DIY Coilovers off Fleabay, and S10 shocks.
By this time, I had built my own tubing bender (for a roll bar on Lethal Locost 2: Even More Lethalarer), and bent some forward tubes to secure the suspension. This was a “best fit” scenario. Yay, packaging.
You can see the new motor mounts – more clearance. That, and I moved the engine over an inch or so for more foot room (March 2013).
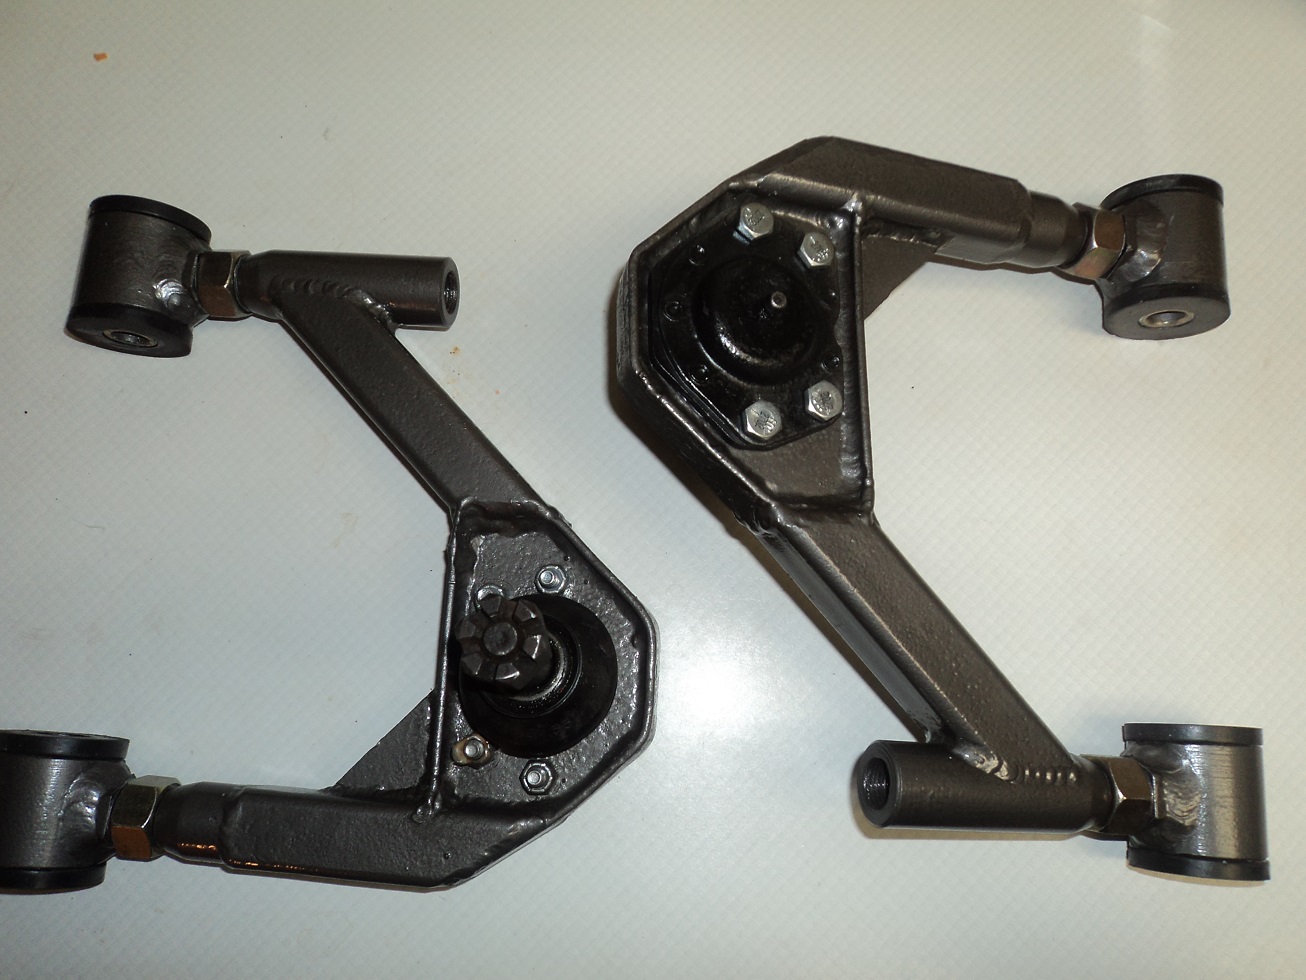
Upper control arms got painted in a lighter Tremclad Hammered Finish.
Wait a minute! How are headers going to fit?!