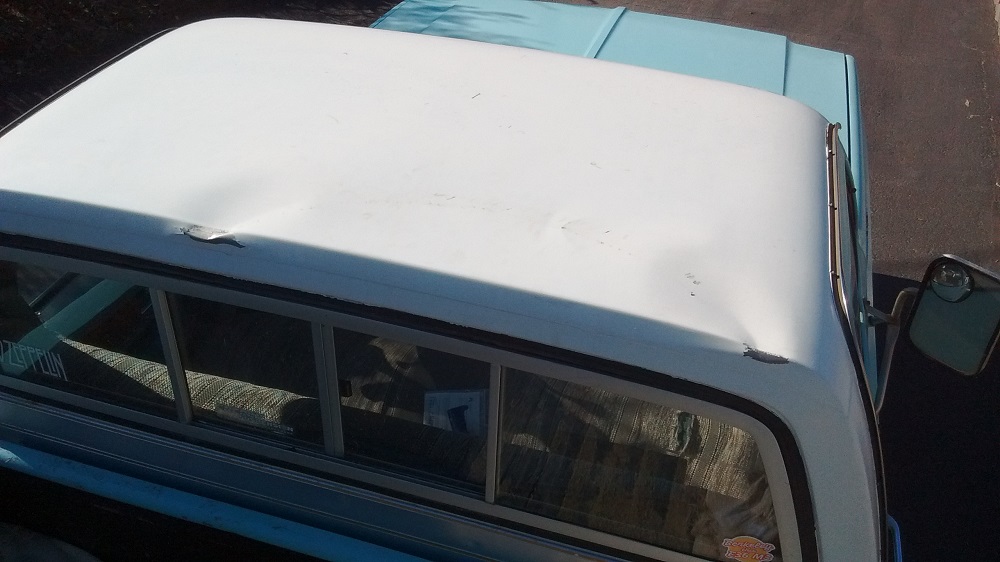
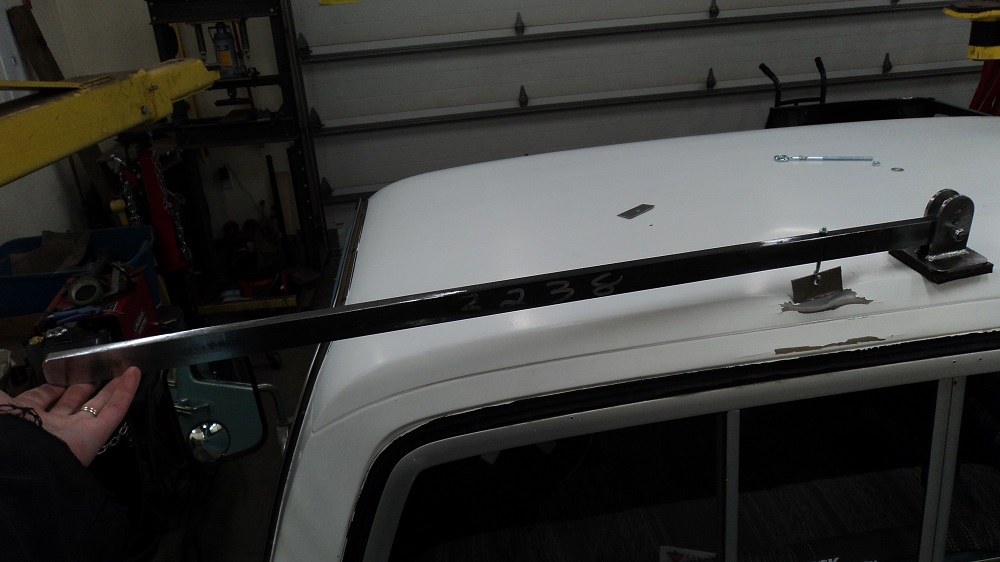
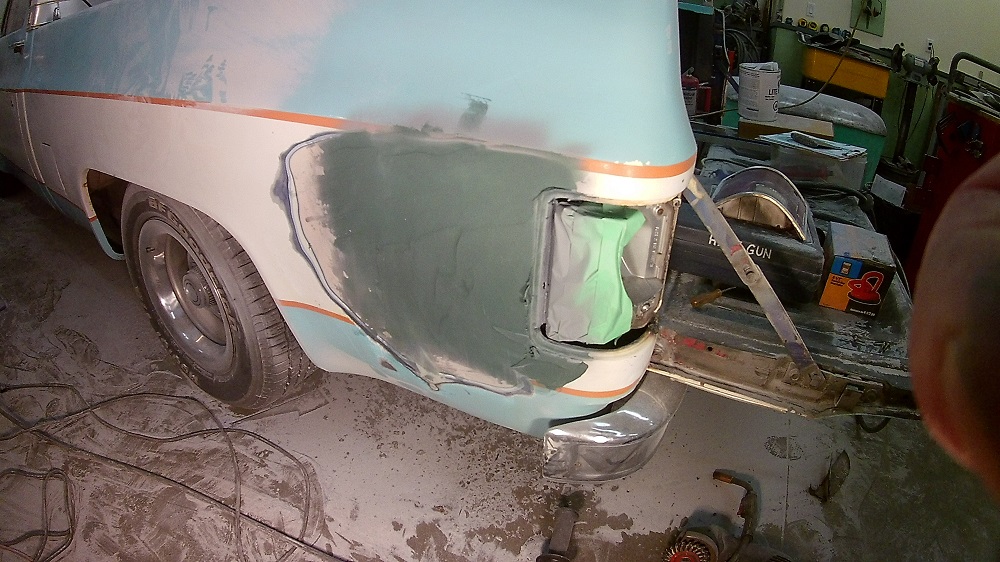
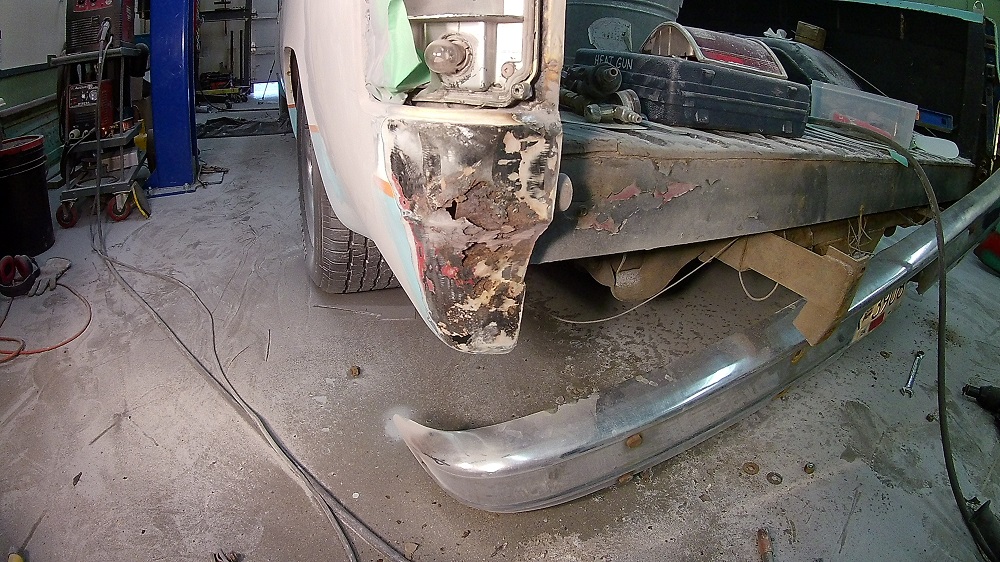
Frickin’ crane operator hit my truck.
I did not ask for the crane operator to use his magnet. I am perfectly fine unloading $45 of scrap metal by myself. Except now I need to get this dealt with. It’s possible ICBC might write it off as a total loss. NOT impressed.
The recycler’s will cut me a cheque. They’ve been very good about it.
I’m also going to attempt to fix it myself.
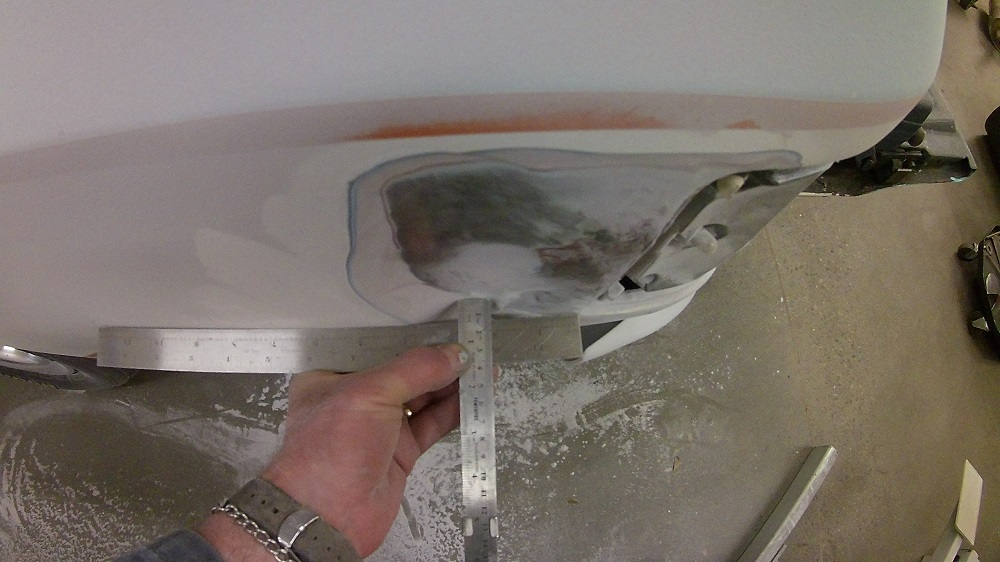
I need to pull the deepest source of the damage, and to do that I’m not sure if I place pull tabs like this:
Or like this:
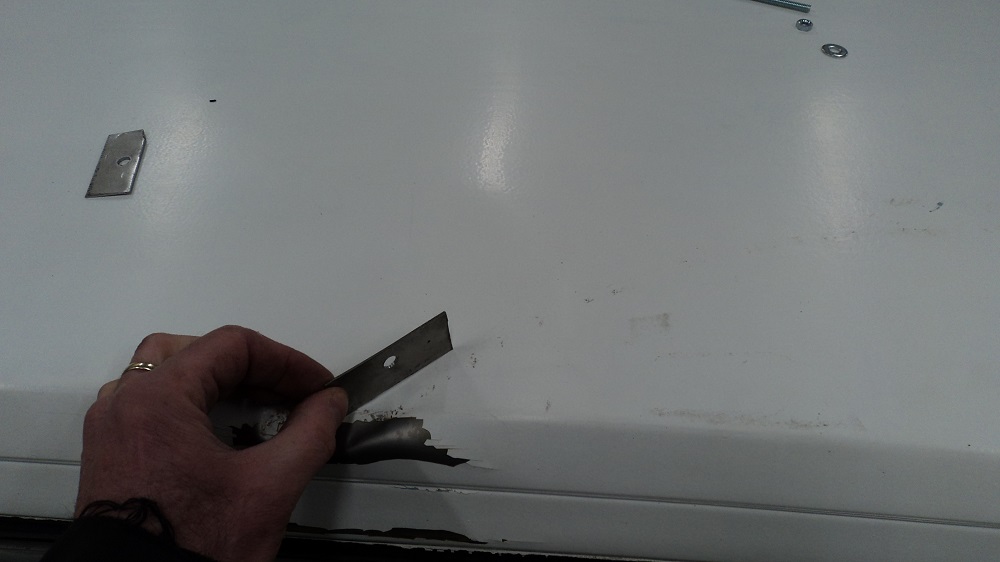
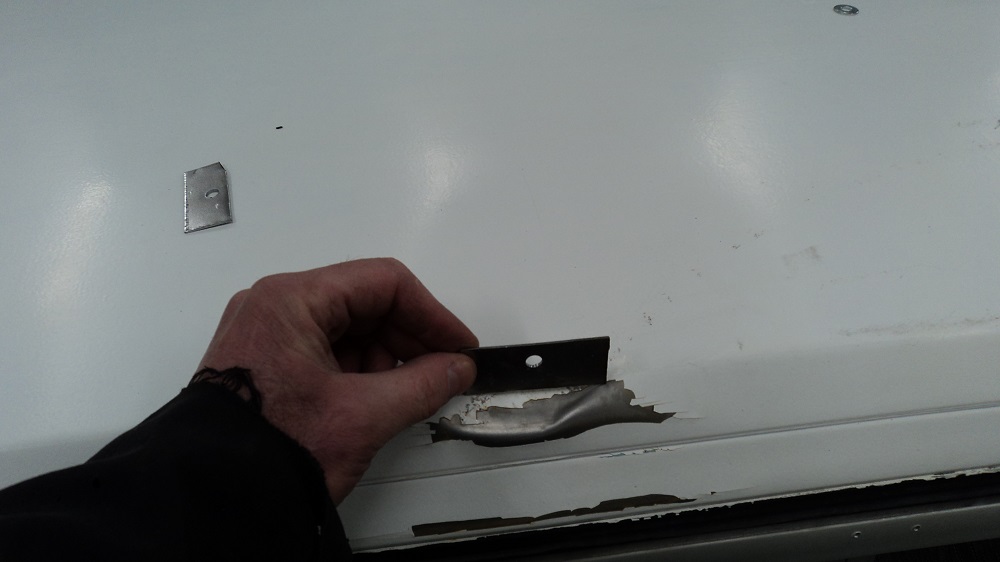
I fabricated a lever system to try and pull the end up with a metal washer or tab welded where I need it:
And then someone on the 67-72chevytrucks forum suggested using a hoist, which I have. So I devised this apparatus:
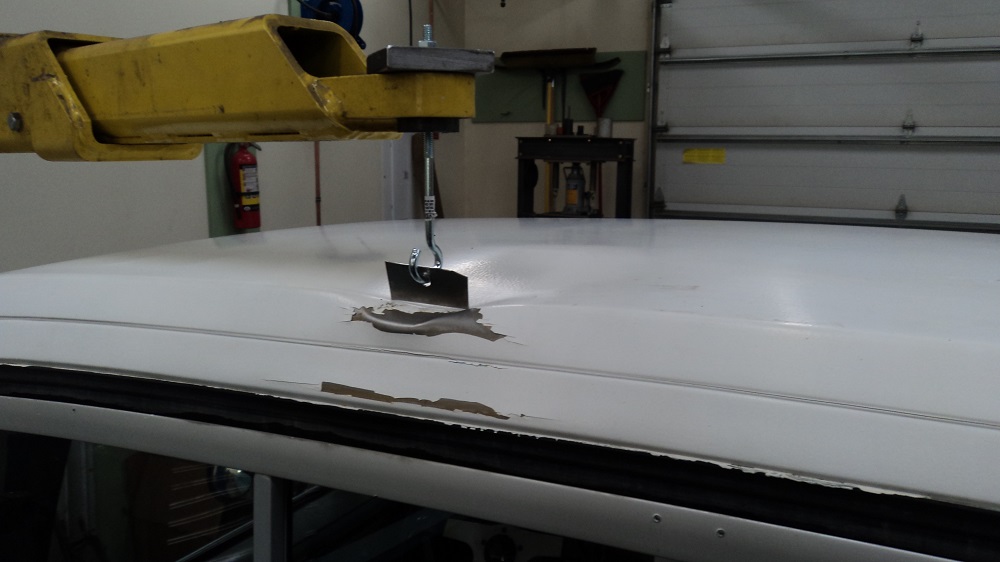
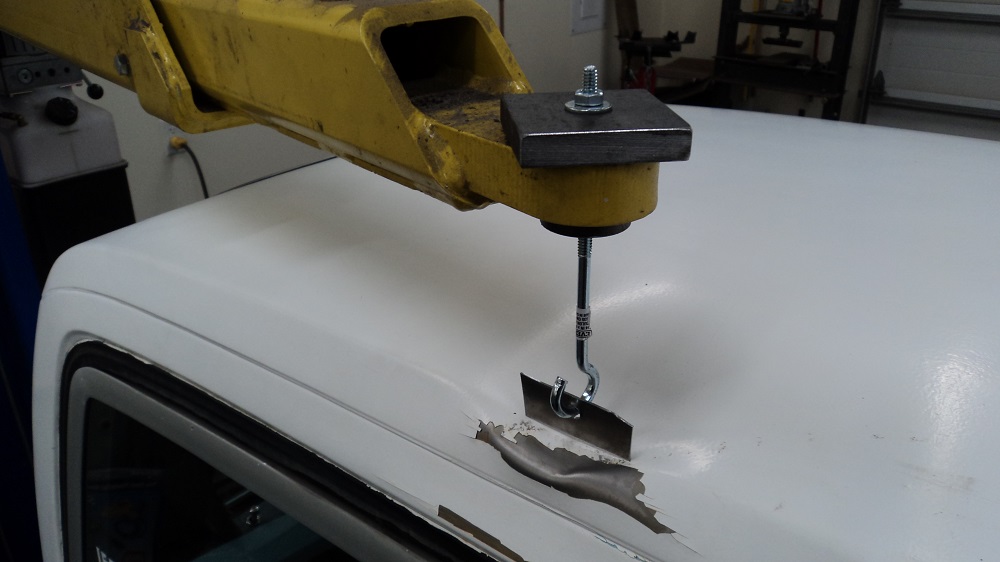
The hoist didn’t work as well as I had hoped – there is a lot of flex in the arms.
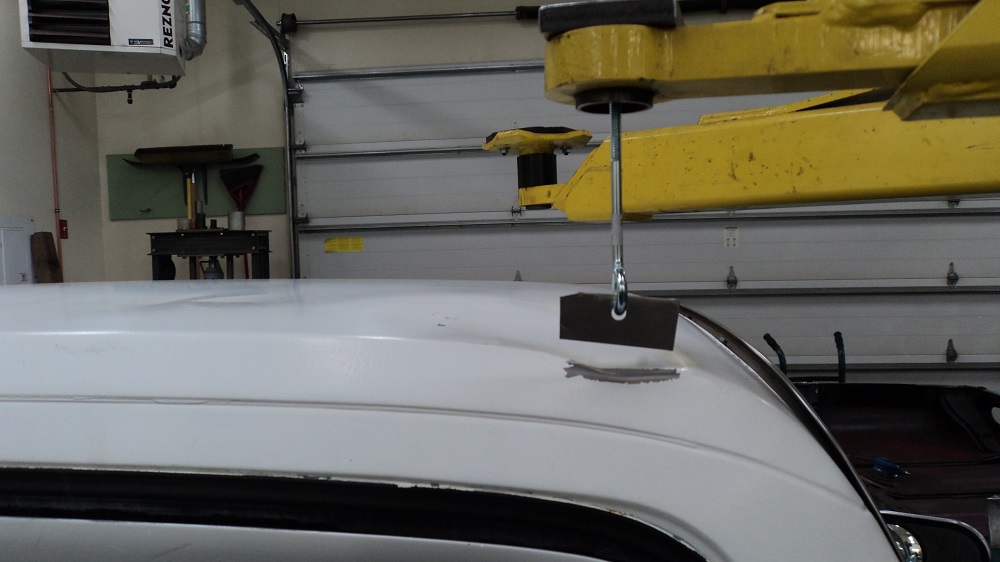
The lever thingie I made worked fairly well, though the attachment evolved.
I also made a slide hammer to pull the metal tabs a bit by hand. Pic to follow.
After about 6 hours (of butt-kicking) I had this:

I can tell that I am progressing, but very very slowly. I could not get the edge where I wanted it to be, I’m within about 3/32 to 1/8″ – good enough for kitty hair in my world. Still not falling love with collision repair.
Turns out I’ve been going about this all wrong.
Note to self following session with Jeff:
- First part in is the last part out – work the damage in reverse
- MIG welding the pull tabs was dumb – the weld is too hard to manipulate
- Feel around for the high-tension button – the key areas that don’t want to move, but oil can the area
- You’re wanting to neutralize the stresses in the panel
- Balance the low spots with the high spots
- Every defect in the panel is related to the entire dynamics of the panel
- Use a heat gun to bring metal UP, cool with compressed air
- Use the shrinking disc to knock down the high points – keep the disc as flat as possible
- Shrinking with a stud gun can be a problem because of the pressure you have to put on it to make it work
- Shrinking with a torch can be a problem because it all works so fast
- Try to stay where the damage is – don’t chase it all over the panel
- Flutter Foam to the rescue as a last ditch fix
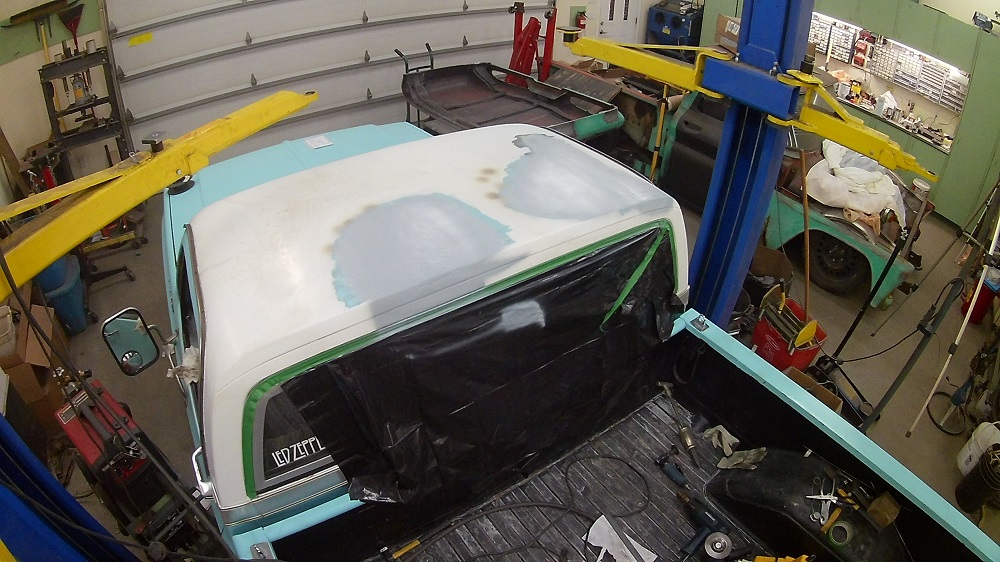
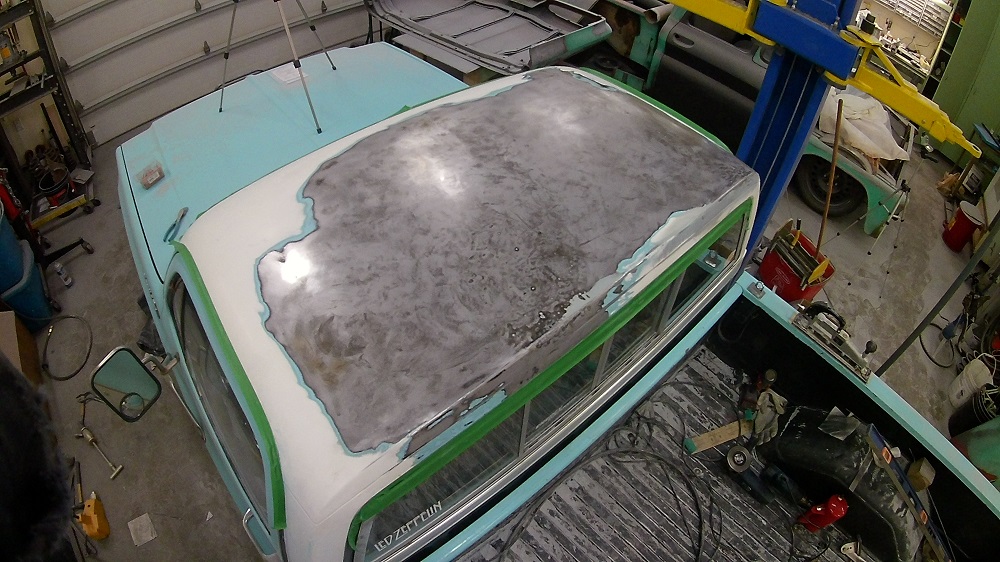
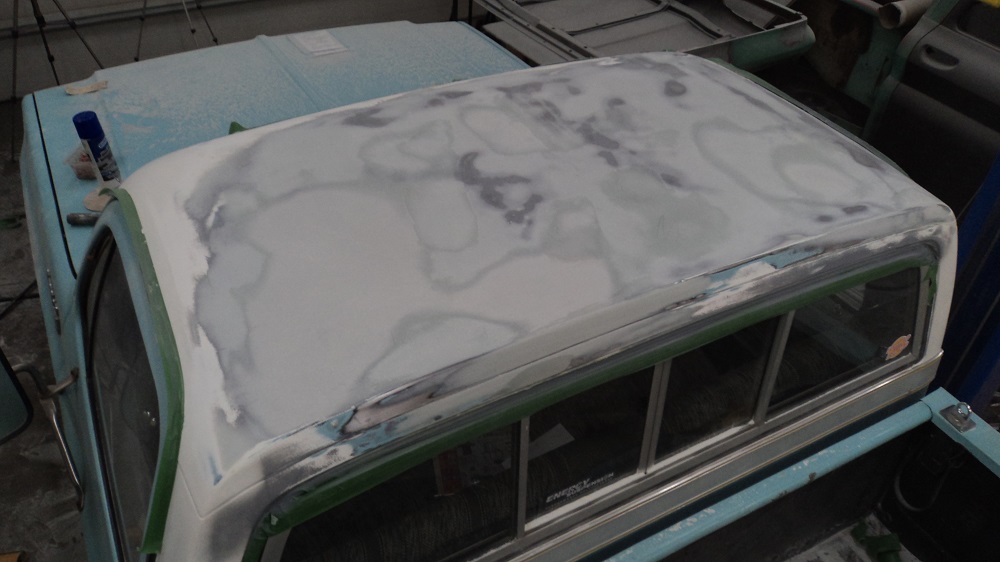
Spend another day with the shrinking disc and the heat gun. The heat gun trick is freaking magic. I was able to really tighten the roof skin nicely, though I did venture a bit outside the repair area.
Today ended with a couple coats of etching primer, and tomorrow some filler.
While filler on the roof is curing, I had a case of the “whileiamintheres.”
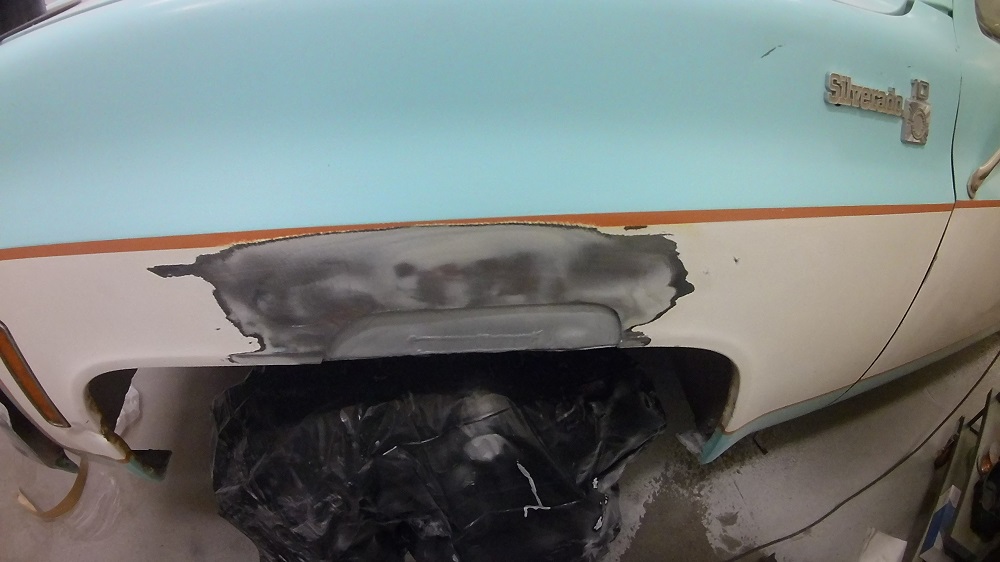
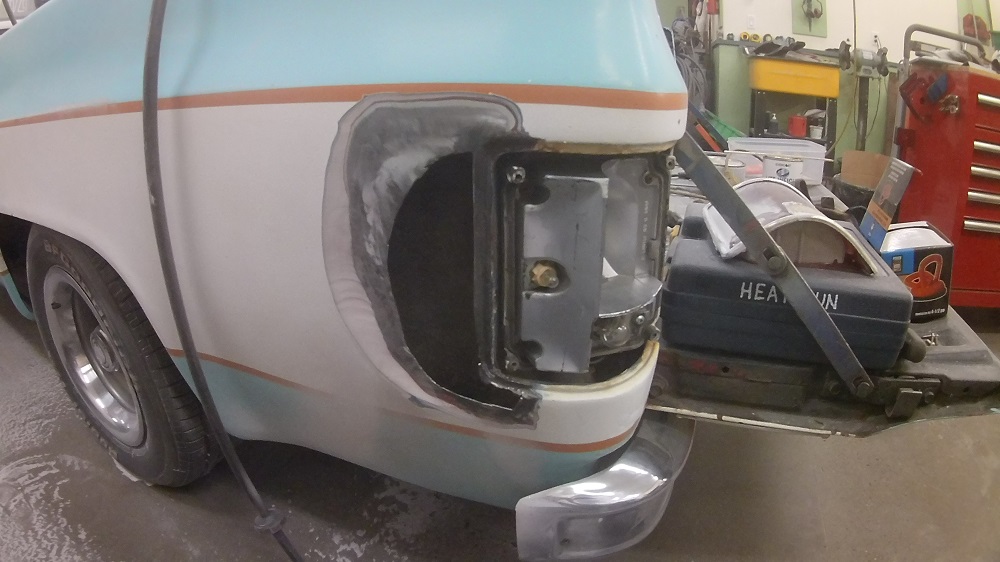
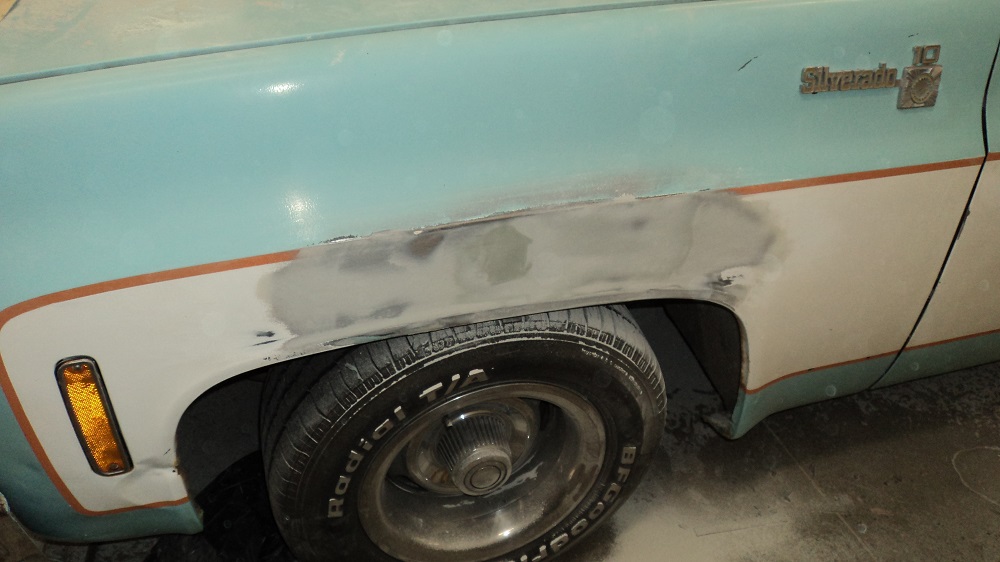
Bubbled rust coming through holes in the fender edge:
And honking big cracks in the back. 1/2″ bondo here, hiding a garbage repair. Not my repair or my bondo, but I think I can knock it down to 1/4″ thick if I go forward about 8″ more:

There is a reason I painted this with Tremclad and a roller seven years ago….
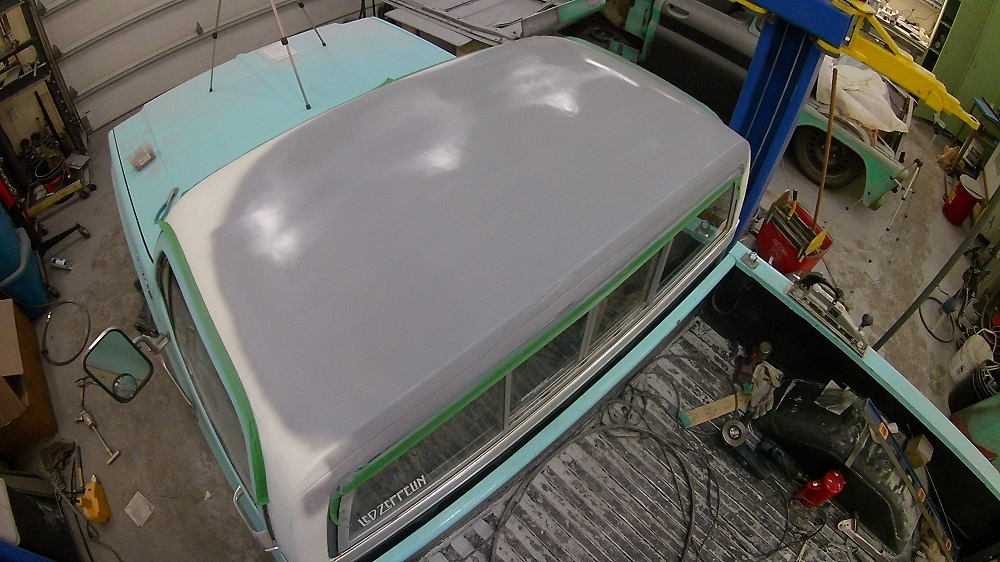
Then some short-strand fiberglass filler (kitty hair) to give the repairs a bit more crack-resistance, and was about to put some filler on the roof, but….
…. turned out I hadn’t noticed a HUGE hump on the front center part of the roof; it looked like a “cone head.” So, I stripped off more of the paint, and ended up shrinking the hump down with the shrinking disc, and raising up the low spots with the heat gun, all the while trying to balance “crown” with “smooth” with “tight” with zero “oil can.”
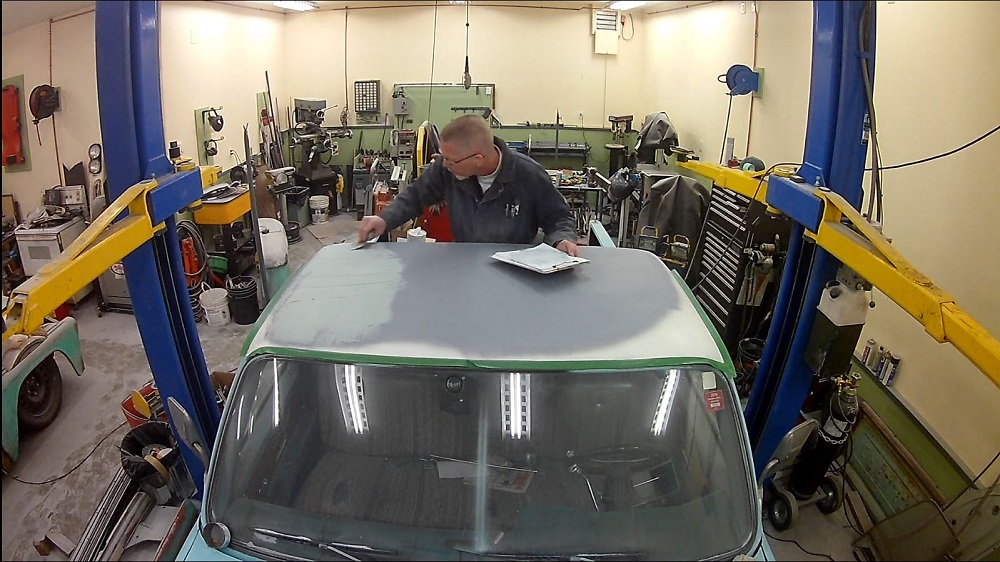
This has been very frustrating for me, because I usually pick up skills relatively quickly. This skill I am NOT picking up quickly at all.
8 days total to this point, and while this is a LONG amount of time to work on this, I am completely learning how to use these tools to work a panel with zero access from underneath. Special thank you to Jeff from Trendsetter Automotive who came and taught me the fine art of working a roof skin. I still need a LOT more practice, but I certainly have a good start under my belt now.
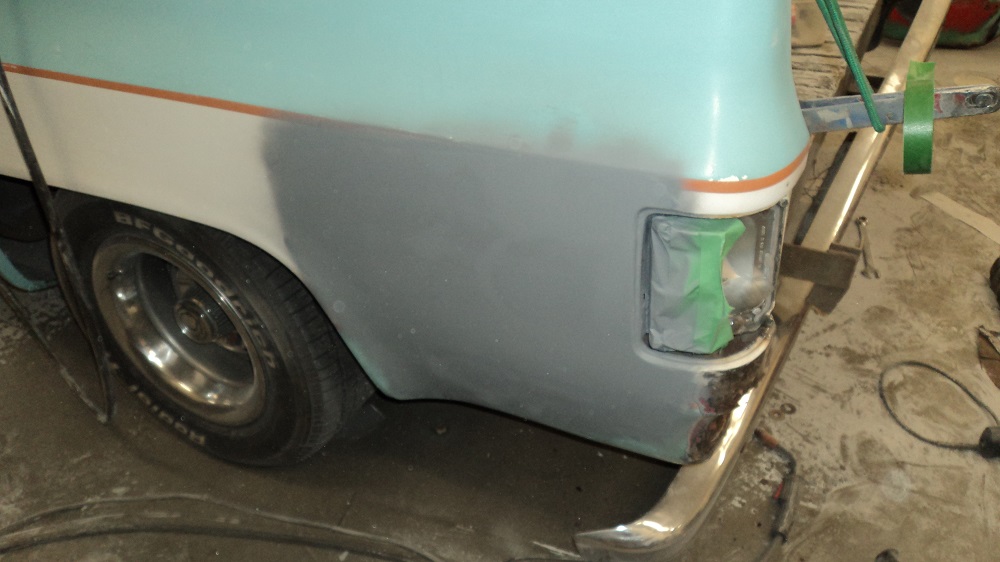
And I dug into the left rear bed corner where there were some bubbles. Where there is bubbles, there’s usually no metal. Since I’m here…..
Filler done, ready for primer:
Cracked 1/2″ thick filler is now replaced at 1/4″ thick and primered:
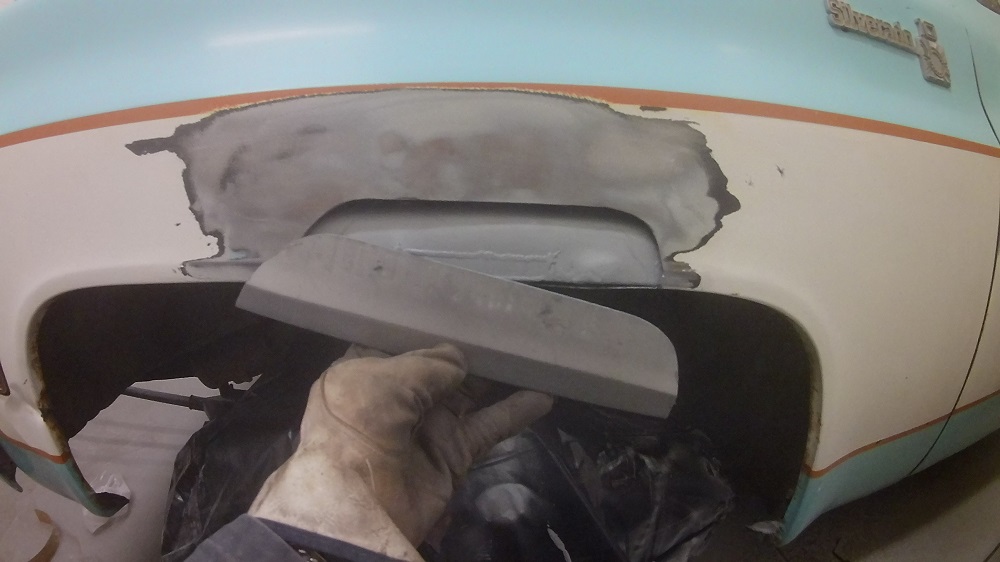
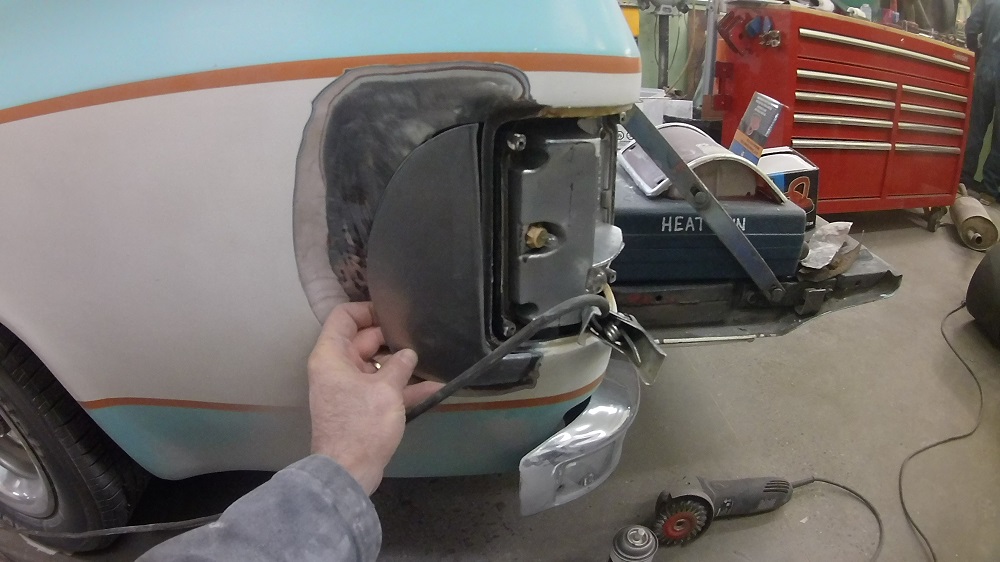
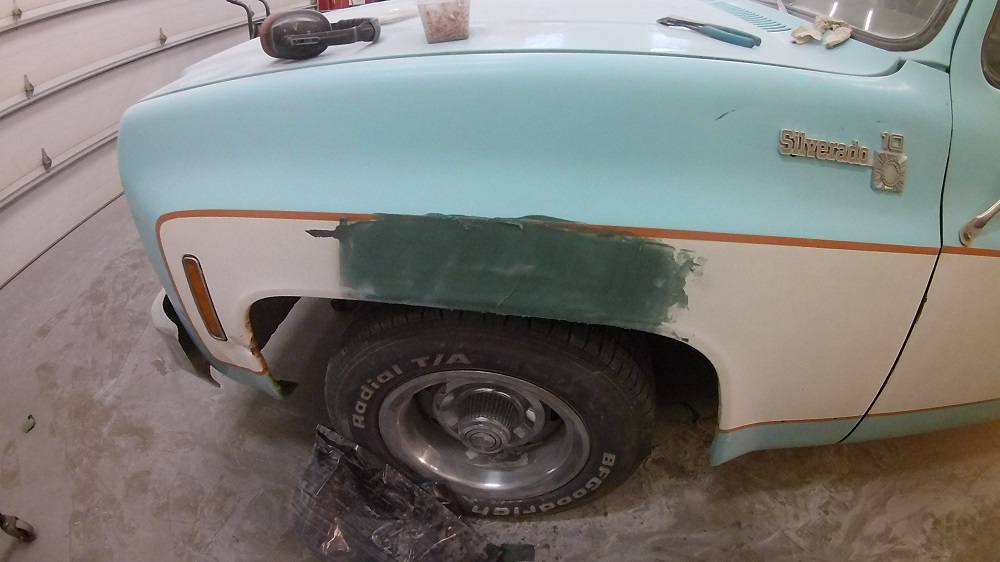
Front fender is ready for primer:
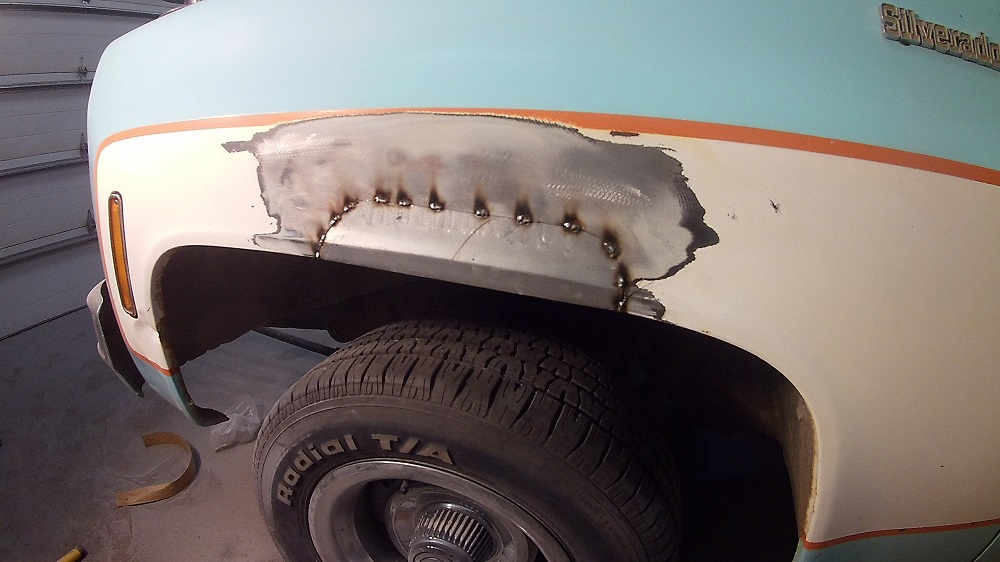
Patch is fabricated. I made it out of two pieces because I wasn’t sure I could make it out of one. Will TIG two halves together, planish all pretty-like, and weld-in some time this week.

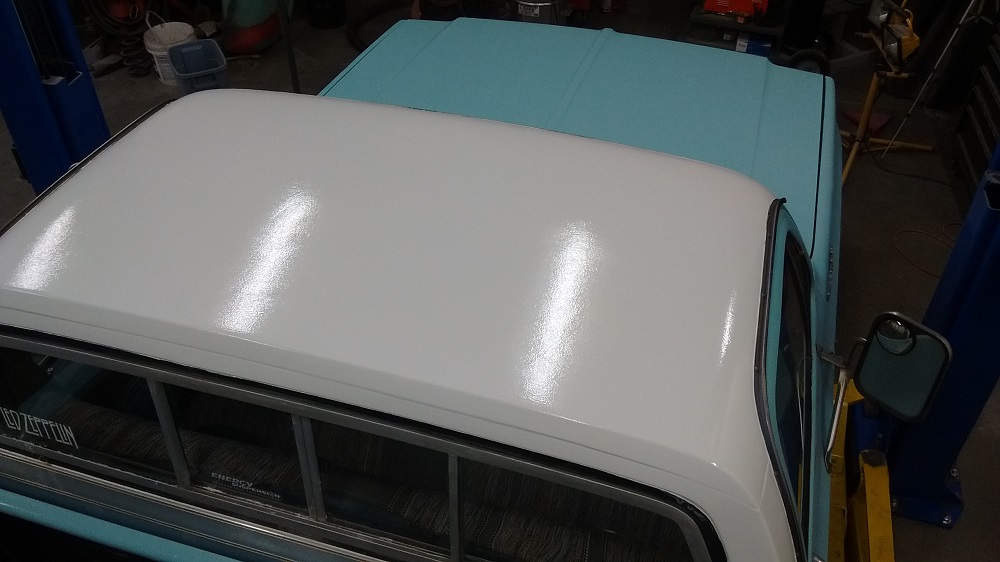
Rear corner primed, a low spot on the roof filled and primed, and I -think- we’re now ready for paint.
First coat of paint, un-thinned Tremclad and a roller:

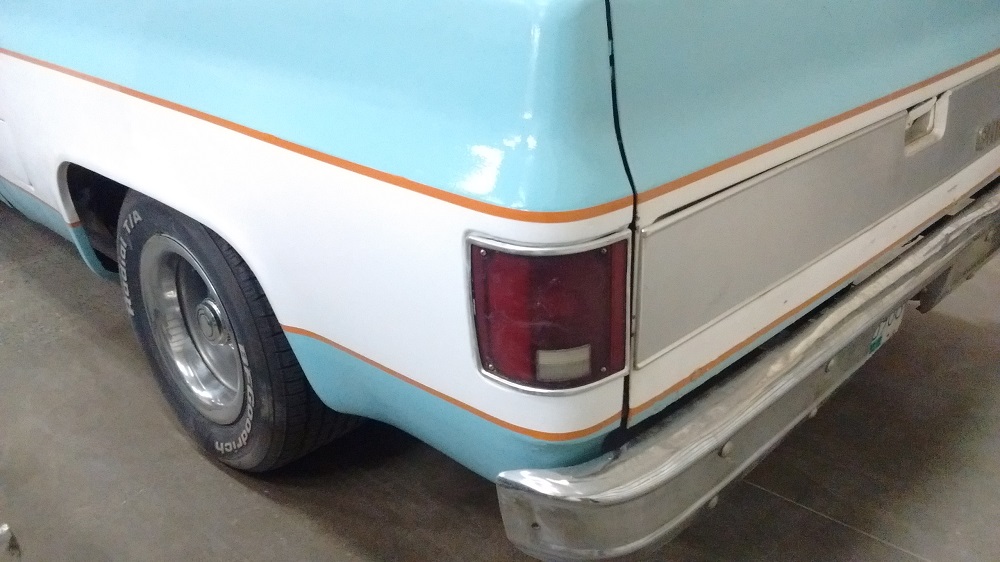
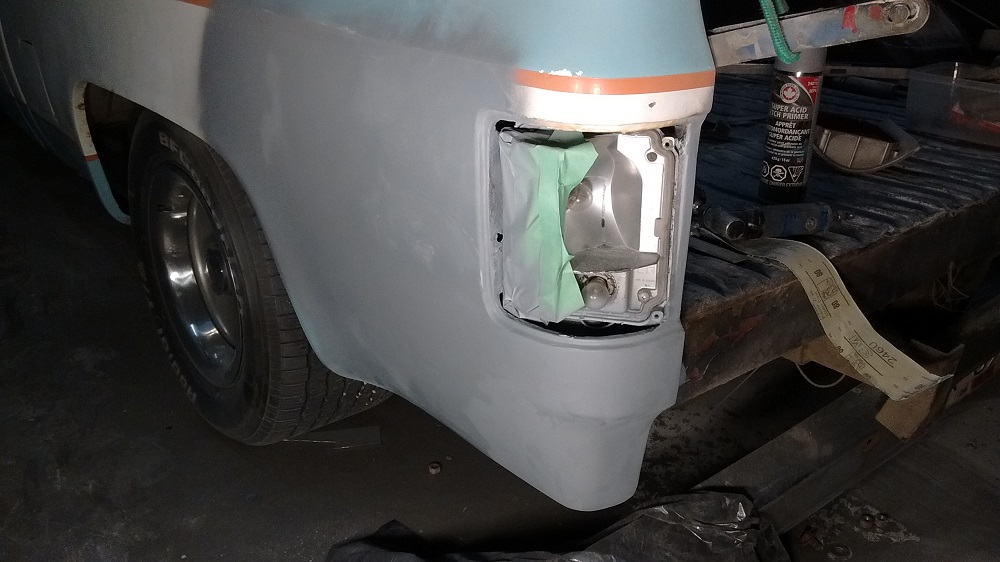
Yes, I did not fix the crease by the corner light. The pic below is my level of worry:
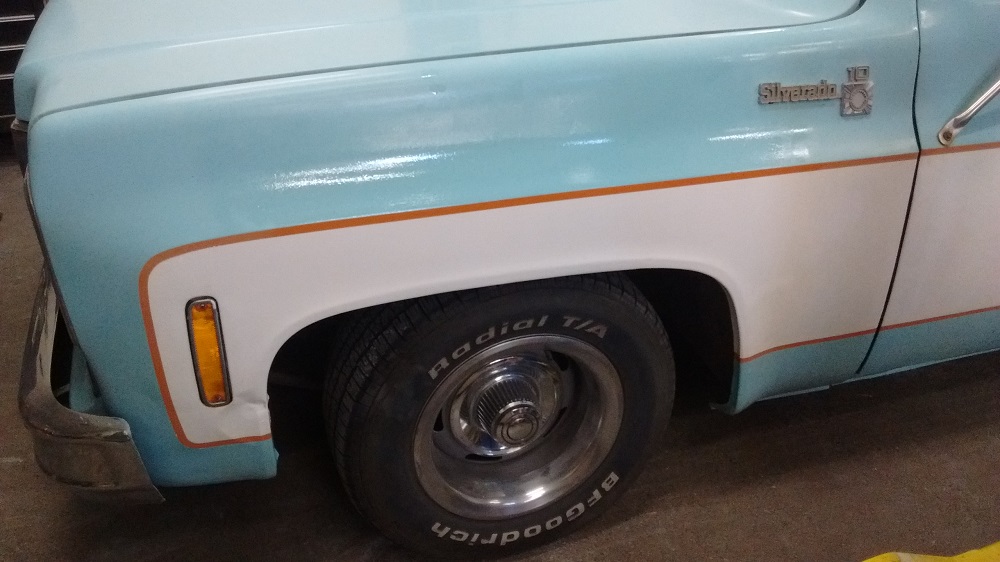
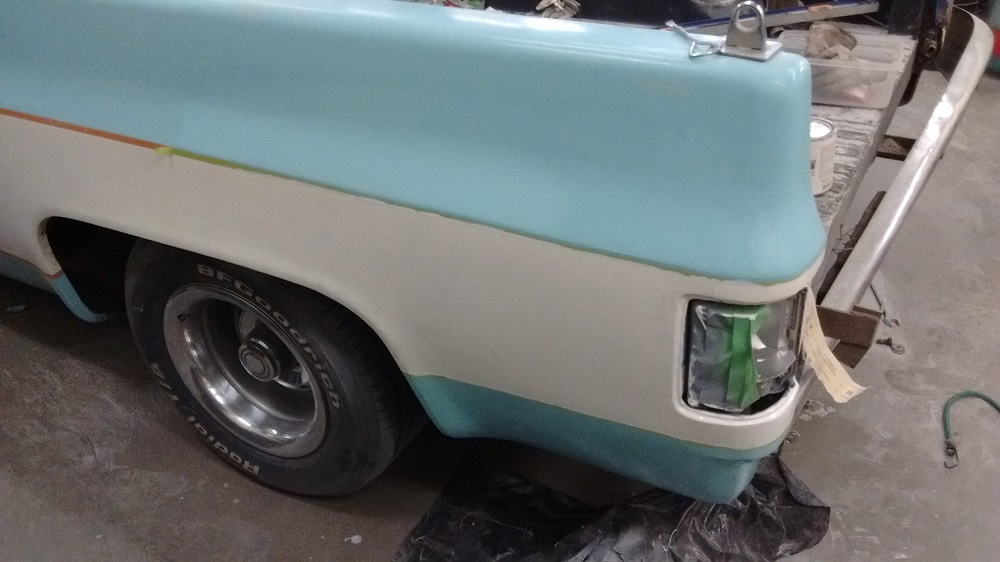
Final coats of paint done, and I’m calling it finished.