
[ Start ] [ Index ] [ Sold 2019 ]
In which I fix rust, fit exhaust, and grenade my power drill.
While I’m under the car, I really need to deal with some rust issues. Today I patched a hole on the right side inner. As per usual, I neglected to take a wack of gratuitous reconstruction shots.
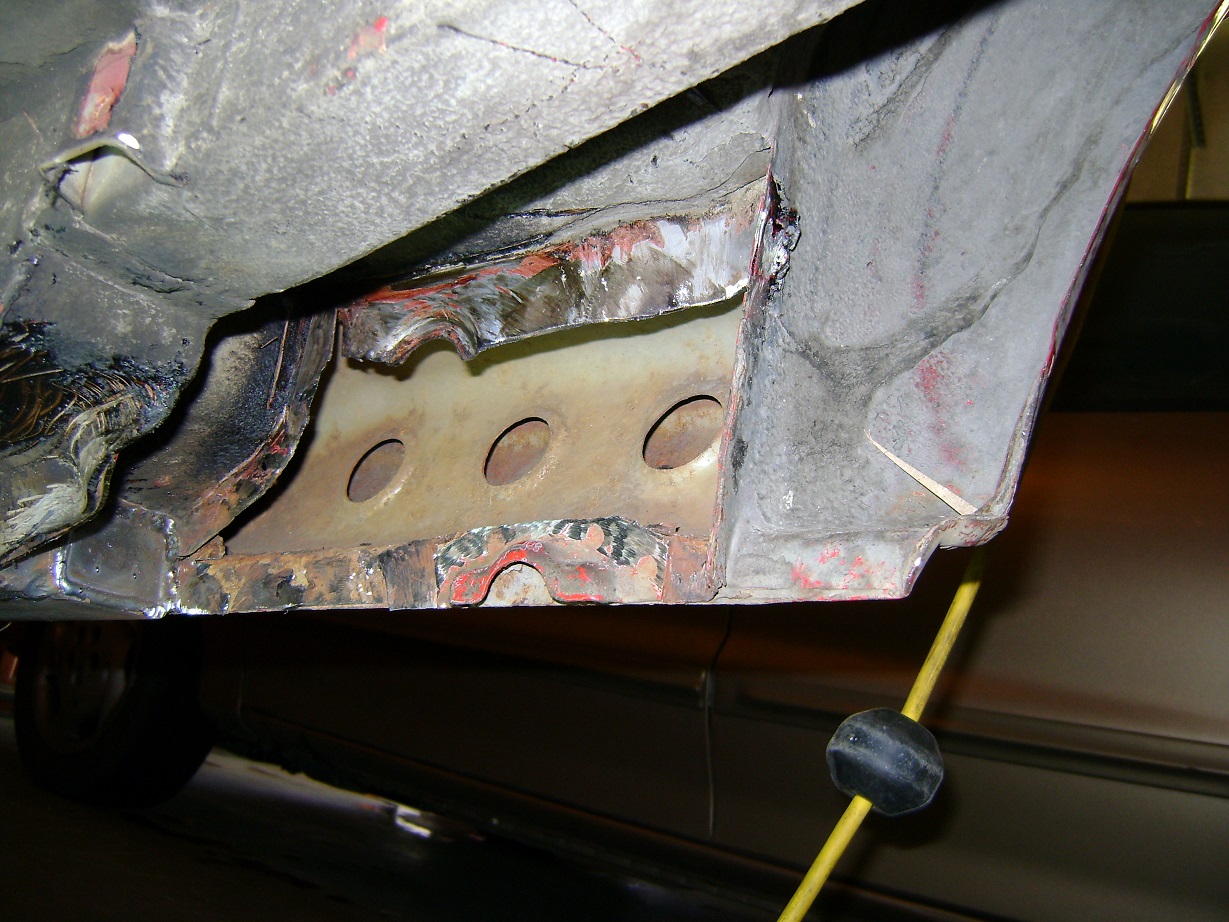
Cut out the offense (July 2014)
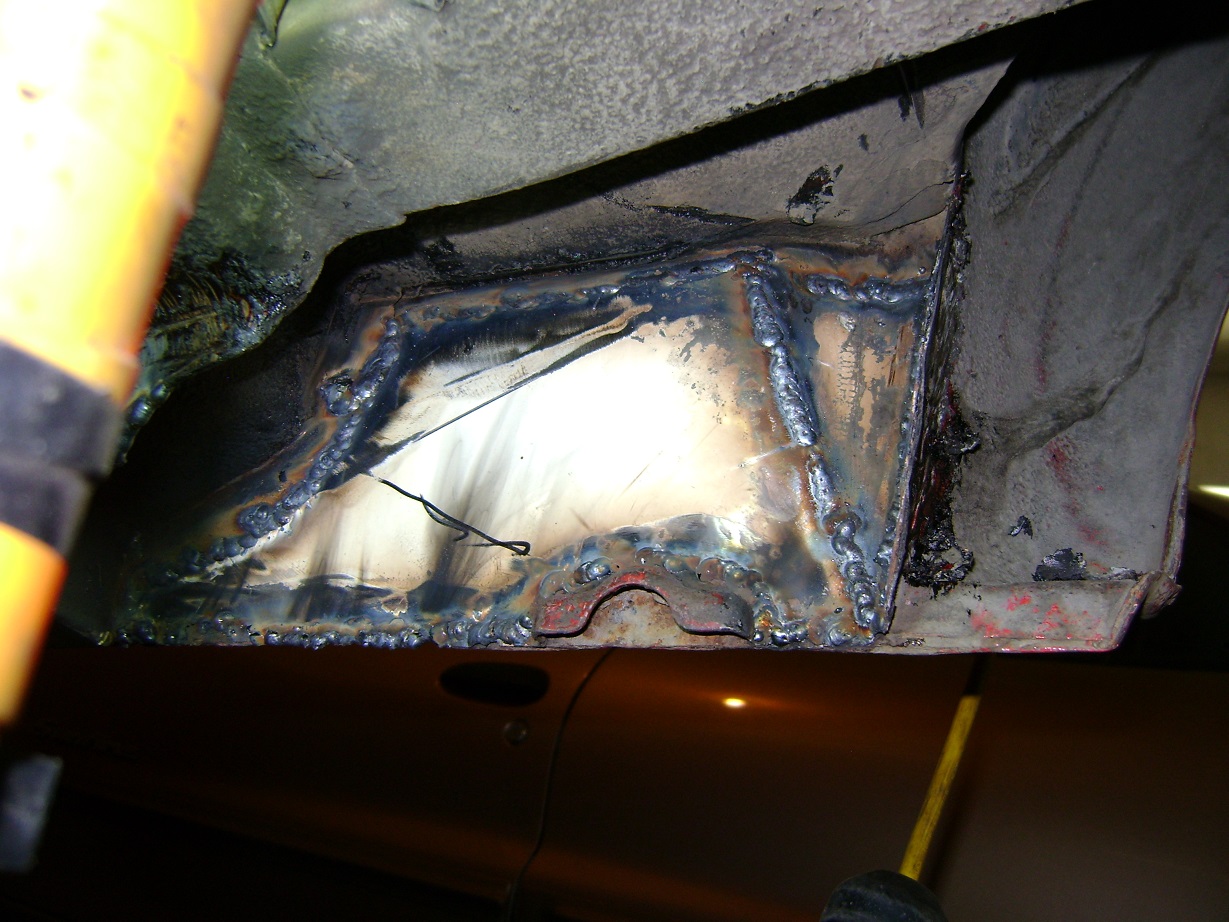
Weld in the patch (more freezer metal)
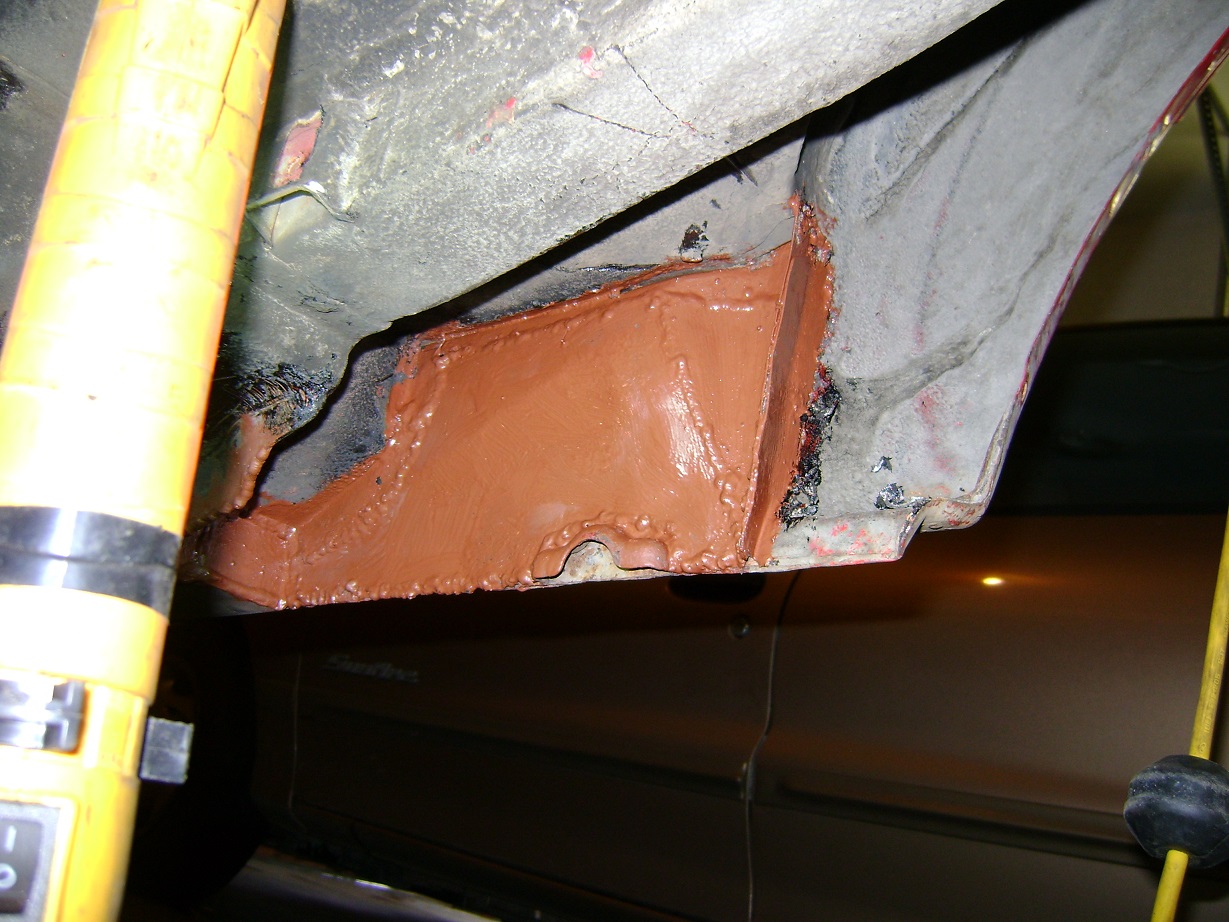
Thick coat of primer
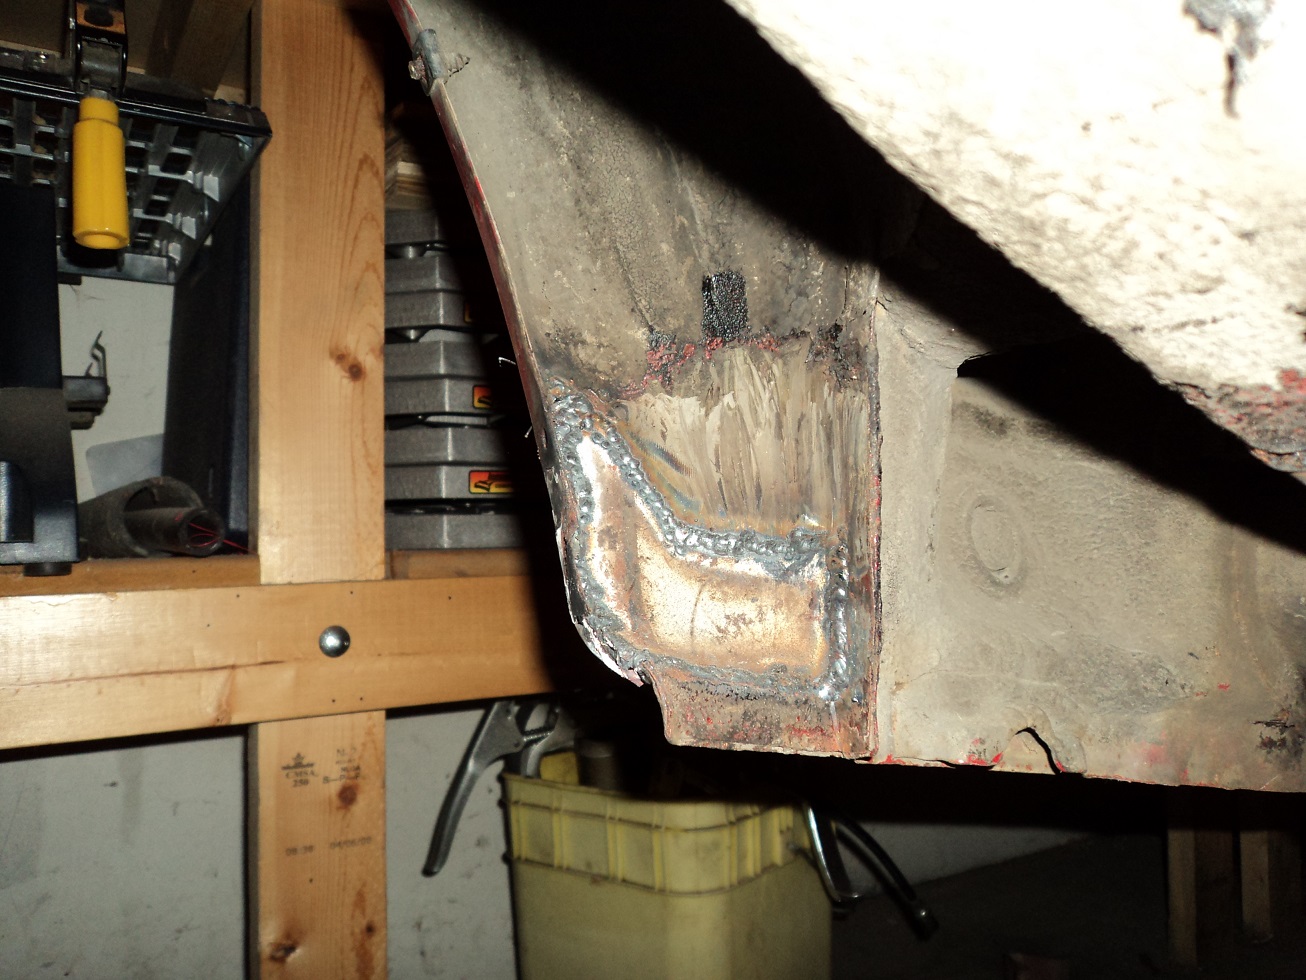
The driver’s side isn’t as bad, but will get a small patch in the corner.
So that patch was the end of August. And then whooboy. I did ~something~ to my back at a 50% off sale at Pick-N-Pull. Not sure what. I really only snagged SBC ignition stuff.
Took a generic version of Robaxacet which sucked ALL the energy out of me. Tried a generic Ibuprophin, but it gave me hot flashes. Tried a generic Acetaminophen but ended up with the chills. Got off the pain killers and sucked it up like a real man, and it all turned into a nasty cold that sucked my energy away for about three weeks, then a barking head/chest cold full of lung butter, which is only now diminishing. Got a trip in an ambulance when I learned I was allergic to Cephalosporin. Good times. It’s November as of this writing.
At some point in that debacle I was able to get the driver’s side patch done. Took all the energy I could muster.
In the mean-time, with winter a-comin’, and an impending workshop to build in the spring, I built a new garden shed (I’ve never done “construction” before, so this was all new to me):

Door trim still to do
Then, in anticipation of the needed rocker panels on the Firefly, I fabricated a quick-and-dirty sheet metal brake, since the one at work was 2′ long, and I needed 2-1/2′ rocker patches:
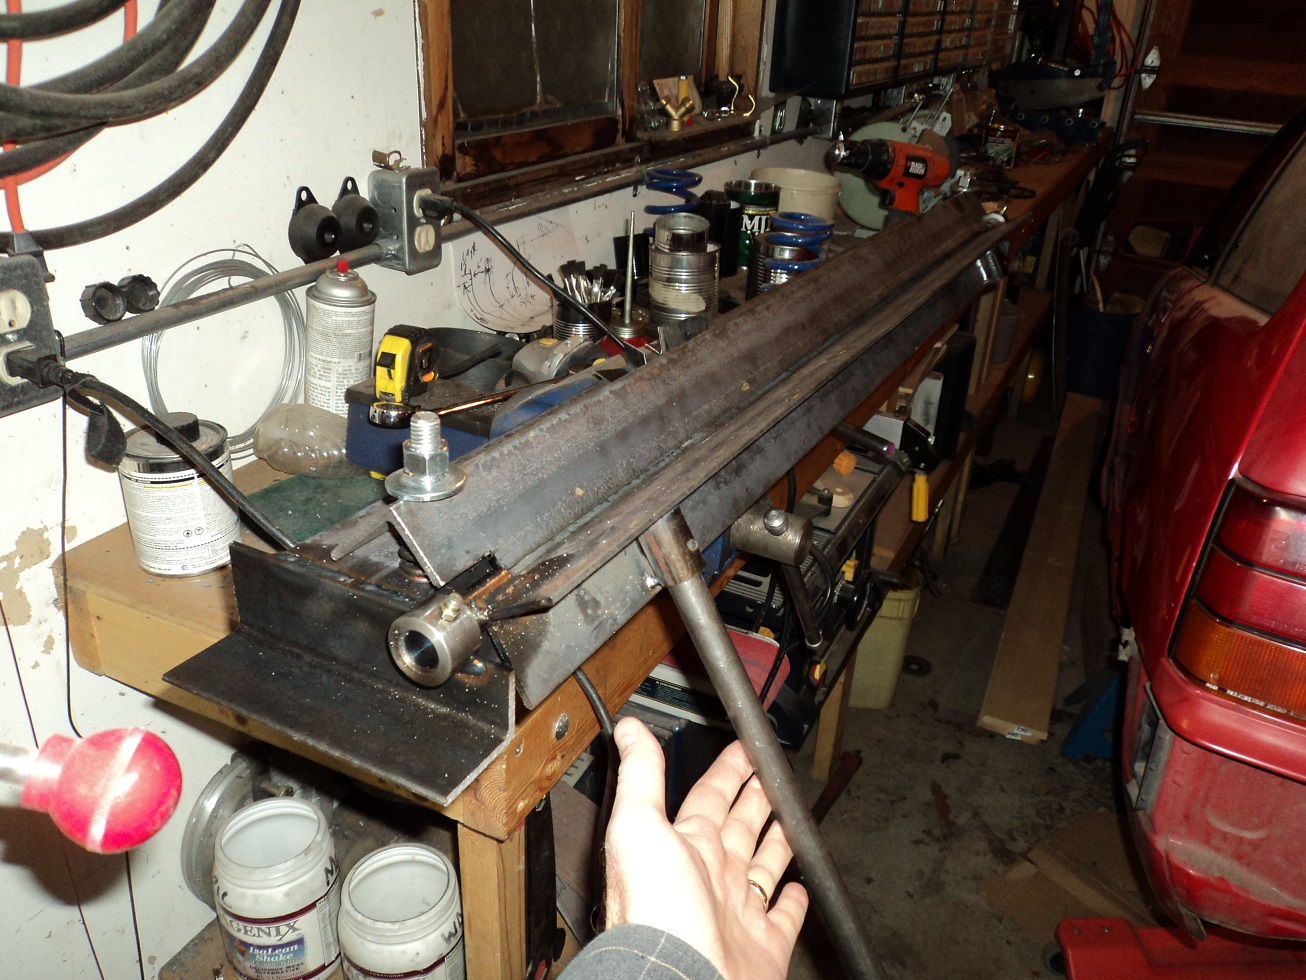
Actually, it really needs some reinforcement
Then I tore down one of the old sheds, as it where part of the workshop needs to go:
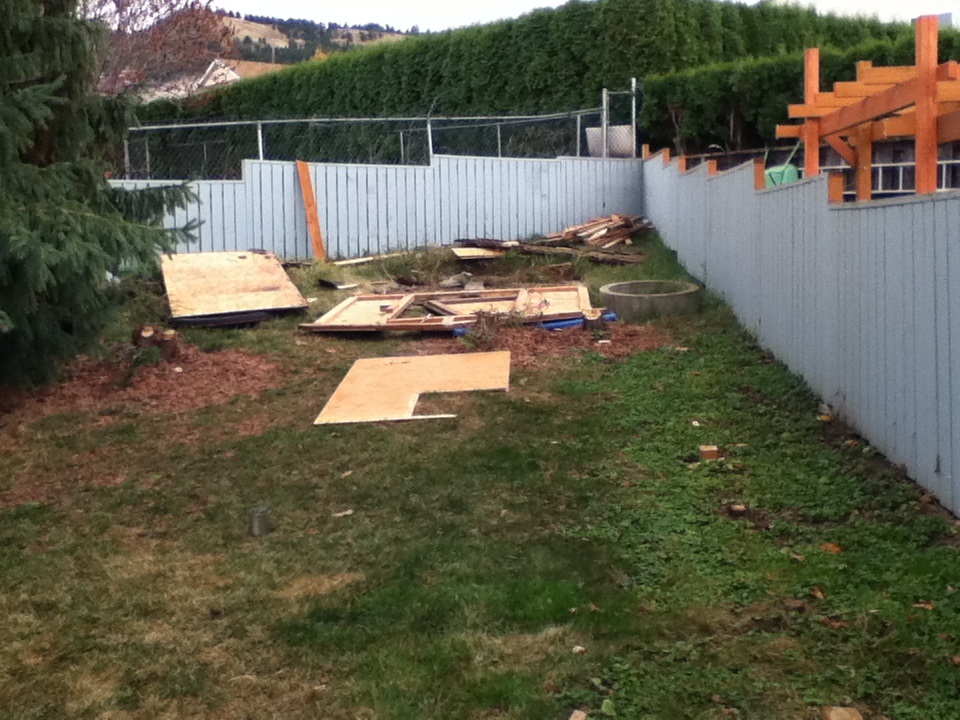
The kids enjoyed demolishing this (most of the wreckage already loaded for a dump run)
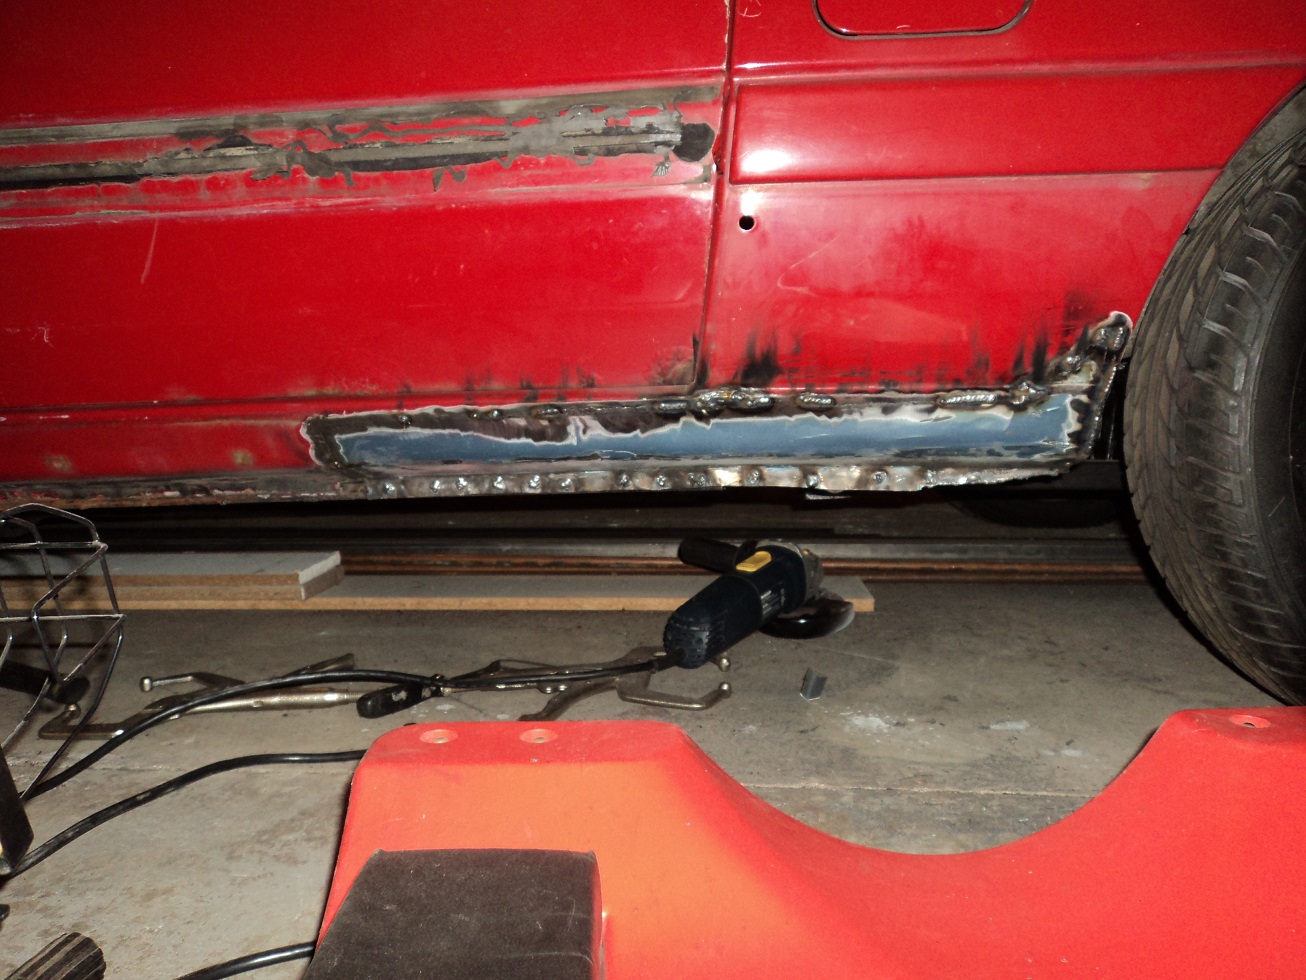
Today I formed one rocker panel, and then ran out of energy:
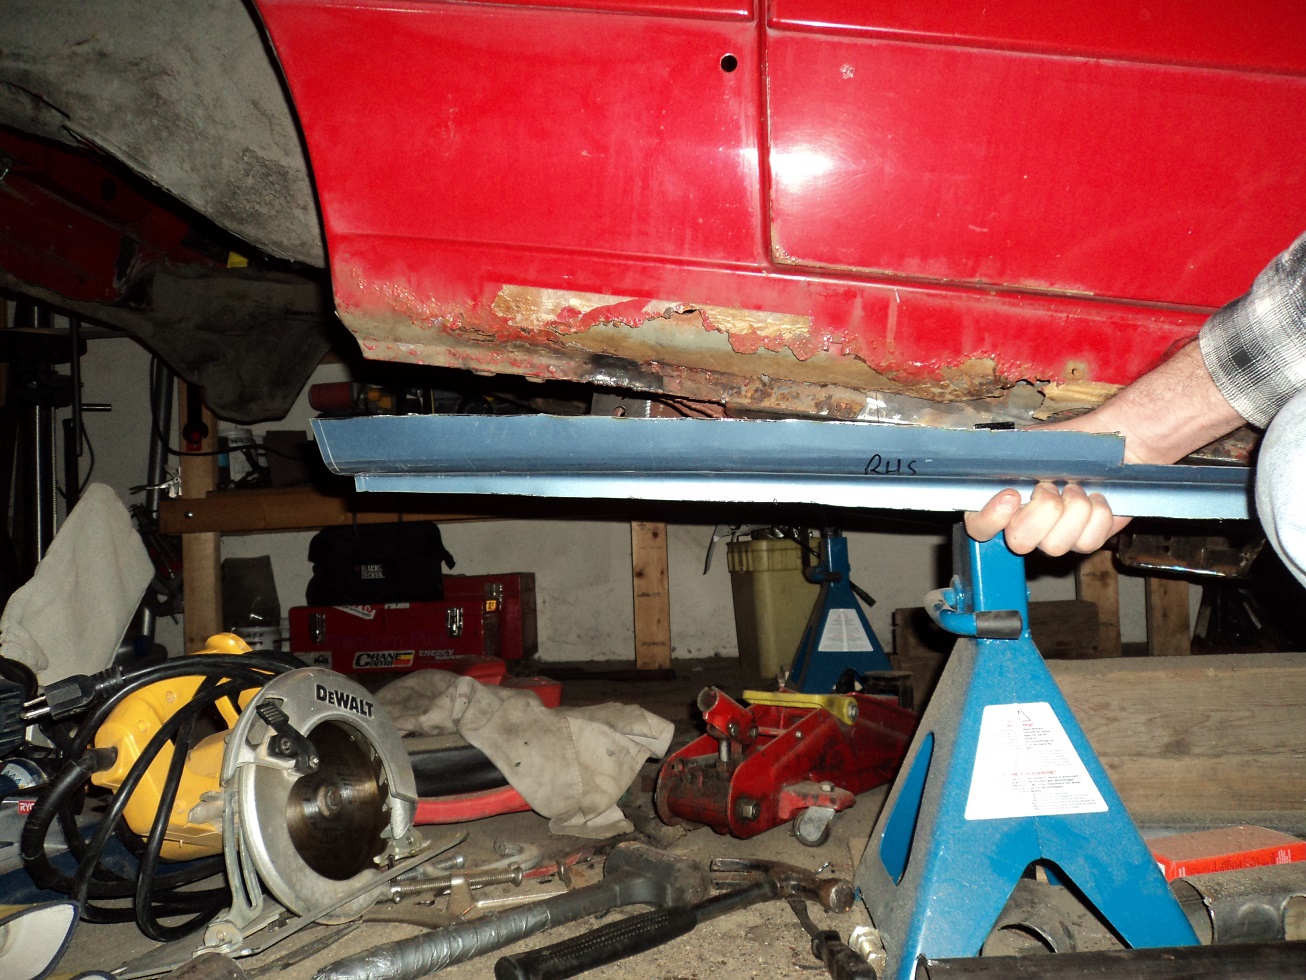
Corolla roof to the rescue! And yes, that ~is~ masking tape you see as a prior rust repair
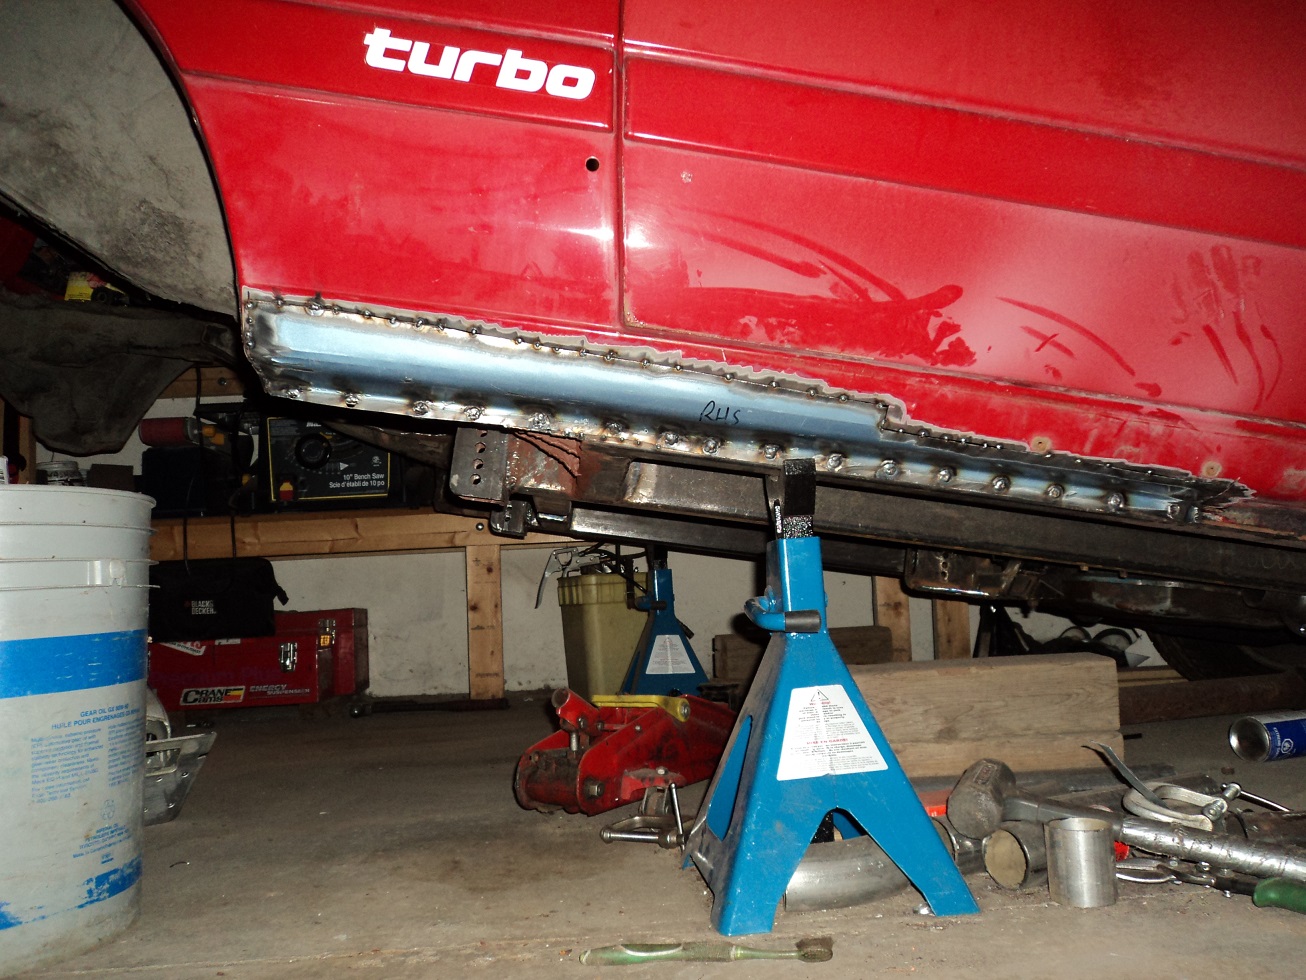
Tacked into place. Not the bestestest fit, but I detest bodywork, and it will all be covered by the “Turbo” skirts.
Rocker panel #1 complete and sealed up.
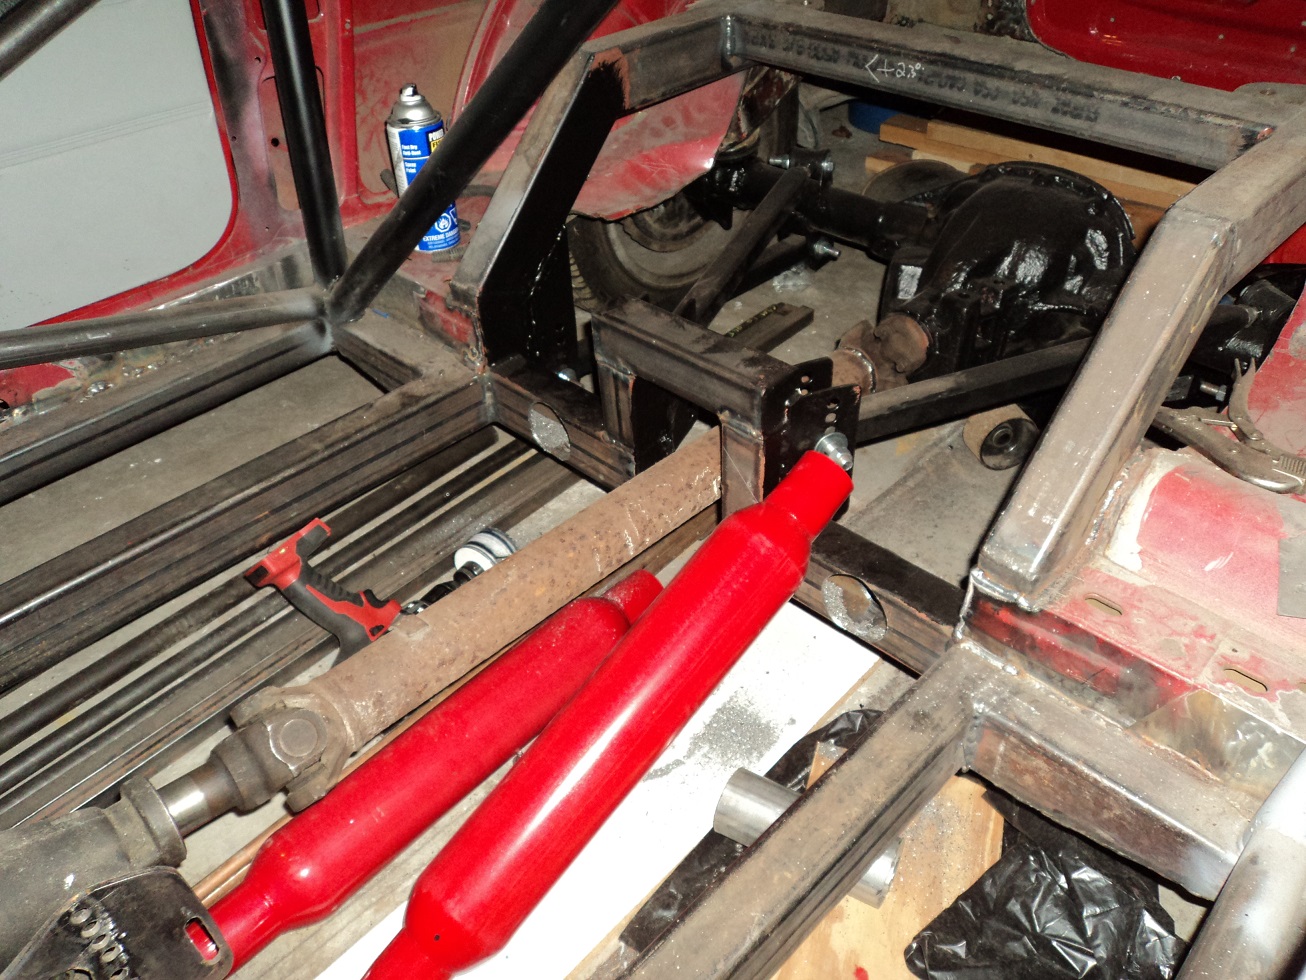
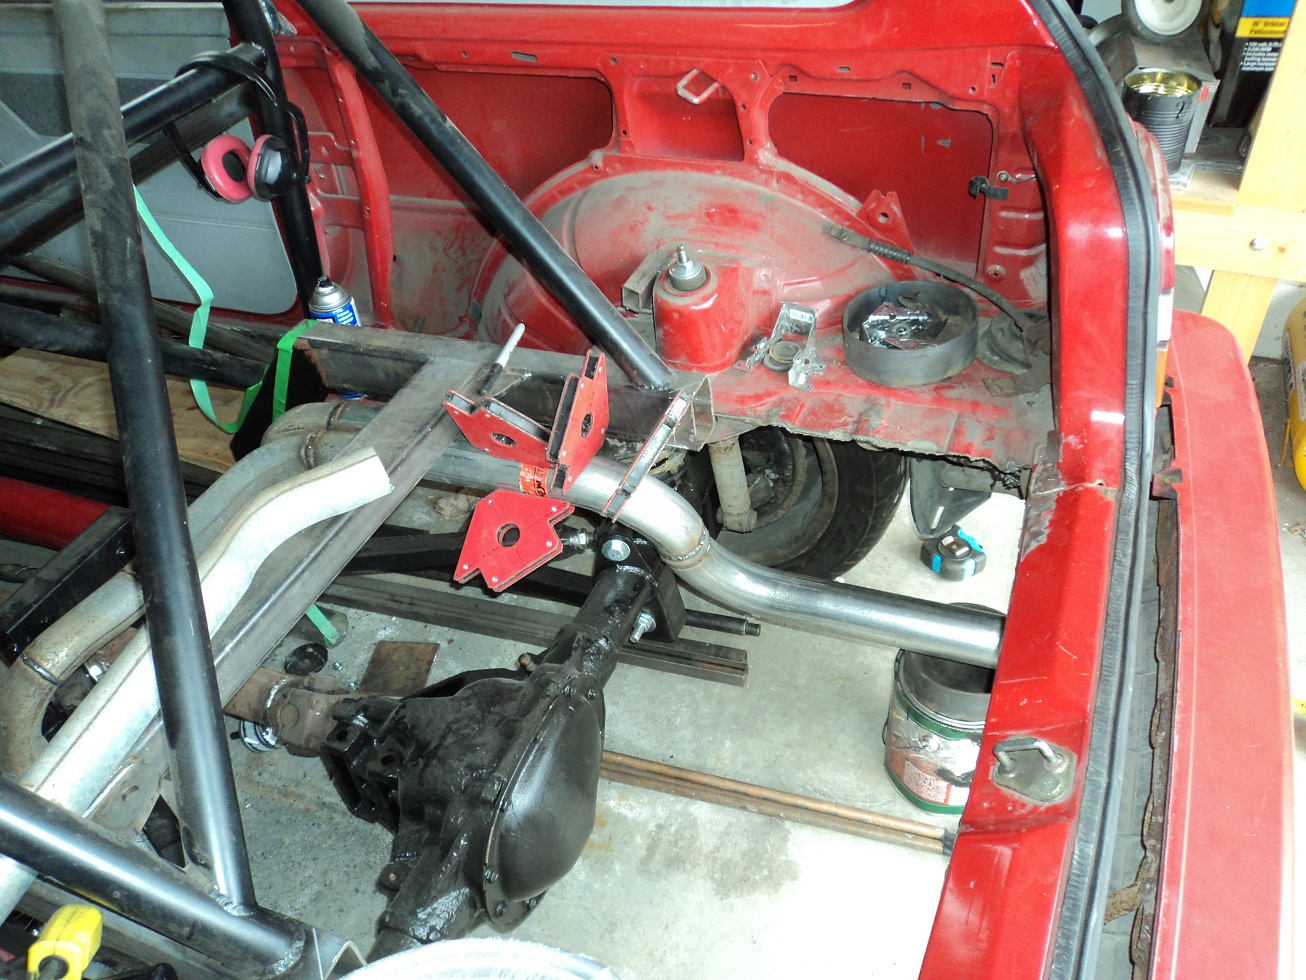
Rear suspension is now sitting on springs at approximate ride height -ish.
Moved the car farther back in the garage to make room for the electricians upgrading our house service from 100A to 200A.
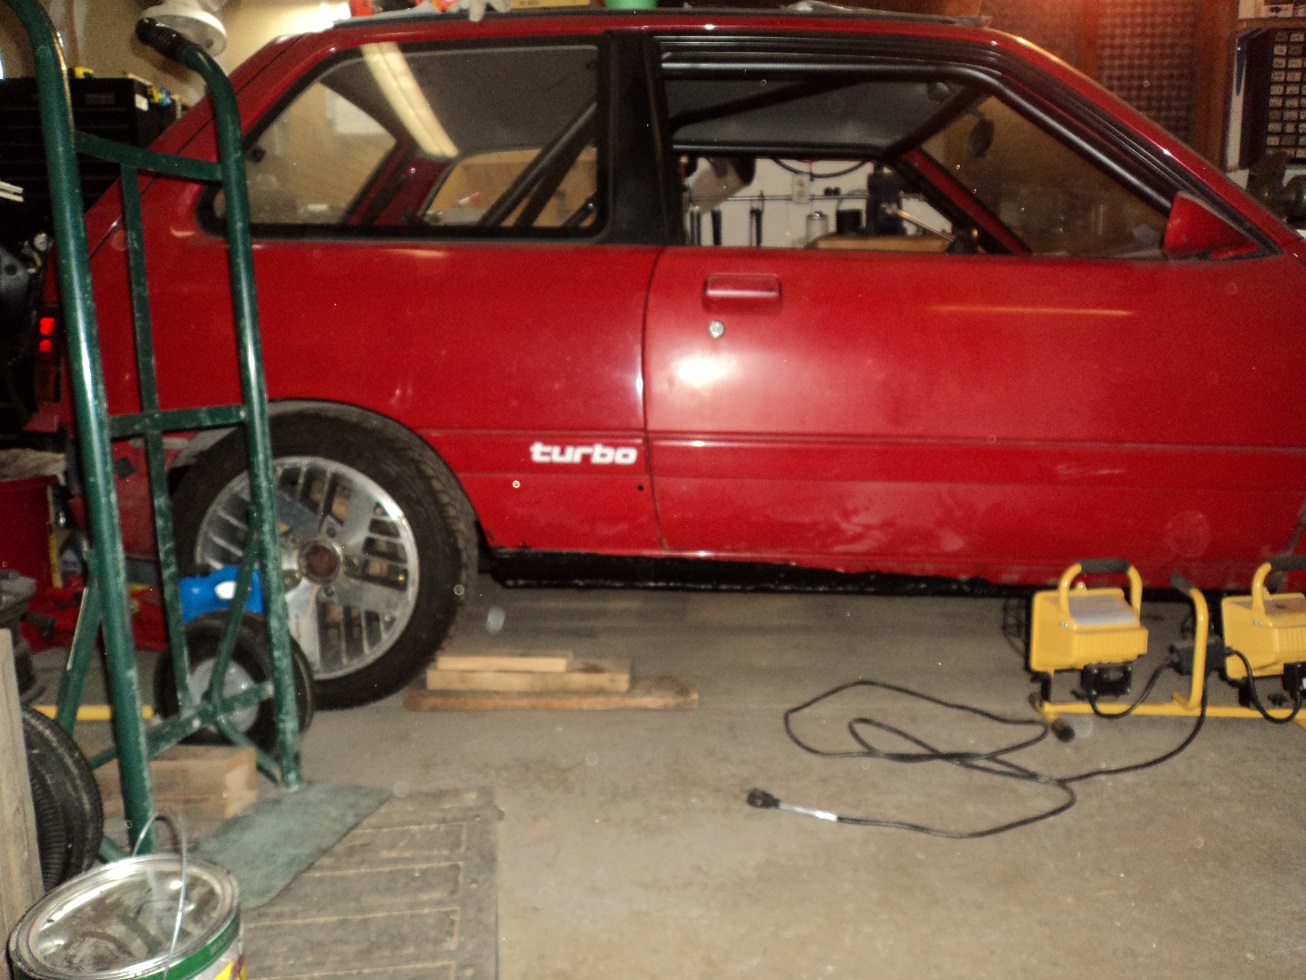
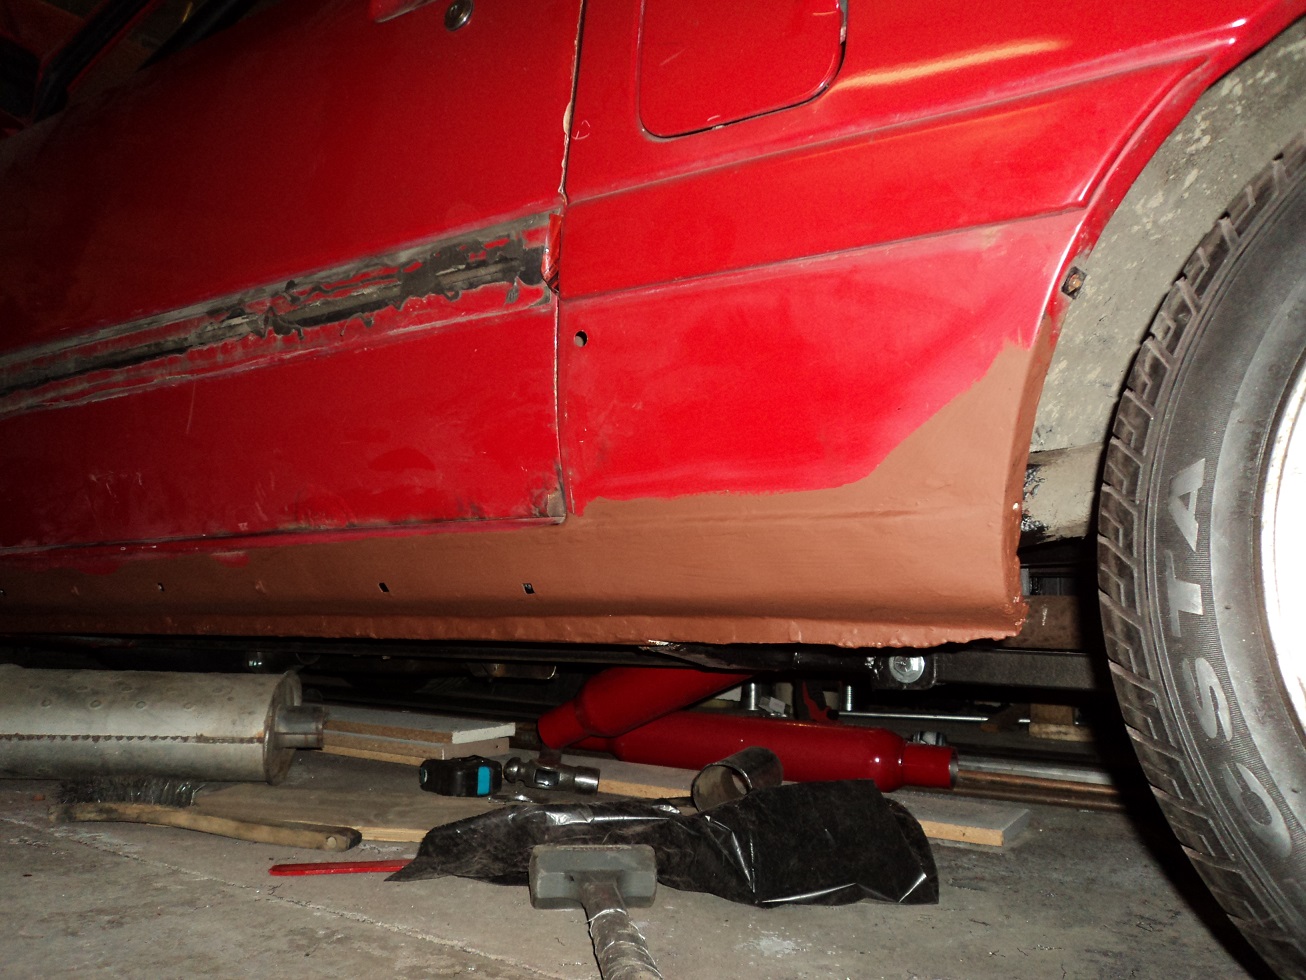
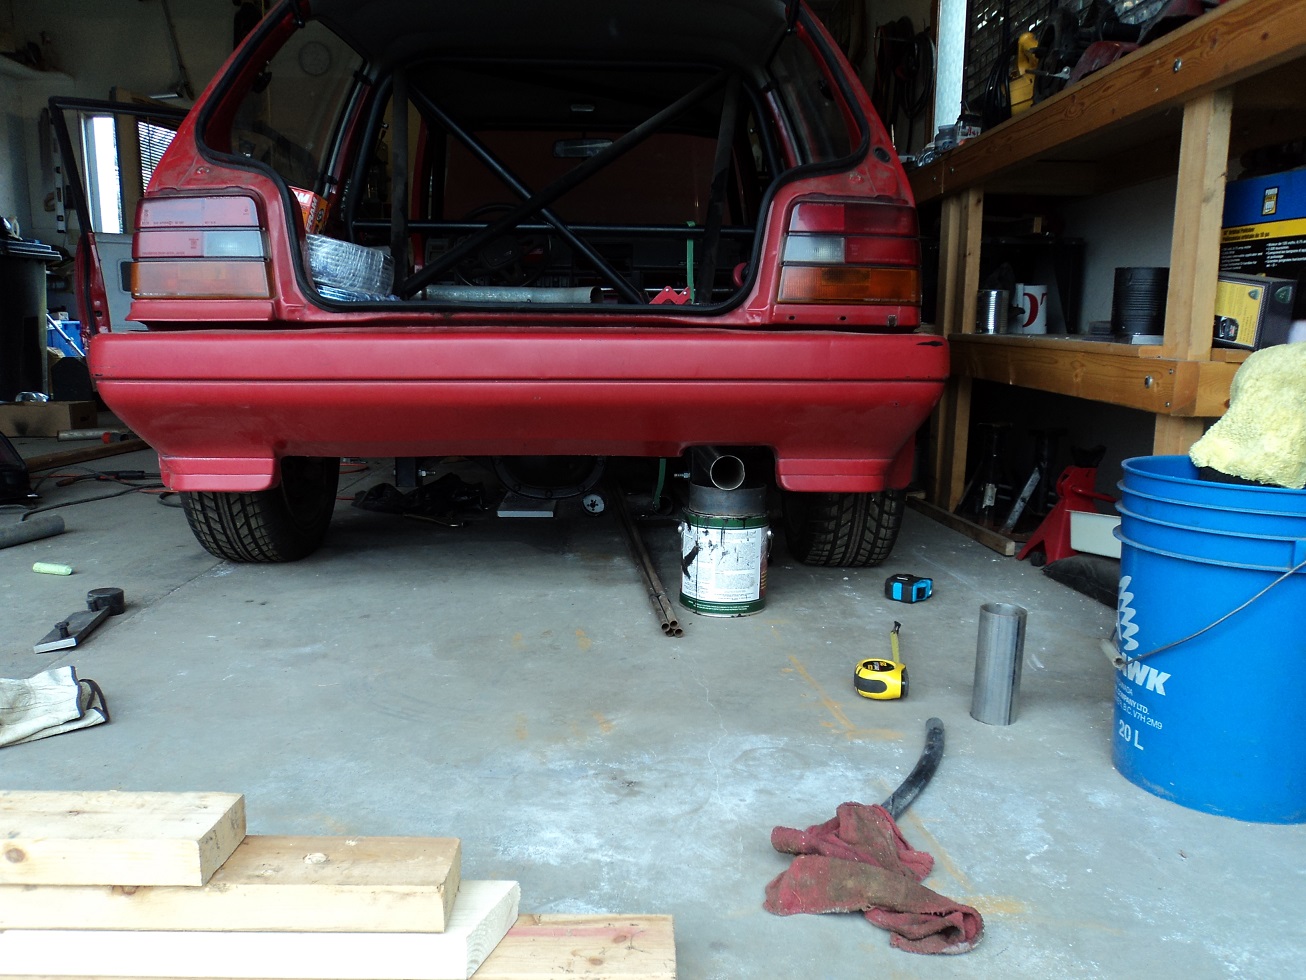
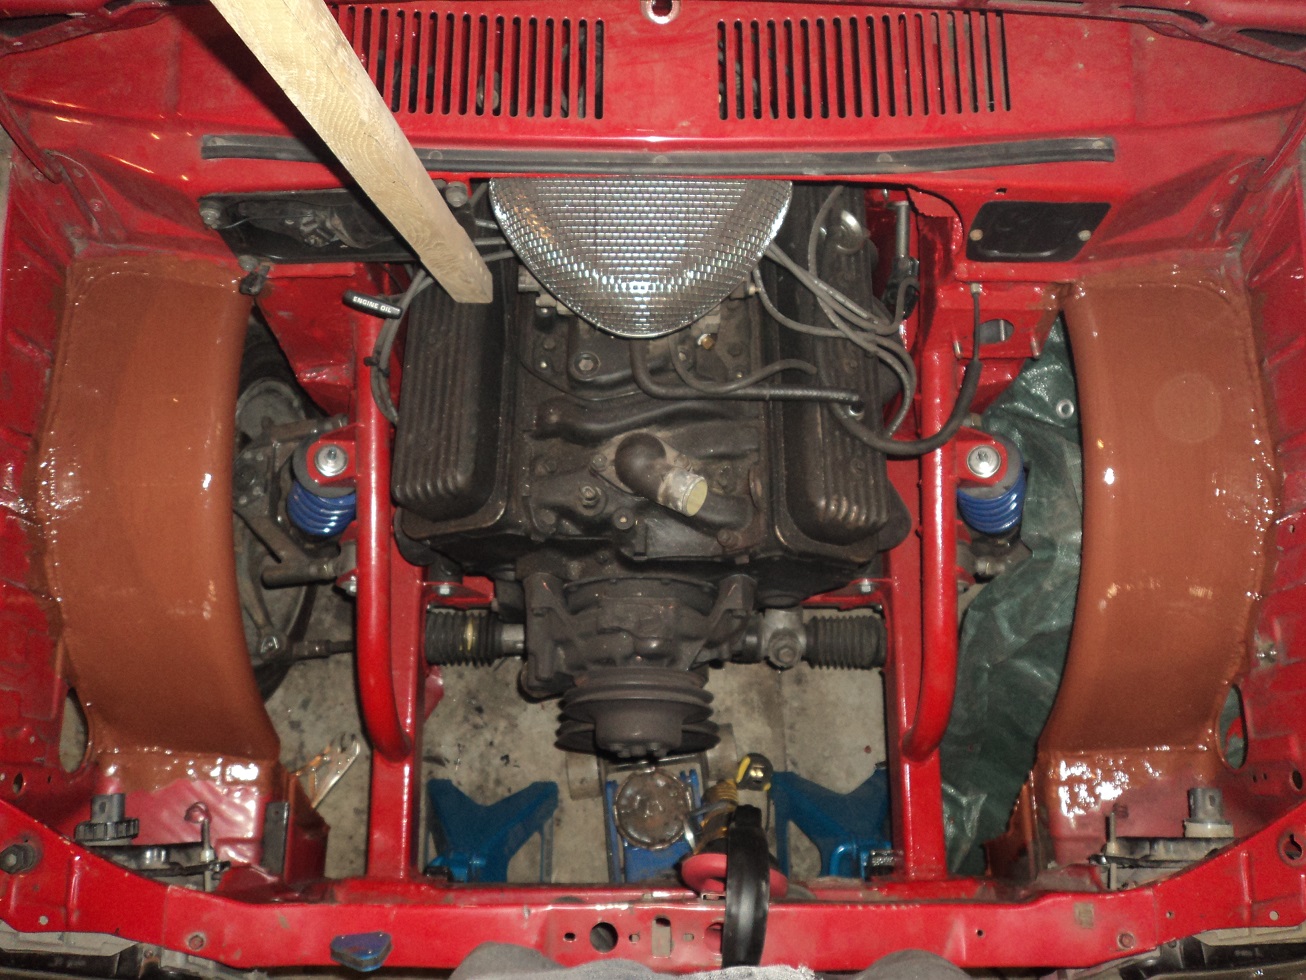
Here are some pictures of the car as of summer 2014:
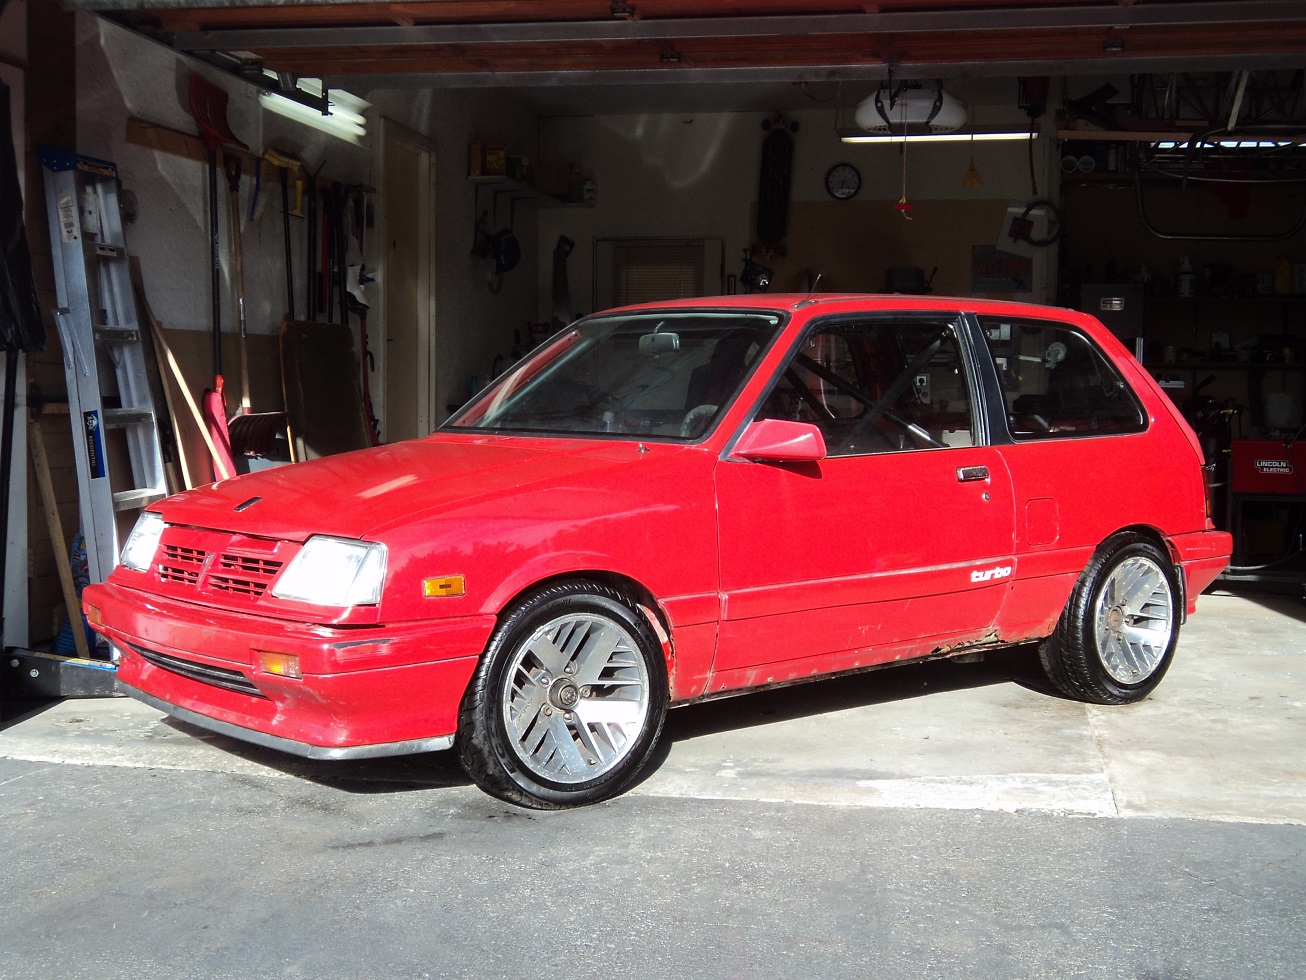
*sigh*
More body work. I didn’t have a rusty pair of pliers to extract my own teeth sans anesthetic, so bodywork will have to do. Chasing pinholes in this picture. This side will require a bit more finishing, since not all of the repair will be hidden by the plastic skirting.
I did a much better job in forming this panel. Good experience for future awesomeness. If I ever get there.
Thick coat of Tremclad Primer. I’m very pleased with this panel. Nice stuff! Soon the plastic “Turbo” skirting will go on.
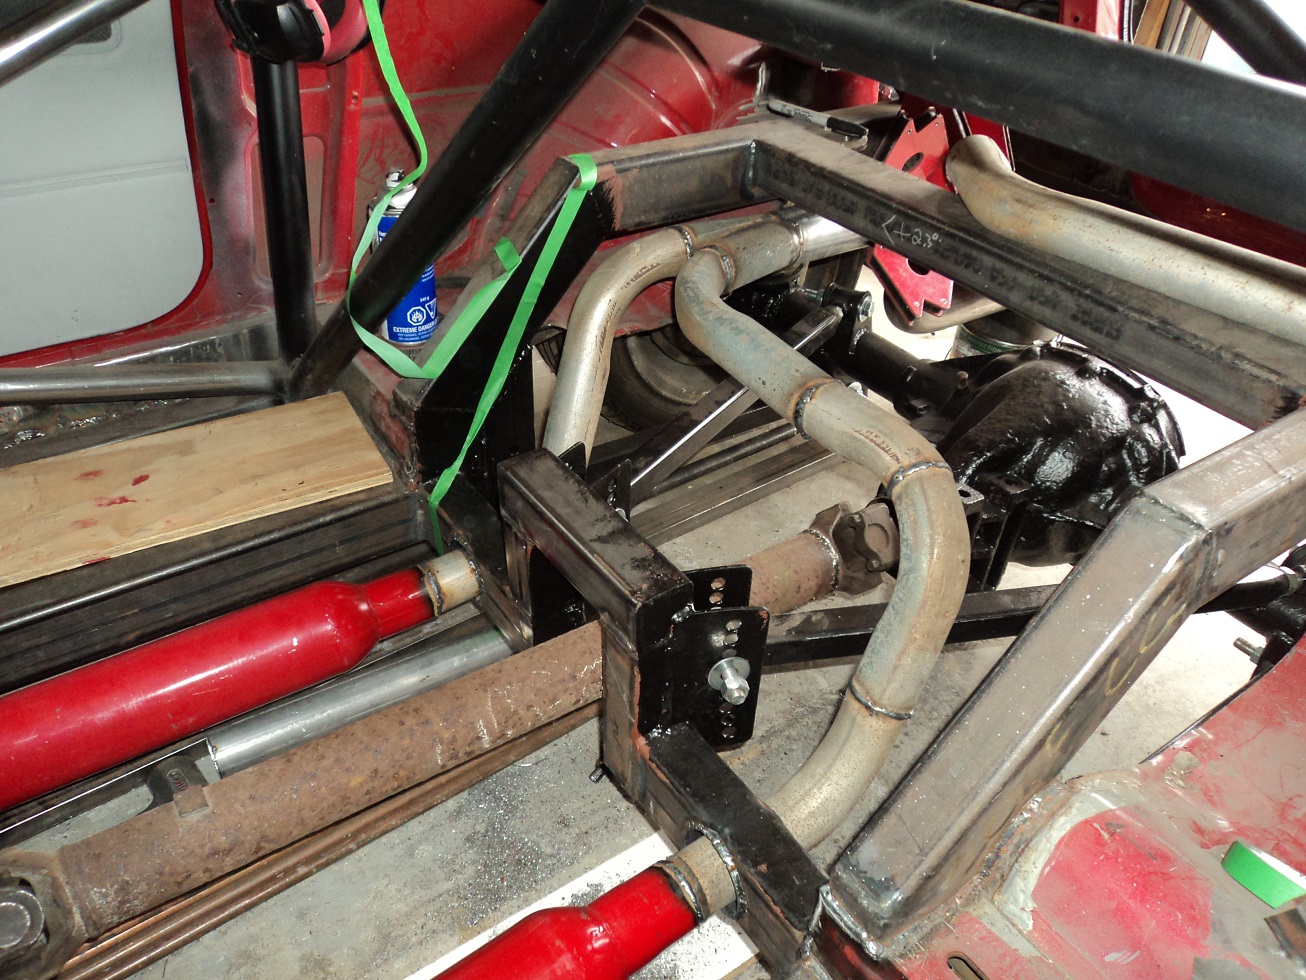
Also spent some time trying to figure out the exhaust. Ideally, I wanted a single-in/dual-out in the stock location, but there really isn’t any room for that behind the axle; it would need to be about 12″ long. In the end, a pair of glasspacks won out.
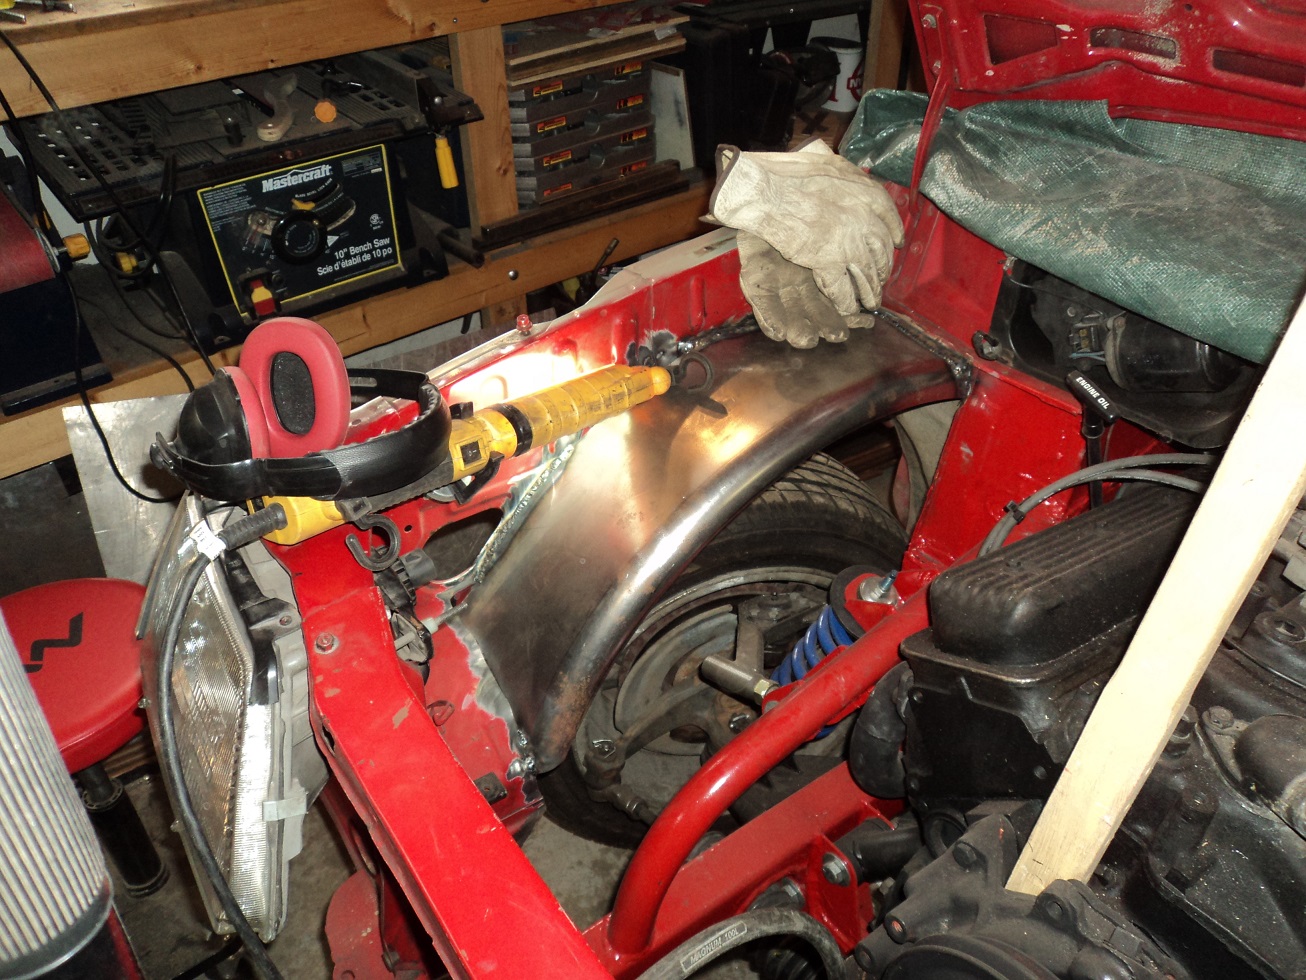
I am in the midst of drilling a 2-3/4″ hole through the rear frame crossmember. My cordless drill has the only 1/2″ chuck, and I am eating through batteries pretty quick in doing so.
Also started to figure out how to create some inner fenders up front.
(March 2015)
In the mean-time, I have dropped off a building permit application for my impending Workshop in the backyard.
Sorting out the exhaust a bit more. Drilling 2-3/4″ holes in the frame exploded the chuck on my corded Hitachi drill, as well as jammed the speed switch on my 18V Milwaukee cordless. I nicked the two-handled Makita single-speed wrist-breaker from work to finish the job. I fixed the Milwaukee, but not after snapping the tip off my T10 tamperproof Torx screwdriver. Not sure how to get the chuck off the Hitachi.

Still working out how the exhaust will exit out the back.
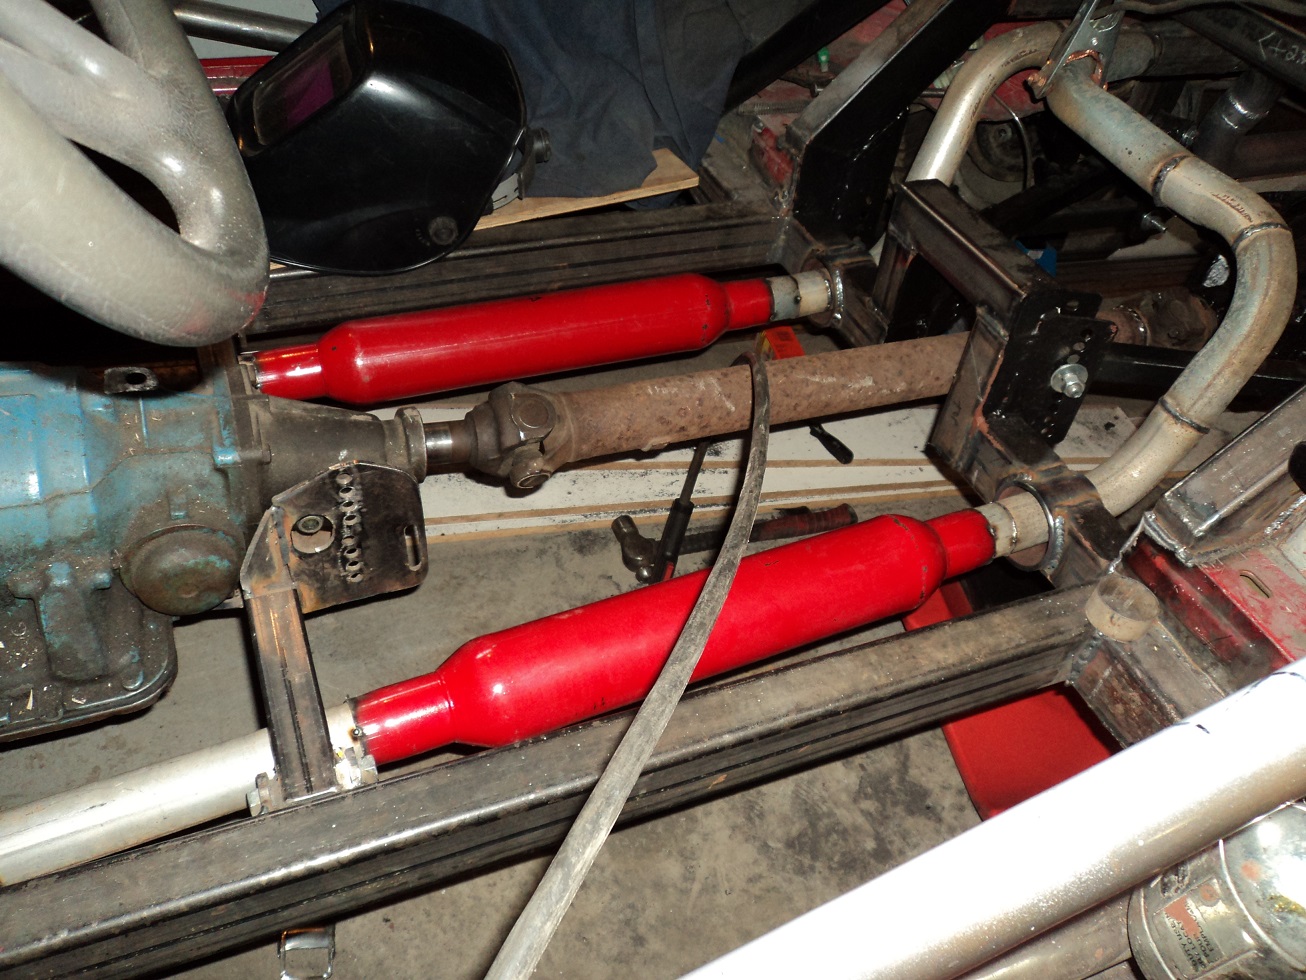
Got some more work done on the exhaust.
You will notice the cost-effectiveness of using as much used pipe as I can (or had on hand).
I decided, for ease of packaging, to join the dual 2″ pipe into a 2-1/2″ tail pipe. I formed my own “collector.”
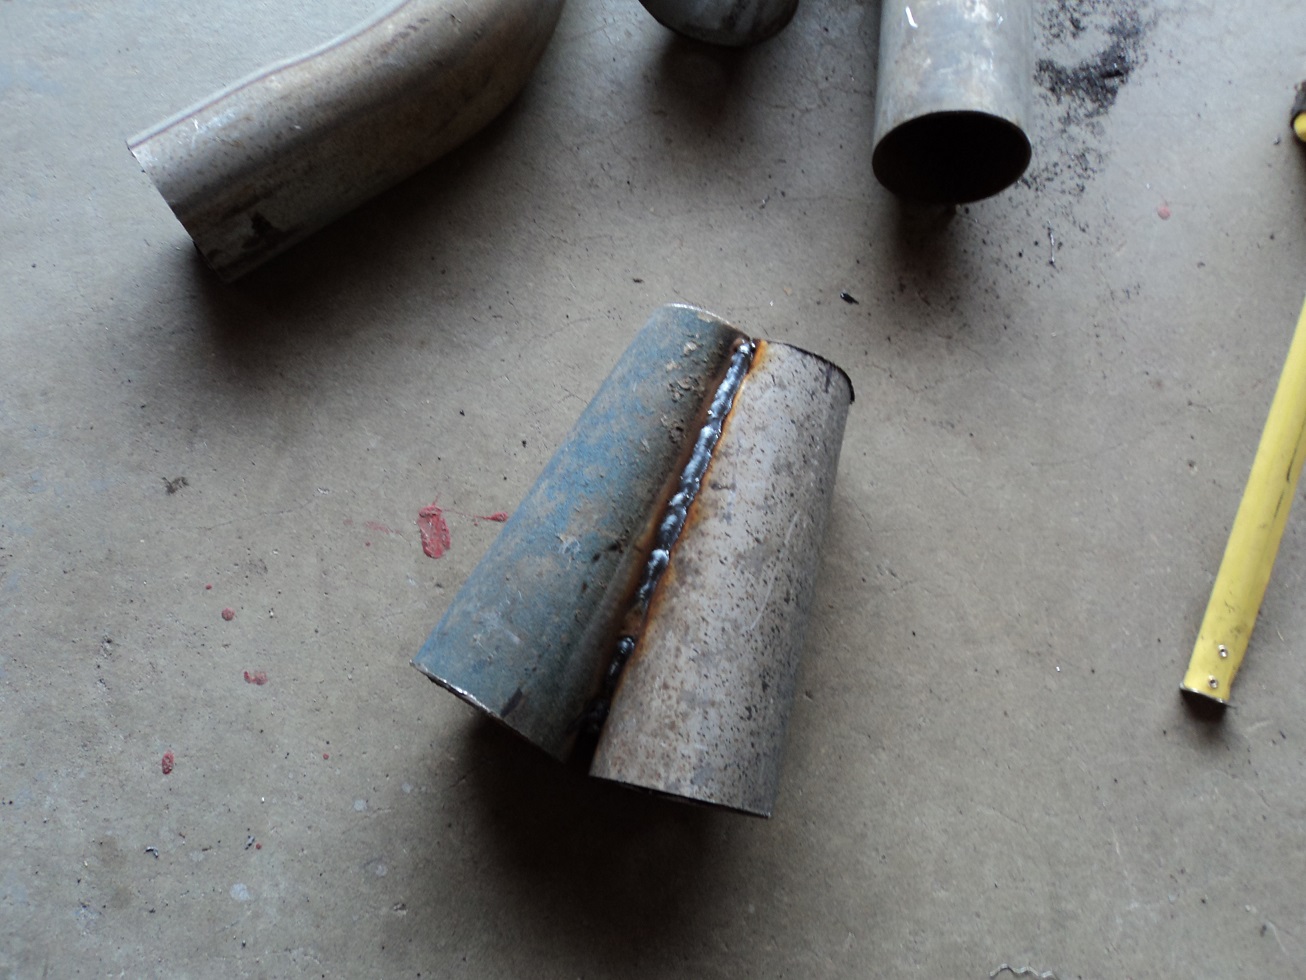
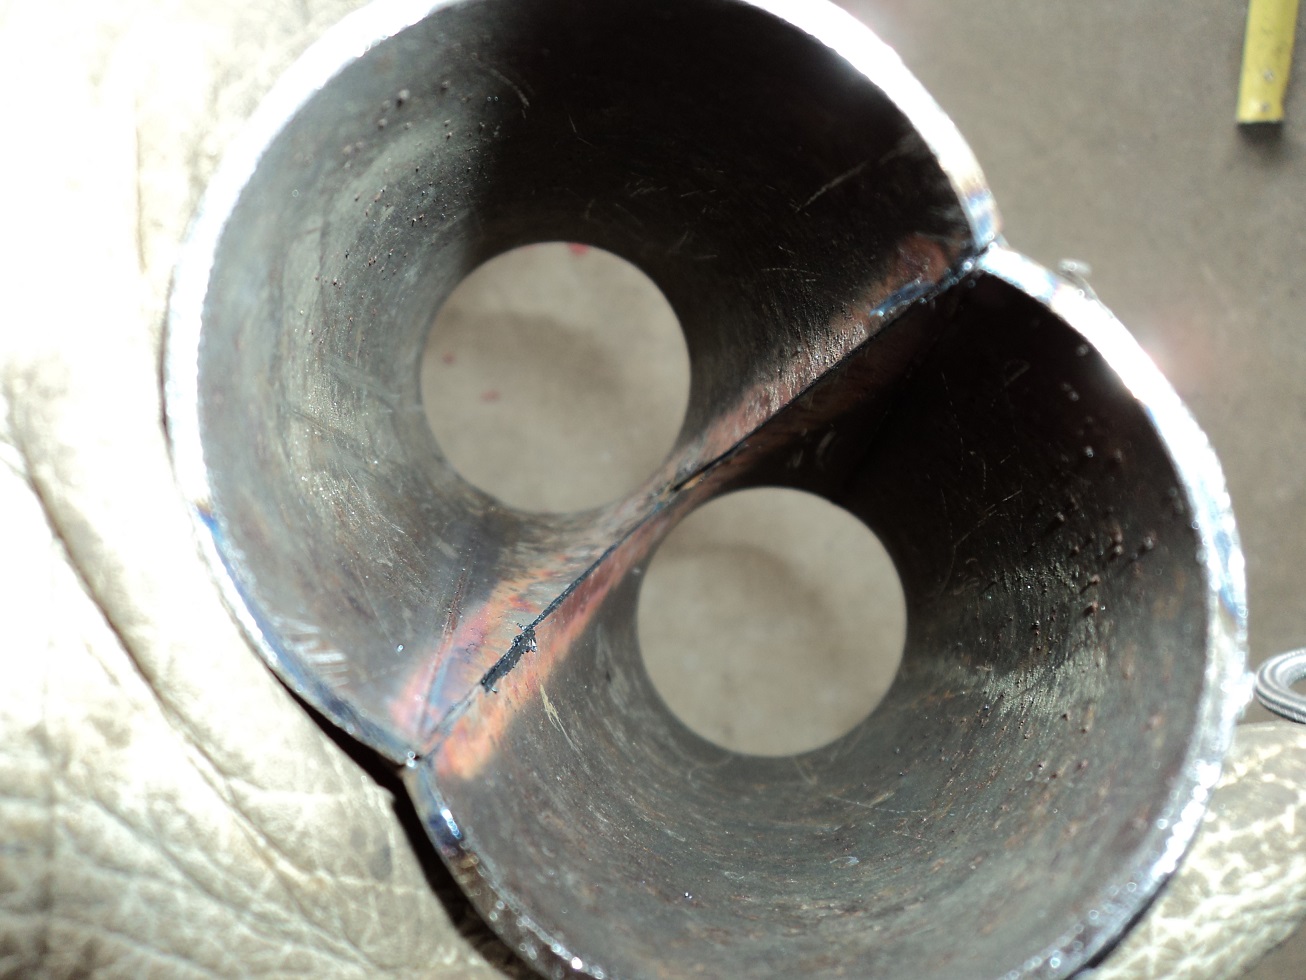
Then I welded that to a section of 2-1/2″, and creased the perimeter where the two tubes intersected, to transition smoothly.
Again, piecing it all together with used:
And finished it off with an un-used mandrel-bend 2-1/2″ from The Crusty Chevy:
Looks like I could use a bling chrome tip, or dual tip on the back:
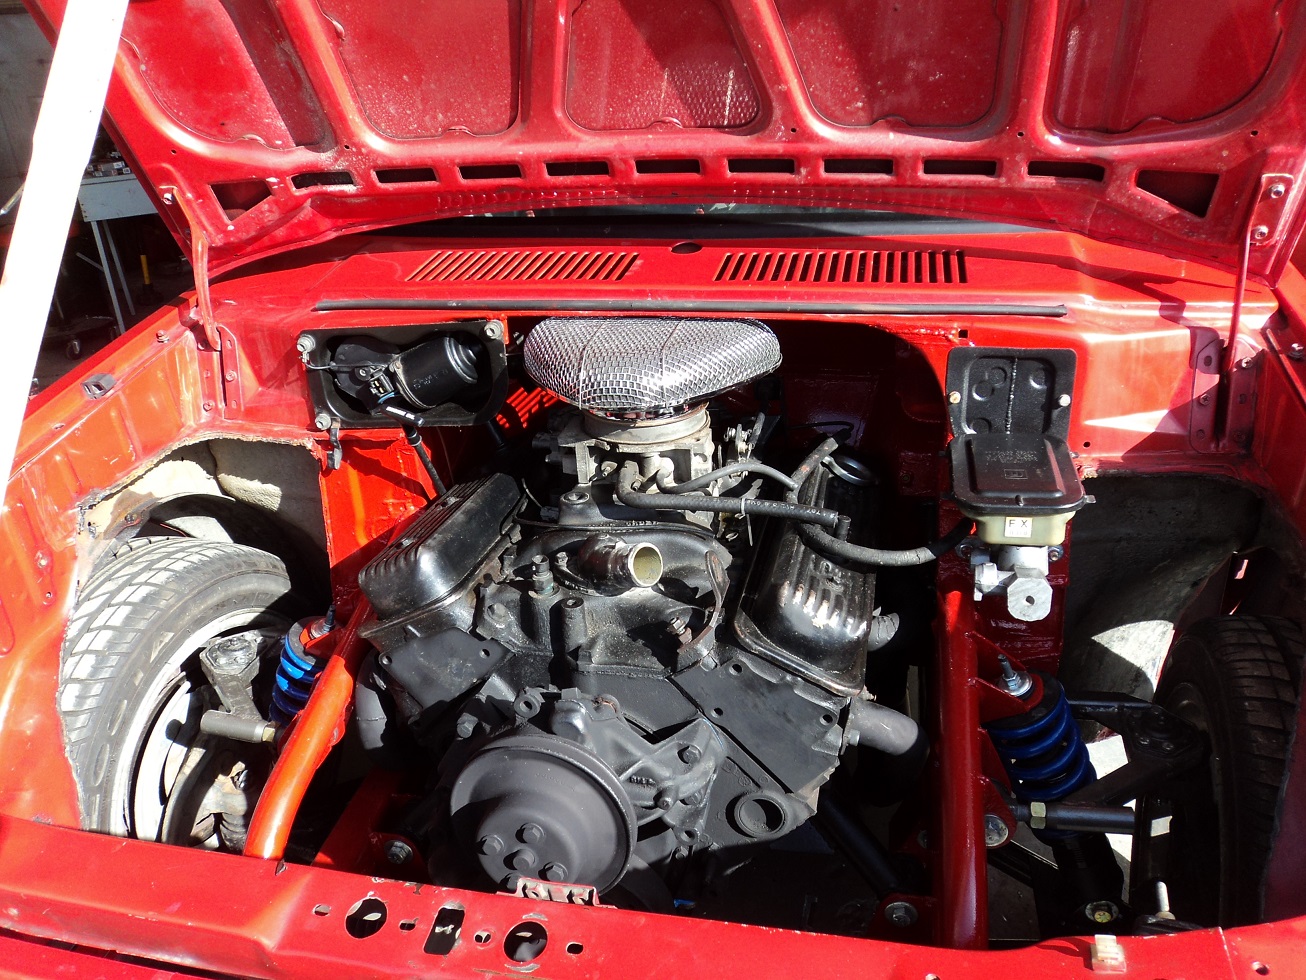
Inner fenders were fabricated from one sale-priced trailer fender from Princess Auto bought last year. Each side is one half. This actually went surprisingly well.
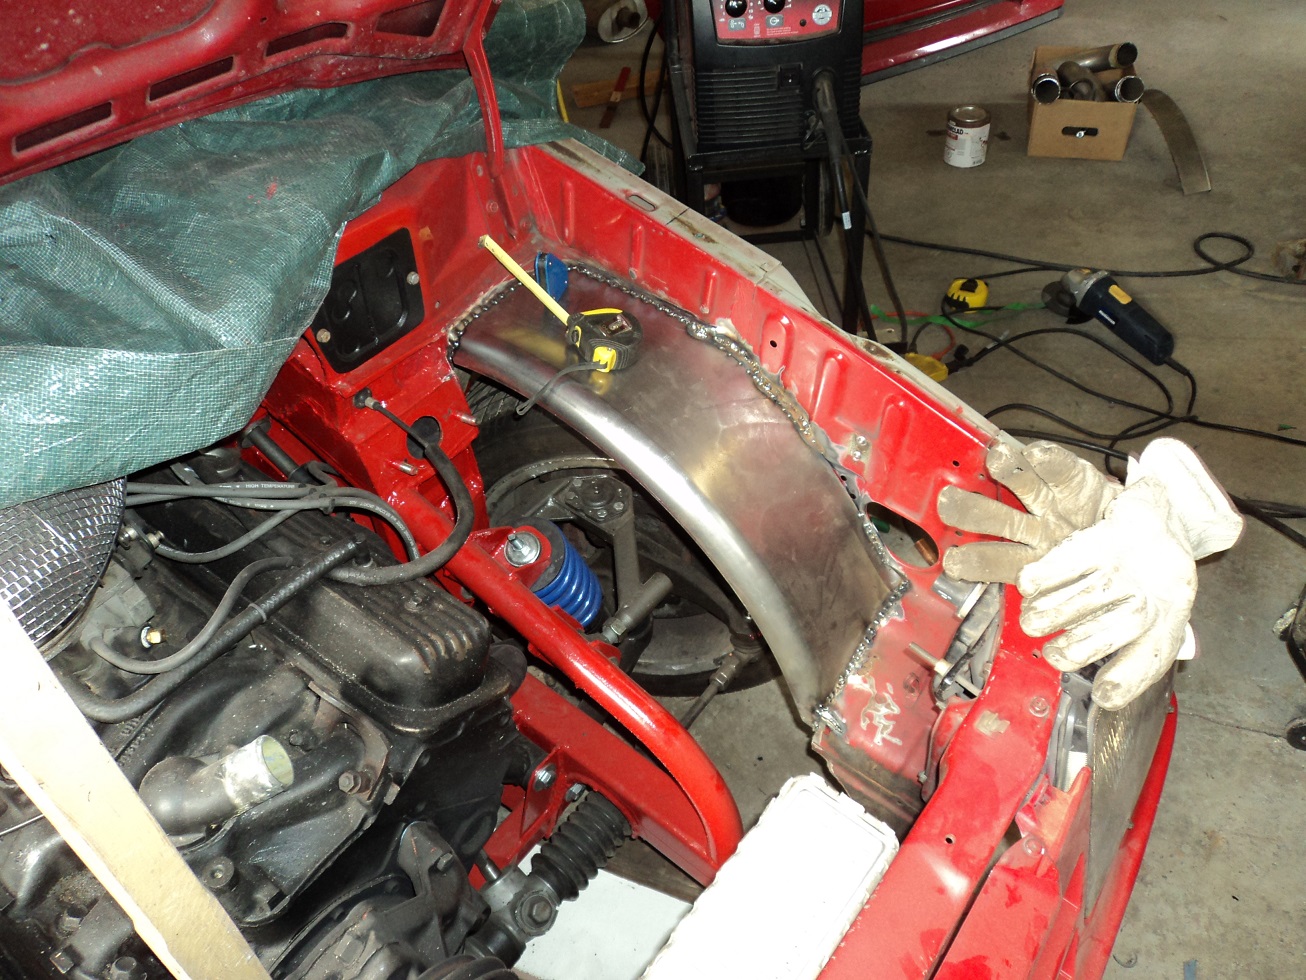
I also boxed in the front sections cut frame (not shown, but they are down in the lower front fender bottoms), and gave it a thick coat of Tremclad Primer.
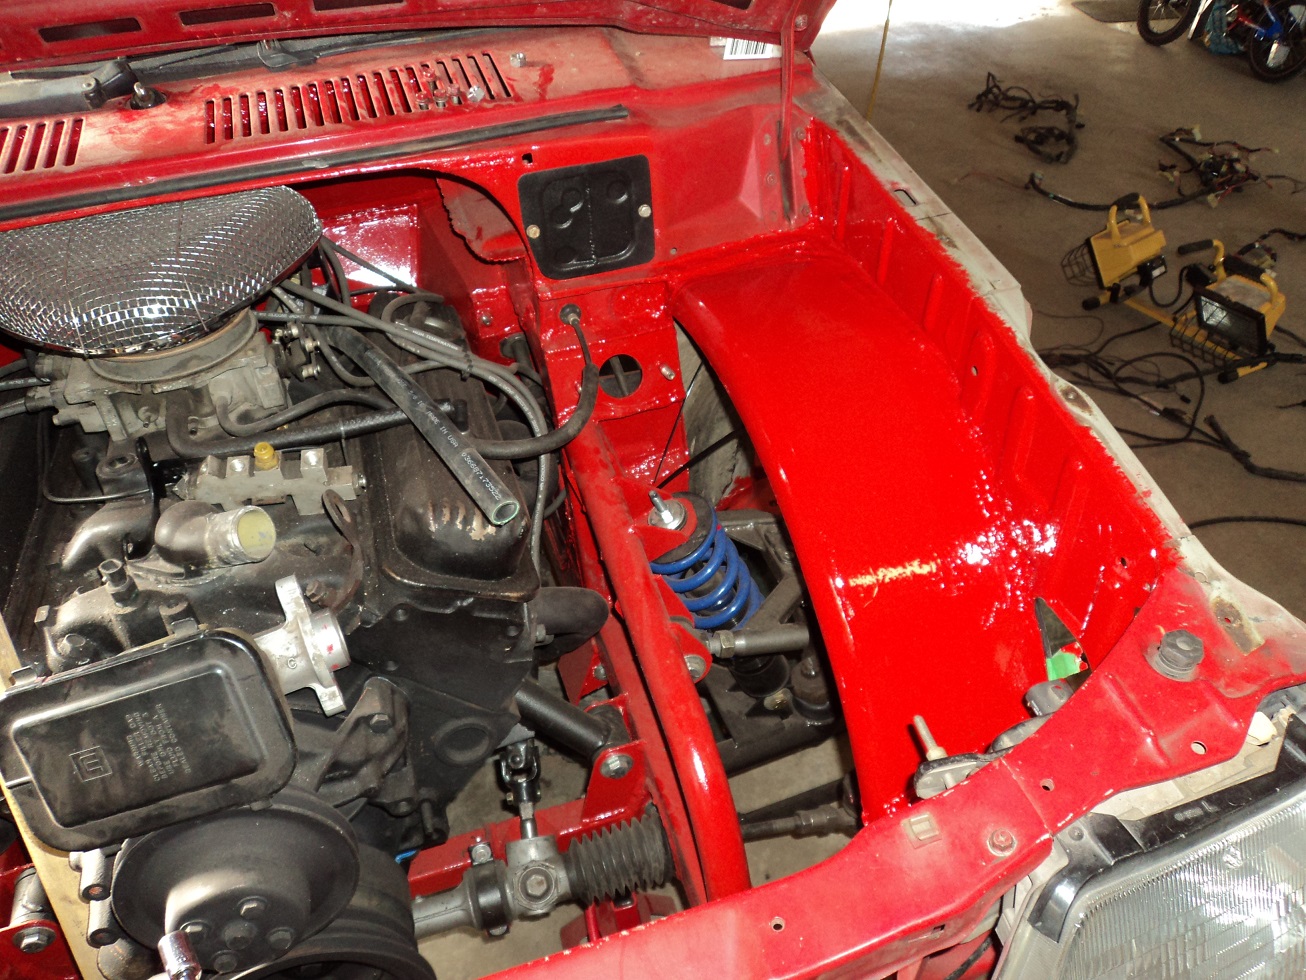
Painted the inner fenders.
And tied the original spring mount/sub-frame to the full frame.
Had some conflicts with the exhaust. Things moved and/or settled, and the mufflers were ended up being placed too high – this would require clearancing the floor, and the exhaust heat might set the seat on fire. So I decided to cut out the frame through-rings for the exhaust (which had broken my corded drill chuck and cordless drill speed switch) and make them bigger.
Luckily, I now had a good source for large diameter pipe. I’m sure the kids won’t notice.
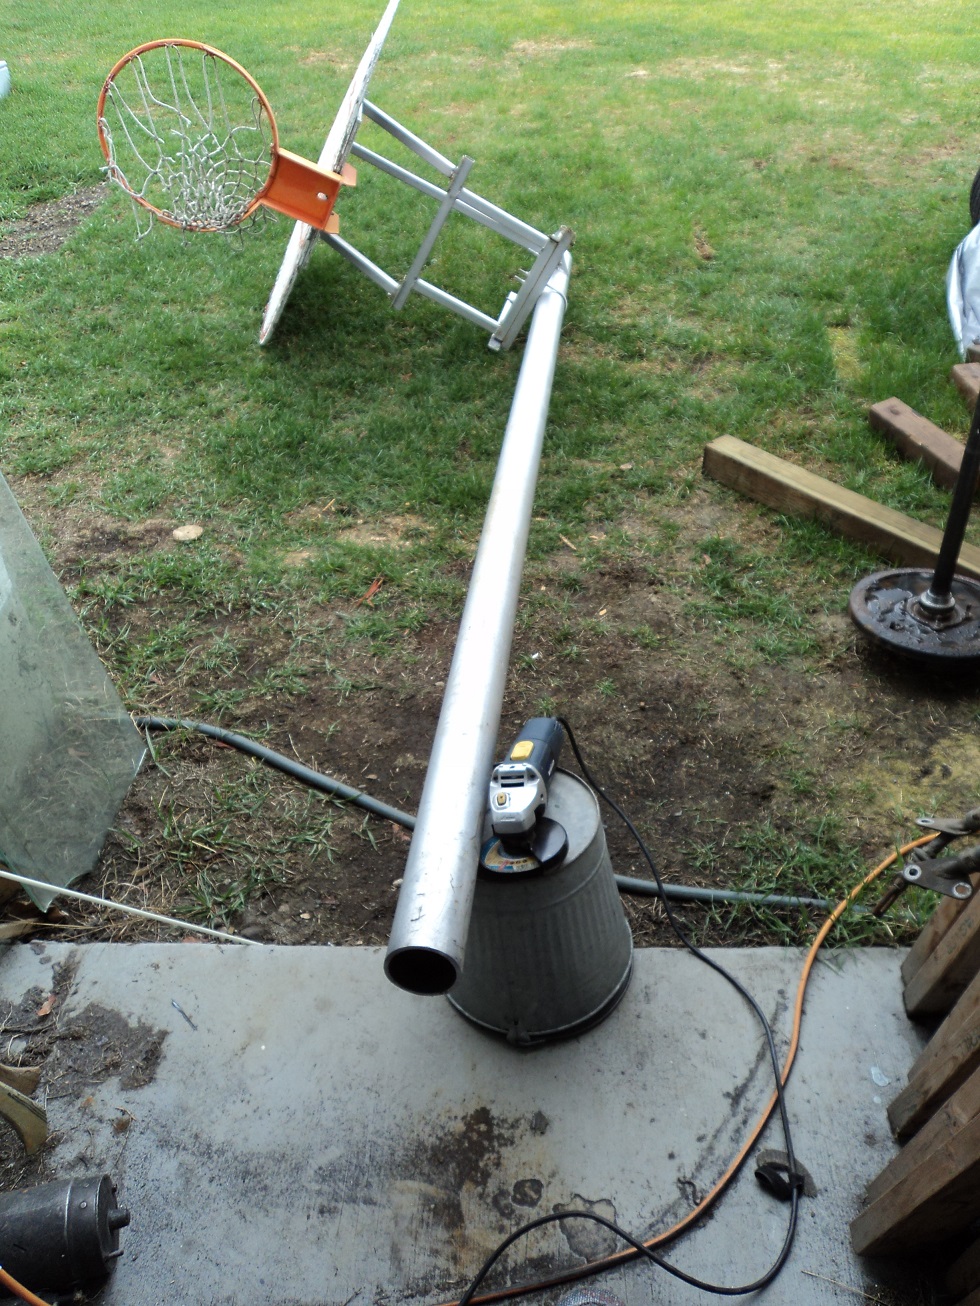
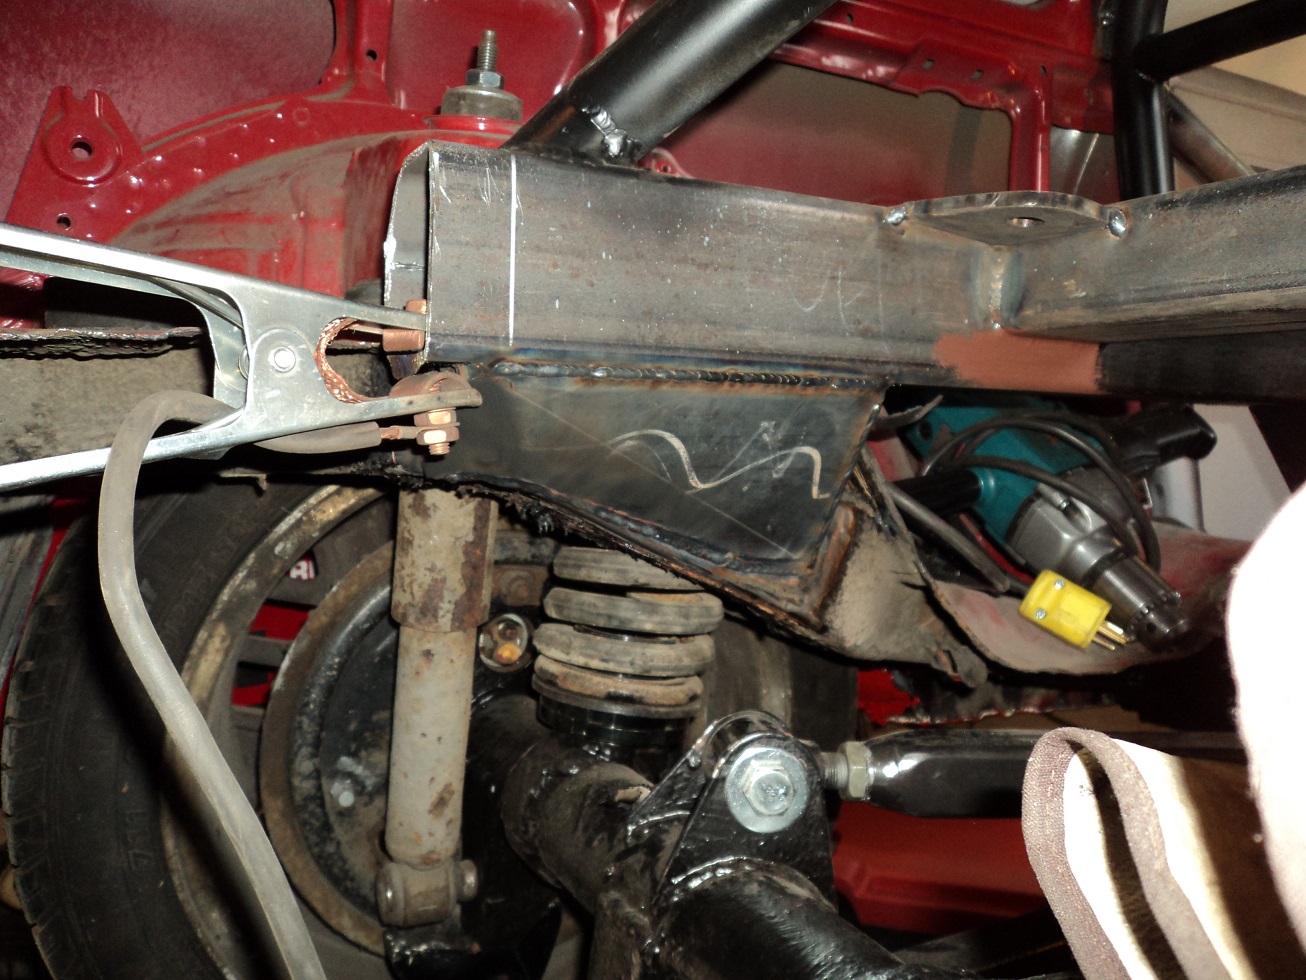
Instead of destroying more drills, I hacked them out with The Death Wheel, and welded in new.

Now I have good clearance between the floor and mufflers. Yay!
So, it’s better – but I’m not further ahead.
This is why we wear a face shield and gloves, children. Went through two of these:

Also got the brake master re-installed, along with the combination valve. I can’t remember where I put the brake lines to connect the two.
