
[ Start ] [ Index ] [ Sold 2019 ]
In which I build headers, a firewall, and motor mounts.
Headers fit like this….
I bought a set of used headers of the local classifieds for $50. I did electrolysis on them (not the hair removal kind – I soaked them in a large Rubbermaid bin full of water with a half cup of Arm & Hammer Washing Soda, dropped in a “consumable” metal rod, and hooked a battery charger up to them, with negative on the header and positive on the rod, and walked away for a day) to clean them up, and then cut all the tubes out of the flanges and collectors.
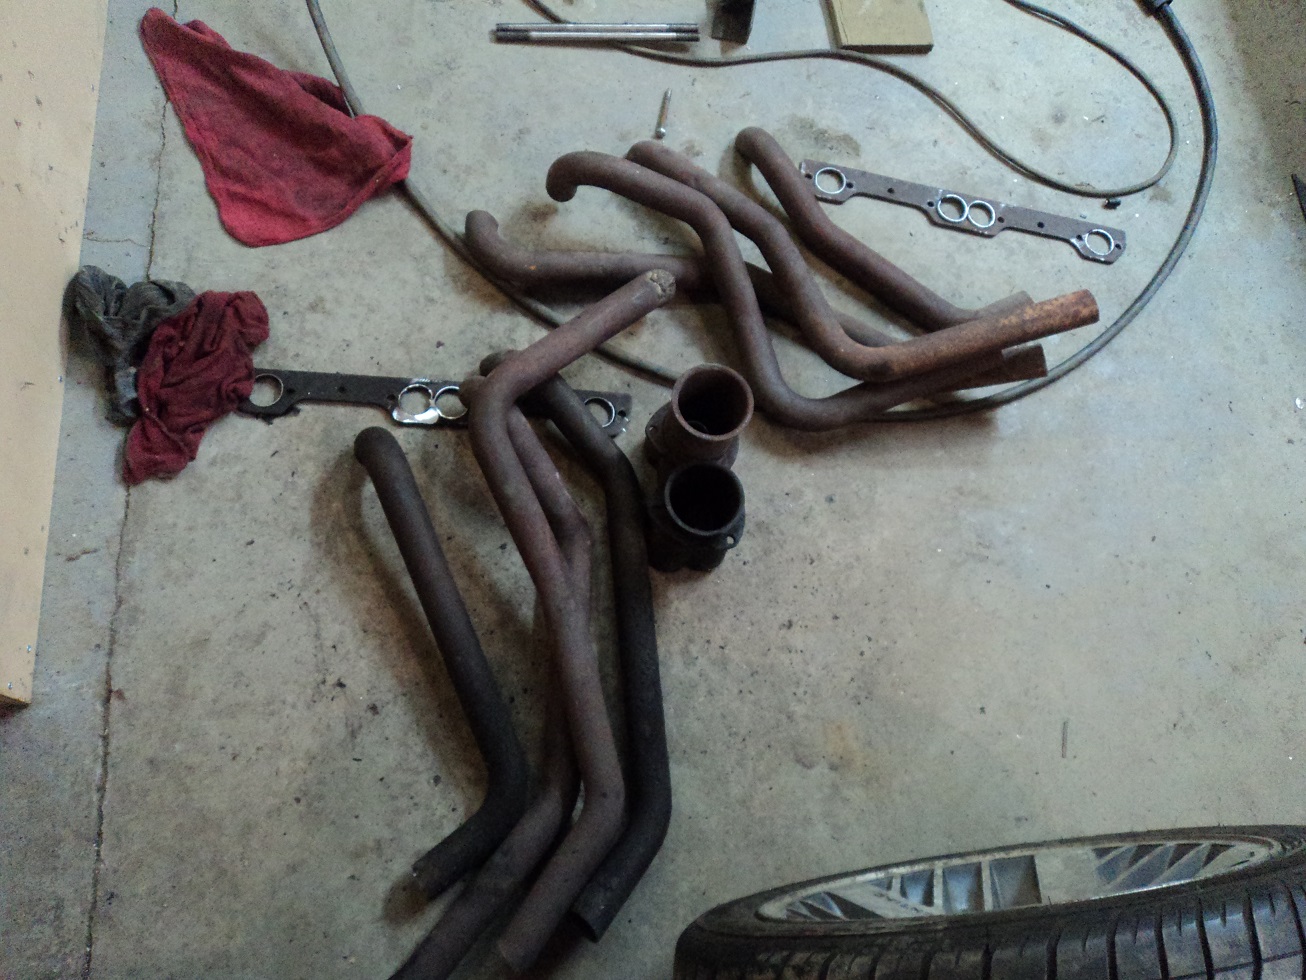
I attached the flanges to the heads, placed the collectors where they would fit, and began modifying the tubes until it looked like a header.
My first set of fabricated headers.
I tell you, making headers that can actually have their fasteners attached, ~and~ be able to replace spark plugs, ~and~ clear the steering, for a V8 where there once was a transverse 3, is a bit of a challenge. I didn’t fret too much about equal-length at this point.
I also welded in a O2 bung.

August 2013
The headers can actually be installed and removed with nothing more than removing the spark plugs and steering shaft.
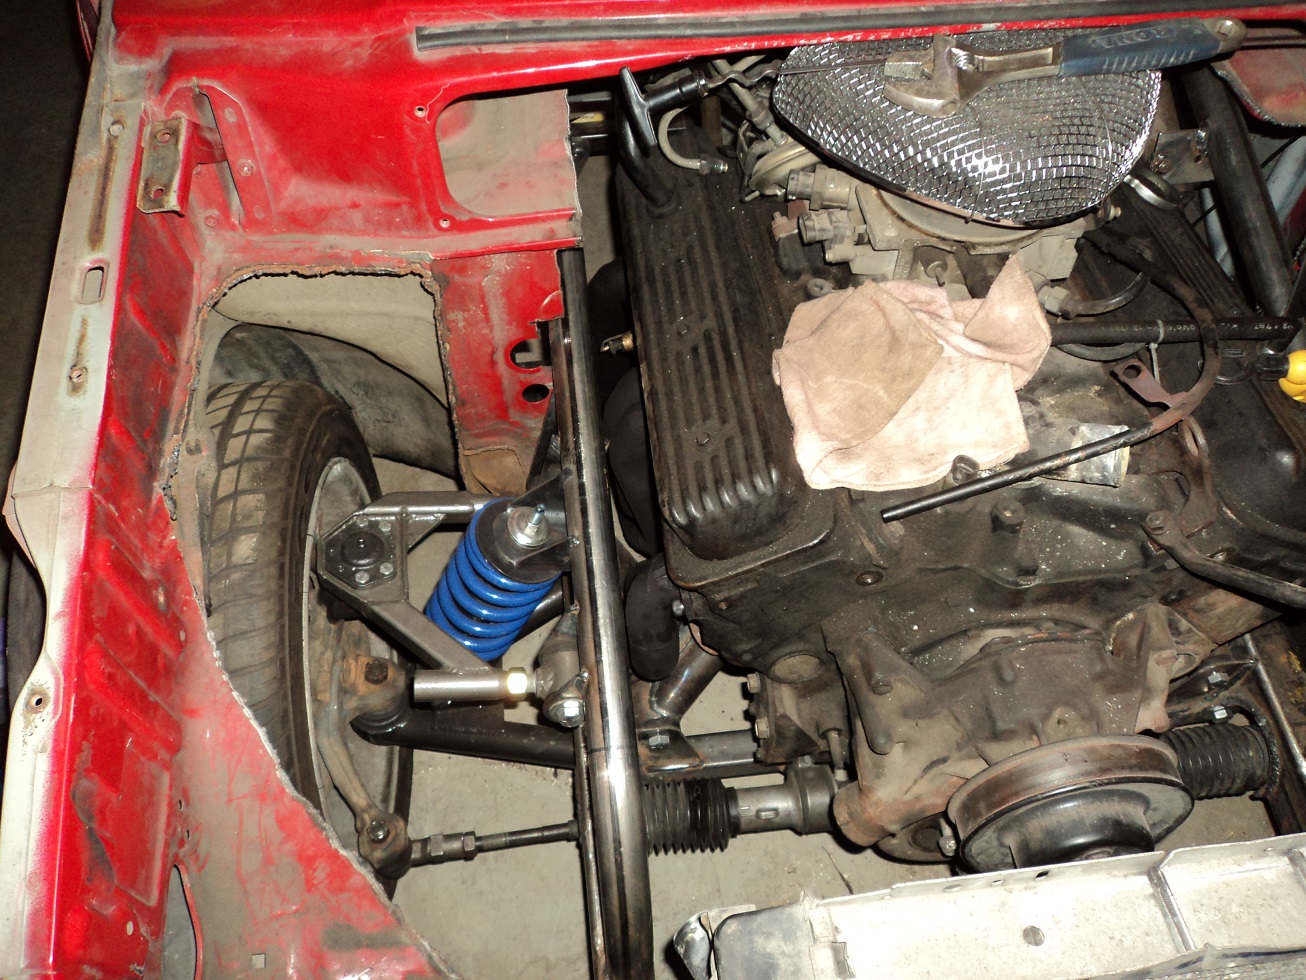
I left the driver’s side for last, because I thought it would be easier. Bwahahahahahaha.

At the time, I only had a TIG at home. This became a royal pain to tack these together, because I just couldn’t get my hands and helmeted head close enough to see what I was doing, all the while working a foot pedal. I nicked a 110V MIG from work to tack it together, then I TIG’d the headers on the bench.
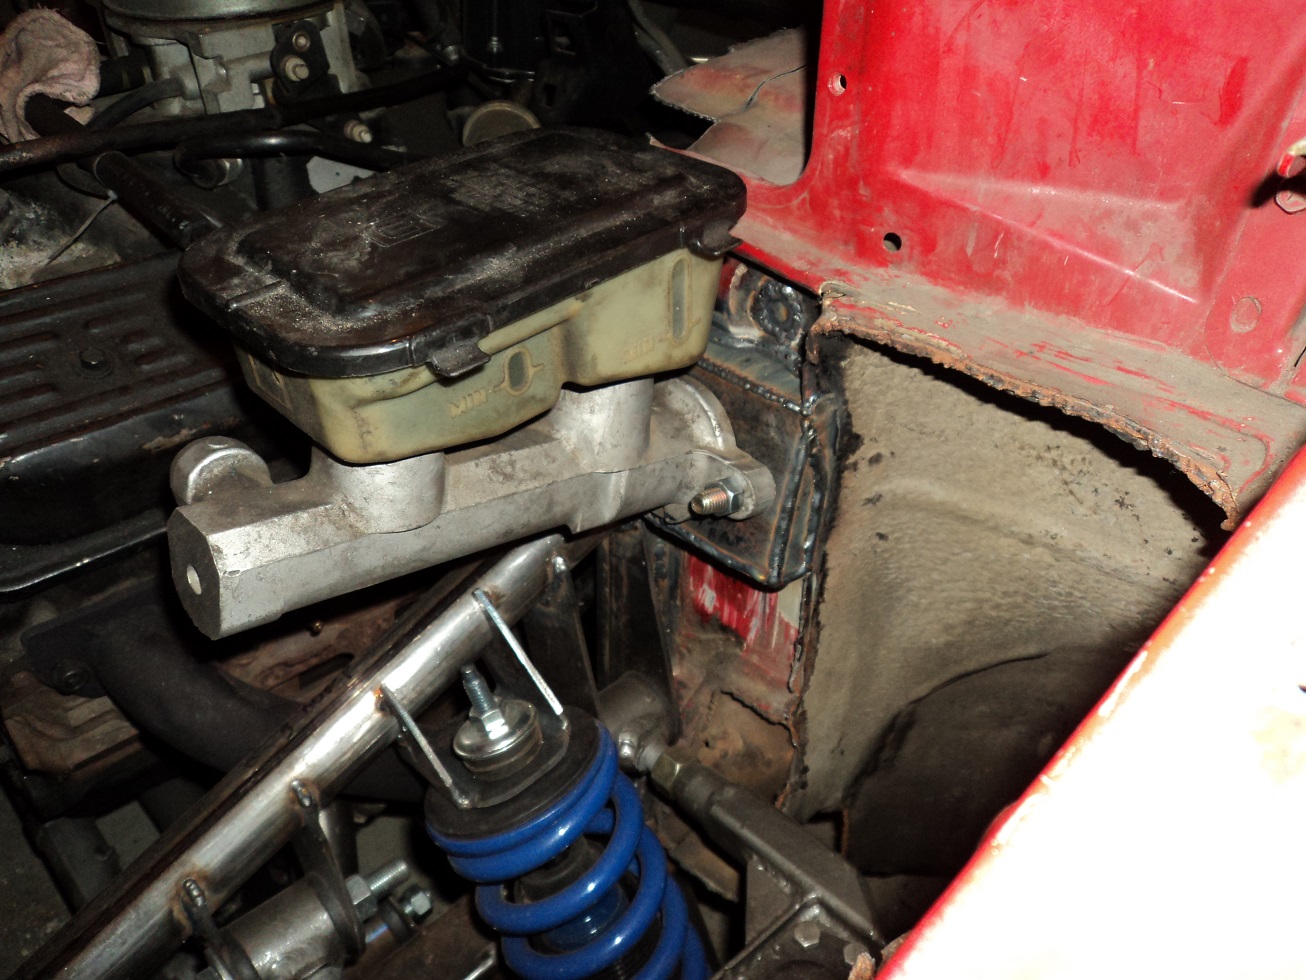
You will notice in the last picture, that the brakes are next.
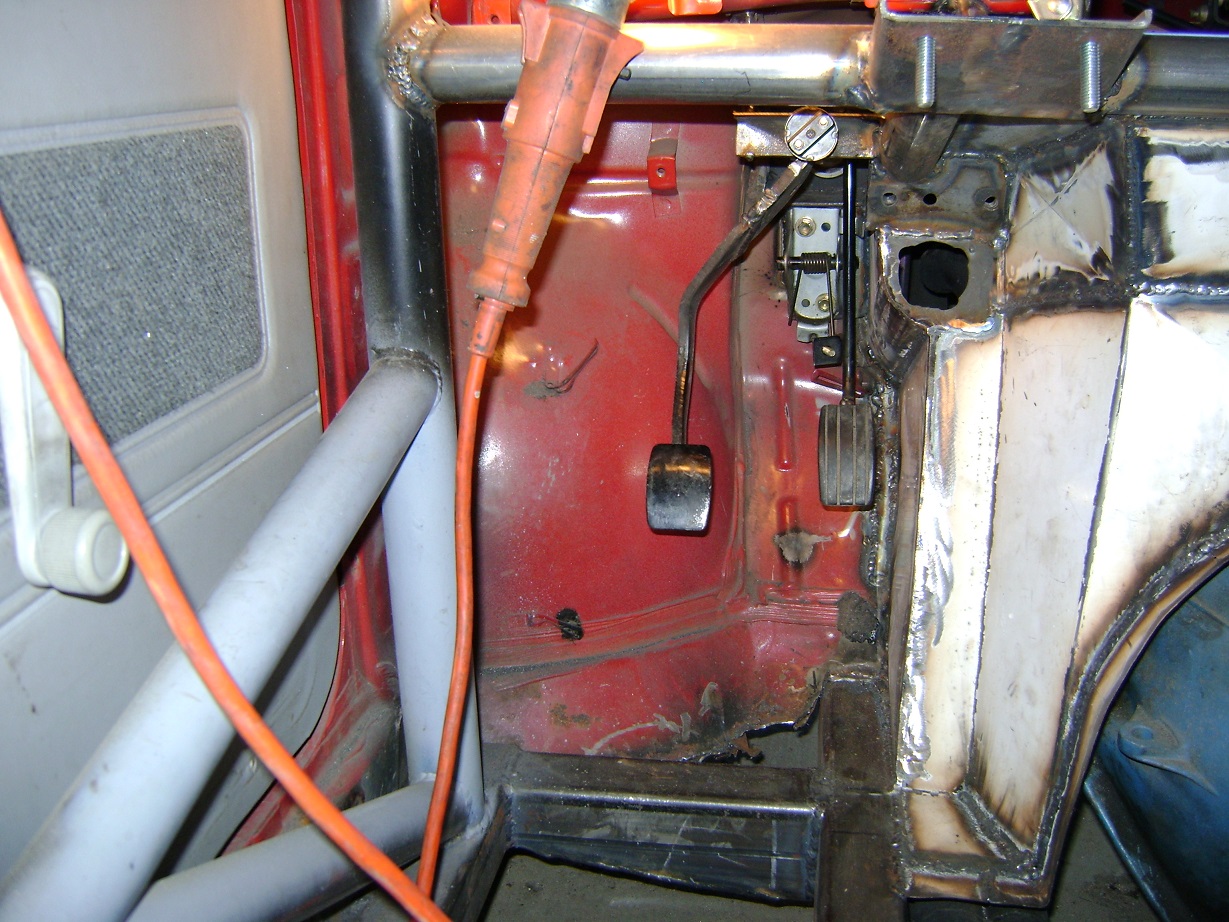
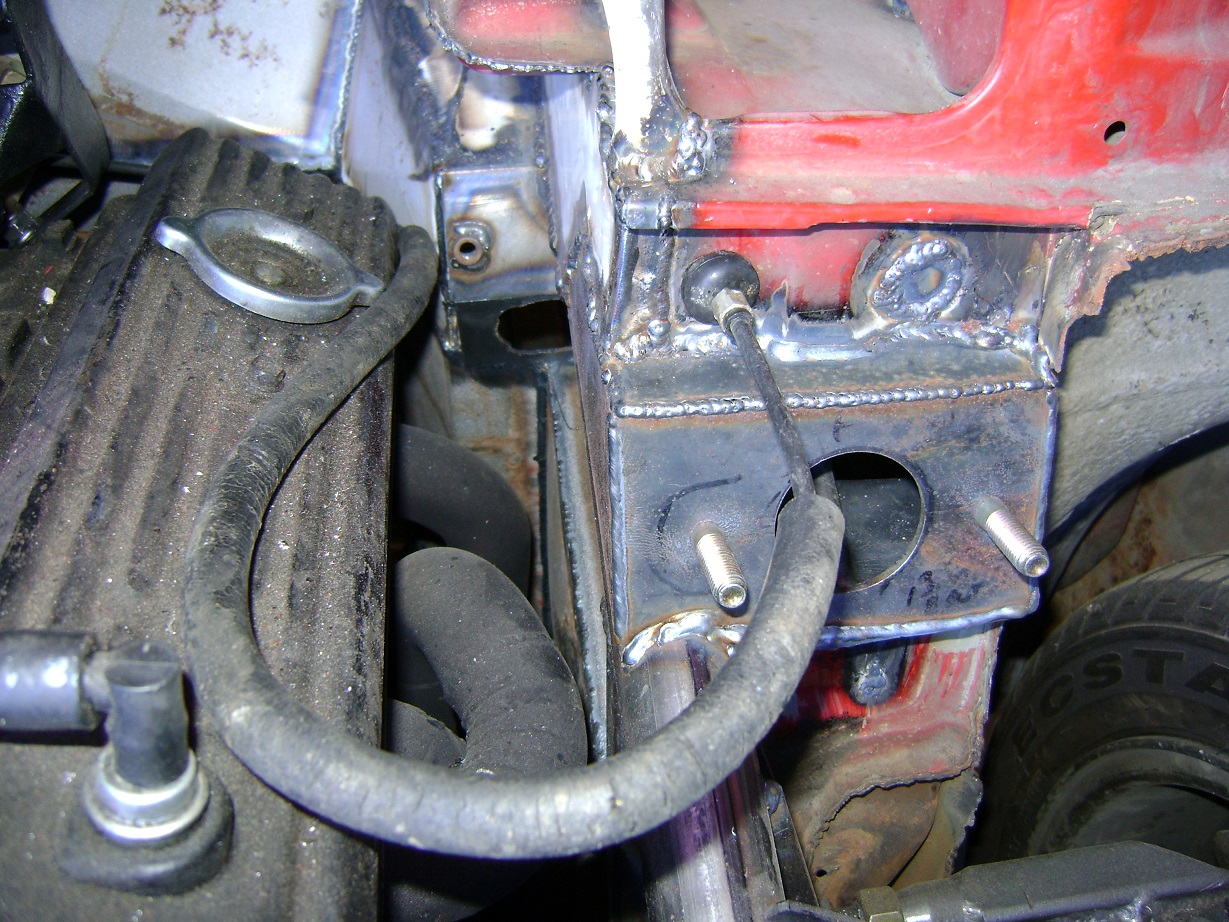
Packaging yet again dictated where the brake master cylinder from the ’88 Firbird could go. I fabricated a mount on the firewall that ties into and is braced against the forward roll cage tube.
Next, a pedal to run it.
(September 2013)
I modified the original Firefly brake pedal to work with the new locations of the master and the right foot. Fabricated an adjustable link to move the master. I had to start paneling over the firewall in order to figure out where my feet had to go.

Picture updates will start slowing down now, as I am pretty much up to where I am in the fabrication.
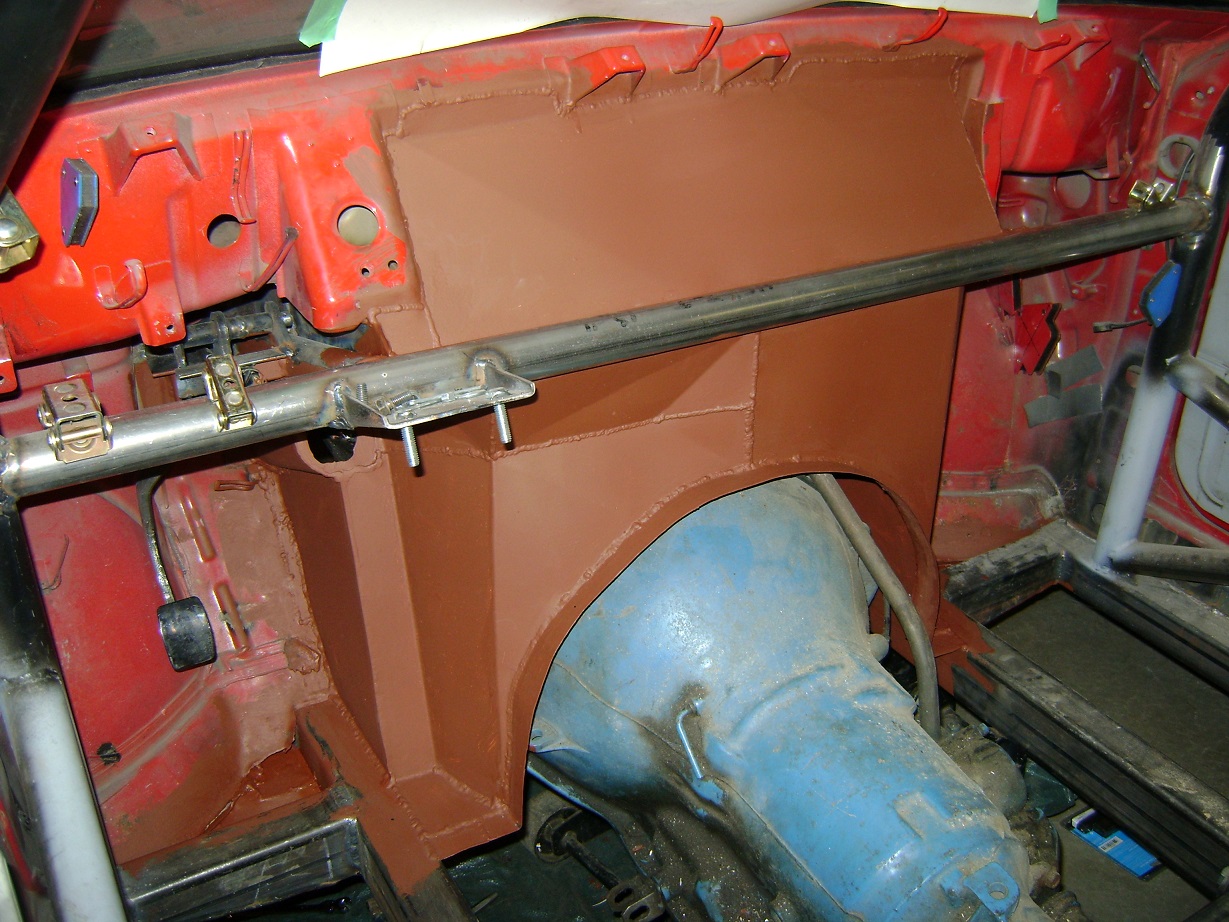
Started paneling the firewall over. Using cereal boxes to make templates, then cut out of sheet metal. Kind of jig-saw pieced together to fit it properly. I’m liking the progress so far….. I think.
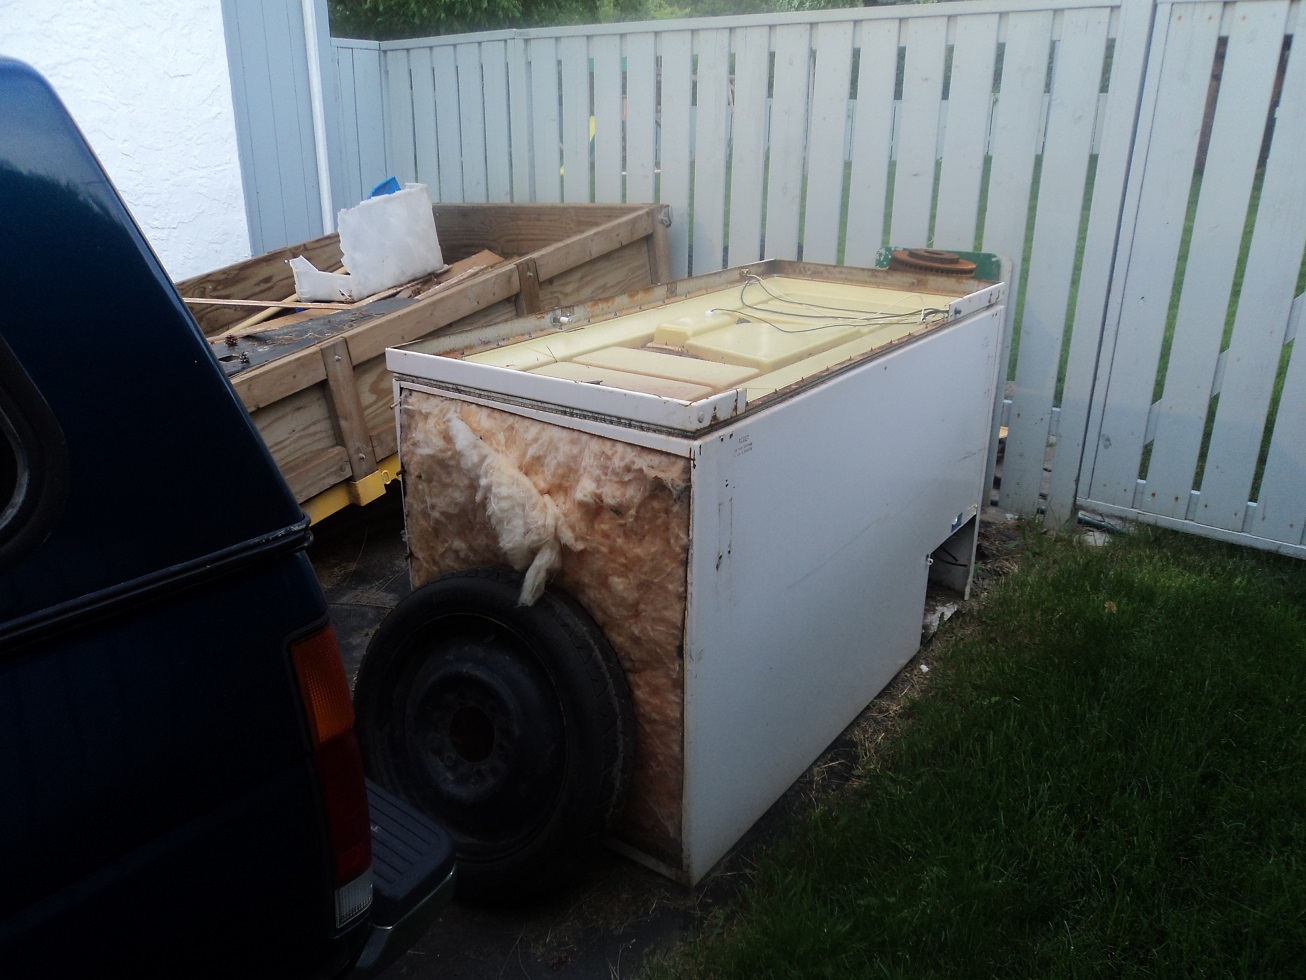
If it looks like “Appliance White” sheet metal, it’s because it is. It’s from a dead freezer that came with our house (I hauled that puppy up from the basement, by my two wee chicken arms, all by myself, thank you very much!).
In my boxes of parts, I found the Firefly gas pedal. Made a bracket for it, and shortened it to fit. Now I just need to get a throttle cable sorted.
I was intending to switch out the TBI and run a Rochester and HEI distributor, but since I already have the parts and that means not having to swap intakes and what not, I might as well keep the TBI. Yet another vehicle of mine to MegaSquirt, I guess.
Got the throttle cable sorted out. Used the original Firefly cable, and fabricated a simple extension to connect to the TBI.
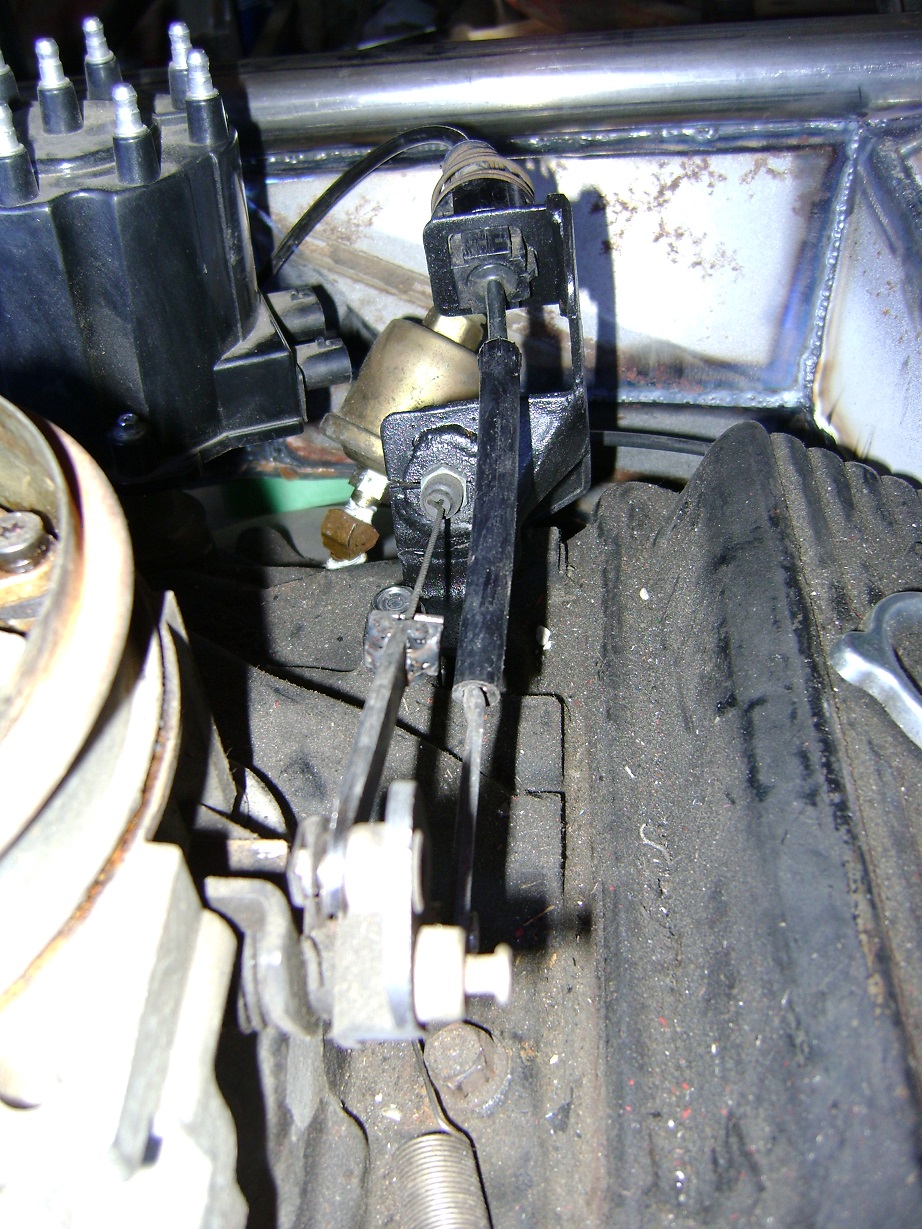
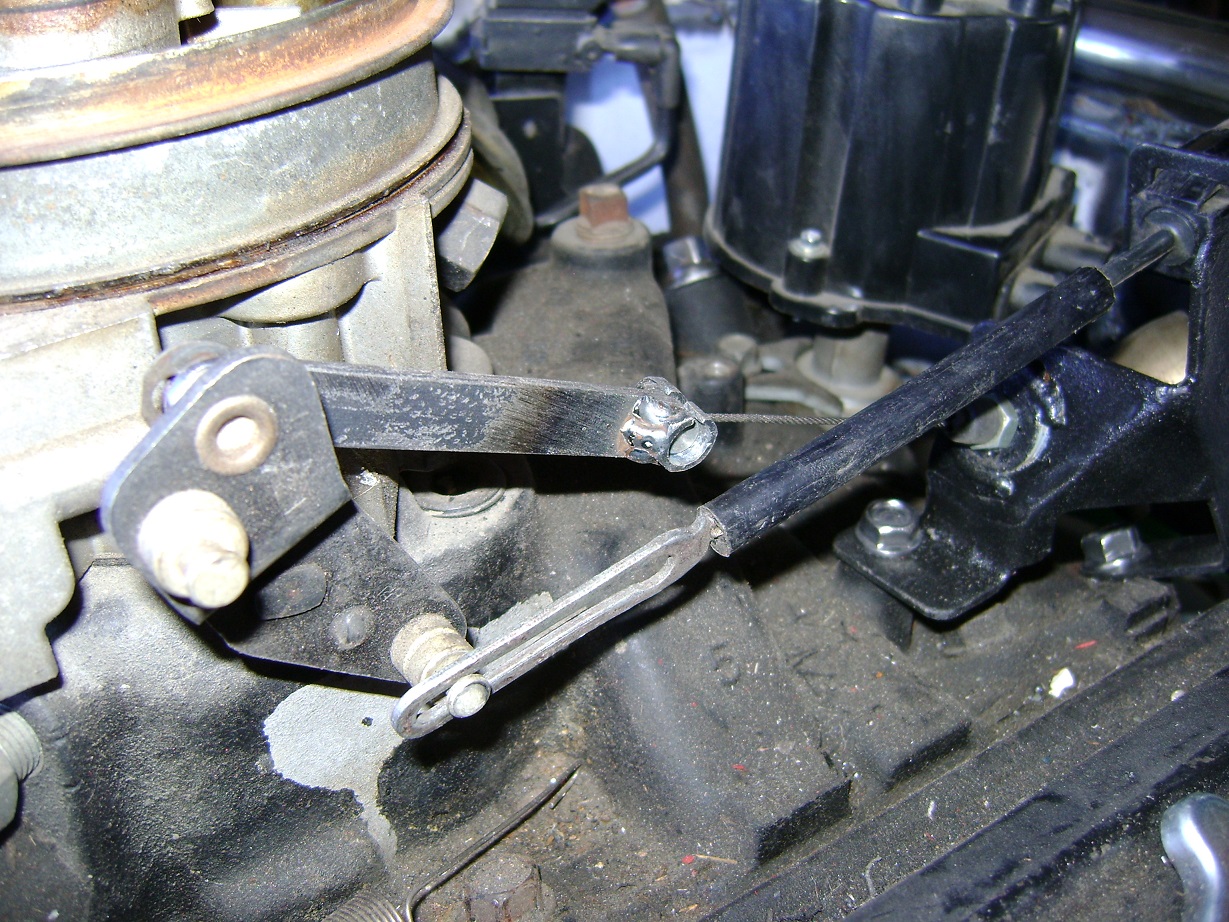
Range of motion seems ok.
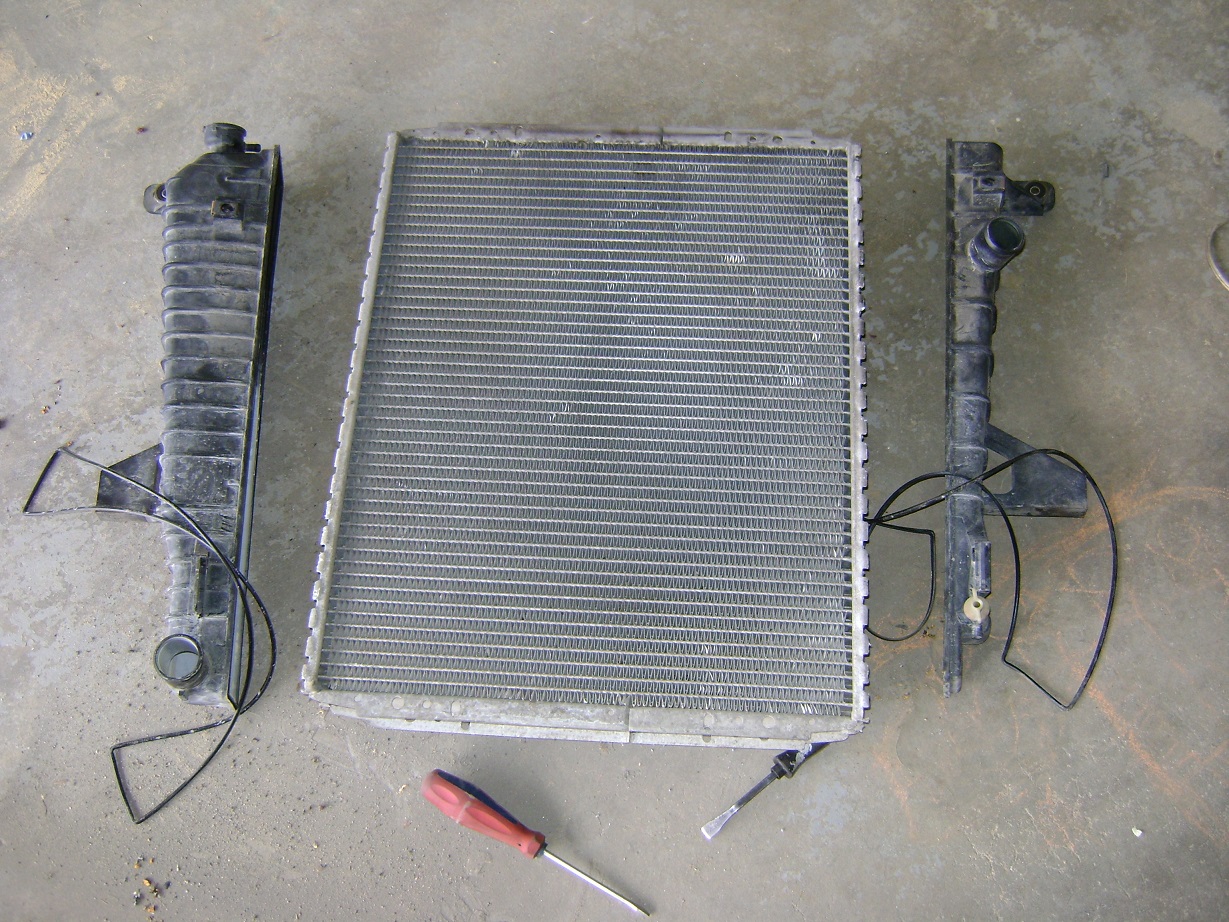
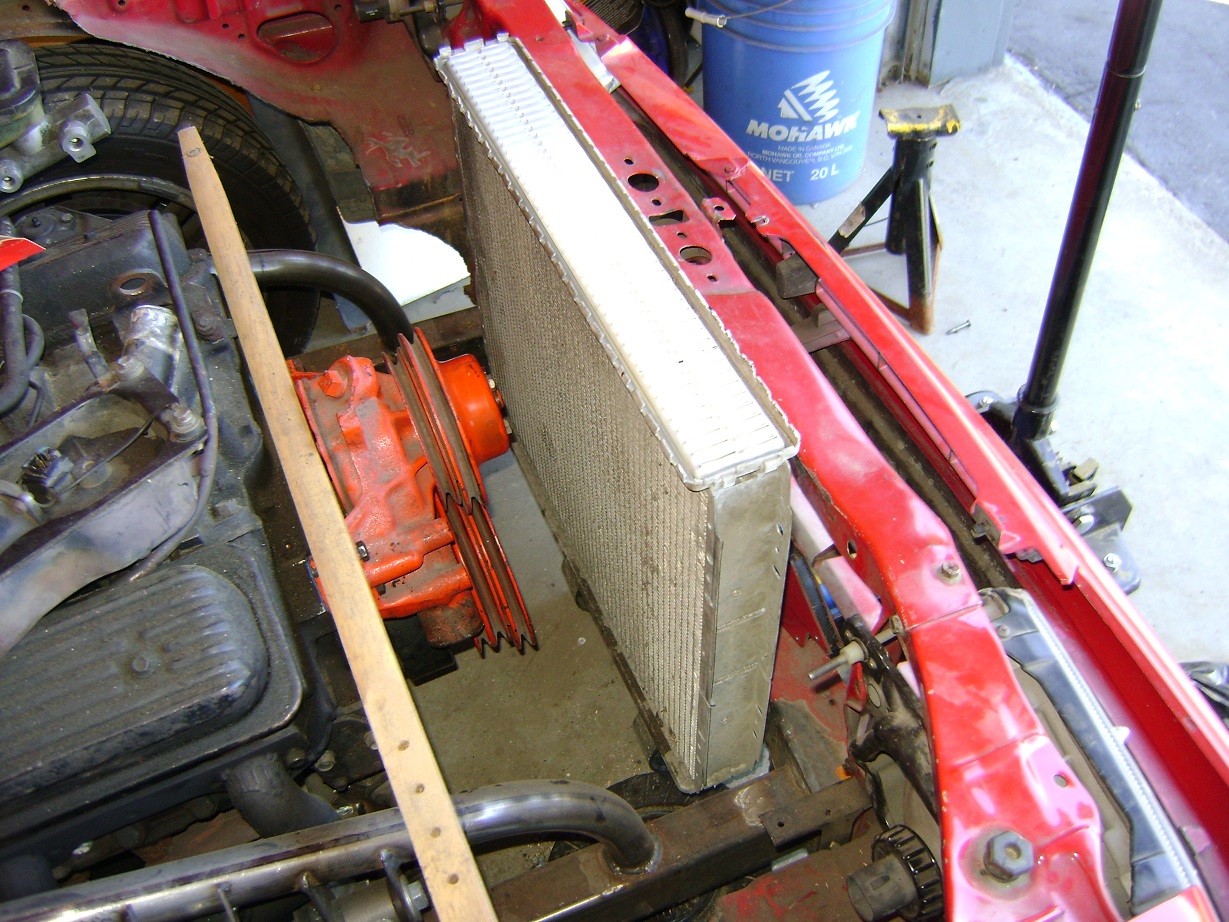
A friend gave me a Ford Ranger radiator with a split tank. The core looks good. If I run it down-flow, I can use the entire core. All I have to do is fabricate my own tanks.
At this point my union had been without a contract for some time, job action escalated to full-scale walkout and the employer locking us out as well. Prior to all this, we were advised to bring all our personal belongings home. I tried to haul all the remaining Firefly parts home.
Here is where we are so far, with the body panels set in place (haven’t had one of these pics in a while):
(June 2014)
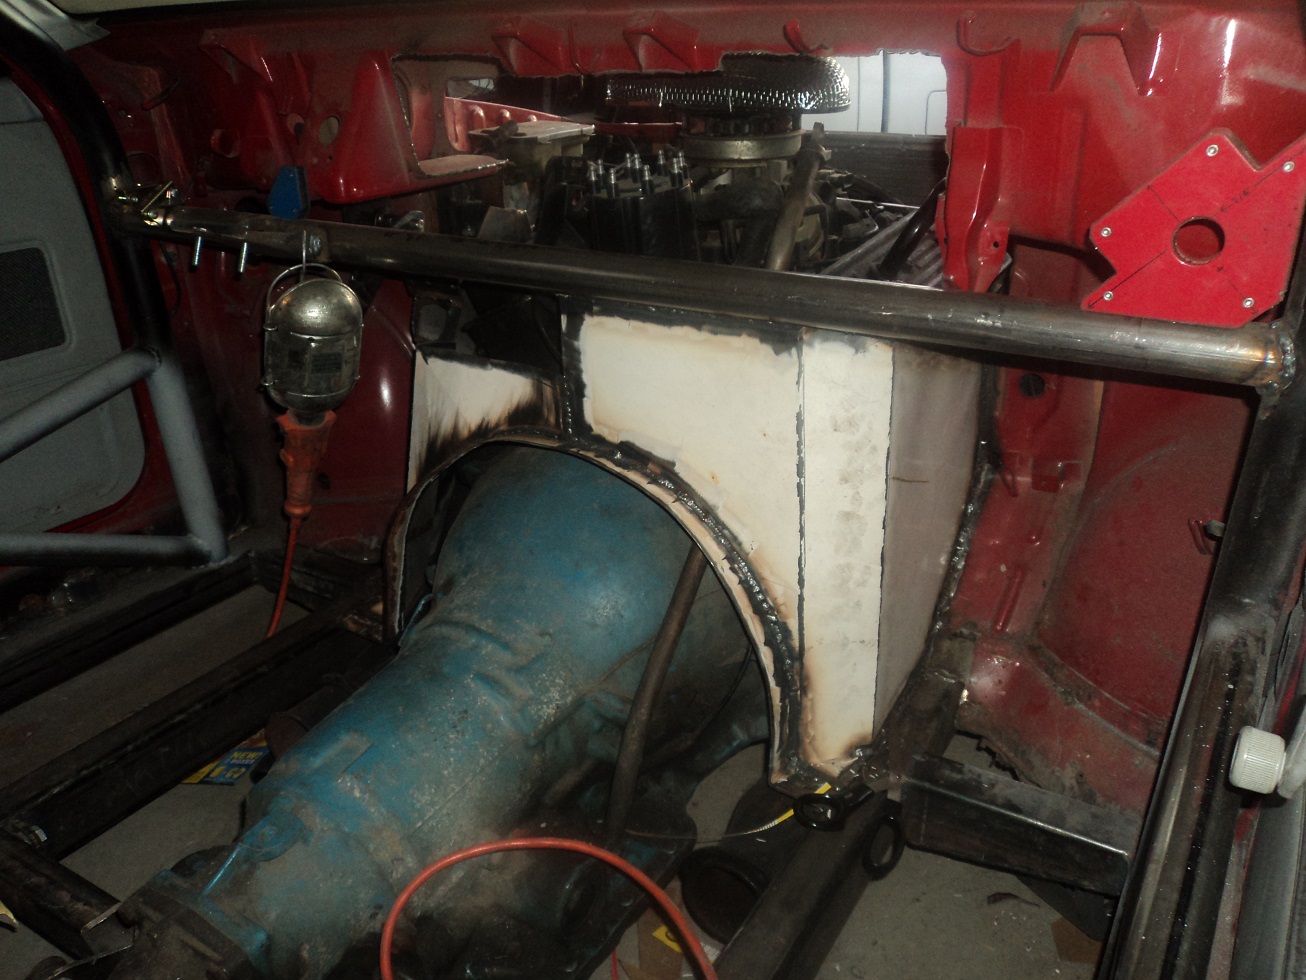
Next I took on the daunting task of trying to patch all the gaps between the body and the frame in the engine bay. I don’t seem to have a systematic approach to how I go about this. I work on a section until either it bores me or overwhelms me, then I work on something else.
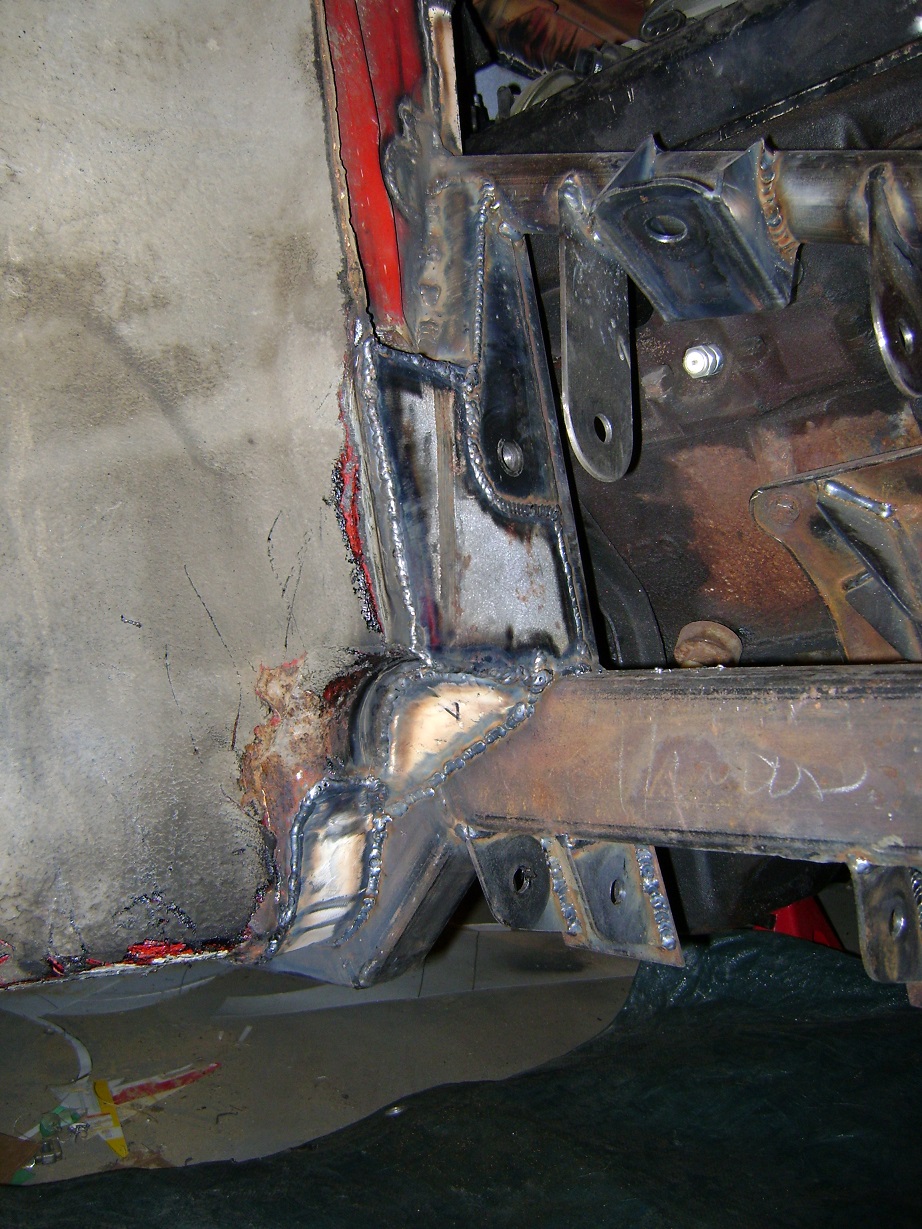
Patching complete
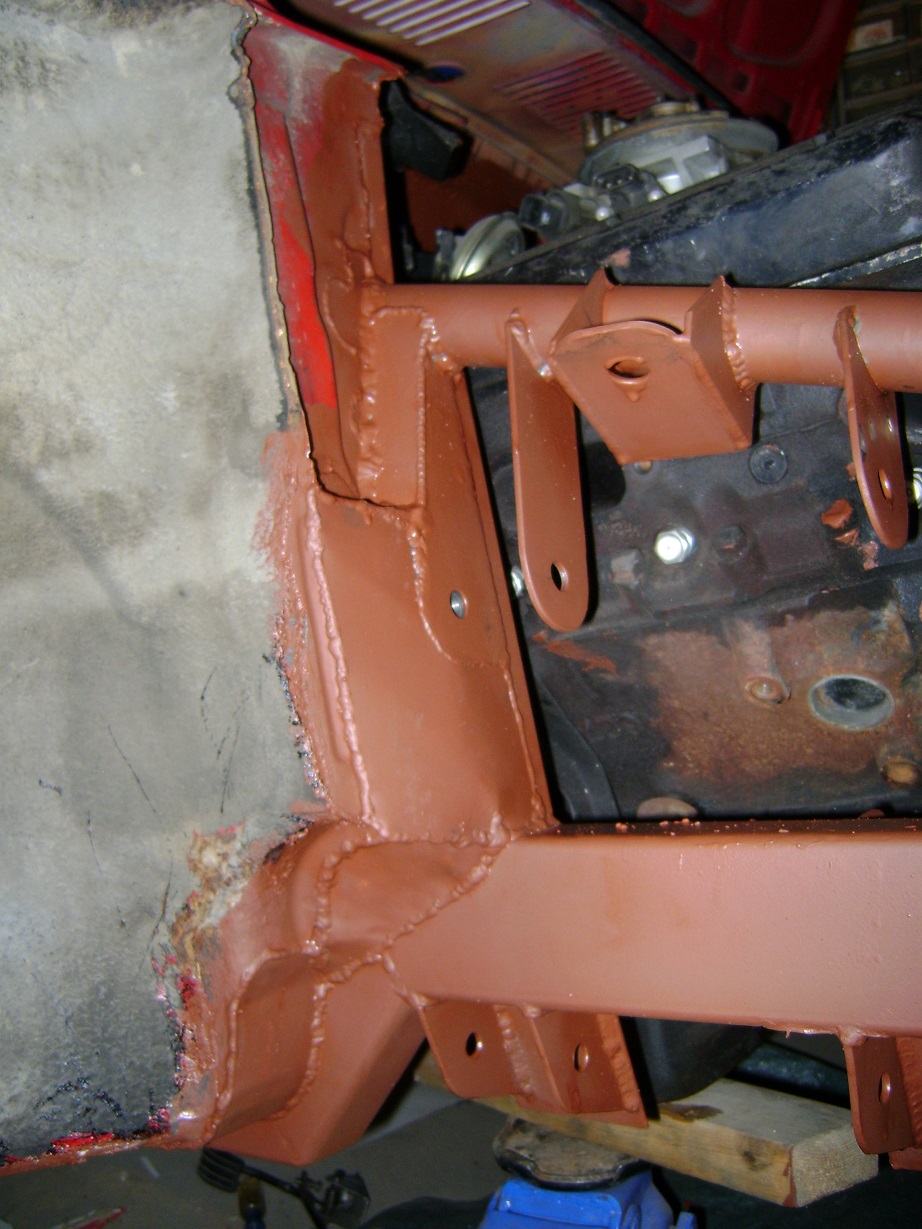
Primer, ready for seam-sealing.

I got excited and painted up to the driver’s side. I have to move the car away from the wall to patch and finish priming that side.
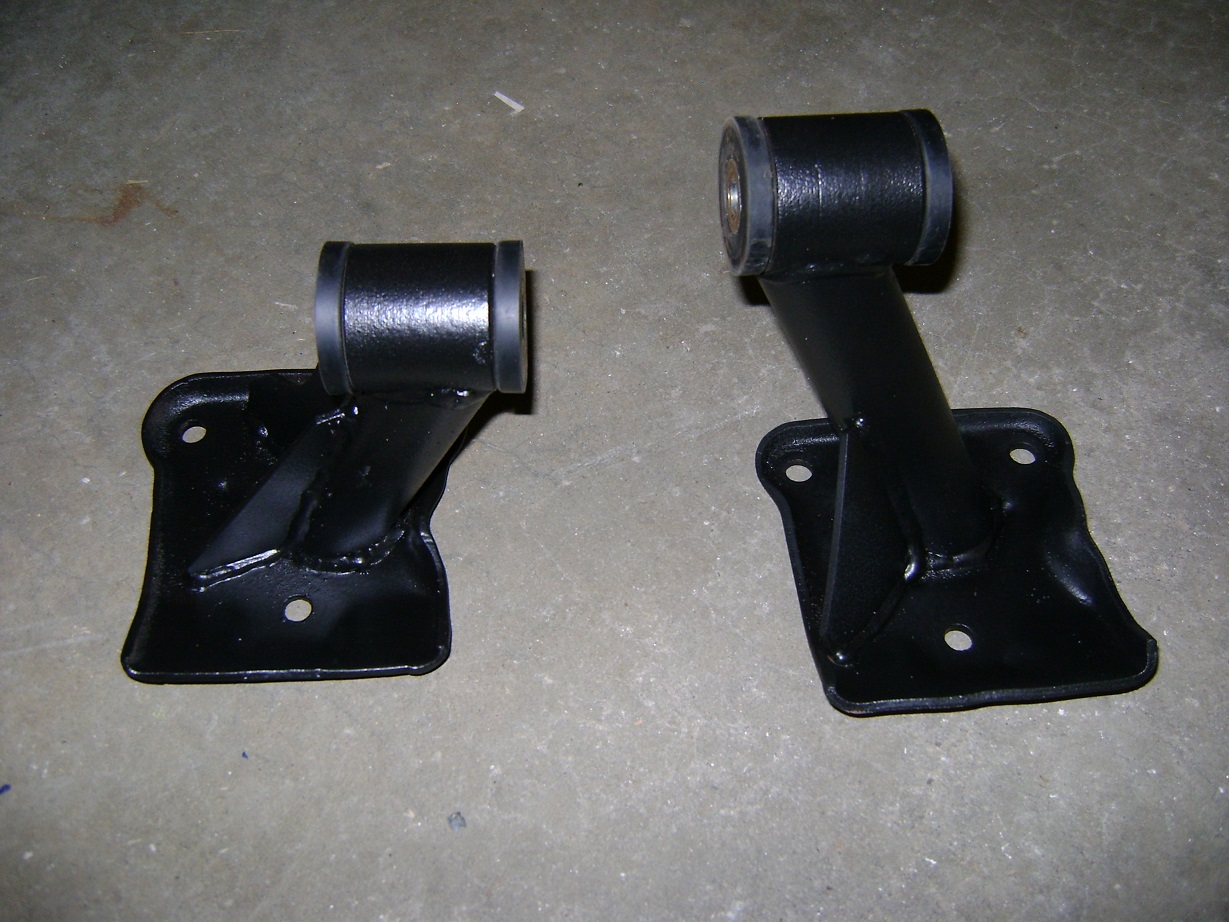
Motor mounts were painted in boxliner – my favourite paint.
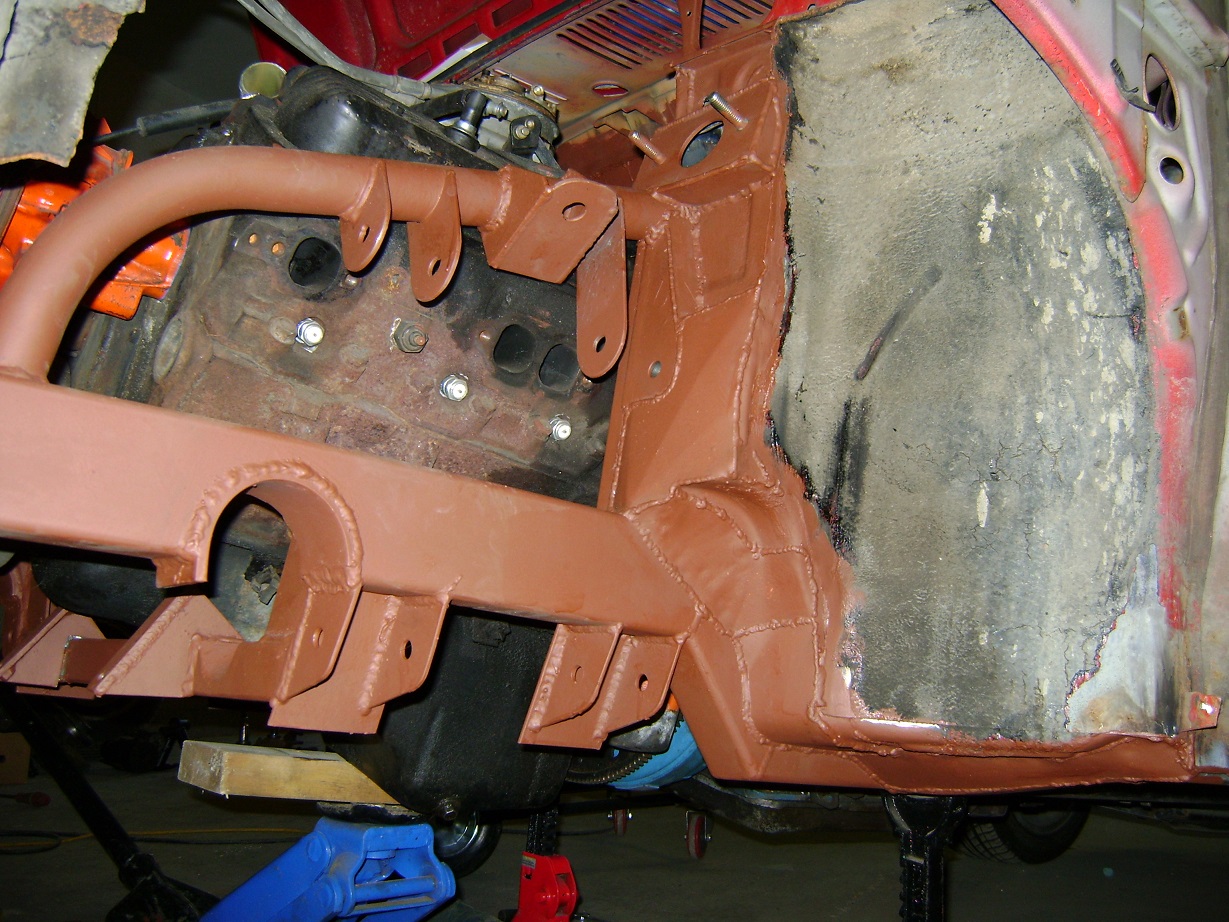
Pulled the car away from the side of the garage so I could get in the driver’s side and finish it off. Seam sealer next when the primer has fully dried.
Jigsaw puzzle fun
Inside all primed