|
[ STICK ] [ GAS ] [ MIG ] [ TIG ] First and Foremost: Welding is a skill. Developing a skill takes practice. You need to practice to get good at this. Welding is a method of joining two metals together by bringing them to their melting point and adding a filler metal. Melting together without a filler is called “fusing;” it has its place. We have four methods of welding in our metal shop:
We also have Brazing, and Silicon-Bronze Welding, which uses a lower melting temperature filler metal (usually a Bronze alloy). Each method of welding (or fusing, or brazing) has its place; there is not one type that will do everything.
FIRSTLY! ARC WELDING SAFETY!!
|
STICK WELDING |
WORKSHEET to go with POWERPOINT
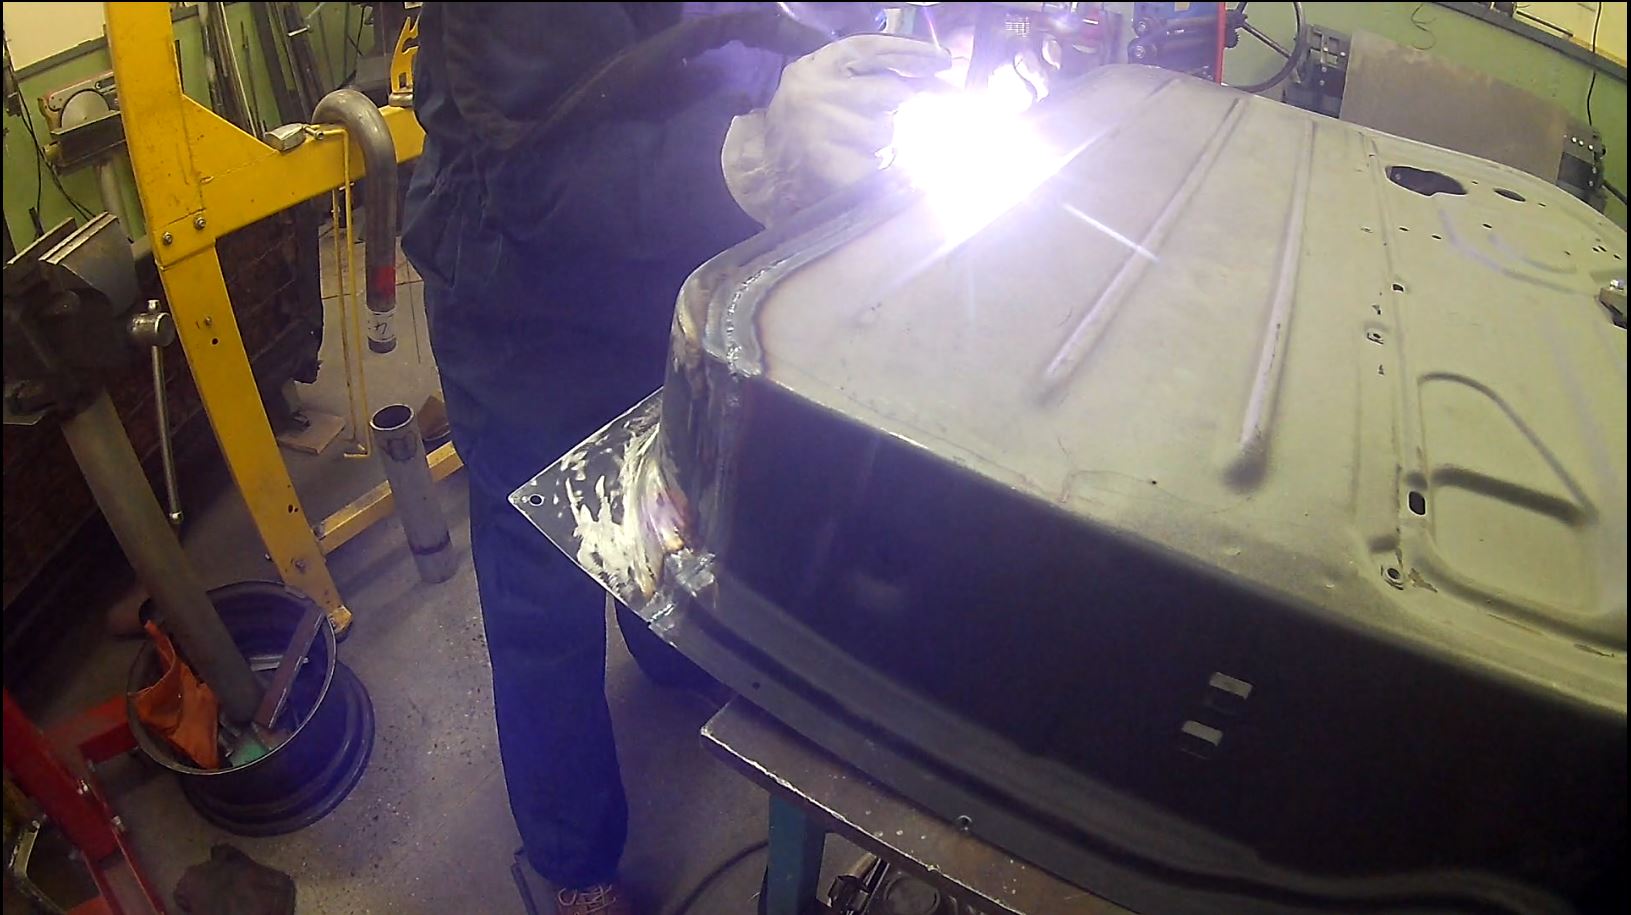
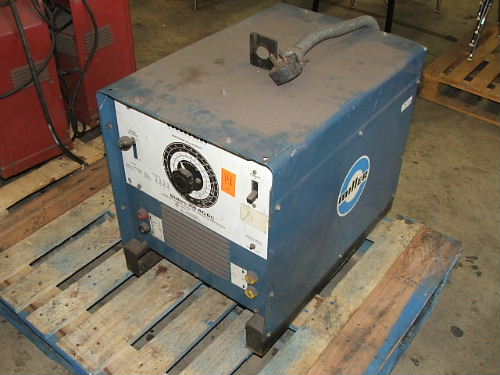
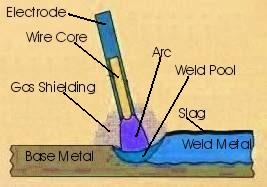
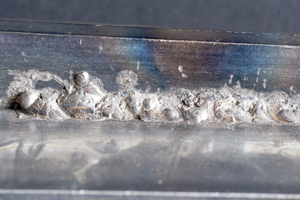
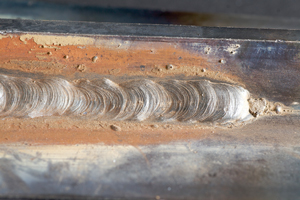
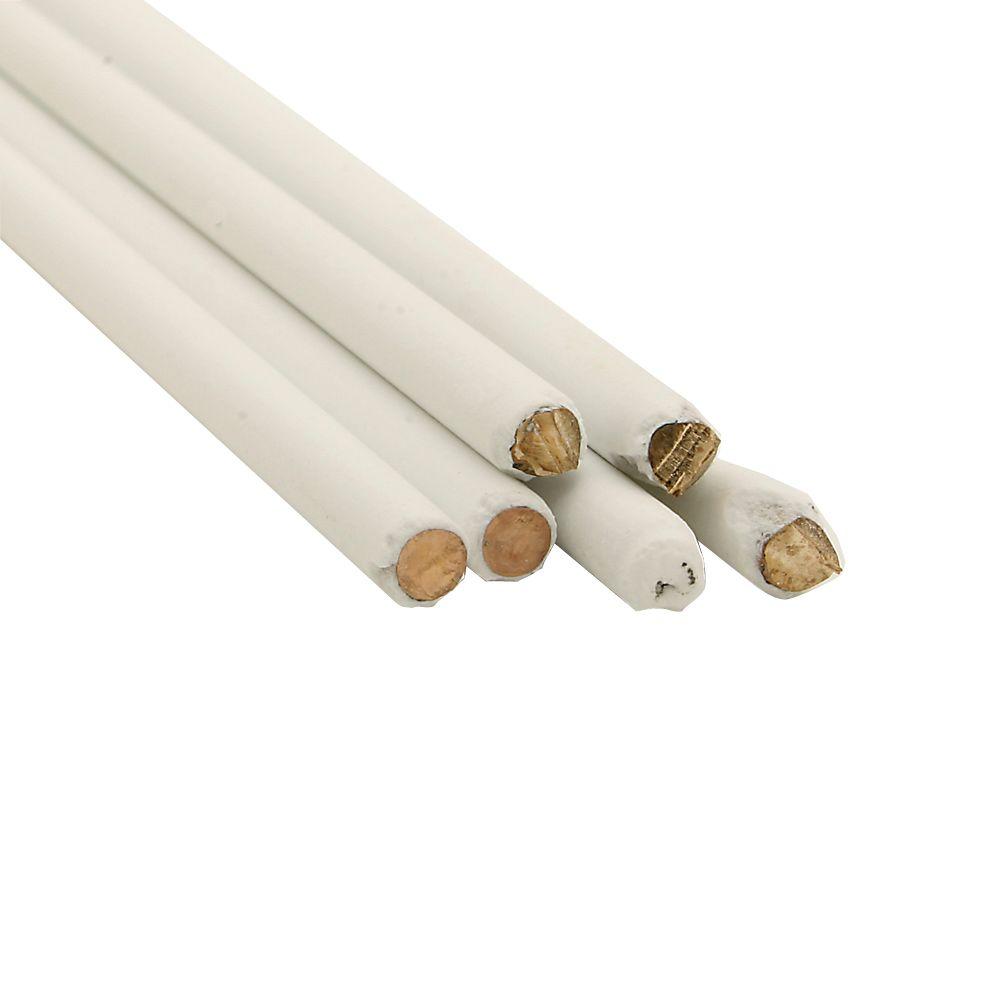
Stick welding is also known as Arc Welding or SMAW (Shielded Metal Arc Welding). Stick welding uses electricity to melt metals together. Extra metal is added from the consumable rod to the molten puddle to “build up” the weld (called the “weld bead”).
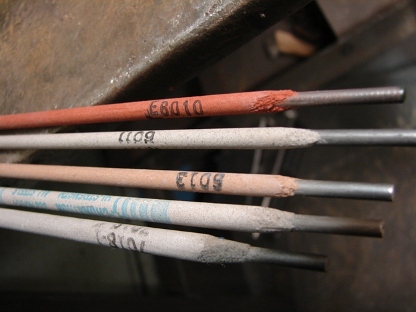
The extra metal added in stick welding come from “rods,” which have a coating around them. The coating helps control the electricity (the “Arc”), and also melts off, cleaning the metal, and shielding the molten puddle from absorbing oxygen out of the air (making the weld porous and weak), and also insulates the weld as it cools for an annealing effect (less brittle). This coating turns as hard and as brittle as glass, and must be chipped off (wear good eye protection).
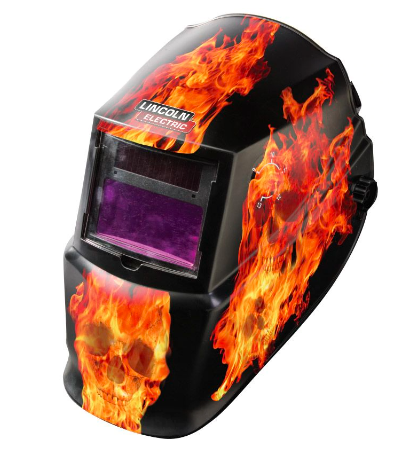
The light (called “flash”) from Arc is very damaging – do not have any exposed skin: wear leather and a dark tinted welding mask. DO NOT look at the arc without a welding mask!!!
Stick welding continues to be the most popular in heavy industry and way out in the toolies off the back of a truck. Want to make huge money? Some stick welding can be done under water!
TIPS & TECHNIQUESGenerally you will chose your current based on the thickness of the rod. A 1/8″ rod will like to work around 75 to125 amps. You want enough current to create a good puddle. Too little will just make the rod stick. Remember CLAMS:
Remember – if your weld looks like poo, it won’t hold – grind it out and do it again. This is a skill, and developing skill takes practice.
|
GAS WELDING |
WORKSHEET to go with VIDEO
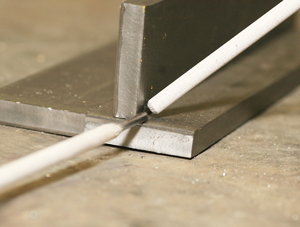
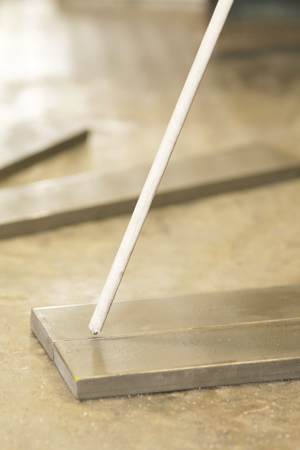
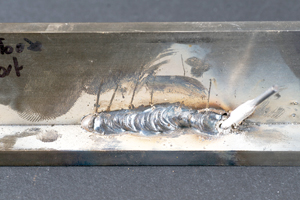
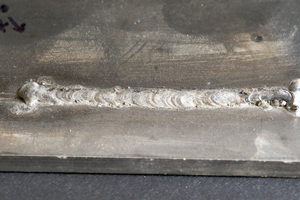
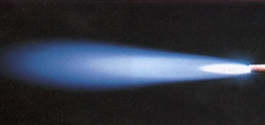
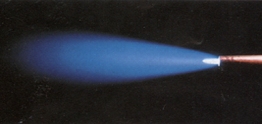
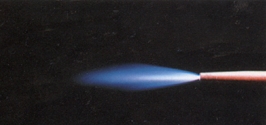
Oxy Acetylene (Gas) Welding uses a highly unstable fuel (Acetylene) and pure Oxygen to create a flame that is hot enough to melt the base material together (about 5800°F). A filler material is usually added to the molten puddle to “build up” the weld. A properly setup torch, can weld pretty much all metals (steel, aluminum, stainless…), as well as heat things up for bending or shaping, and with a cutting torch head, cut metal too! Fitment is important with this type of welding, since it is very difficult to weld air (good fitment ensures a good weld). The #1 rookie mistake is not getting a good puddle started – you want a good hot puddle to add filler rod to, NOT “snot ball” drip molten rod onto the cold steel. If your weld bead looks like you blew your nose on it, dude – ewww.
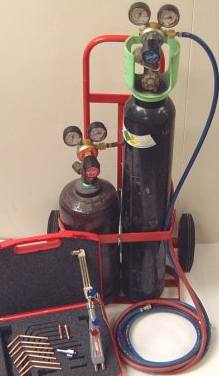
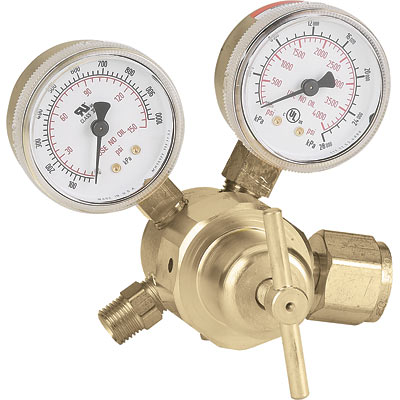
EQUIPMENTYou will need an Oxy-Acetylene welding set, a pair of proper gas-welding tinted goggles and some leather gloves (these tinted goggles are NOT suitable for electric arc welding). The torch set consists of a handle and tip, regulators, a tank of Oxygen and a tank of Acetylene. The Oxygen tank is extremely high pressure, and to prevent leaks the tank valve will be either fully open or fully closed. If the valve is not fully open in use, high pressure oxygen will leak past the internal seals into the atmosphere. Pure Oxygen is expensive – so let’s keep the valve in the bottle! The Acetylene tank is highly unstable. It must be kept upright, and the tank valve is only cracked 1/4 turn (“A twist-o’-the-wrist”) so that you can shut it off in a hurry, instead of going “oh crap, oh crap, oh crap, oh crap…” frantically trying to close a wide open tank valve. The Acetylene is not as high a tank pressure as the oxygen. Just like your barbeque tank is “fixed” to your barbeque, Oxy-Acetylene tanks must be secured to their stand or to the wall with chain so they cannot fall over. The high tank pressure is regulated down to a useable pressure – 5psi for most of the welding we do here.
STARTING THE TORCH
TIPS & TECHNIQUESI find gas welding very therapeutic; it is very relaxing. The single most important thing about any type of welding is that you must be comfortable.
SHUTTING OFF THE TORCH
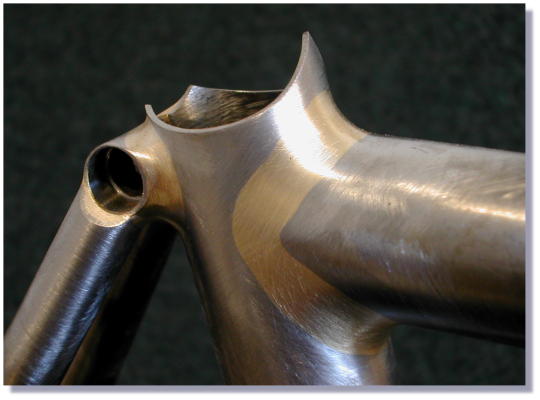
BRAZINGBrazing is a method of joining two metals using a third, lower-melting-temperature metal as a filler.
Braze is best used for small and delicate components where other methods would end up looking really sloppy and make the project look like garbage. In the bad old days all tube-frame race cars and aircraft frames were brazed. Today, many bicycle frames are brazed (or silicon-bronze-welded: a better weld). Braze itself has no structural strength – its strength is in the bond, so the fitment of the parts before welding is very important. In brazing “more” is not “merrier.” Hot metal will absorb oxygen out of the air and make bad welds. Brazing uses a flux (usually coated on the brazing rods) which melts first, cleans the metal surface, and coats the braze to protect it as it cools. DON’T break the flux off the brazing rods, you need it! The difference in technique between Gas Welding and Brazing:
One of the advantages of Brazing, it produces a smooth, flowing “weld,” and it can easily be UN-Brazed. DO NOT grind braze – it pollutes the stone.
|
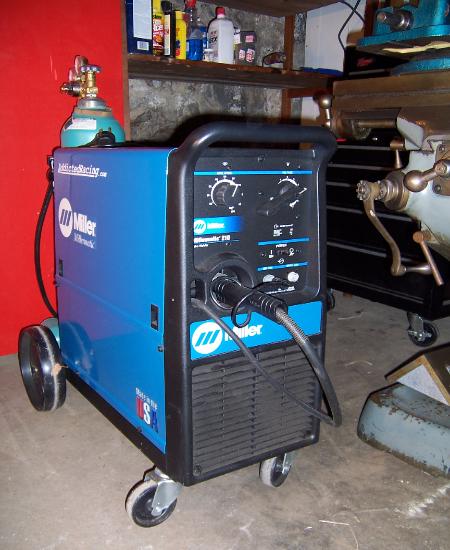
MIG WELDING |
WORKSHEET to go with POWERPOINT
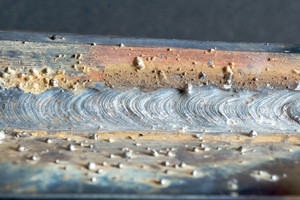
MIG stands for Metal Inert Gas, also known as “Wire Feed” and GMAW (Gas Metal Arc Welding). MIG welding involves an electrically charged wire that melts the base metal, and more wire is added automatically to form the weld bead. A shielding gas (usually CO2/Argon mix, or even CO2) prevents the molten metal from absorbing oxygen from the atmosphere. The light (called “flash”) from MIG is very damaging – do not have any exposed skin: wear leather and a dark tinted welding mask. DO NOT look at the arc without a welding mask!!! MIG is probably the easiest type of welding to master. I joke that “a drunken one-armed monkey can do it.” If you can drag your finger across a desk, you haz da mad tyte skilz yo.
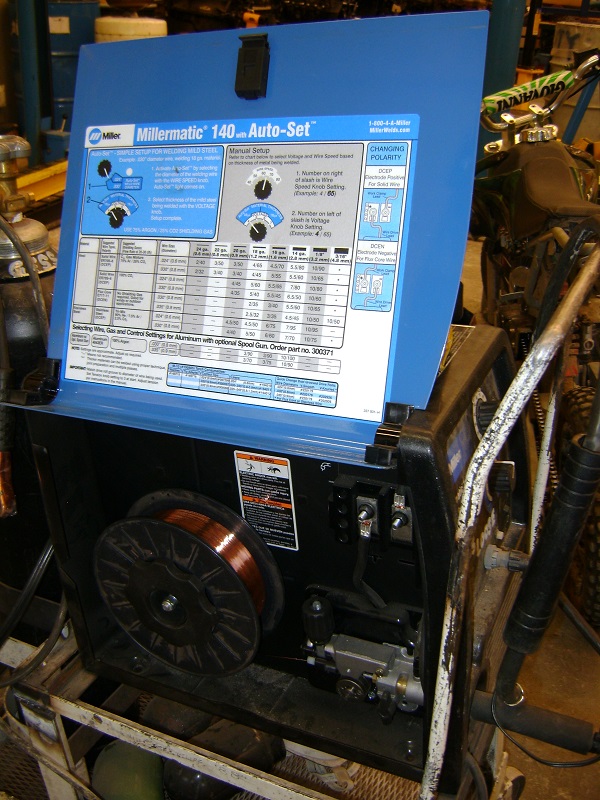
TIPS & TECHNIQUESMost MIG welders have a chart inside them that tells you what voltage, what wire speed and what gas flow you need based on what you are welding. The charts are an excellent place to start. I tend to go more by feel.
|
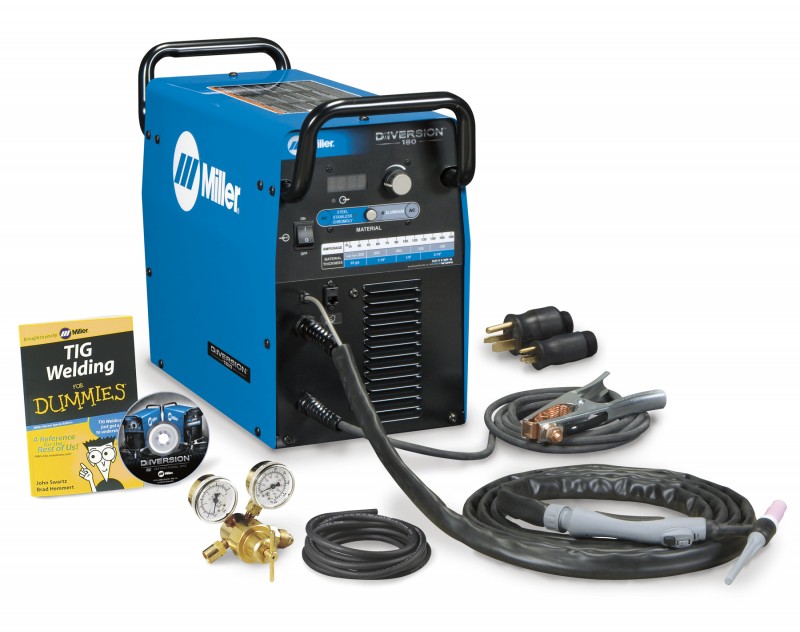
TIG WELDING |
WORKSHEET to go with POWERPOINT
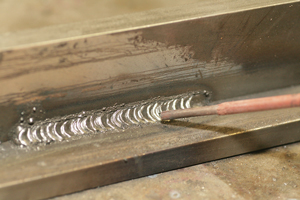
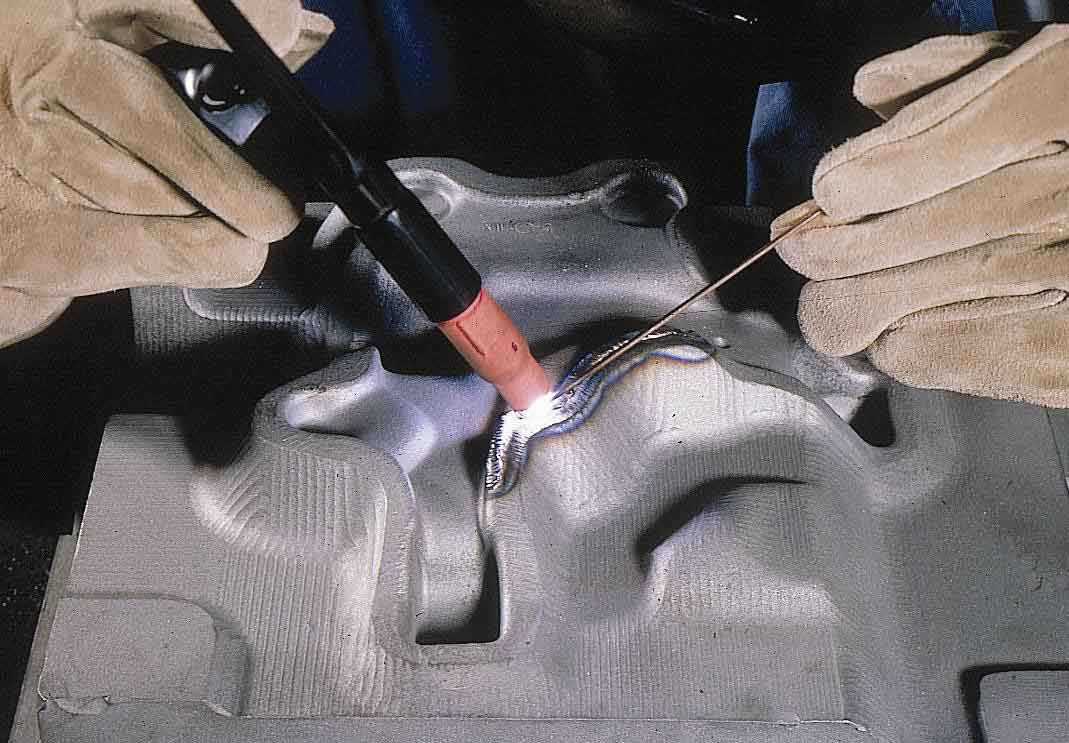
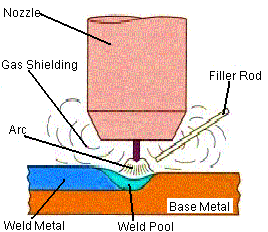
TIG stands for Tungsten Inert Gas, also called GTAW (Gas Tungsten Arc Welding). TIG welding involves an electrically charged Tungsten Electrode that melts the base metal, and more wire is added manually to form the weld bead. A shielding gas (usually 100% Argon) prevents the molten metal from absorbing oxygen from the atmosphere.
The flash from TIG is very damaging – do not have any exposed skin: wear leather and a dark tinted welding mask. DO NOT look at the arc without a welding mask!!! TIG is probably the hardest type of welding to master. I do not recommend it for beginners. If you have mastered gas welding, TIG is the next step. In gas welding, you can control the heat somewhat by taking the torch away. You cannot do that with TIG or you lose the arc. Instead, “heat” is controlled by a foot pedal. This means you are doing three things at once: One hand controls the torch One hand controls the filler rod One foot controls the current (heat) TIG welds are arguably the best for appearances and structural integrity. Welding stainless and welding aluminum is really nice with TIG. TIG welding is very precise, very quiet, with no spatter, no sparks, and little distortion. TIPS & TECHNIQUES
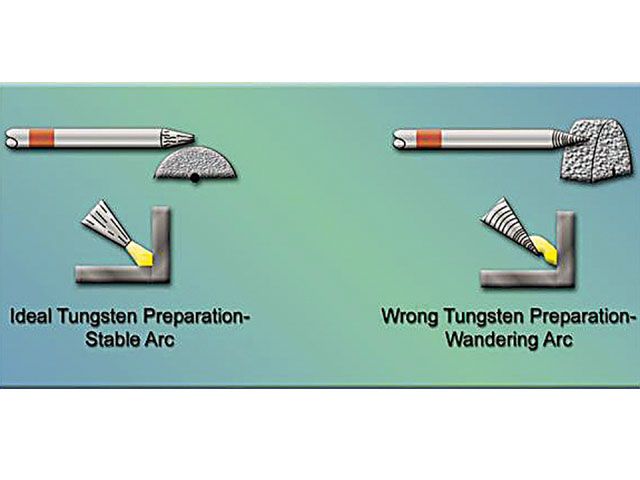
MrW’s “one-on-one-TIG-demo” given to students trying TIG for the first time: Sharpening Tungsten:
Why you should consider using a Gas Lens for your torch:
|
TIPS & TRICKS |
Weld Sequencing – Keep Your Projects From Warping |
PLASMA CUTTING |
|
|