[ Reinforcement ] [ Hand Wheel ] [ Tipping Die ] [ Stand ] [ Table ] [ Upper Bead Lifter-Uppinator ] [ Motorizing ]
REINFORCEMENT
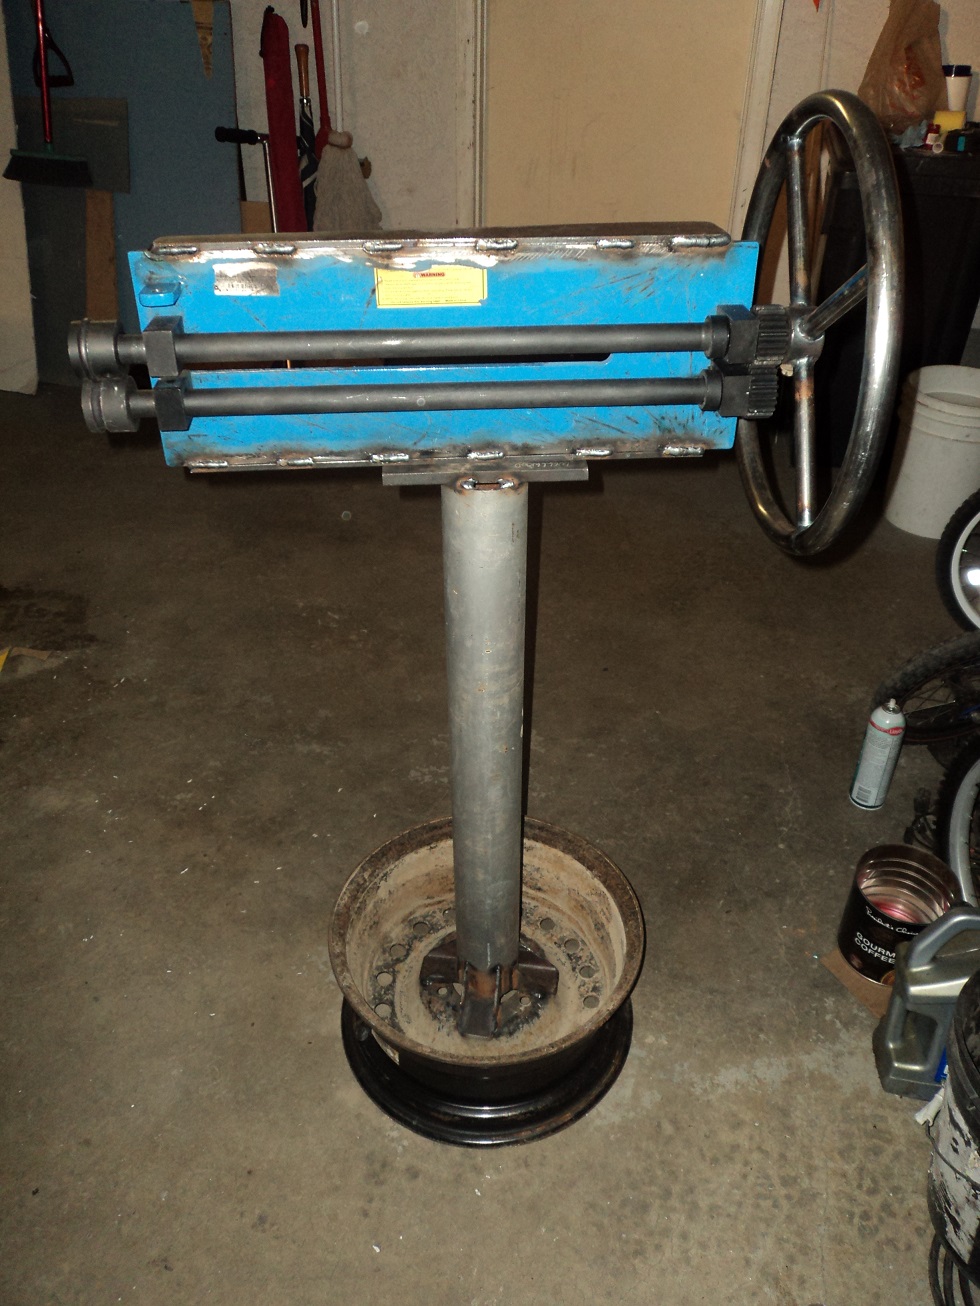
I did not make this bead roller. It was purchased from KMS Tools (on sale, and by gift cards), and is the same as Woodward Fab, Eastwood, Harbor Freight, and Princess Auto, among others. The simple design is flimsy. But not for long:
I added 1/4″x2-1/2″ braces, with a 2×2″ post to strengthen the spine. If that is the right word.
If I were to rebuild it entirely, I would make the entire thing out of 3/16″ or so box tubing. All of it. And I probably will at a later date.
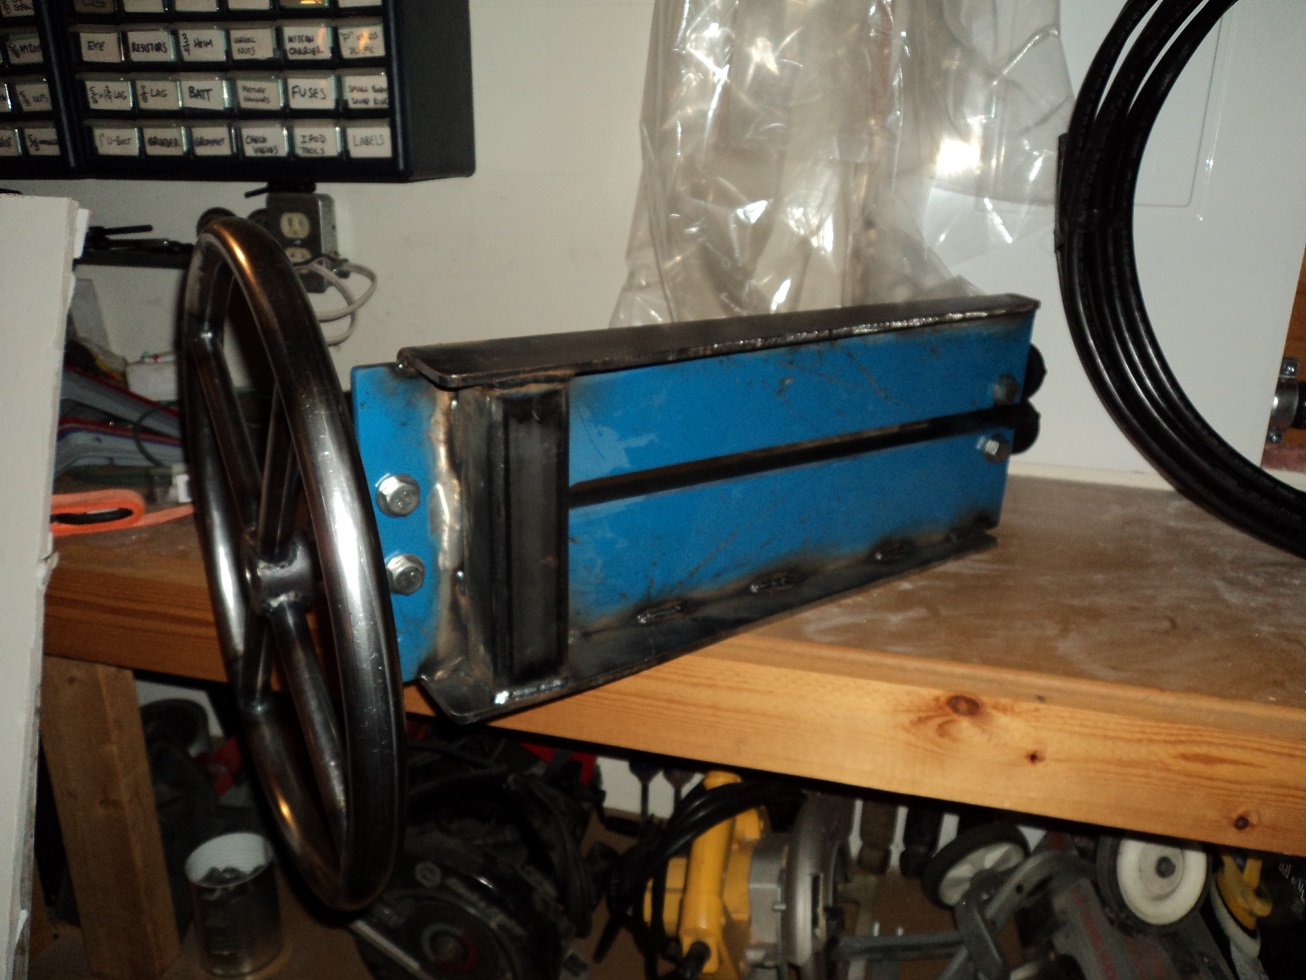
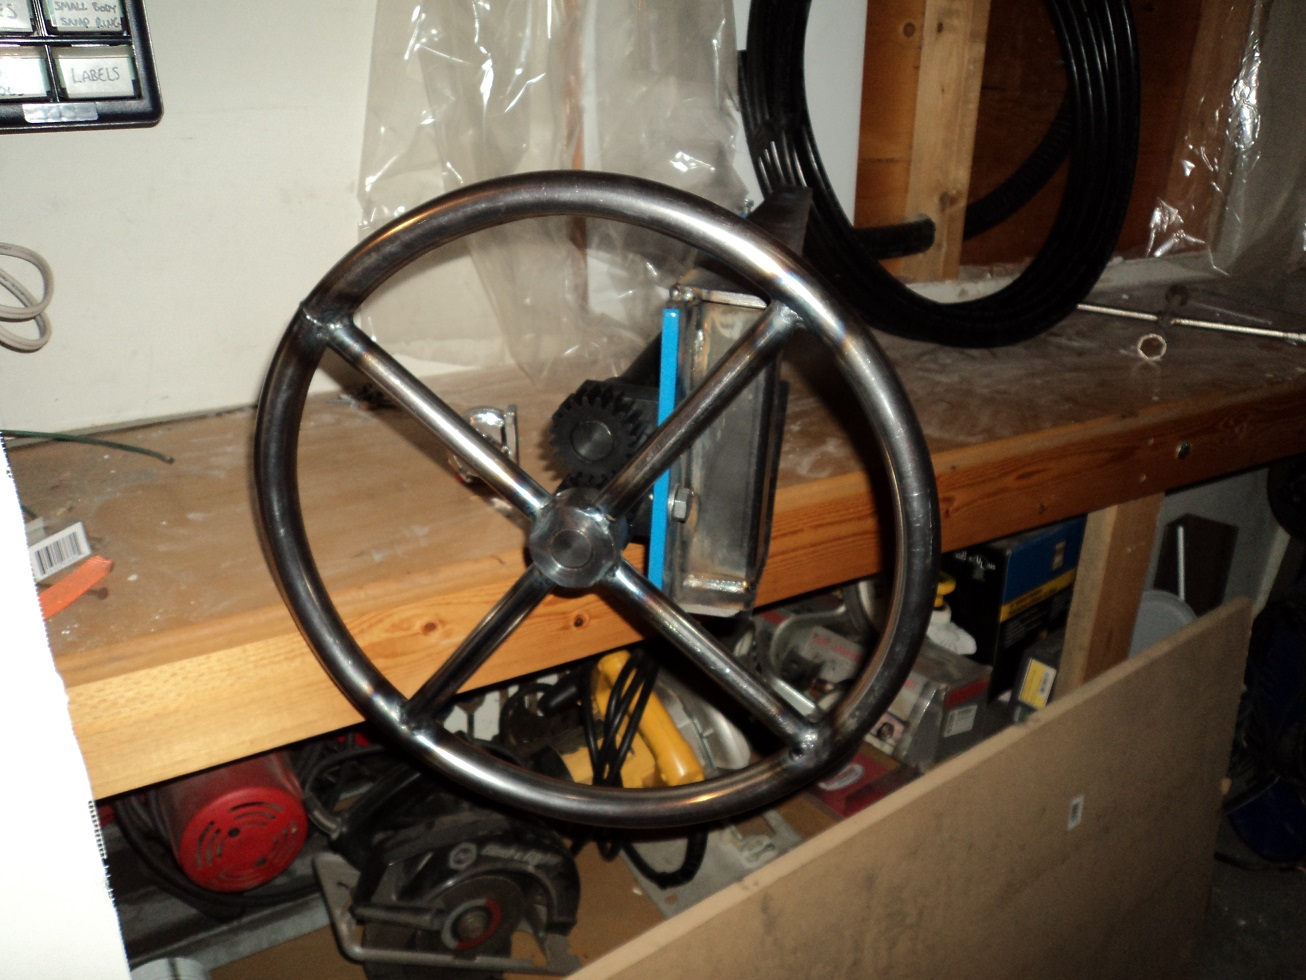
HAND WHEEL
I also fabricated a wheel instead of a crank, for more precise control – pulling a wheel down is a lot easier than cranking a handle.
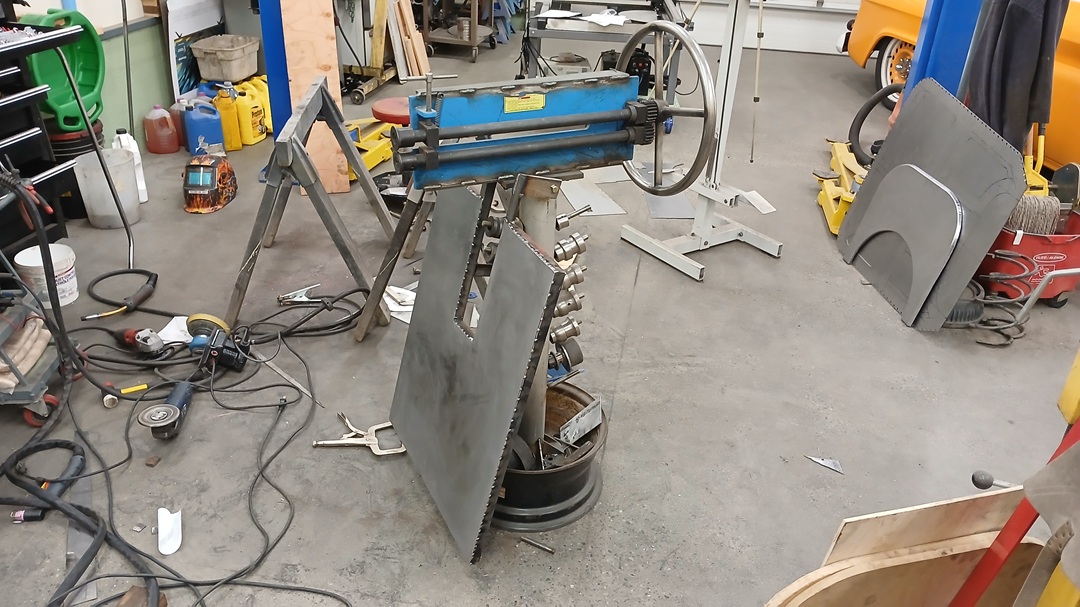
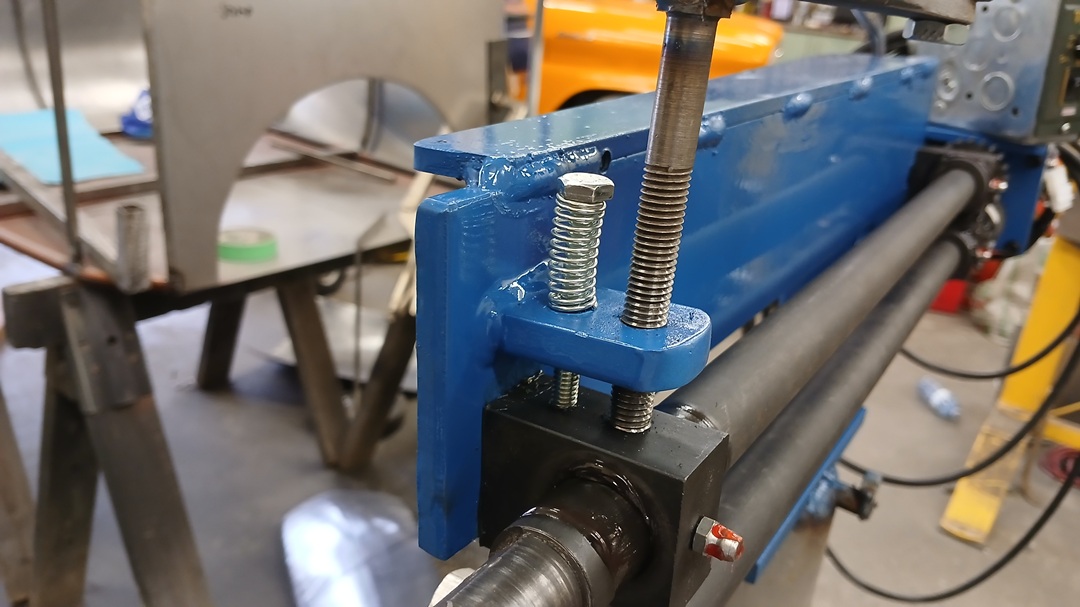
TIPPING DIE
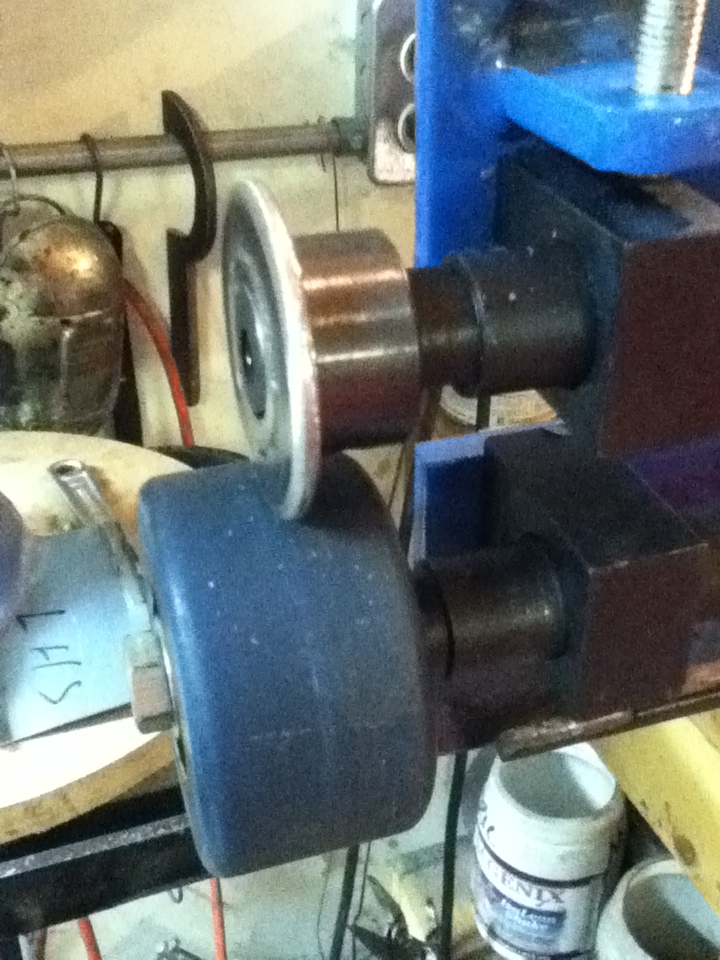
Turned out I really needed a “Tipping Die,” which did not come with this roller. So….. I made one. I used a 7/8″ ID sprocket hub, and the largest sprocket Princess Auto had, but then machined the teeth off. A tipping die is useful for forming flanges on sheet metal, and particularly good at curved flanges, which a sheet metal brake cannot do. As I understand it (and I am no pro at this), a tipping die works best with a soft wheel below it (I used a wheel from my street luge). I later made an even thinner die for crisper edges.
STAND
A stand was made using some large pipe I found on my property (holding up a basketball hoop), and an unused 16″ rim. I also switched the roller top-to-bottom so that the work is fed forward with a downward (more natural) pull on the wheel.
TABLE
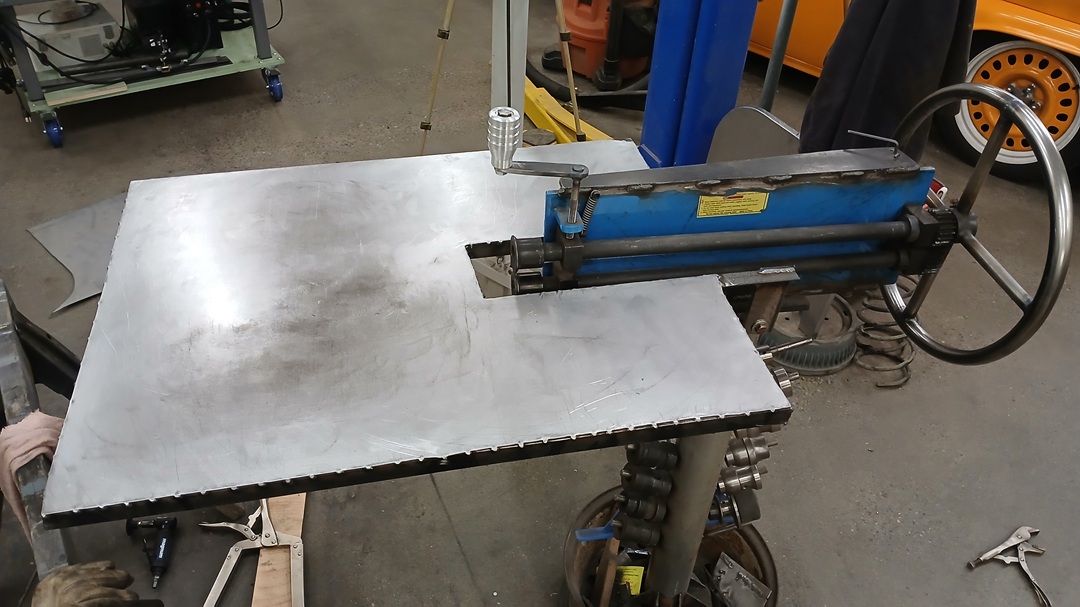
Eventually I had need of a support table.
Scrap metal and offcuts and some welding got me this 24×36″ table that folds down when not needed. Held in place by a vice grip.

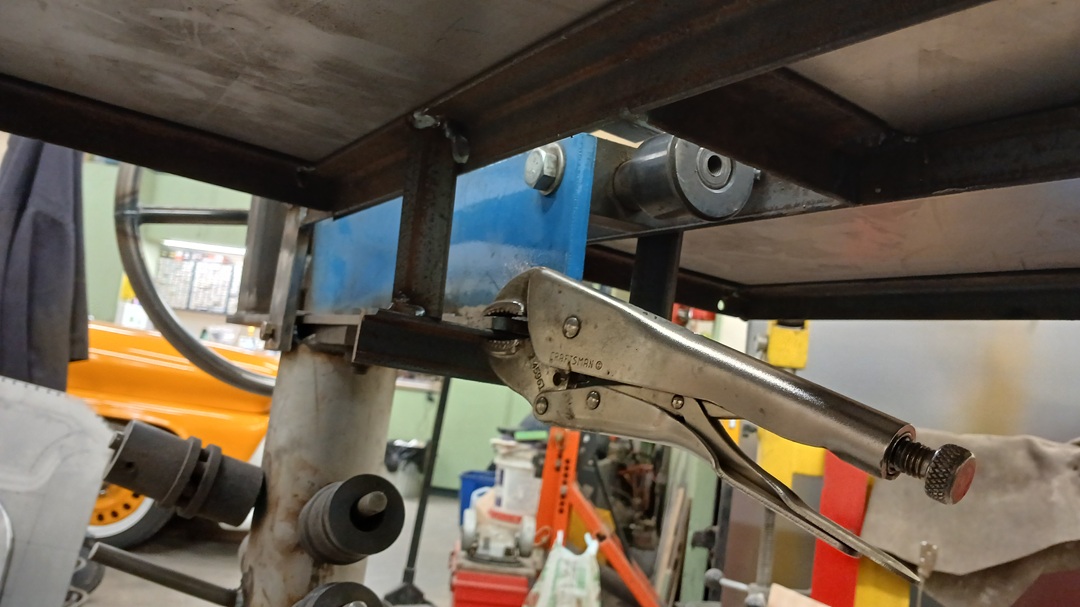
And fabricated a knob to make applying the dies more consistent (you need to count the turns in):
UPPER BEAD LIFTER-UPPINATOR
Added spring to pull up the upper die:
MOTORIZING
(And part of my 2025/26 “Professional Growth Plan” for Work)
(…hence the greater detail)
Bead-Rolling the floor of the T-Bucket revealed my humanoid limitations. I could not hold such a large piece AND turn the crank. The table (above) was a godsend, but I still struggled to do what I needed to do, and turn the crank.
Lots of people have motorized Bead Rollers. I want to do it cheapest.
I found on Amazon a variable-speed, reversible 110V motor on Amazon ($262)that LOOKED JUST LIKE the one at Woodward Fab (~$750). I also ordered a two-pedal foot controller from Amazon ($25), and picked up a love-joy coupler at Princess Auto ($25) to direct-drive the motor just like the Woodward one.
I spent a couple days fabricating a mount, hooked up the motor, and found that is ran WAY too fast, and had WAY too little power; I could stall it with my hands. Not acceptable.
Speed vs Power can be solved in gearing. So I bought the smallest and the largest #35 chain sprockets at Princess Auto ($9 – 12 tooth and $29 – 72 tooth) which give a 6:1 gear reduction. Chain I already had ($25). This required all the bracketry to be removed, and new ones made to mount the motor on the back side of the device, parallel to the shafts. A chain guard would have to be fabricated for safety, but I wanted to see if it would work first.
This, too, was WAY too fast and STILL too weak. Not acceptable.
I could reduce it even more, but I’d need to stack some chain drives to make this happen. Along the way, I ordered a 10-tooth ($26) and then found a 9-tooth ($17) drive sprocket, which eventually arrived. But I didn’t want to spend more money barking up the wrong tree, so….
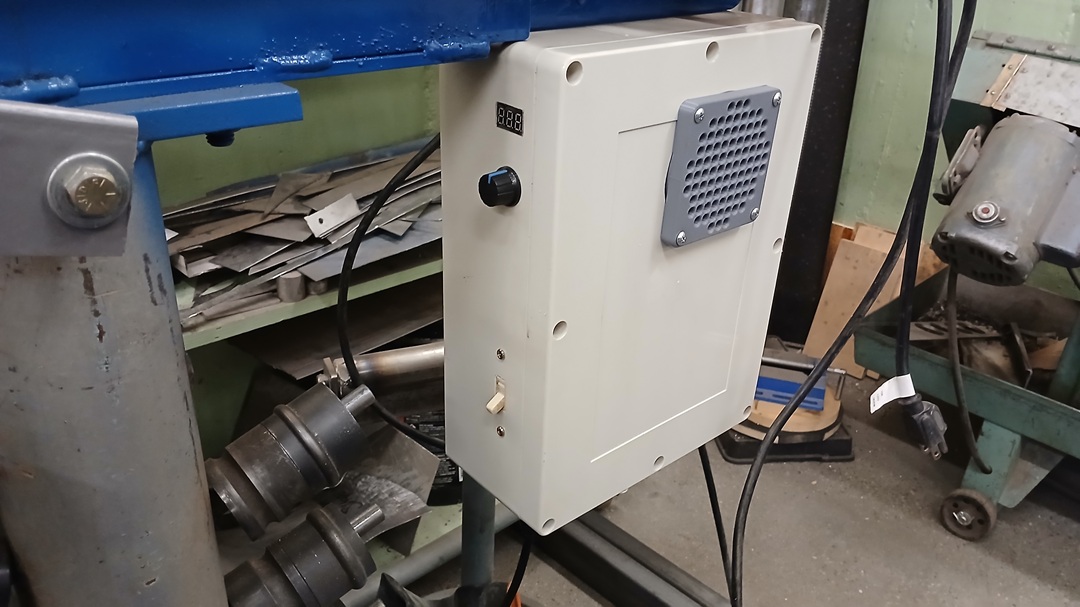
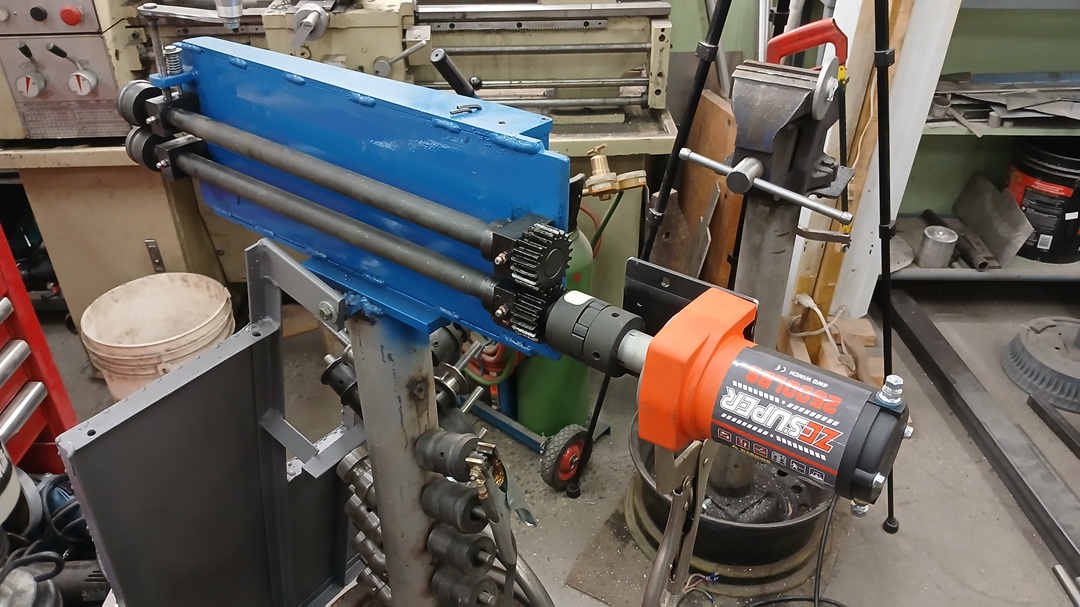
I did what the current “go-to” is: an ATV Winch ($100). Luckily, prices for these have come down since I last looked into them. The cheapest was again on Amazon. This of course is 12V, so I need a 110V-to-12V Power Supply ($48), plus a speed-controller($33). All of the electrical needs to be mounted in an enclosure ($39). Luckily I could still use the love-joy connector, and alter the bracketry packaged with the Winch.
The Winch spool got cut down, and machined to fit one of the love-joy couplers that I bored out significantly. The Winch “clutching” mechanism was deleted and “fixed”.
Everything got packaged and wired, but somehow I did not pay enough attention to what I was doing, and hooked the 12V input directly to the output of the speed controller. This is much like taking a Foot-Long Subway Steak-and-Cheese and instead of eating it, shoving it right up your ass. Not acceptable.
The speed controller did not recover from this – some of its internals became externals, and while I attempted to repair the circuit board (blown capacitors and circuit traces at a minimum), it was just easier to order another one. As of this writing, I am still waiting on the replacement. The Winch WORKED – it had POWER , but the speed controller was having a crisis.
In the midst of motorizing:
Costs The First Time: $312
Costs to add from the Second Time: $63
Costs to add from the Third Time: $220
The ATV Winch is the way to go for cheap, if you’re buying all new.
Finally, I added an actual power switch, as well as a 3D printed fan duct/cover, and drilled some air inlet holes in the bottom of the enclosure. This thing moves some air!