CLICK TO PRINT – QUESTION SHEET |
|
Intro |
|
|
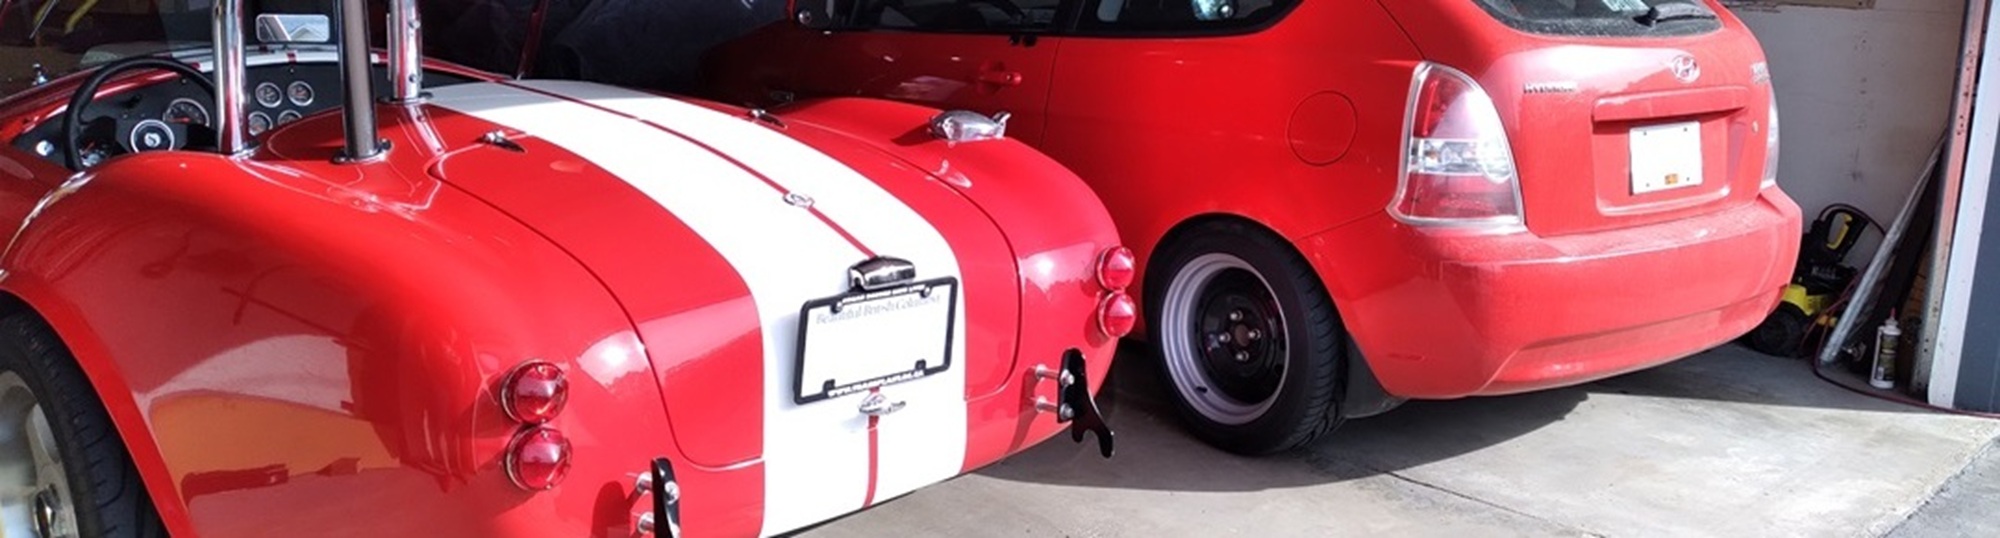
Autobody is one of the most “impressive” parts of automotive. Anyone can see the results of your work and be suitably impressed. Not everyone appreciates a well running engine, or a finely honed wheel alignment. I will walk you through the prep work and completion of a basic paint job. All of this is just skill development, something you have to spend time developing. Note: I hate bodywork. I’m not good at it, and I don’t like doing it because I’m not good at it. But, my skills have slowly been developing… We will look at the following stages of painting a vehicle:
|
|
Stripping |
|
|
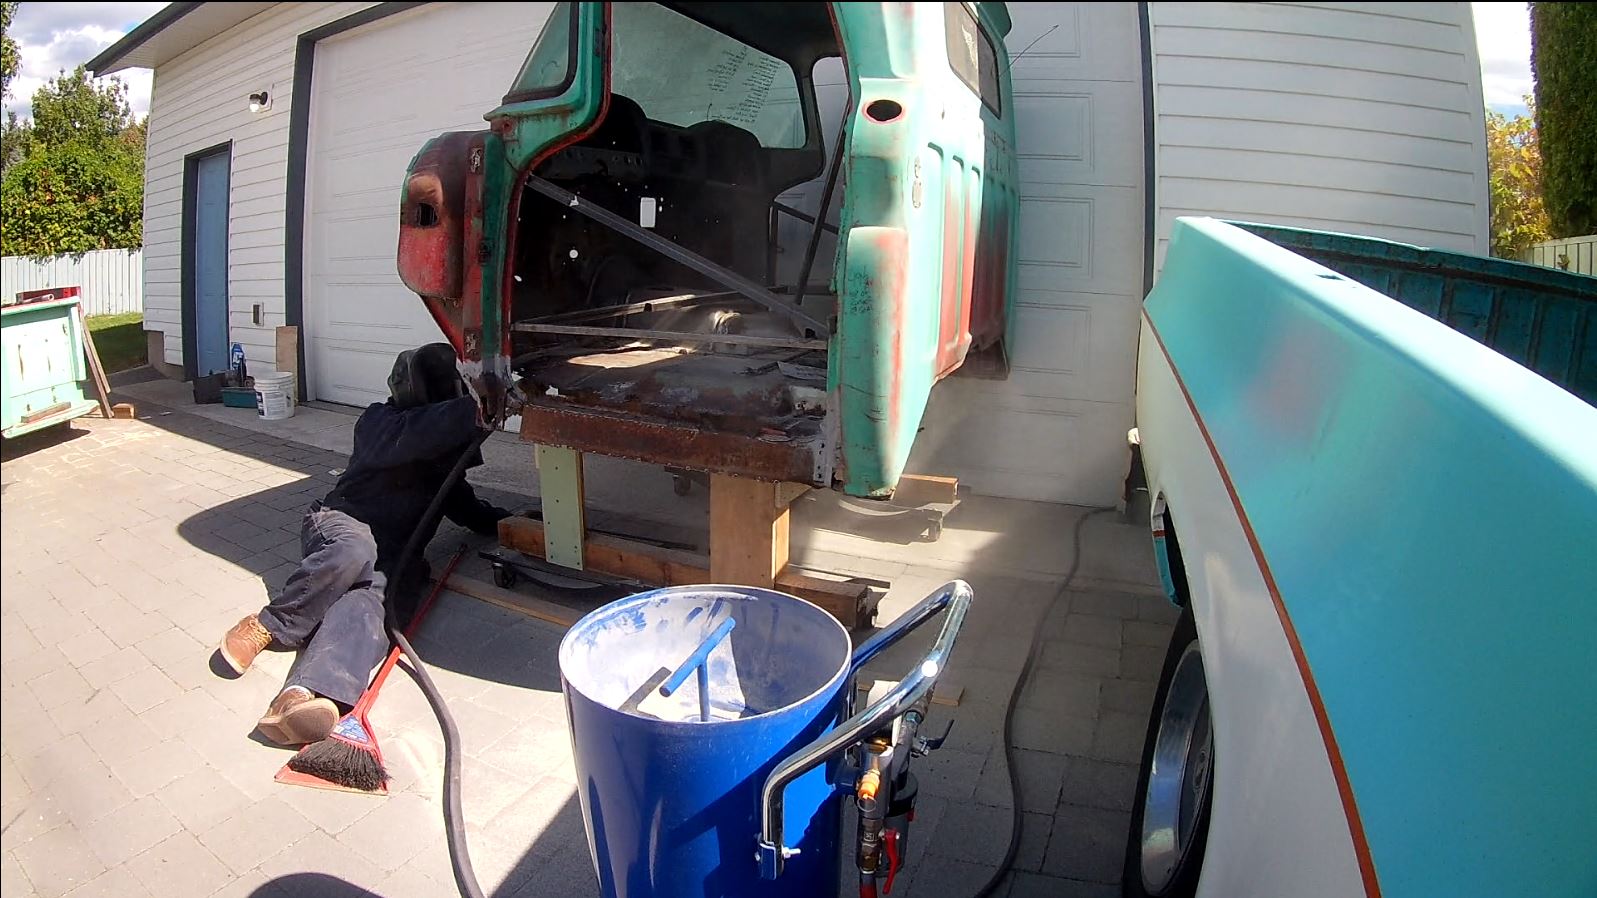
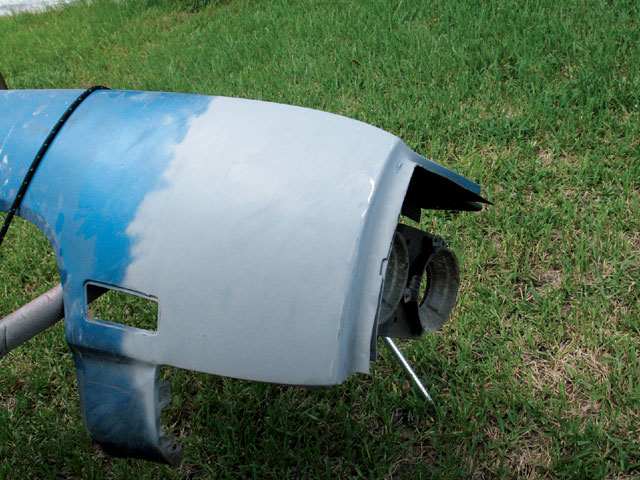
The first step is to remove everything that is in the way. The difference in any job is attention to detail. Attention to detail separates the good paint jobs from the awesome ones. You can see the crappy paint jobs in the back rows of sleazy car dealerships: overspray on the fenders, window trim, tires, tail lights. Nasty. To pull this off, you need to pull all this stuff off. Removing the lights and trim are easy – they either attach using fasteners, or are clipped or glued into place. Most trim and emblems today are often held on with double-sided tape – be prepared to have to clean off some adhesive residue, and to re-tape them in place. Most people do not remove all the windows and window trim, however you can often stuff a piece of string under the window rubber to raise it off the metal so you can prep/paint underneath it. Inadequate prep around edges is the number one cause of paint peeling up and/or chipping off. Doing a full body-colour change requires the most prep, as the underside of the hood and trunk and the door jambs will still be the original colour, unless you really go to town and prep and paint those too. Try to find a secure place to store the parts you remove. Putting them inside the car is common, but be careful not to damage the interior panels in the process. It is also a good idea to Tag & Bag the parts so you can remember what they are, where they go, etc.. Ziploc bags are awesome for this sort of stuff.
Me, removing everything at the speed of a pencil eraser:
|
|
Rust Repair |
|
|
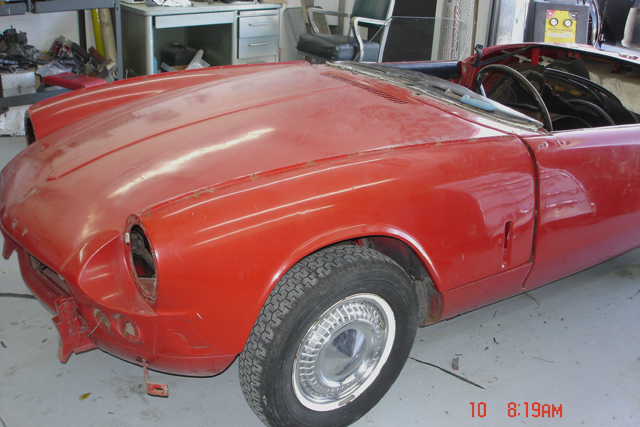
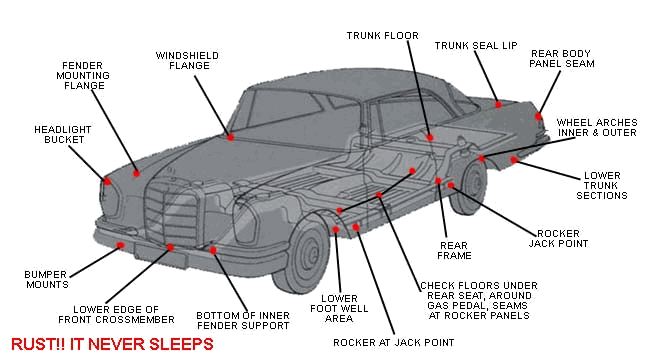
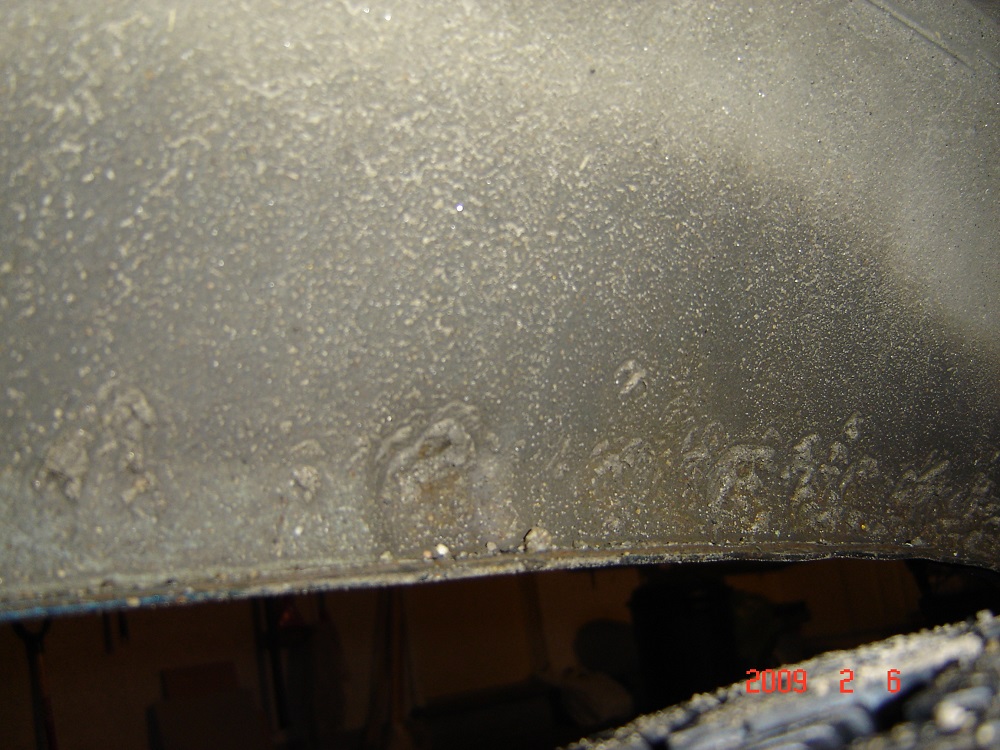
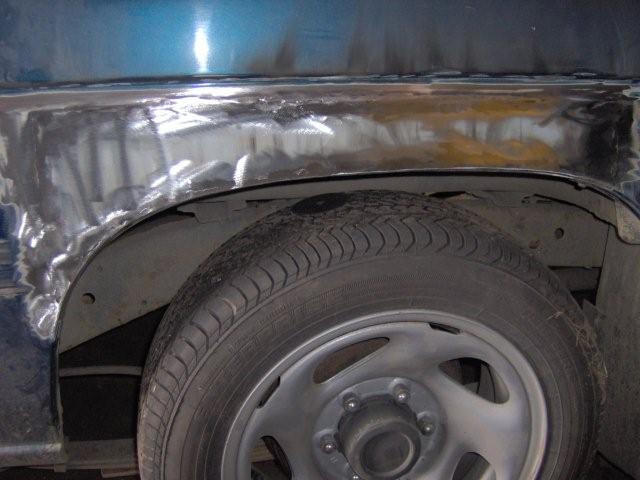
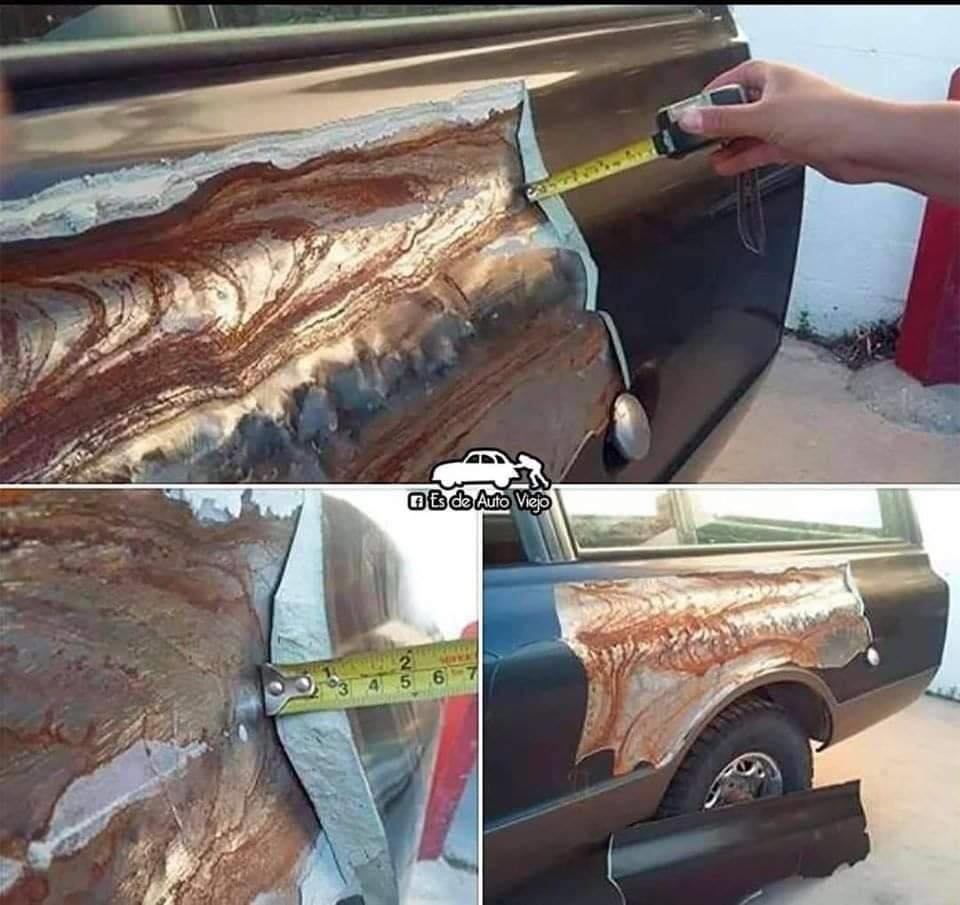
Rest assured, almost every vehicle is going to have rust. East Coast cars are the worst. If the car you are looking at buying is from the East Coast, run. Run away. Fast. The rust out east is voracious. Once you have the car all disassembled, you need to take a good look at where the problem areas are. Every car has their particular areas of severe rust. Study those areas from both the outside and the INSIDE of the panel. Just because you cannot see it through the paint does not mean it is not there. Any perforation of the metal on the back side, under the paint, is an invitation for rust to start. And it will. You don’t FIND rust, rust finds YOUHere are some of the most common rust areas, and are also good places to inspect vehicles you wish to buy:
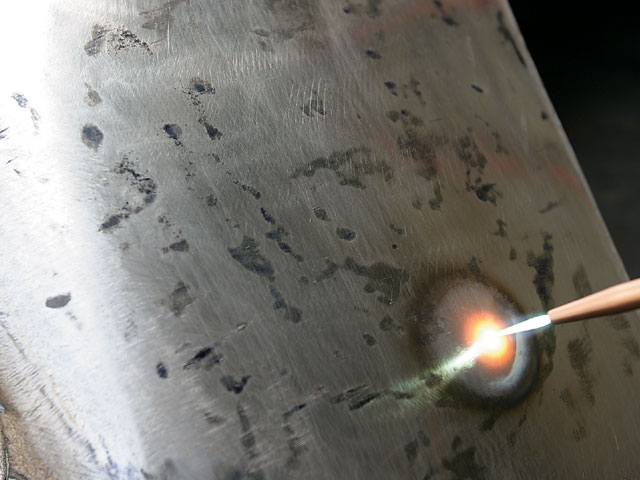
If you can stick a screwdriver through it, it’s terminal and needs to be fixed. Rust repair is best done like this:
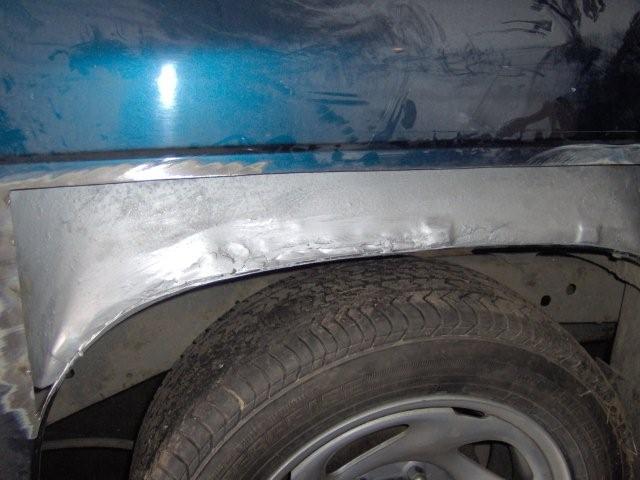
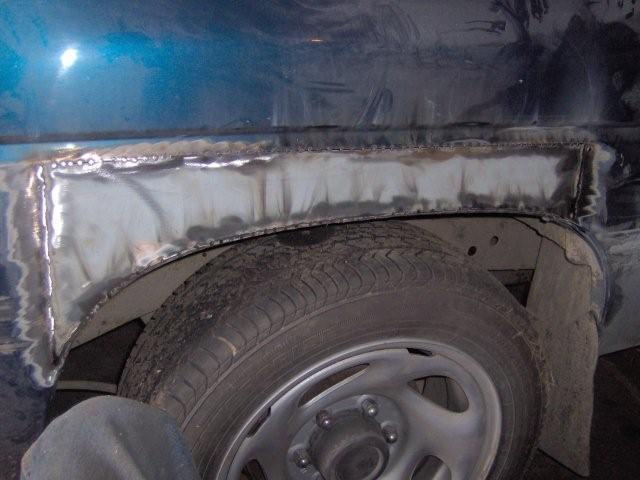
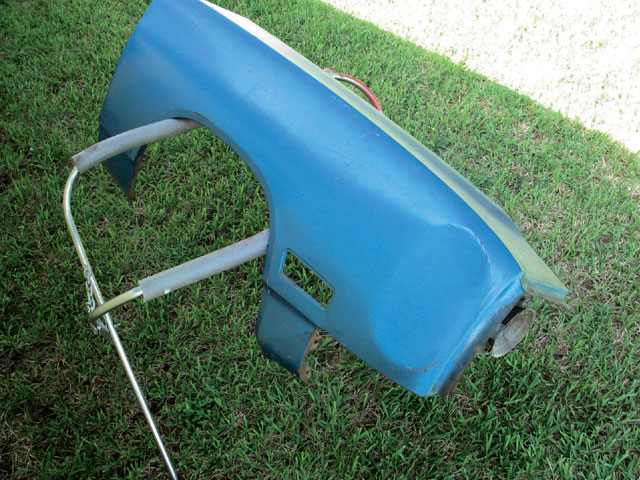
I bought an aftermarket replacement panel for the box side of my Nissan mini truck. While it looked correct, it was not curved correctly, the fender arch was not curved correctly, and the detail of the fender edge itself was absent. I was very unimpressed. I recommend not using the entire panel if you don’t have to. Only cut out the rust, and trim down the replacement panel to be only as big as you need. This requires less work, as well as less chance of really screwing it up big.
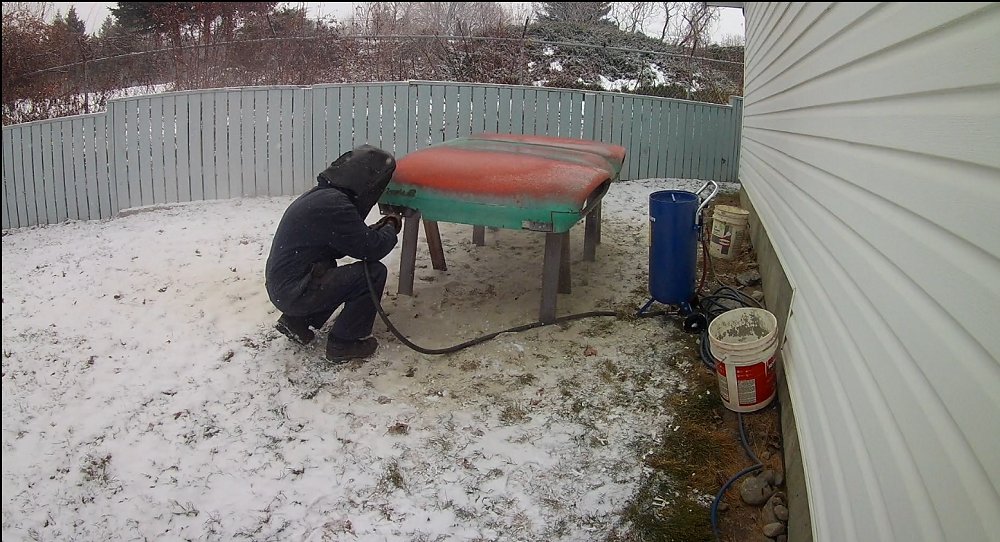
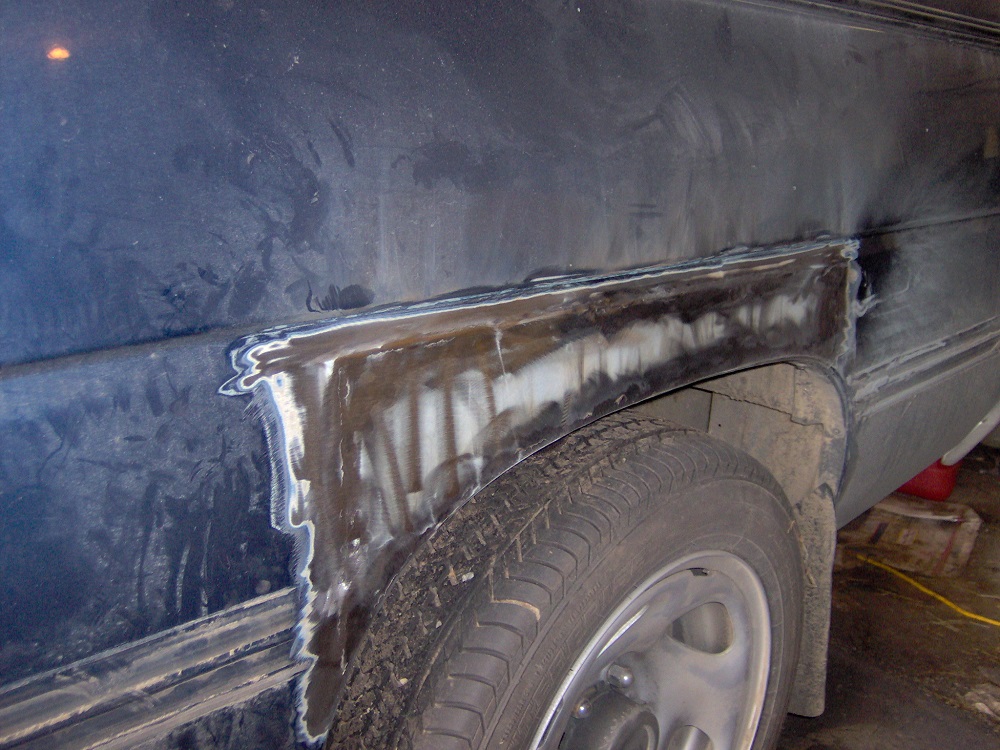
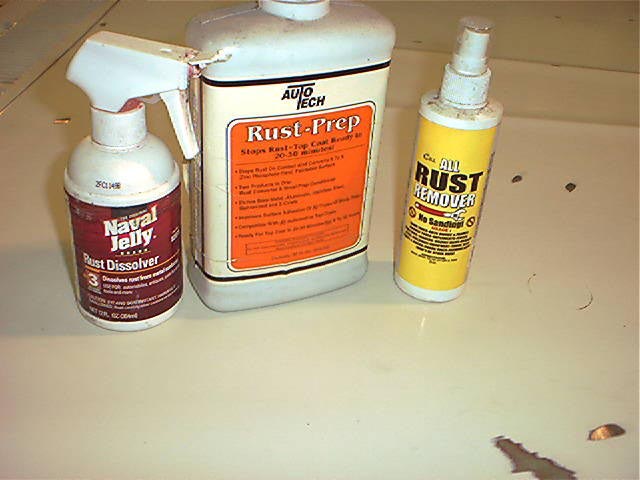
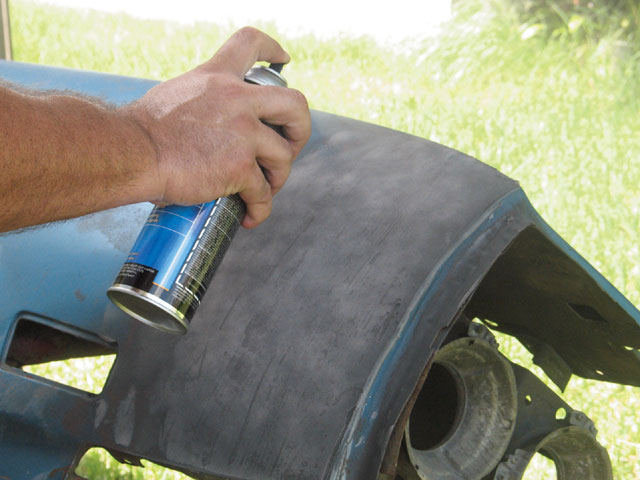
Once all the rust has been repaired, I recommend sealing everything in Epoxy Primer. This is a very durable coating that seals oxygen from the metal (preventing oxidization – rust!). If you life in a humid climate, I’d probably epoxy prime the whole thing right after blasting, and the spot-touch the areas I metalwork as I go. Freshly blasted ,metal can be rusting before you finish spraying.
|
|
Dent Repair |
|
|
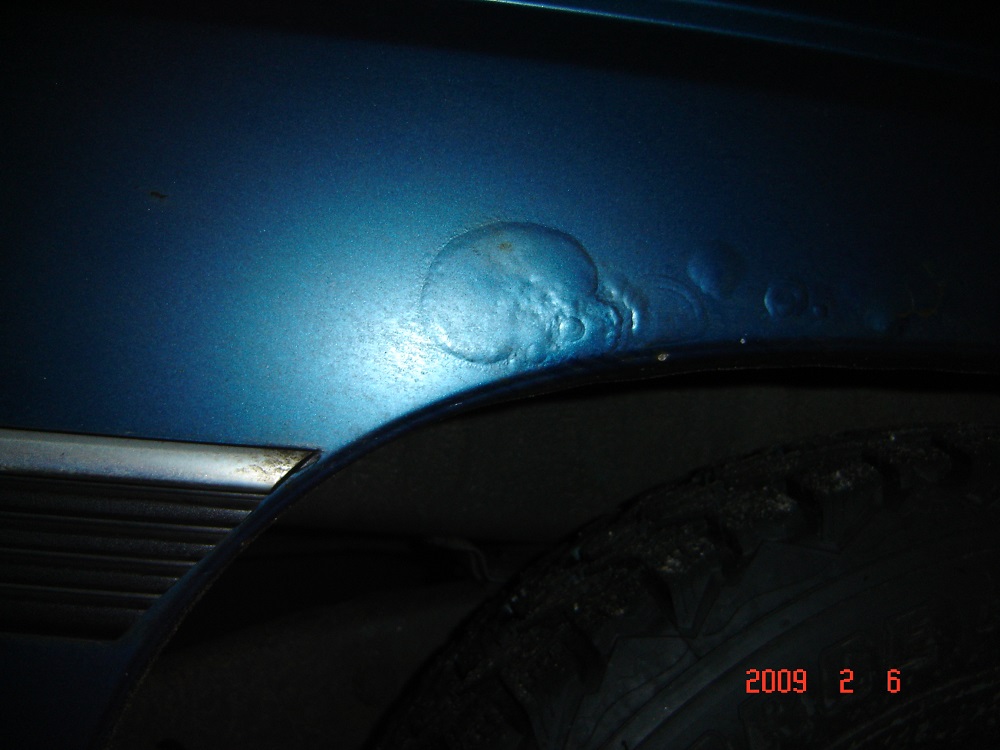
Before you start tackling dent repair, you must first understand how the dent got there. You need to visualize the impact, and then through force reverse the collision. When a car drives a front corner into an object, as the bumper and fender move backward, the fender will bow outward just ahead of the front wheel (the wheel arch is a weak point of the fender). You cannot merely try to hammer the bowed part of the fender back in, as the fender Location is shorter and there is nowhere for ALL the fender to go. You need to pull the front fender mounts forward again, to where they are supposed to be, before you can begin working on the damage. Imagine lightly denting the side of a pop can. If you go inside the can and try to pop the dent out, you will still have damage visible because the sides of the can were creased during the impact. You need to apply slight pressure on the inside (to replicate the initial force), but you also need to apply force to the creases outside on either side of the dent. Doing this, you can actually see the dent slowly disappear. The trick, then, is to find ways to apply these reversing forces to remove the dent (you can’t always get to the backside)
I have a friend with a very rare (one of two in existence, if I remember correctly) 1LE Pontiac Firebird R7U that he races regularly (1LE is a factory-built race car, R7U was specifically built by GM for the Player’s Trans Am series). At one race, he put it into a concrete wall. While any normal person would have thrown the car away, because of the value of THIS car, it was completely disassembled, a new front cut acquired, painstakingly welded in and completely straightened. Any evidence of the repair is invisible, and the car looks as good as it did before. Update: A few years later he went off at Knox Mountain Hillclimb, wrecking it even worse. The car is currently being rebuilt again. Only the finest of craftsmen can completely remove a dent perfectly using hammers, dollies, and torches alone. For the rest of us mortal folk, we need filler.
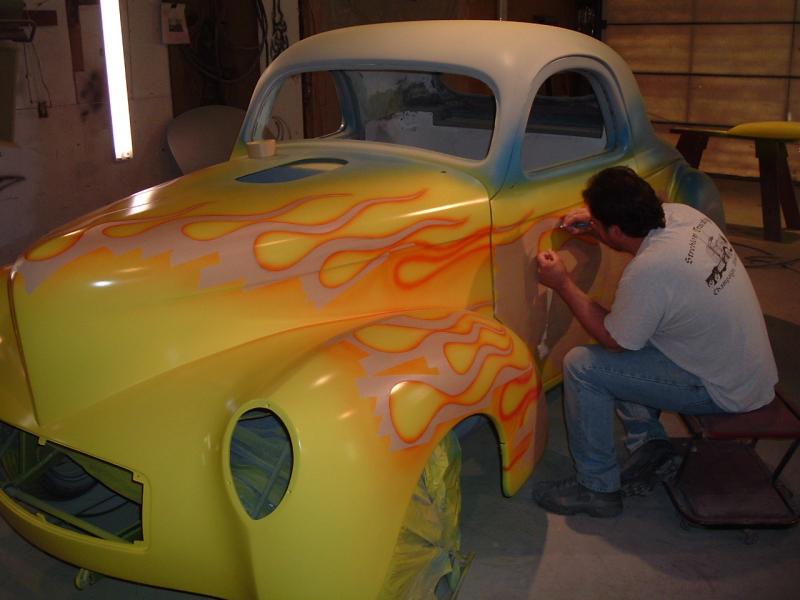
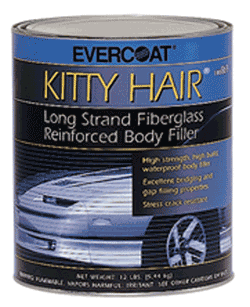
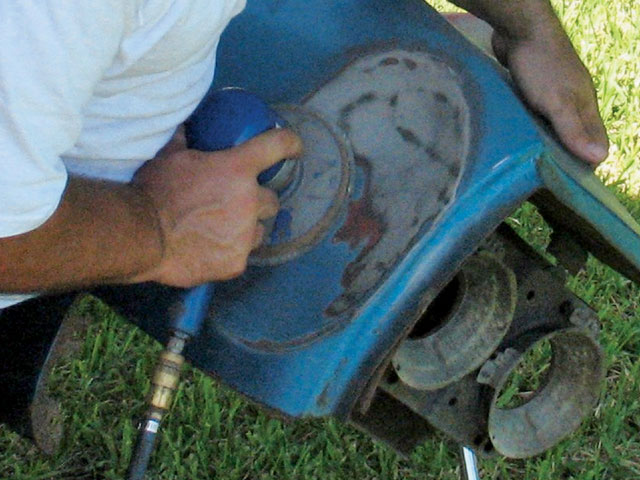
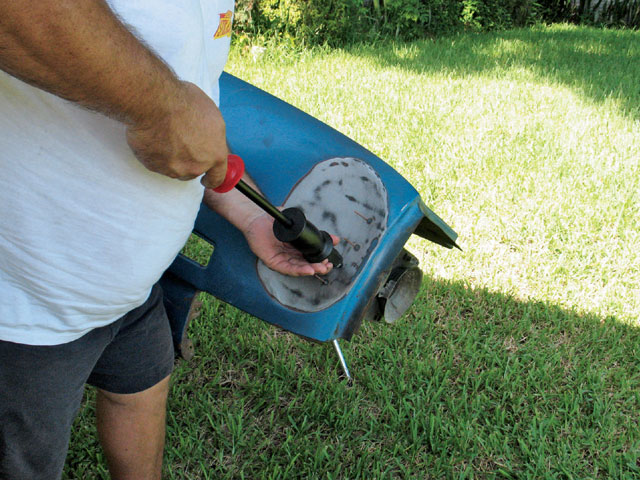
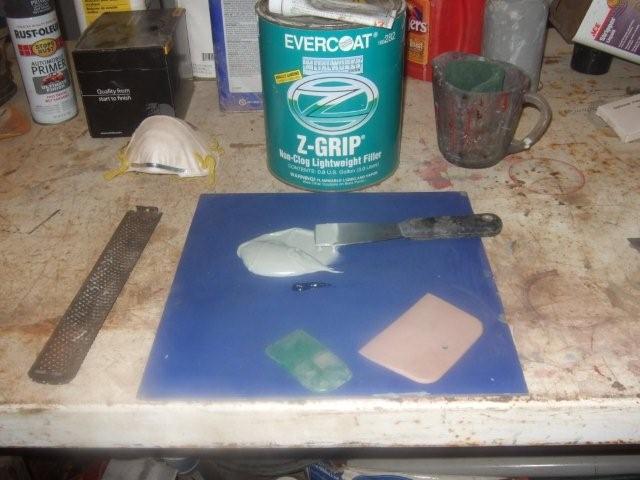
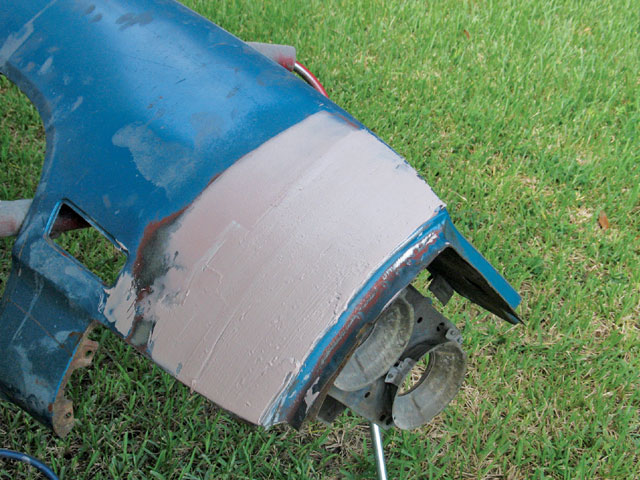
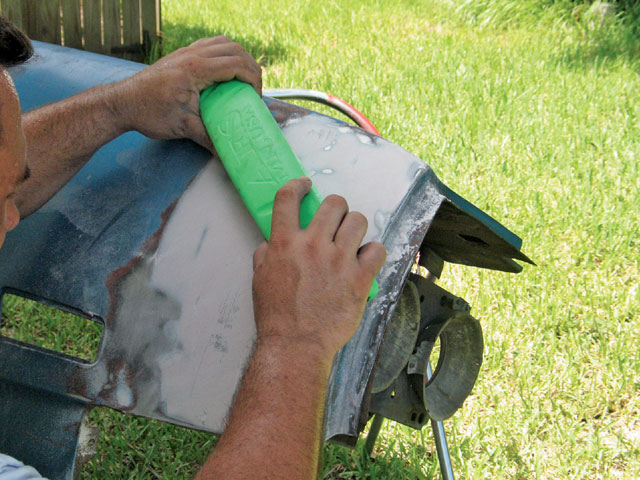
Plastic Body Filler (Bondo is a brand of plastic filler, not a product, though we often refer to any type of filler as Bondo) is a polyester resin product that is mixed with a hardener. When properly mixed, a chemical reaction begins which allows the filler to harden, usually within about 15 minutes. The surface needs to be prepped for the filler to stick. I like to use 36-grit sandpaper on an orbital sander. Rough the surface up really well. You should try to get all the paint off – get right down to bare metal. It is currently good practice to lay down some etching or epoxy primer over bare metal, and then add your filler on top of that. Filler must be mixed on a surface of some kind. I use a plastic mixing board, though cardboard or glass also work well. I have taken to mixing filler on a pad of paper – when I’m done, I just peel off that sheet of paper and throw it away. You want to put a blob of the filler in the center of the mixing board, then run a bead across the blob. This is usually the right proportion. Don’t mix too much at once – you can’t deal with it fast enough. Use spatula-like spreaders to push the filler into the metal, and shape it quickly to approximately the right shape you need the panel to be. Be quick about it, as it sets up pretty fast. As the filler is curing, it will go through a “rubbery” stage where it feels slightly sticky, but where it’s definitely firming up. NOW is when you want to shape the filler as best you can. A “cheese-grater” type file is often recommended, however I usually just use some aggressive sandpaper to knock it down to the shape I want. Be quick about it. Once it’s cured, you’re not going to enjoy shaping it as much. The better you get at filler, the less prep work you have to do before paint. Any small defects can be filled with Glazing Putty – another polyester filler that comes in a tube. Smear it into defects with your finger. it is Lacquer based, and cures very quickly and sands very nicely. Incidentally, I find it helpful to really scour the car for dents and defects and place a piece of tape over the defect so you can easily find them. It’s really disheartening to lay down fresh paint only to find a dent you forgot about and didn’t take care of. Shiny paint shows ALL your mistakes. Get in the habit of letting your fingers feel the surface – they do a better job at finding defects or perfection than your eyes do – especially if it is all sanded, dull, primered, and dusty.
“Cave and Pave”:
UPDATE (2023) – BEST PRACTICE:SPRAYABLE FILLERS (Magic!)Doing a lot of different “spot” filler repairs can be a challenge – since each filler application is mixed by hand and thus ever-so-slightly different, they will all be harder or softer than the next spot, which can make sanding a challenge – you will sanding the softer filler faster than the harder filler! Jeff Thiessen of Trendsetter Automotive gave me a tip, which I will pass on to you – make your metal finishing good enough that you use a sprayable filler (like Slick Sand) – since it is all sprayed at once, it is very consistent when sanded. IF I HAD KNOWN ABOUT SPRAYABLE FILLER, I AM SURE I WOULD HAVE HATED AUTOBODY LESS!You need a BIG spray gun tip (I used a 2.3mm tip) ONLY mix as much as you can spray from the gun – if you don’t finish spraying in time, and it dries in the gun, you buy a new gun – it dries in 15 minutes, with or without you The HOTTER the temperature, the faster you need to work – when I sprayed it on my ’61 Chevy pickup in August, that 15 minutes was about 10 minutes of “cure time” SO MUCH EASIER TO SAND! Gray Slick Sand over black Epoxy Primer makes it easy – when black starts showing through, you are either done or you need to spray another coat. Freaking magical, this stuff. |
|
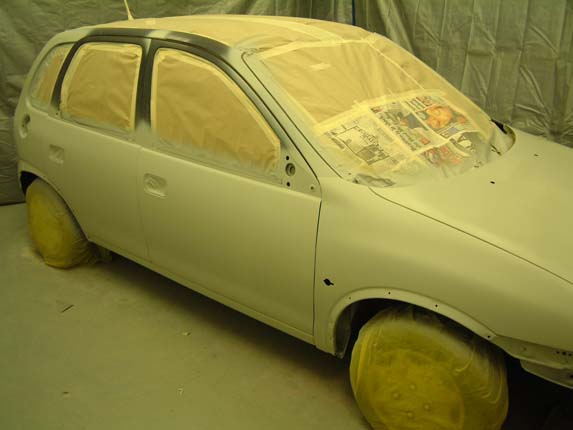
Preparation |
|
|
Once all the rust and dents are taken care of, and any remaining defects have been filled, it’s time to do some final preparation.
Primer
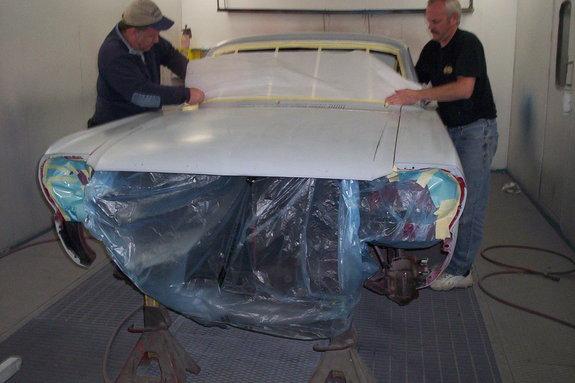
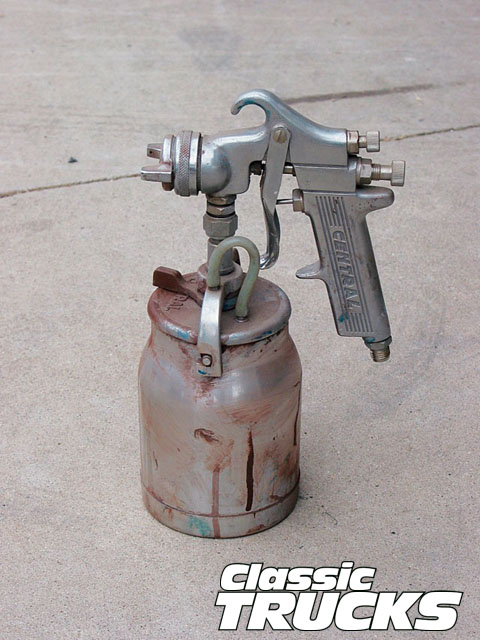
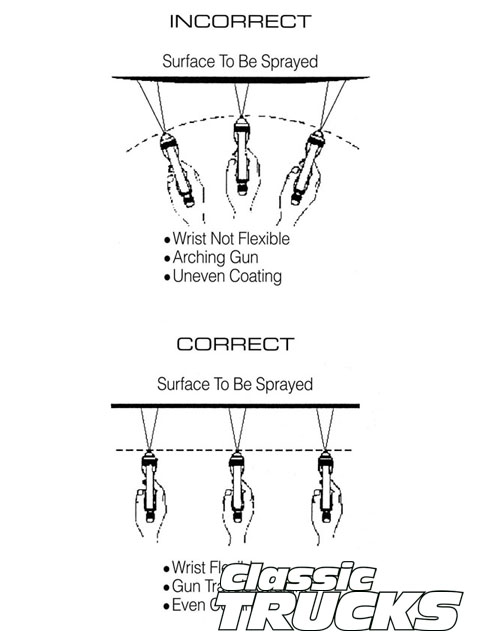
You need to establish a good spray technique. Most of the students I observe using spray bombs must never have read the directions on the can, and do a terrible job of spraying. The spray gun MUST stay a consistent 6-8″ away from the panel you are spraying. You need to keep the gun 90° to the panel as well. The gun also has two parts to the trigger – just air, and then air/paint. You need to start moving the gun, and then pull the trigger, releasing the trigger before you stop moving the gun. This takes some time to perfect. Each path of the gun needs to overlap the previous path, and you should always spray wet paint on wet paint (wet paint overlapping dry paint will leave a noticeable mark when done).
You can use either a traditional low-volume spray gun (lots of overspray), or (better) a High Volume Low Pressure (HVLP) gun (requires a good compressor). If you are spraying a habitually rusty car like a Honda or anything British, I recommend an Epoxy Primer. A self-etching primer such as Zinc-Chromate was the “go-to” before epoxy and is still pretty good. An Epoxy primer is super durable and water-proof. Most normal primers are NOT water-proof – they are porous. Let the primer cure for a few weeks before final sanding (2K at least 3 days) – the primer “shrinks” over time, and will continue to shrink into your sanding marks, making them visible after you’ve finished painting. This would then require more sanding, and possibly more primer.
I guess, alternatively, you can use a roller and roll the paint on. $50 Paint Job. I’ve done that.
|
|
Reassembly |
|
|
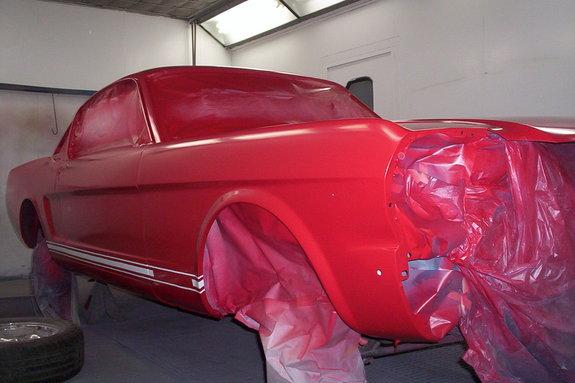
This part is quite fun, as everything looks so nice and clean and new. Be super careful not to scratch your nice fresh paint. Now is a good time to beautify any of the parts you took off the car – re-chrome the trim, powder-coat, accent colours, whatever. It is not recommended to wash or wax the car for about three or four months after painting. Any bird poop should be wiped up immediately, and gently. Rain should be wiped up gently as well, so as not to leave water spots. A racing friend of mine had just had his Mustang painted, and he had a race a couple of weeks after it was done. He put magnetic numbers on the doors for the race, and at the end of the day the numbers stuck to the doors had damaged the paint, requiring a re-spray. On the cars I have sprayed, I have not had that problem. I do not know what kind of paint he had sprayed on his Mustang.
|
|
| For more information: http://www.learnautopainting.com | |