Inspiration:
I’ve wanted a T-Bucket since I was in Grade 1. But not seriously.
Recently inspired, I decided to build one. From Scratch. Because I’m stupid.
Fiberglass bodies abound, but will land me about $1000 Canadian by the time I get one here. I know I won’t want to keep it, so there is no point throwing the Speedway Motors catalogue at it.
What would the old-school Hot-Rodders do? How cheap can I build it? Let’s find out!
First – I have all this old drivetrain laying around from the ’61 Chevy Apache:
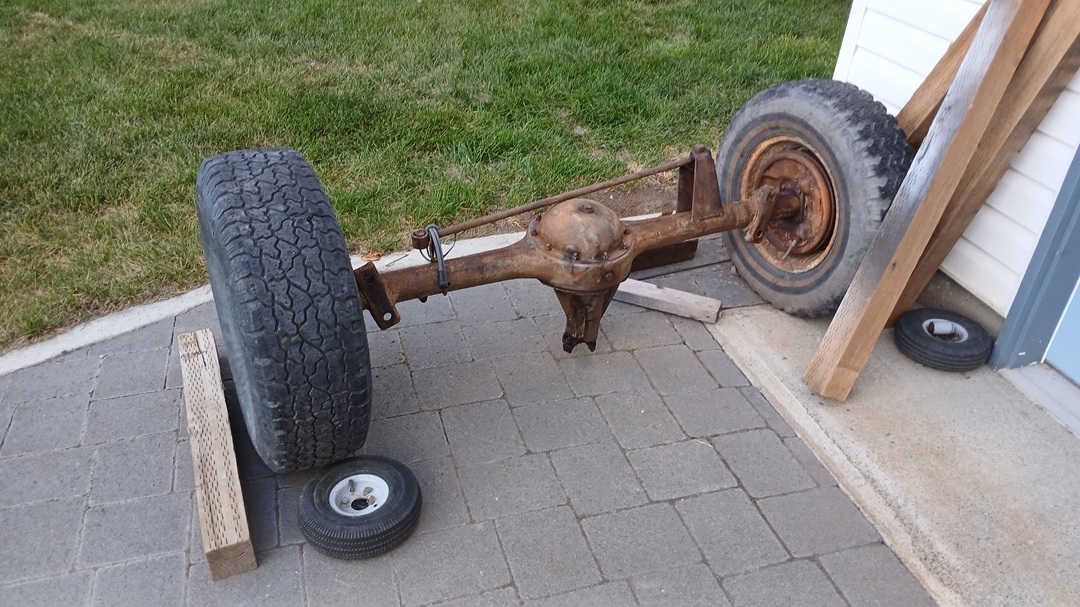
HO32 rear end
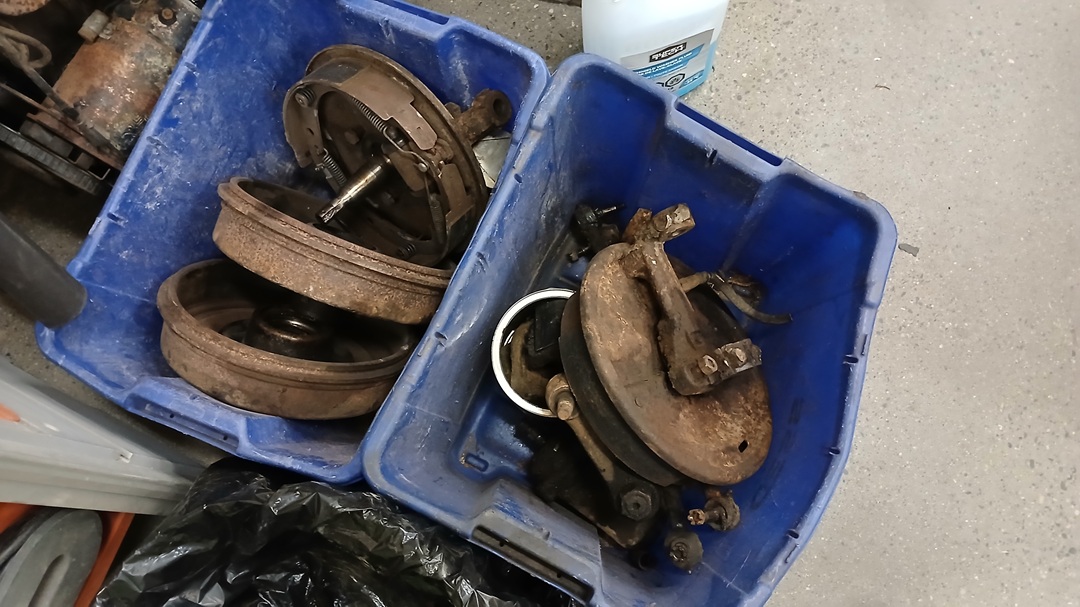
Front spindles and brakes
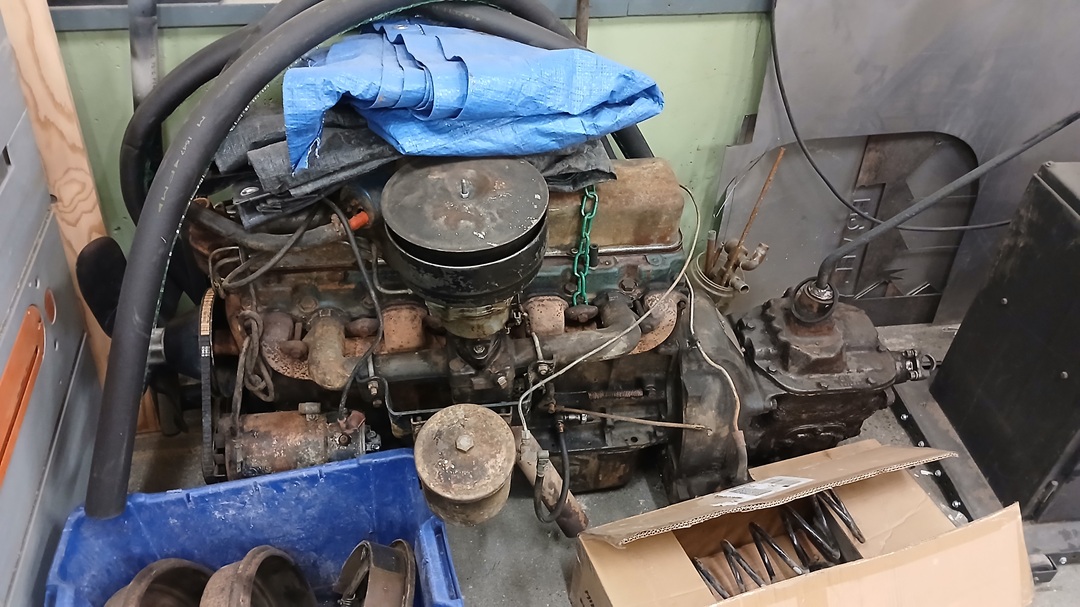
235 Stovebolt with Granny-Low 4-speed and silly-tall shifter
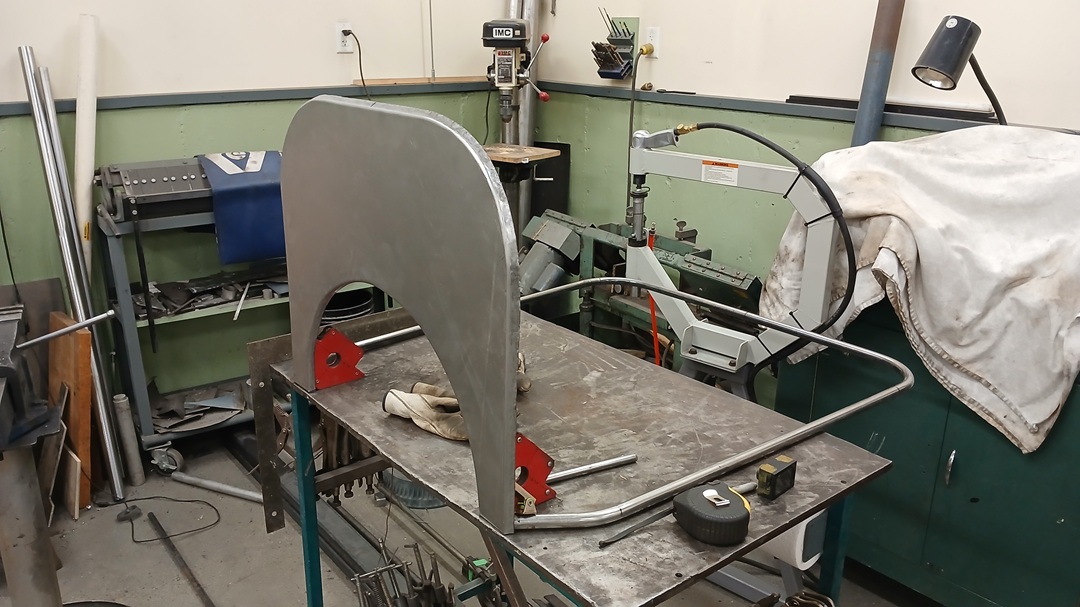
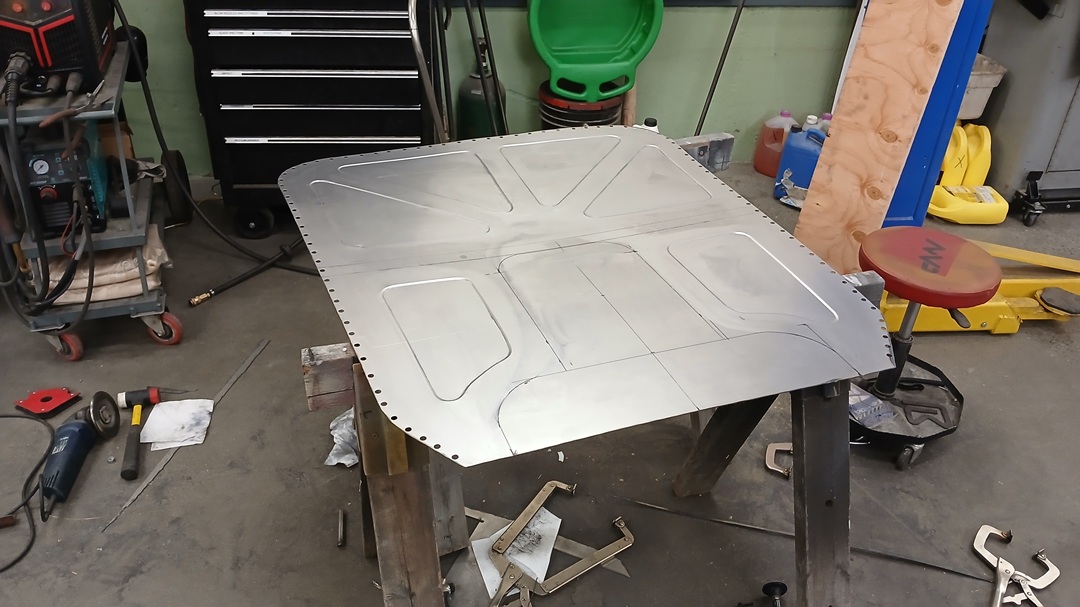
And my metal supplier for work had affordable 18ga sheet steel for a body and sheet aluminum for a gas tank and bomber seats:
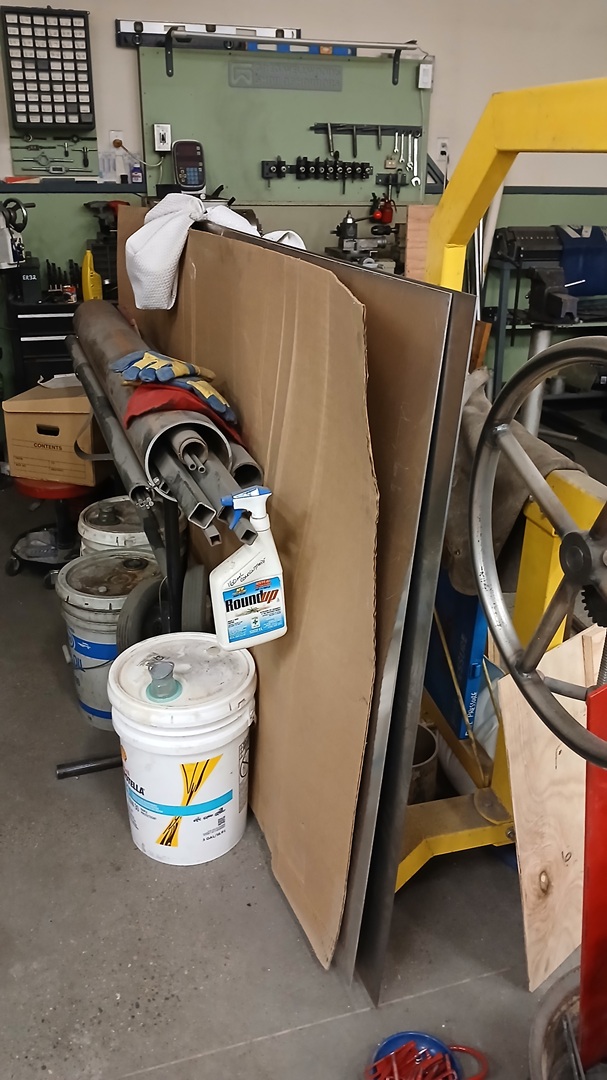
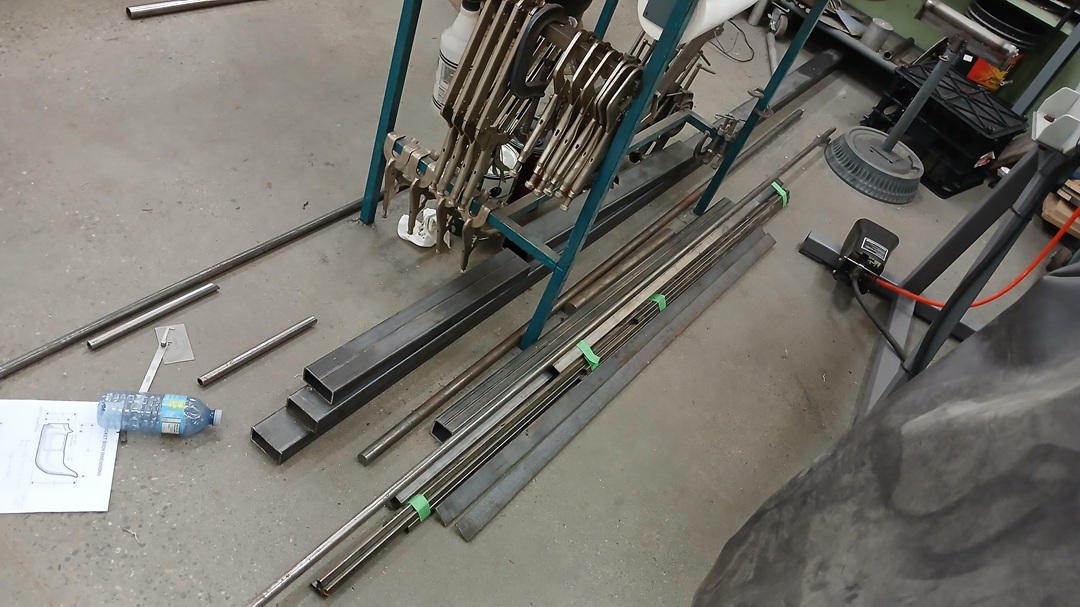
…as well as 1.5×3 tubing for a frame, and other tubing for body support:
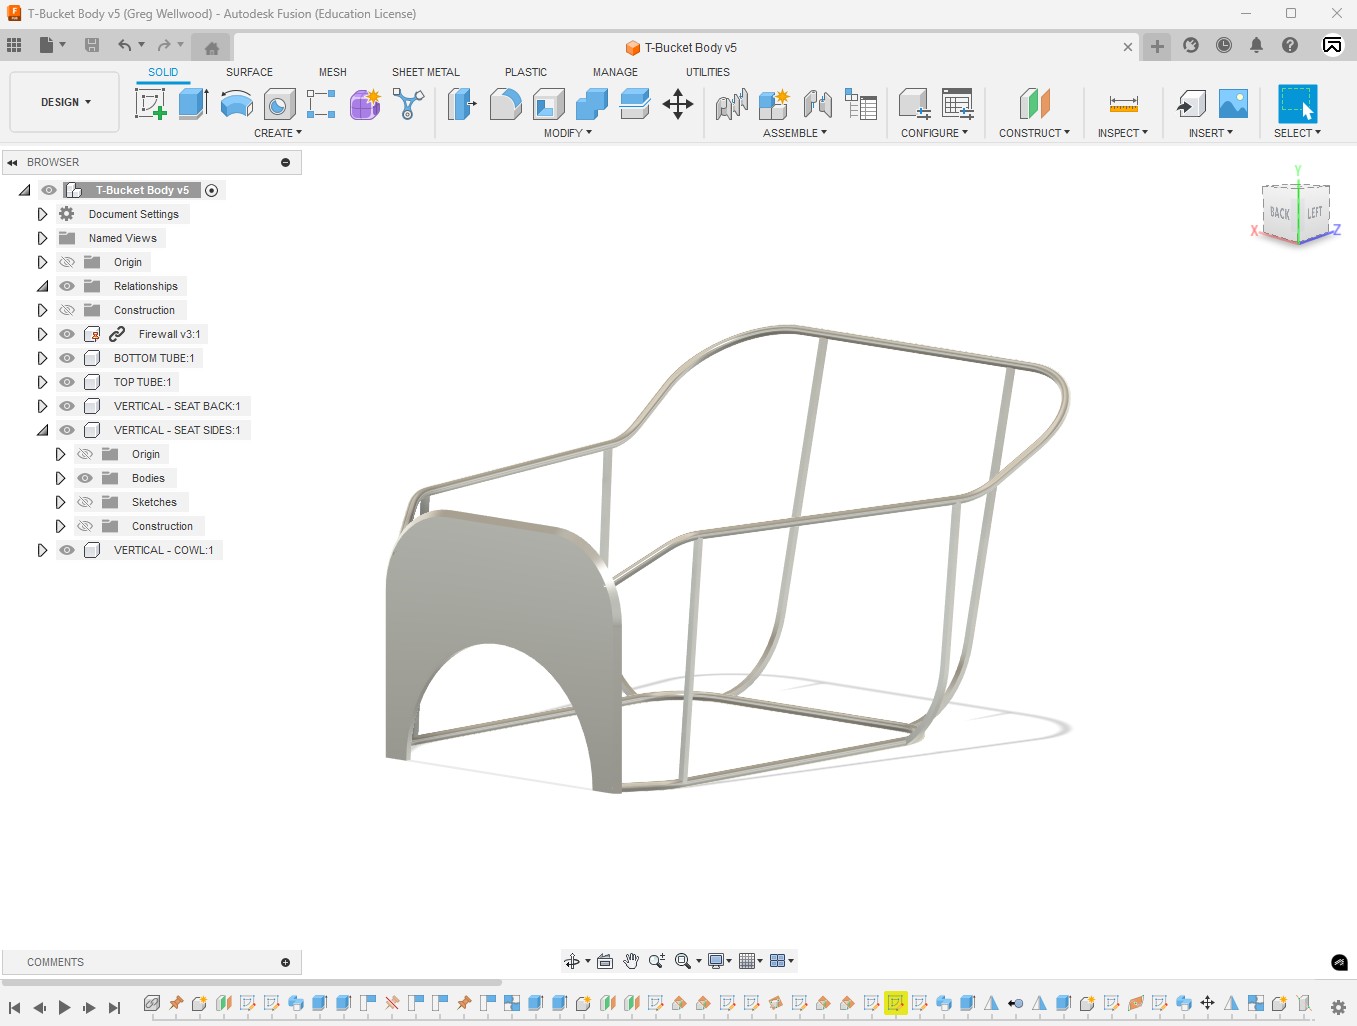
I did use Fusion360 to draw up an idea of what I was getting myself into:
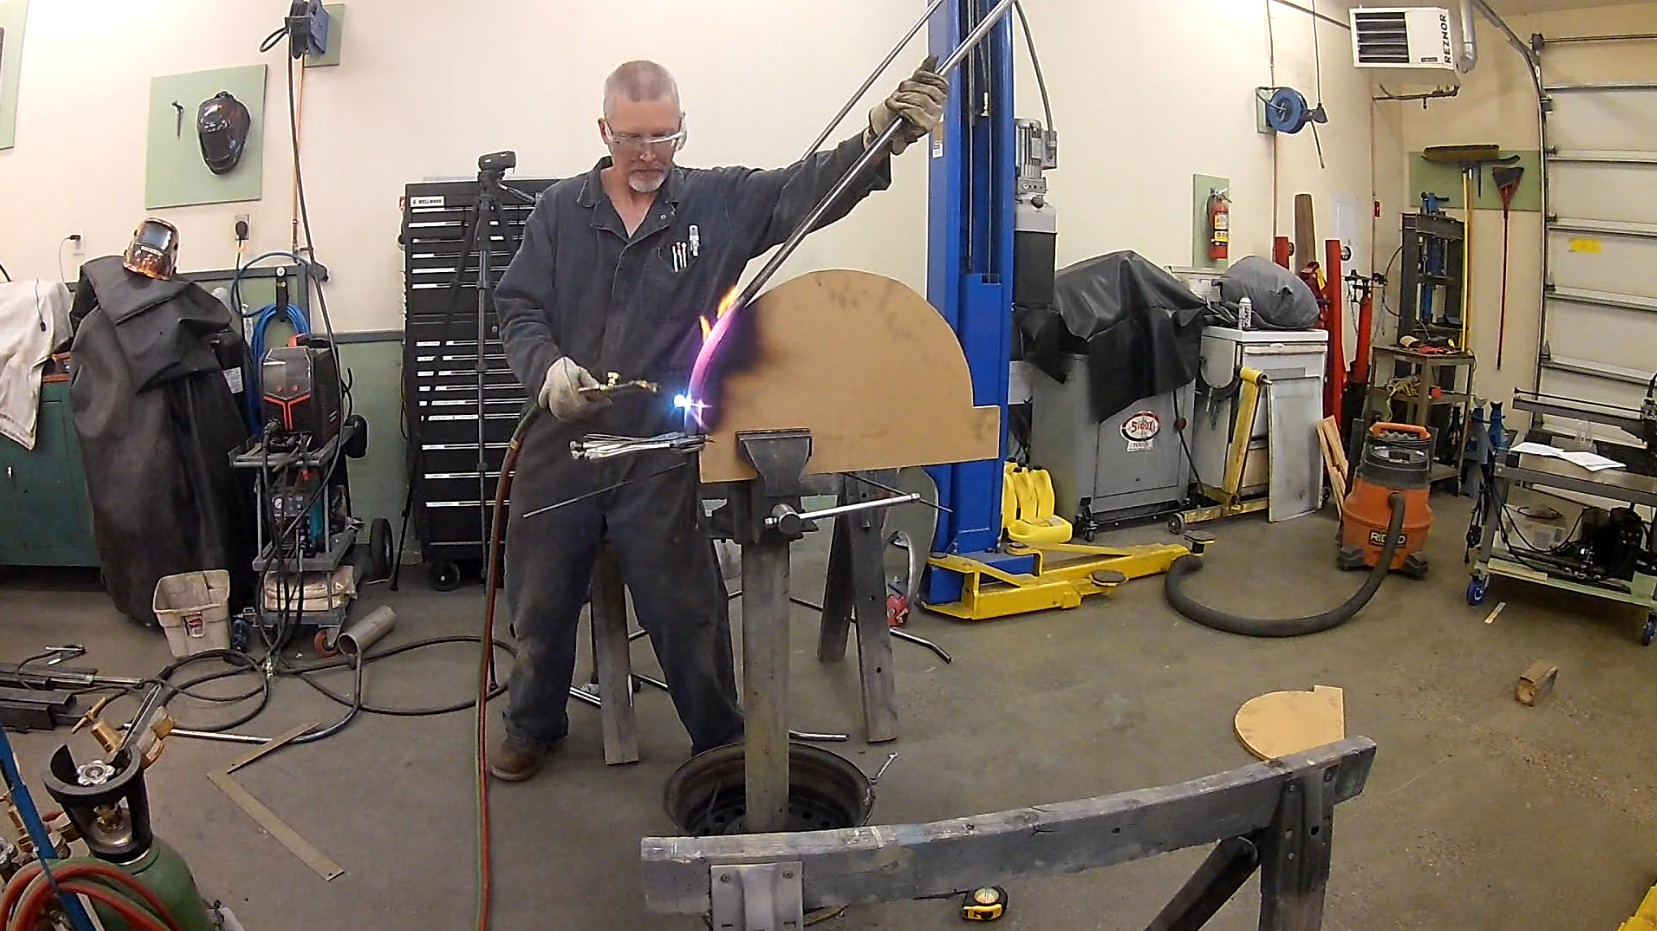
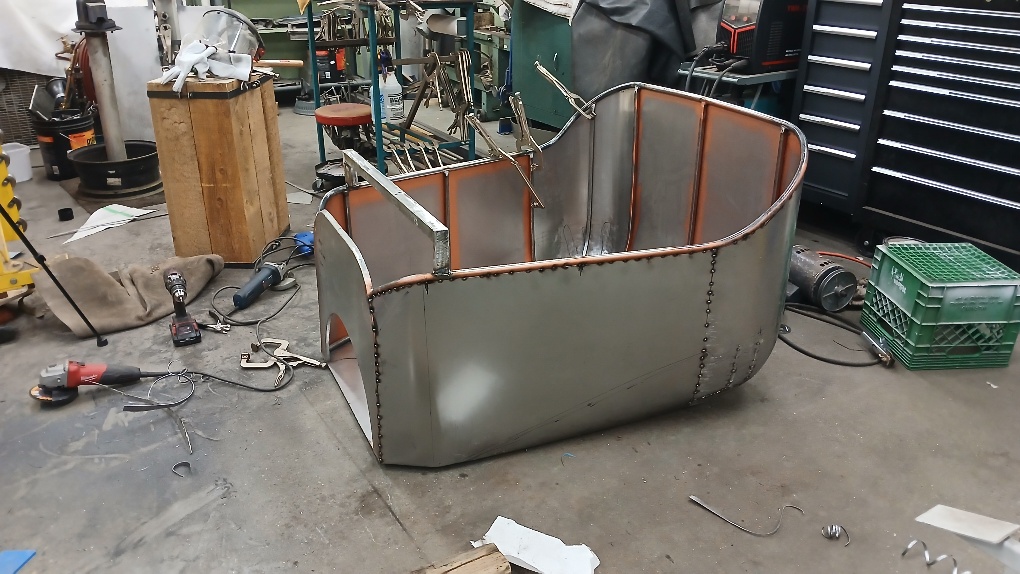
I made a hammer-form out of MDF and built a “low cowl” firewall, and started fabricating the skeleton for a 1915-style T-Bucket body:
Dimensionally it will be “close enough.” I just want to see if I can do this.
The top tube was awful. I heat-bent the seat back corners around a 16″ rim.
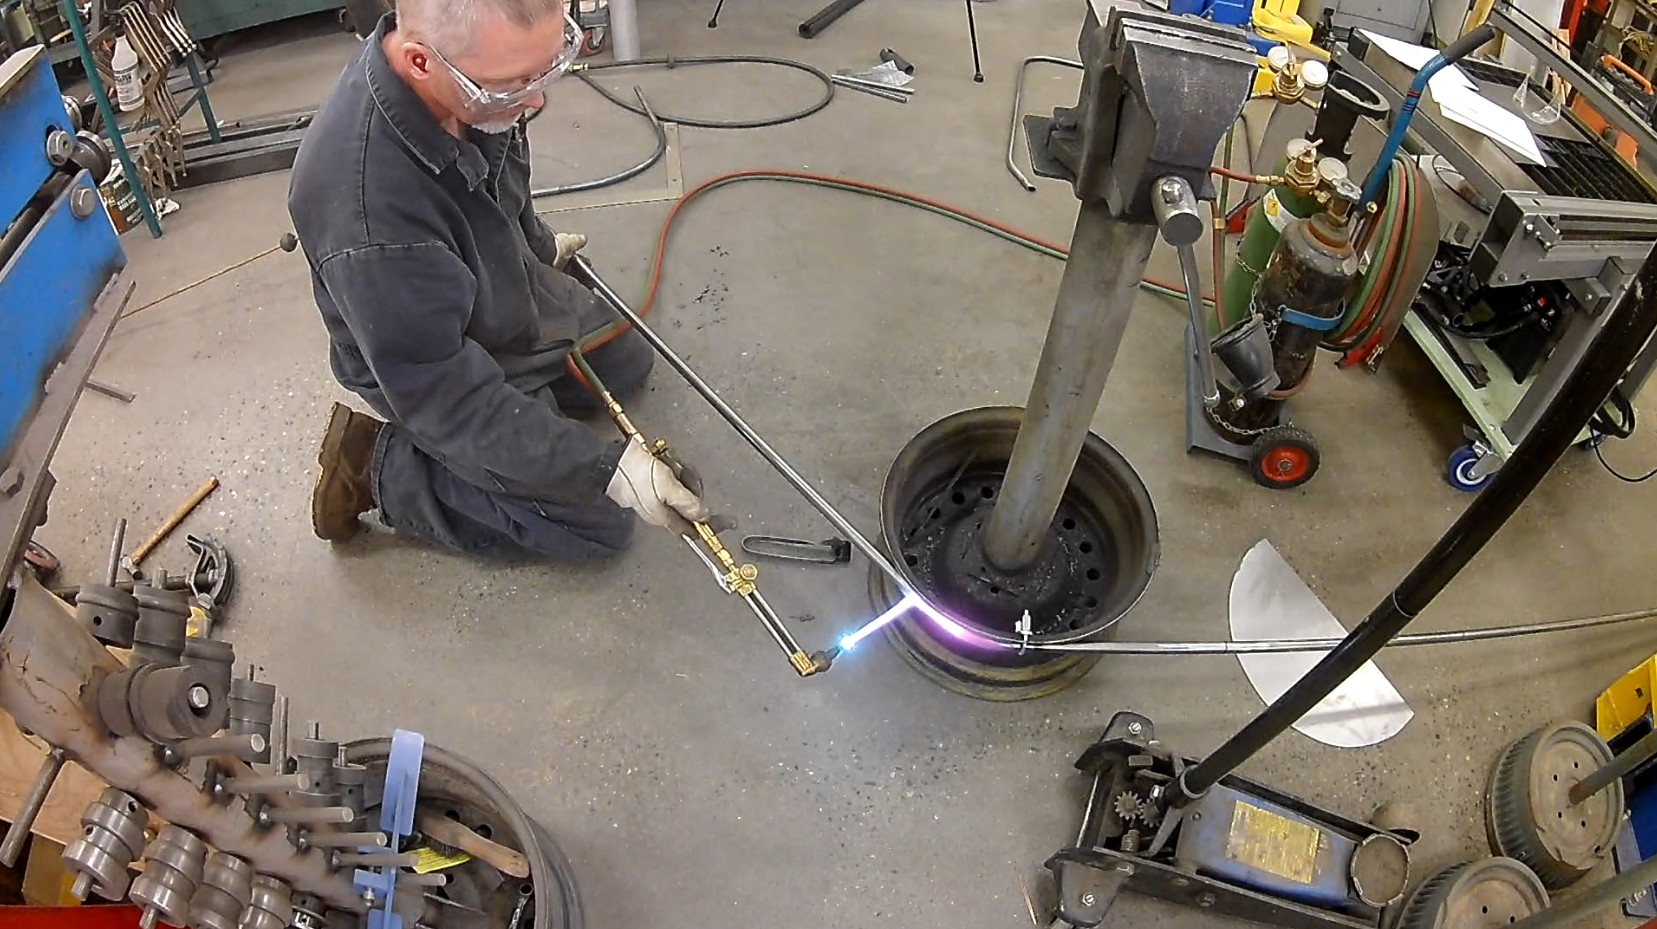
And the angled sides up to the seat back using the trans-tunnel cutout (20″ diameter):
Which after some significant tweaking (and even more tweaking after this photo) left me with this:
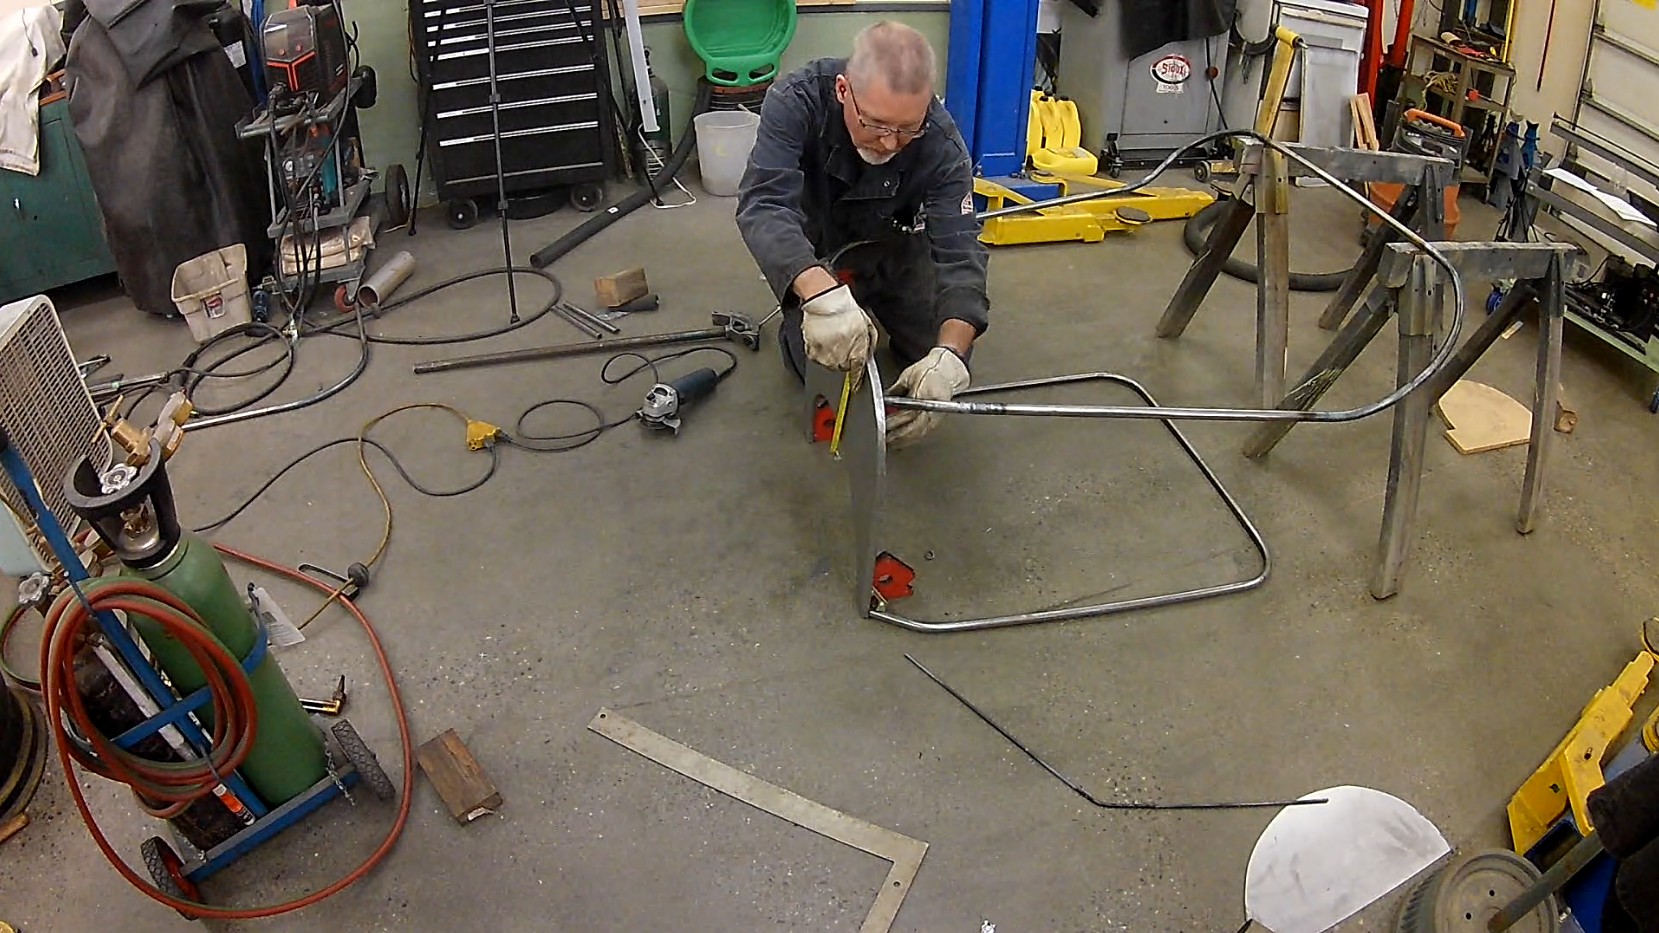
If I can figure out the “vertical” shapes, I should have a skeleton to work with. Could be fun to skin with aluminum. Only I won’t.
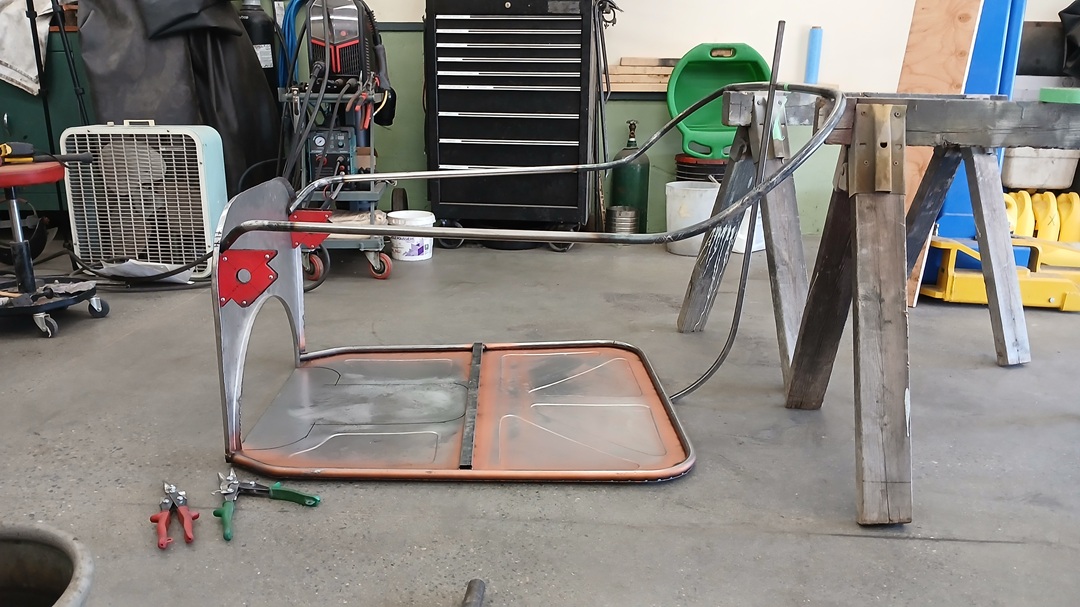
The floor:
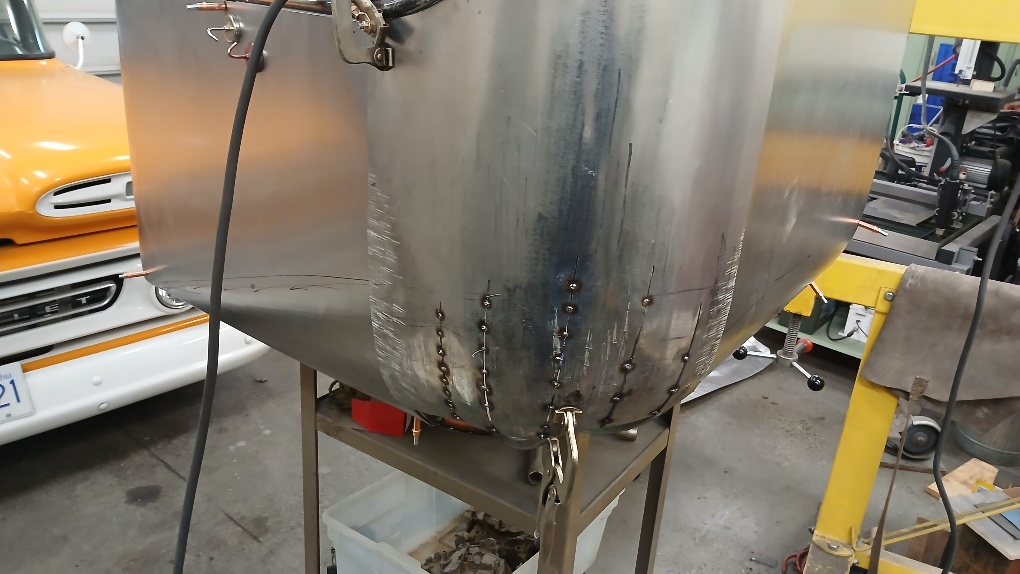
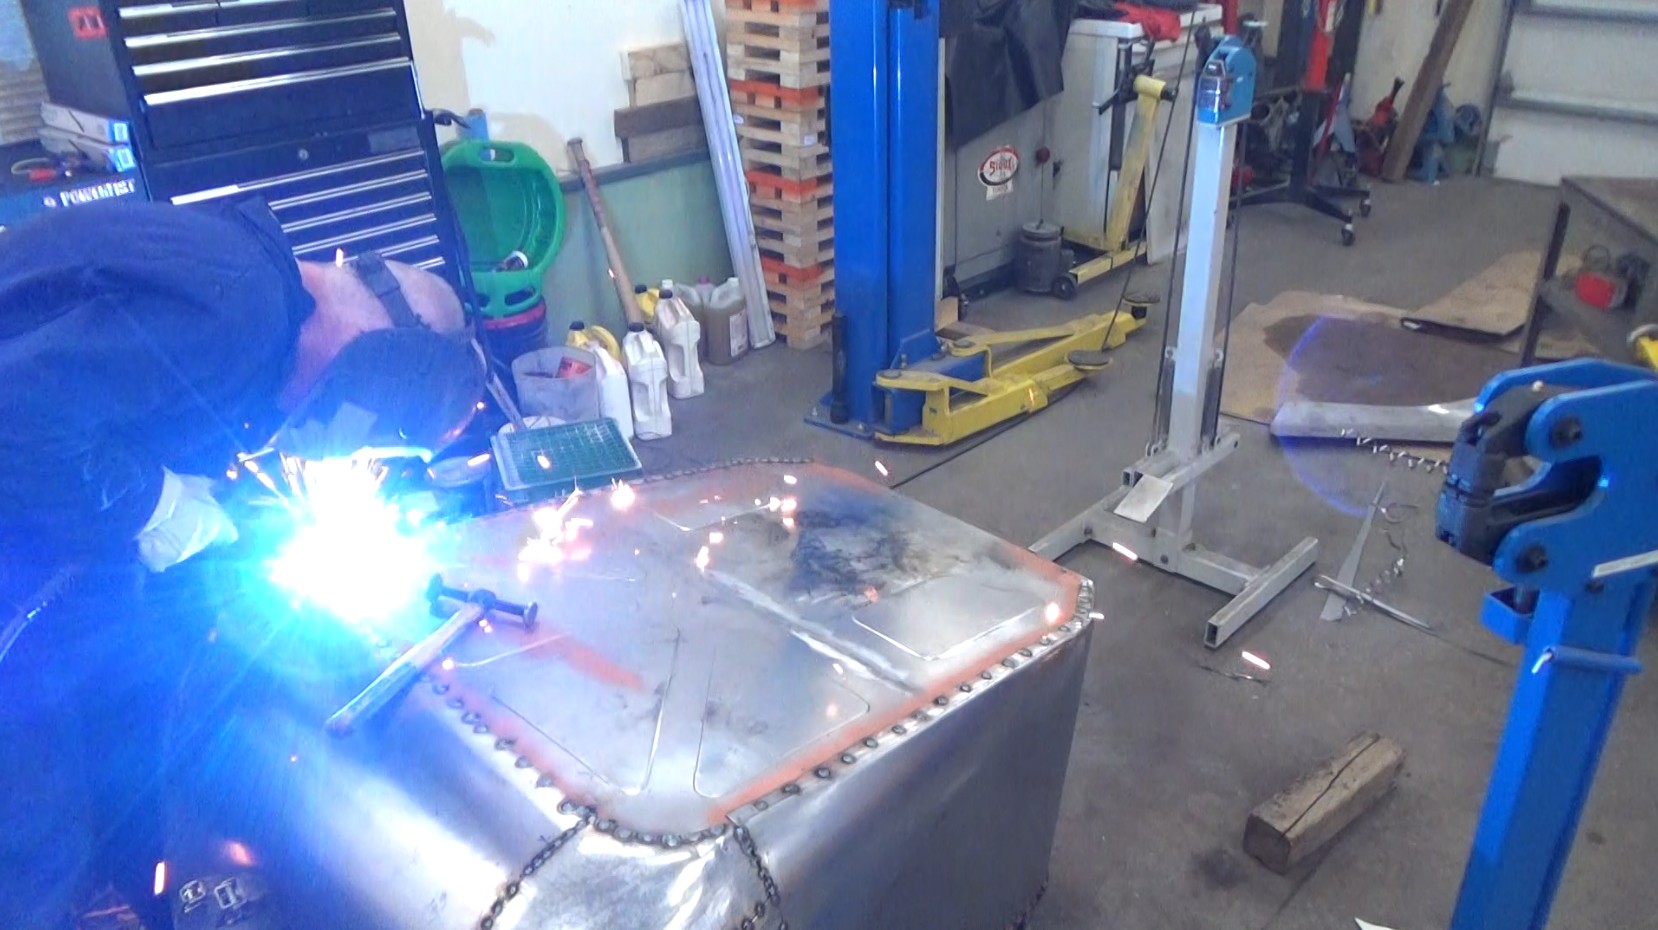
Welded the floor/tube/firewall together. Used copper-coloured Weld-Through Primer from Dominion Sure Seal (Canada). Nice primer! Also trial-bending/fitting what will be the tub’s seat back shape:
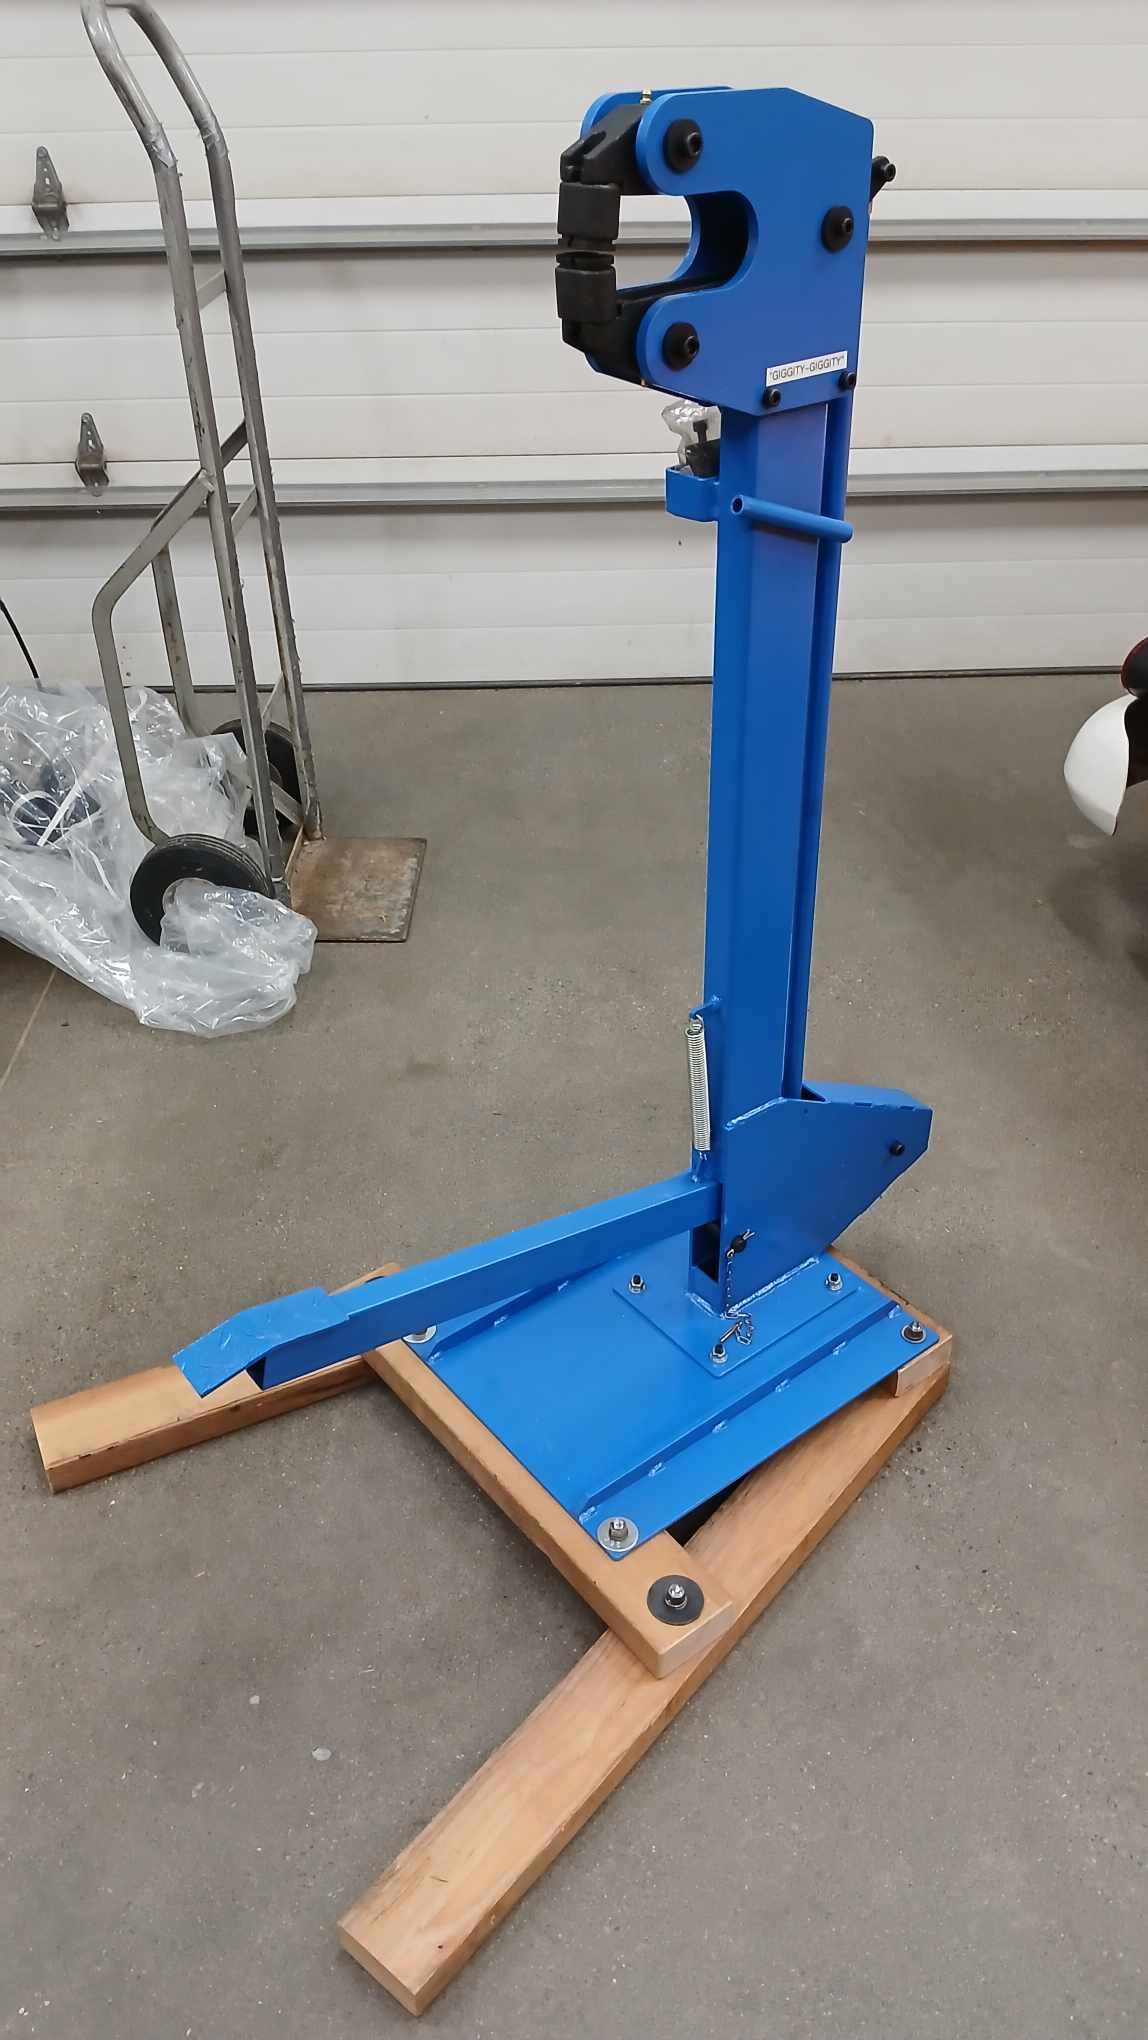
Also ordered a Deep-Throat Shrinker/Stretcher. Giggity-Giggity.
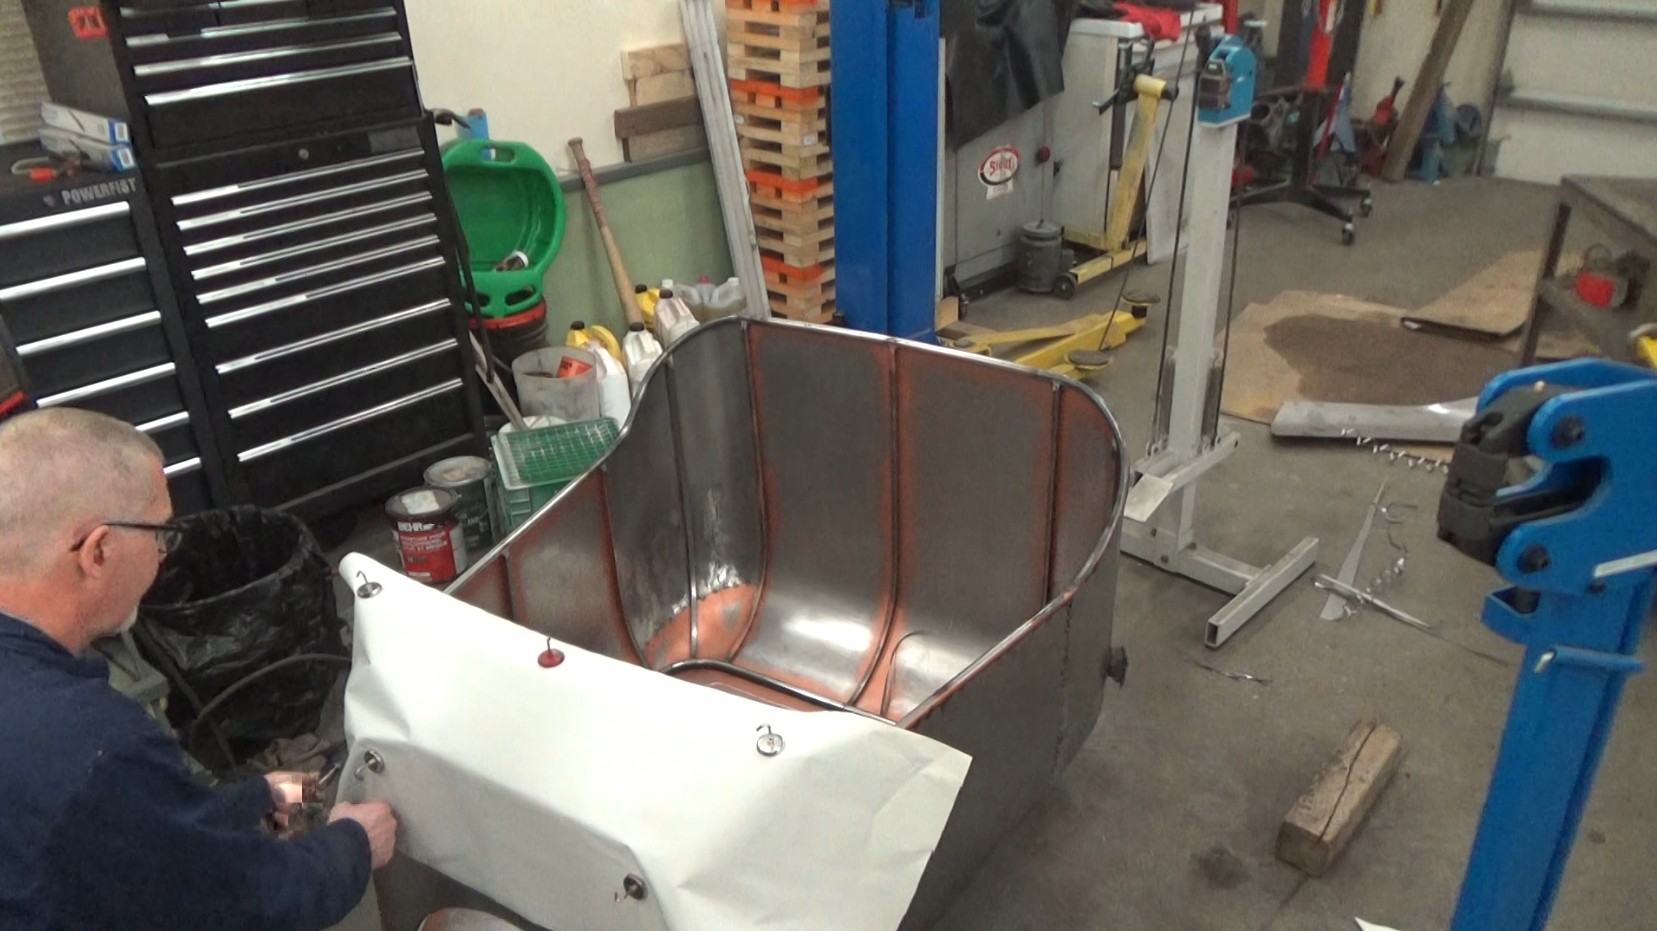
Verticals added. Top of cowl is roughly positioned but not yet welded. A bit of weld cleanup and it’ll be ready for skinning:

I ran into some challenges that I wasn’t sure how to overcome with how I went about doing this. That’s ok – I have another plan. Rest assured – we are not threatening anyone out of the Riddler Award. It’ll work.
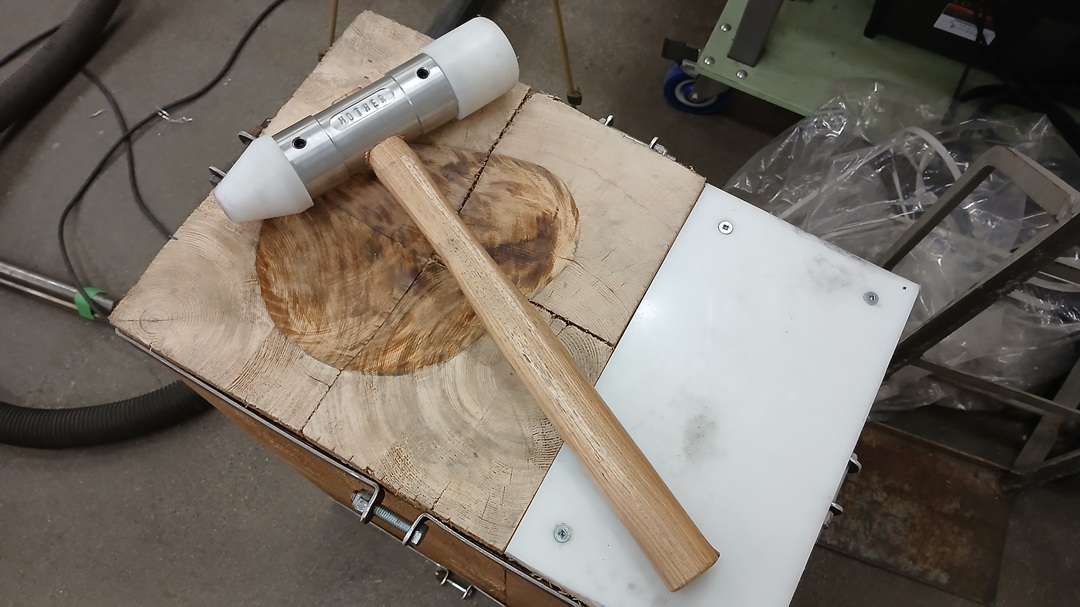
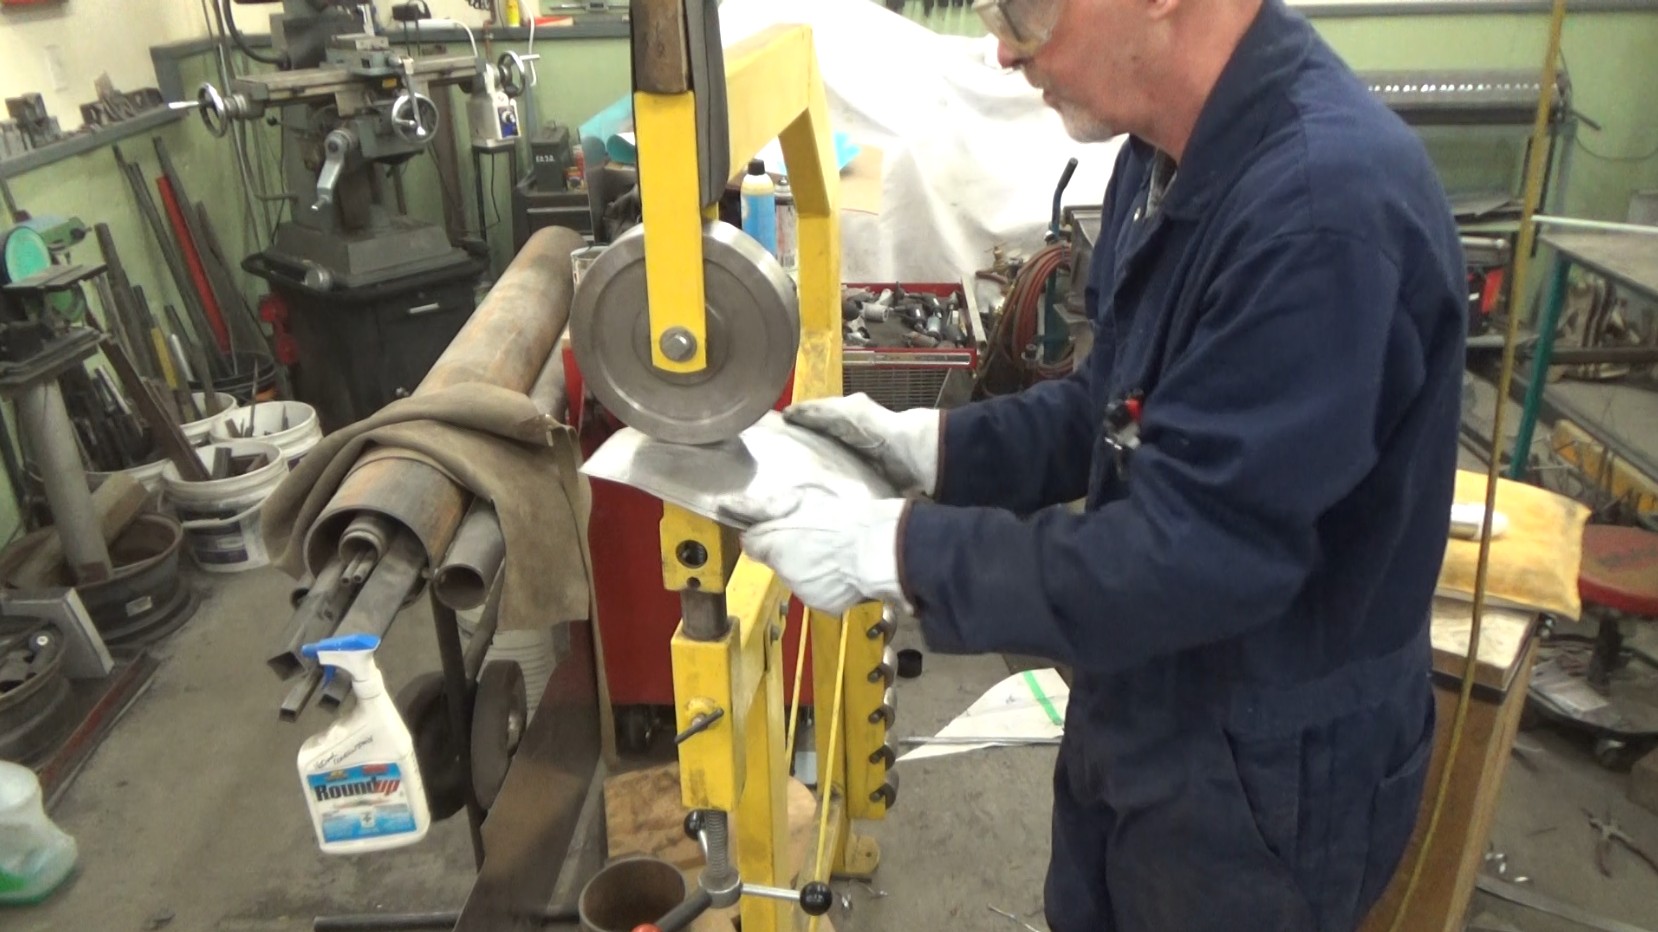
To help shrink corners some more, I fabricated a Tucking Stump as per “Make It Kustom” on YouTube (www.japhandskustoms.com). I also picked up the parts to make a derivative of his Mother Tucker hammers.
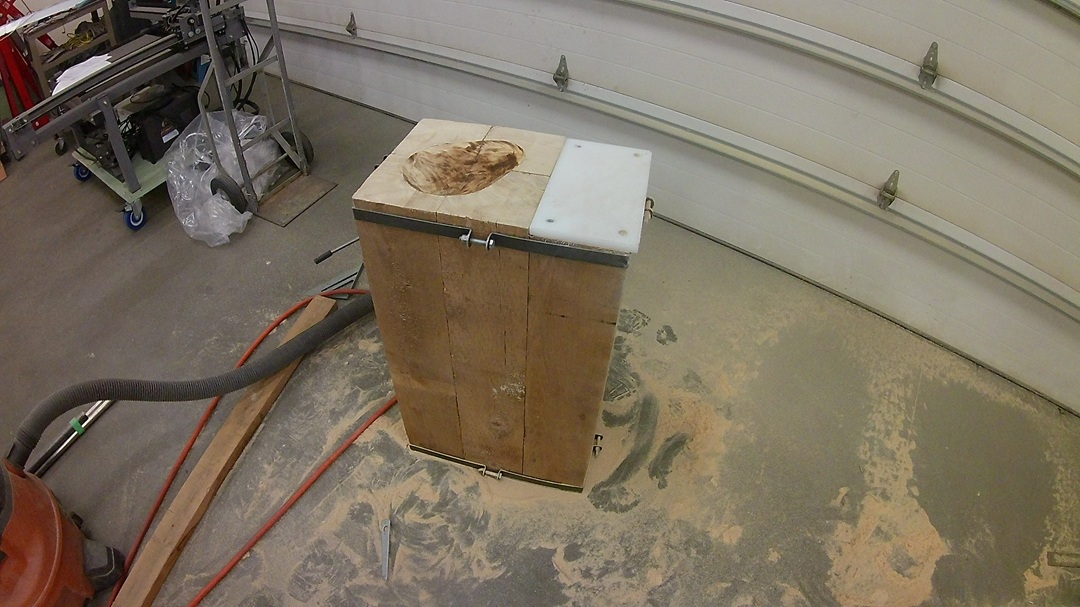
Made the hammer, but the “cab corners” are totally defeating me.
After three frustrating days of trying to shape the cab corners, I distracted myself by tweaking my English Wheel to wheel a bit better. I removed the lifting mechanism and trued the die holder. It was a cantankerous mechanism, but likely it’s my lack of skill here that is to blame. As is my sheet metal skill.
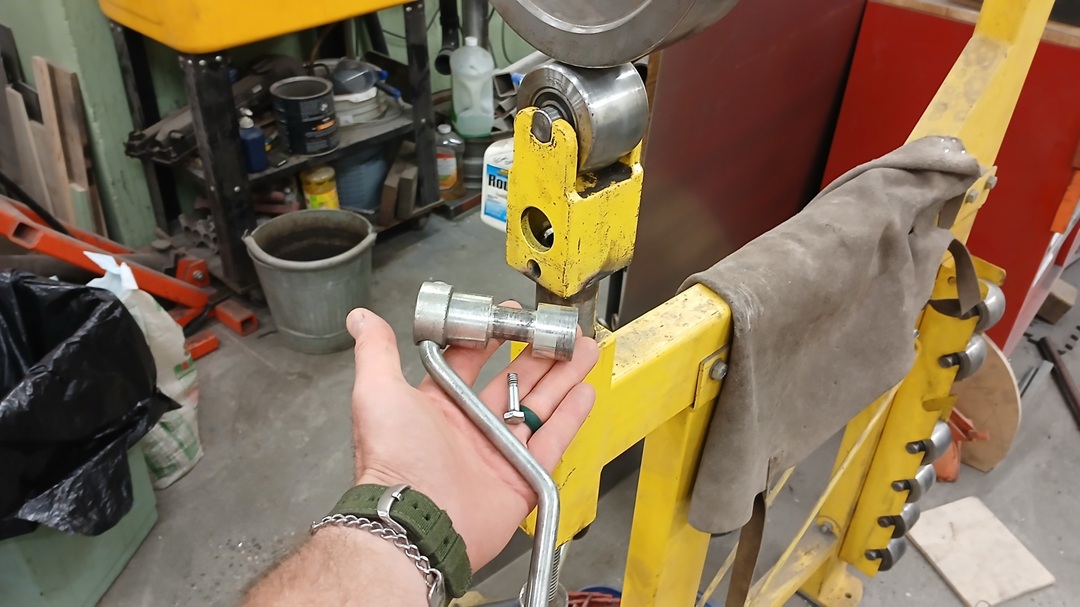
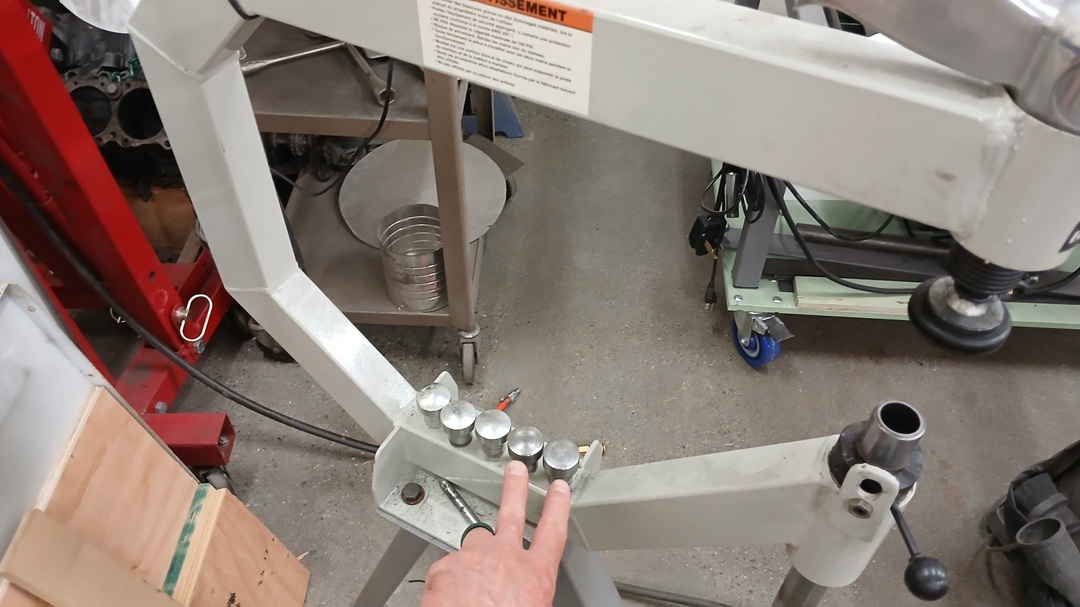
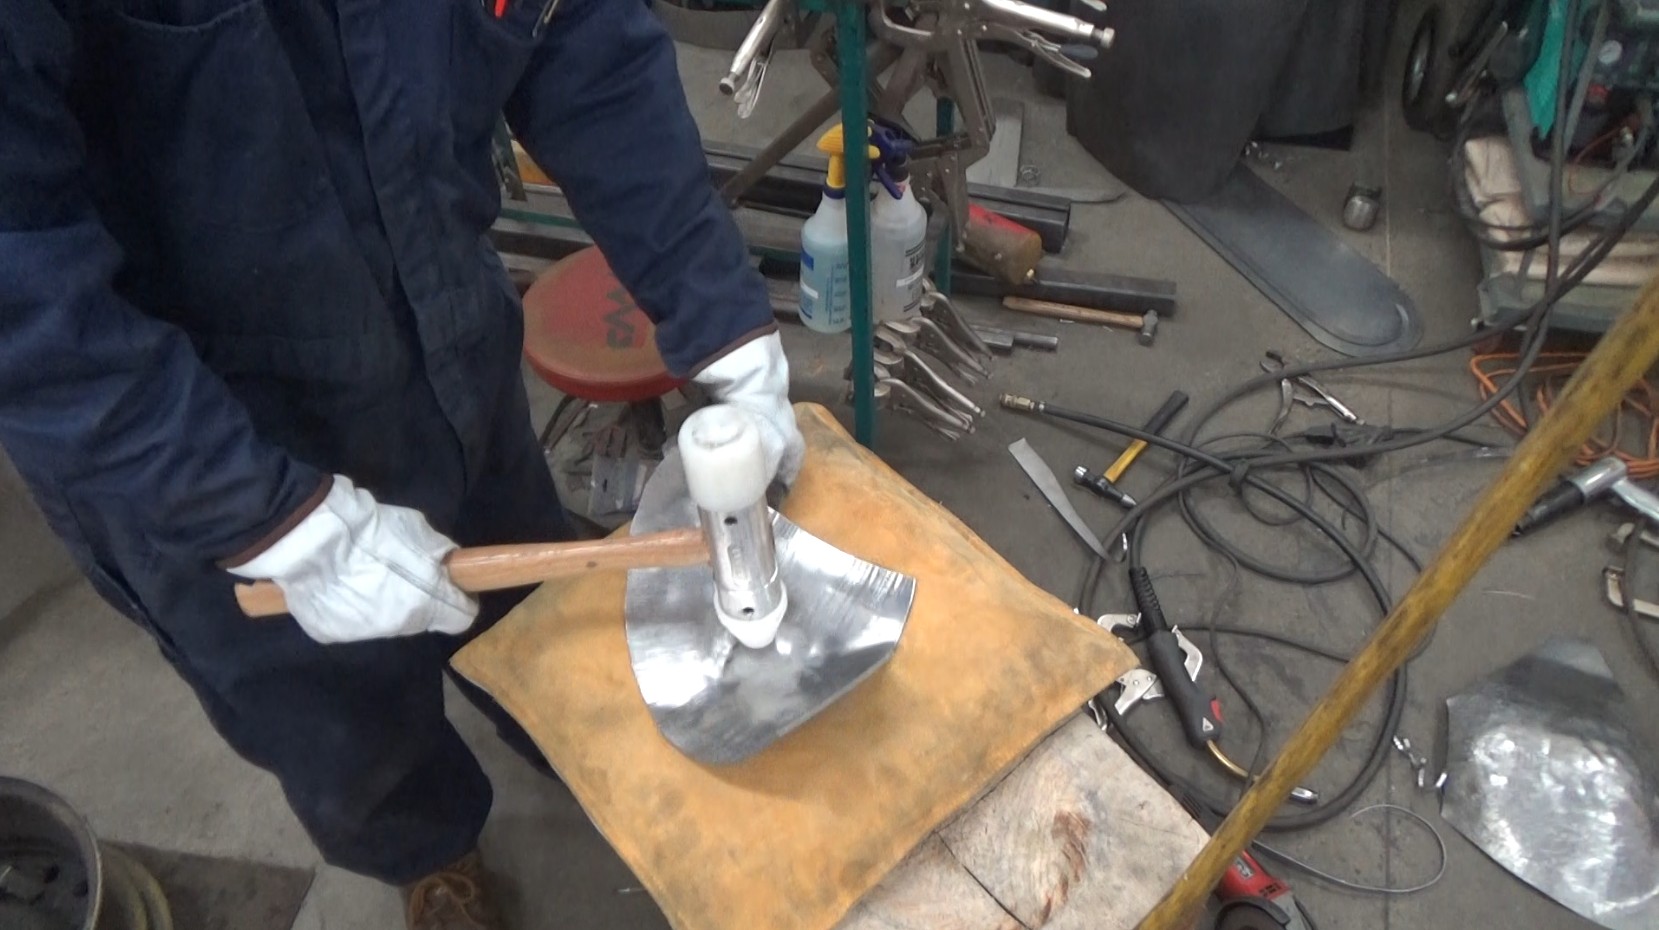
After another day of frustration, I machined a couple of new dies for my planishing hammer. The hammer comes with 2″, 2.5″, and 3″ radius planishing dies. I machined an 8″ to match the English Wheel die I was using, and a 24″ for planishing out some flatter areas.
I am likely going to give up, pie-cut/tig/planish, and make it good enough for a Florida-size can of filler.
At this point it was mid-August, and I was thinking “maybe I should have taken three years of “no project cars” instead of two. I took a break from this for 7 months.
Mid-February, I got back at it.
Still had my butt kicked by the corners, so I pie-cut them out of spite.
^^^ That was a strategically placed photo, hiding the fact that I didn’t finish the passenger side “cab corner.”
I used the same template, cut the corner piece, and pre-shrunk the edges:
Then tried to stretch (crown?) the center:
Then tried to smooth the beatings with the English Wheel:
Then a bit more love with the Planishing Hammer:
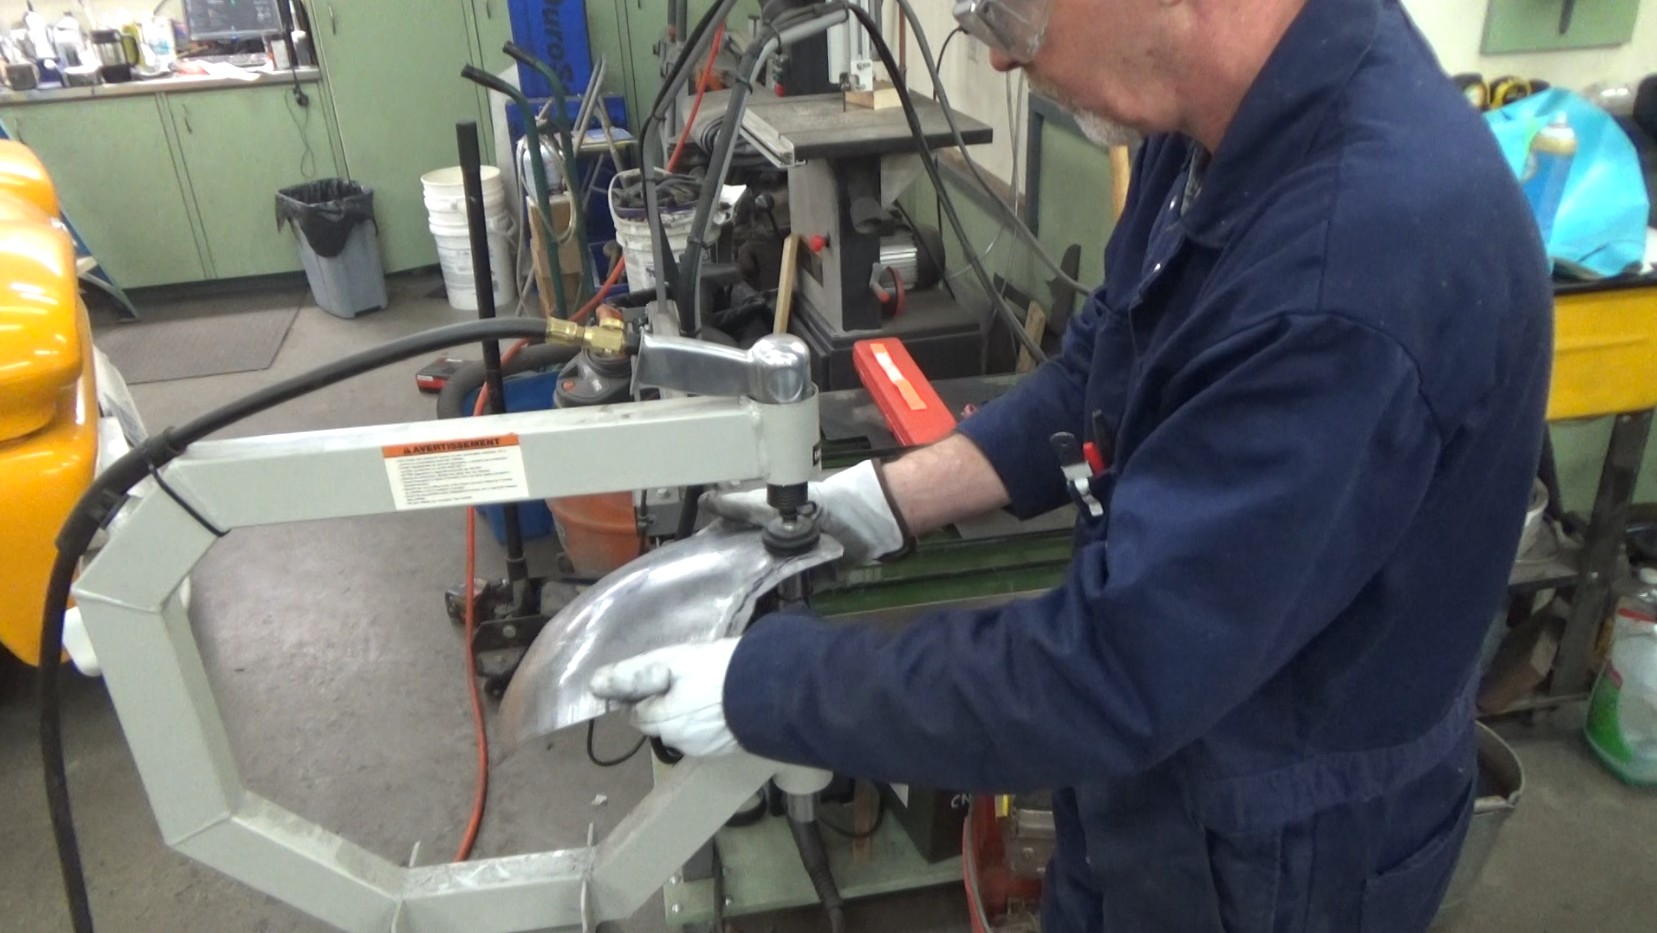
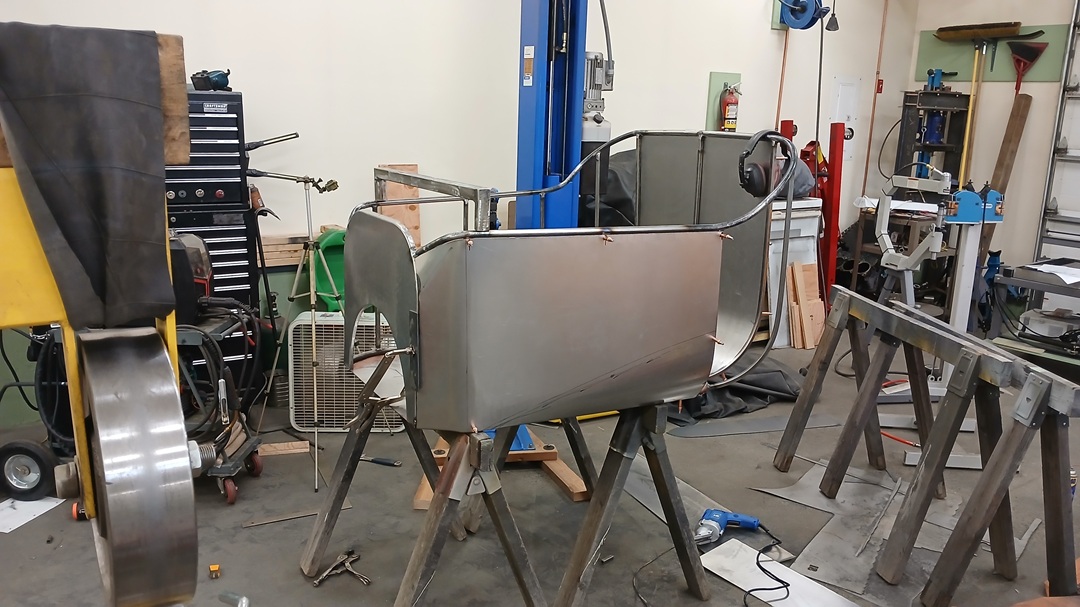
And after HOURS of back-and-forth, welding it in:
It makes it look like I know what I’m doing. I do not. I argue with it, and eventually get the shape I want, but I’m not really sure how I got there. If I knew how to do this properly, it would get done a whole lot faster.
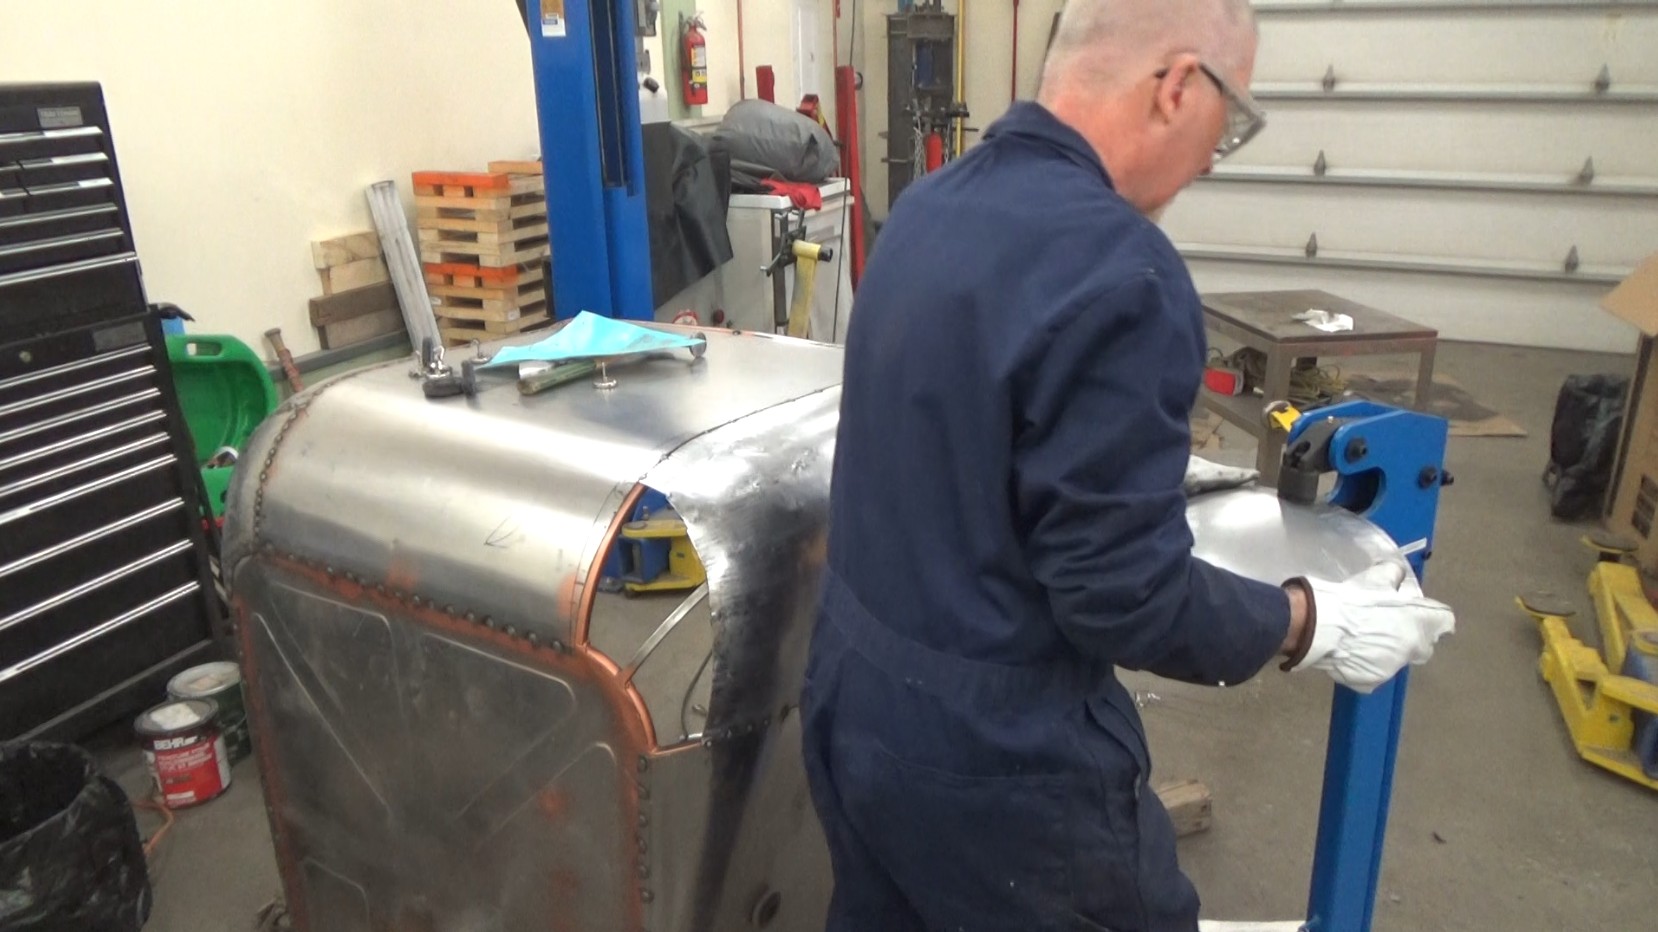
The cowl looks like it’s going to put the F U into FUN; it’s got curves and shapes going everywhere:
Good place to stop for today.