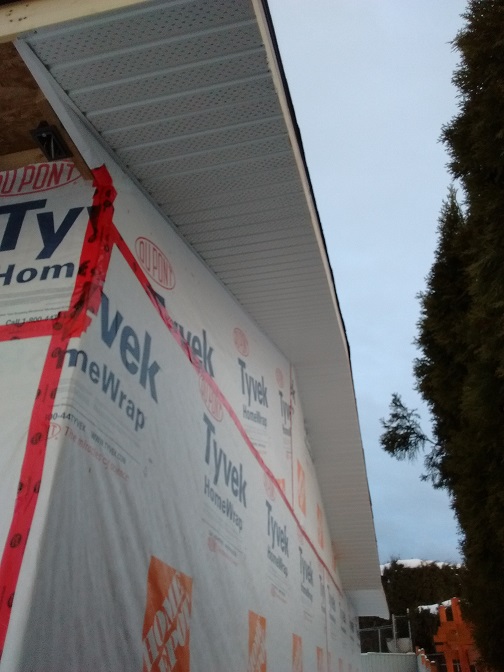
Soffits half done at this point. Fascias next.
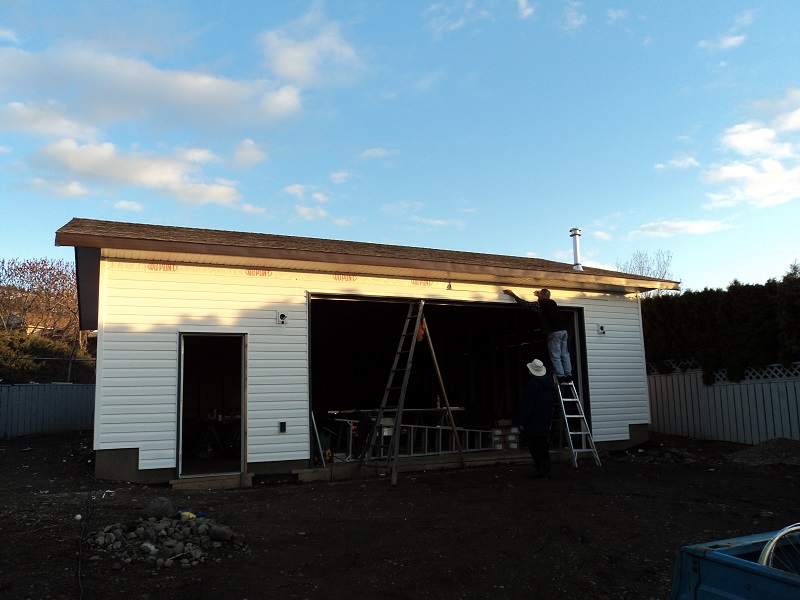
I did the fascias starting along the fence side and working my way around back, that way I could “figure it out” by the time I got to the front where it mattered.
The fascias sucked. I ended up pulling them all off, and re-did them differently.
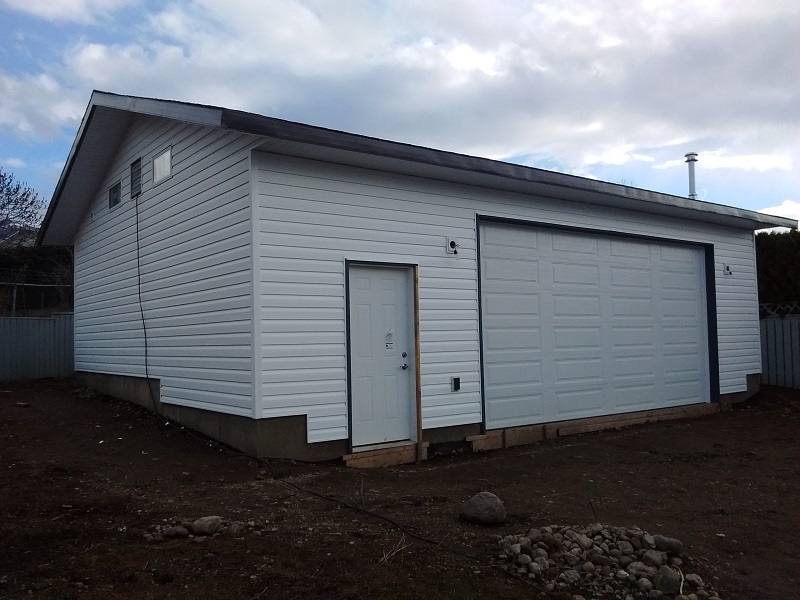
Started the siding today. This time I started at the front, and it actually went really well – I am very pleased with the results.
Actually, the siding is kinda fun….
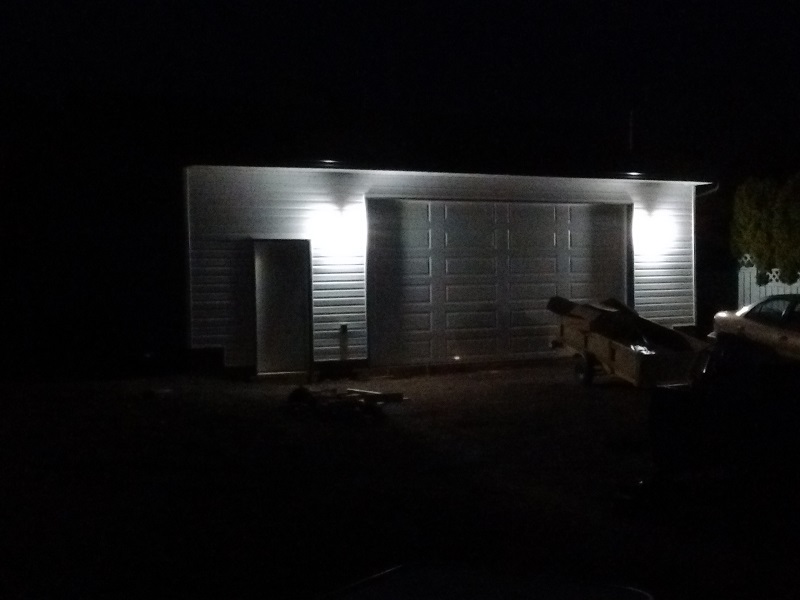
Power got hooked up! LED lights on the outside….
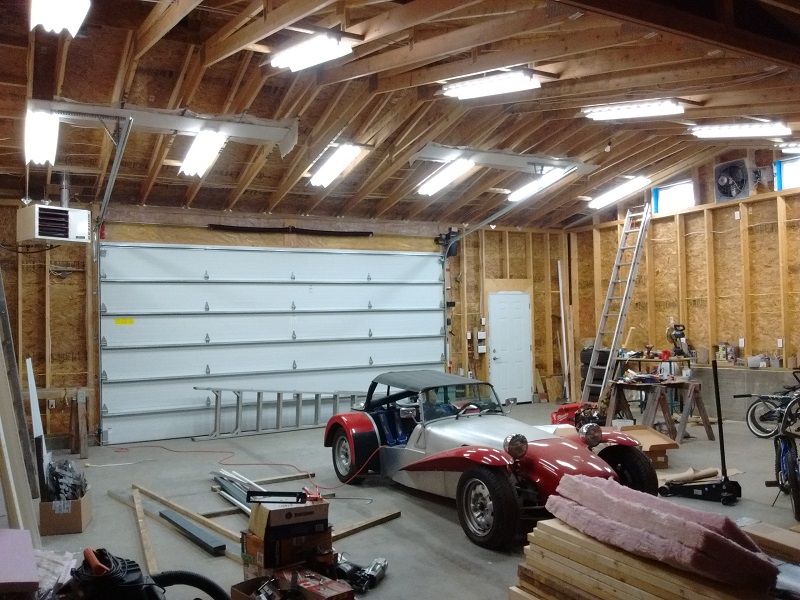
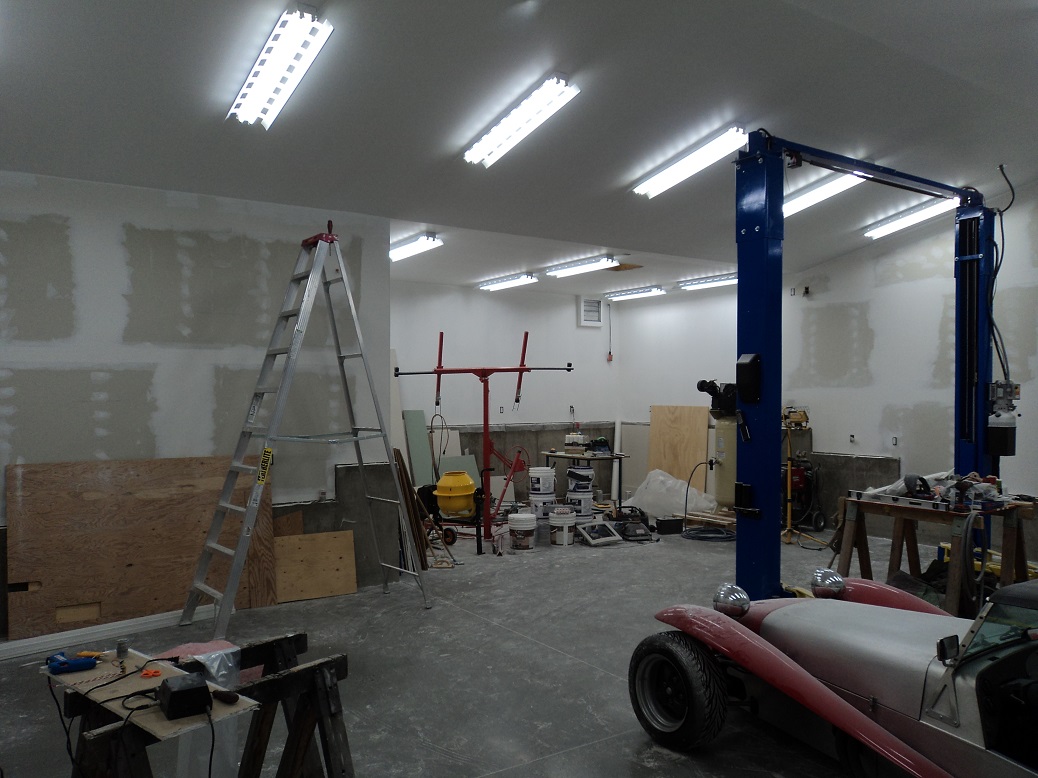
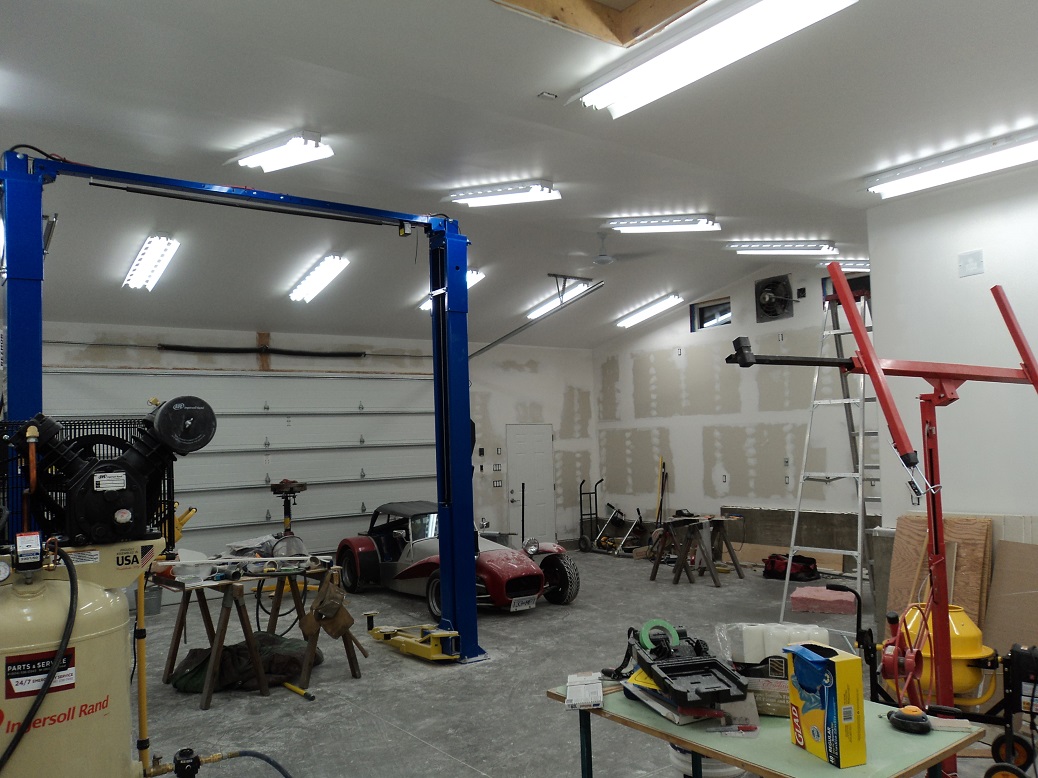
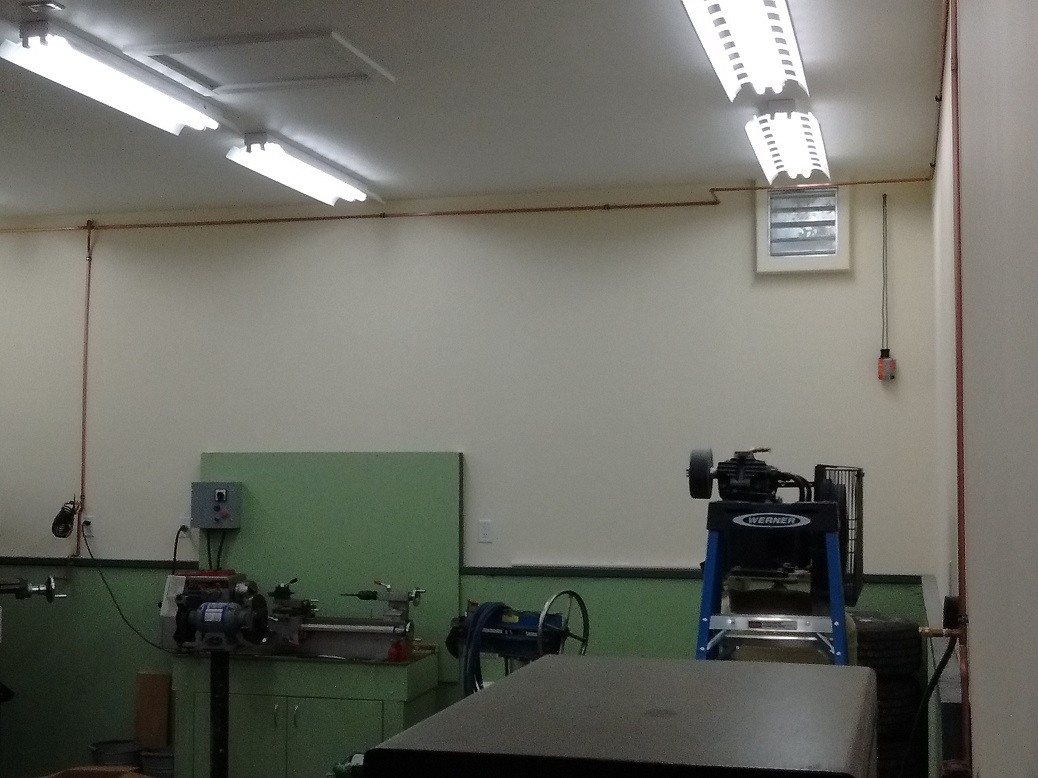
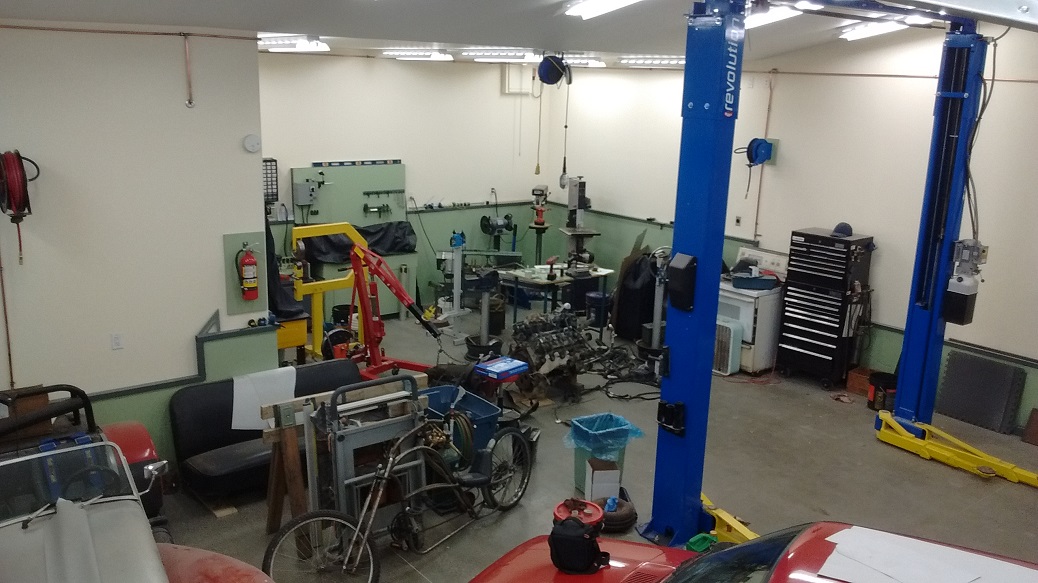
Finished lights in the vehicle area, then I started working on the machine shop lights. These are 18 twn-tube 32W T8 4000K fixtures. Should be about 105,000 lumens. Frankly, it’s AWESOME in there!
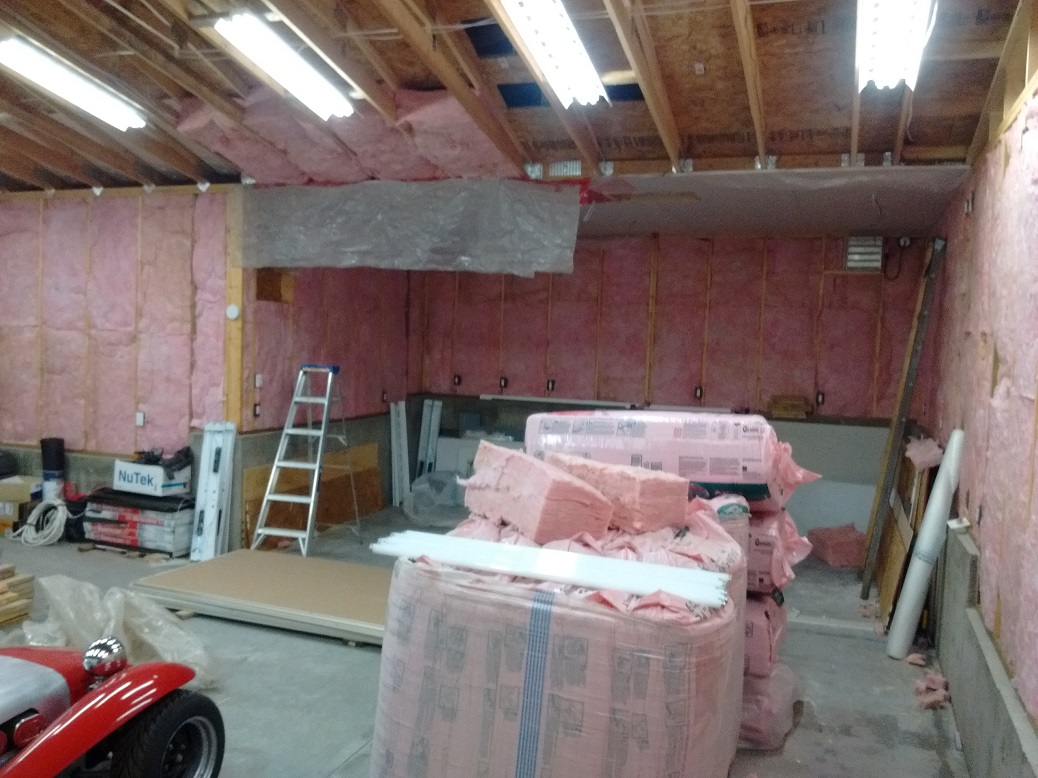
Getting some pink done.
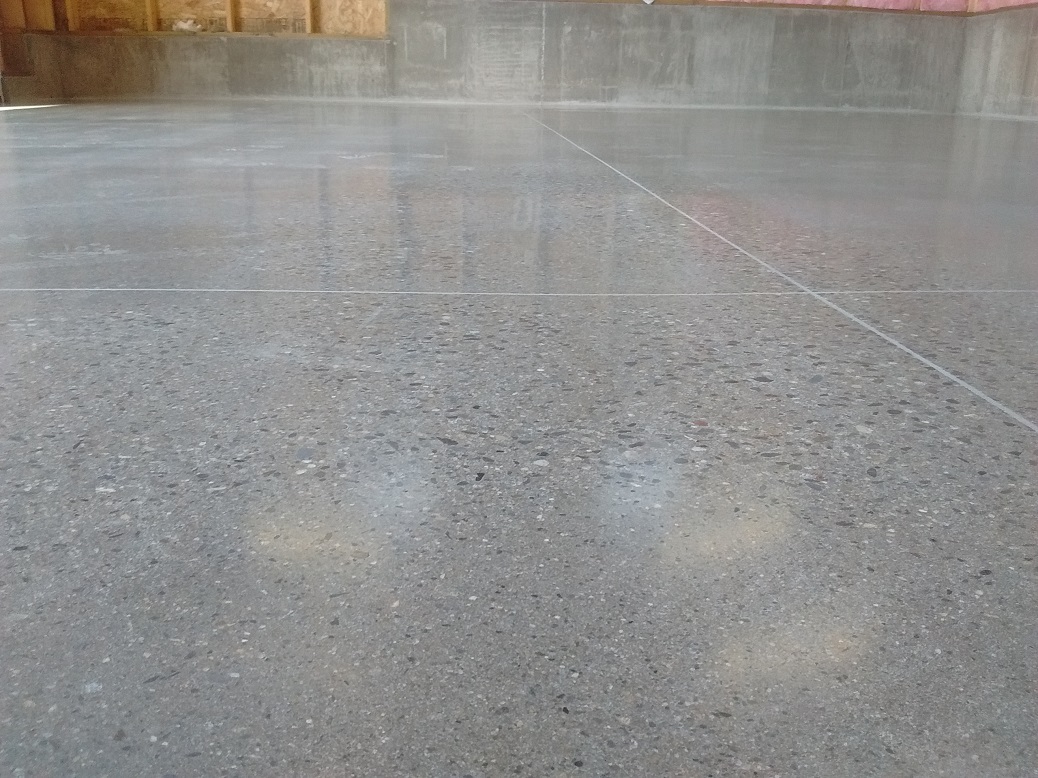
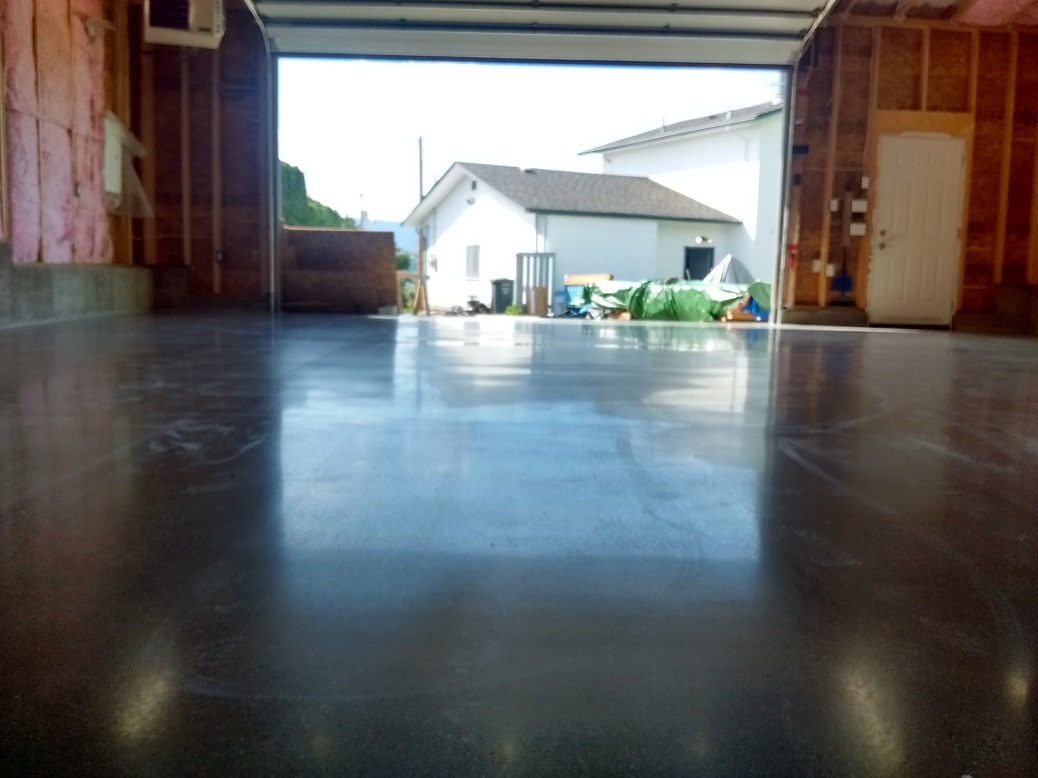
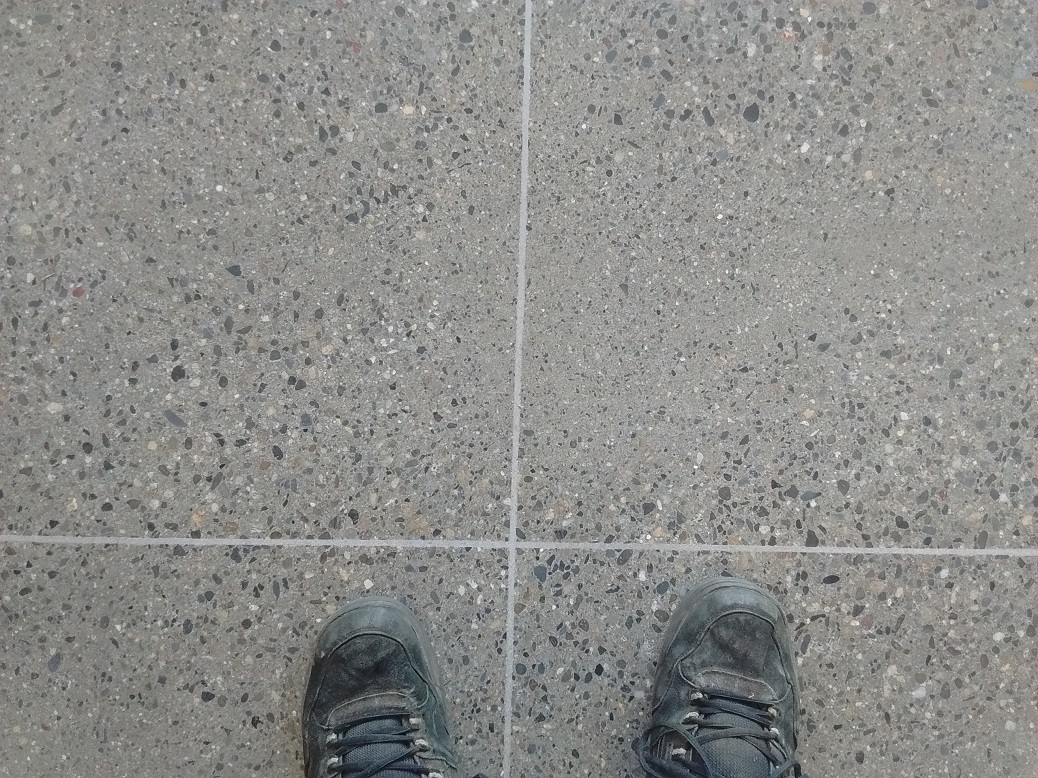
Turns out the cure coat used for the slab, dissolves with reckless abandon at the slightest drop of gasoline. If I’m going to spill anything, it’s going to be gasoline. One of the best floor finishes, in my opinion, is sealed and polished concrete. Jay Wiens Floors did the finish.
The concrete slab is being ground in preparation for a hardening/sealing and polishing.
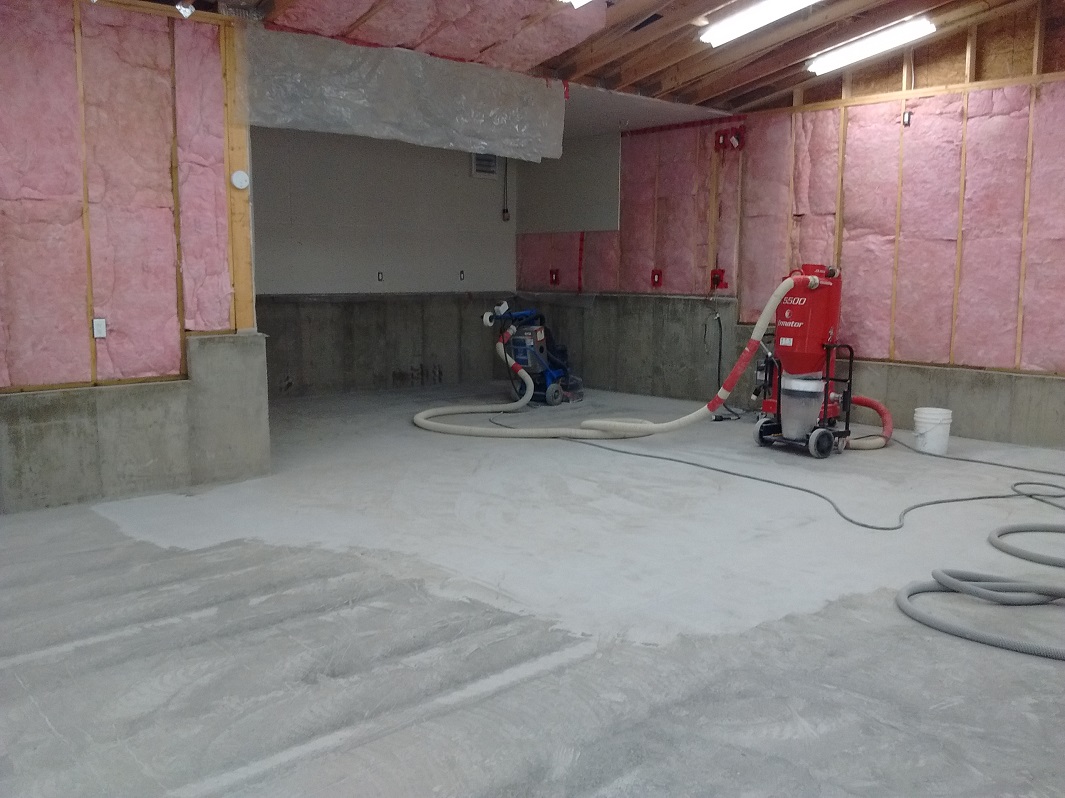
Grinding equipment.
This is so cool.
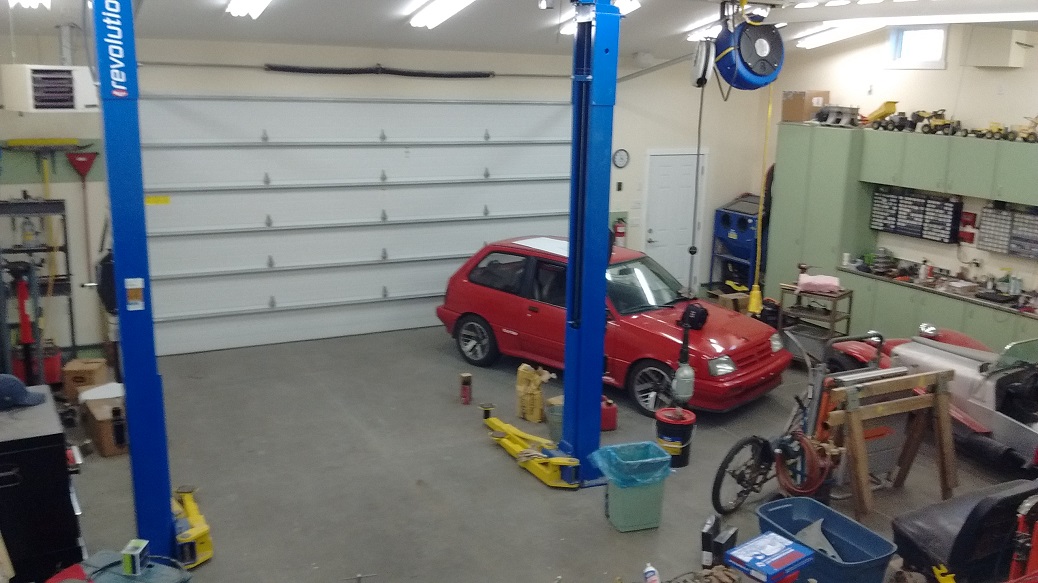
LordCo had Trade Show pricing on a Rotary Revolution RTP10 two-post lift, so I had to buy one, but had to store outside while the floor was done.
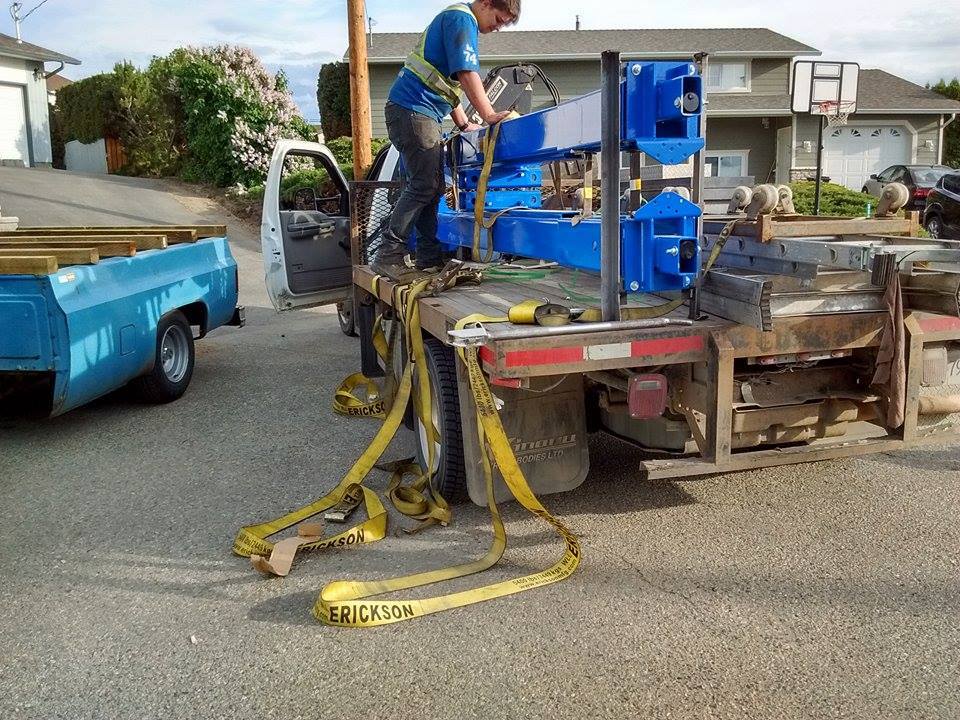
It would have been dodgy bringing it home ~on~ my trailer, so they brought it to my house, and loaded it onto the trailer so I could get move it around back since the crane truck wouldn’t fit
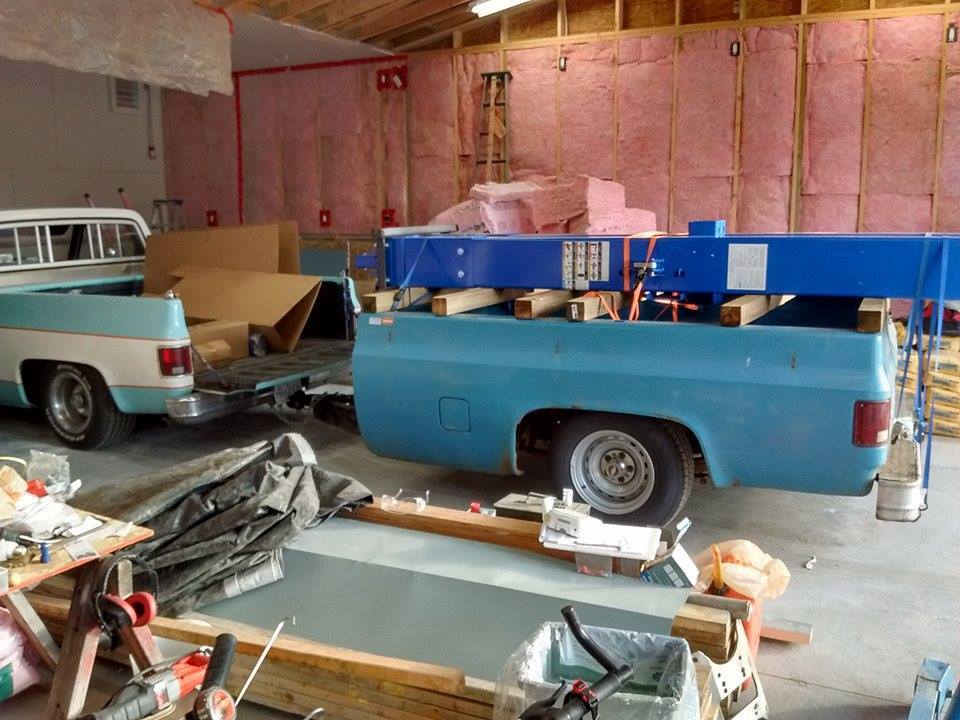
And this is where I discovered the engine crane from work had a dead cylinder
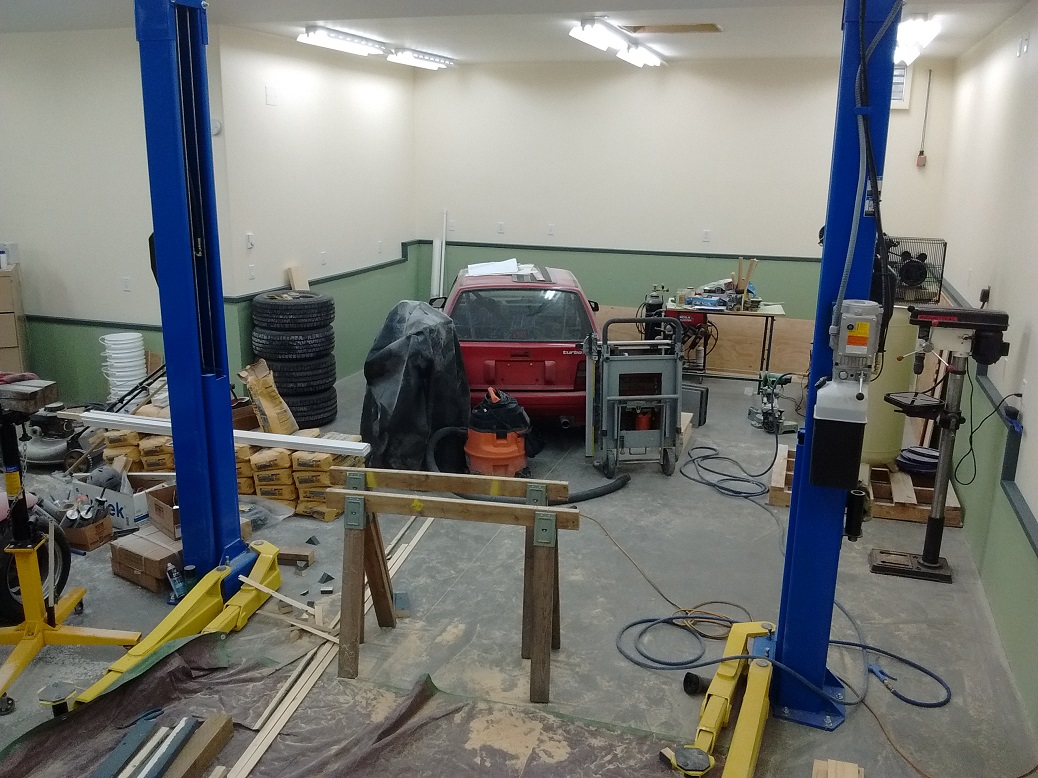
And the hoist is up. Just needs oil and power!
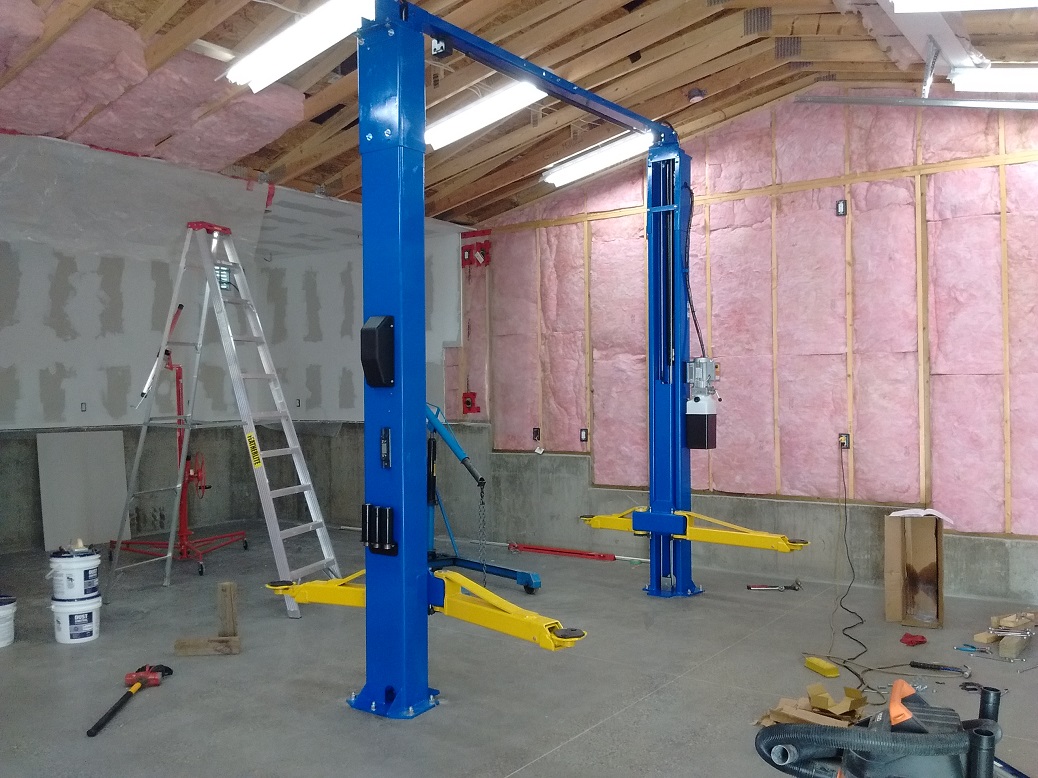
There is 8″ of concrete with two layers of re-bar under the hoist columns. The anchors were set with a Rock-Lock-esque epoxy for that added bit of please-don’t-drop-a-car-on-me protection.
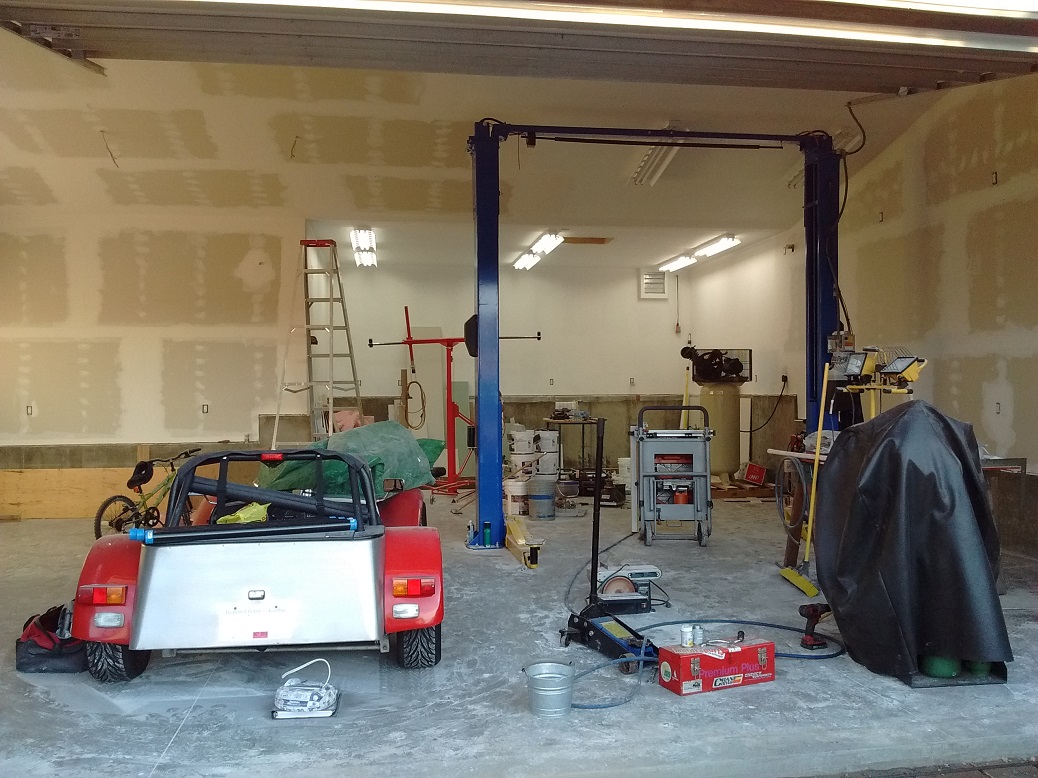
Drywall nearing completion

Pouring apron
PAINTING
Ceiling is done and the lights are up!
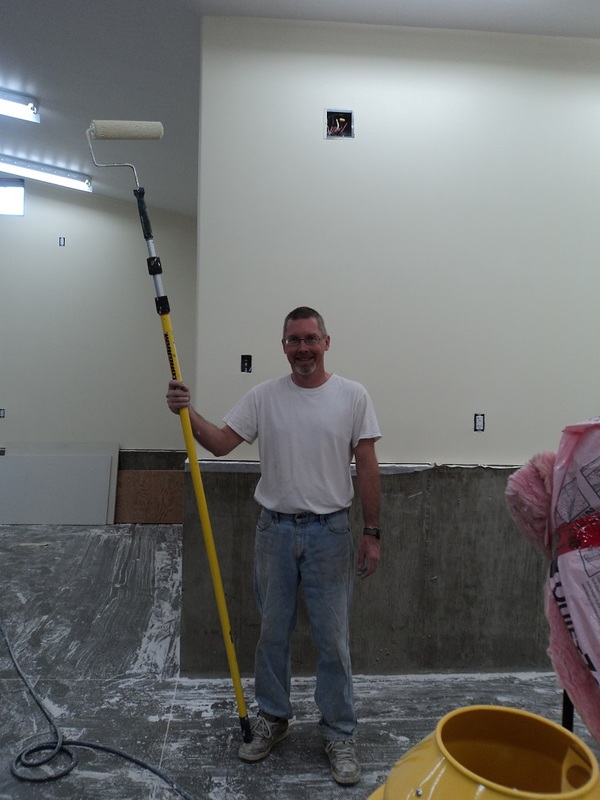
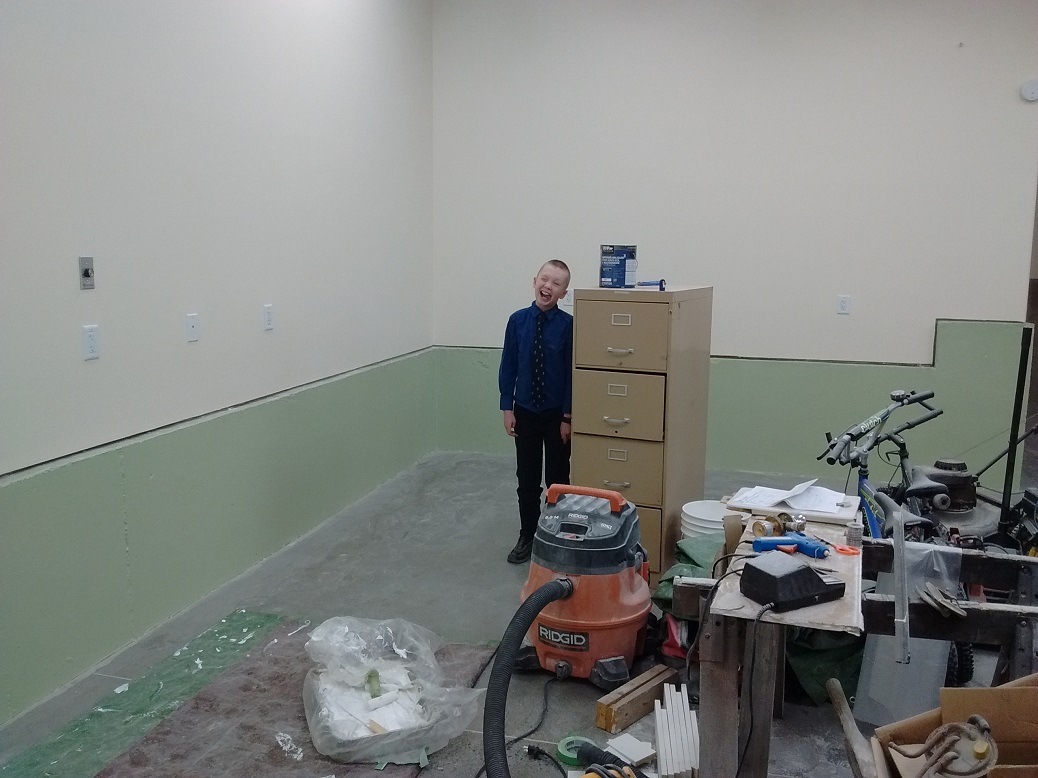
Getting paint done!
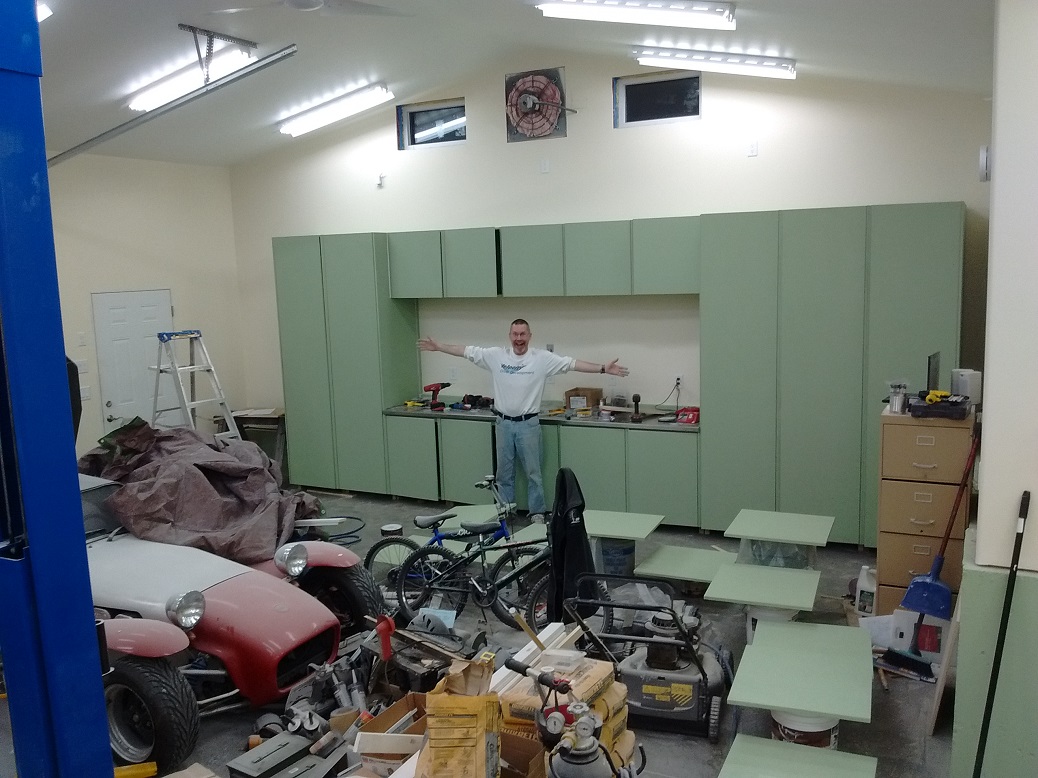
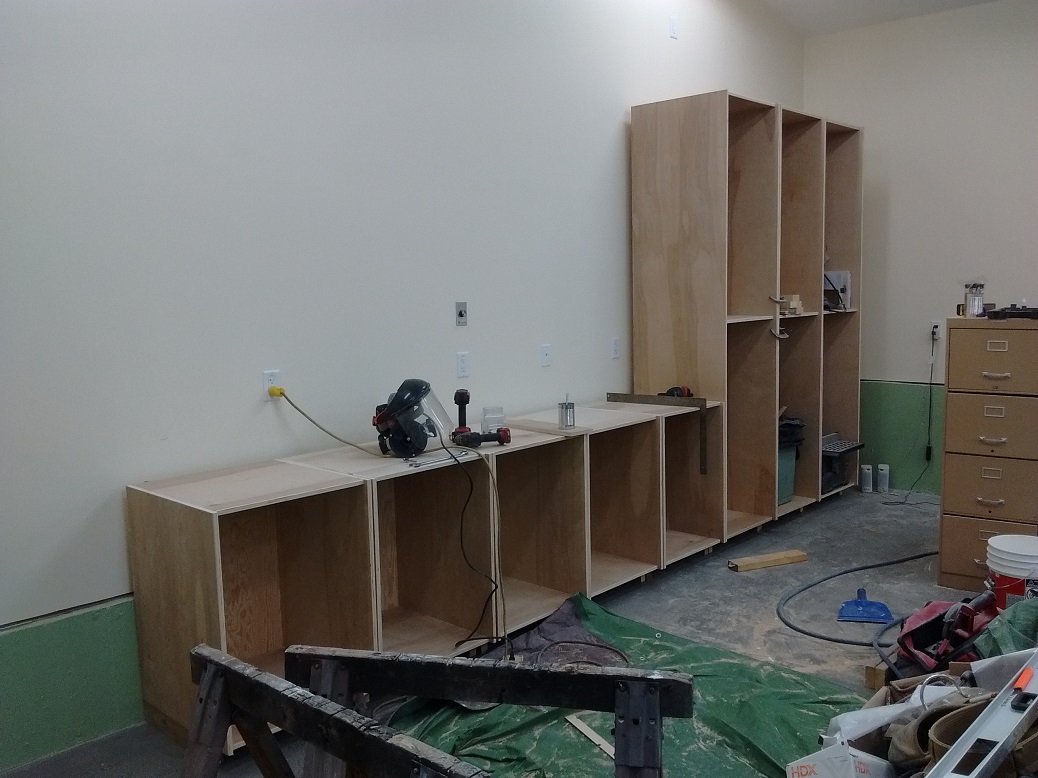
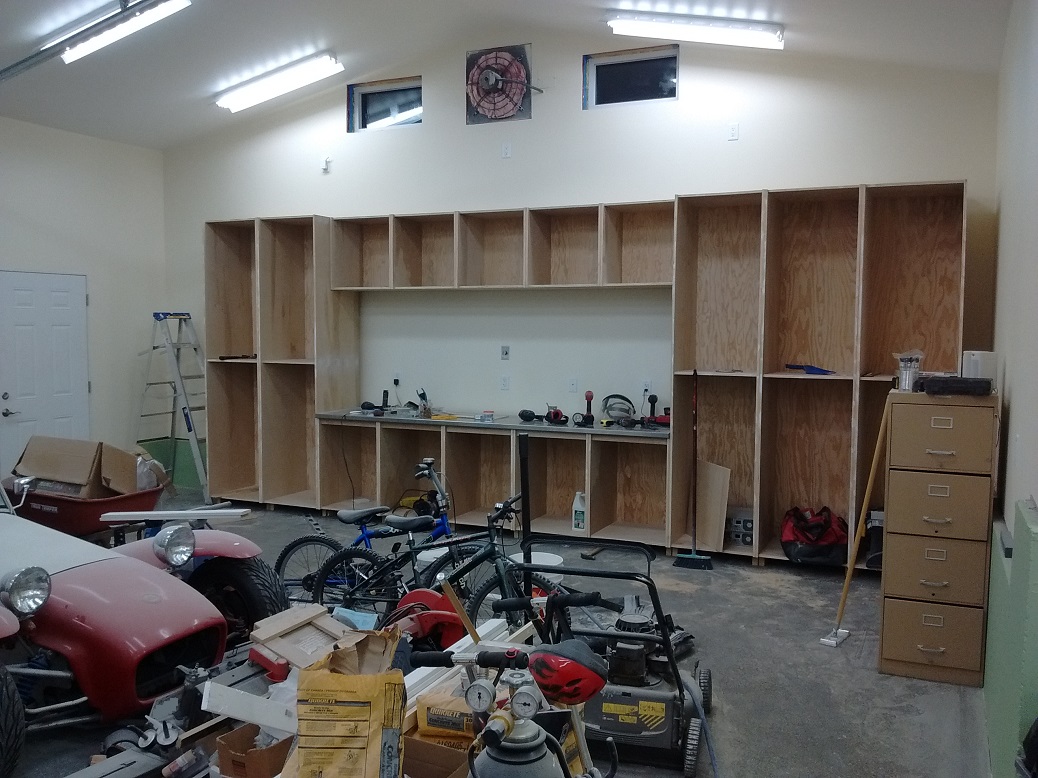
Larval cabinets:
Second coat of Basement & Masonry Waterproofer. The hardware store had suggested that drywall primer would have been fine…..
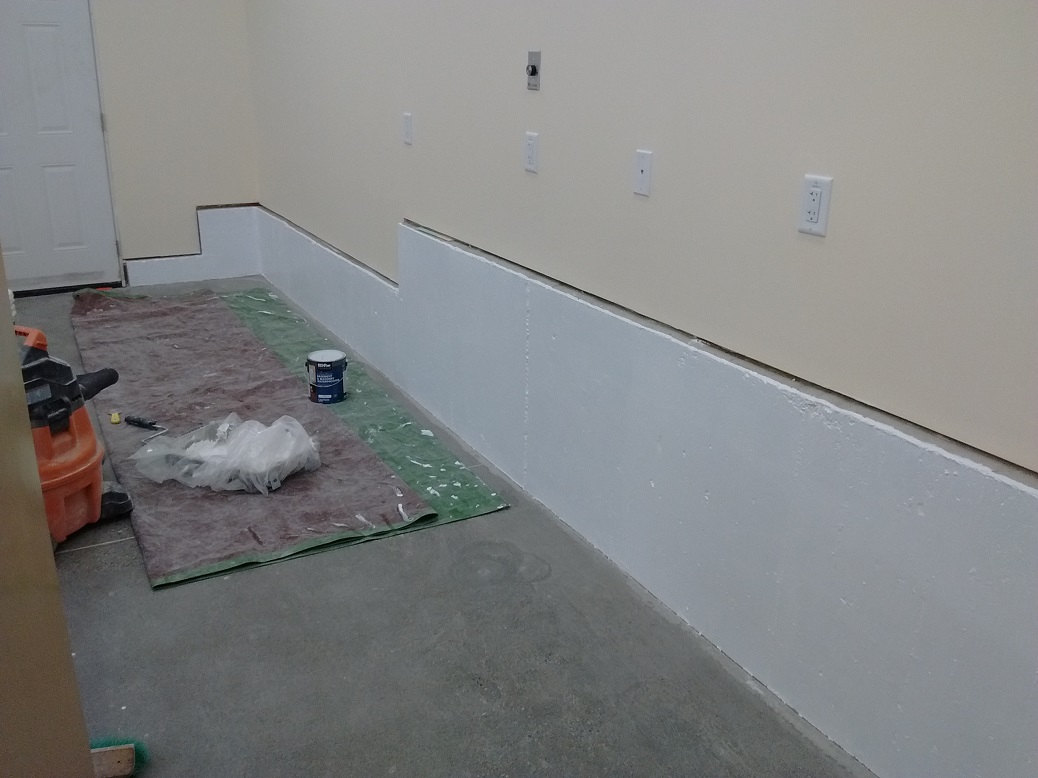
Stem wall colour:
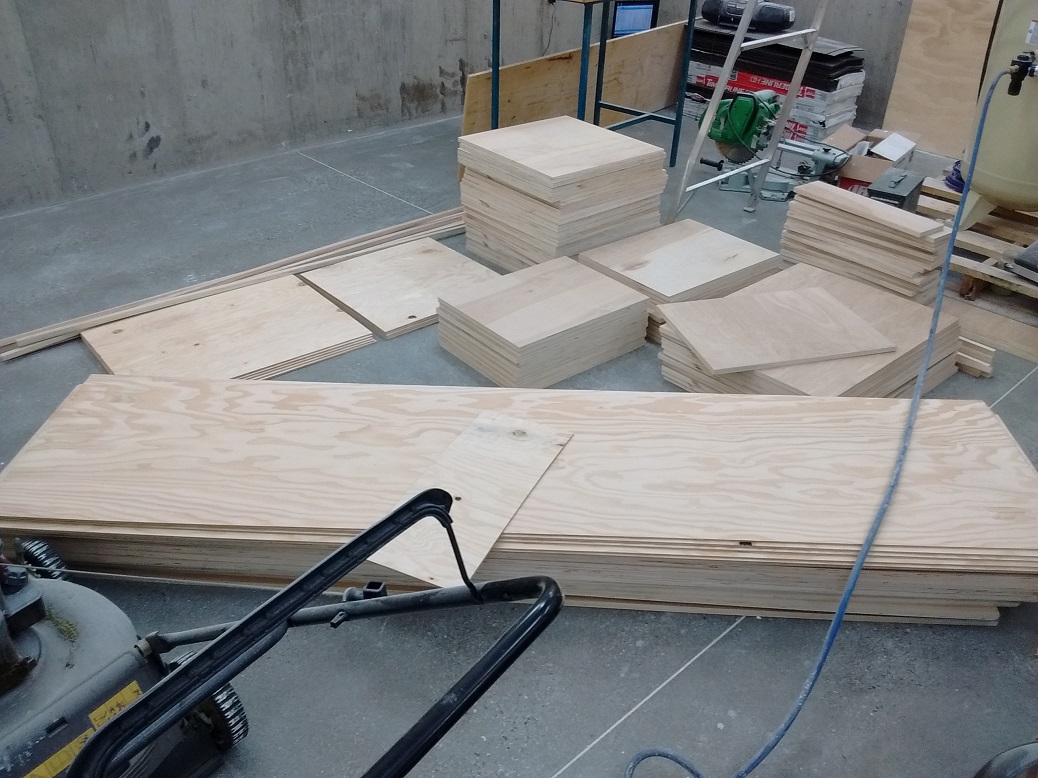
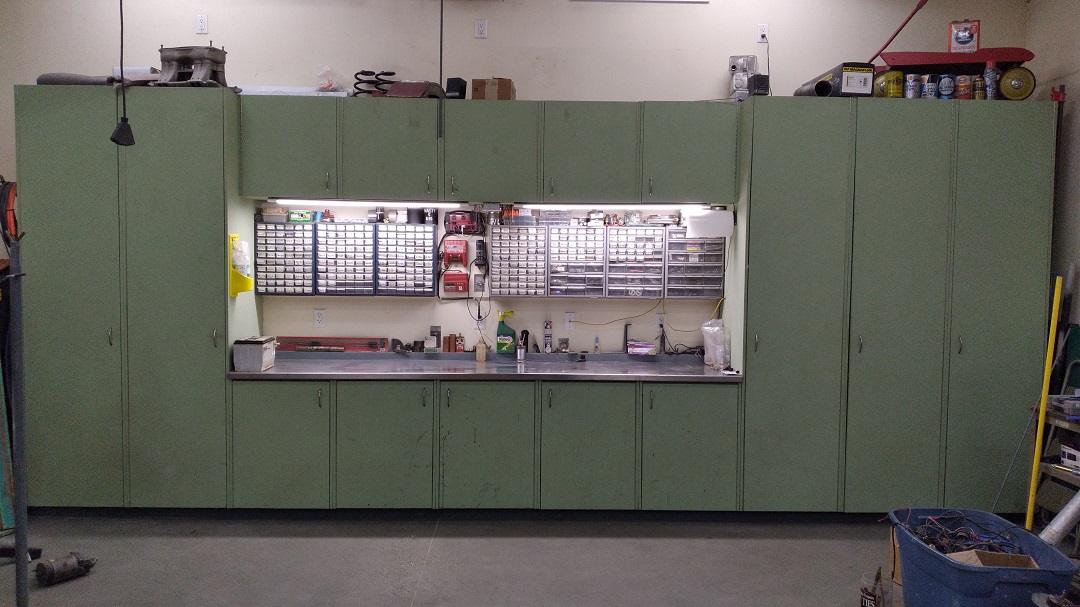
BENCHES & CABINETS
Cabinets coming together. Two more eight-footers to go.
Stainless countertop:
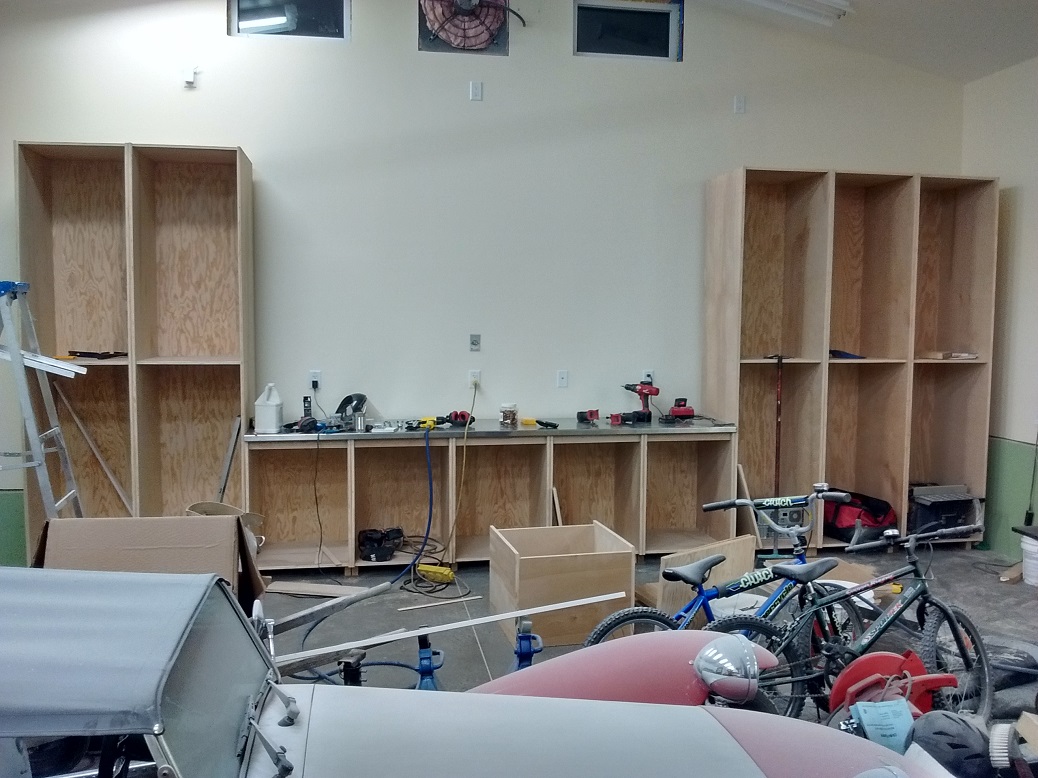
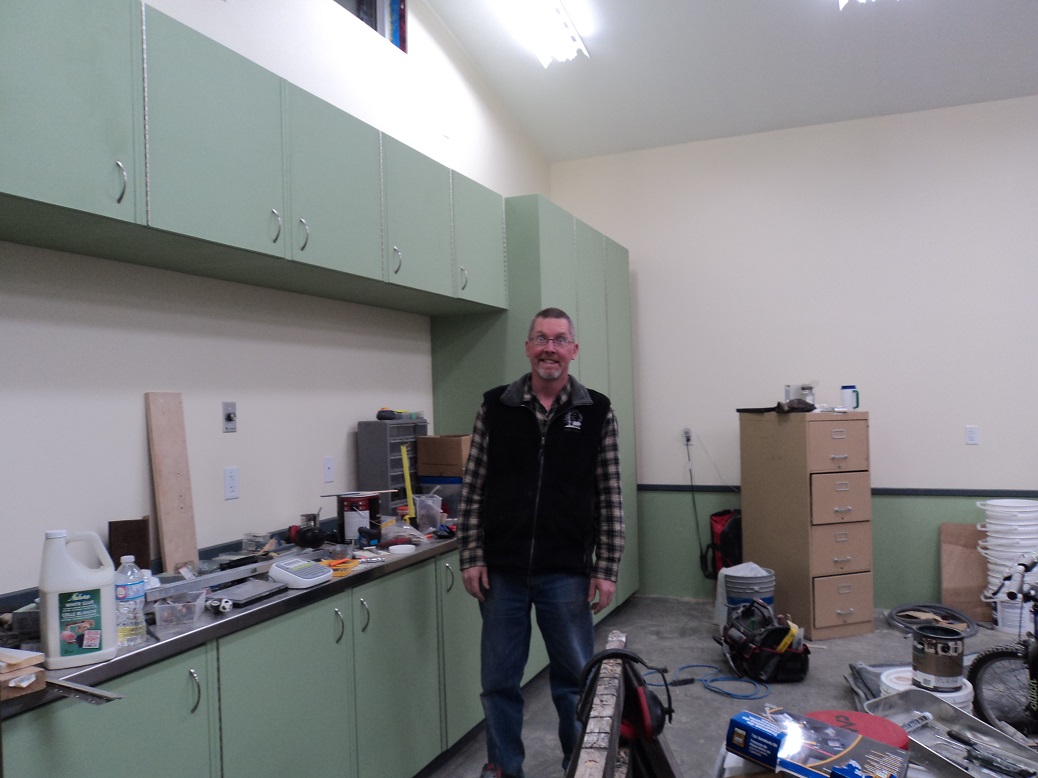
Upper cabinets:
Cabinet doors are hung, shelves drying… soon, all of this junk will be ~away~

Chair-Rail (although, technically it’s the baseboard) is up, in Behr “Amphibian,” the closest I can get to Tremclad Gray:
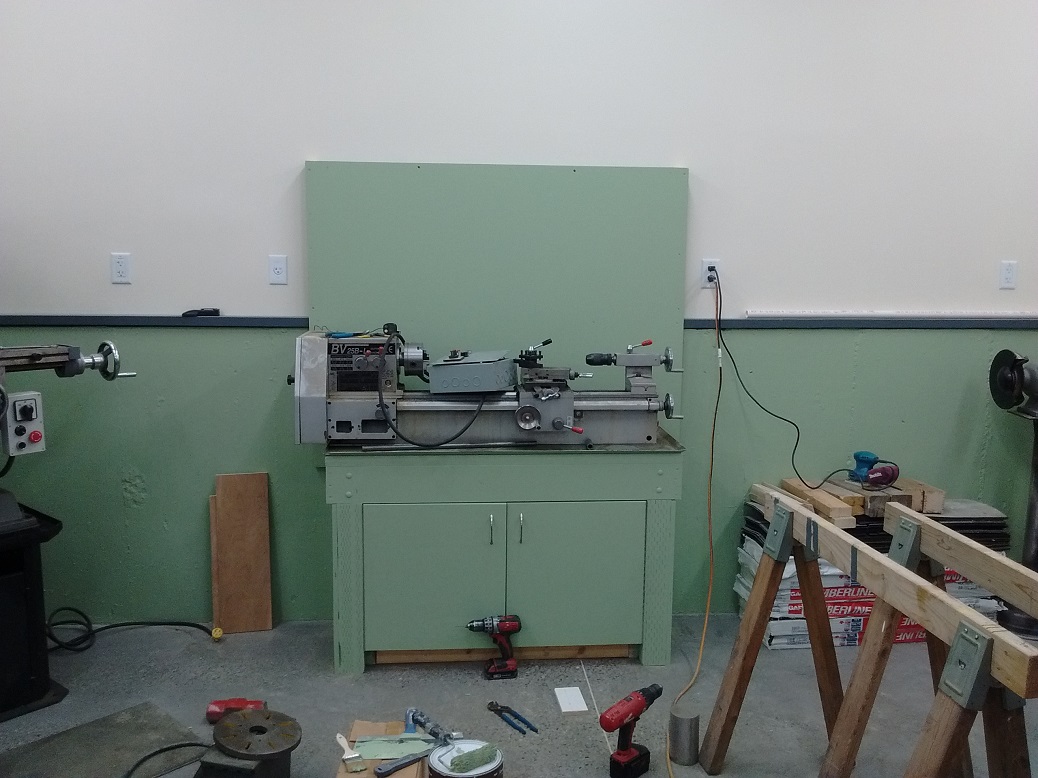
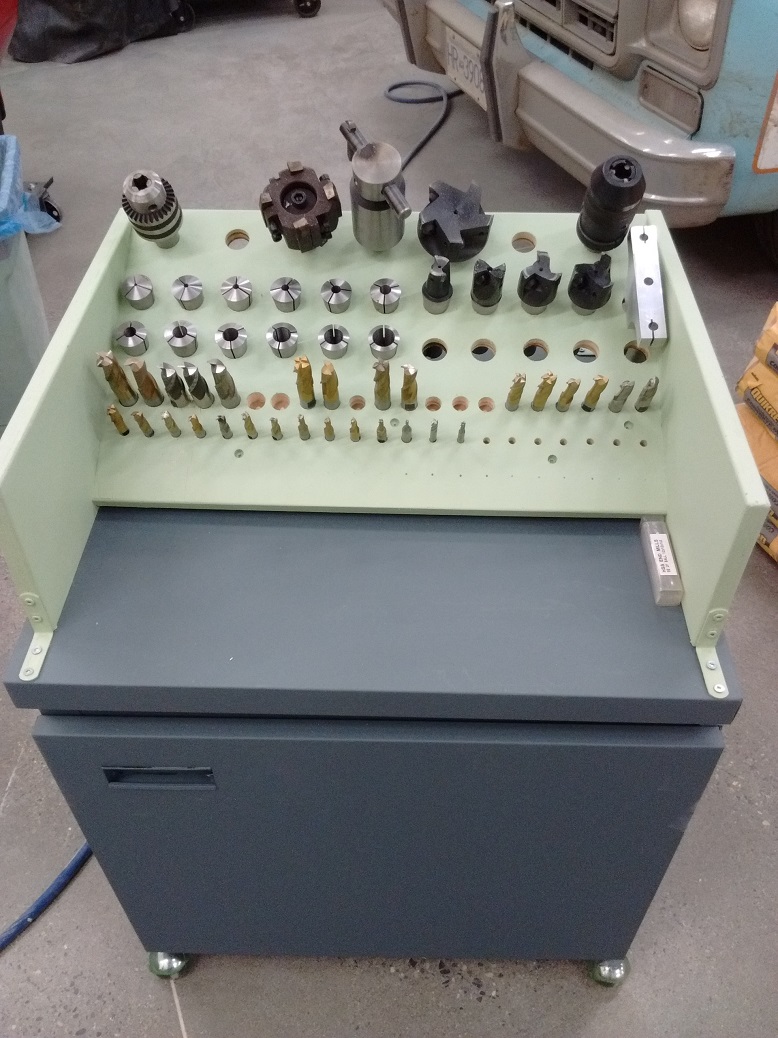
Lathe found its new home. I modified the previous table I had made for the lathe – this one is a bit taller, more rigid, and better shelf below.
I picked up a screaming deal on a fold-up engine crane (with engine leveler) at Princess Auto for, yet again, less than the cost of the materials to build it. I used the PA crane to load the lathe and mill from the garage into the truck, and the crane from work to unload it in the shop. Saves loading and unloading a crane with every machine.
COMPRESSED AIR LINES
Working on the compressed air lines.
Not totally sold on the brushed and clear-coated copper, but I started and might as well finish. I can always paint it wall-colour later. Four drops, and one drain line.
Cabinet sourced from my pops when he downsized (old printer stand??), and added a top to hold all my milling cutters. Painted to match the shop.
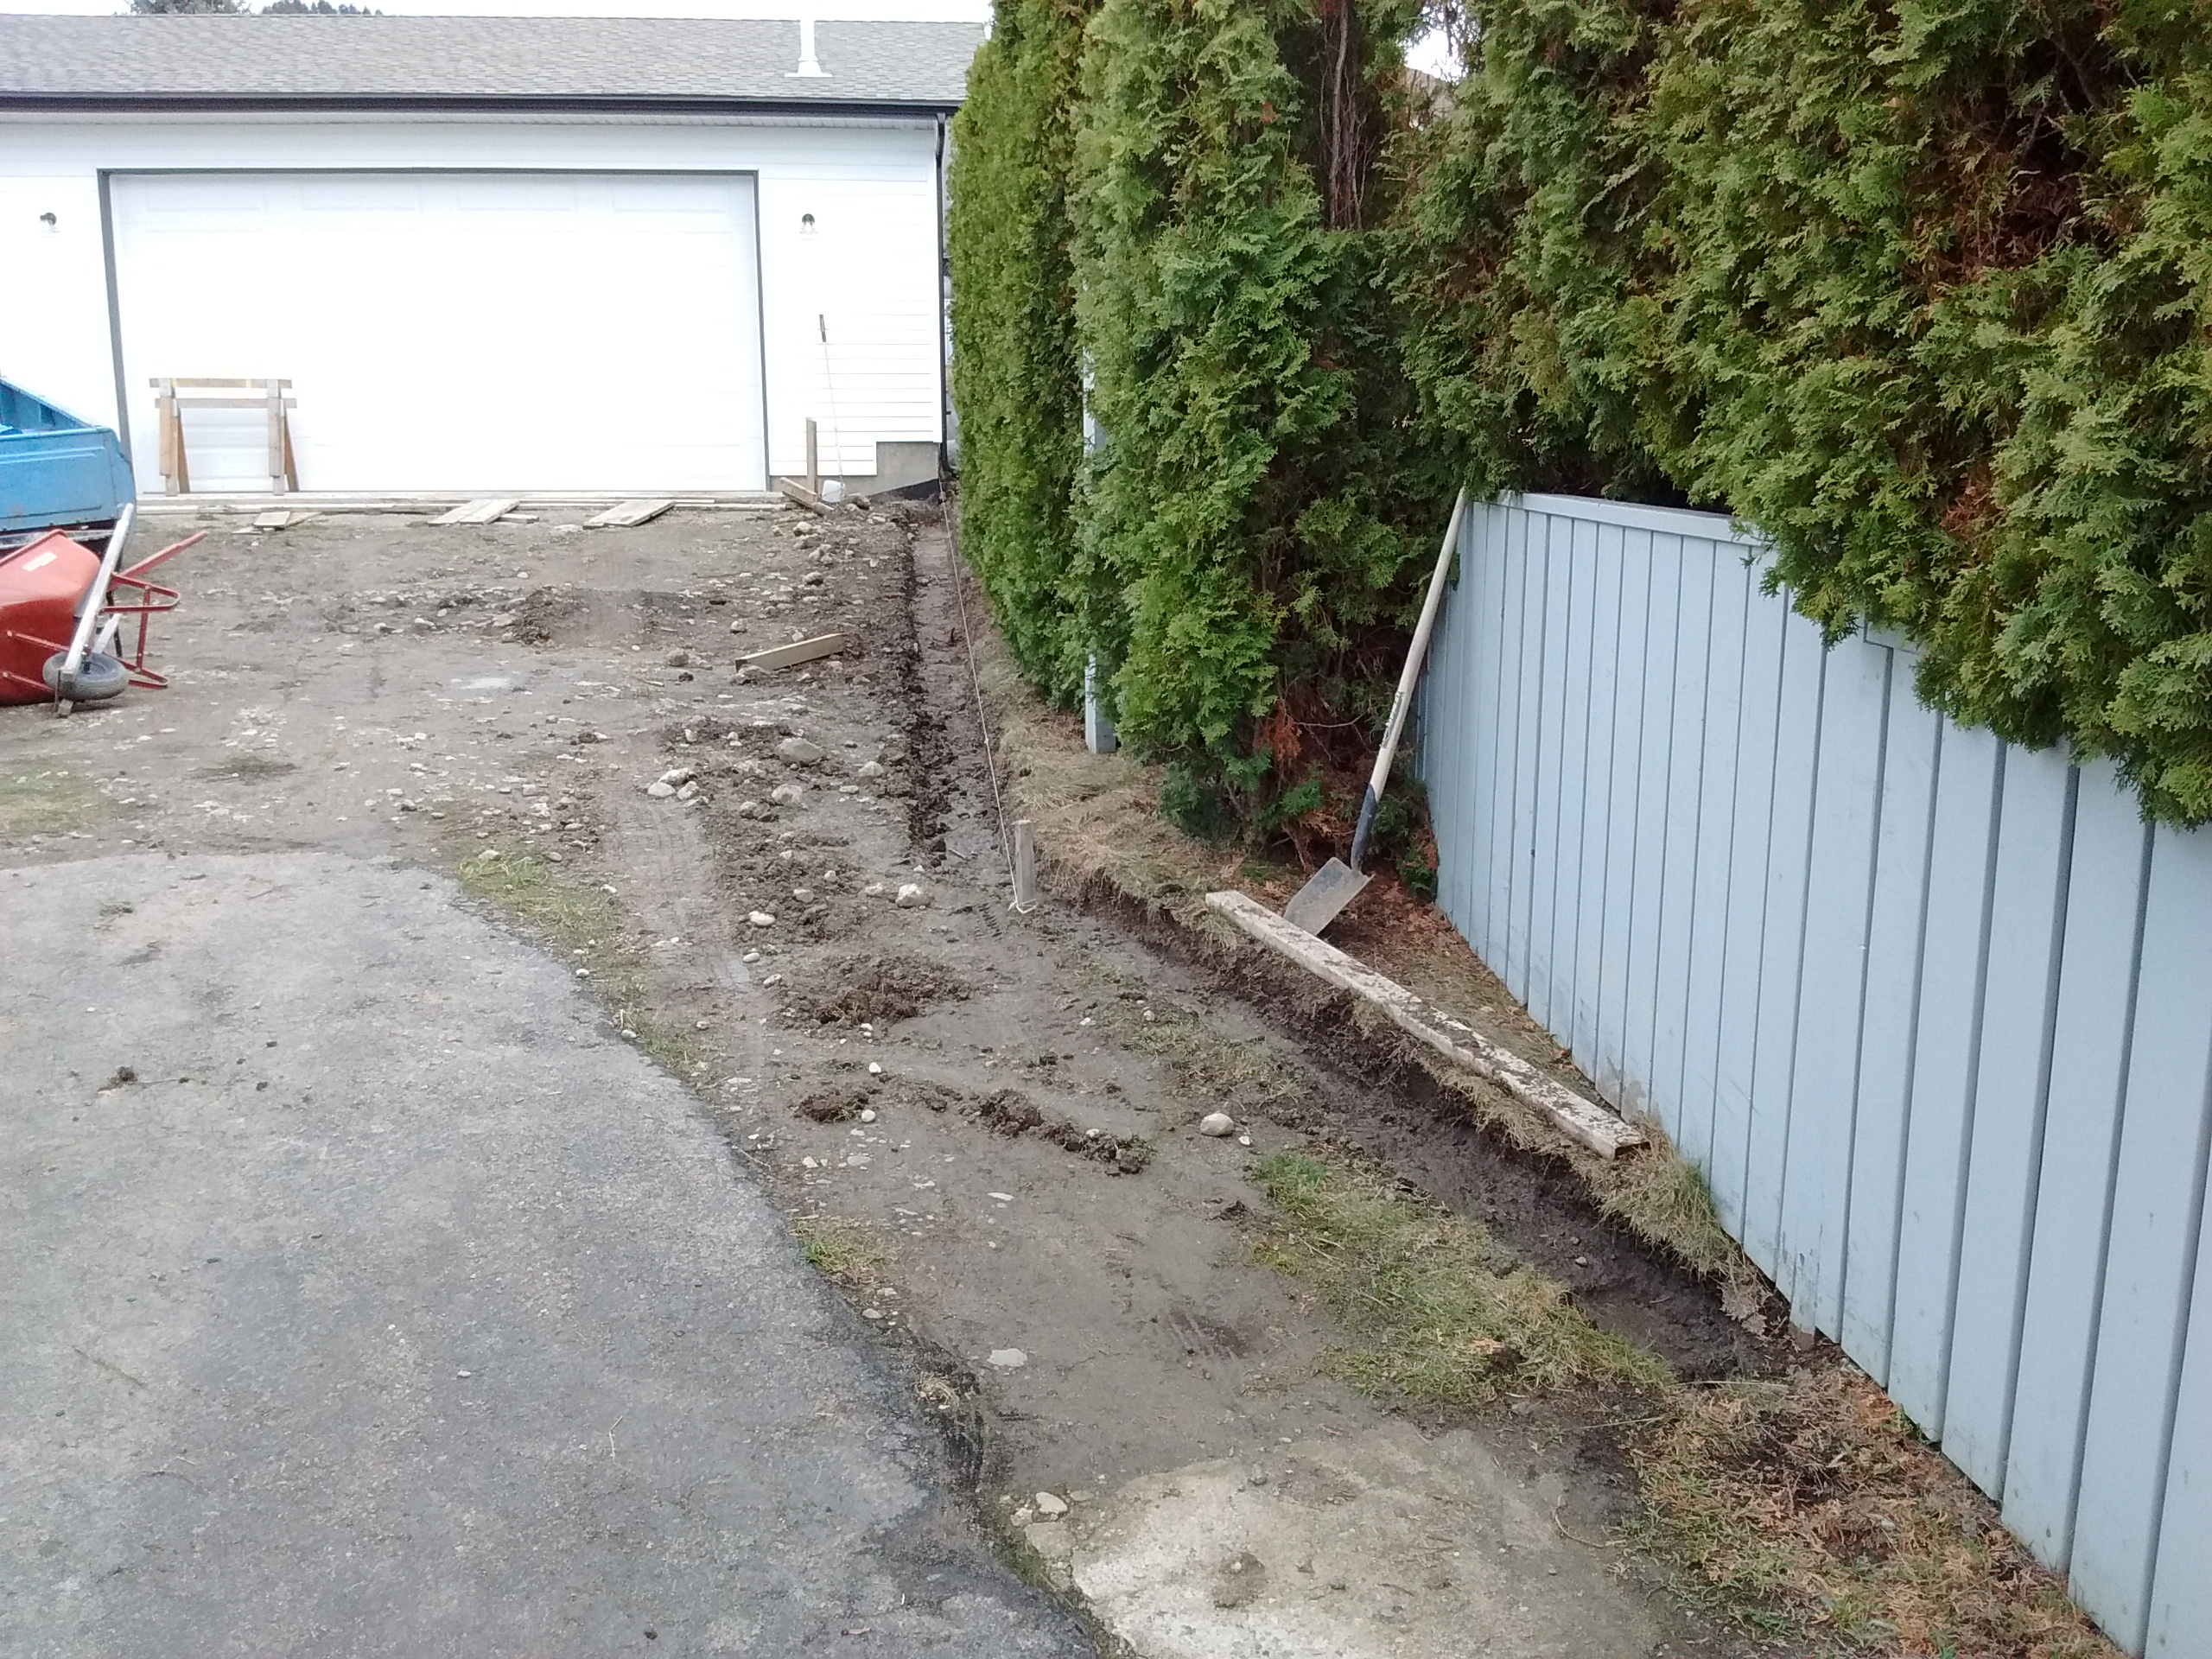
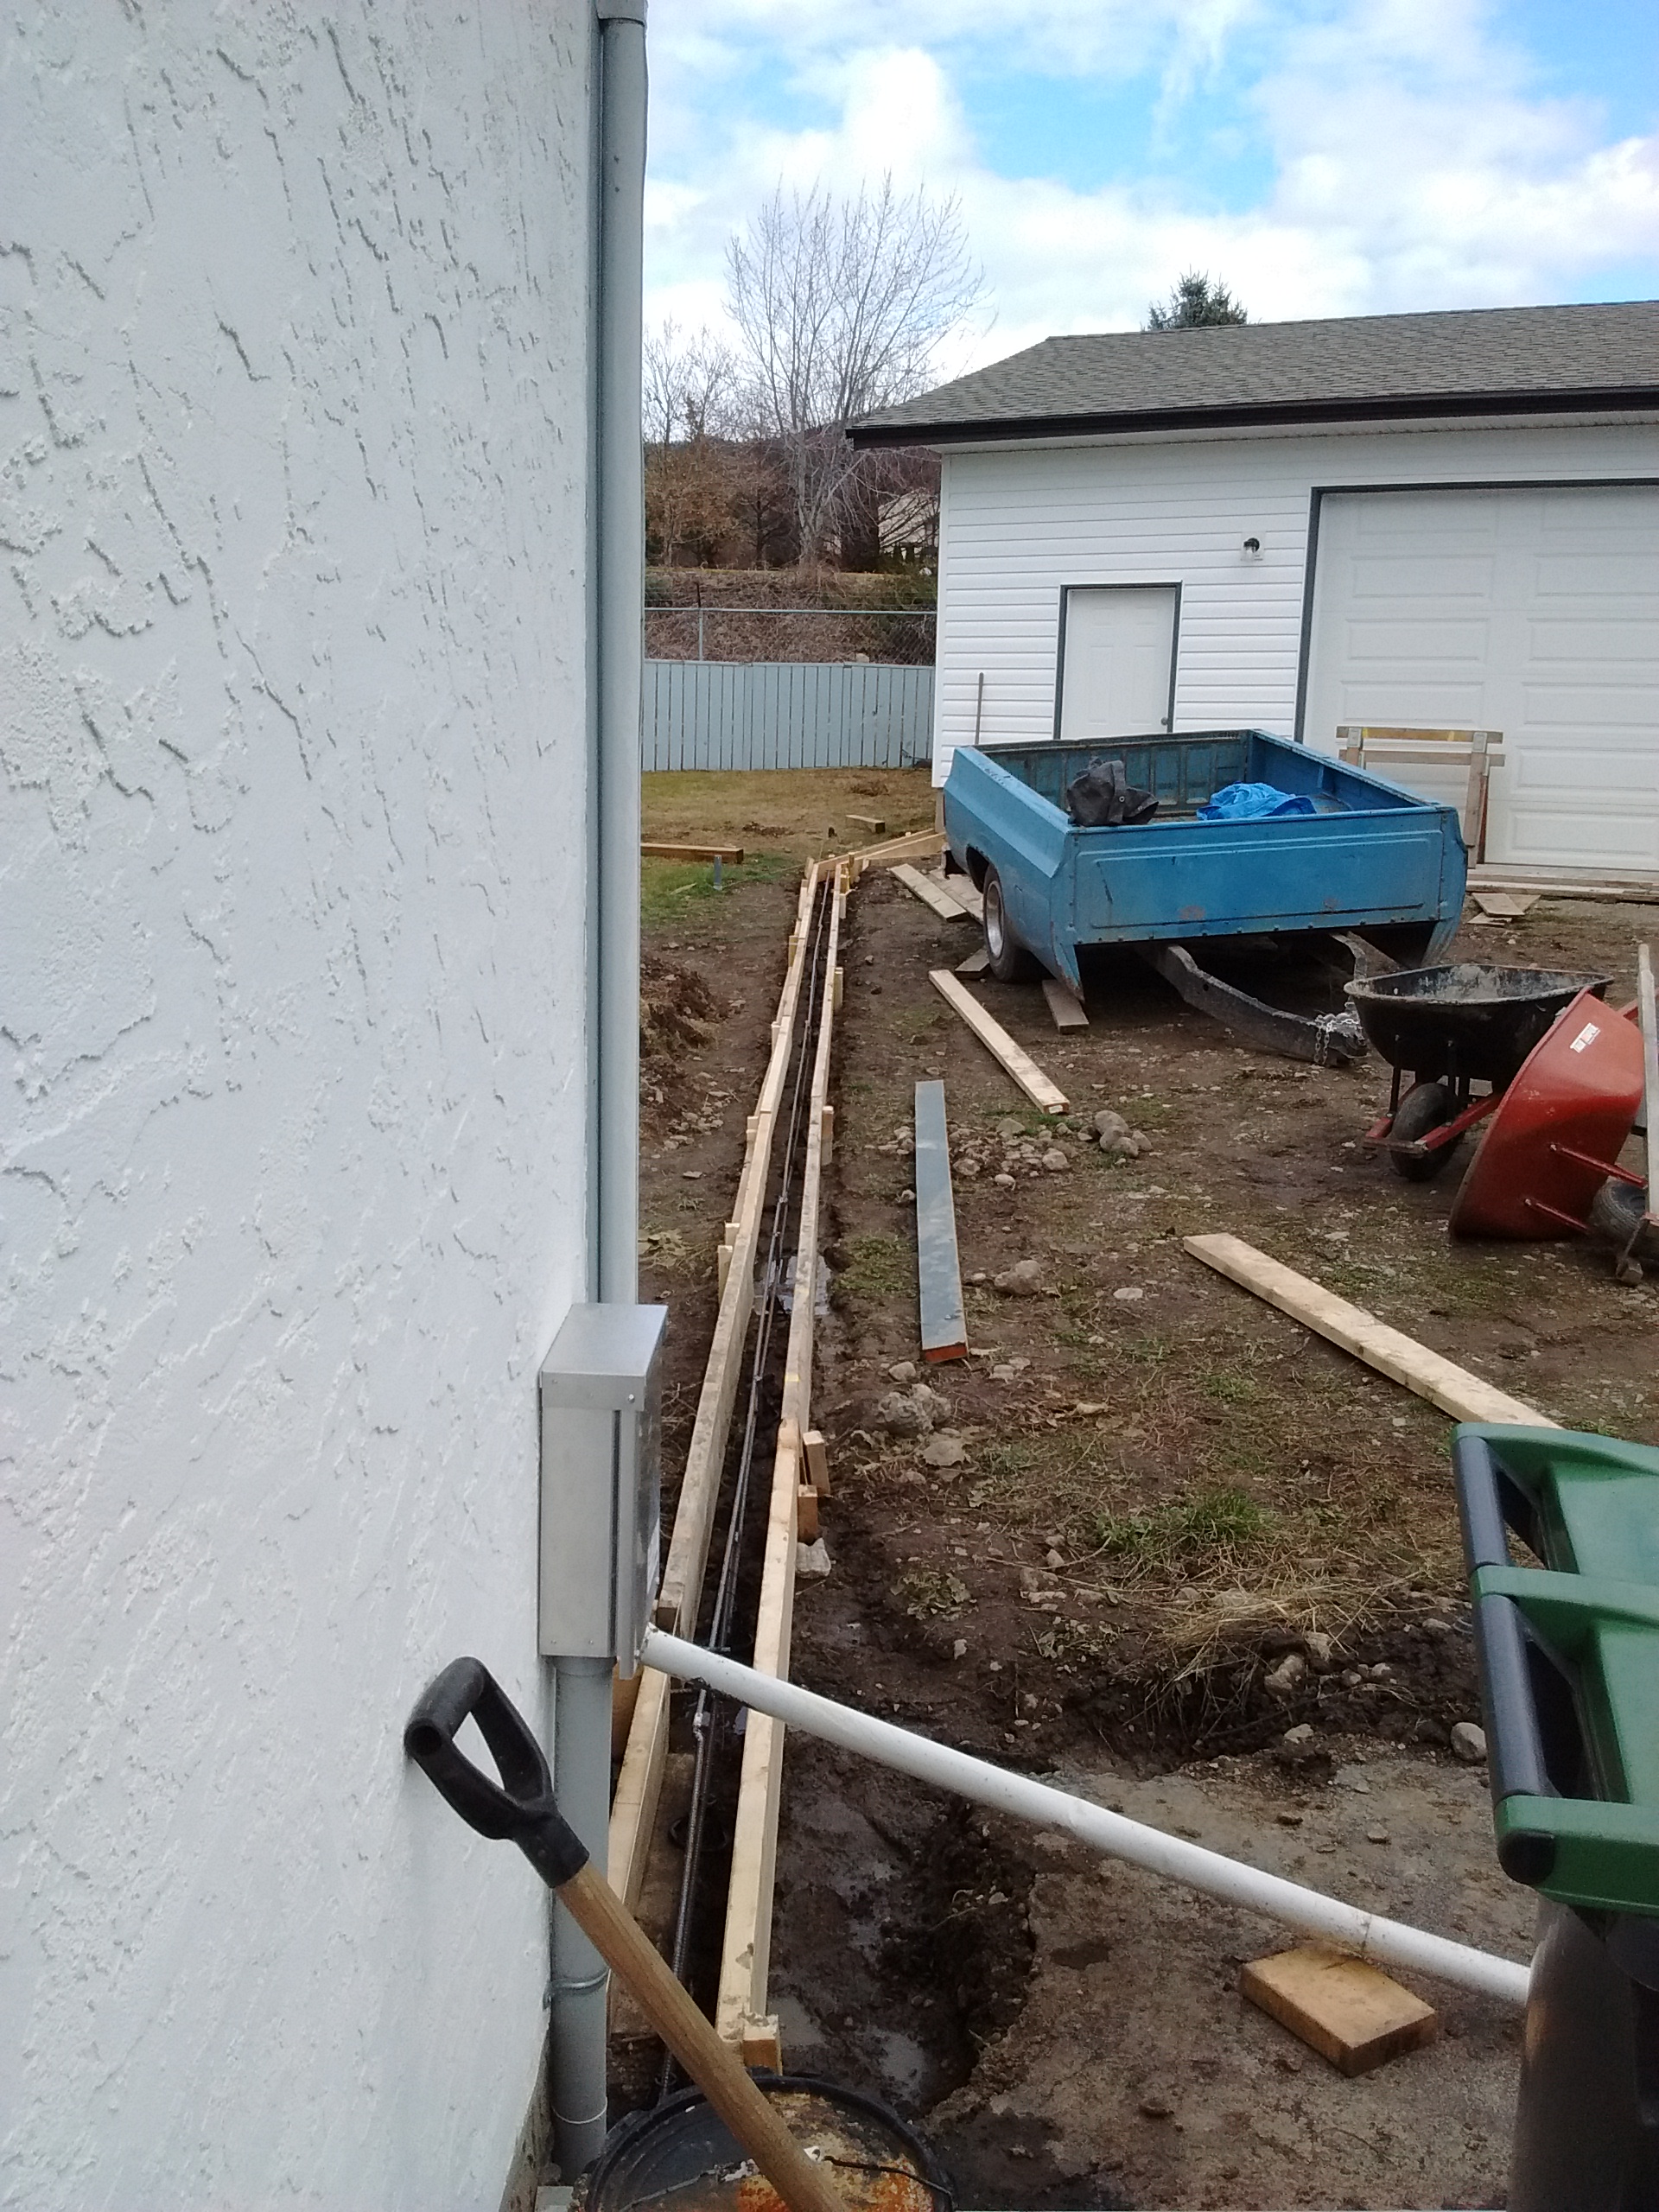
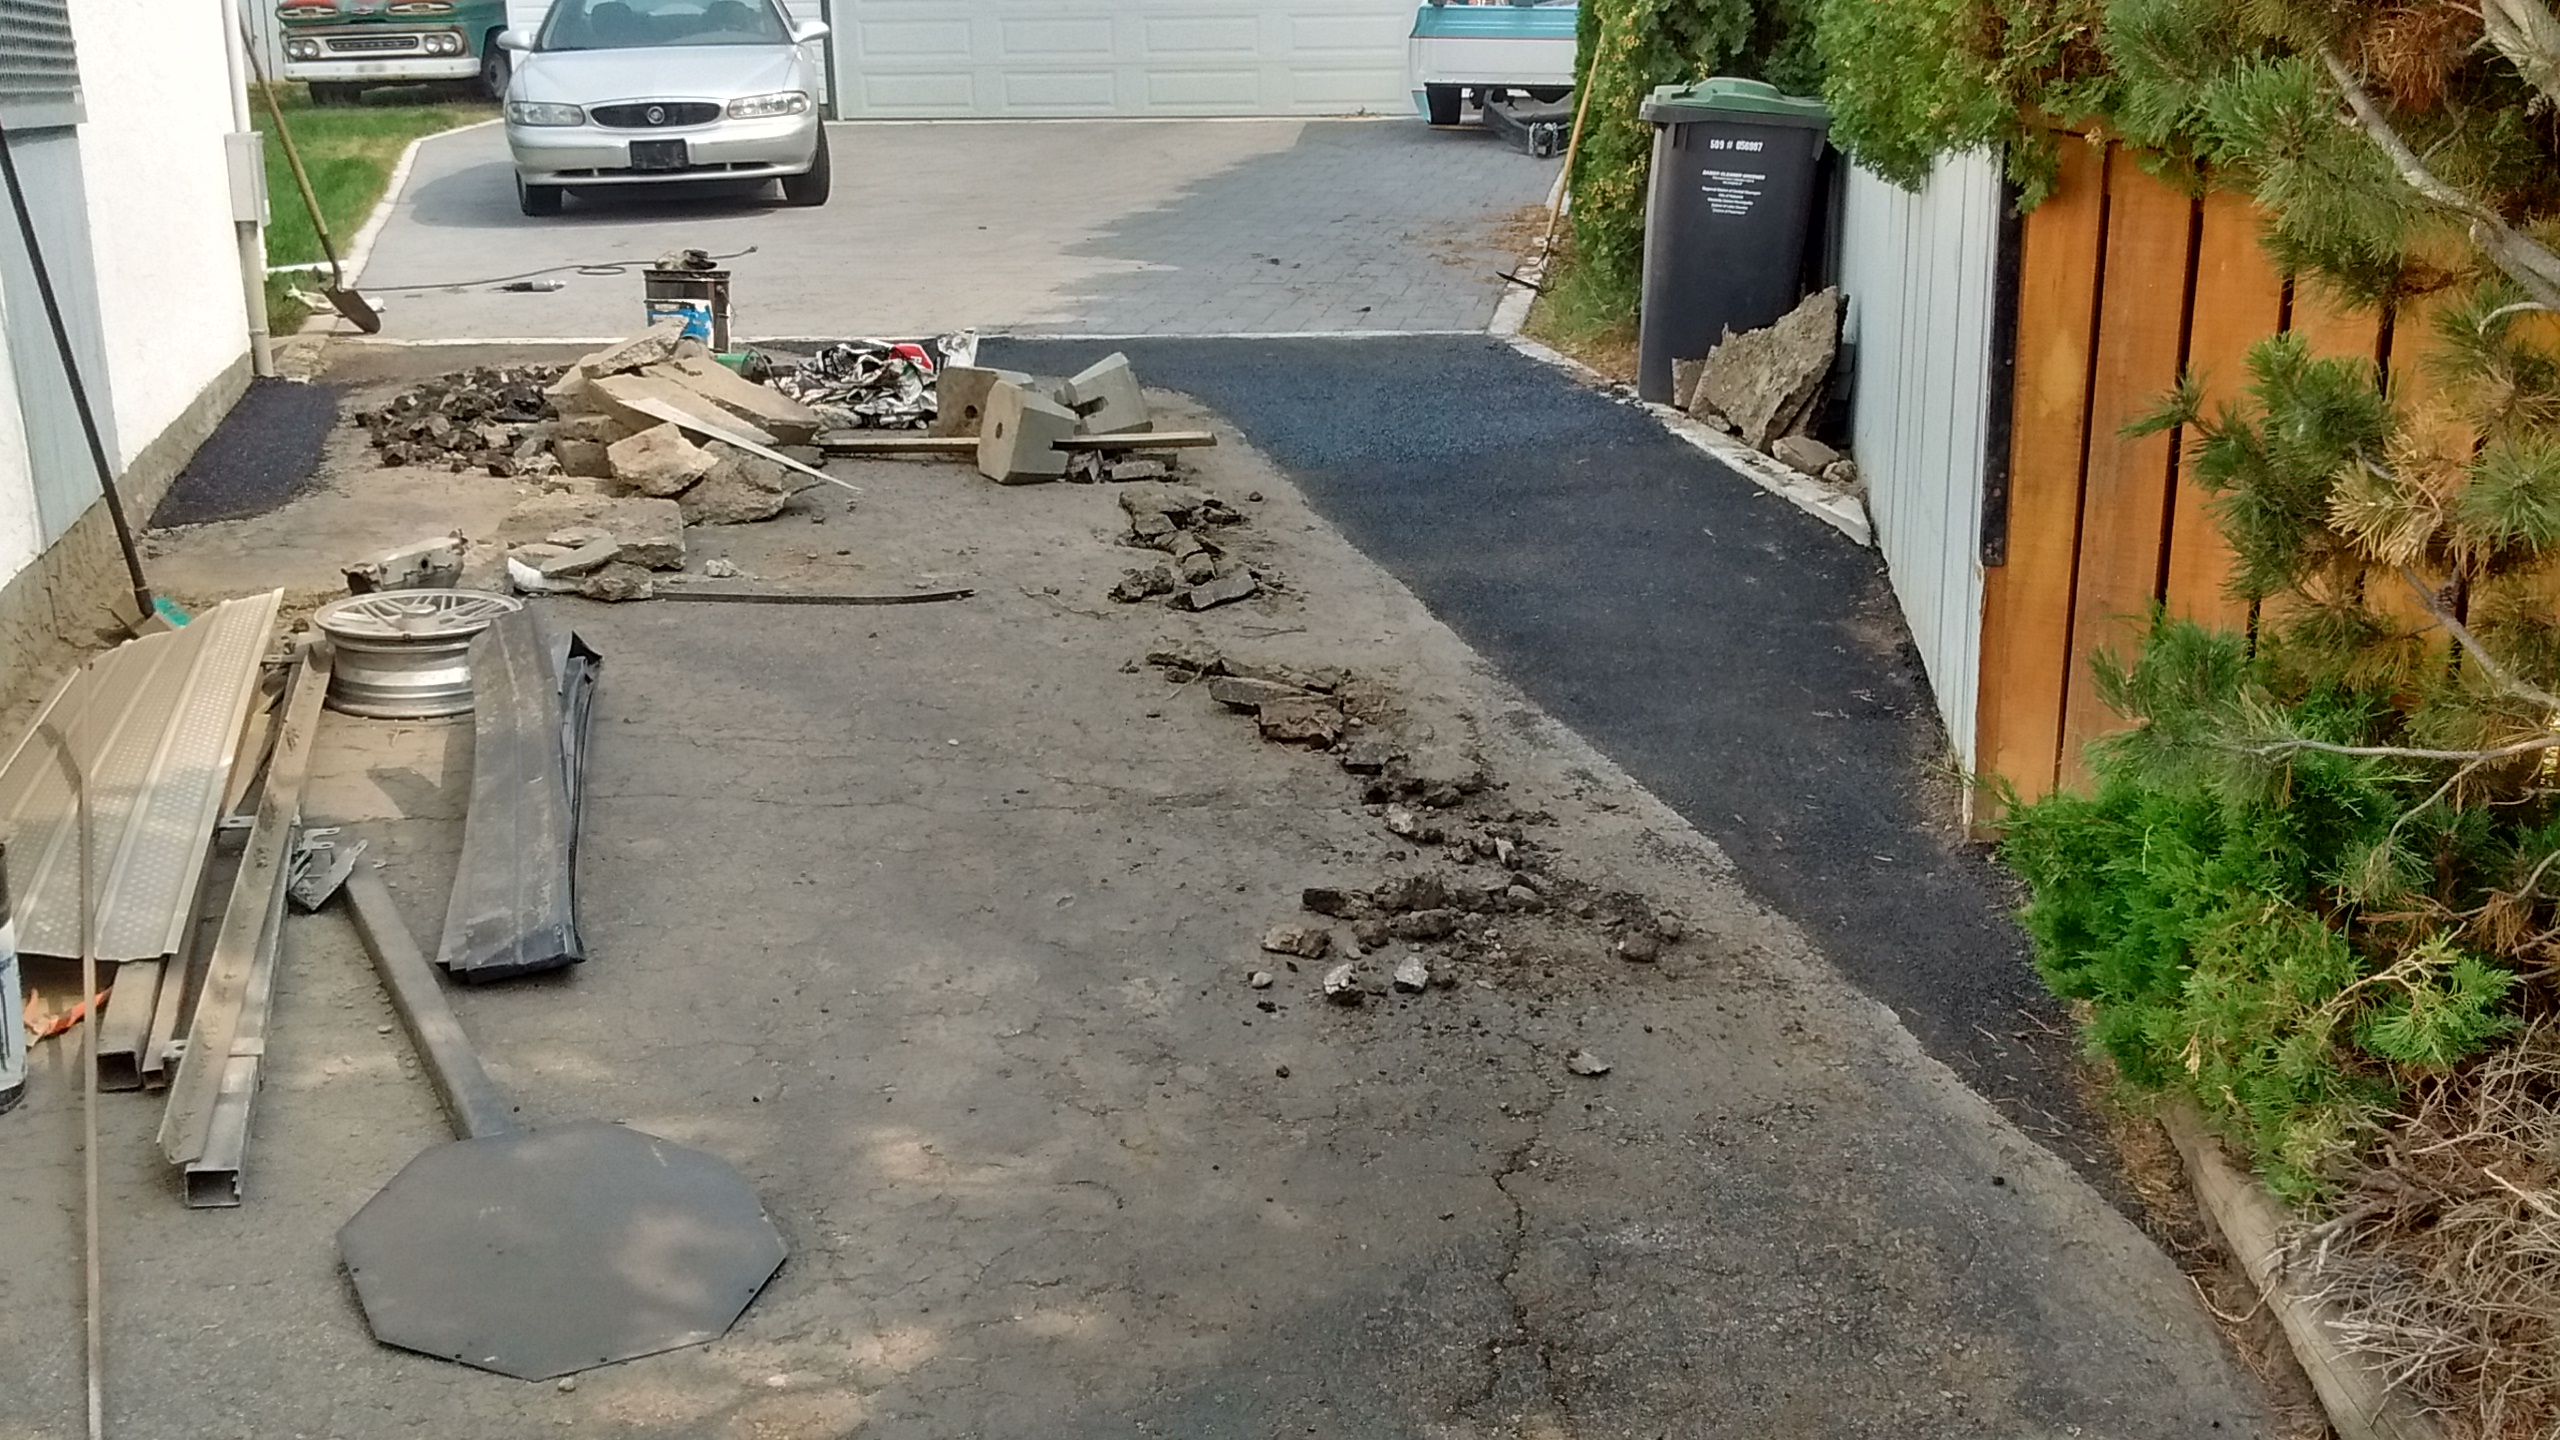
DRIVEWAY
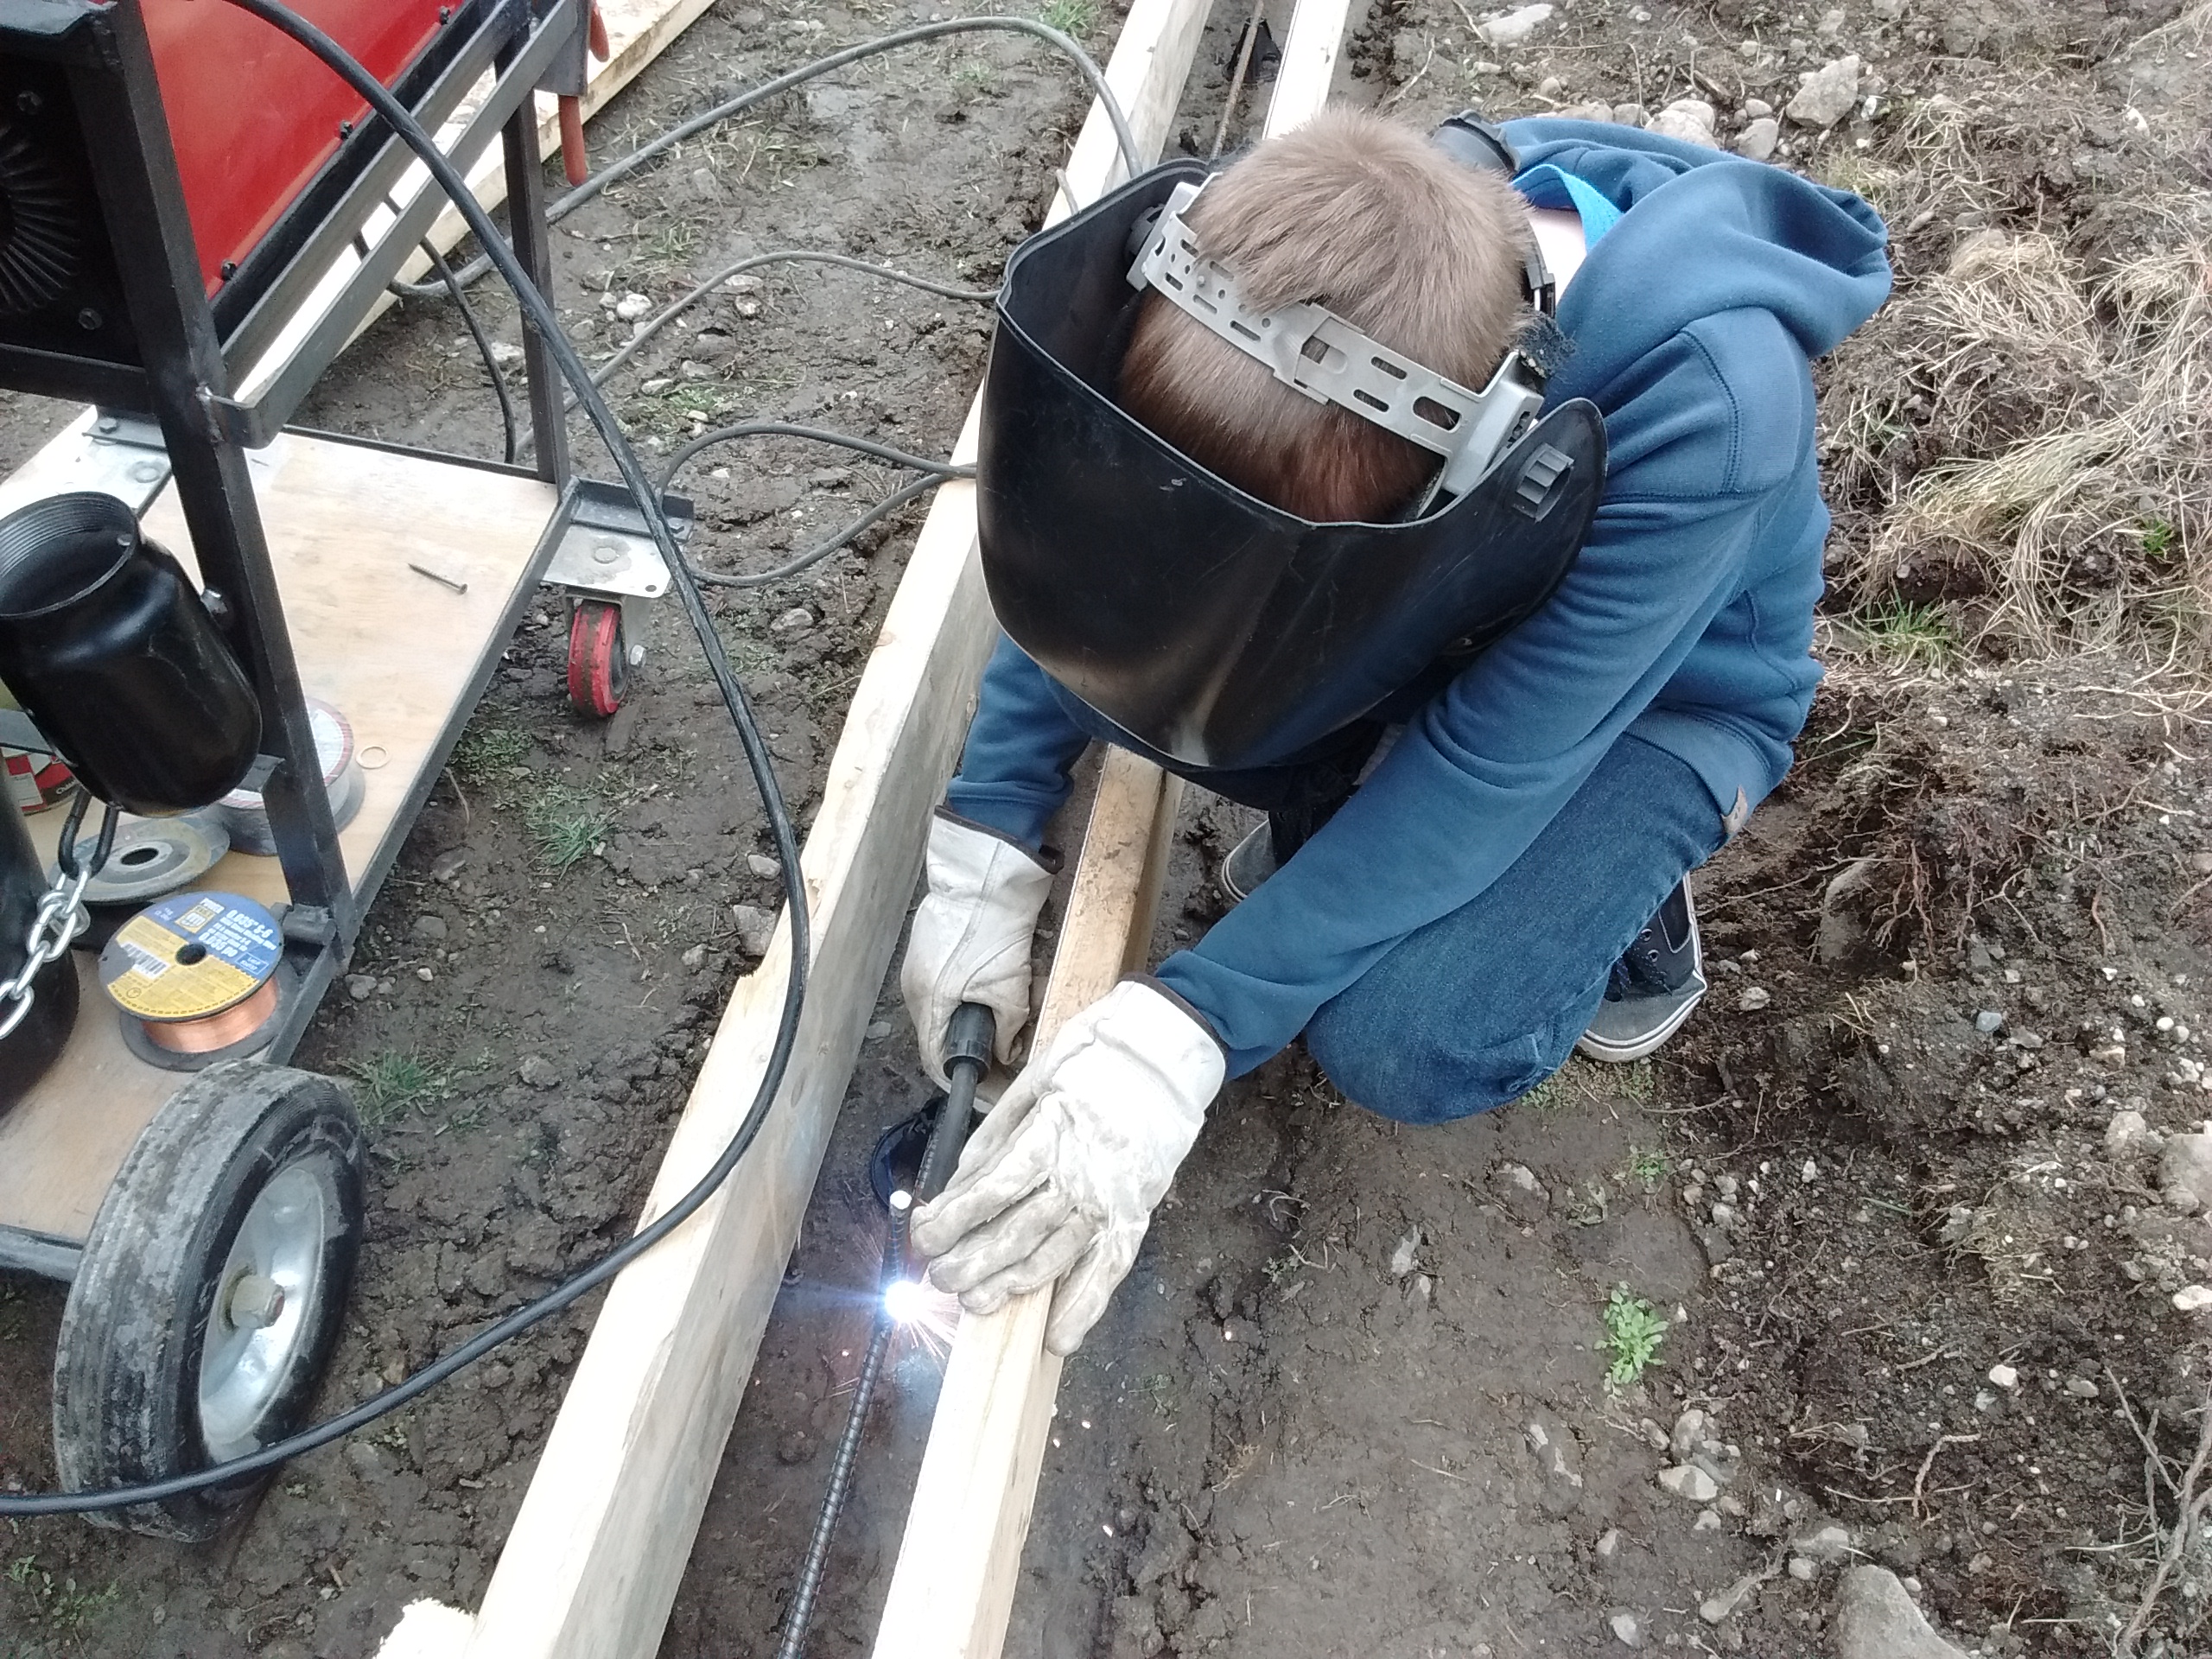
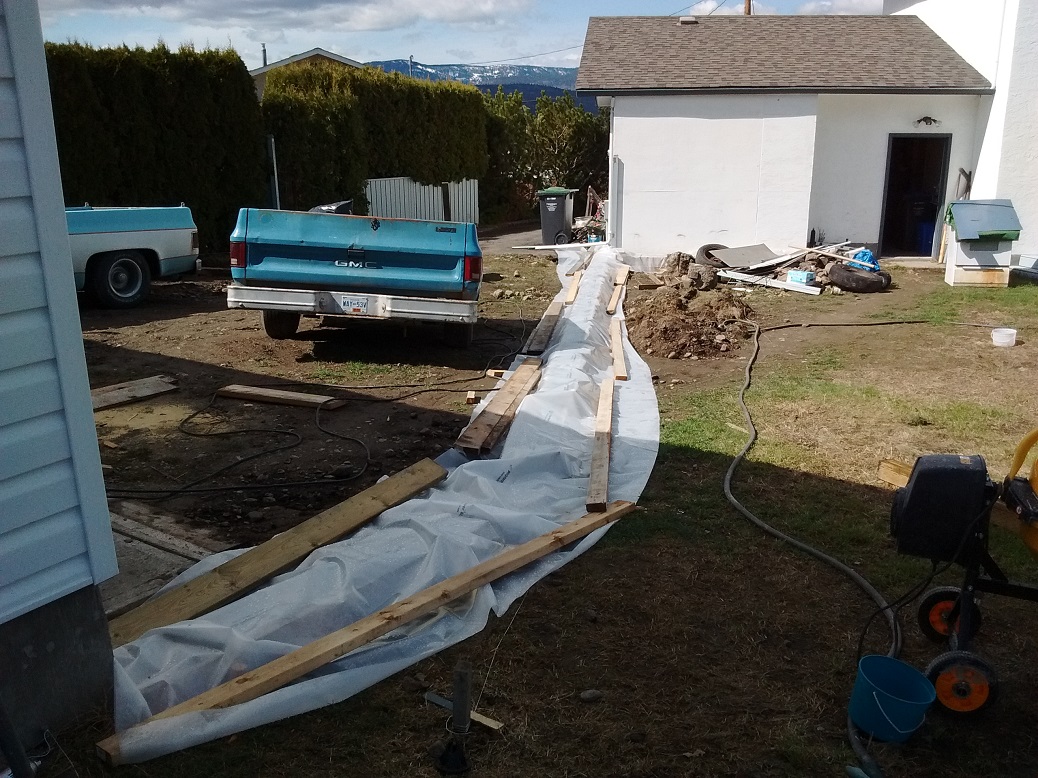
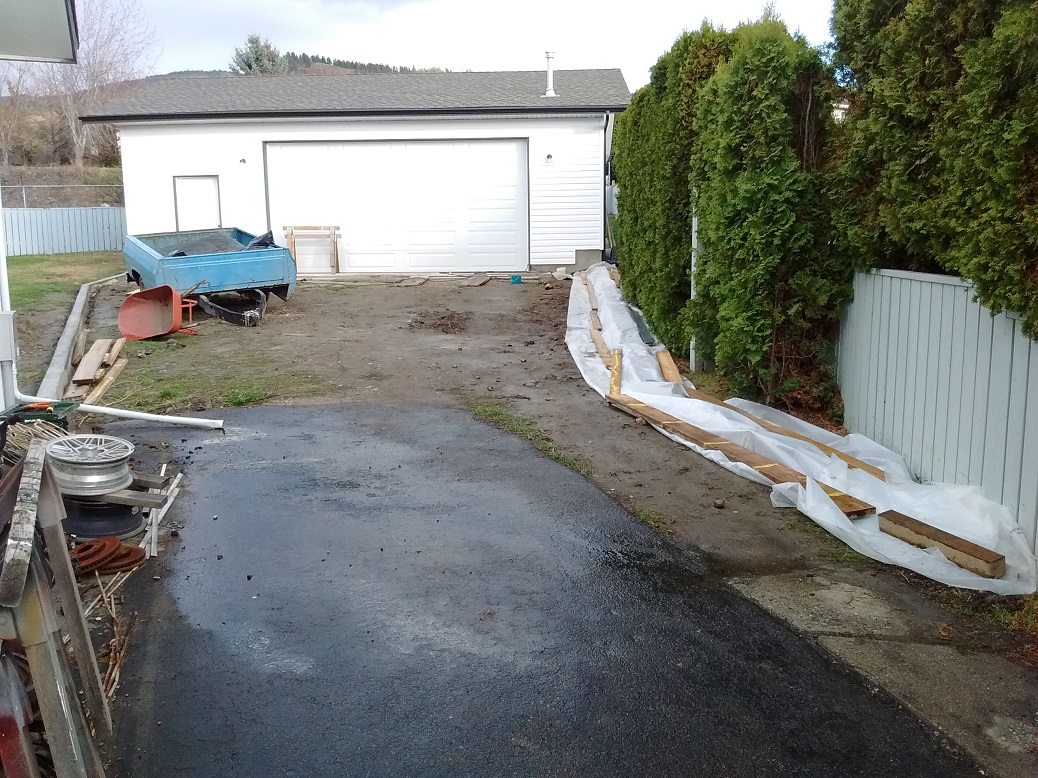
Now that spring is here and the snow is gone, I’m forming for concrete curbing to flank a paver driveway.
And teaching my 11-year-old how to MIG weld.
Poured and covered:
Poured far side:
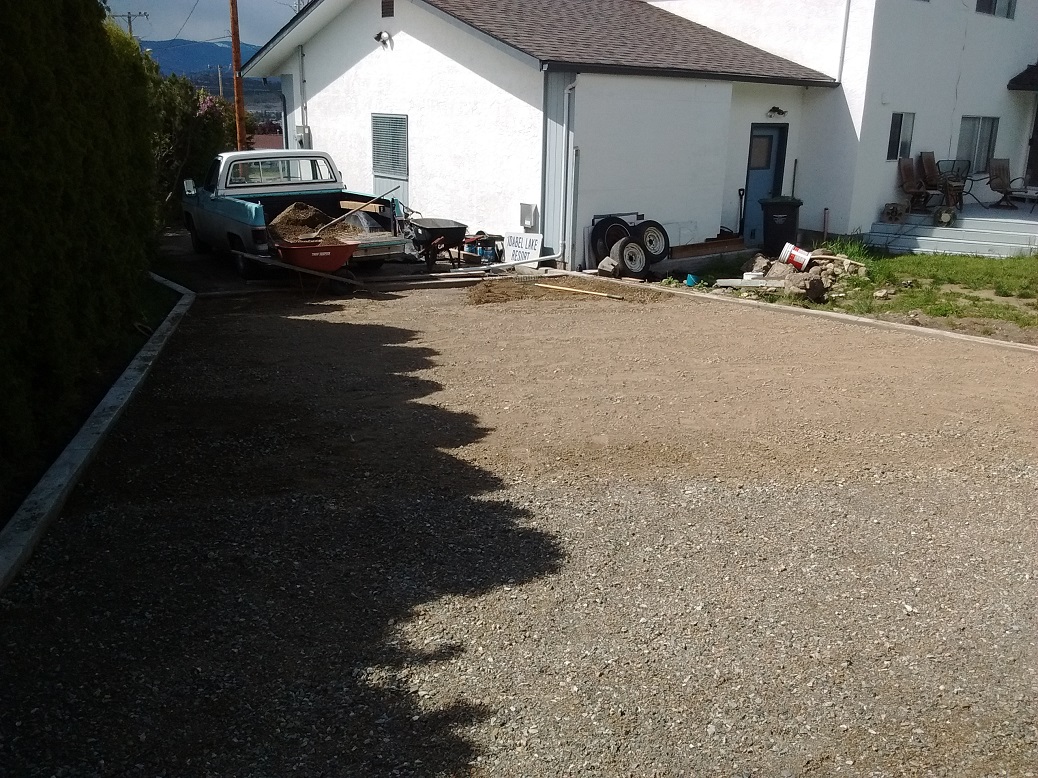
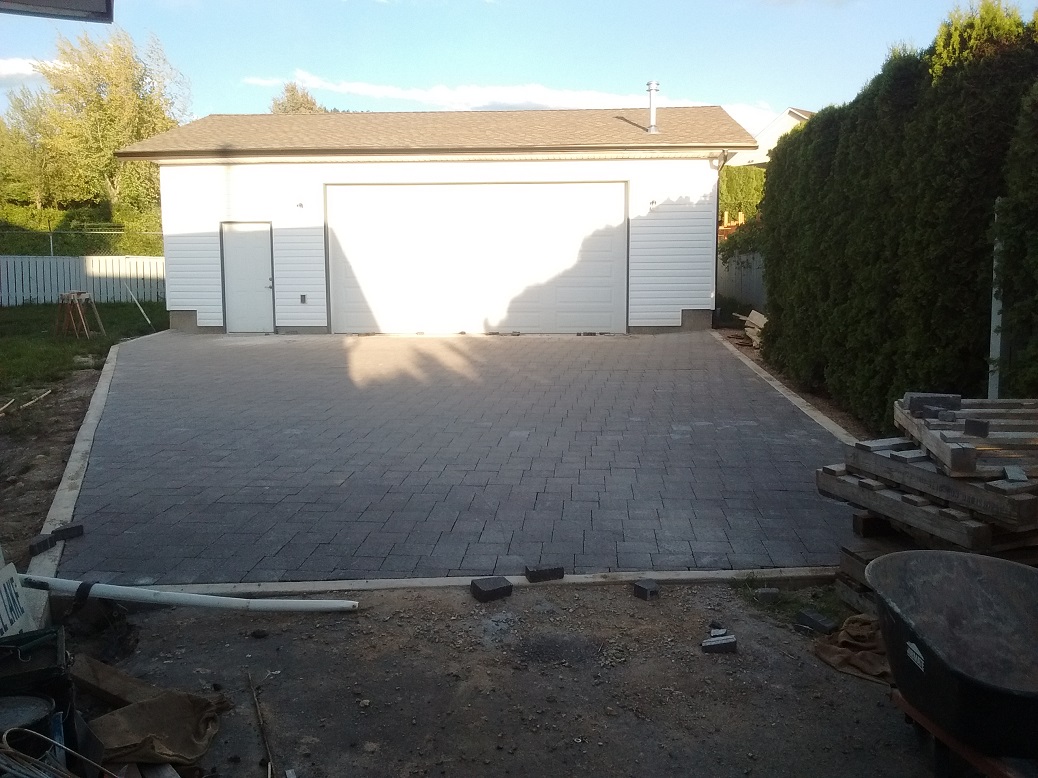
15 pickup loads of crush, in anticipation of stone work. Estimated 15,000 to 20,000lbs moved by my wee chicken arms.
3 pickup loads of sand, and ten pallets of pavers. The money I save doing this myself pays for my physio.
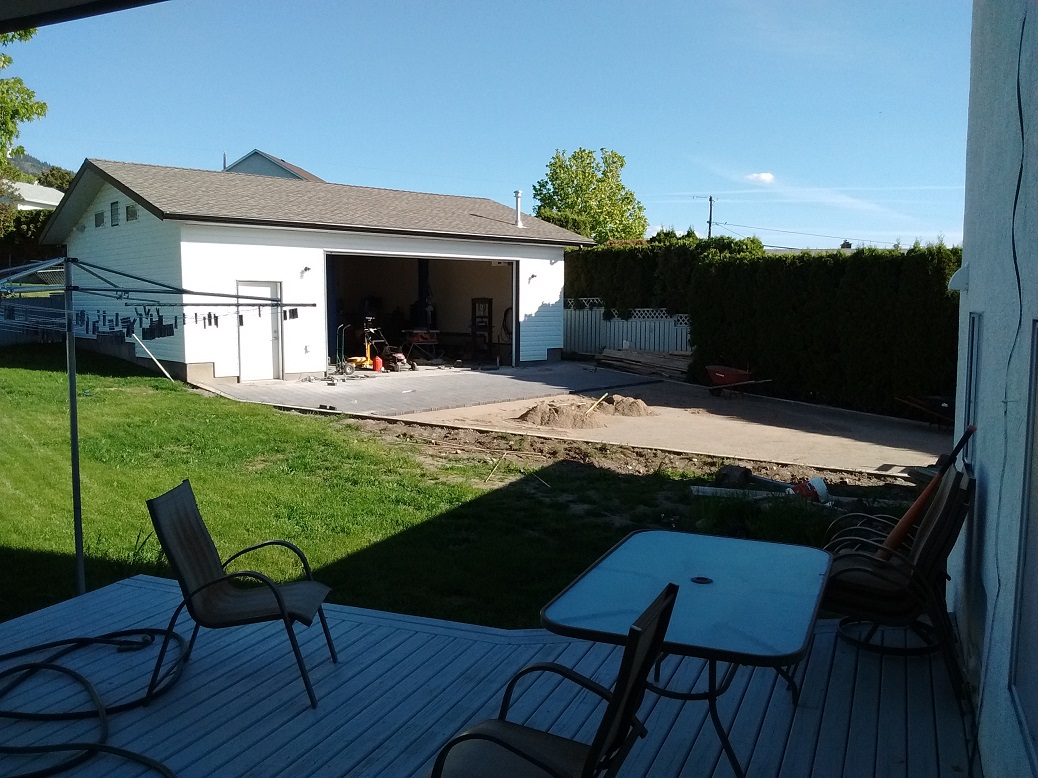
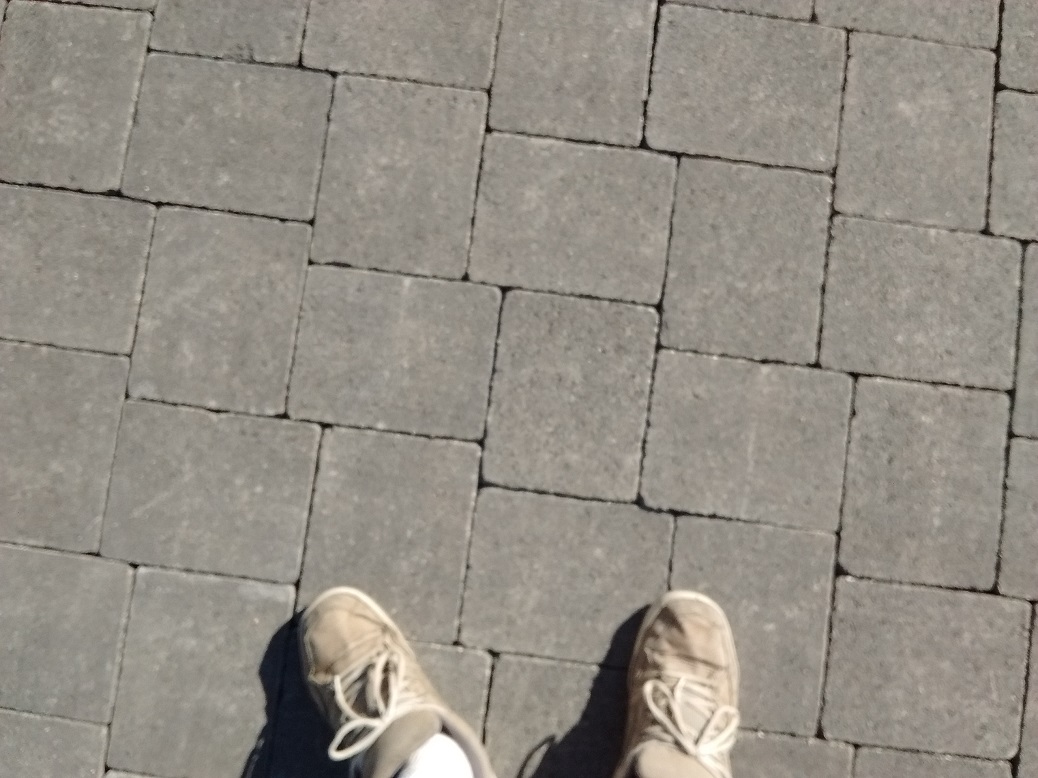
After 22 hours of laying brick, I got this far:
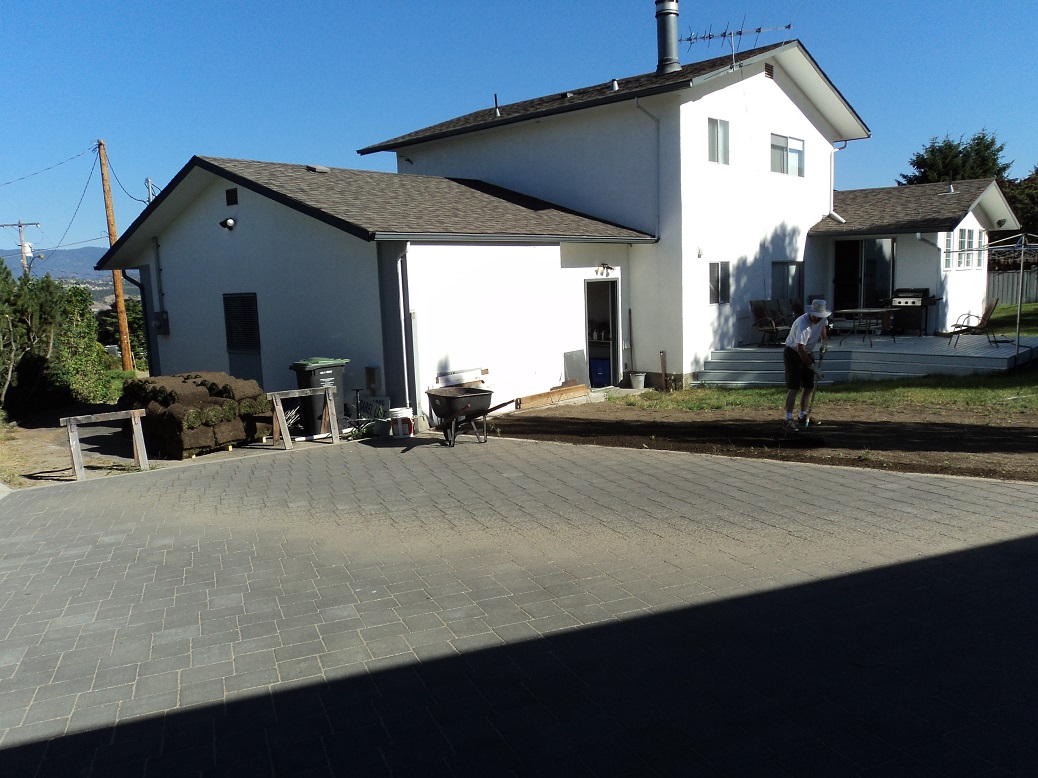
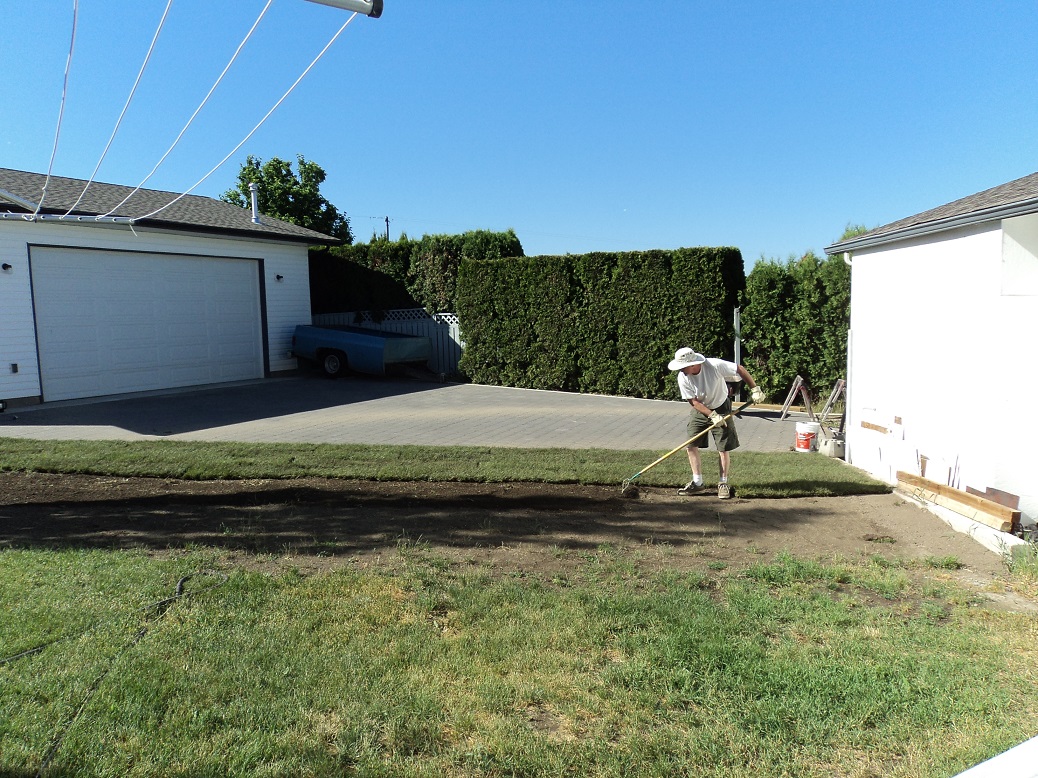
LANDSCAPING
Two pallets of sod (cheaper than seeding you own, I kid you not), and four hours later, I have this:
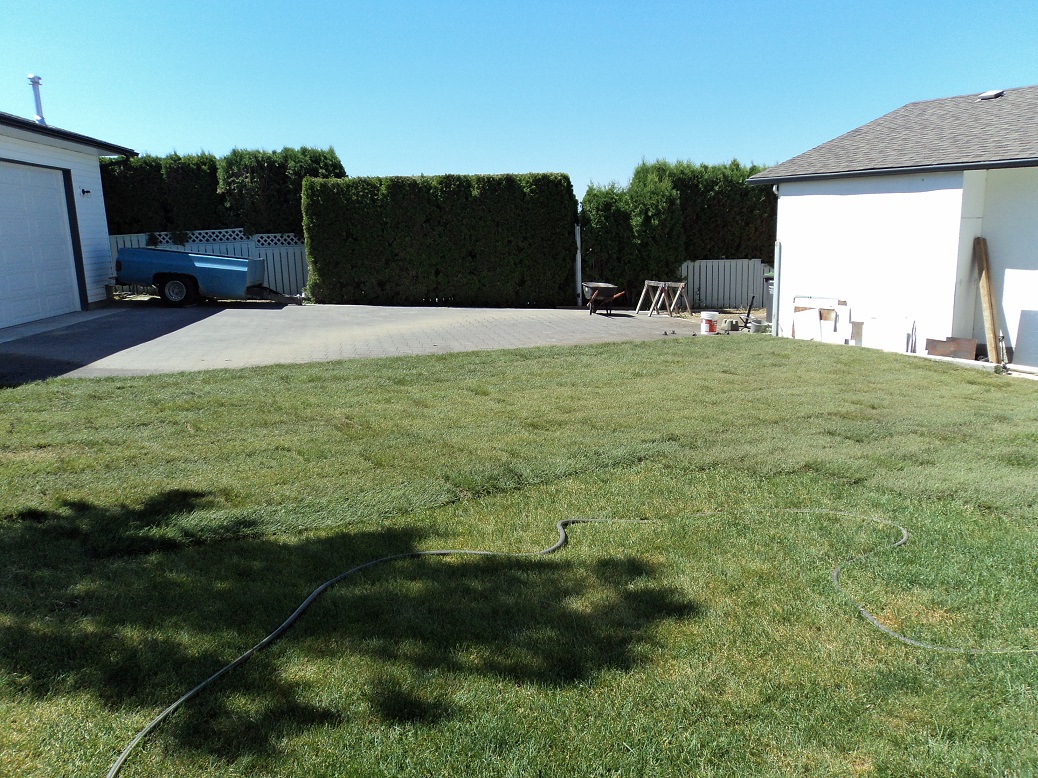
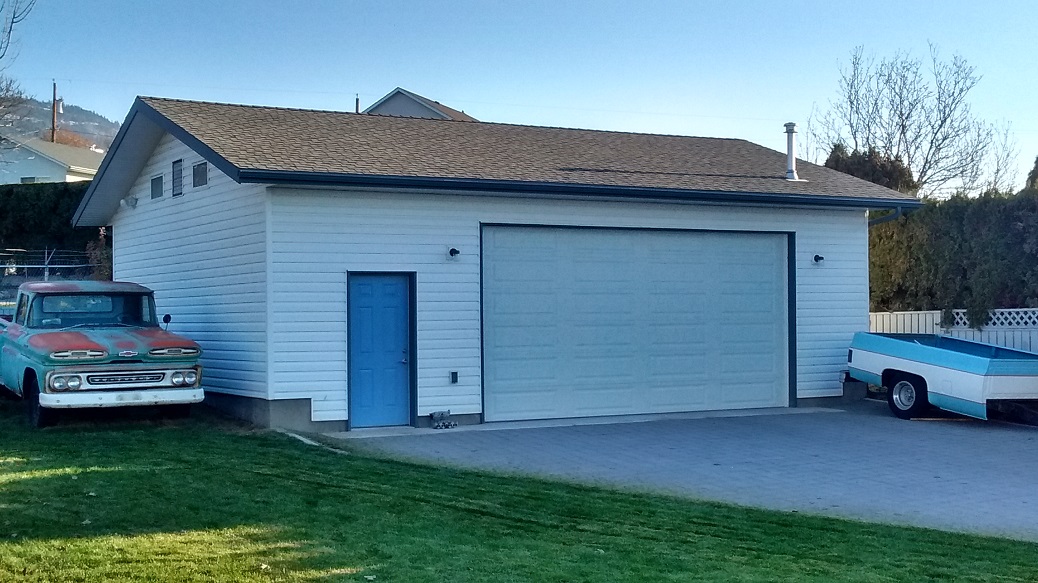
And that’s that! Two years and three weeks from breaking ground to putting it back!
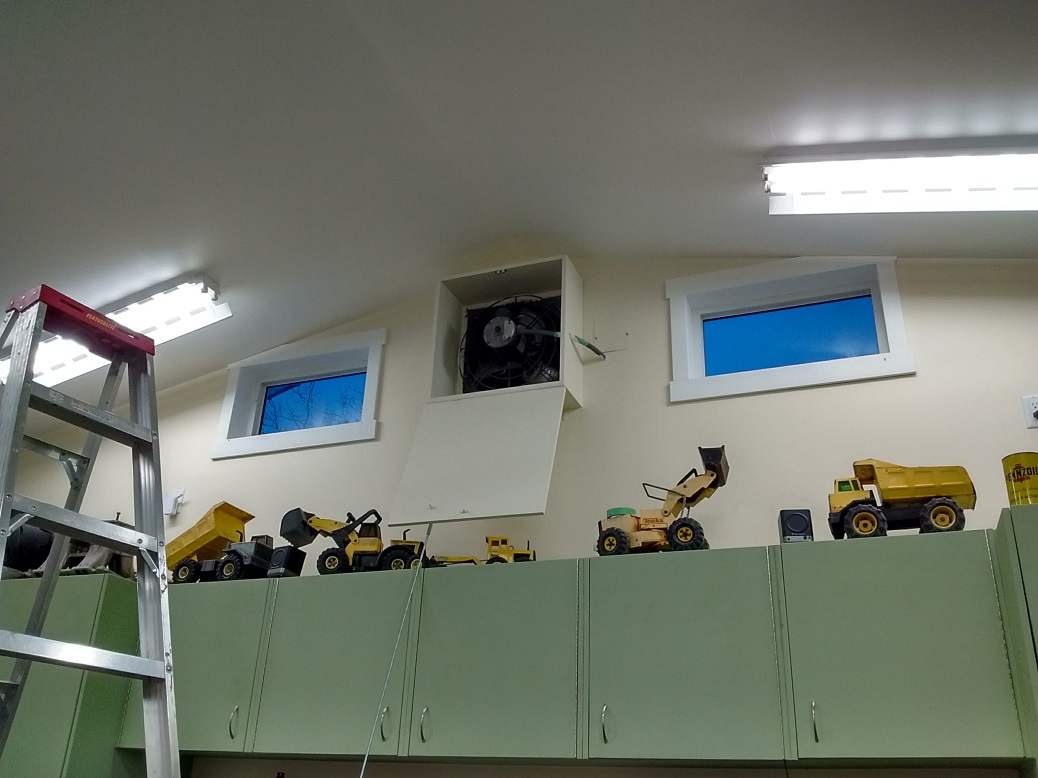
Winter fun: boxed in the barn fan so it is more easily stuffed with insulation and closed off.
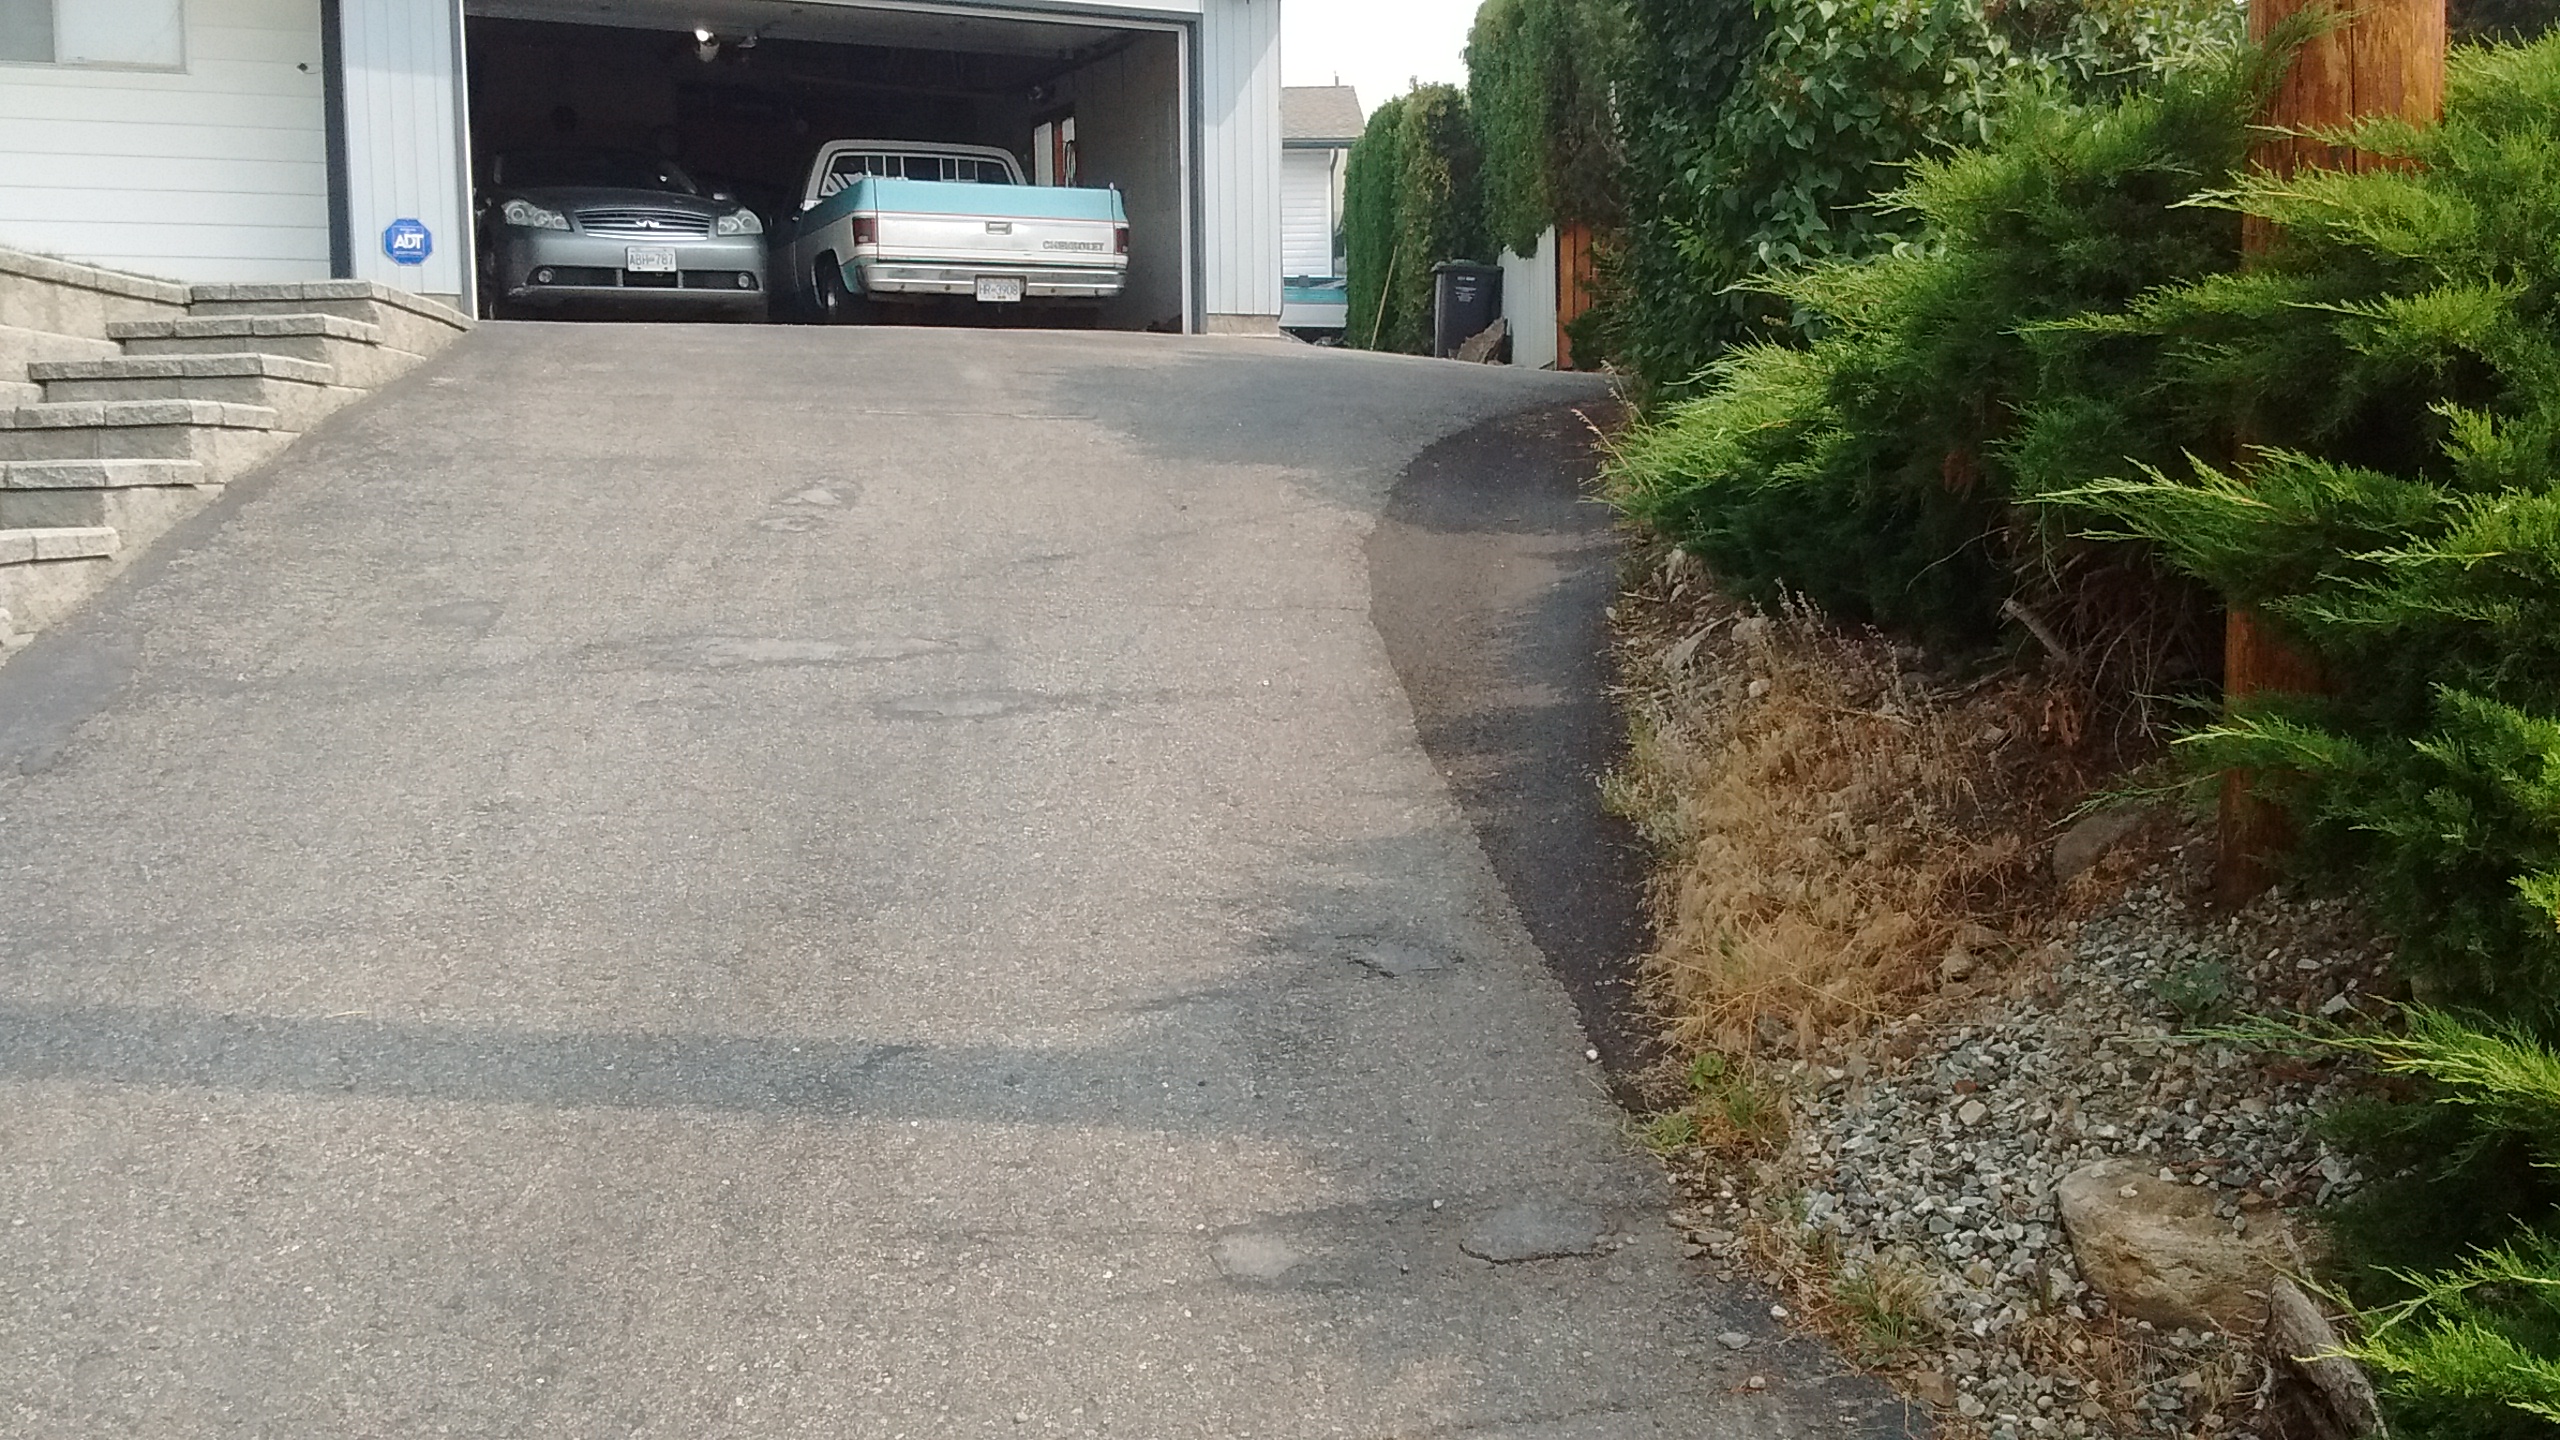
Widened the driveway
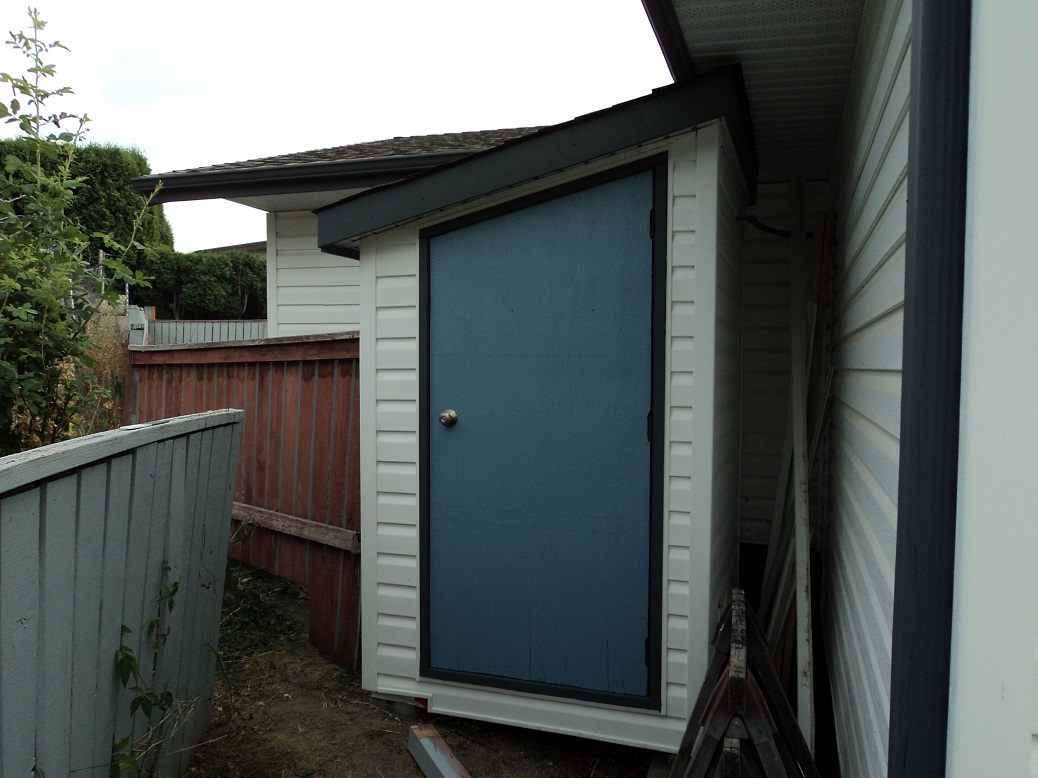
Compressor shed done 🙂
Recentest pics:
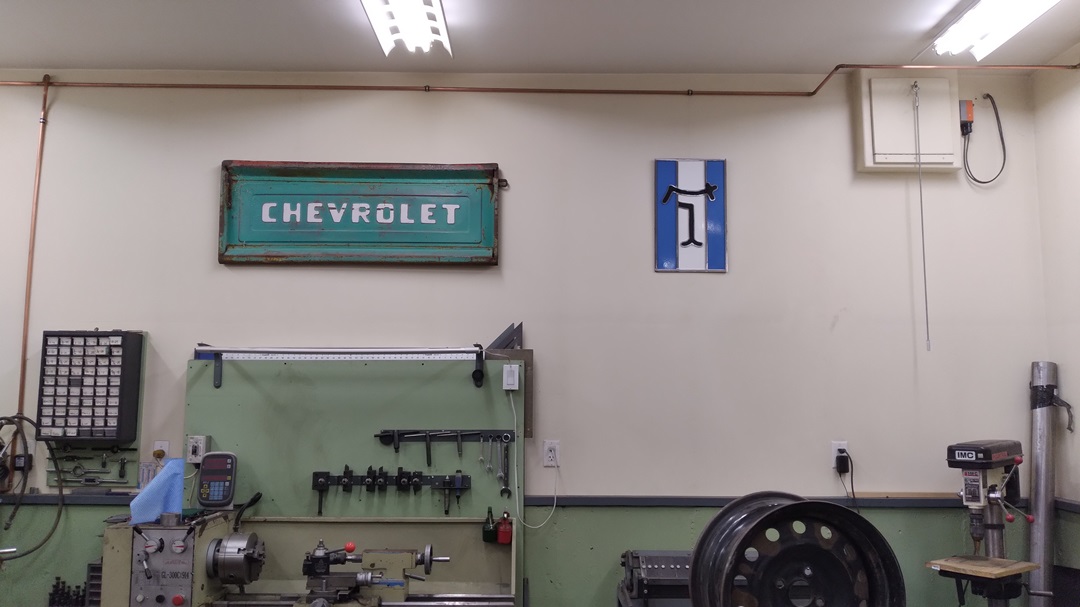
Added LED lights from Home Depot ($15 each) at the workbench:
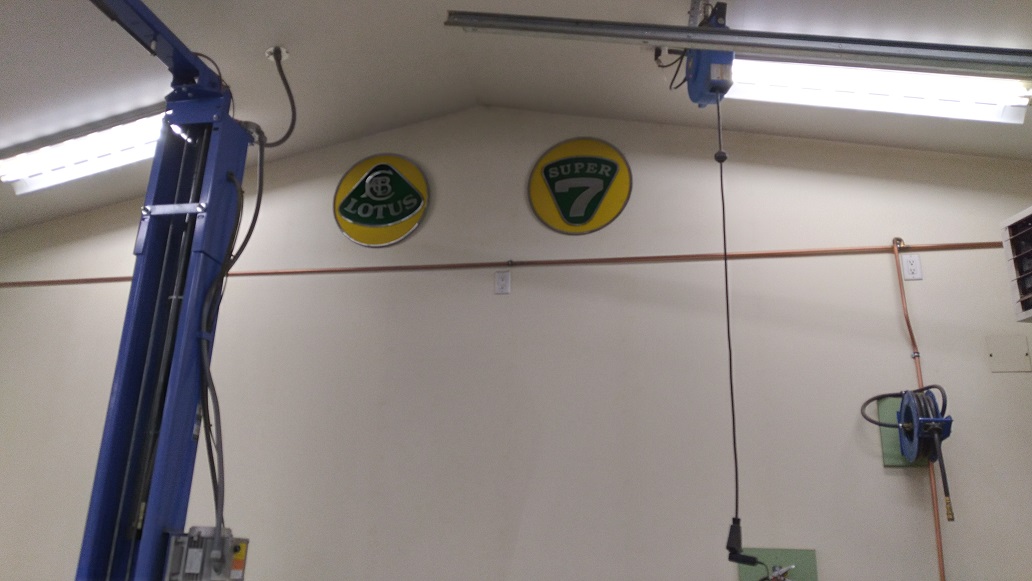
Added some decorative signage:
DeTomaso, and the original tailgate from my ’61 Apache: