[ Start ] [ Index ] [ Sold 2019 ]
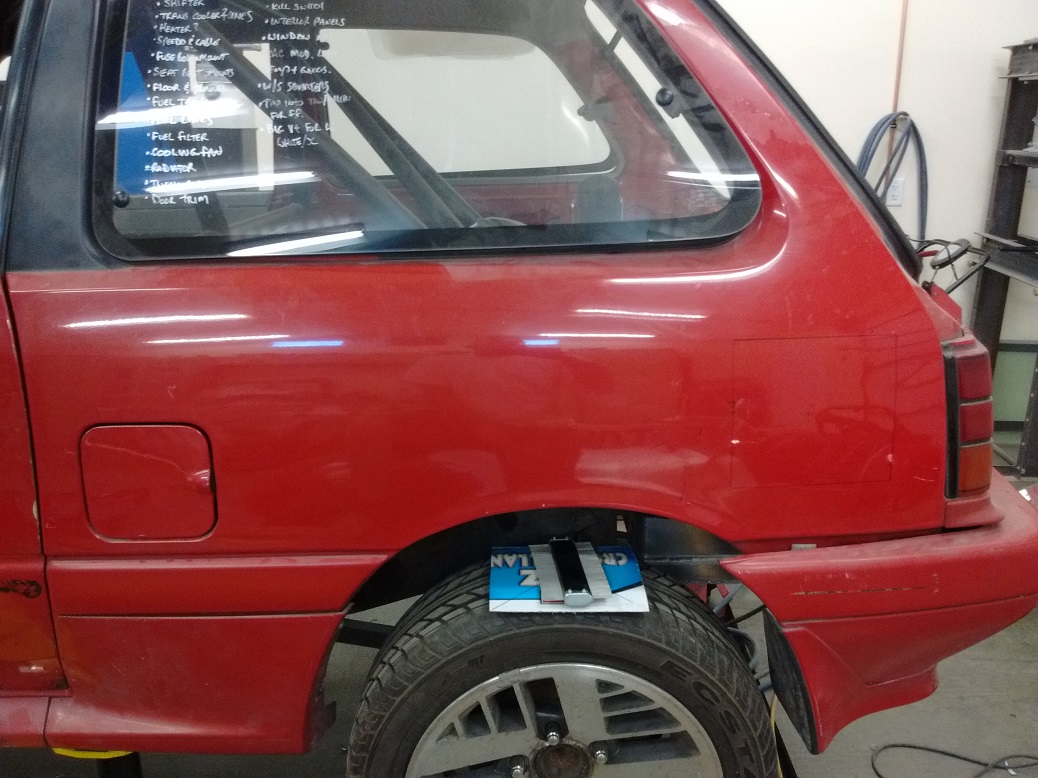
In which I finish the fuel system and move the fuel door.
Previously on The Fiendish Firefly…. “How I screwed up the fuel tank!”
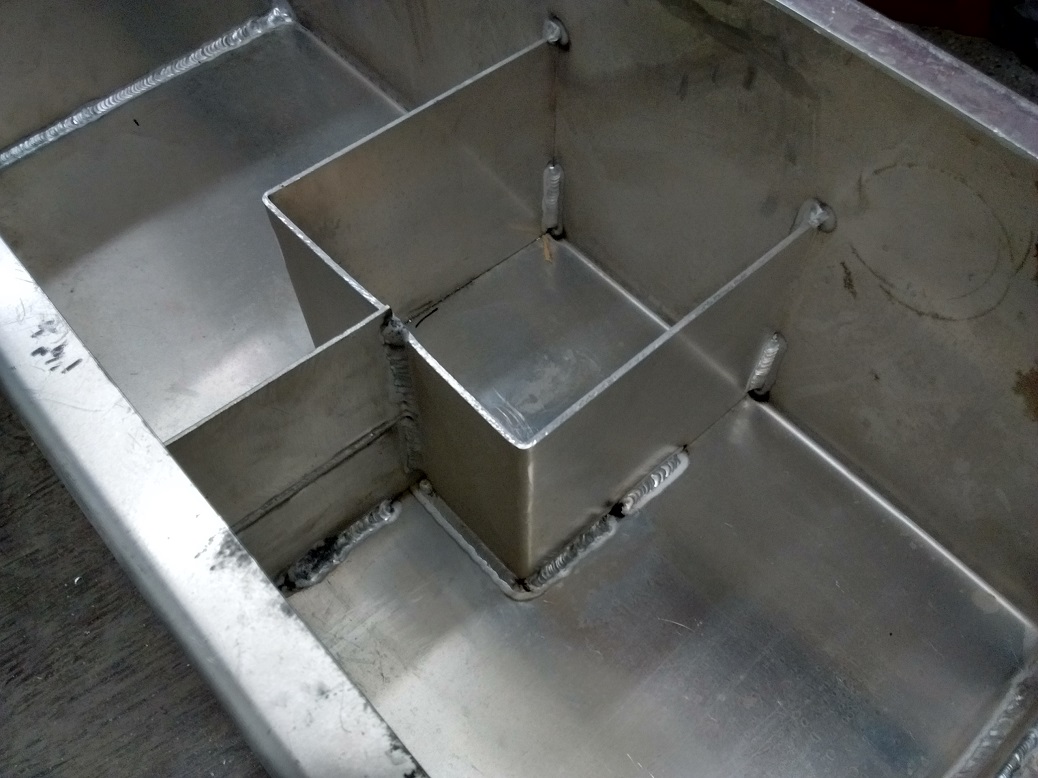
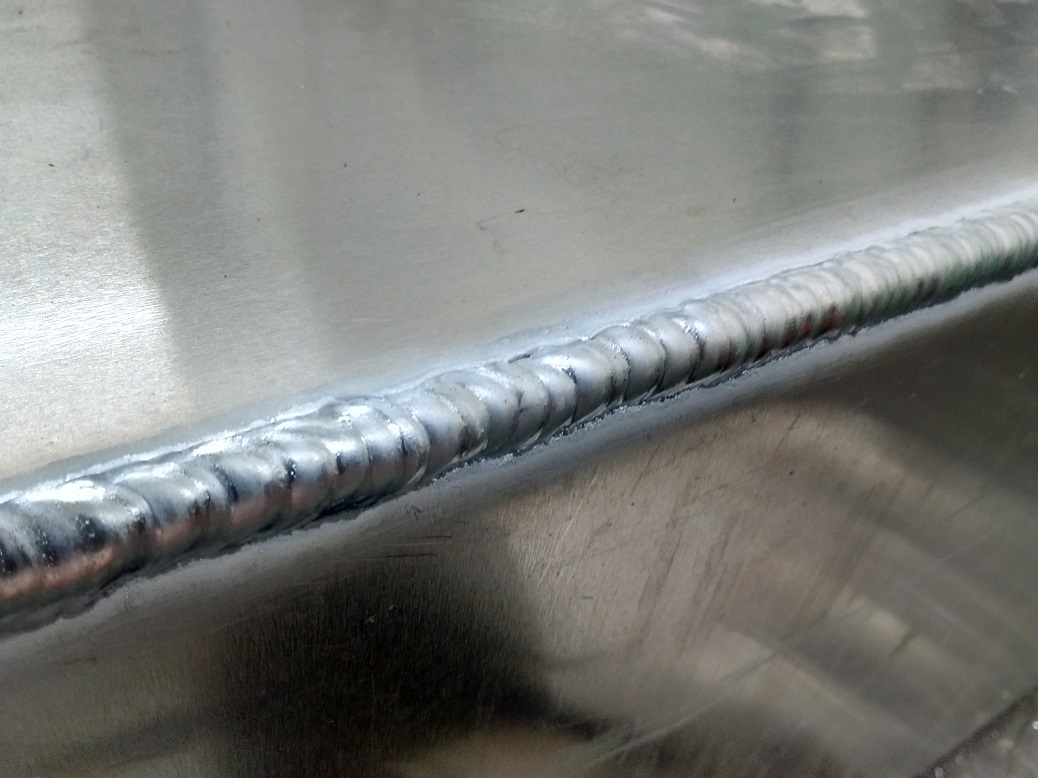
I had designed the pump well such that fuel from the left side can only get to the right side (and vice-versa) strictly by going through the pump well (those with TIG experience can see that I went through a lot of Tungsten).
(July 2017)
I also placed the well such that no fuel can escape under acceleration.
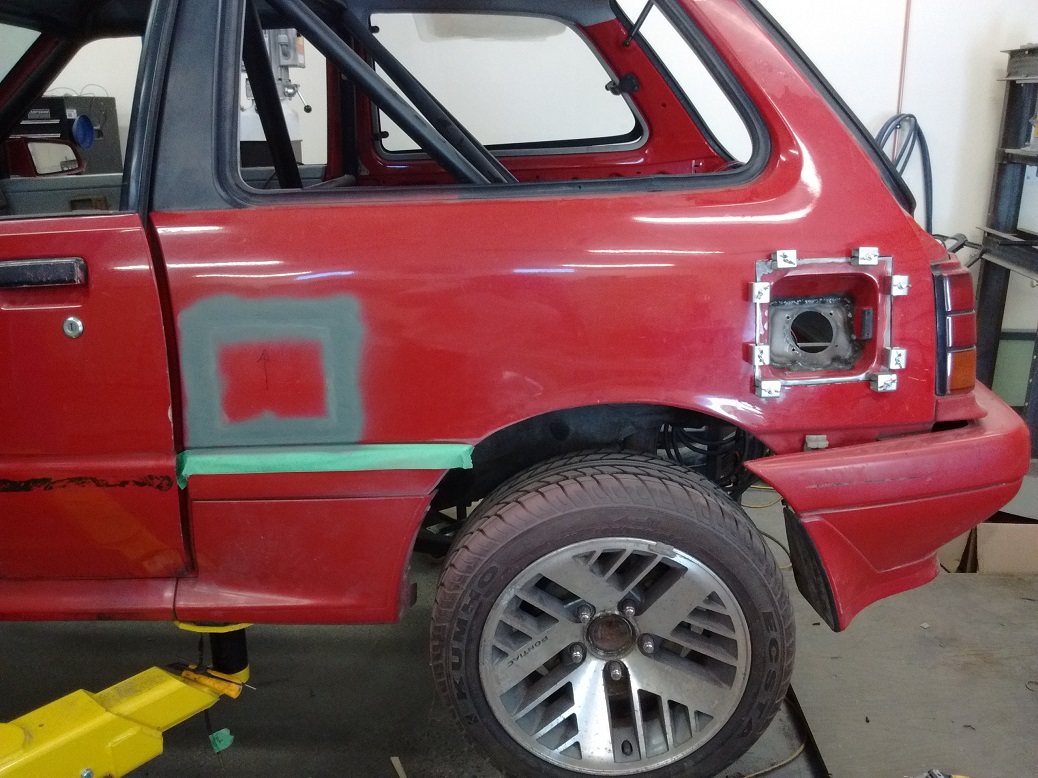
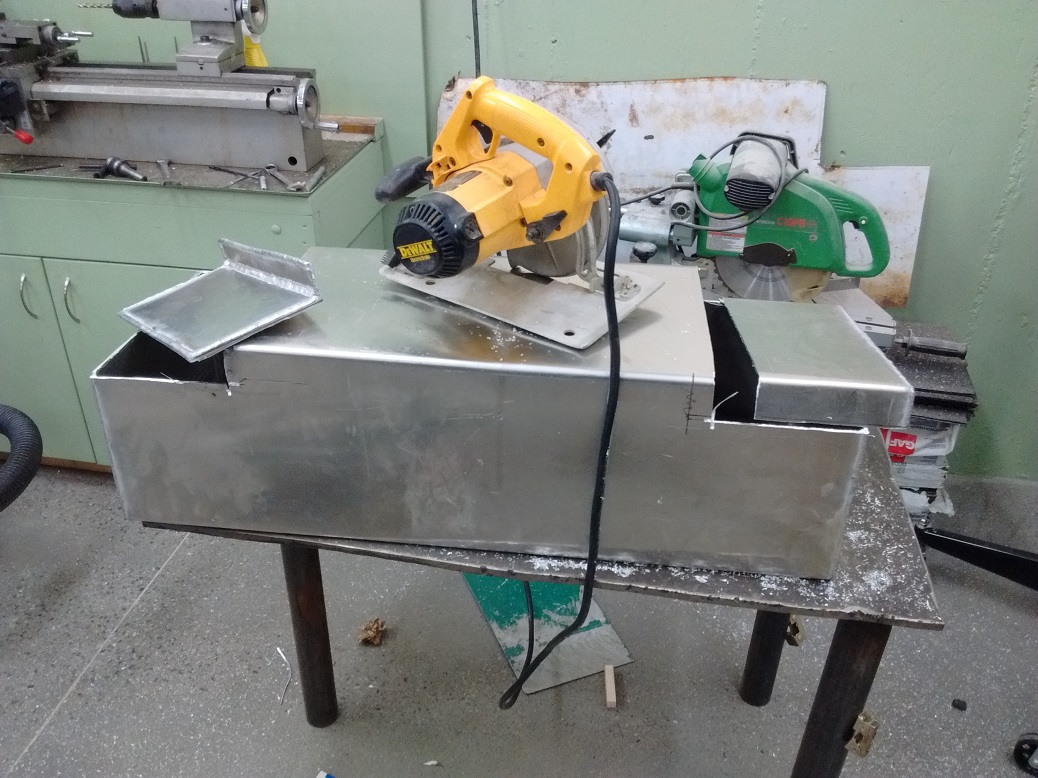
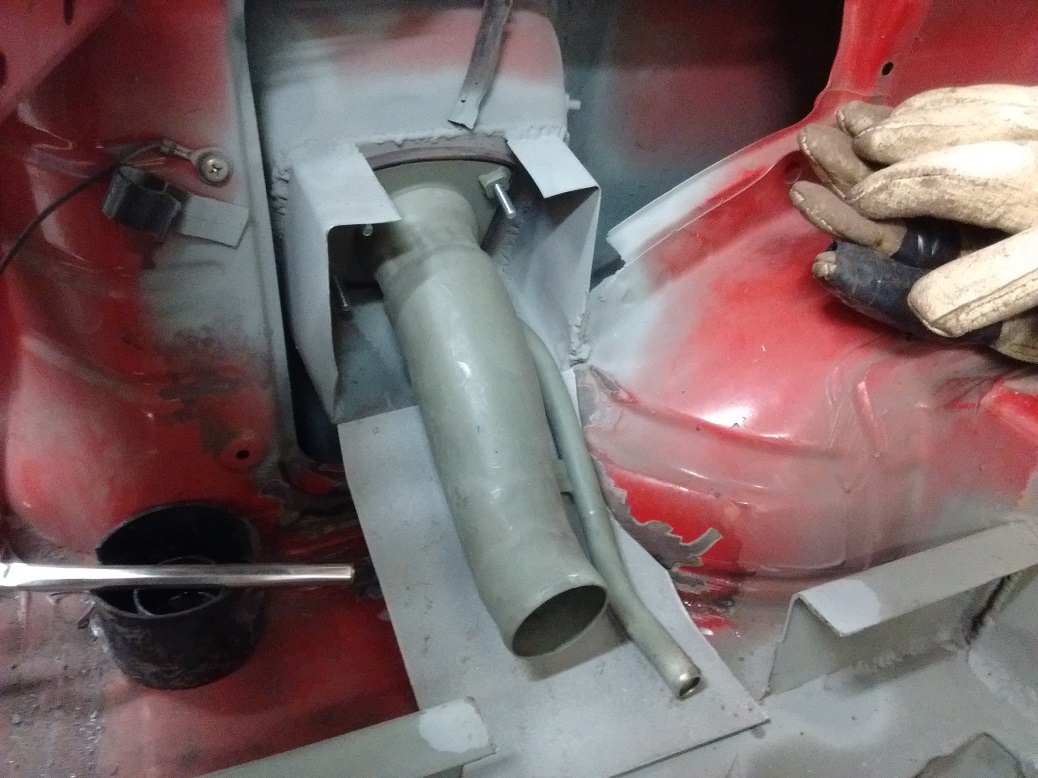
Once it was all together, I decided to drop the tank a bit lower in the chassis, which necessitated notching to clear the tail pipe.

As you can see – I notched the wrong freaking side. Yay.
So….. I decided cutting the notch out and swapping sides was the easiest. Out comes the circular saw. With a wood blade. Aluminum is organic, isn’t it?
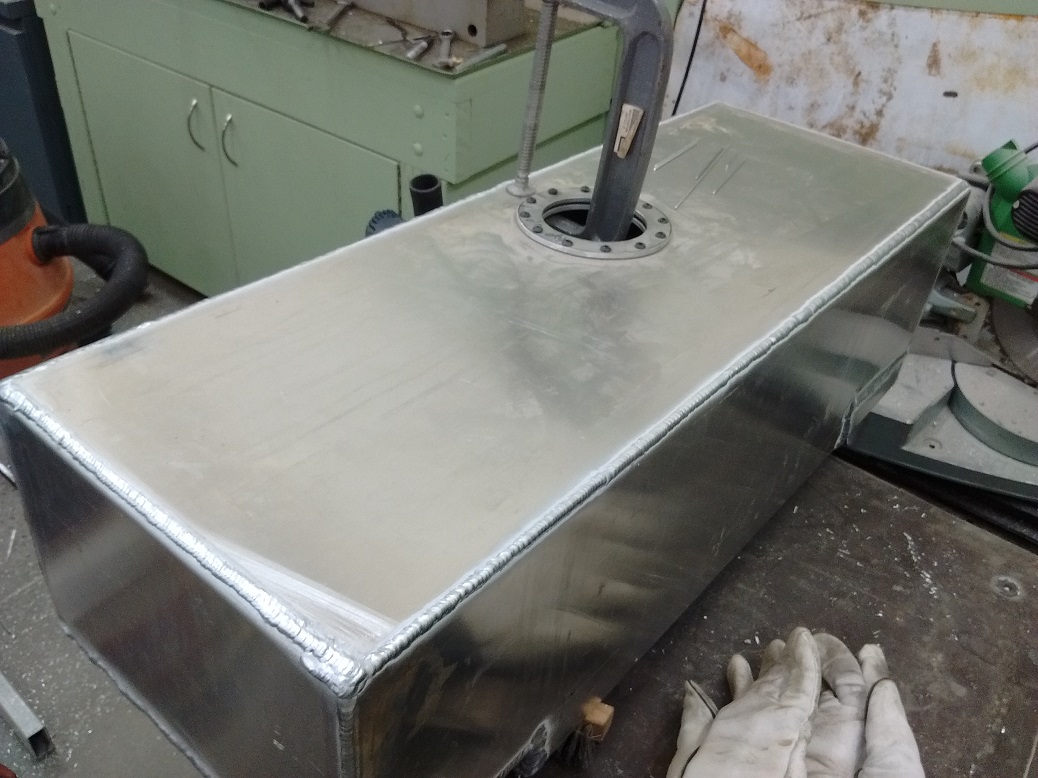
And then welded back together outside and in, and just now welded the top on.
Next – finalize where the filler needs to go.
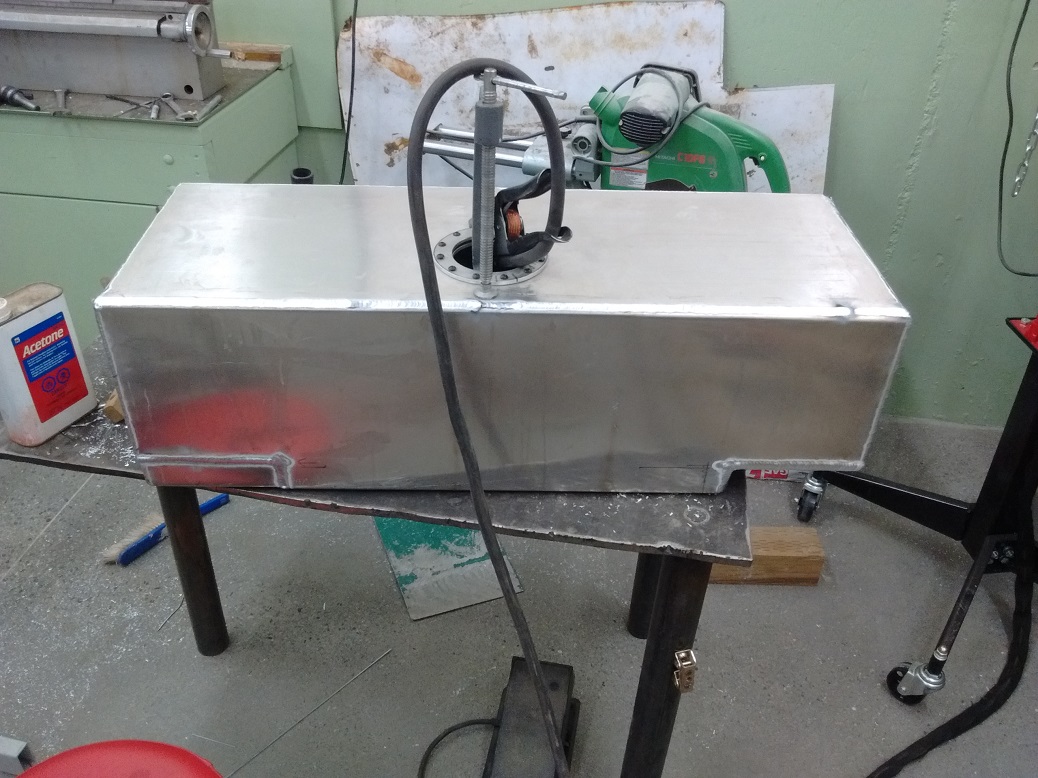
Final welding around the top of the gas tank.
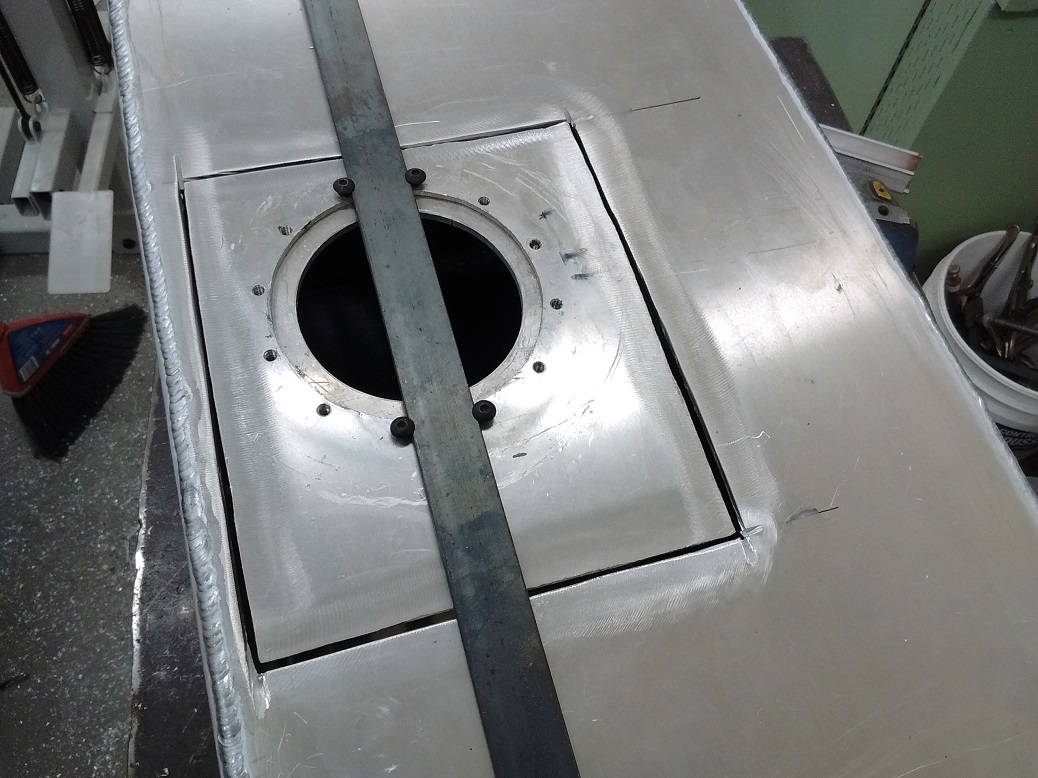
Oh. And guess what?! Turns out the fuel pickup hole is in the wrong place. Sweet. Whoever designed the parts for this car should be shot.
Again I fired up the circular saw and sliced out the hole in such a way that by rotating it 180°, the holes moves over 2″ to the left, and 1/2 inch down. I used the last of my 3/32″ rod to weld it all back together. The angrier I get, the uglier my welding gets.
Sure hope this swiss cheese tank doesn’t leak.
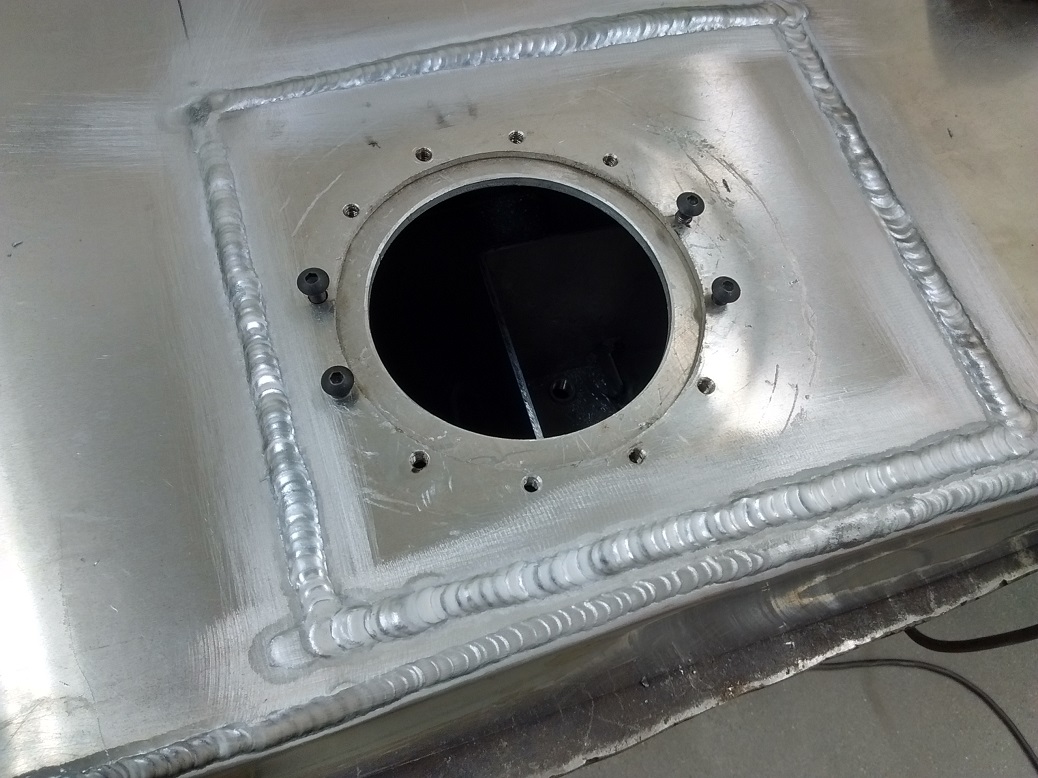
Added a mounting flange around the perimeter of the tank, and then started completing the mounting flange around where the spare tire well used to be, so the tank can be sealed and fastened down.
I made this brake at work, 3 hours from in my head, to in my truck. It worked grand for doing the rocker panels, and is useful for more sheet metal work.
Tank is its happy new home. No filler tube yet. It’s a’comin.
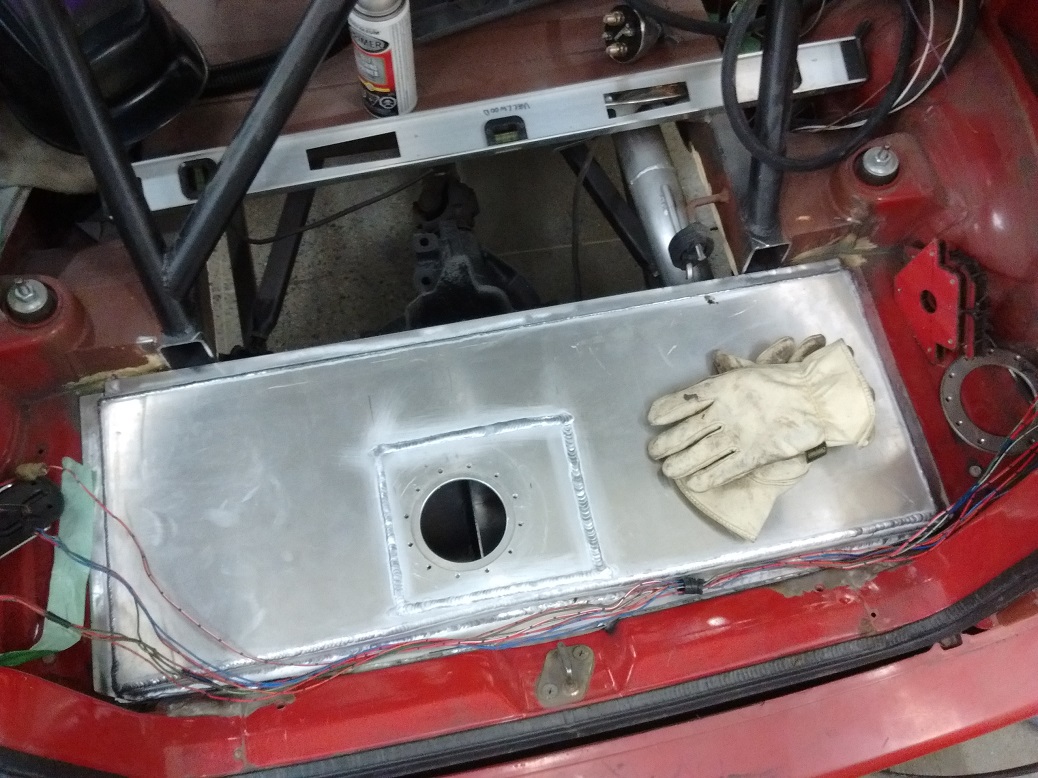
Fuel tank can now be completely separated from the passenger compartment. Yay “street legal” and “safe.” Zinc primer for now.

I really don’t want to do this….

Turns out the panel crown at the back of the panel was just enough different that I had to do some shrinking to make it all happy. Things didn’t move as much as I wanted to, but it’s in there, and there’s nothing a hefty shmear of filler can’t fix. Have I mentioned how much I love doing bodywork?
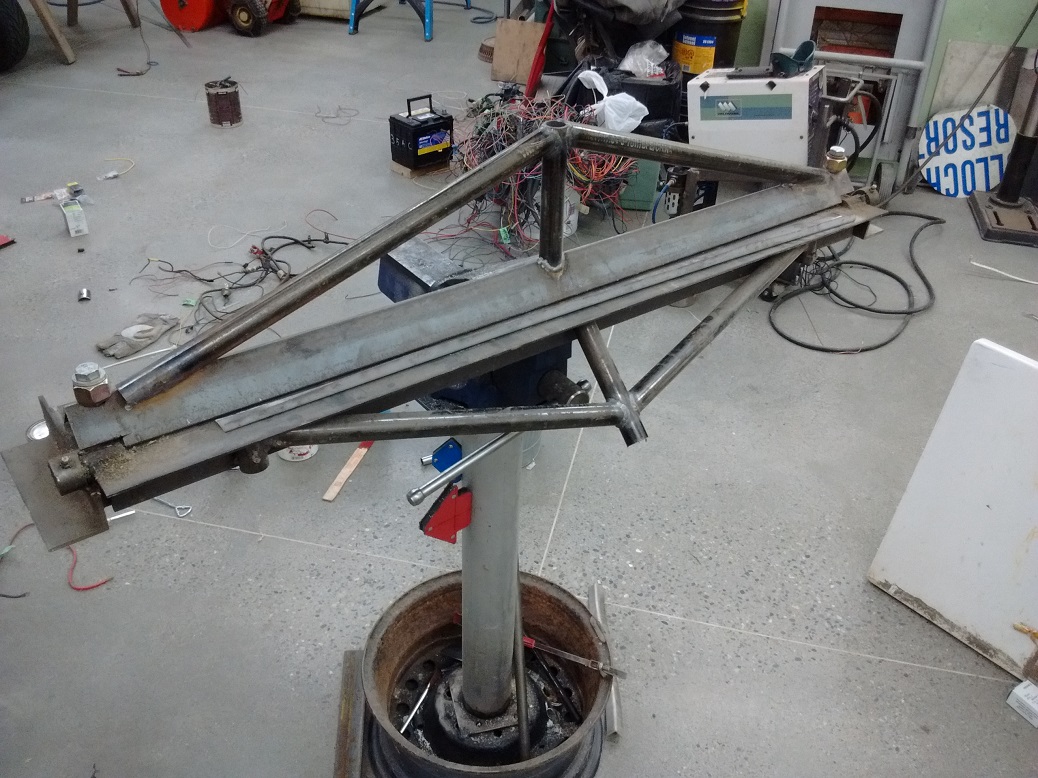
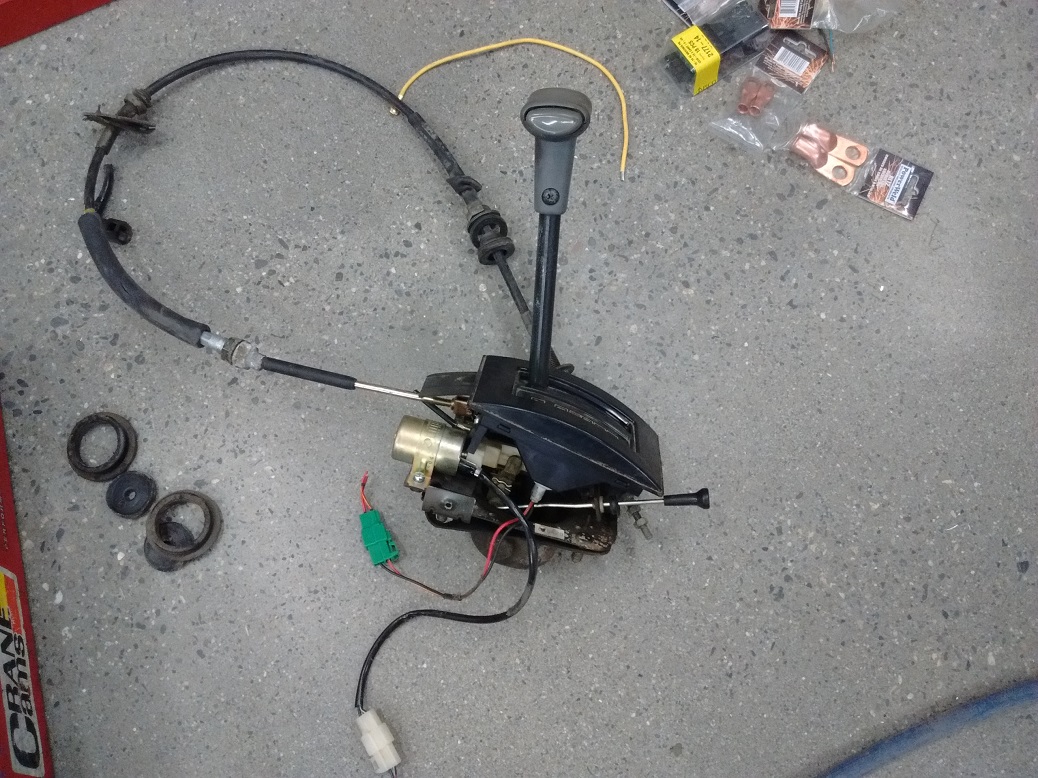
Also picked up a Chevy Sprint automatic shifter. I’m pretty sure I can make this work.
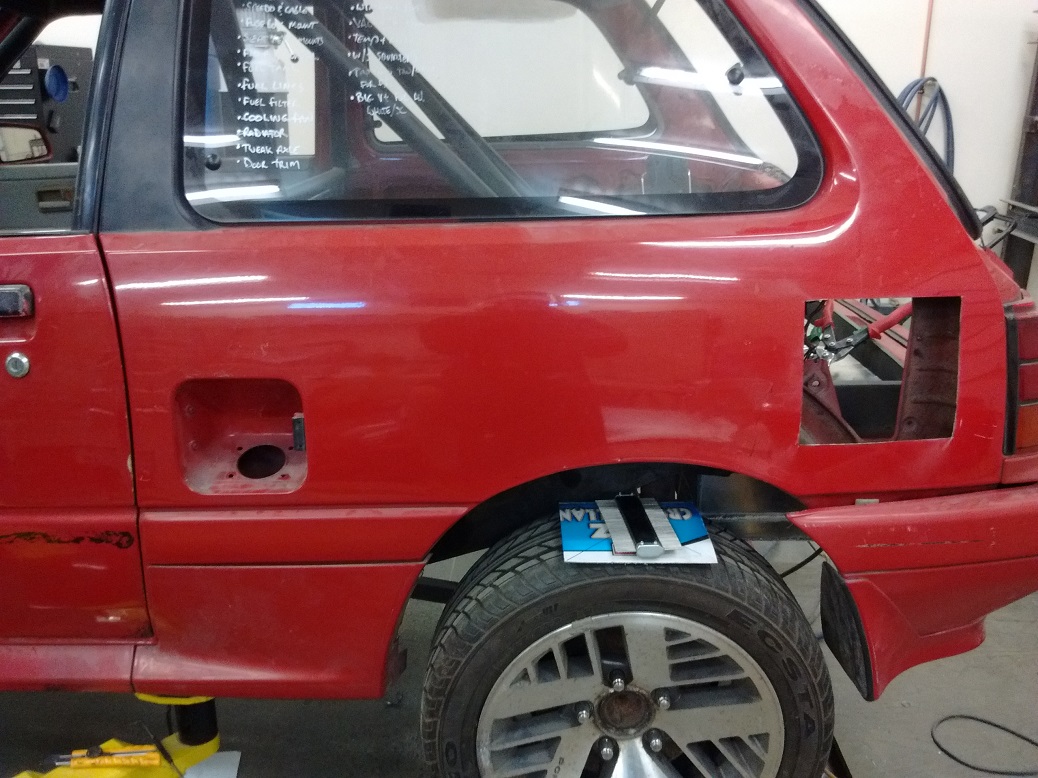
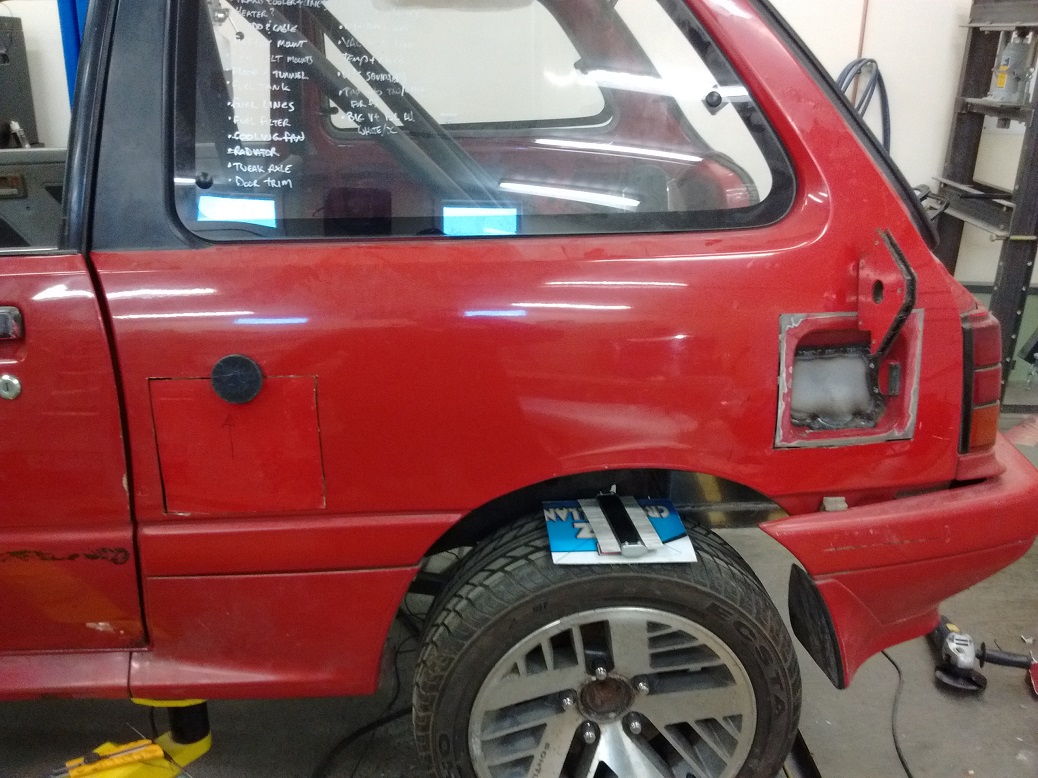
Here’s where I’m at in concealing the filler tube. There are a couple of rust spots on the wheel arch seam that need to be dealt with, and apparently Rust Converter needs to dry for six hours, so I had to stop at this point, but I’ve got a pretty good plan in my head.
While the Rust Converter was drying, I made the last panel over the axle. More freezer sheet metal.
Drywalling my entire Workshop got me good at smoothing things out. Body filler is just like mud, only you gotta work faster.
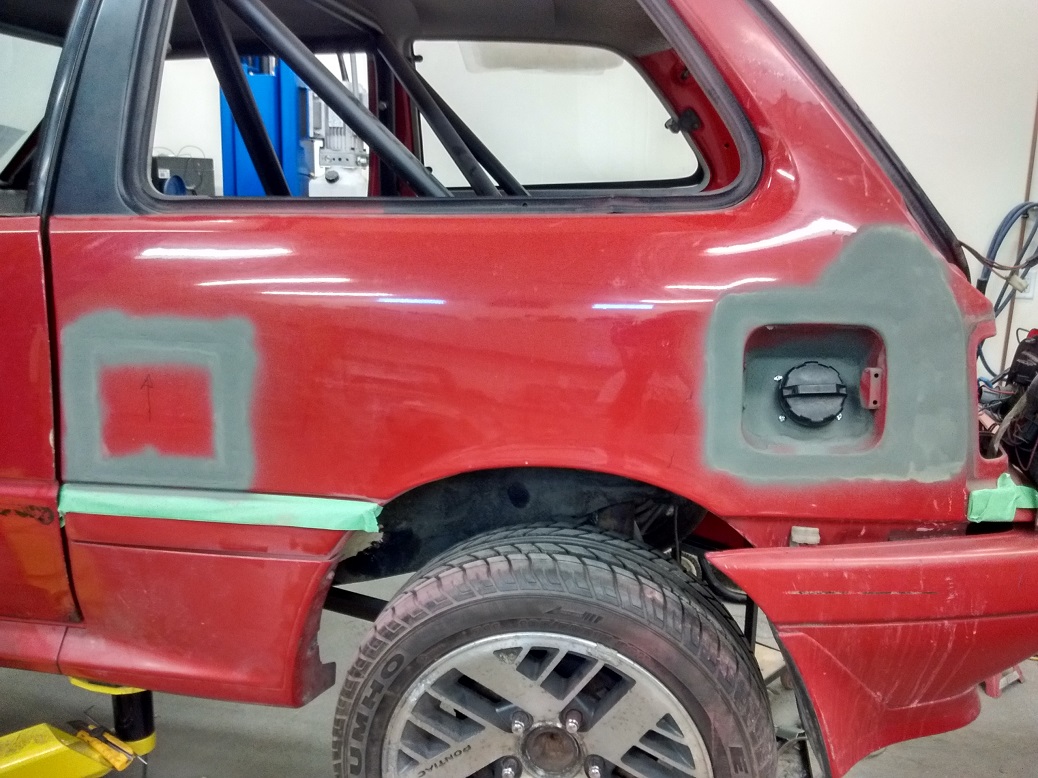
I am no professional at body work. But I do like high-build primer. It really speeds along the unpleasant.

In yet another experience of buying new canisters for my mask and discovering that they are not interchangeable, I bought another mask.
Laid down three coats of paint, with some defects I’ll need to deal with once the paint is completely dry. I want to keep working on the fuel filler tunnel inside, but it’s probably best to leave the shop alone till morning.
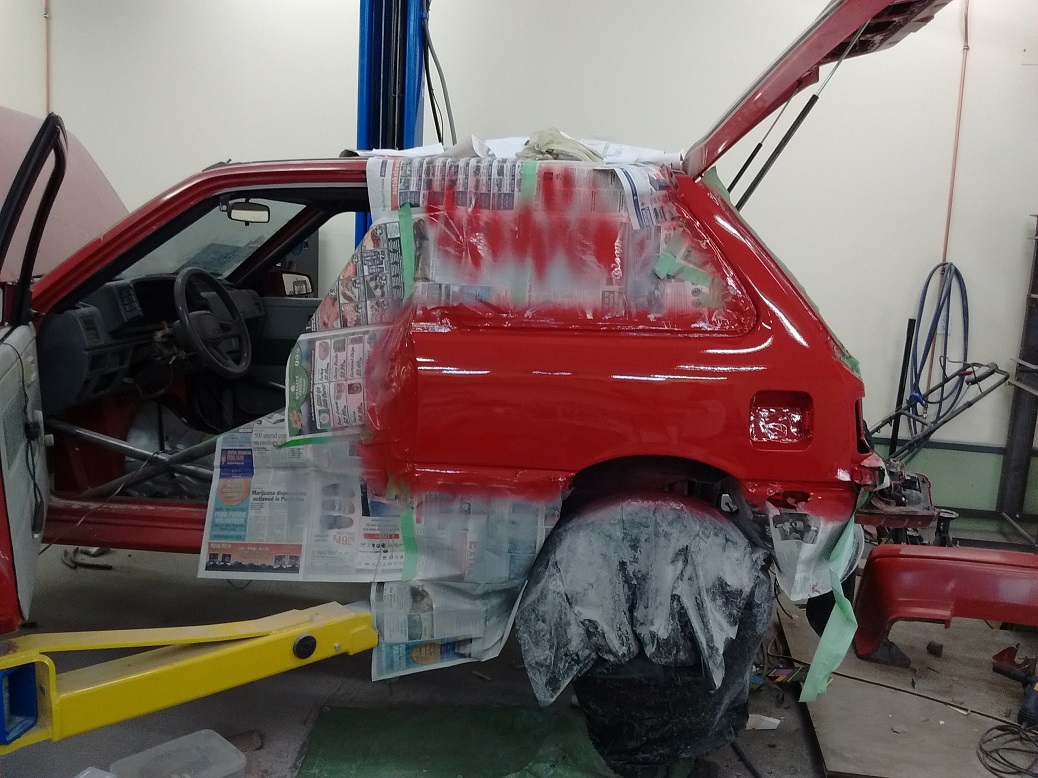
Paint looked good the next day. I felt good about it.
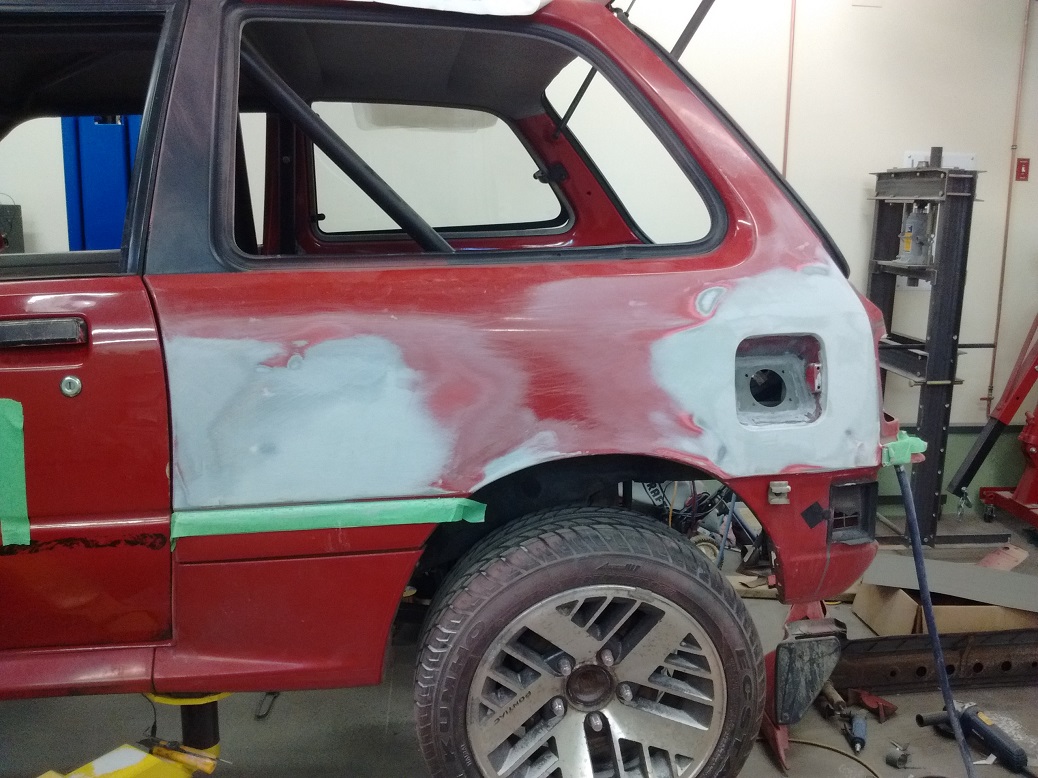
I was a little ADD today. Dragged out the fenders, and took a good look at the rust. Hauled out my un-used soon-to-be-dissappointing spot-sandblaster. This thing sucked.
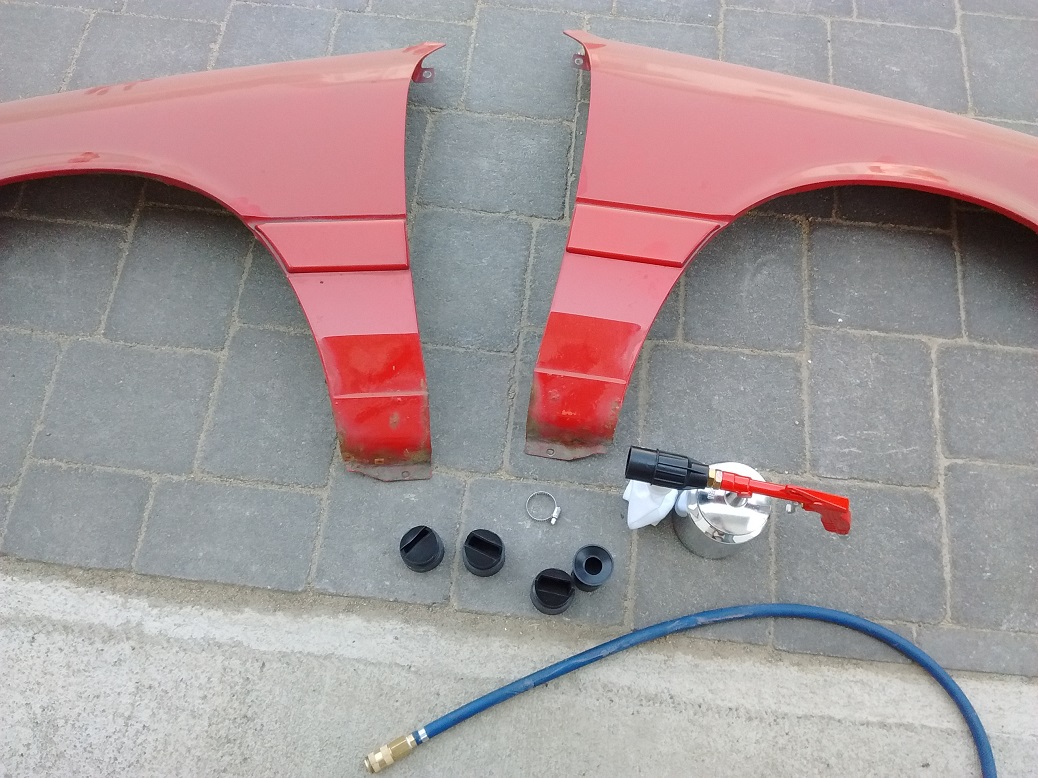
I left the door open on the blast cabinet and used it instead.
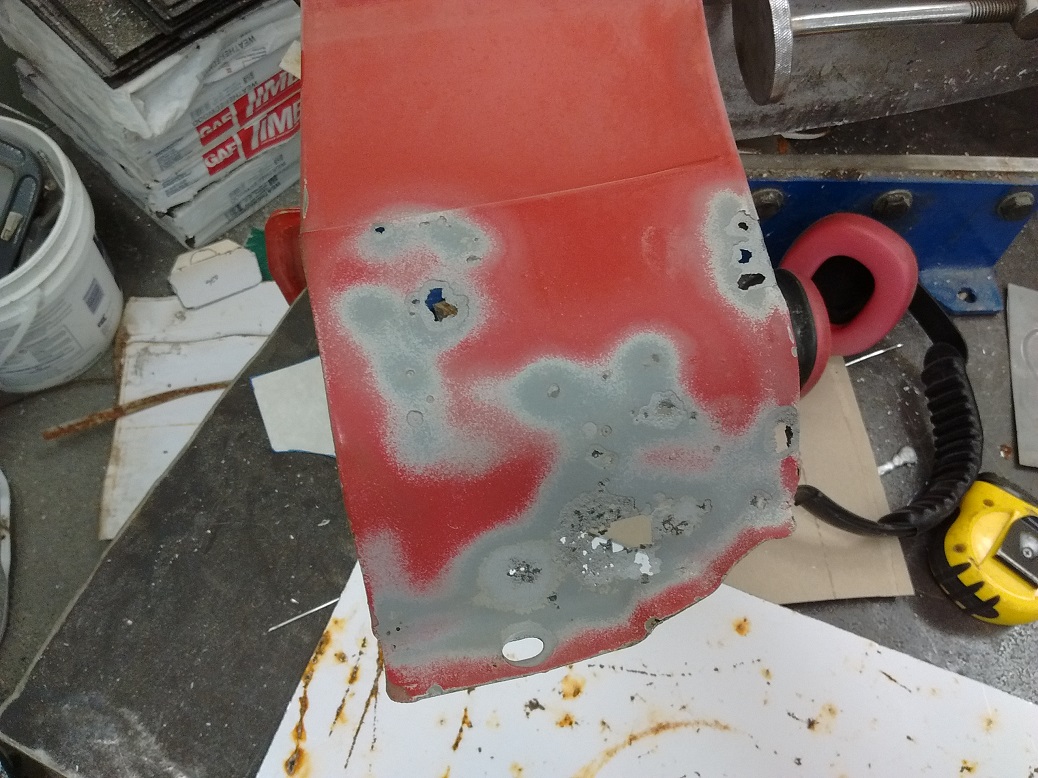
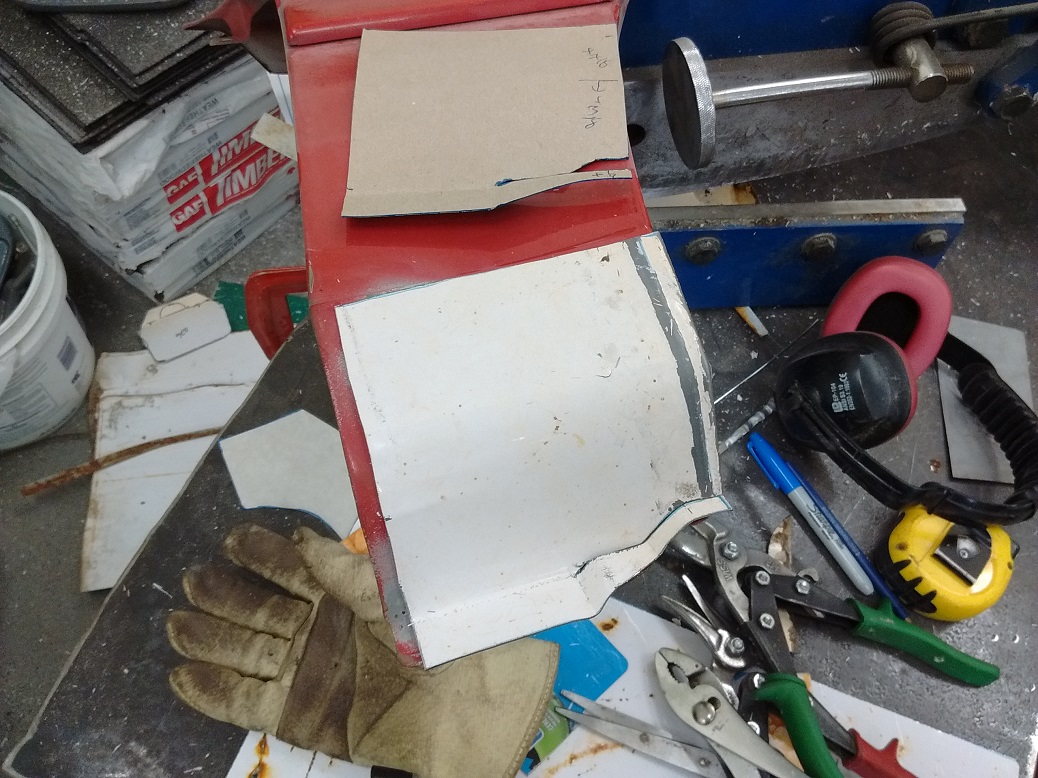
Looks like I’ll be making some patch panels. Again.
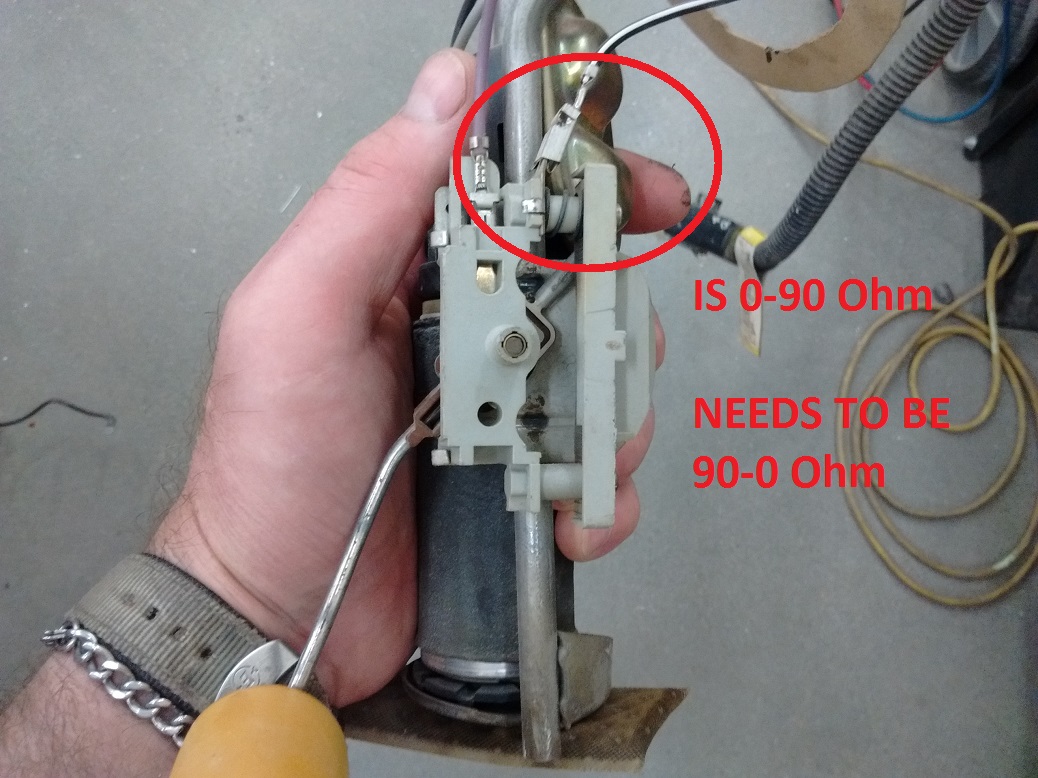
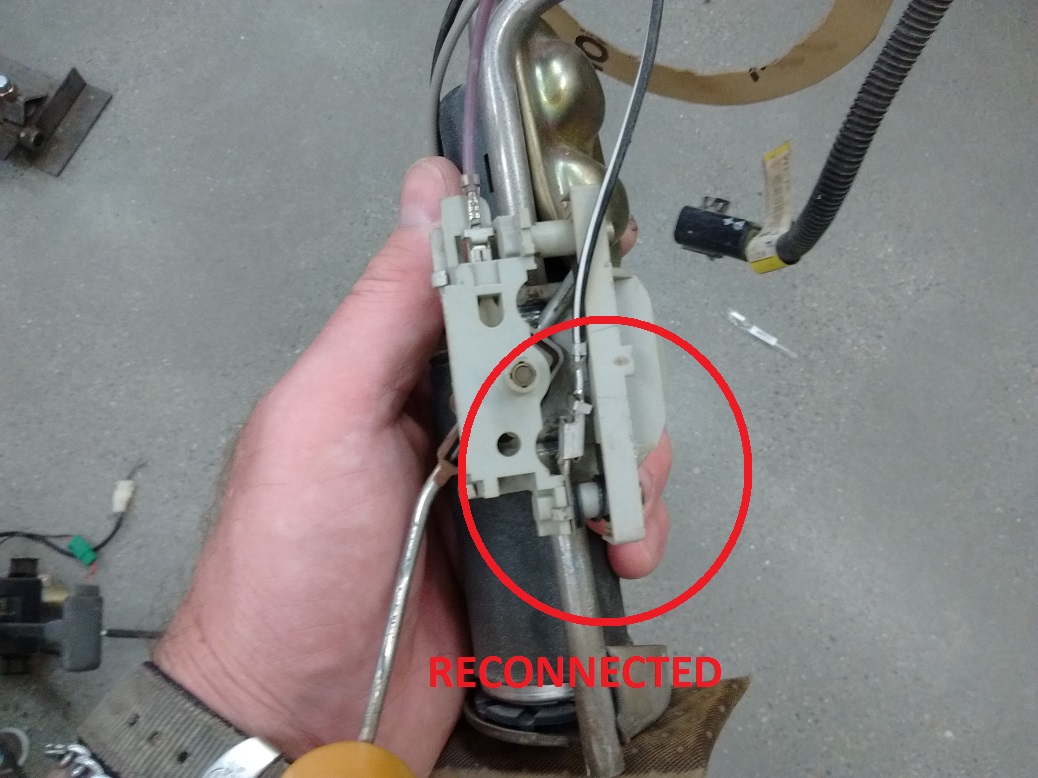
Also changed the wiring to the fuel level sender on the Firebird gauge. It now reads reversed.
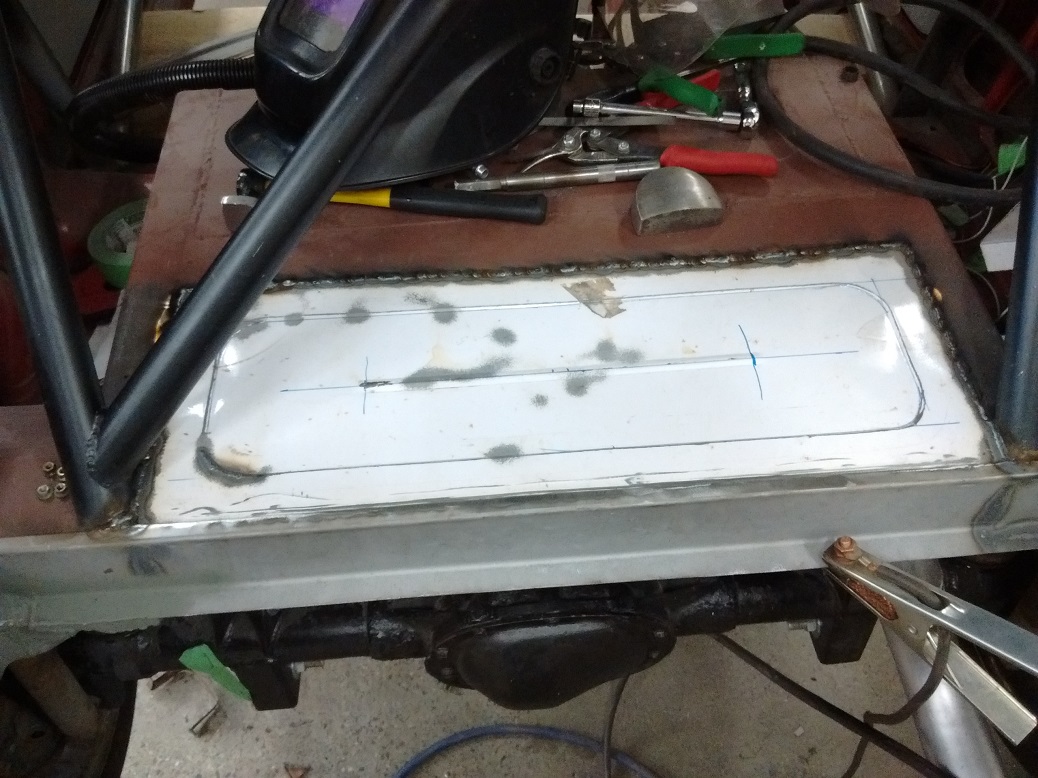
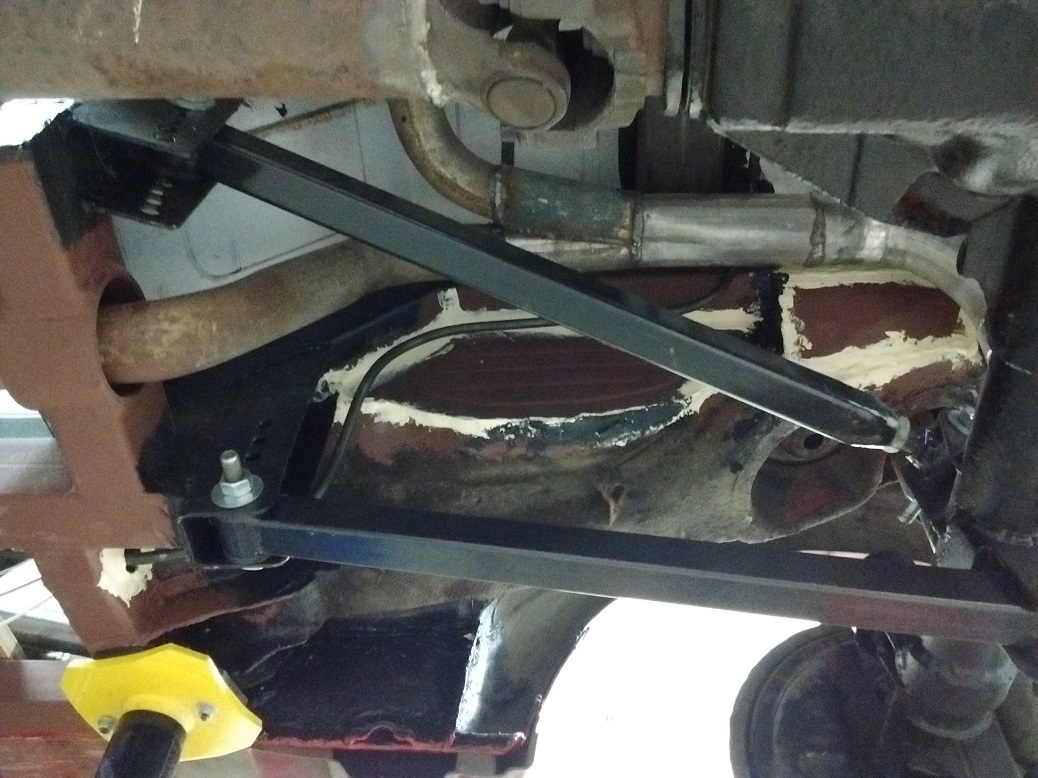
Also finished the tunnel to the tank. I will need to fabricate a top for it once the tank is in to stay. Did some seam sealing around the fuel tank area, as well as under the panel above the 4-link and exhaust.
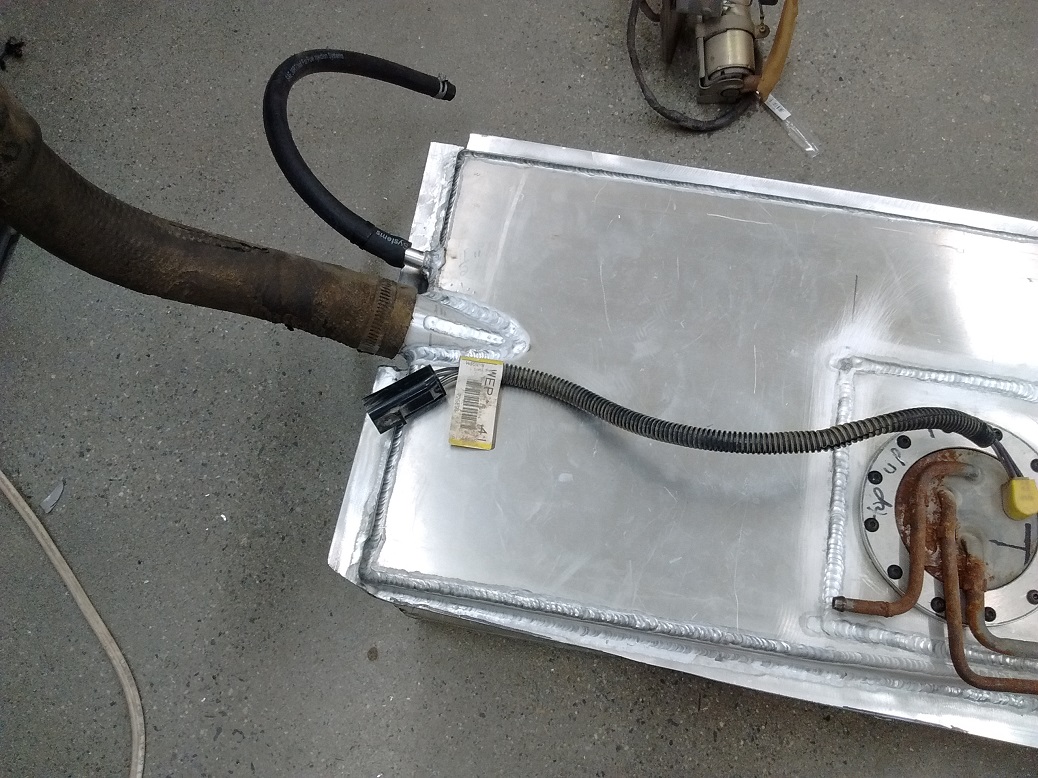
I fabricated the filler tube for the tank out of the offcuts of the road sign that made the fan shroud. Figure out circumference and cut, bead roll one end so the hose will stay on, anneal, then roll into a tube and weld. Also capped the tank end of the tube and drilled a 1-1/4″ hole in the side that would face bottom. This should prevent filling 100% with fuel since some air would be trapped at the top of the tank.
I’ll pressure test it tomorrow and see if it can go in to stay.
There was one leak in an awkward weld between the filler neck and the mounting flange. It was hard to get in there, and I didn’t seal it up well enough. I cut out a section of the flange and gouged the weld out with a carbide cutter and plenty’o WD40 and re-welded it. No leaks!
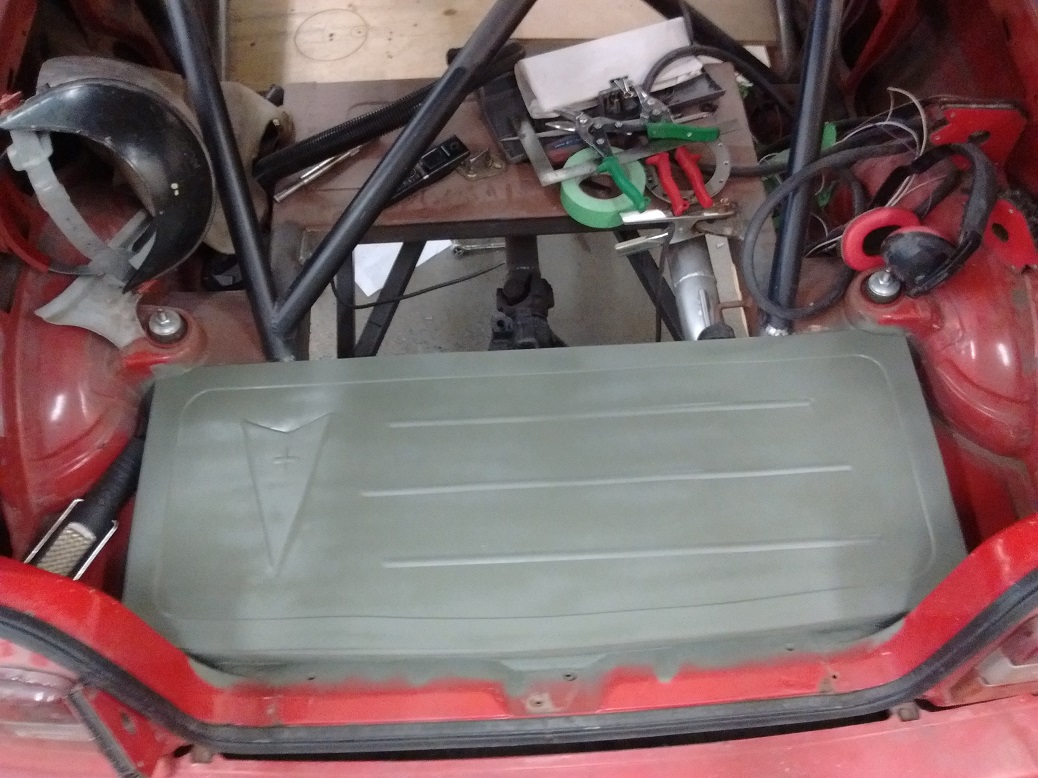
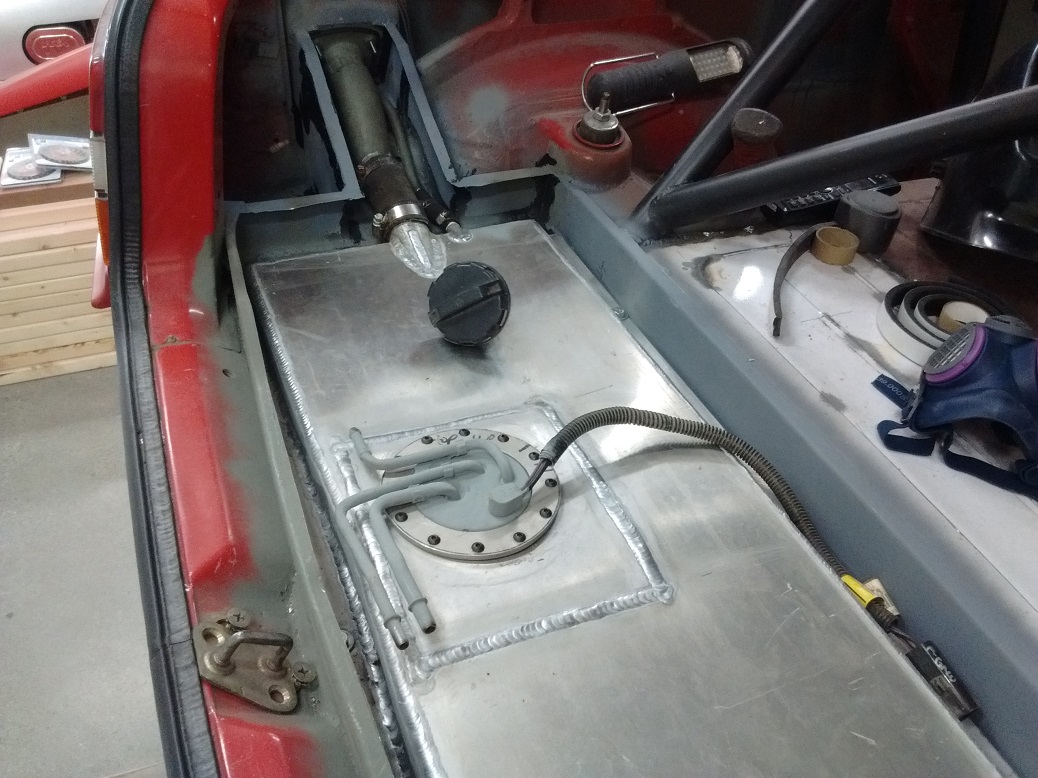
Which means, the tank can be installed for good! Ready for covers:
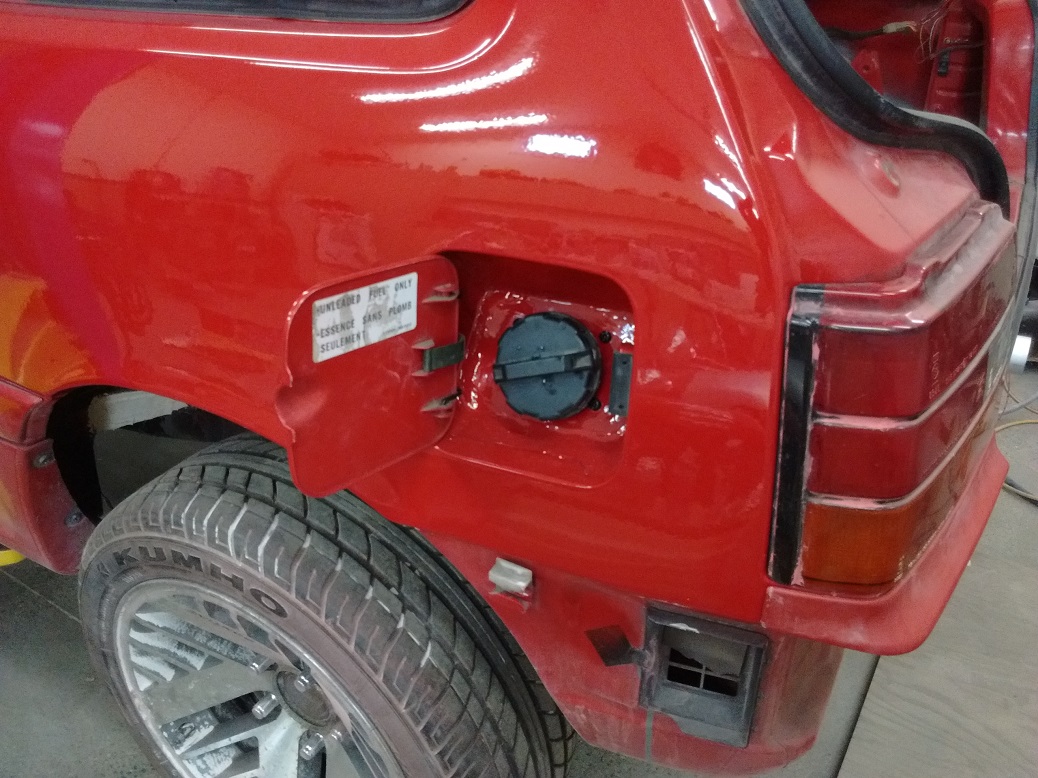
Factory looking goodness:
I did a good cleanup of the shop because the OCD was getting polysyllabic. I should be wiring up the pump and the battery disconnect, and the back will be done.
I didn’t get very much done today through a collection of commitments.
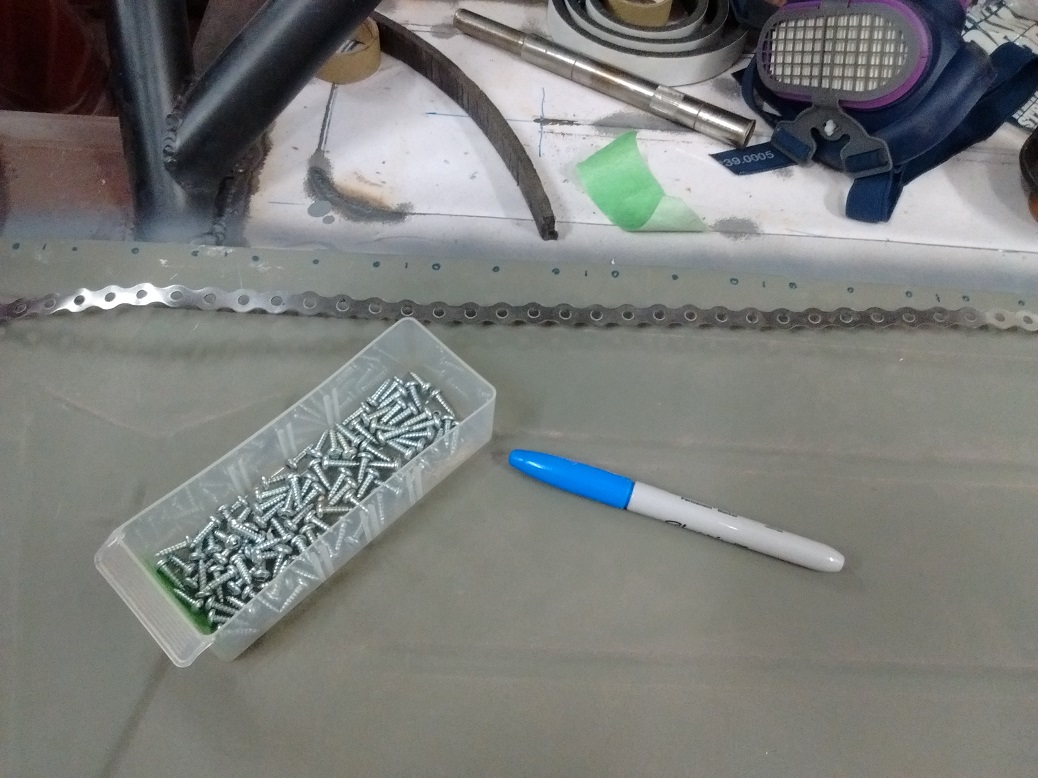
I did some sorting out of the fuel tank cover, using pipe strapping to space out the screws (took me a bit to decide exactly on the spacing). The cover needs to be removeable should I ever have to replace the fuel pump.
I guess, of course, I could have made the tank come out the bottom….
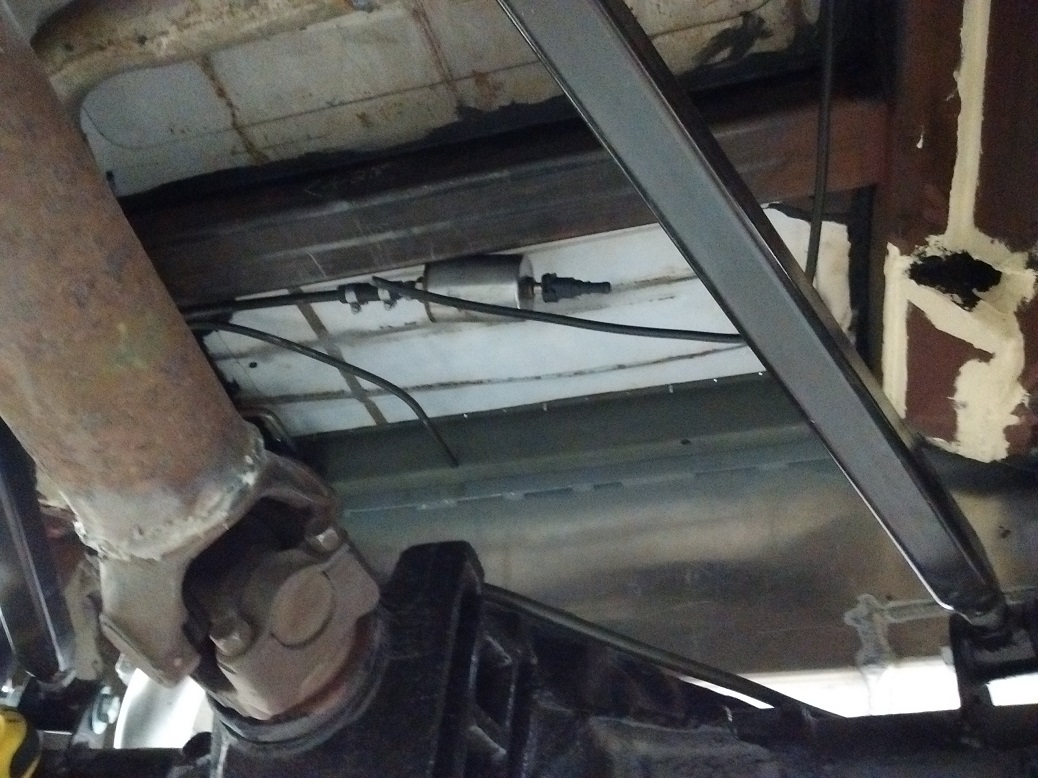
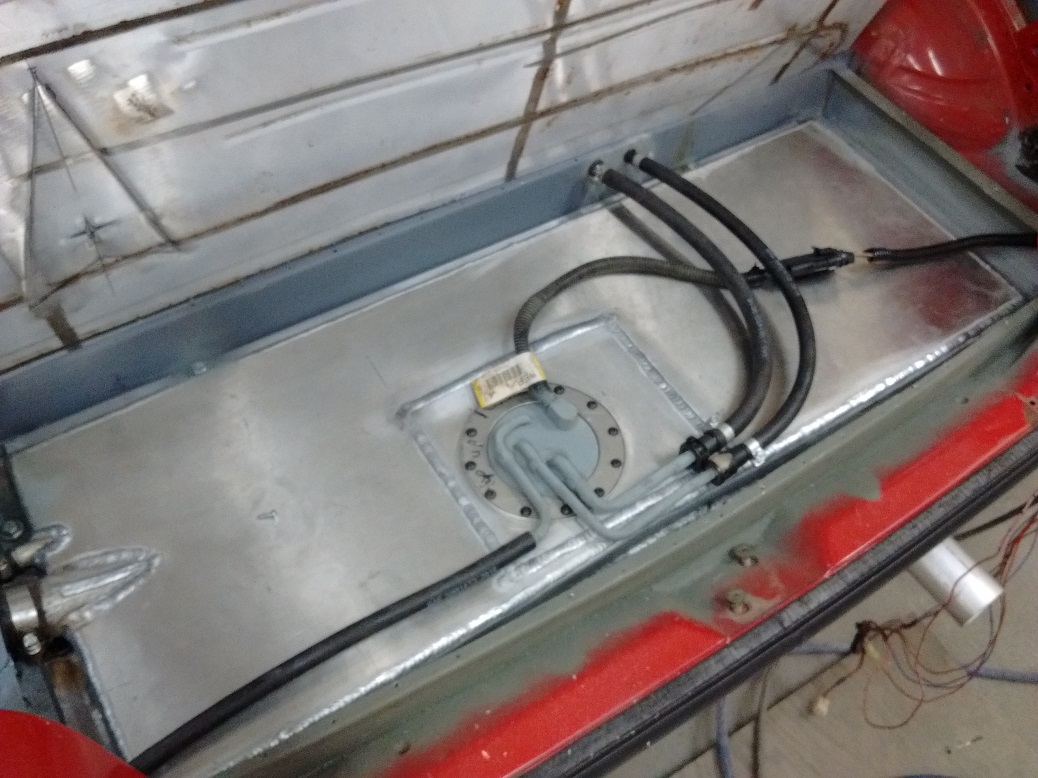
Then started plumbing the fuel lines. That fancy AN braided hose would be sweet, but it is very pricey. Hard line is cheap, but way more difficult to work with. I want as few splices as possible. I got the supply line up to the front, just have to do the return. I haven’t decided about a charcoal canister or not for vapours.
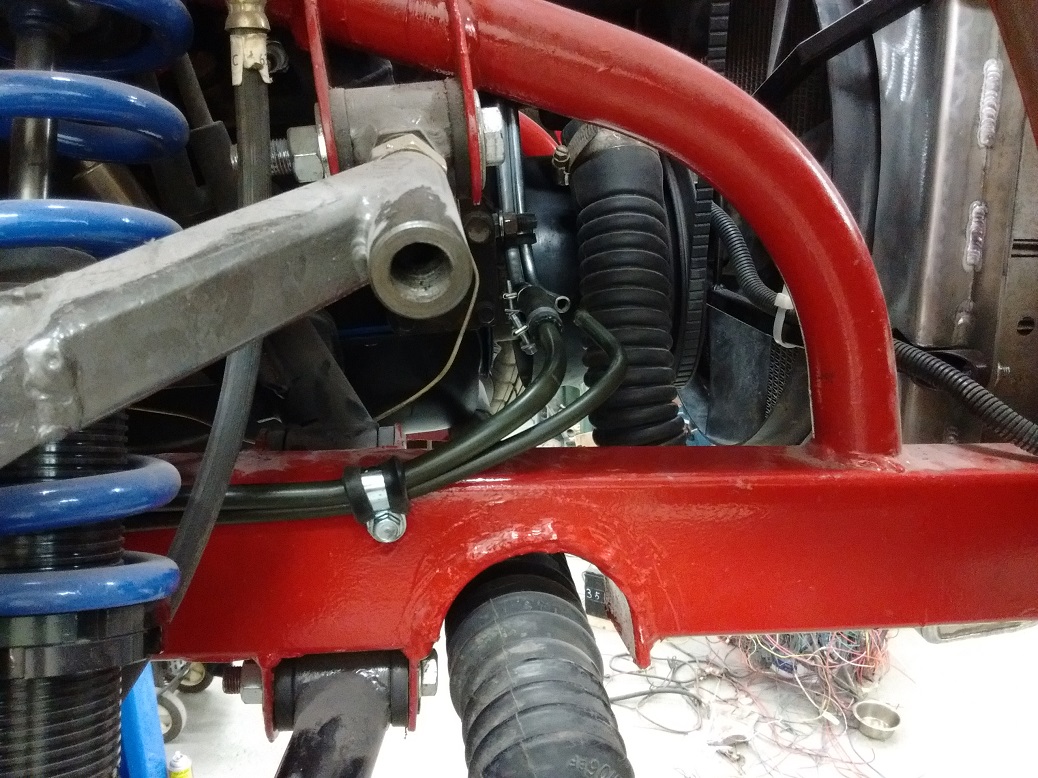
Hard lines are run from the tank area to the motor. Just need to connect to the fuel pump once I form the last elbow for the feed line, then drill and grommet the holes into the tank area.
3/8″ supply, 5/16″ return.
Return hose will be connected once I blow the line clear.
Fortunately, fluids and brake bits are “free” at the Grassroots Motorsports Challenge.
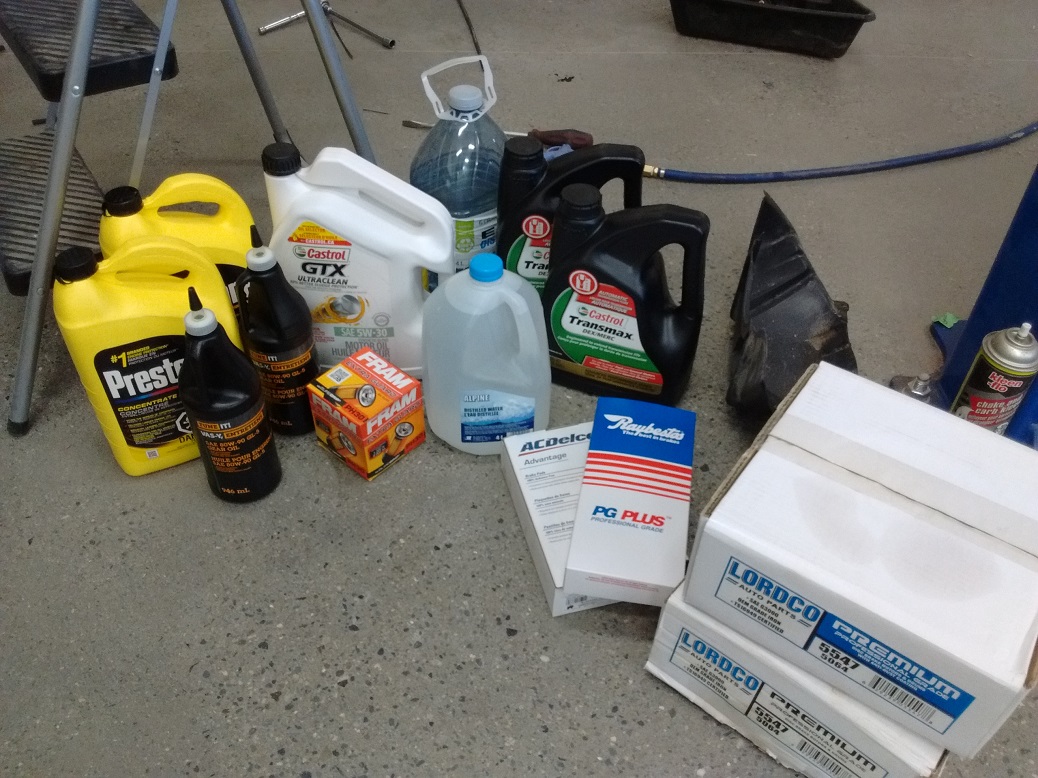
These are still good, eh?!
Tranny lines are done, and connected.


It took half a day to get the header back in, this time with Remflex gaskets and clearanced to be able to remove the starter without yanking the headers. I should have done Tri-Y headers instead. Of course, during the beating, things moved.

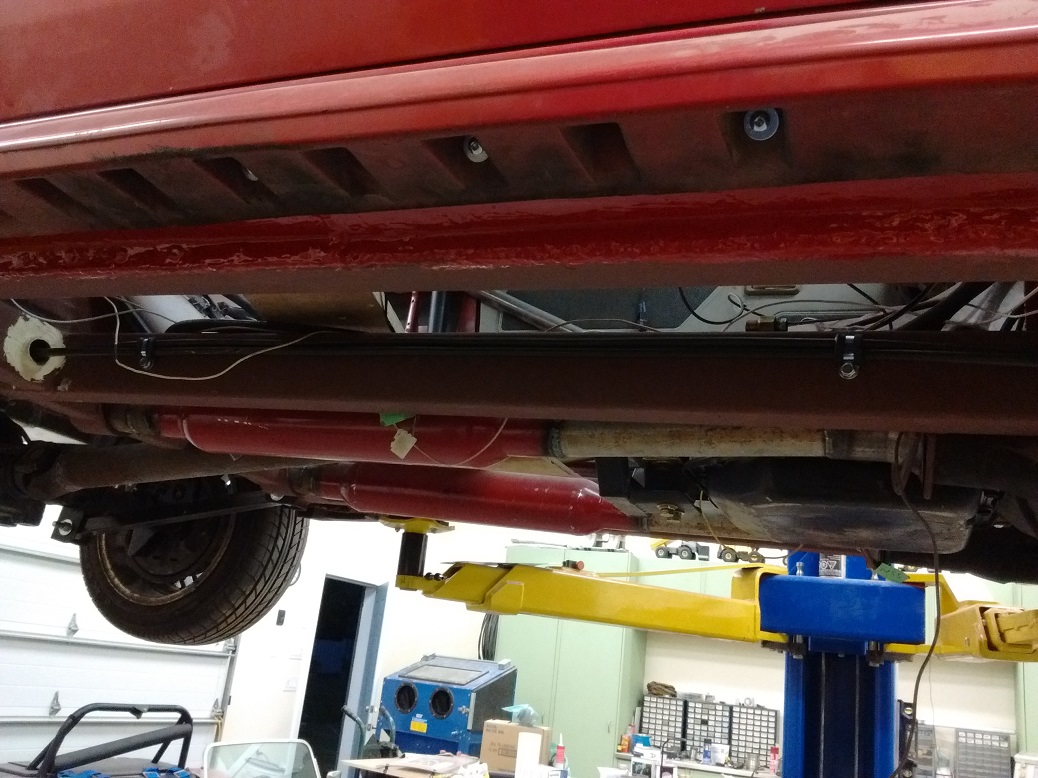
Fuel lines and cooler lines.

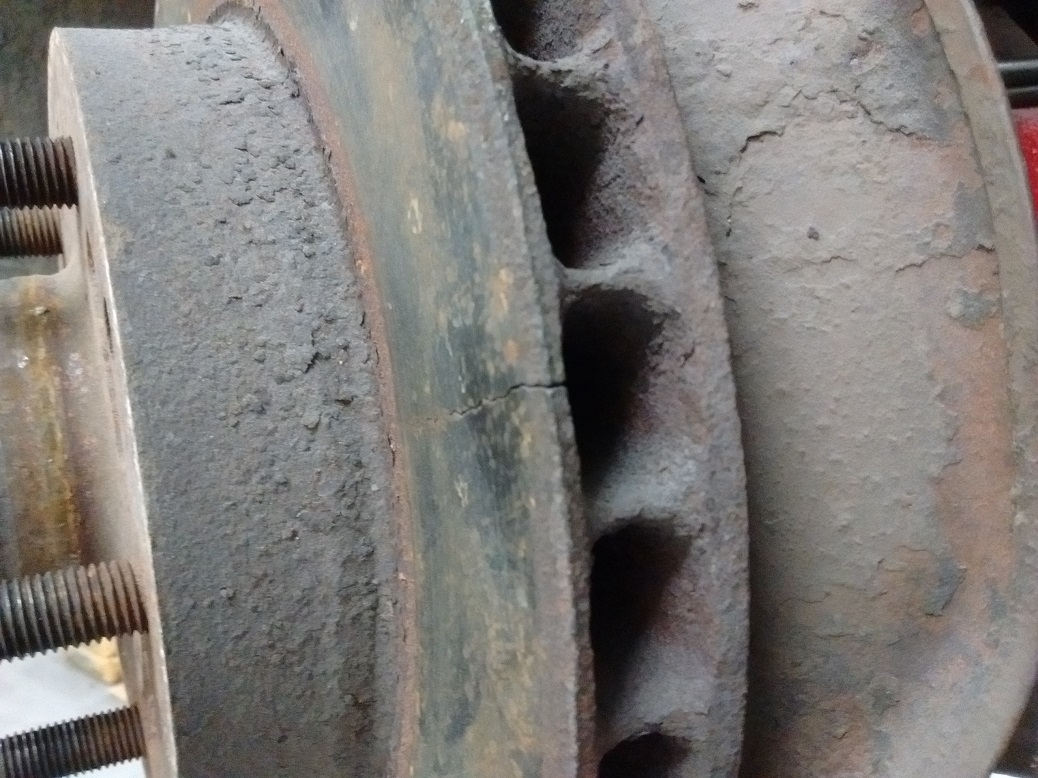
Also packed the wheel bearings, sandblasted and painted the dust shields, painted the calipers, and installed new rotors and pads. Also connected the front flex lines. Worked a bit on the driver’s side windshield squirter, and finished the metal fab on the battery disconnect. Splashed some paint in the back.
