Start – 1 – 2 – 3 – 4 – 5 – 6 – 7 – 8 – 9 – 10 – 11 – 12 – 13
In which I shorten a driveshaft, finish the interior, buy a limited slip and add sticky tires.
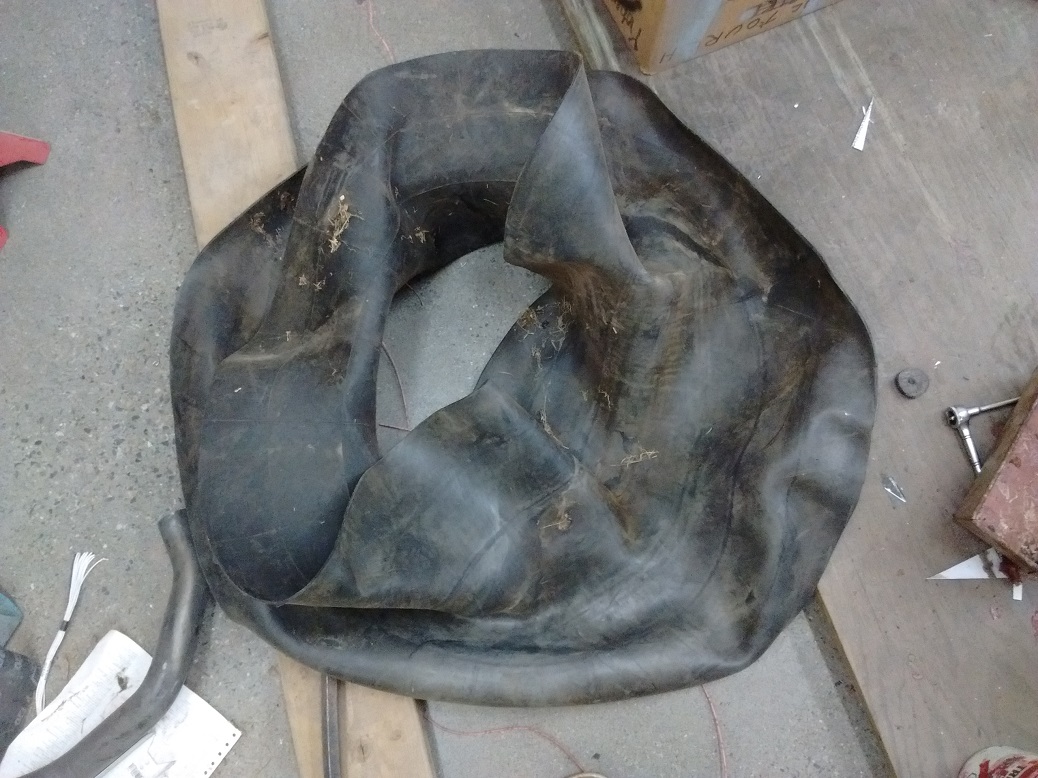
I made a rubber seal for the e-brake lever, since I neglected to re-make it like the Firefly was originally. This should limit some of the stank from beneath the car.
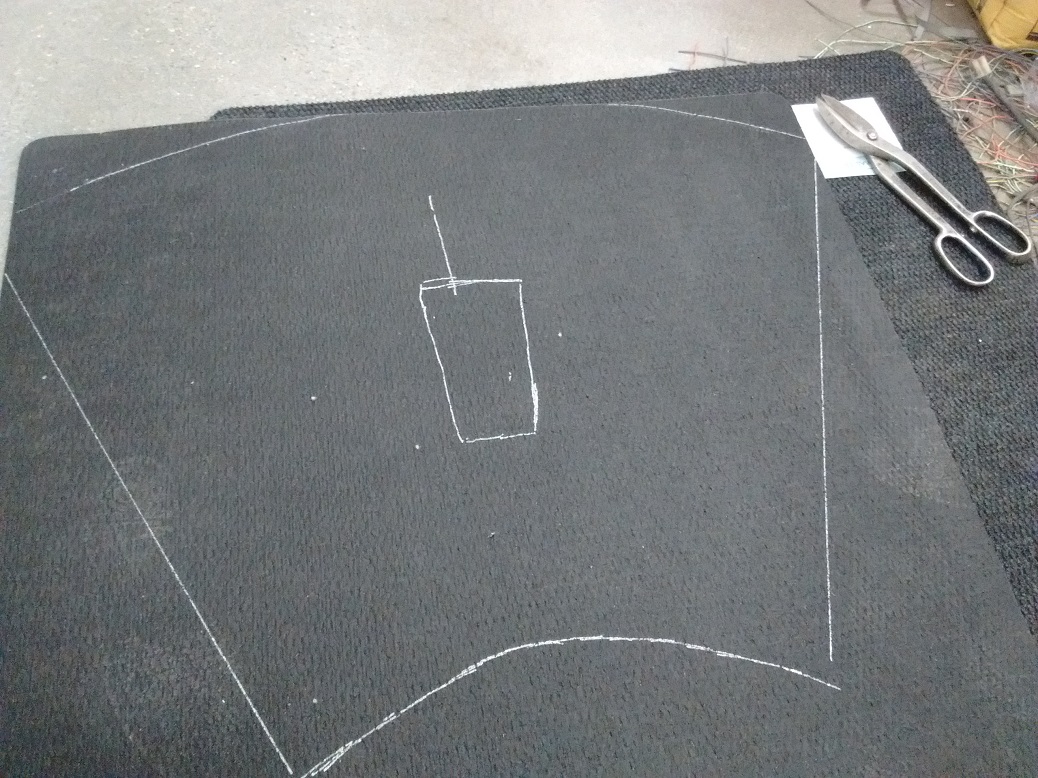
I happen to have a big rig inner tube. Good thick rubber.
(September 2017)
Cut with tin snips, and used a leather punch for the holes.
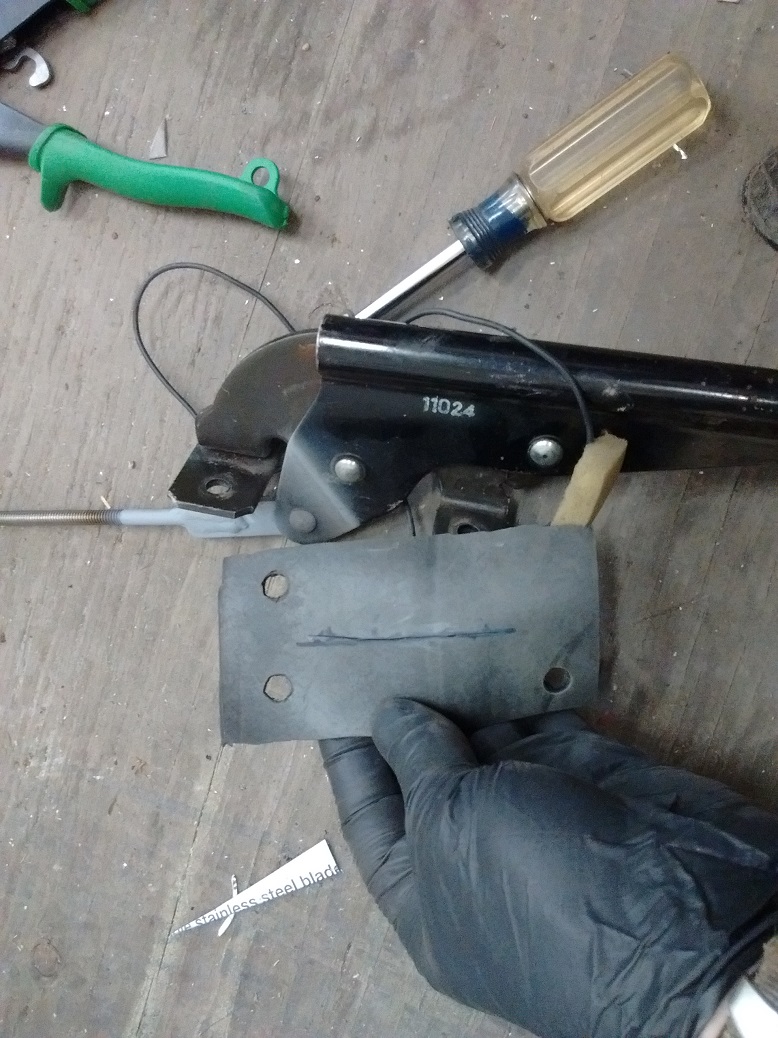
Installed, with the shortened Firebird e-brake cables. Works AWESOME!

I was not happy with the driveshaft I had shortened to fit. I believe the shaft was from a 1978 Chevy Impala we parted out at the school. Or it may have been from the ’88 Firebird, assuming 700R4 and TH350 yolks are interchangeable. I don’t remember. Fact is – I made it too short, and it was fiendishly rusty (which makes me think it was the Impala).
Apparently I had another driveshaft in my garden shed. Either the one from the Firebird, or perhaps an S10 Blazer we cut up. I can’t remember.
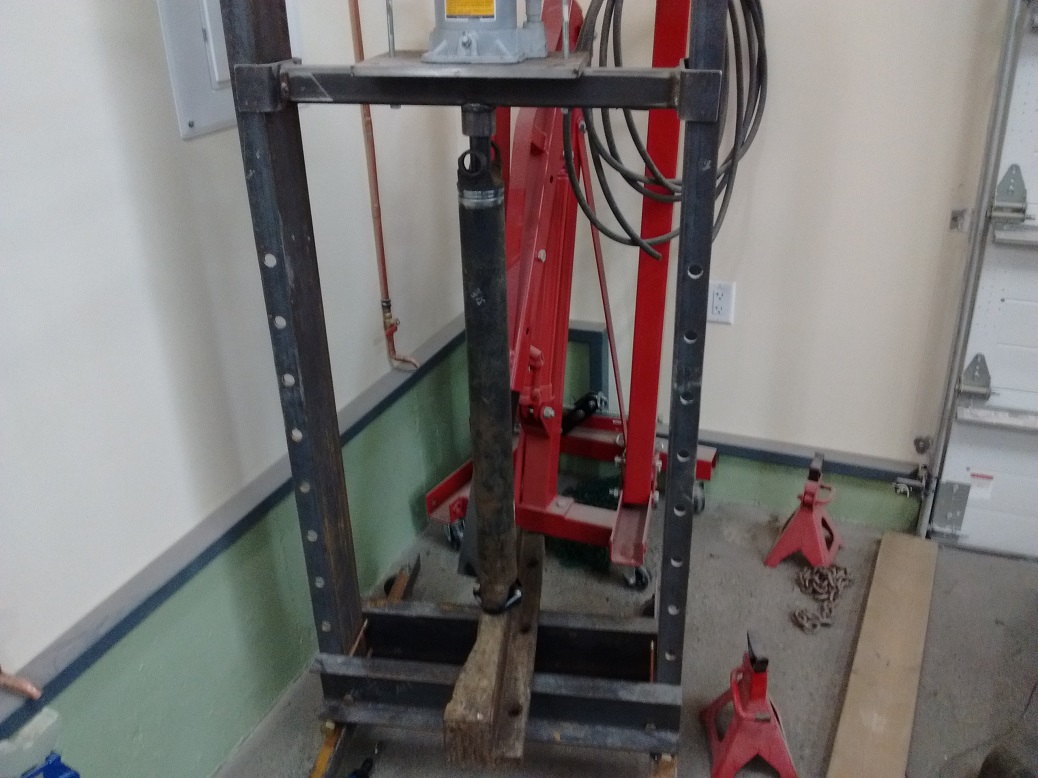
I set the car on jack stands, and measured the required length for the driveshaft to be 31-5/16″. Measure twice and cut once.
First, remove the u-joint. GM likes to use some kind of plastic epoxy or something instead of clips. The easy way to deal with this is heat it up, and the plastic pukes out the holes.
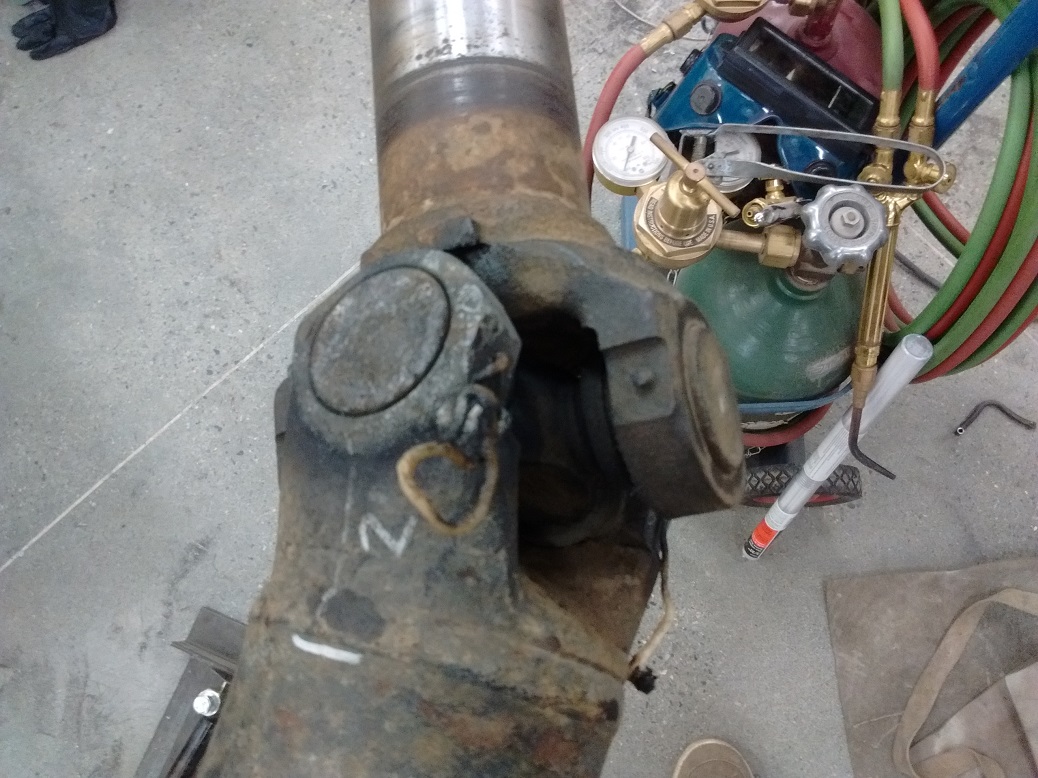
MARK the alignment of the yolk to the tube. This is pretty critical (although easy enough to deal with if you forget).
Cut the end of the driveshaft off around an inch in from the weld. There is a stub inside that you don’t want to cut through. Really only enough to hold in the lathe.
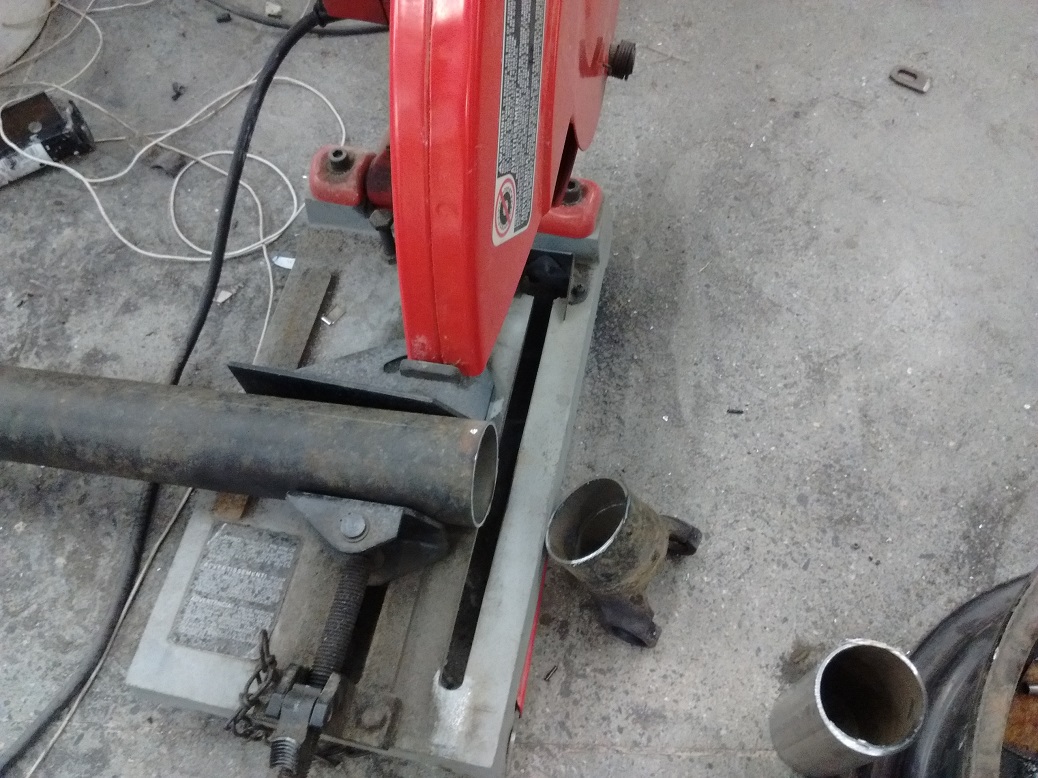
Always leave your calling card:

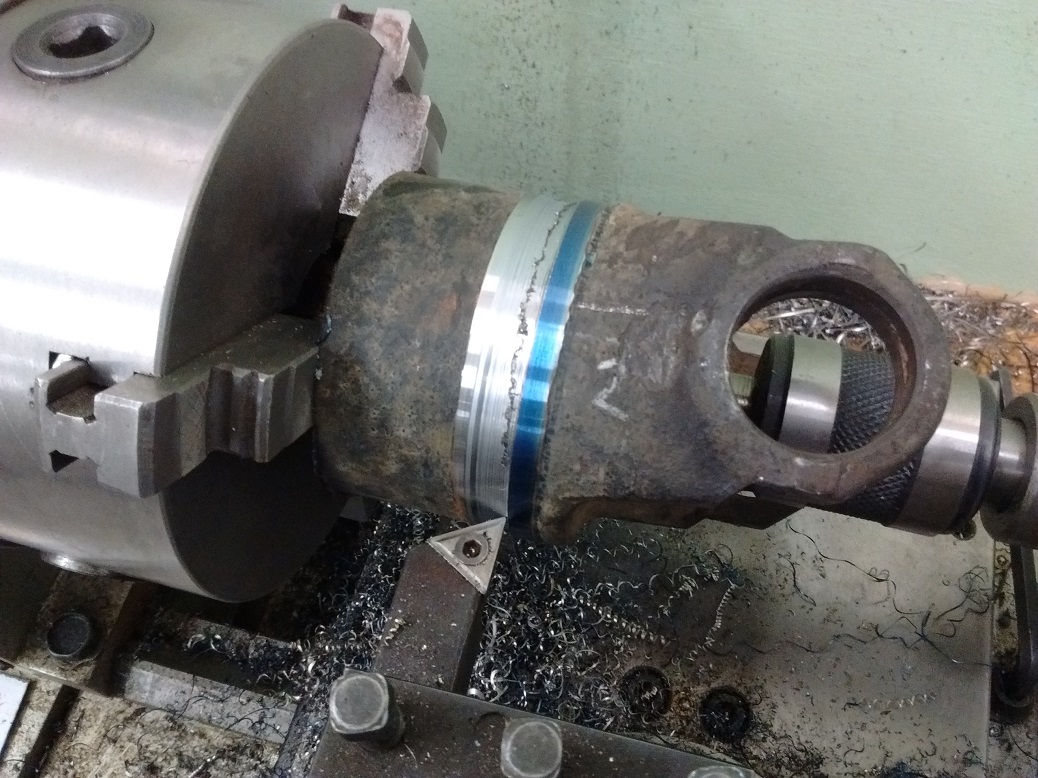
I chucked the stub into the lathe, and referenced the inside of the yolk, since that’s where the replacement’s C-clip references. Once it was +/-0.0005″, I center-drilled a bit to support it with live center.
Then start cutting the weld down, keeping a note of where the center of the weld bead is. I marked the cut with sharpie so it was easier to consistently see what I was cutting to. Once you begin to break through the weld, you’ll know.
A light smack of a hammer and it comes apart easy.
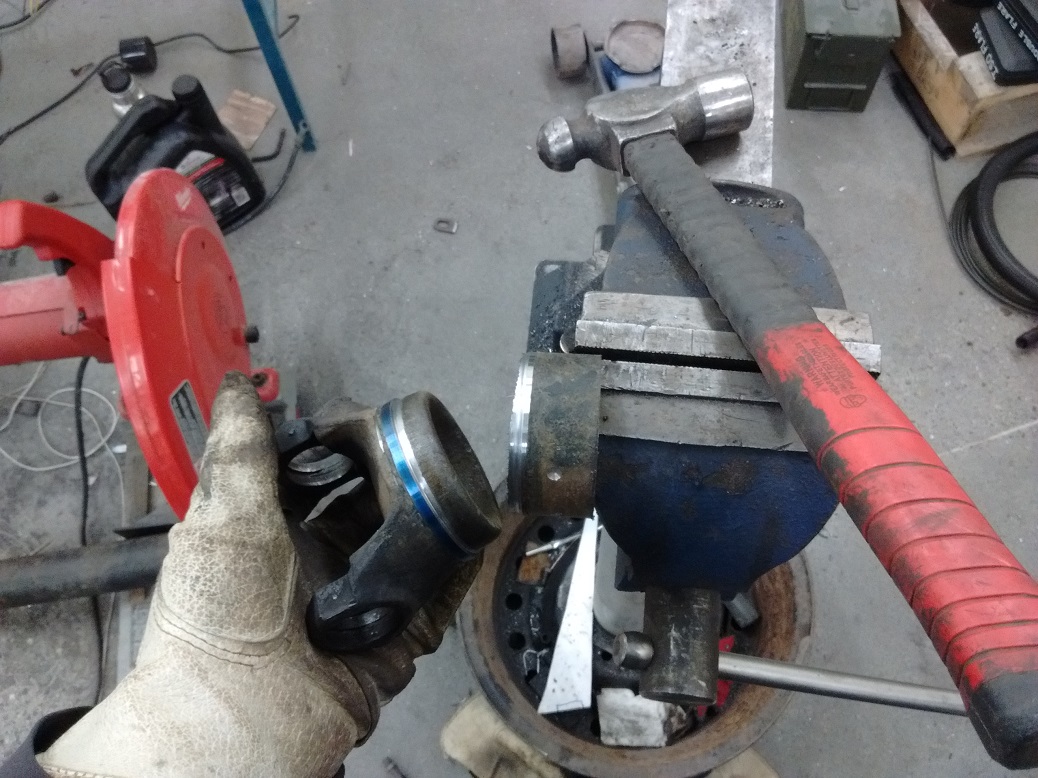
Align the yolk to the tube (you did mark the alignment, right?).
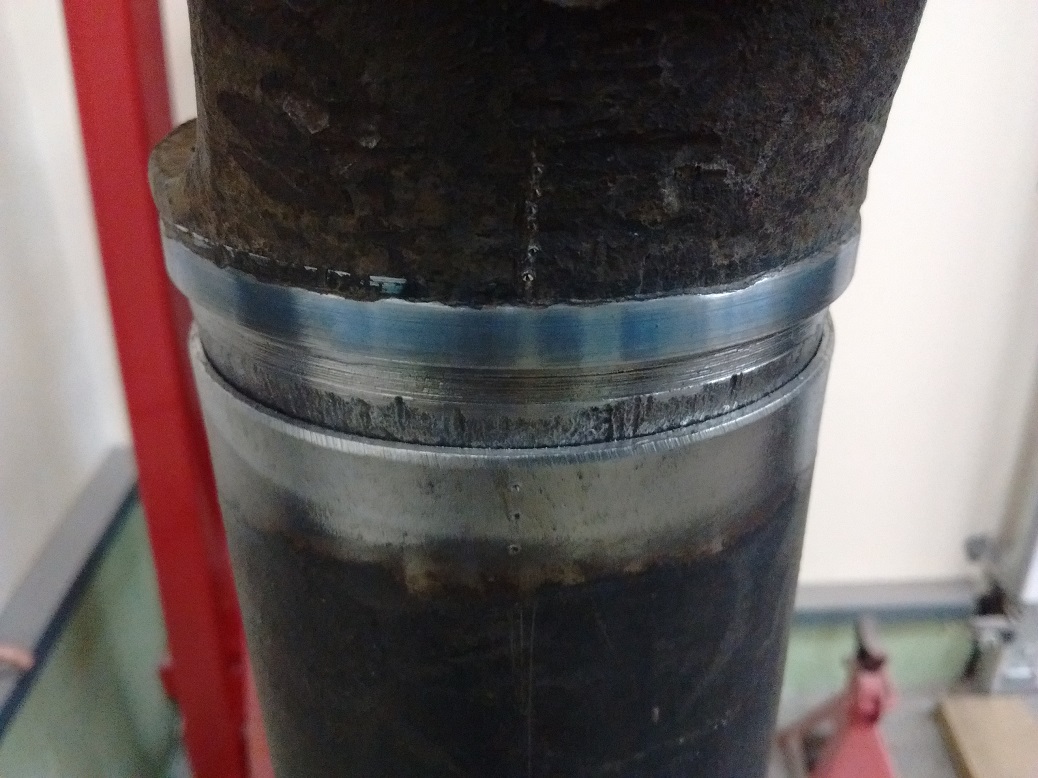
Some driveshafts I’ve been able to just tap them together with a hammer. This one had to be pressed together (see The Hydraulic Press).
Once they are home, it’s weld time.
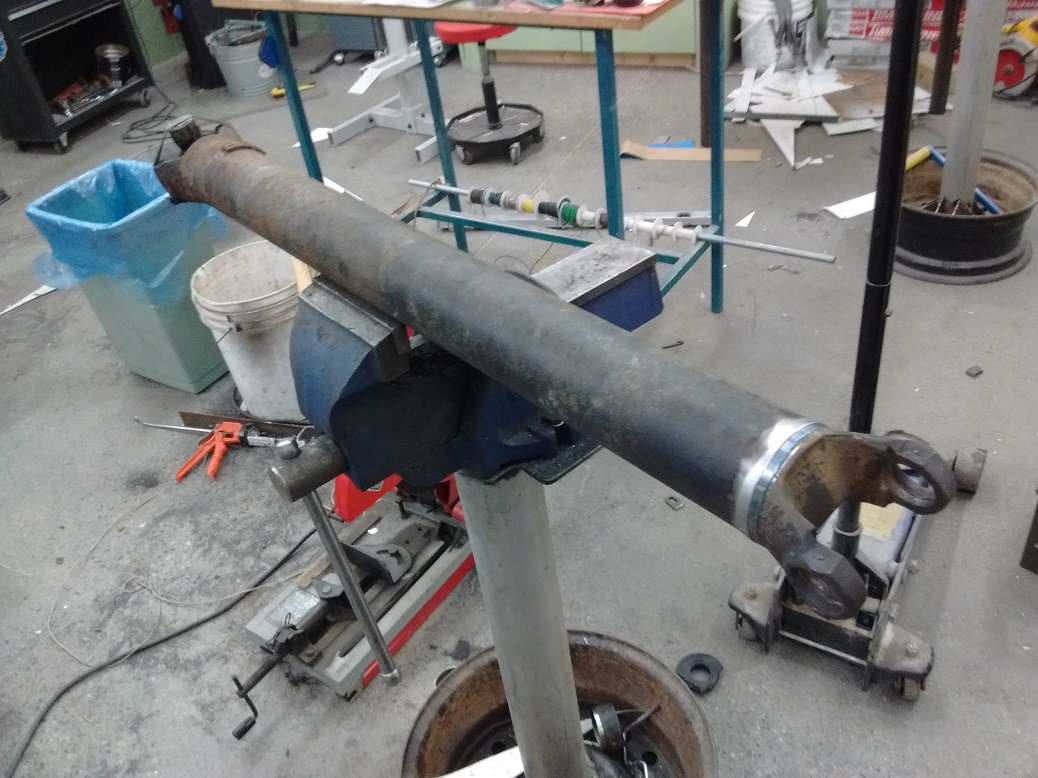
I decided to TIG this driveshaft. And then when it’s cooled down, install the new U-Joint.
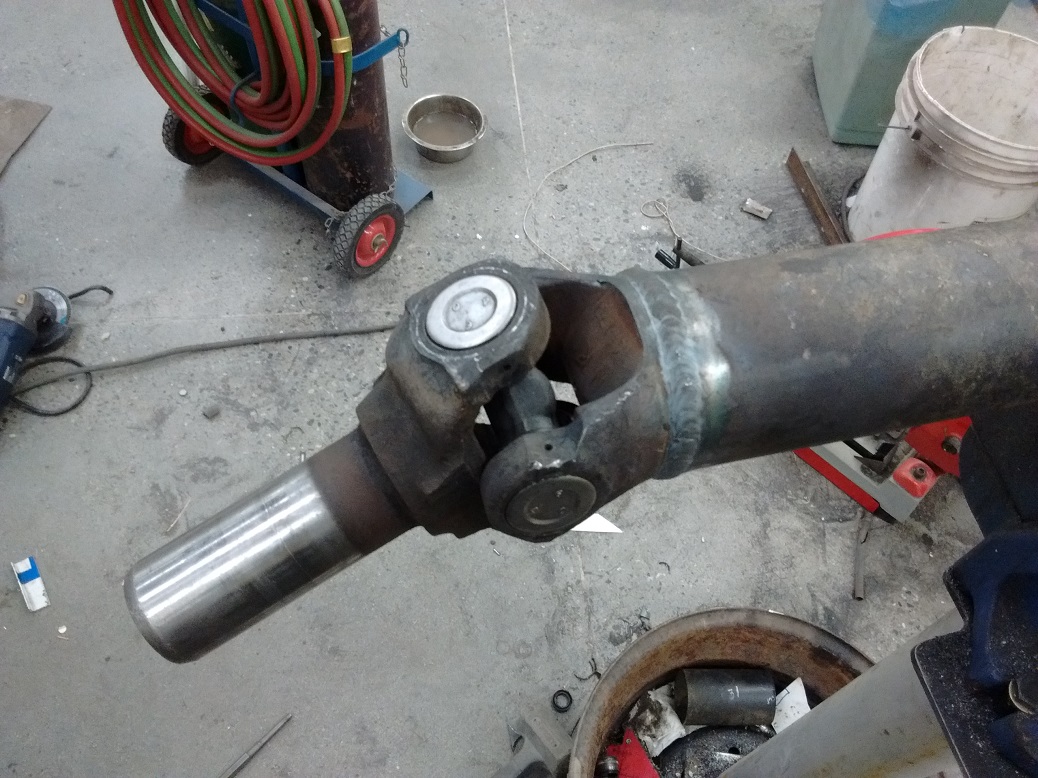
Which was the last push to end the summer with. Back to work tomorrow, and any progress will slow to probably weekends only. But….
It moves!
The maiden voyage to the end of the street was uneventful. Definitely needs the brakes bled more thoroughly. Springs seem really stiff. The “rod knock” you hear is actually the plastic torque converter cover hitting the flexplate! (I was so worried!). Quick trim and it’s quiet as ever.
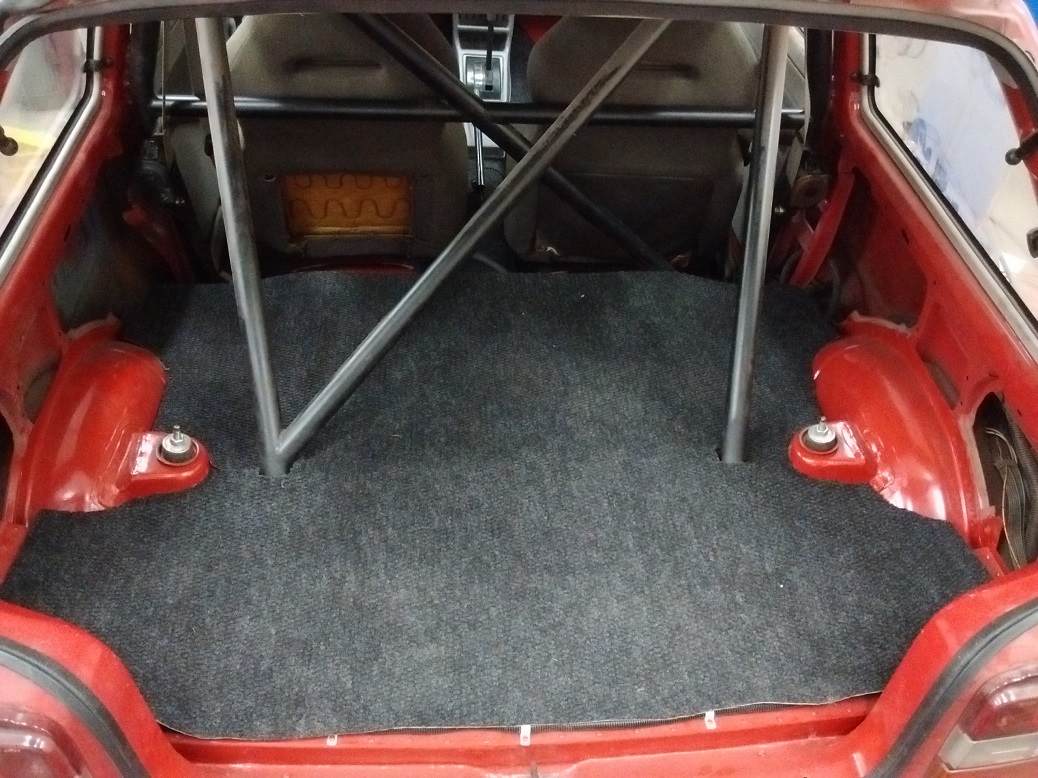
Painted the remaining tubes of the roll bar, and picked up some floor mats from Home Depot for carpet. Going to get plates on it tomorrow.
School is back in session, so progress is much slower.
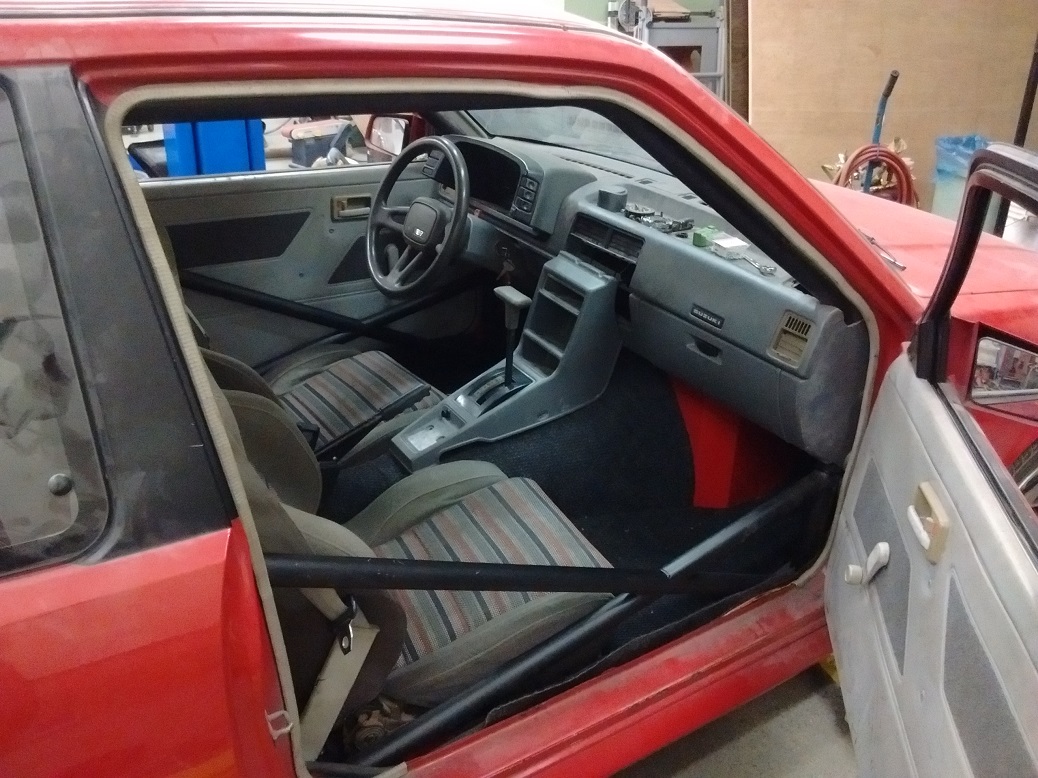
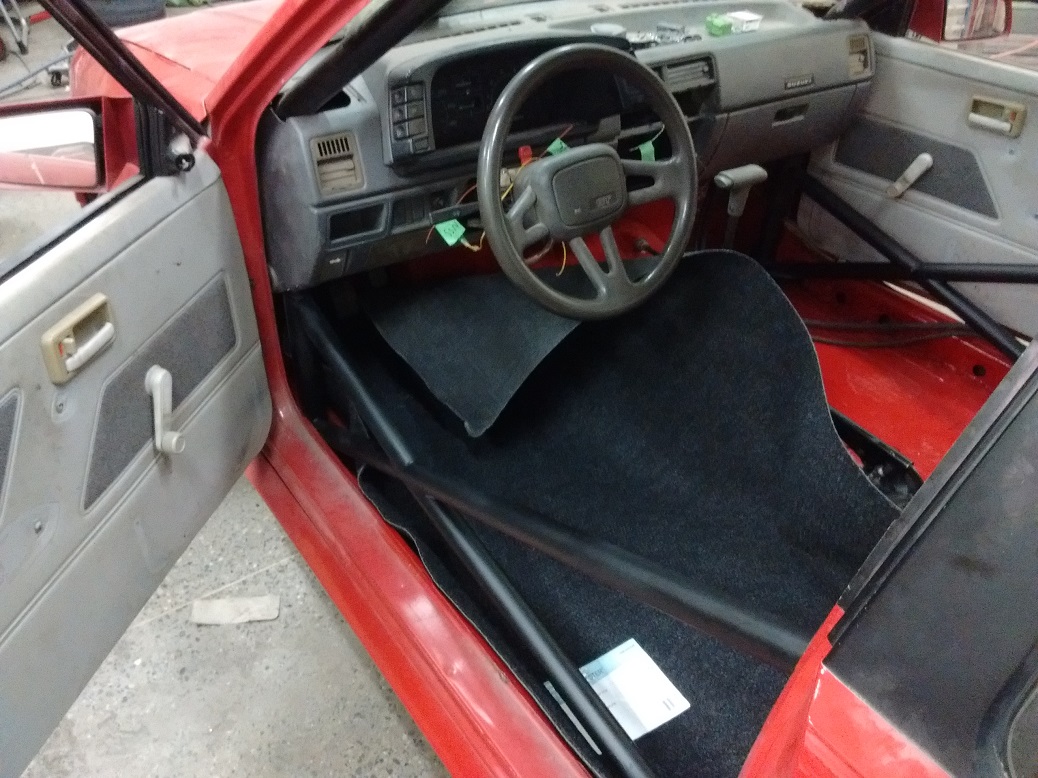
Finally got the carpet, seats, and seat belts sorted out. Found the interior panels, except I’m missing the bottom door trim pieces. Should be good for a clandestine voyage tomorrow.

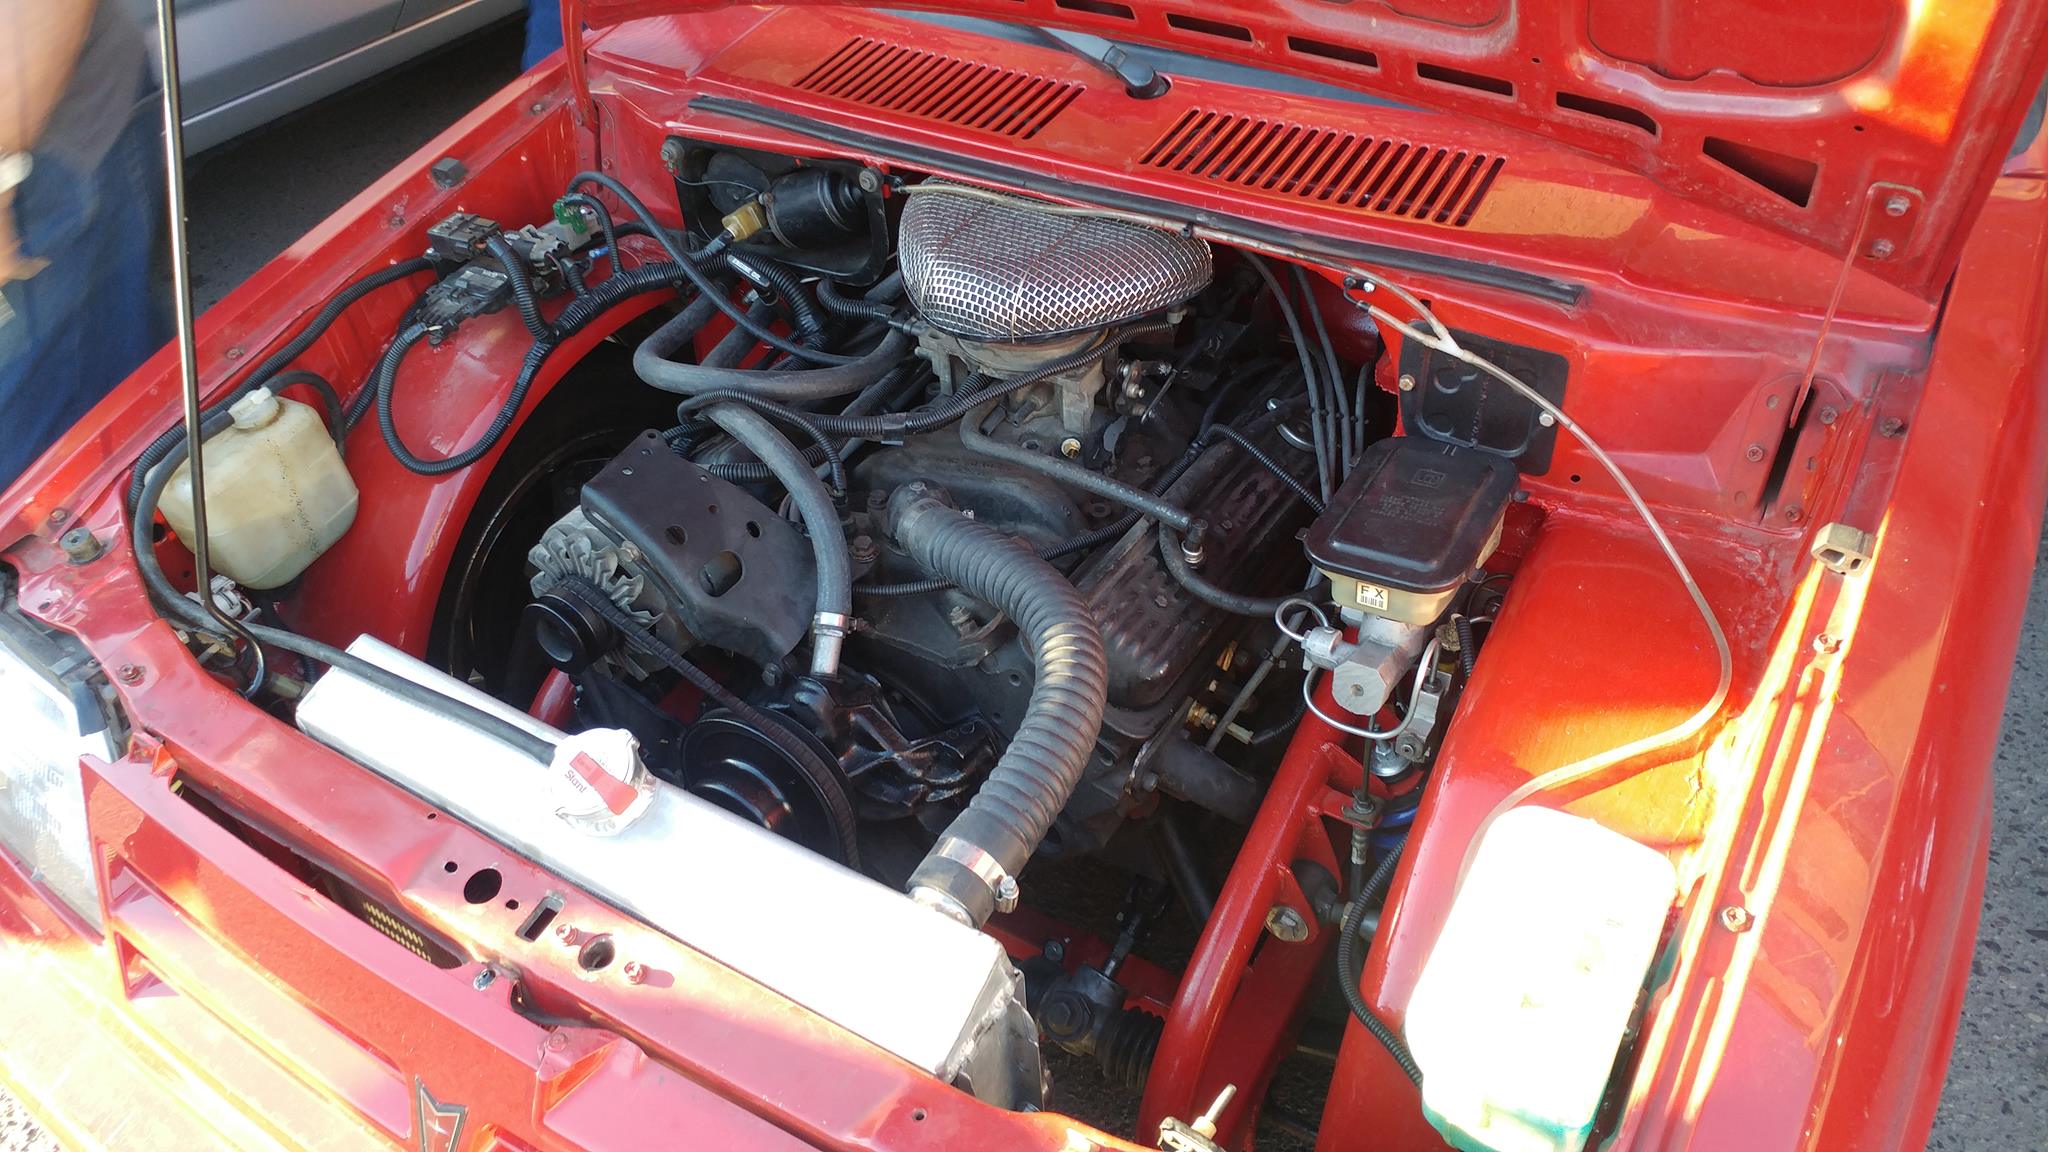
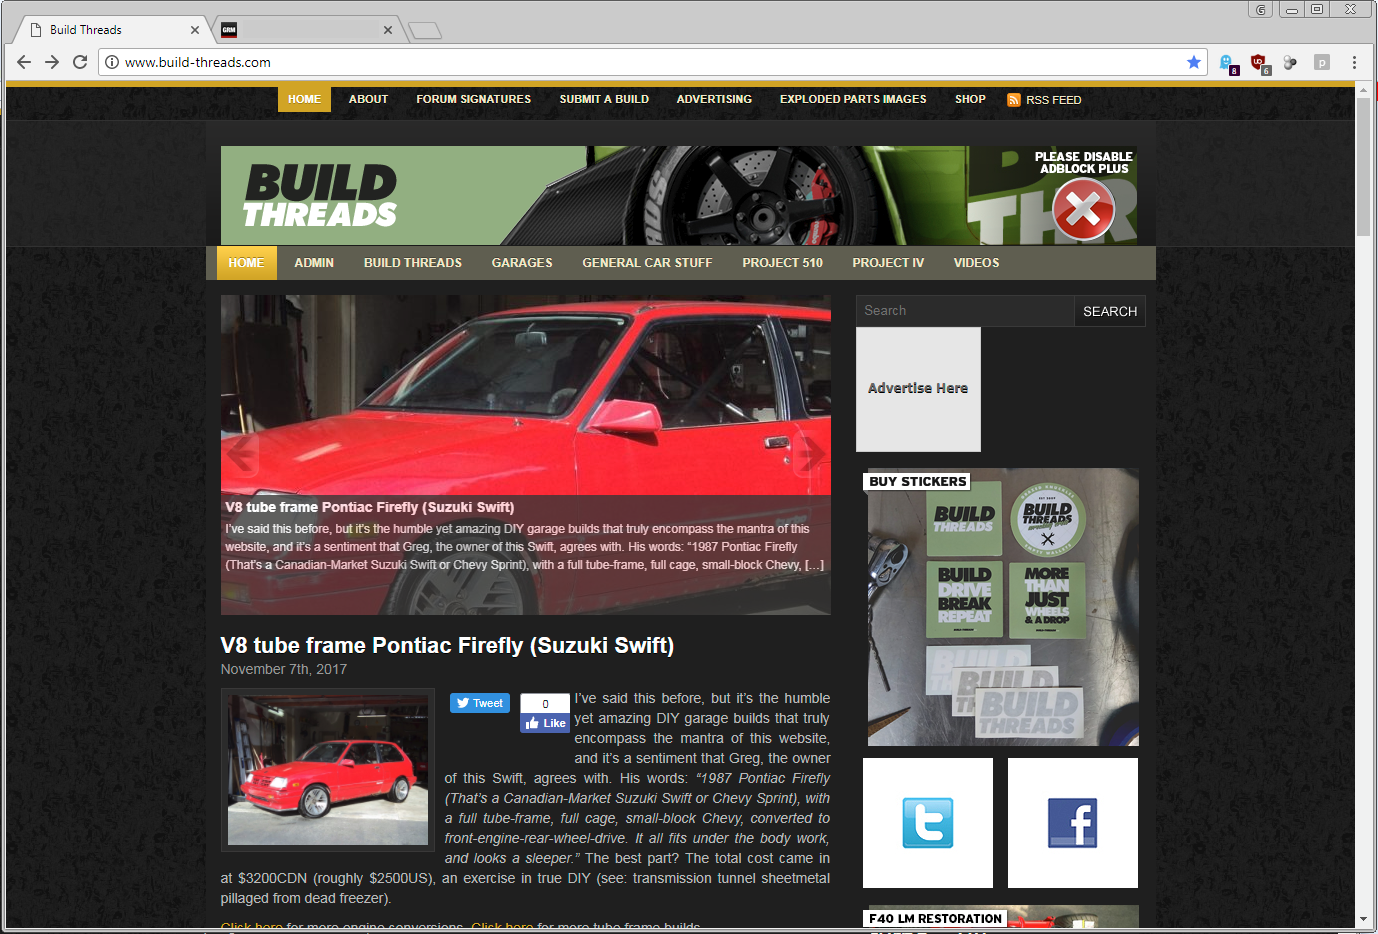
I took the V8 Firefly out for a short drive around the neigbourhood. Good news: it’s not awful!
Wheelspin is very manageable (that is, both fun -and- avoidable) as long as you’re very sedate with the throttle. It doesn’t help that the tires are ten years old Kumho 711’s. Tire smoke sure smells nice, though.
I’m going to need to roll the rear fenders for sure. I could have made the axle narrower, but who does that?! It looks -meaty- just the way I built it.
Speedometer works. Strangely, it is damn near BANG ON; I never changed the speedo gears. Calculated RPM at 40km/h should be 1050rpm, I’m seeing about 1100. RPM at 80km/h should be 2100 I’m seeing about 2200. Clearly, the V8 was supposed to go in this chassis all along.
Springs don’t feel as horrible at speed as they feel dead slow. Steering is heavy, but not awful.
Brakes need the master bench-bled. Still air in the lines.
Bought the wrong pipe reducer to run the Firefly temp sender to the gauge, and I don’t entirely trust that the cooling fan -will-turn on, but it’s much more confidence-inspiring driving it now that it was that first time.
I washed the Firefly today.
Changed the oil pressure gauge sender to an idiot light sender because I don’t have a gauge; I have an idiot light. Nicer to see the light off, rather than varying degrees of brightness.
Changed the temperature gauge sender to the Firefly sender so the Ohmage will be correct.
Bench bled the master cylinder because the brake pedal is still very mushy. I’m out of brake fluid, so I’m going to have to get more.
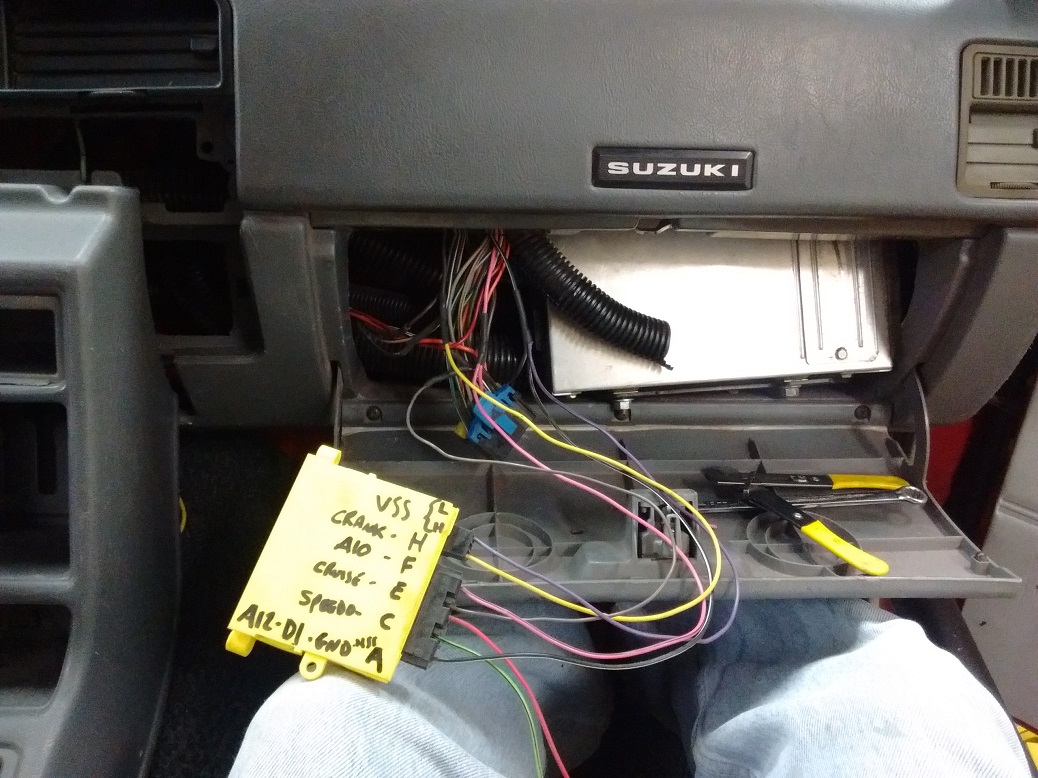
Pulling it back into the shop I see the check engine light is on. Code 24 – VSS issue. Either I forgot to connect the VSS output off the speedo, or the ECU just isn’t getting a signal. I don’t know if I need the VSS Buffer or not – I didn’t wire it in.
CODE 24
Trouble Code 24 indicates that the Vehicle Speed Sensor (VSS) is not sending the expected (based on other system parameters like LV8, TPS, RPM etc.) signal to the ECM.
Code 24 will be set if vehicle speed equals zero 0 mph when:
? VSS indicates less than 2mph.
? MAP is less than 30 kPa.
? Engine speed is between 2200 and 4400 RPM
? TPS is less than 2%.
? Not in Park or Neutral
? No Code 21, 22, 33, or 34.
? All conditions met for 3 secondsIf the code was logged when the vehicle was in motion, the following should be checked:
1. VSS circuit open, shorted to ground, shorted together
2. Faulty Connections
3. Defective VSS
4. Defective ECM
5. A faulty or misadjusted Park/Neutral (P/N) switch can result in false Code 24.
It could very well be the second scenario – I have the neutral safety switch jumpered. This would make the ECU think the transmission is in park – and moving at the same time.
I confess I have not tested to see if the VSS built into the Firefly speedometer -actually- works or not, but changing the neutral safety switch is certainly easy.
Nope. I have to test for a VSS signal.
The Neutral Safety Switch only allows voltage to the starter – has nothing to do with the ECU.
Transmission Gear Selector tells the ECU if you are in Park or Neutral – this is not currently hooked up, so the ECU should never “see” Park or Neutral. This leads me to think it’s a VSS issue of some sort.
Some research indicates the VSS Buffer -needs- to be there.
Wired in:
Also connected a cooling fan manual over-ride switch.
Also wired up a defrost fan switch.
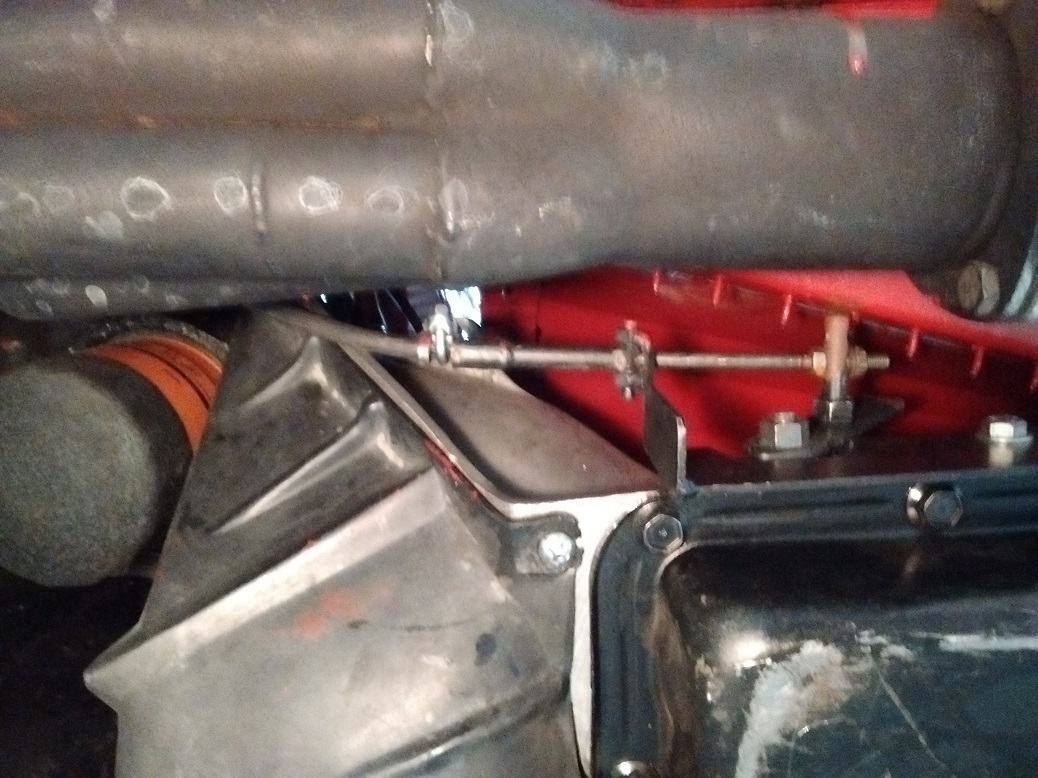
Also painted the undercarriage in Tremclad Red with a little help of Fiberglass Resin Hardener.
Annoying driveline vibration hopefully removed by swapping the trans mount back to rubber. It worked in The Crusty Chevy, so it should work here.

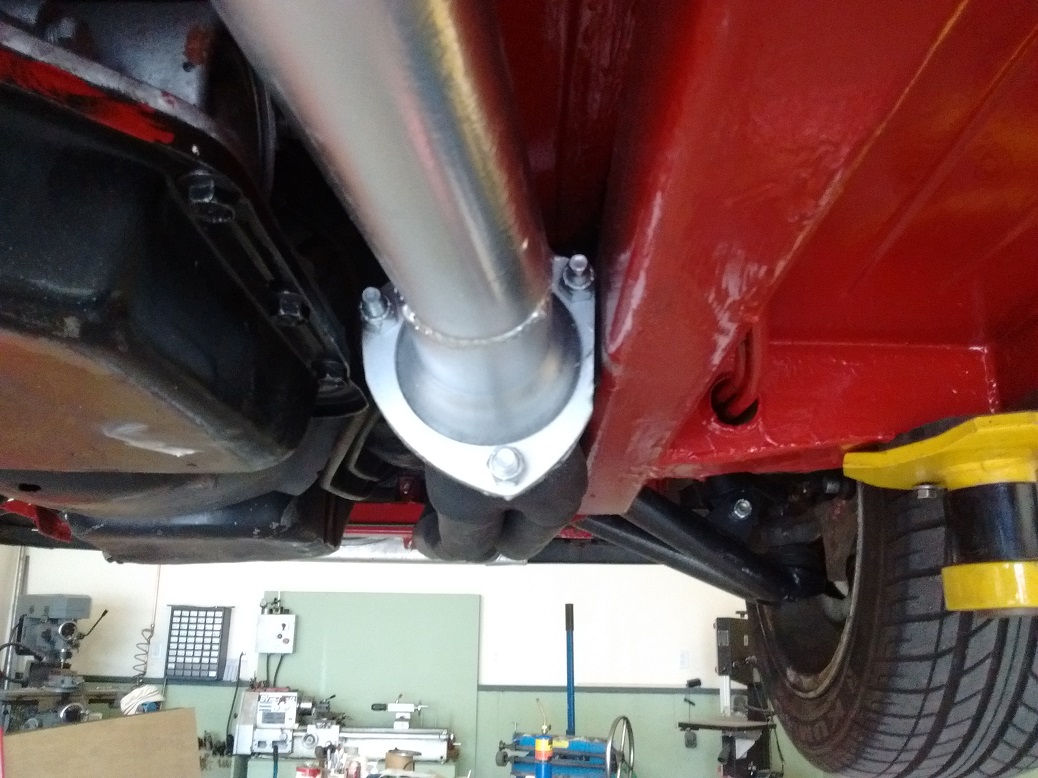
Also skinned a bit more of the collector since the exhaust was slapping the frame rails. Glad I had a 7″ angle grinder, the SawZall wasn’t enough.
Also spent quite a bit of time trying to persuade the fuel level sender to move – it got stuck at 1/4 tank, so it never read “full”. I changed the lever length so it didn’t hit the baffles in the tank, and I’ll see if it gets stuck on the top side of 1/4″ I ~think~ it’s going to work…
Will check fuel economy at the next tank of gas.
I’m still having a returning issue of the shifter linkage slipping, where what the shifter says and what the transmission is are misaligned. I’ve tried a couple versions of the shifter, and I’m not sure I have a fix yet, but I keep trying different things.
The latest incarnation now uses a cable clamp to try and keep the sheathing fixed.
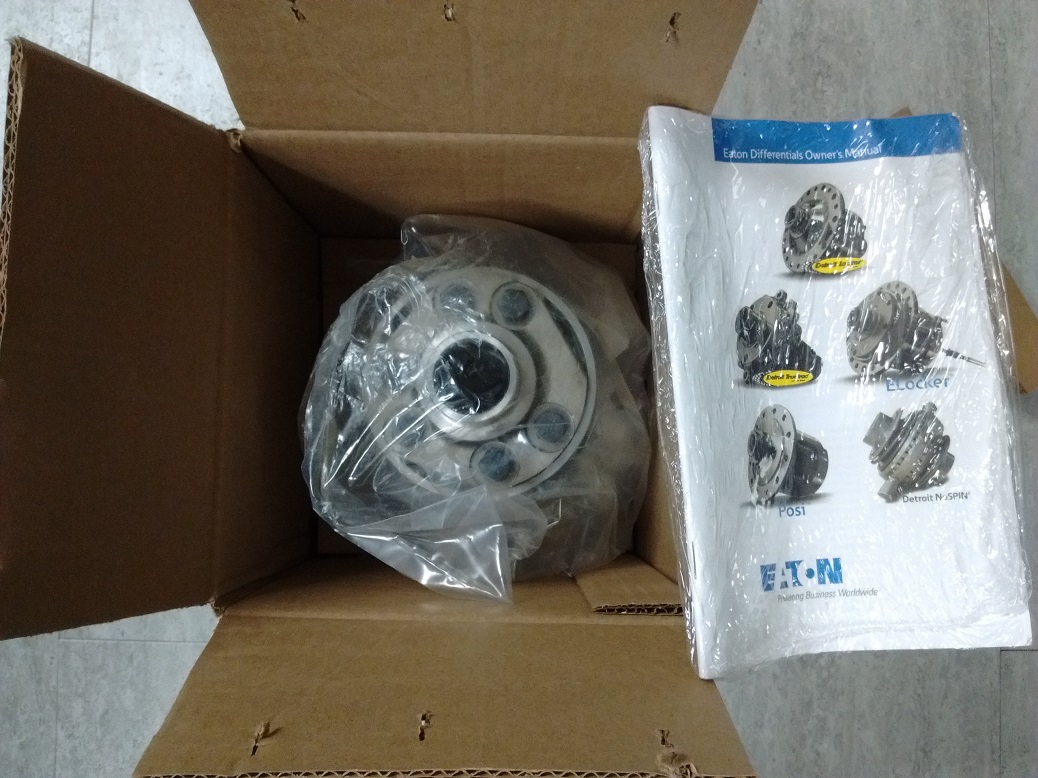
YAY! Christmas comes early!
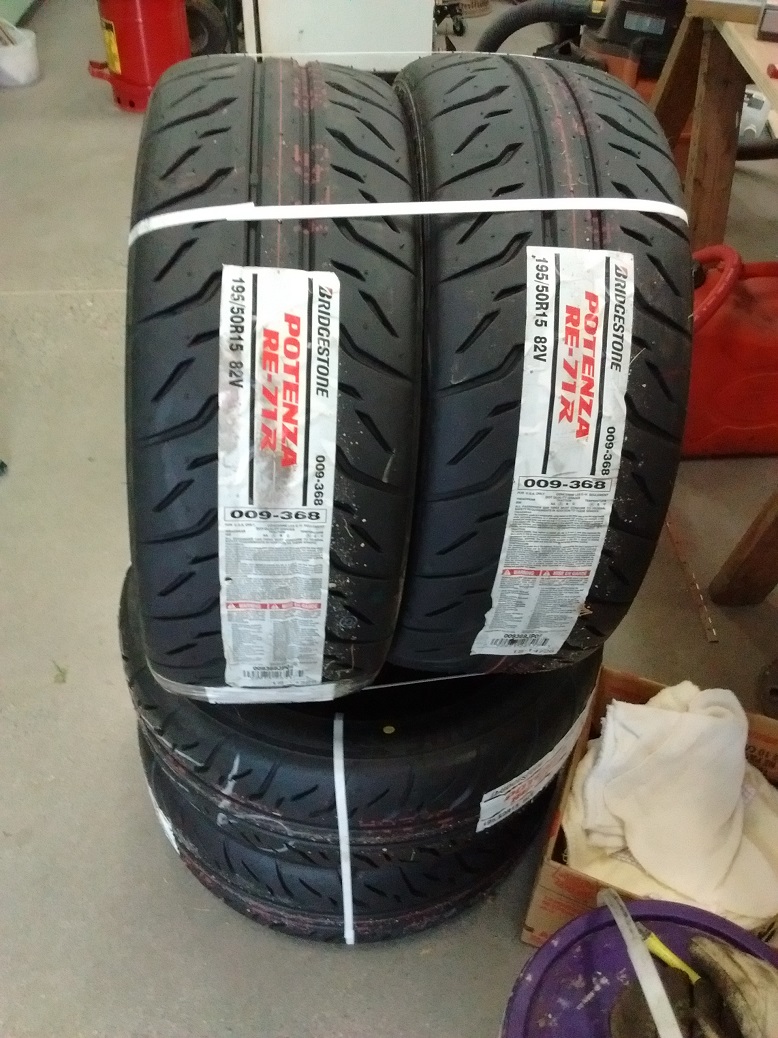
An Eaton “Detroit TrueTrac” arrived, to help hook the stickless tires to the pavement! I’m really looking forward to installing this!
Also an 8:3 tachometer adapter arrived, specially programmed for ME by “Widget Man” via GKGoodCheapParts off eBay.
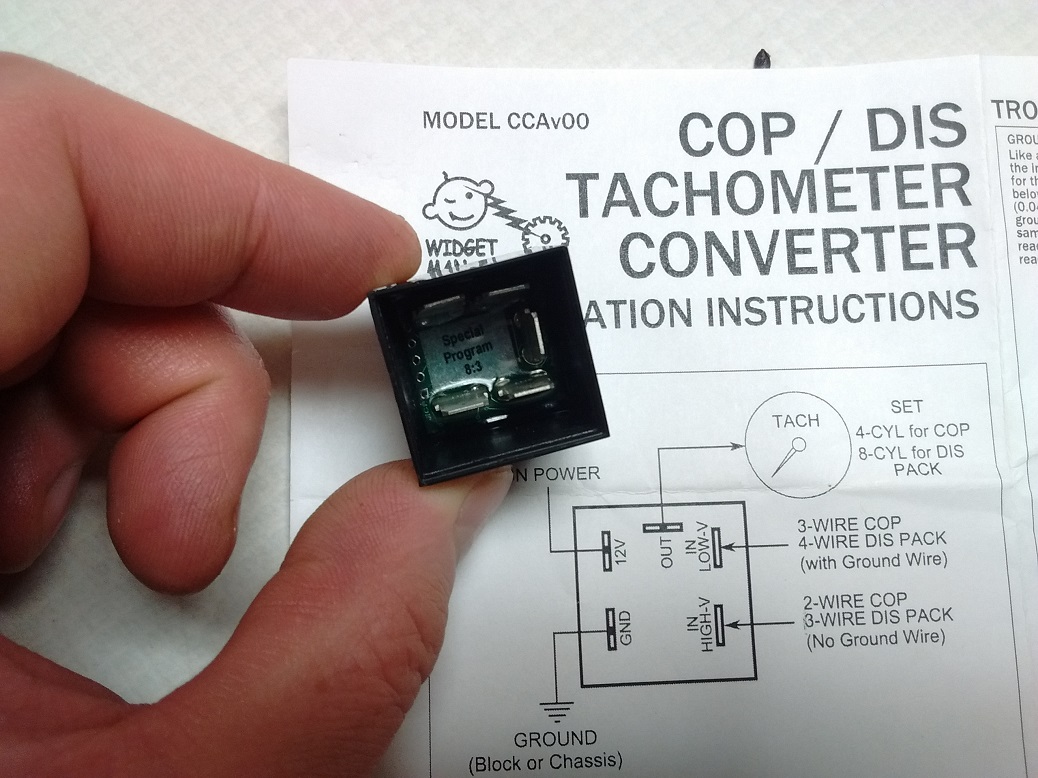
While in my head I’ve been multiplying what the tach says by 0.375 to know where I really am, cruising at 100km/h “looks” like 6400rpm instead of the 2400 it actually is. Adapter cost about the same price as an aftermarket tach, except I can use my existing tach. I like it!
Some Grassroots Motorsports Magazine love, once again! Golly I love this magazine!

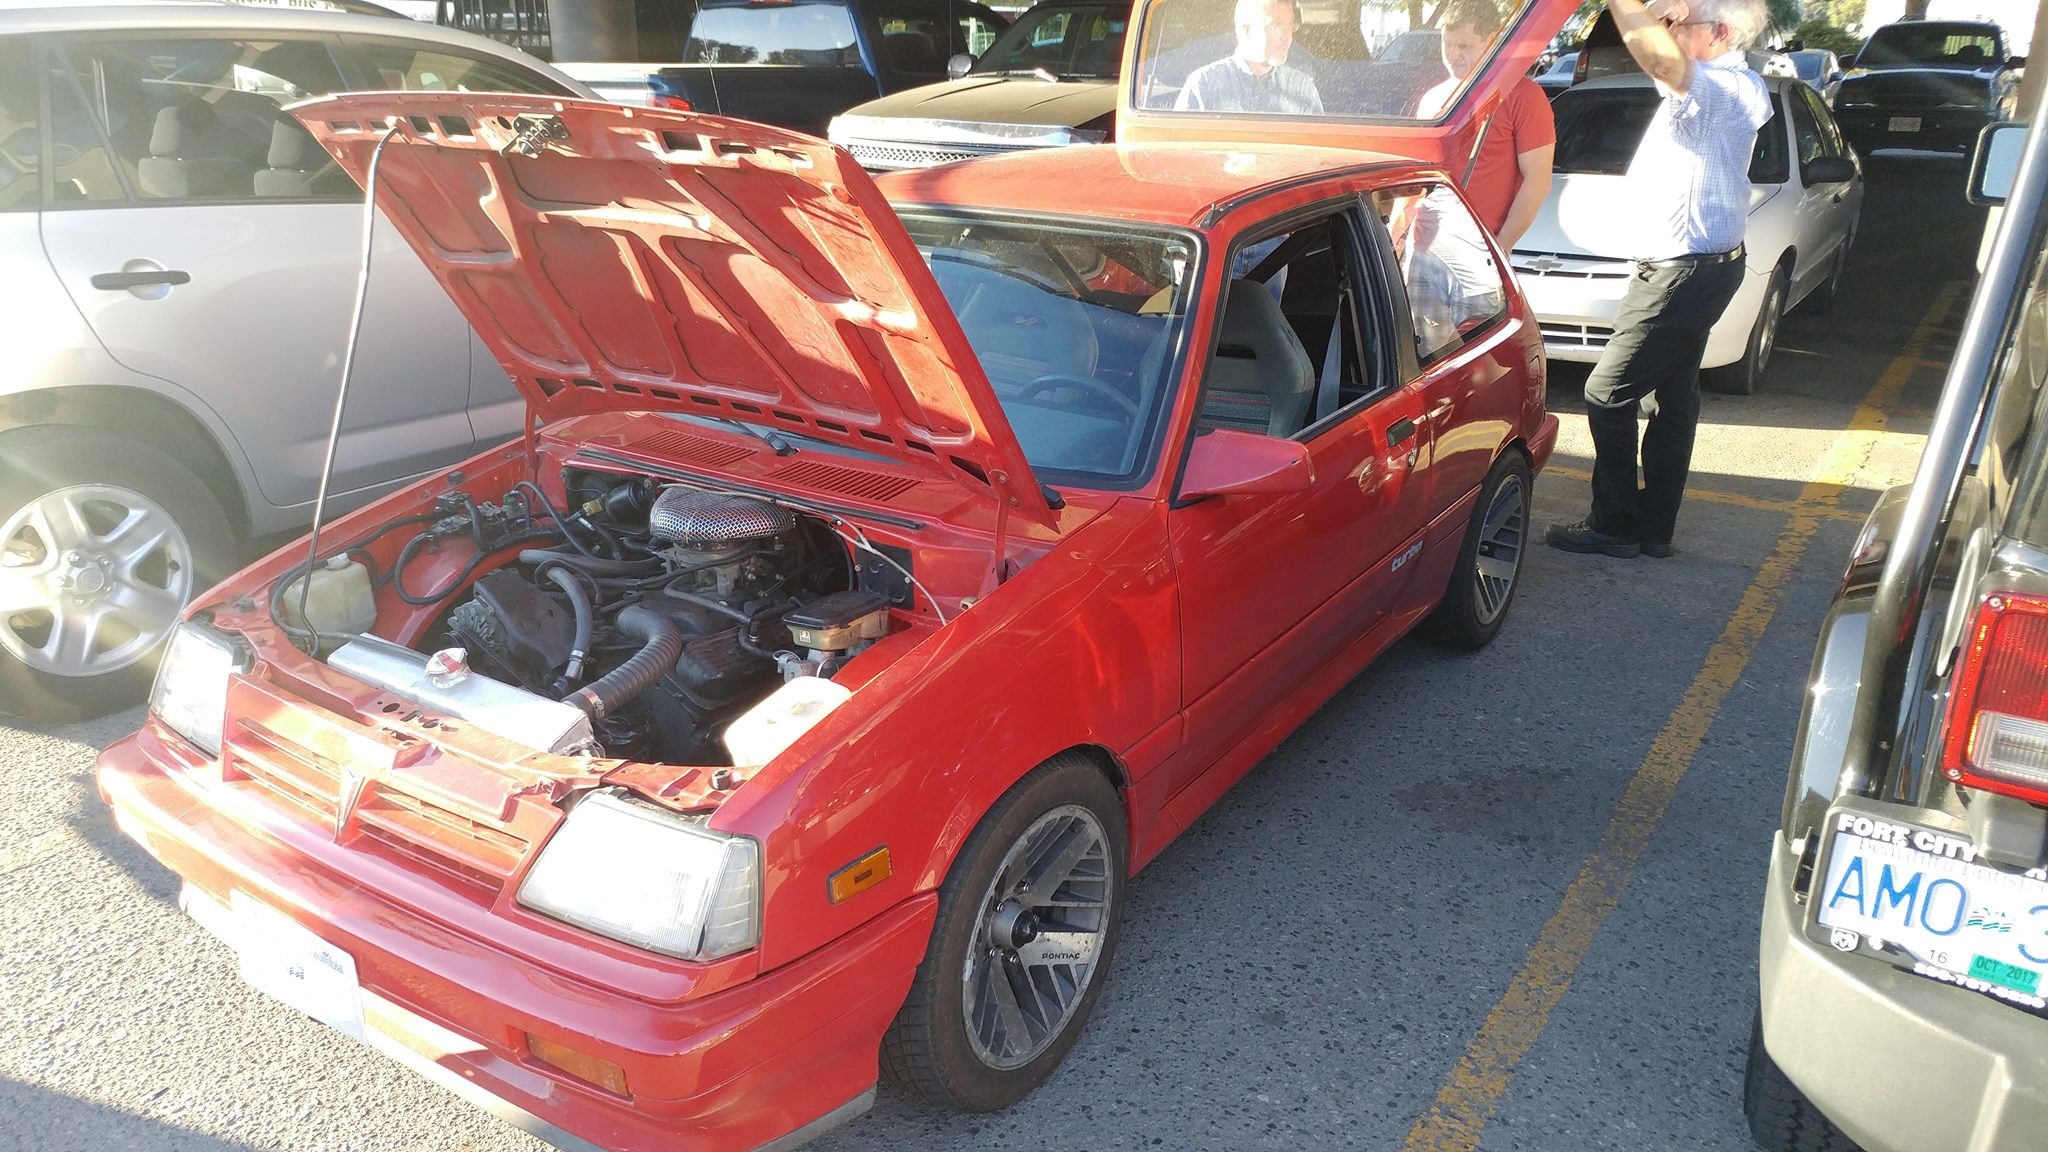
Some parking lot fan love (photos by Ian Whitehead):
I had insurance for one month. Now that the plates have expired, on to my list of winter fixes.
Step 1: Detroit TrueTrac.
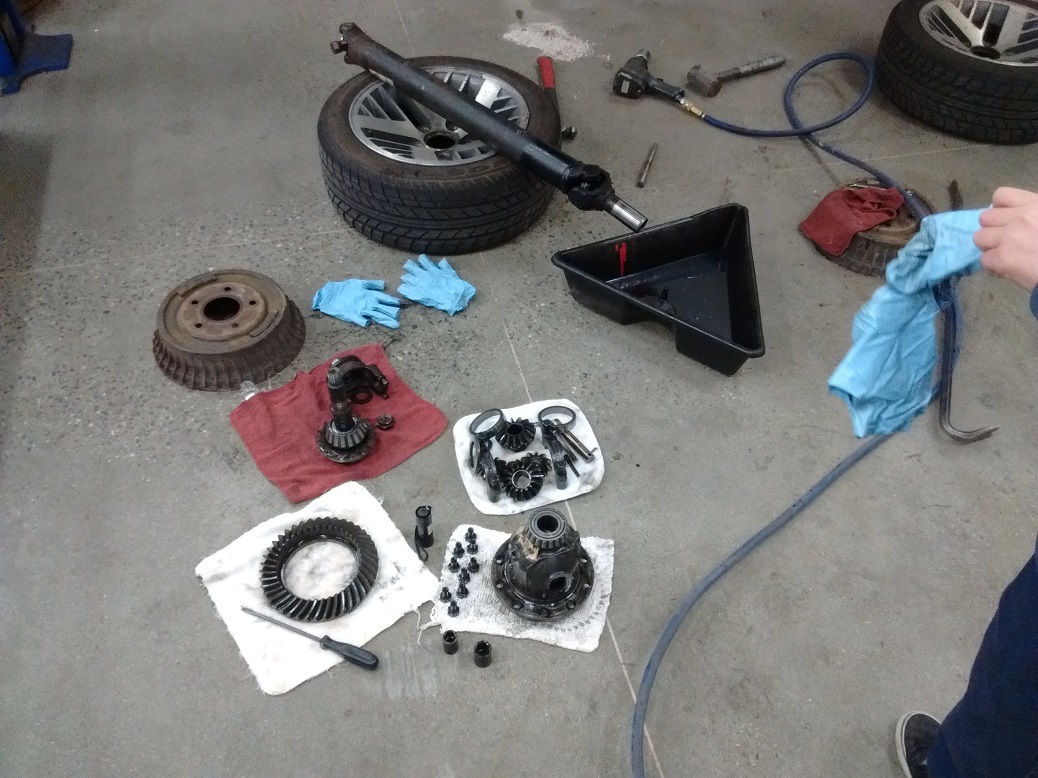
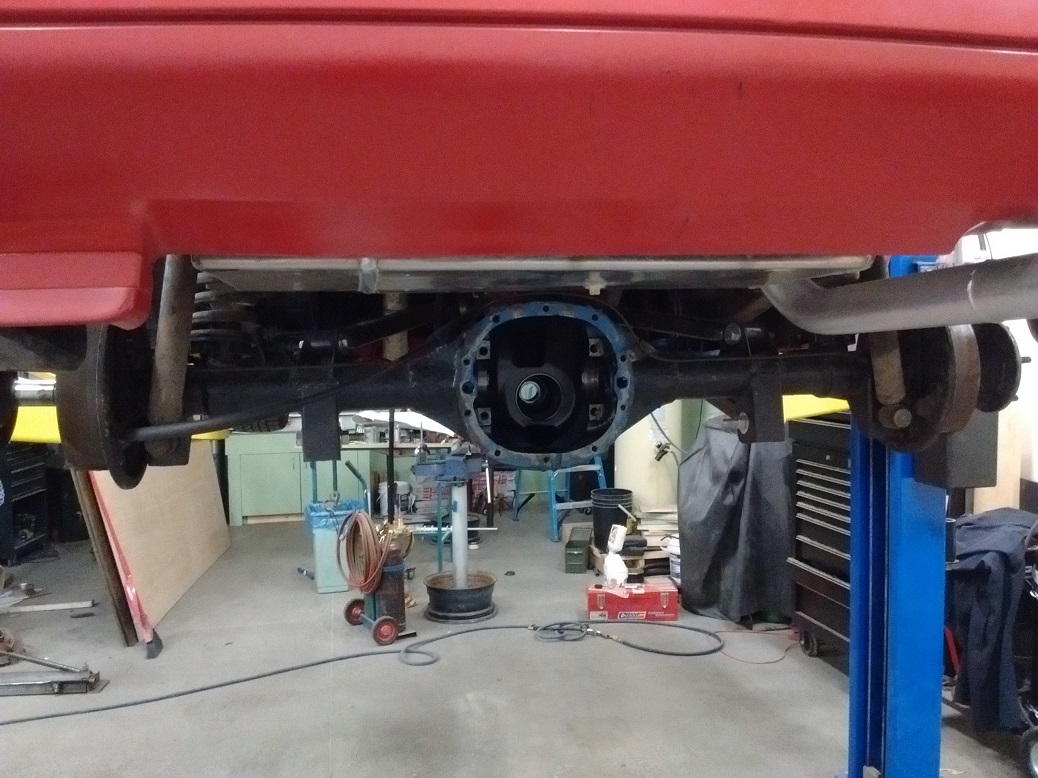
The open diff came out with no drama.
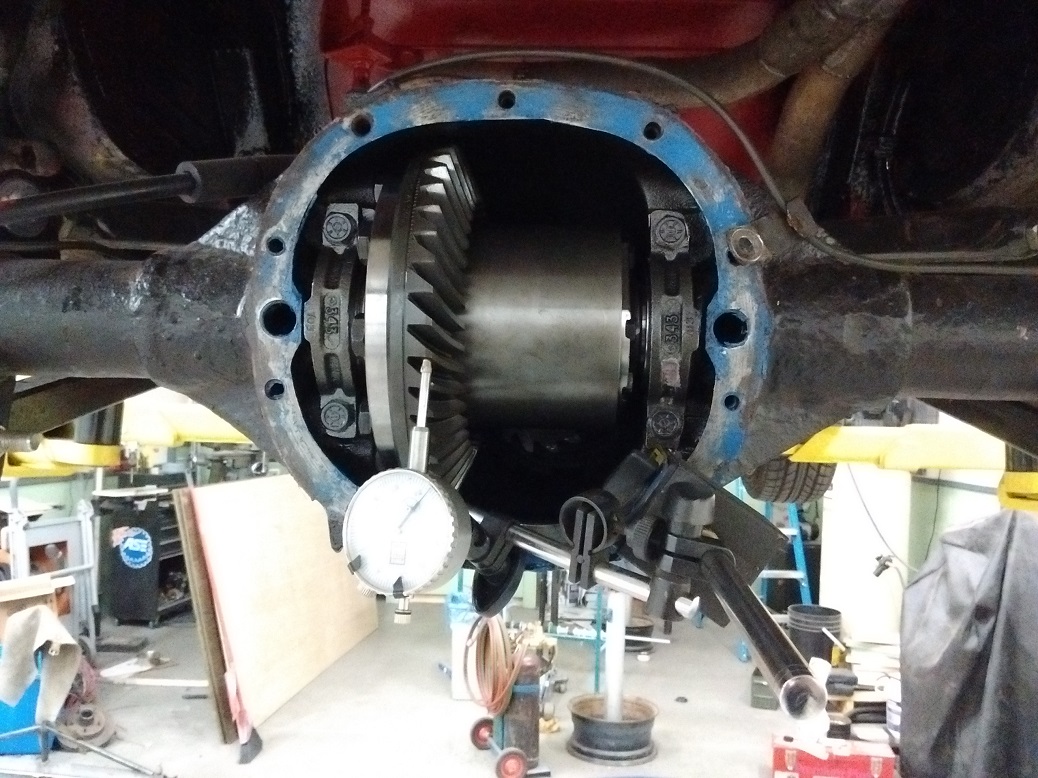
The gamble is whether I can just re-use the original carrier shims and magically have the backlash in spec. If not, I can get a shim kit for about $20.
Except one carrier bearing looks like it’s having an issue, so I made sure to inspect the rest. Then becomes the dilemma – do I order up all new bearings, which come with the shims? Or only replace the bearings that are iffy, gamble on shims, only later to buy shims at what would end up collectively costing close to the full price of the kit?
(October 2017)
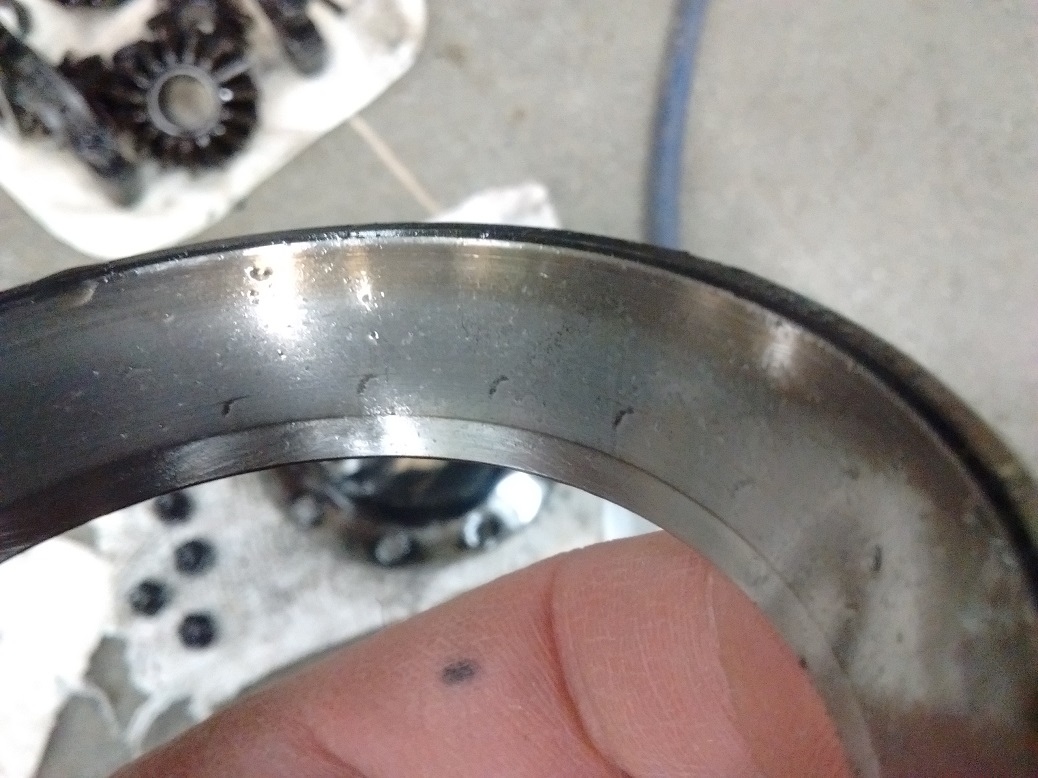
Here is the offending bearing. It doesn’t look like it has failed per se, it just looks like some brute force installation. They are Timken bearings, so presumably this diff has been previously rebuilt.
I decided to just replace the offending bearing and gamble to see if the factory shims would work with the TrueTrac. I waffled back and forth between this and the full master kit, but in the end decided that this was a toy, not my daily that I need to depend on, and merely changing the bearing ($20) and gambling on shims ($25) is a lot cheaper than the full kit ($150+ locally). And if a bearing lets go, I can deal with it at this time.
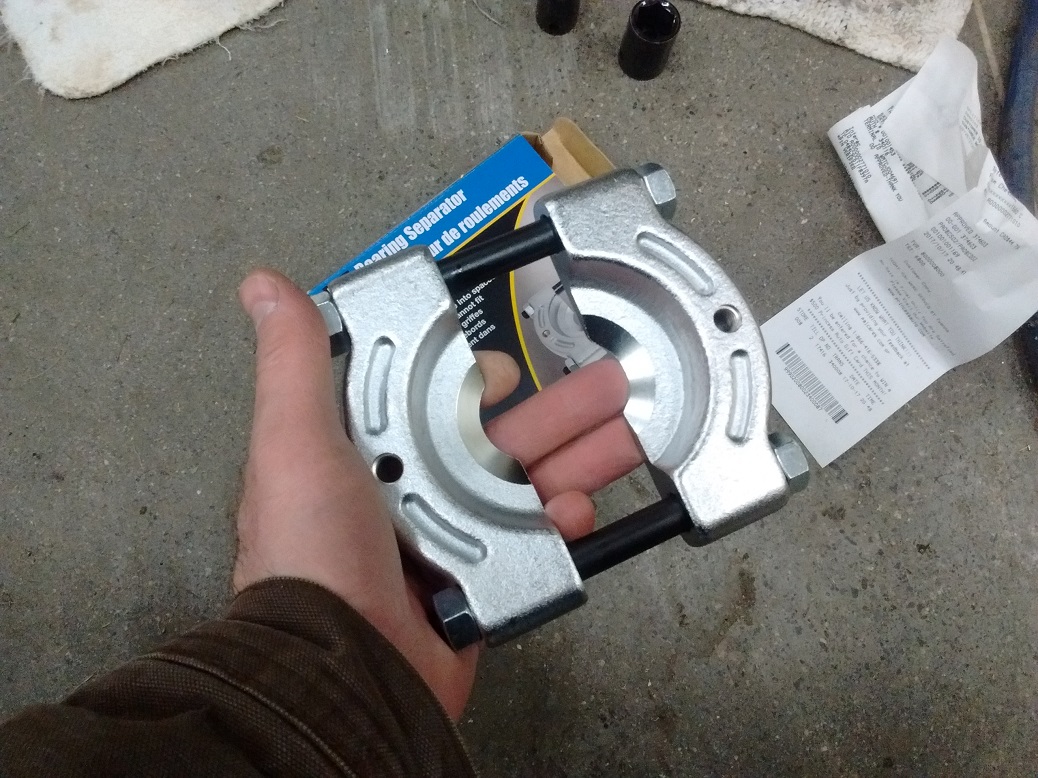
So, dropped the SkinnyKids off at their respective youth events, and came home to swap bearings, only I couldn’t find my splitter. I swear I had one, so I must have loaned it to someone I trusted. Silly me. Luckily, Princess Auto is open late, and now I have another one.
Guess I’m swapping bearings tomorrow.
Re-using the factory carrier shims gave me 0.003″ backlash – not enough (spec: 0.006-0.010″), so I have to order a shim kit.
Driveshaft came back. They said it was horribly off – it was out over 0.050″. They trued/straightened it, but there are no weights welded on (how odd). Said if it’s not “good enough,” that I’d have to have it re-tubed. Where they had heated it to fix it, is the shiny where I removed the BIG-ASS weights before I brought it to them.
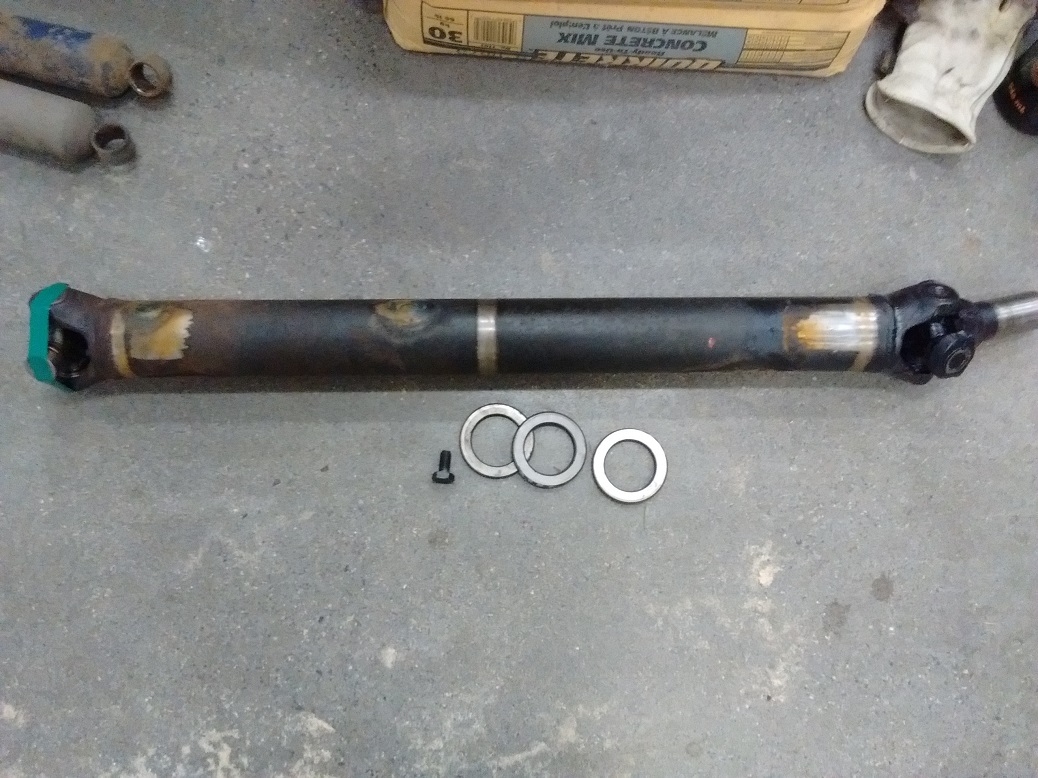
The drivetrain shop didn’t have one of them fancy shim kits for the carrier, but I stopped at the truck place and pawed through their stack of smaller used shims (Dana 35 & equivalent), and and found one that was 0.007″ thinner, which worked well with one from work that was 0.007″ thicker. This put me right into 0.008″ backlash on a 0.006 – 0.010″ spec.
Oh look what arrived!
There was a happy dance.
One of my favourite websites did a write-up on the Firefly!
Working on things to fix.
#1 – The front wheels are too far back.
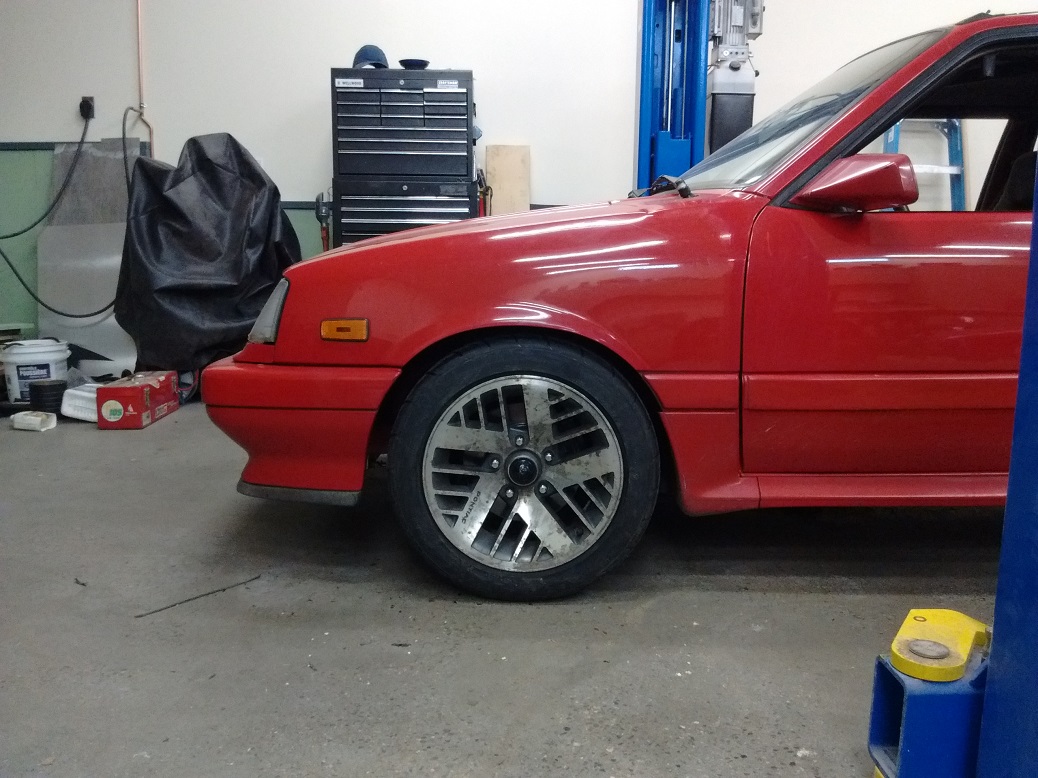
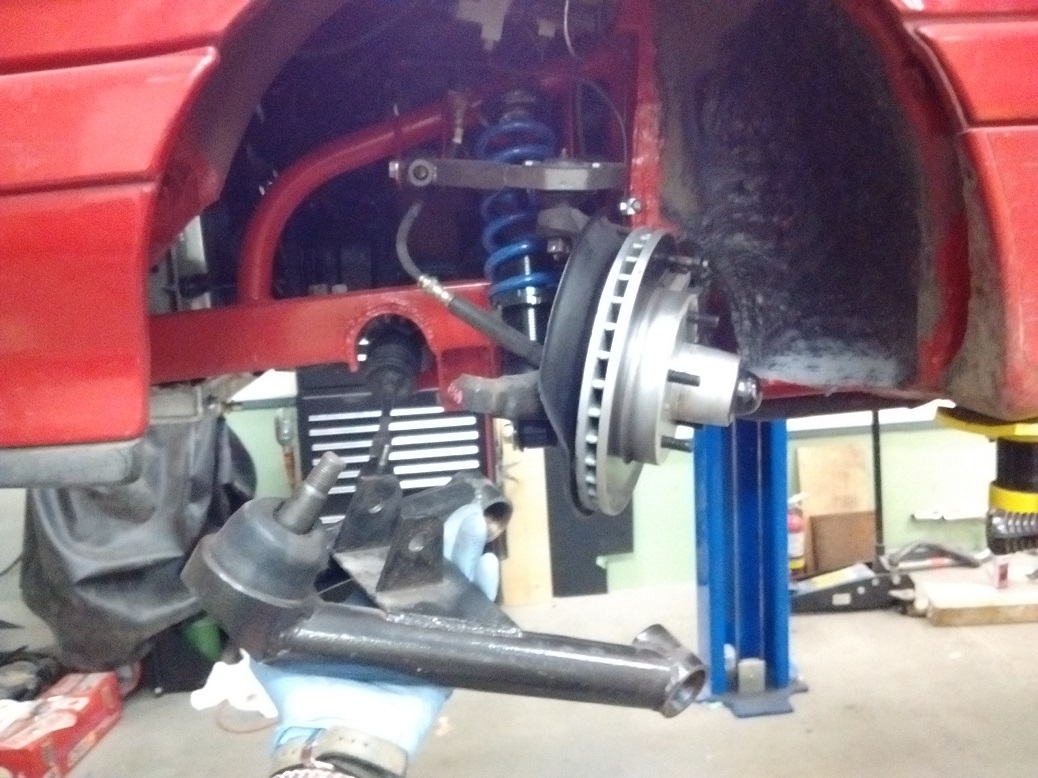
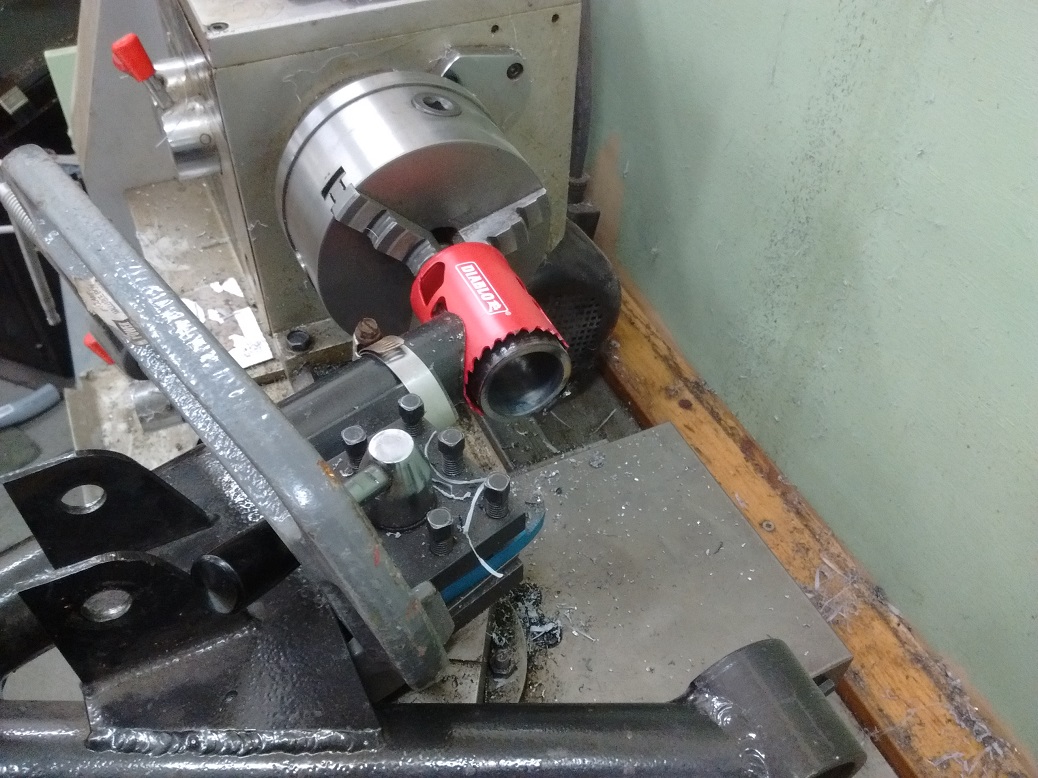
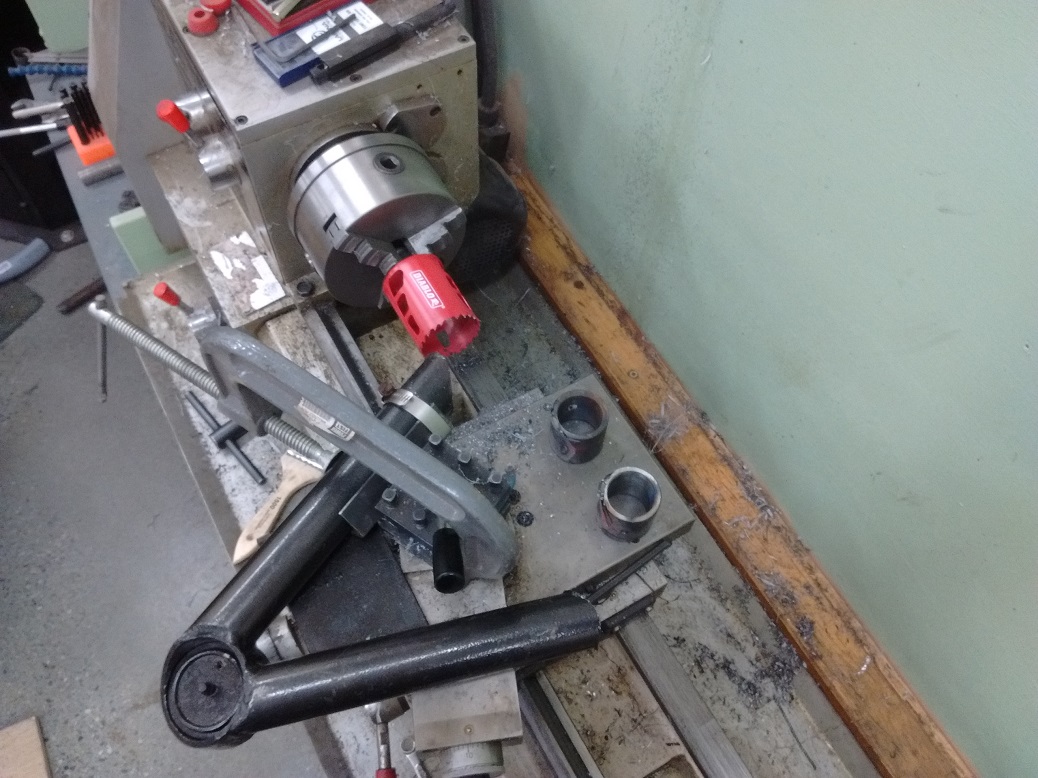
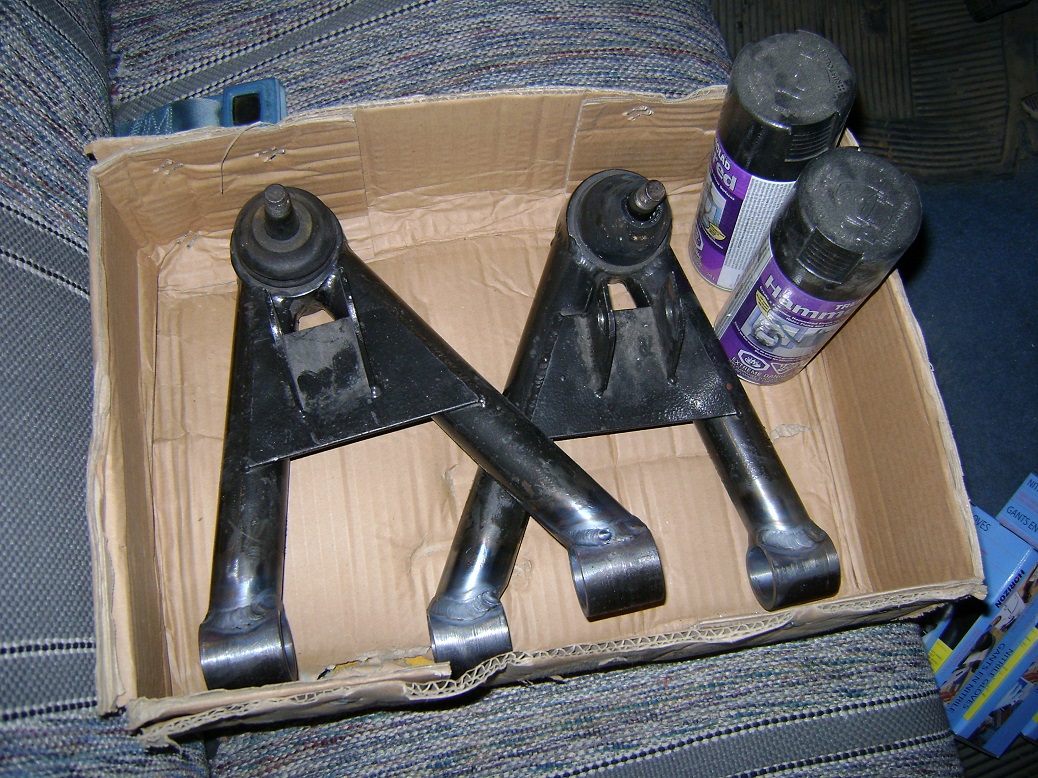
So, remove the control arms. To move the wheel 0.5″ forward, I will shorten the forward leg of the A-Arm, to bring the lower ball joint 0.7″ forward as well as reduce some of my camber and front track width (I have lots).
Diablo sells these cool hole saws that are longer, and (in this application) don’t need a collet thingie. So I bought one.
I also fabricated a simple jig that can be used for both left and right arms, with a stop for where the ball joint needs to be (I’ve already removed the poly 4-link bushings).
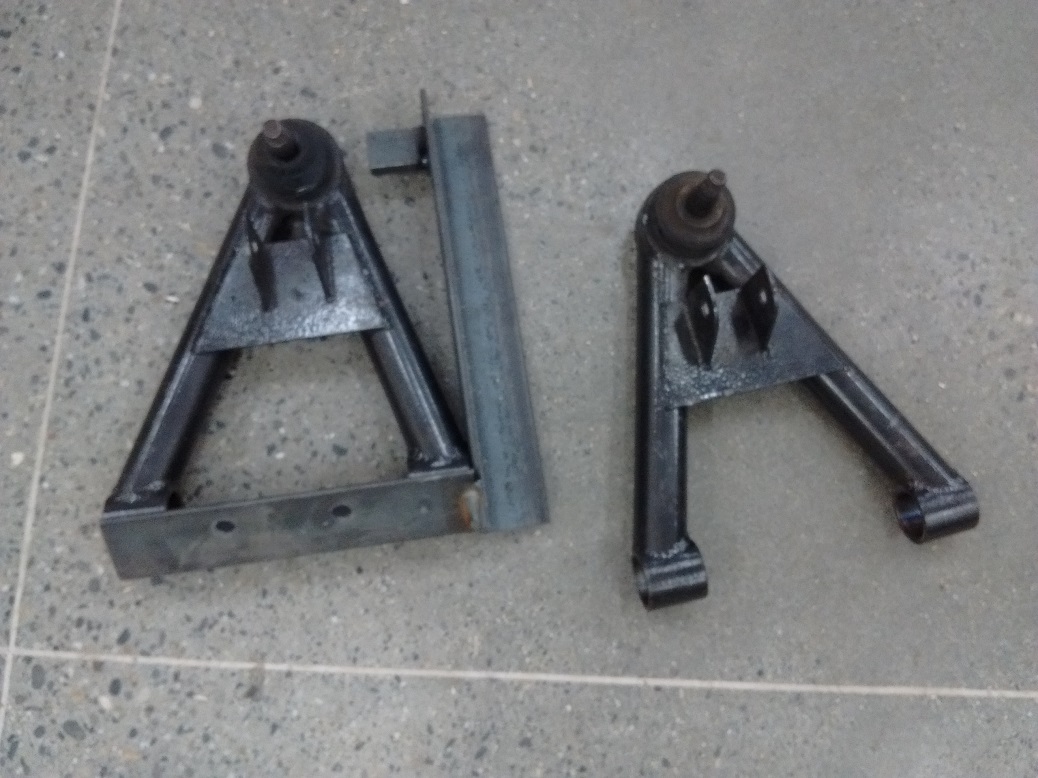
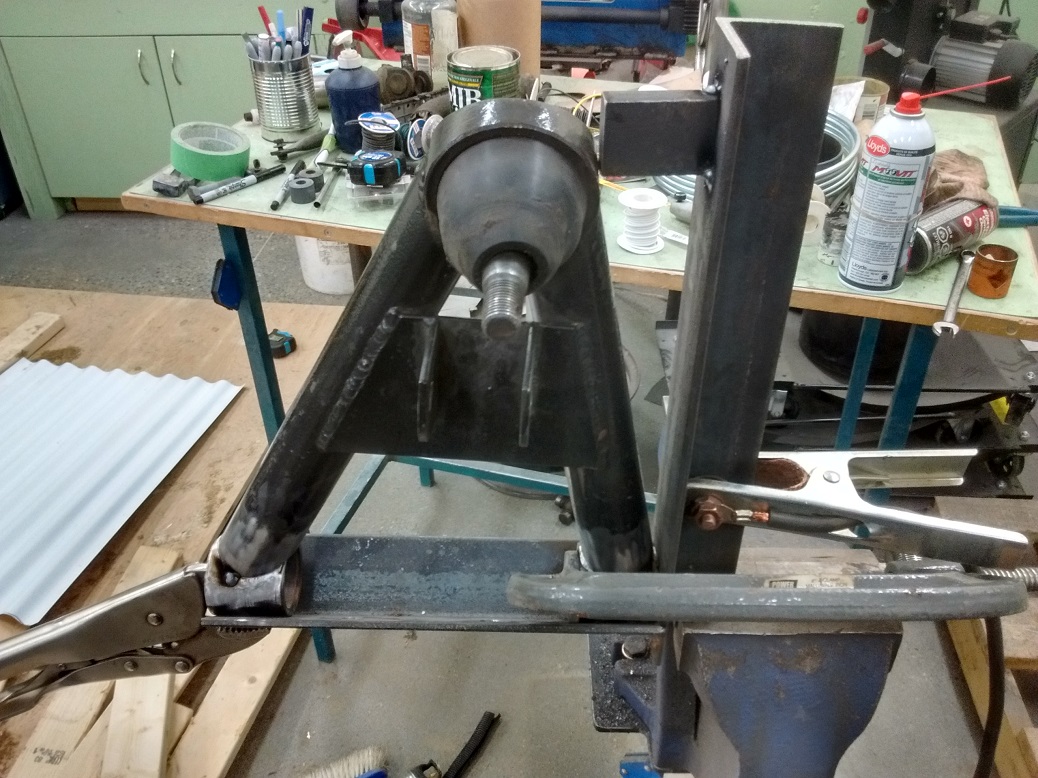
Then clamp up the arm, and cut the bushing ends off.
Set everything up in the jig, and tack together.
Ready for welding up tomorrow.
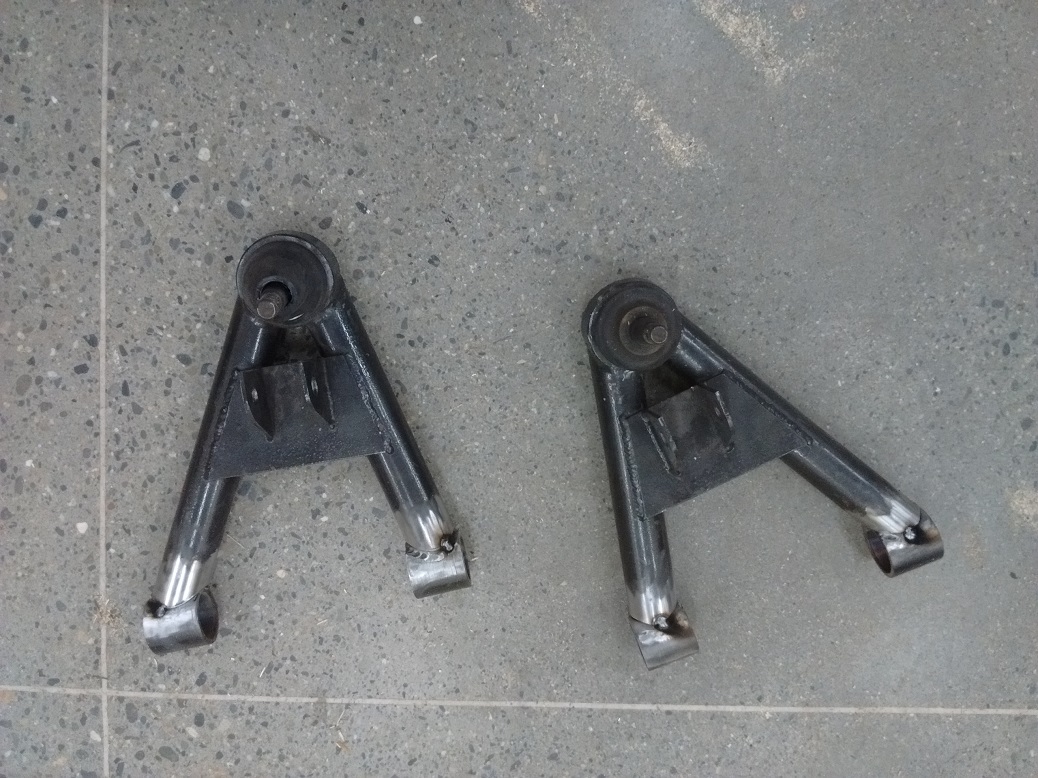
Next stop – paint!
Okay, so that didn’t actually work well.
Moving the ball joint forward by shortening the forward leg of the A-Arm also tucked the wheels further inboard, and I didn’t like the look. So I cut them apart again, and added 1/2″ to both legs, maintaining the forward location of the ball joint, but moving the wheels back out again. Fish plated the join, and reinstalled. Nothing really exciting to show via pictures, just know that it wasn’t good enough.
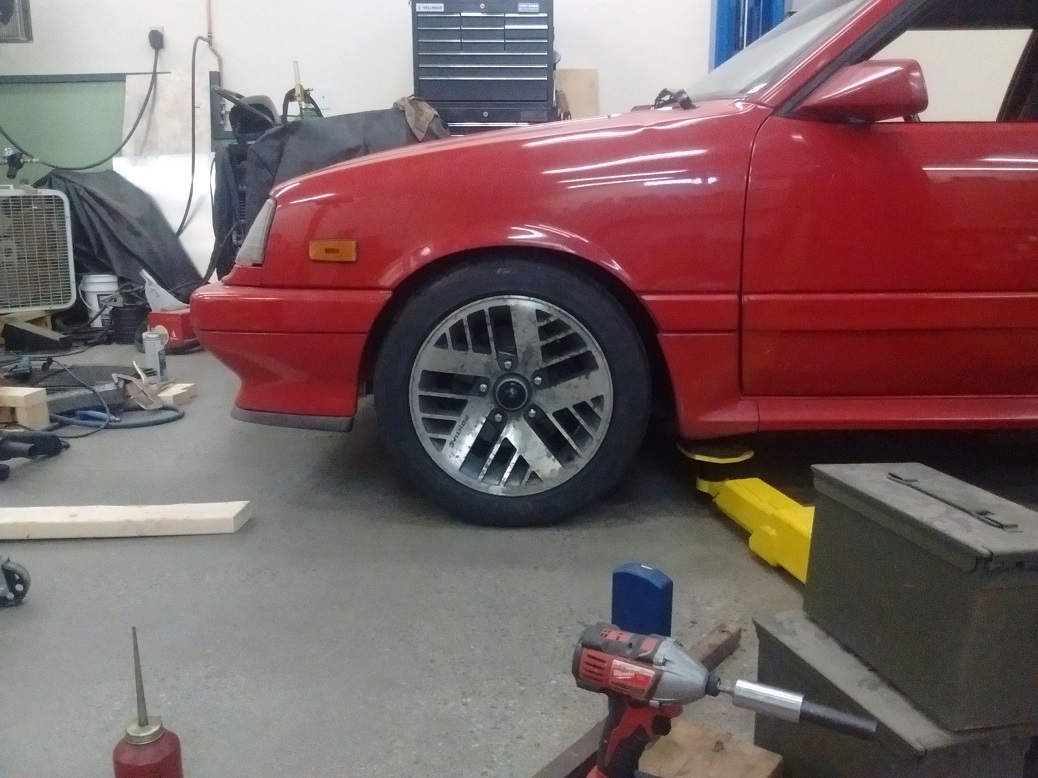
Here is the new wheel location, nonetheless:
(December 2017)
See the difference?
Much better.
No pics, sorry, but had my 12 year old help drop the cross member and pull the governor out of the TH350. I cut 5/8″ x 3/16″ of each side of the inner weights, and reassembled. Theoretically this should have me shifting near 5000rpm instead of 4000rpm it has been doing.
Also re-sealed the speedo bullet, and replaced the trans pan gasket. Pesky oil leaks….
One of my complaints was that the rear shocks were effectively too long. Apparently I was not thinking (again), when I made the shock mounts, and had WAY too much droop, such that the springs will fall out. Annoying to re-position the springs when I wanted it down off the lift.
I figured I could shorten the stud on the top of the shock (there are no shorter shocks with appropriate valving), but then if I ever had to replace the shock, I’d have to shorten the shock every time – no thanks. Then I had a brainwave to just lengthen the shock mount.
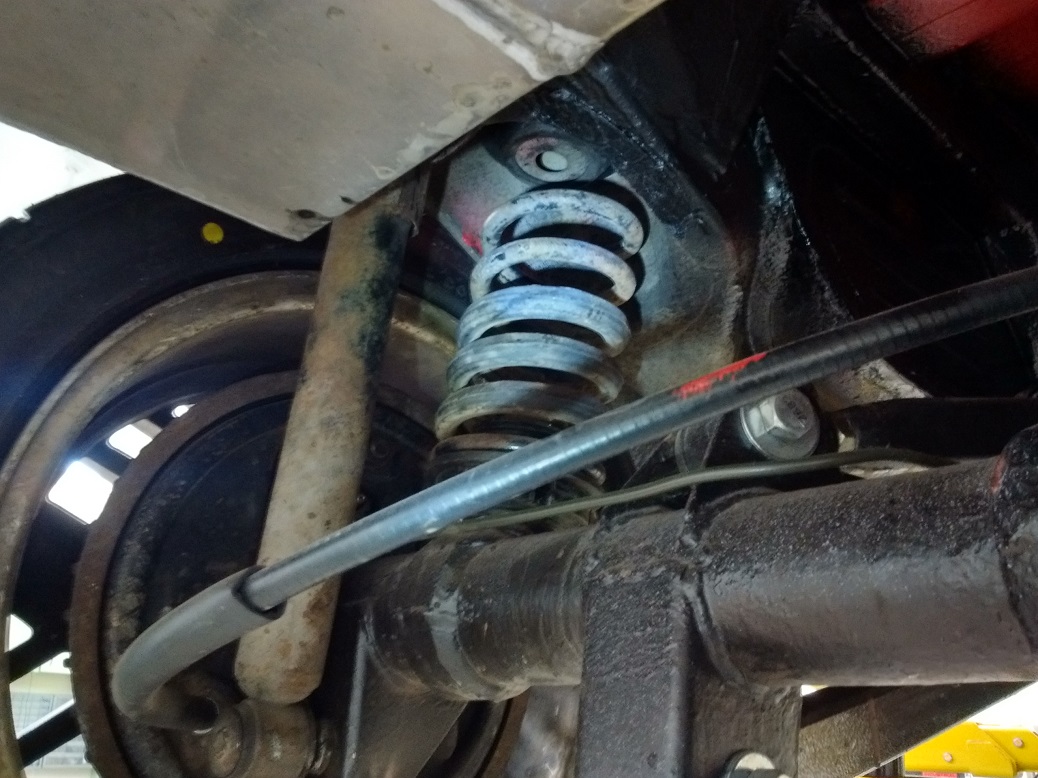
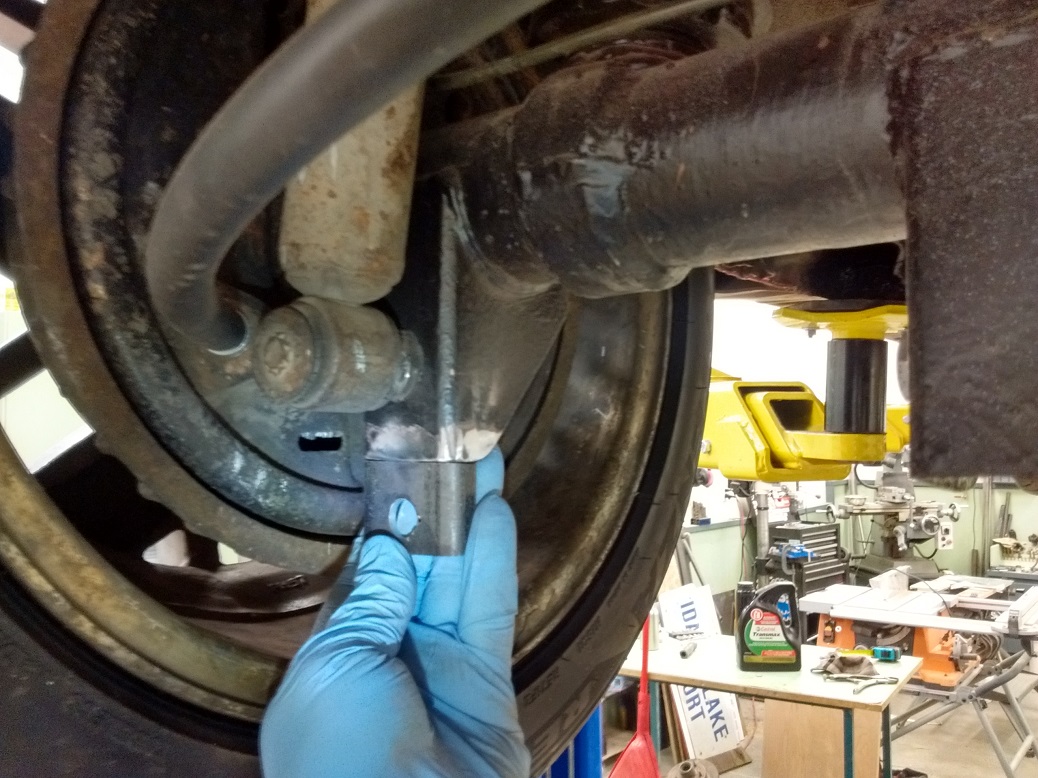
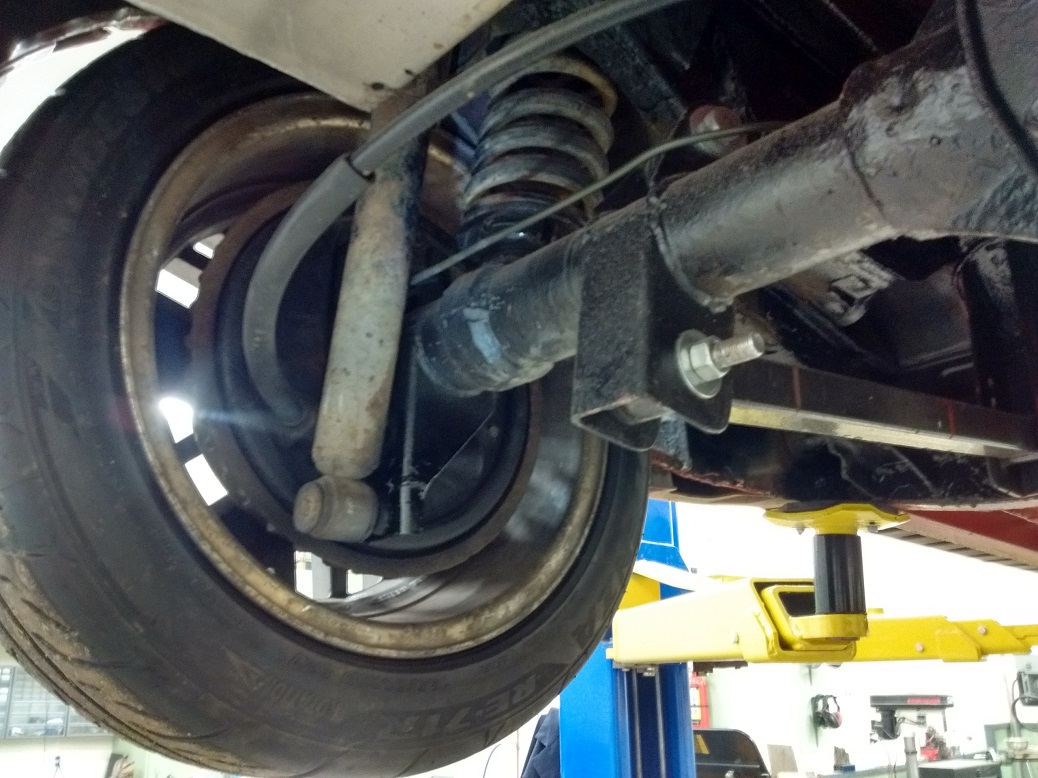
Now the coils are only -just- loose at full droop, and can use an OEM-replacement Camaro/Firebird shock.