
Start – 1 – 2 – 3 – 4 – 5 – 6 – 7 – 8 – 9 – 10 – 11 – 12 – 13
In which it runs, I build a floor, fit seats, and add a shifter.
It runs!
(August 2017)
Good news: it fired right up and didn’t burn to the ground!
Bad news: Heater core leaks, and transmission accumulator leaks. But these are fixable.
Now that that’s out of the way, I can back to finishing it up.
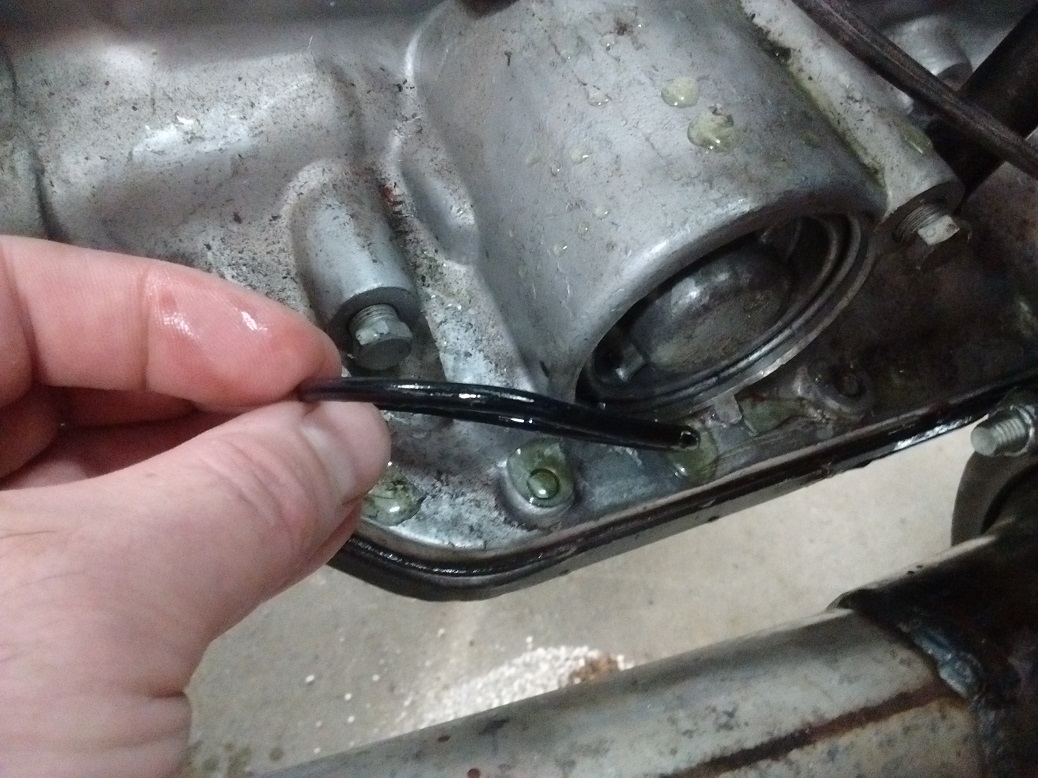
Pulled the Intermediate Accumulator O-Ring out and discovered that I somehow pinched the o-ring when I assembled the transmission two years ago. Luckily I had another o-ring in the B&M Shift Kit that I initially used in the Crusty Chevy (but did NOT disable the accumulator). This was an easy fix. Ignore the coolant on the trans – that’s next.
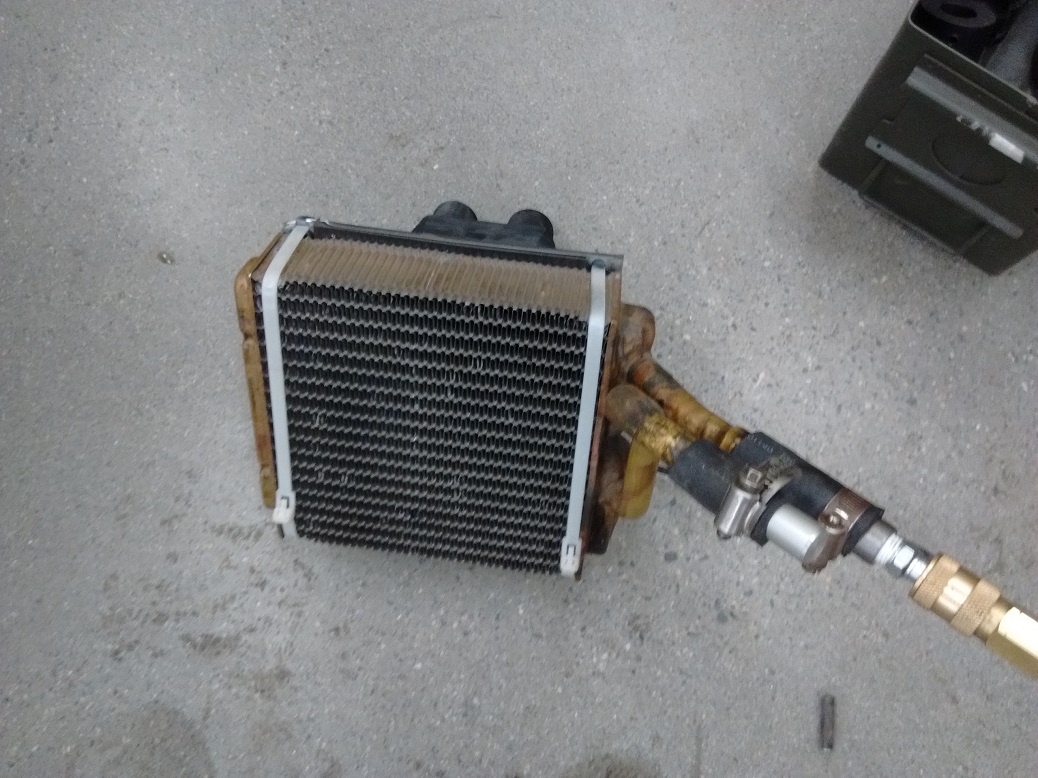
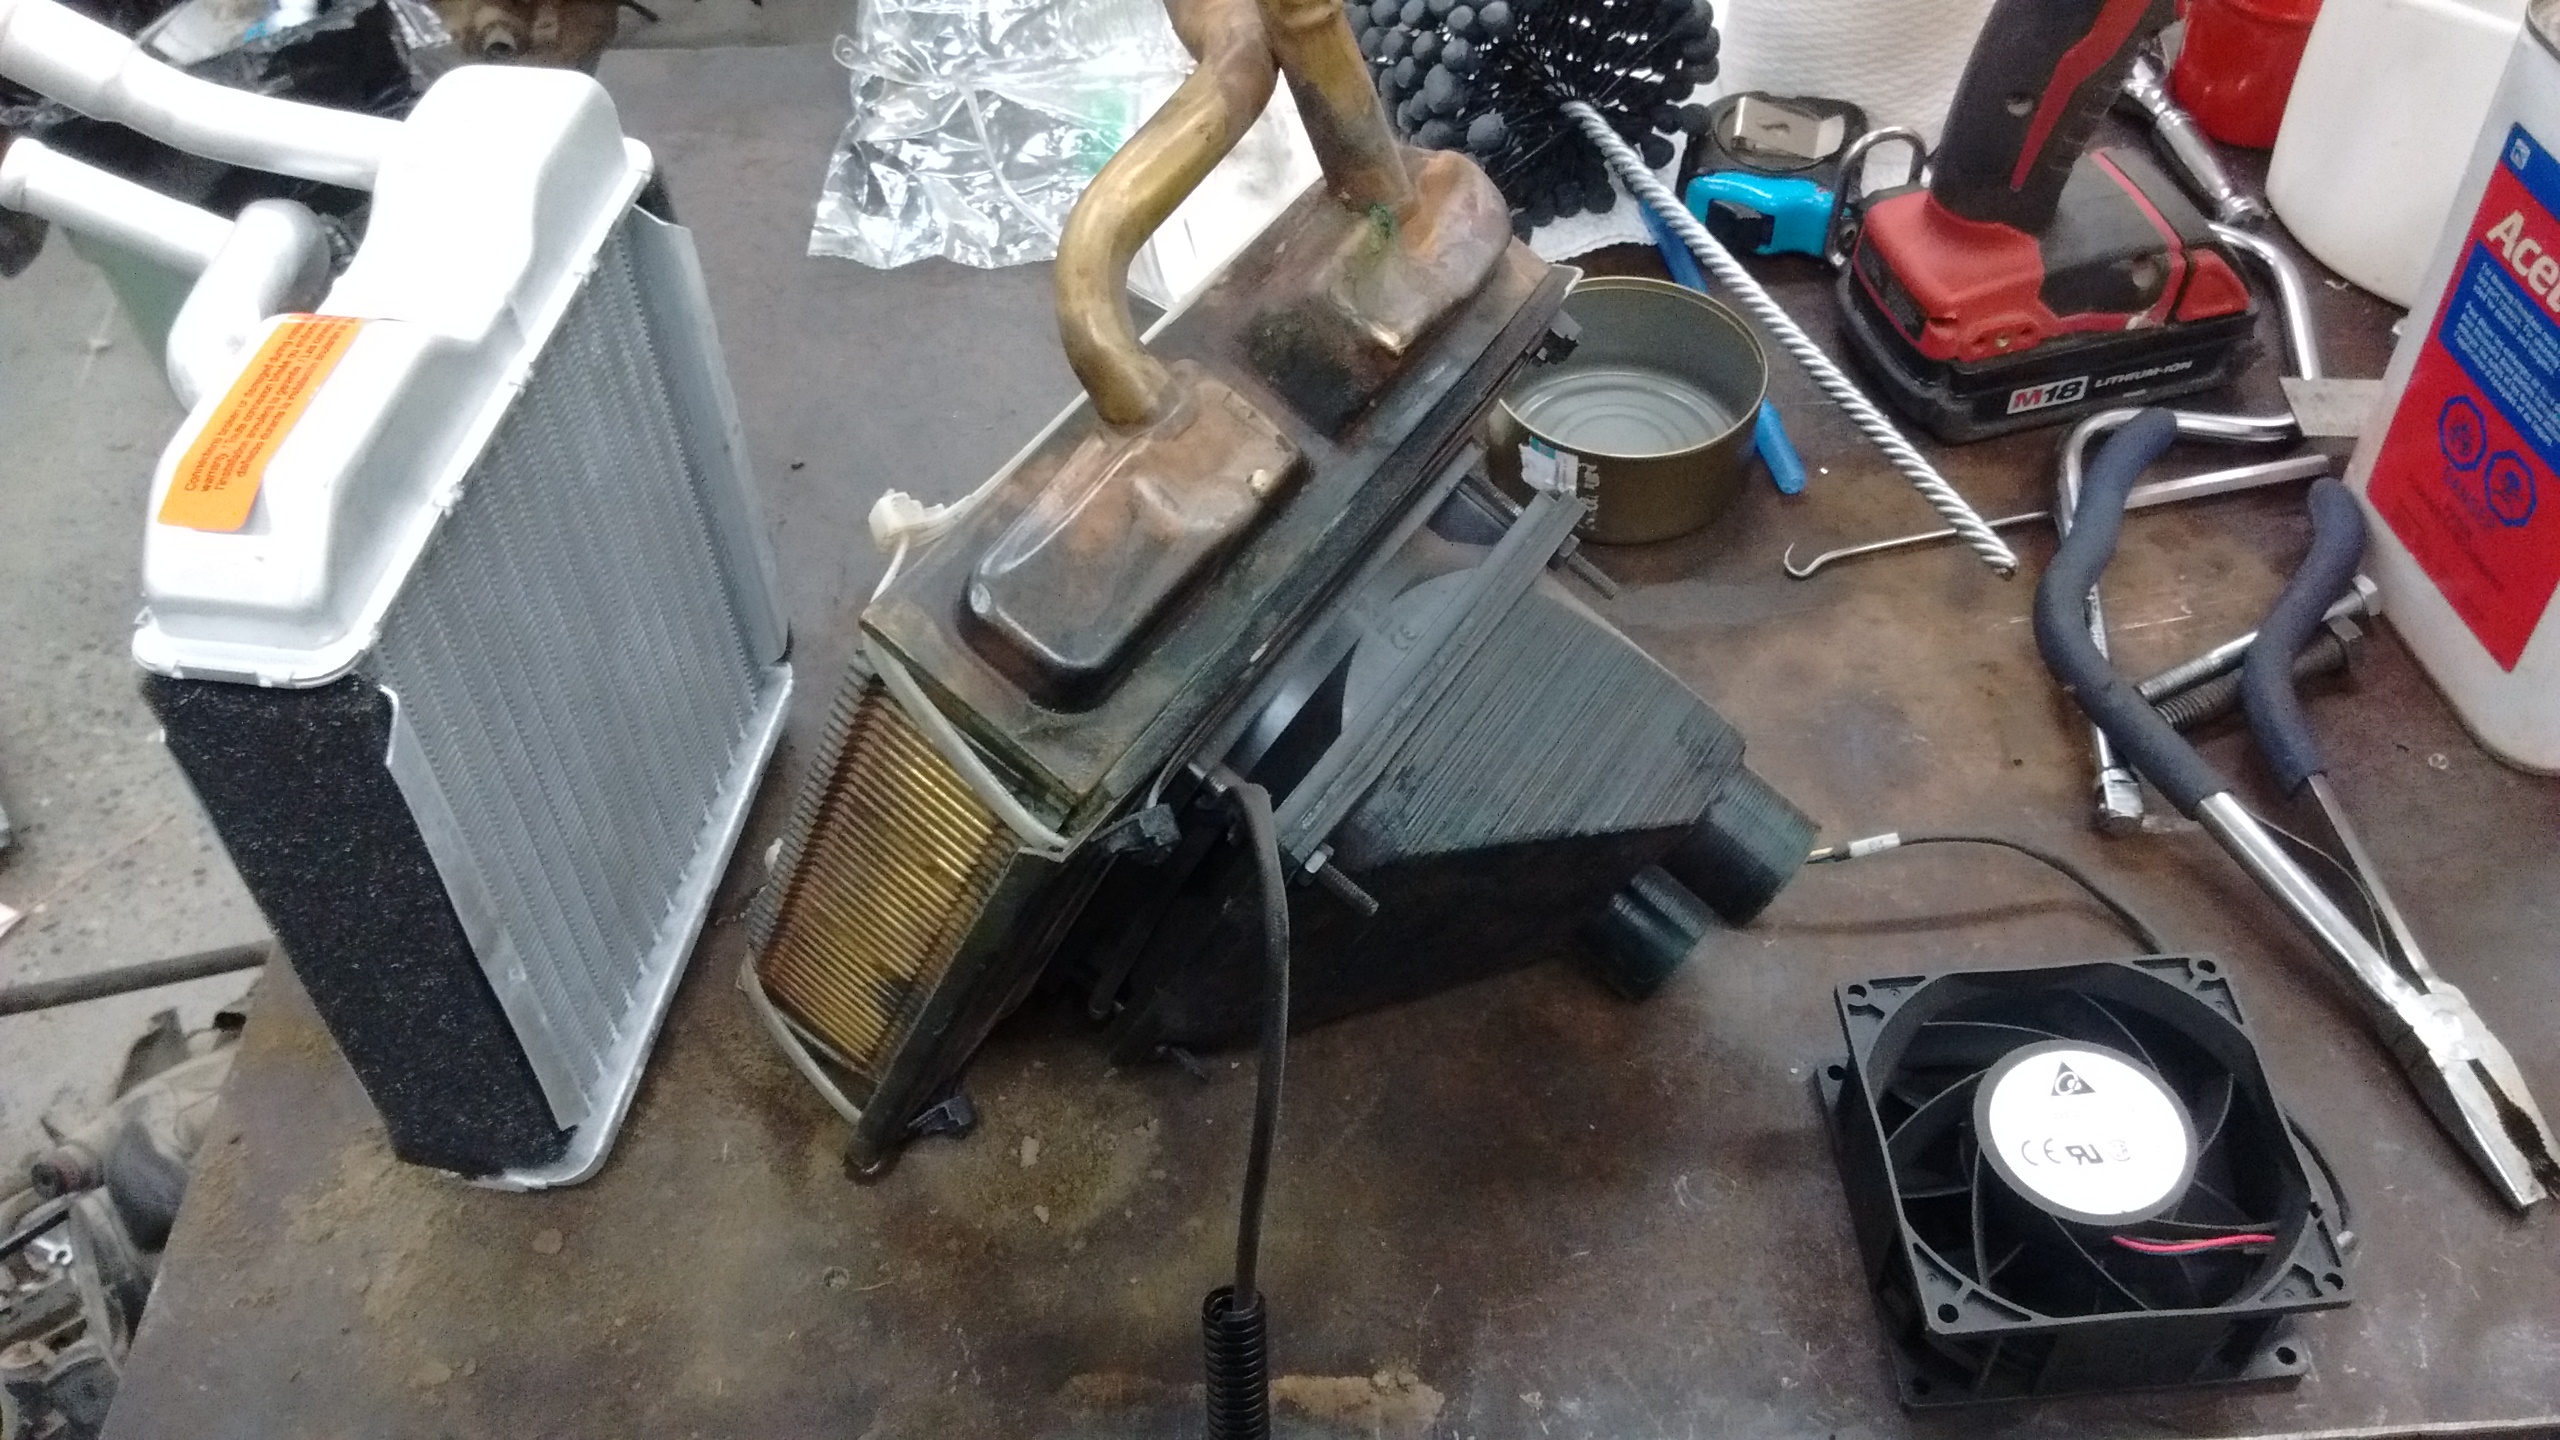
I pulled the heater core, which is merely disconnect the hoses and remove one bolt and out it comes. I fabricated a couple plugs so I could pressure test the core with the air compressor turned way down.
There was a big crack in one of the tanks.
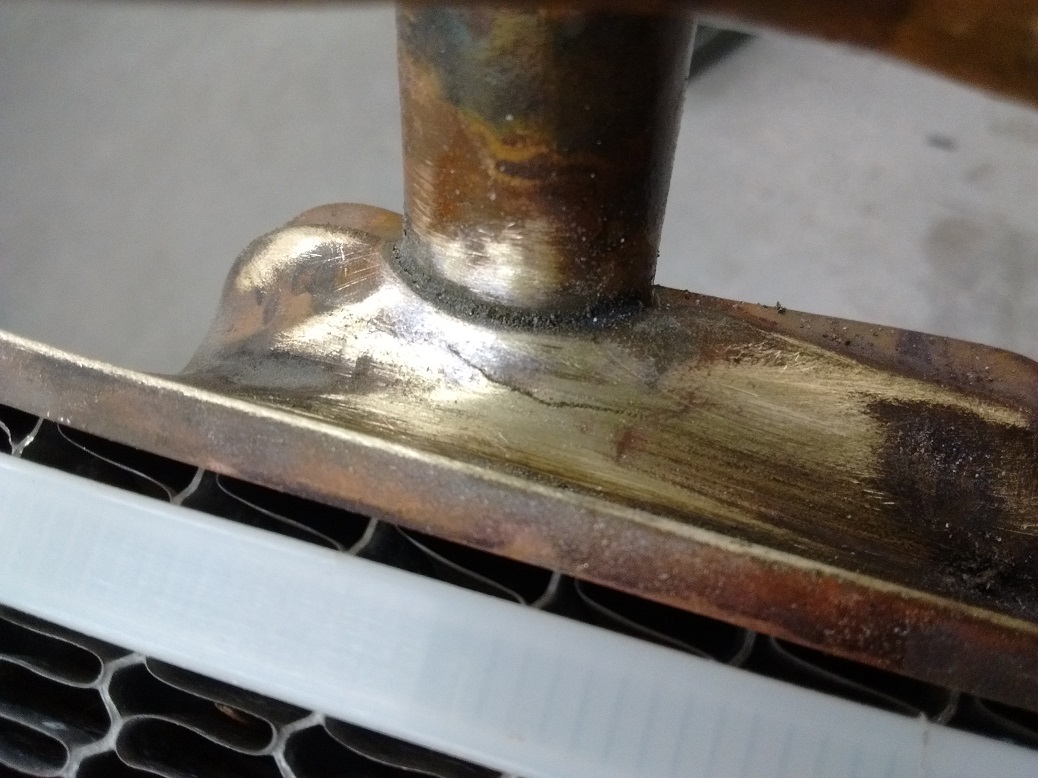
So I soldered it up.
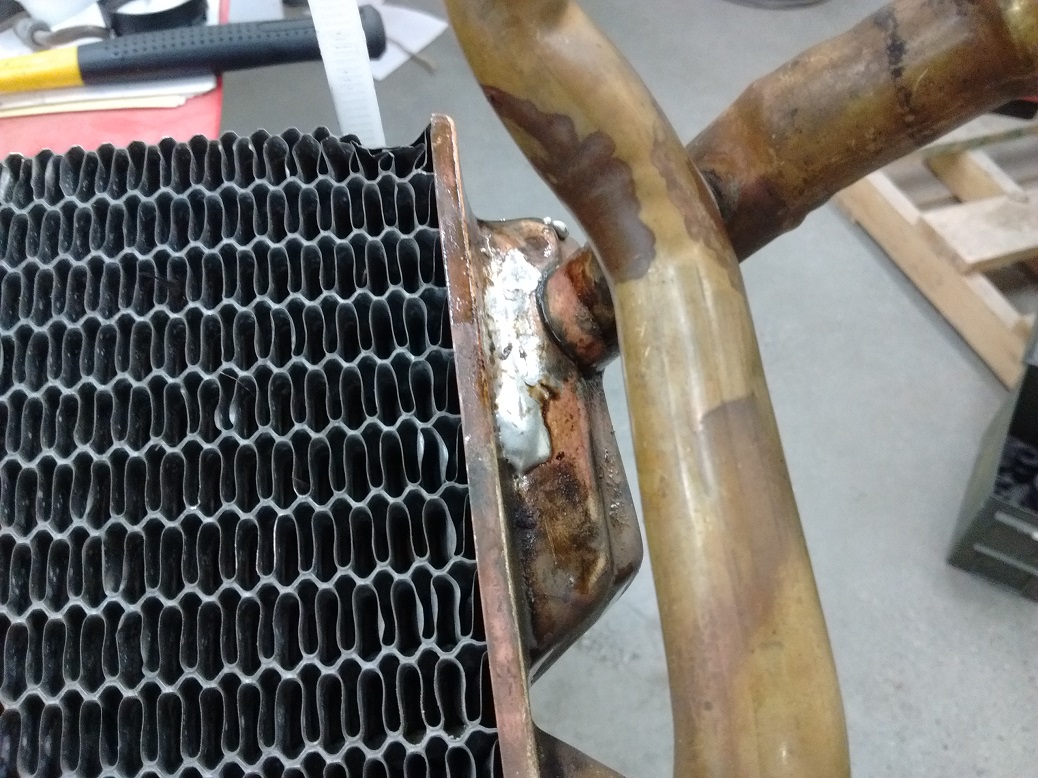
It held pressure, so it went back in and got it hooked up.
Addendum: It ended up not holding pressure, so I bought a new core from LordCo, which was ever-so-slightly not the same shape, which necessitated a change to the mounting method. Hopefully it works….
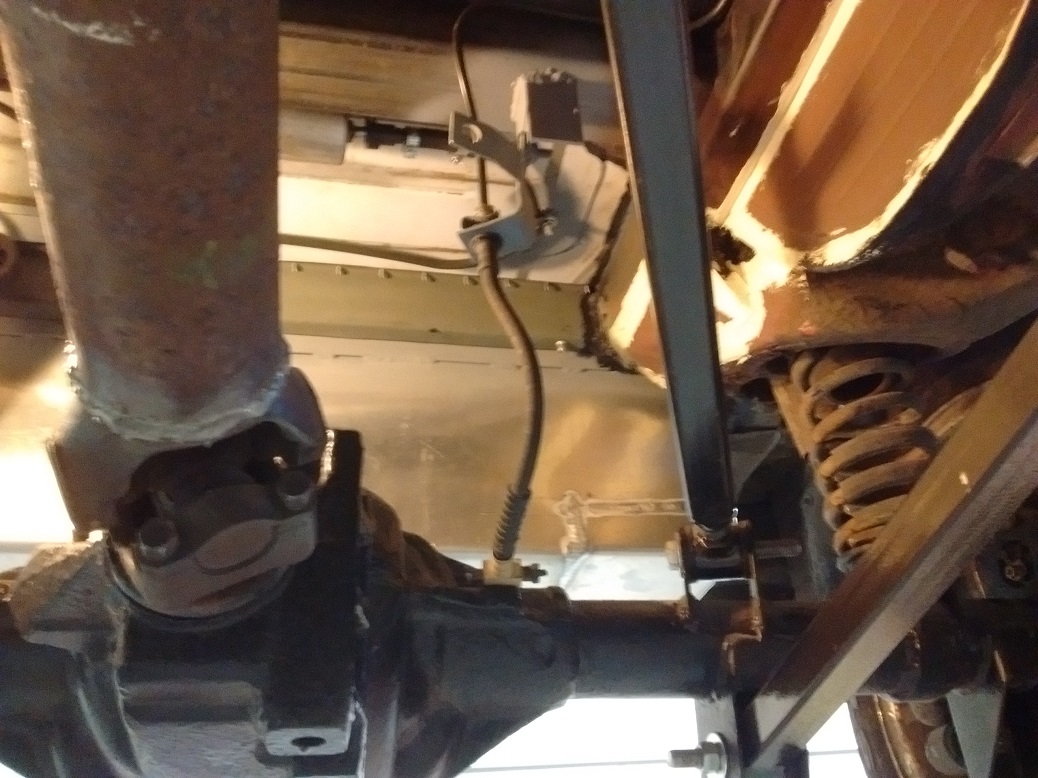
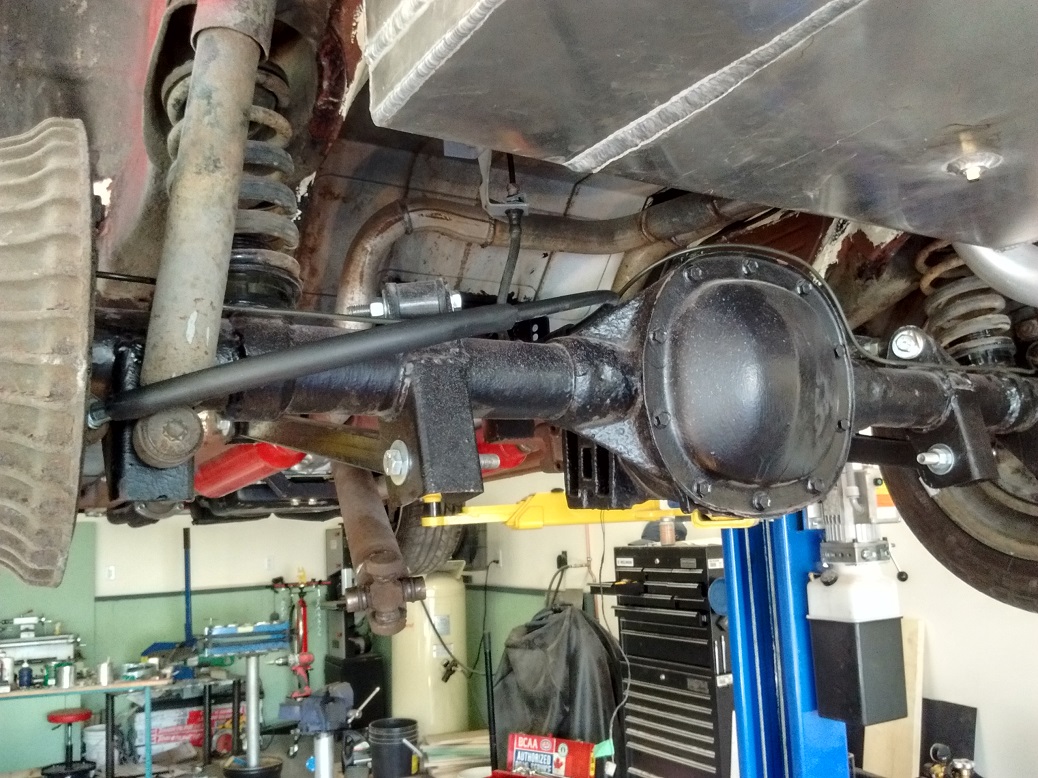
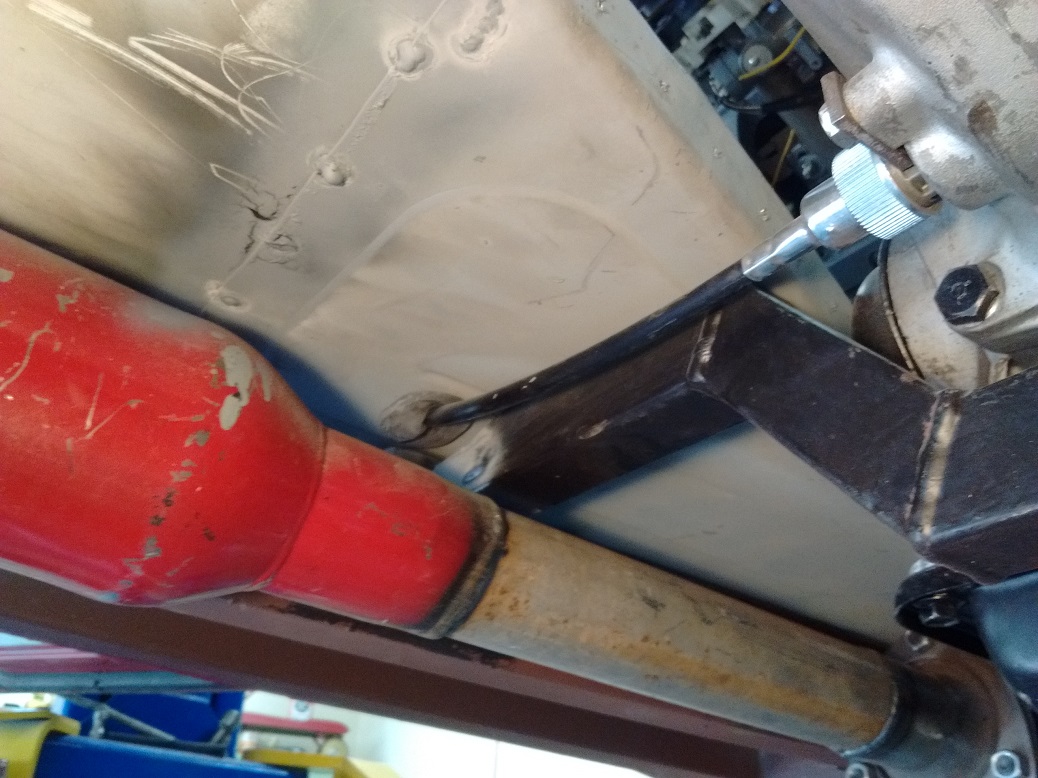
Now working on back brake lines, which for humour’s sake have to be ISO flare at the T-fitting, and SAE flare at the wheel cylinders. I used the original flex line bracket because I had it. I just had to space it down 2.5″ from the cross member above.
Still researching and figuring out the battery disconnect switch. When I first started the car, the battery disconnect switch did not kill the engine. I had bought a 4-post switch, since I had read that two terminals break the power to everything, and the other two terminals break the alternator field wire. This is what I wired, and despite the wiring being e-x-a-c-t-l-y that, it did not die.
But, it seems the four-post is not actually needed. It would have been perfectly find to use a two-post switch and merely keep the alternator connected to the battery. Flicking the switch will kill everything to the car, and any voltage spikes from the alternator are still absorbed by the battery.
So, I bought some 4ga wire to connect the alternator to the battery.
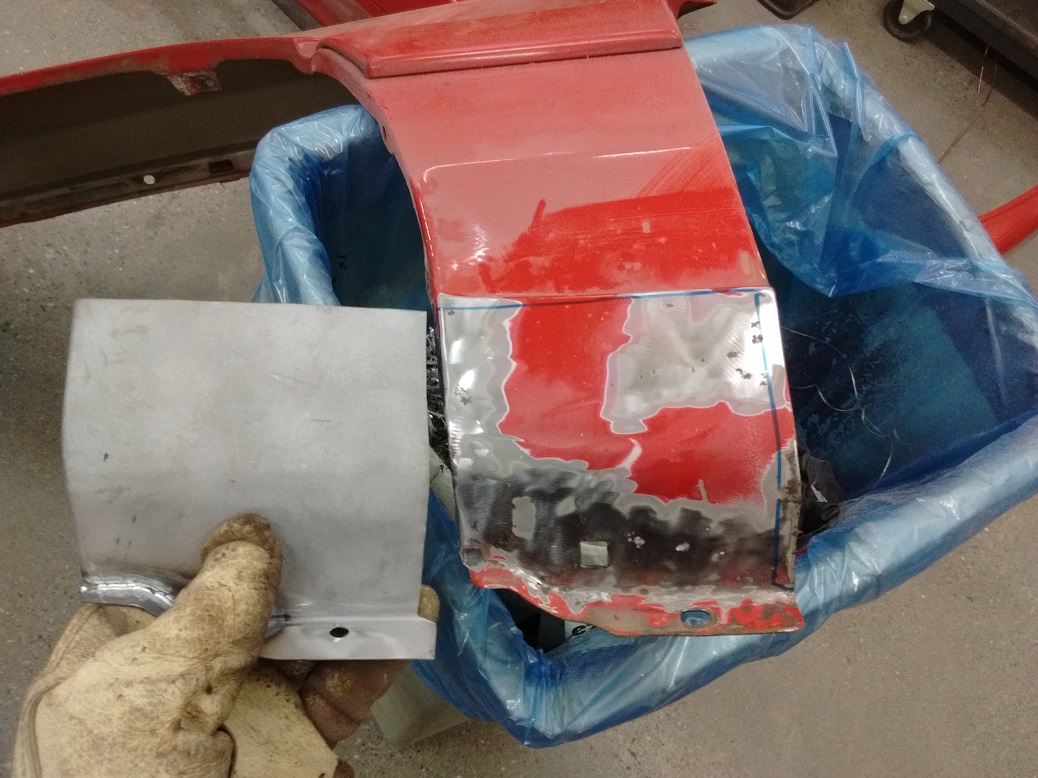
Also fixed the bottoms of the front fenders.
Made a patch out of some freezer/fridge/drier sheet metal, using cardboard to make a pattern. This fender isn’t as bad as the other one, but there were a lot of pinholes from rust:
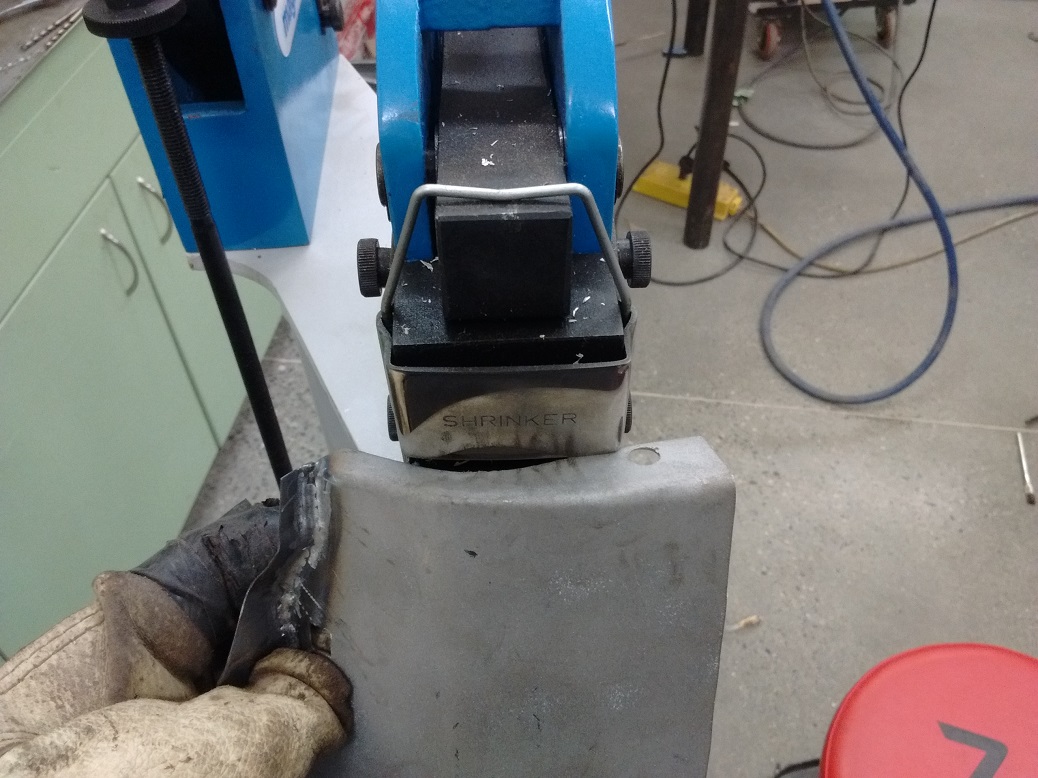
The shrinker makes short work of corners like this:
Patch tacked in (yeah, this is the other fender):
Smoothed out:
And since ALL of this is hidden behind the plastic skirting, a big ugly slather of rust paint will hide this dandy.
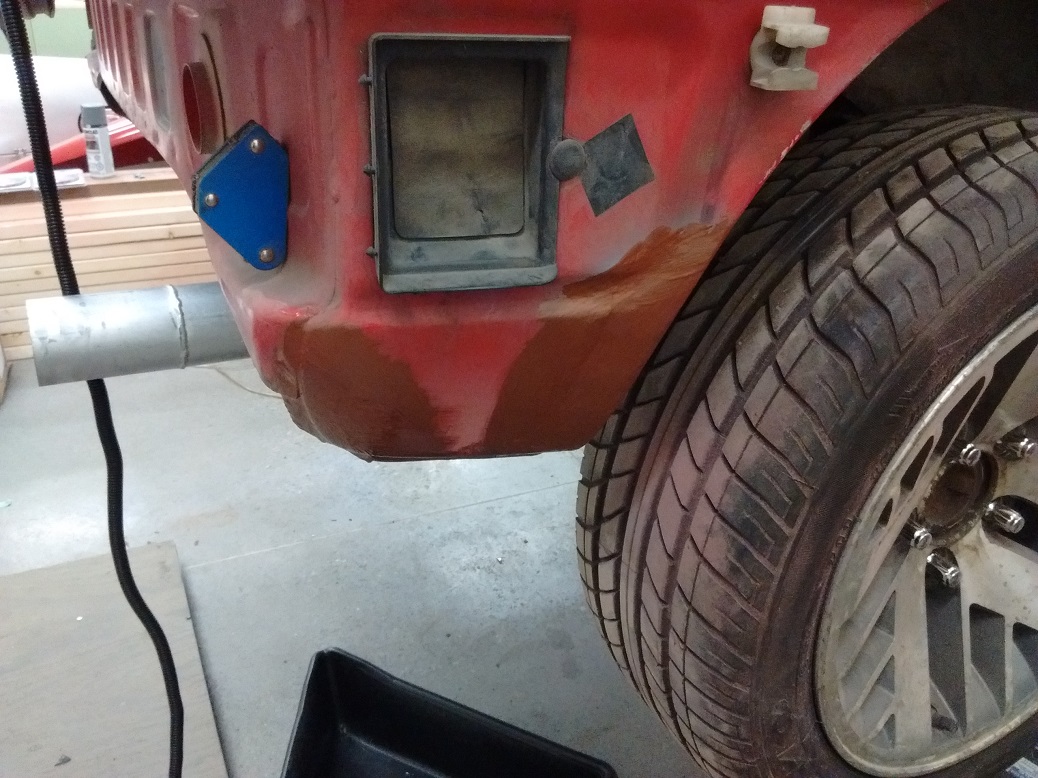
Patched another rusty spot behind the rear tire. All this is hidden behind the bumper, so it’s not going to be pretty.
Also repaired a melted section of the right front fender shield. This got torched way back when I was cutting the car up. Thing is, these bodies are pretty scarce now, and I haven’t found one. So – silicone, 3/16″ rivets, scrap ABS, and some pipe hangar strapping. It’ll do.
Finished re-wiring the battery disconnect, and returning the alternator field wire to normal.
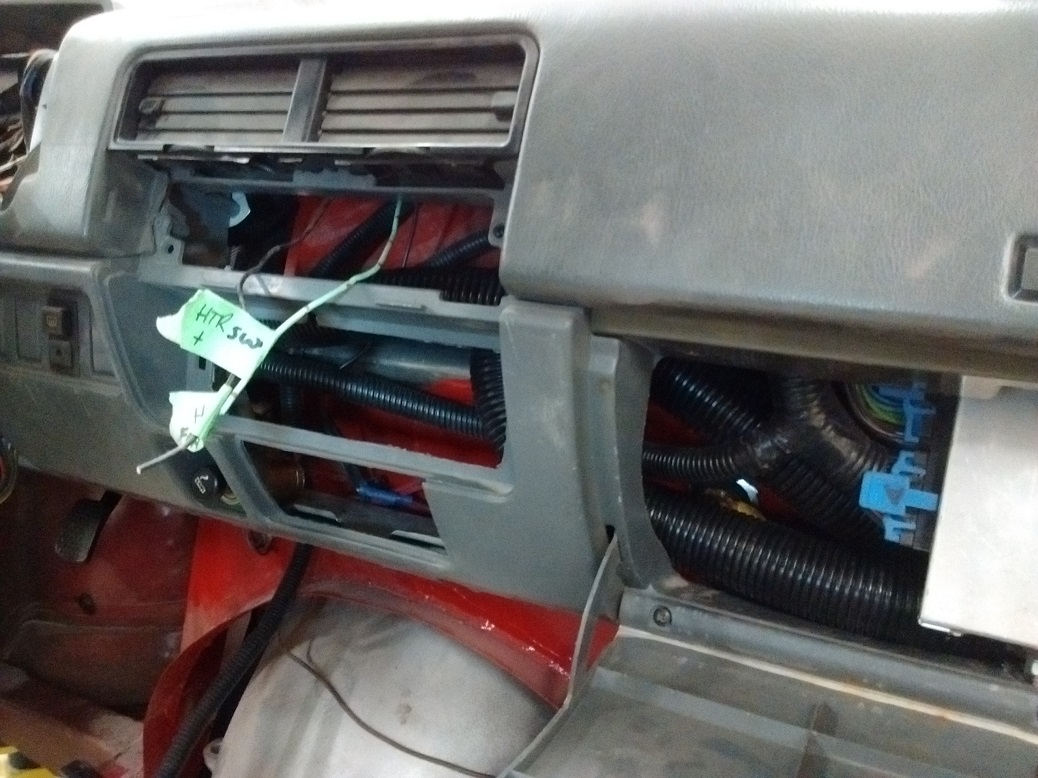
Final installation of dashboard – and even found the screws that held it!
Installed the glove box door, which opens to reveal only the ECU.
Gauge cluster will go back in once I have defrost hoses hooked up. Oh, and I need to source a speedo cable.
Also dug through the bin of parts and found various dashboard parts. I will need to decide how I’m going to deal with erroneous heater controls and stereo (there is no space behind them, I’m leaning towards “fake” controls).
Rewiring the battery disconnect switch with the alternator output skipping the switch and going right to the battery works dandy! Flipping the switch kills it right away, and I like the idea that the alternator still “sees” the battery.
Disconnected the ESC connector and set base timing. ECU set trouble code 42, which means (among other things) “the ESC connector is disconnected.”
Engine wasn’t as smooth idling as I remembered the Firebird being 8 years ago. Also, there was a frequent LOUD backfire out the exhaust at idle.
Checked spark plug wires, and I had #6 and #8 reversed.
Firing order is: 1 8 4 3 6 5 7 2
This had #8 firing when it was actually on the compression stroke (rough idle) and #6 firing when it was actually on the exhaust stroke (igniting the unburned fuel now in the exhaust pipes). That was an easy fix.
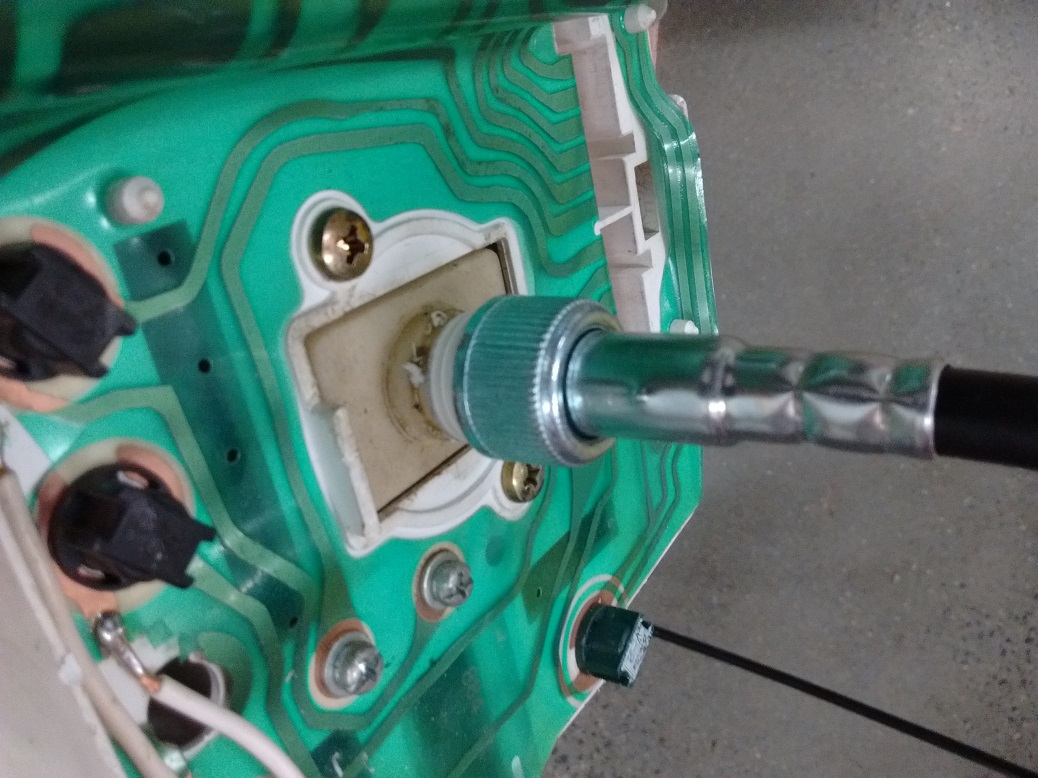
Last fall I had bought a replacement half of a speedometer cable for The Crusty Chevy, but it turned out I got the wrong one. However, it turns out that it will work really well in the Firefly!
The speedometer end of the cable is threads, but the speedometer in the Firefly is not. It ~is~ however, plastic. So…. I threaded it. BAM! I have a speedometer cable – how cool is that!
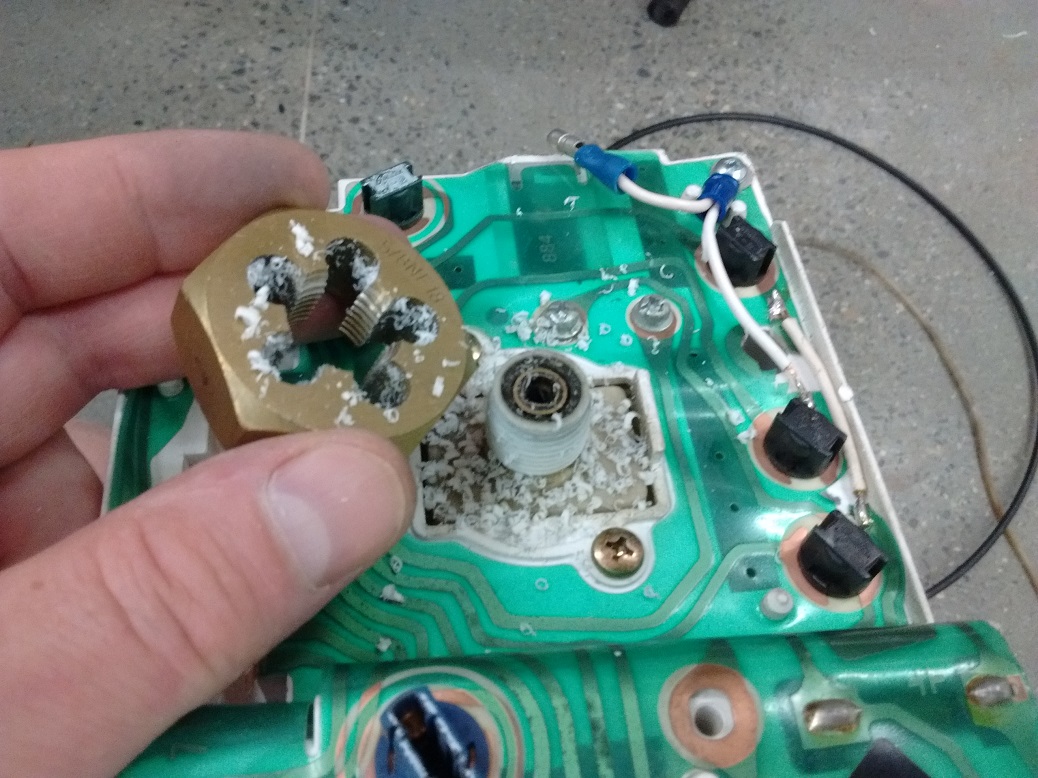
You can see the Battery Idiot Light re-wiring here.
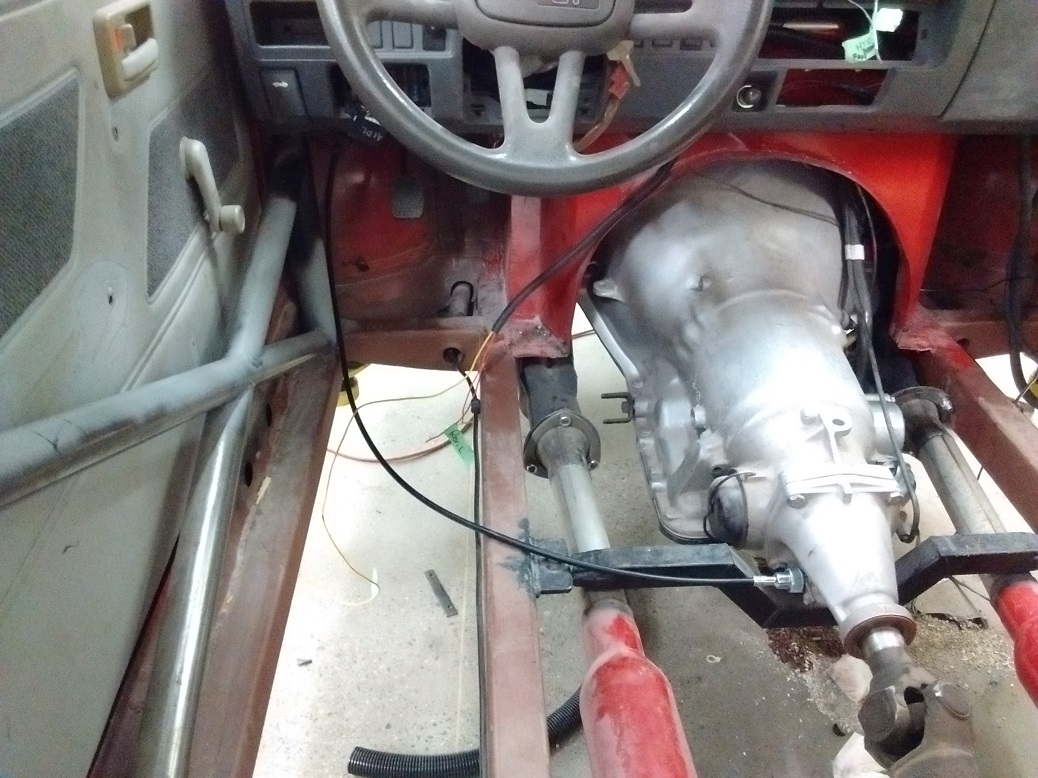
The speedo cable will likely pop through the floor and run under the seat, in the interest of packaging and simplicity.
I used a few drops of fiberglass resin liquid hardener in my Tremclad Red to make it harden. Dang does it work well!
Painted the patches on the bottoms of the fenders, as well as the fuel tank cover.
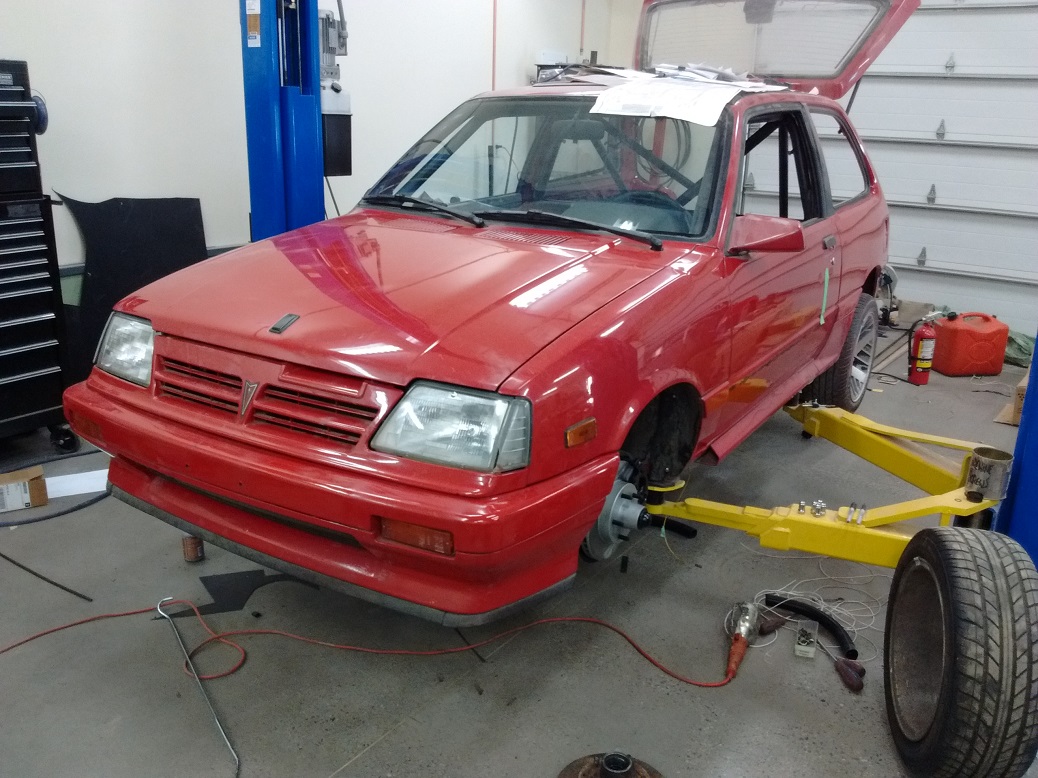
And the front clip went on for hopefully the last time.
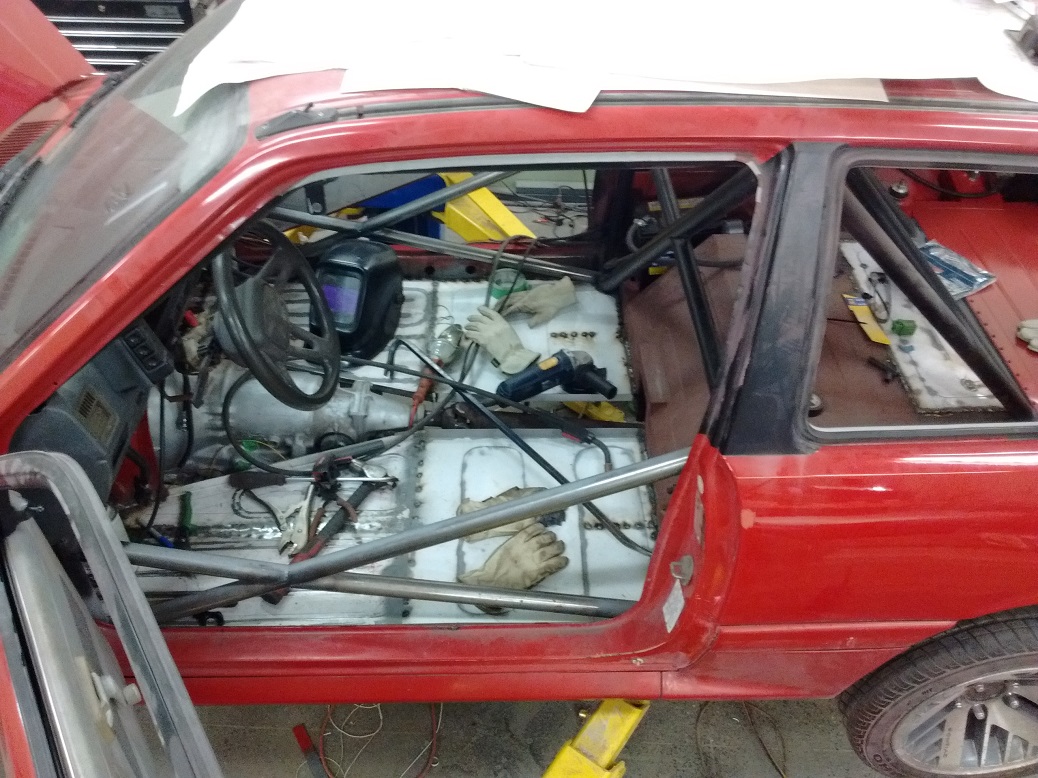
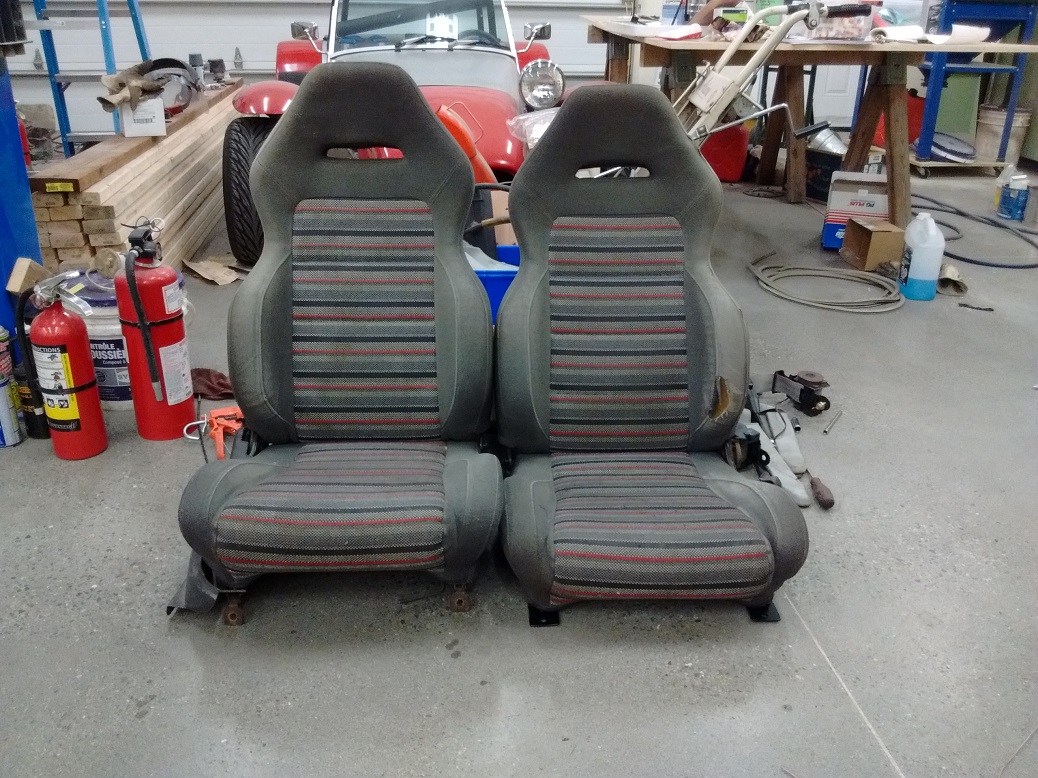
I brought the seats up from the basement to see how they might fit.
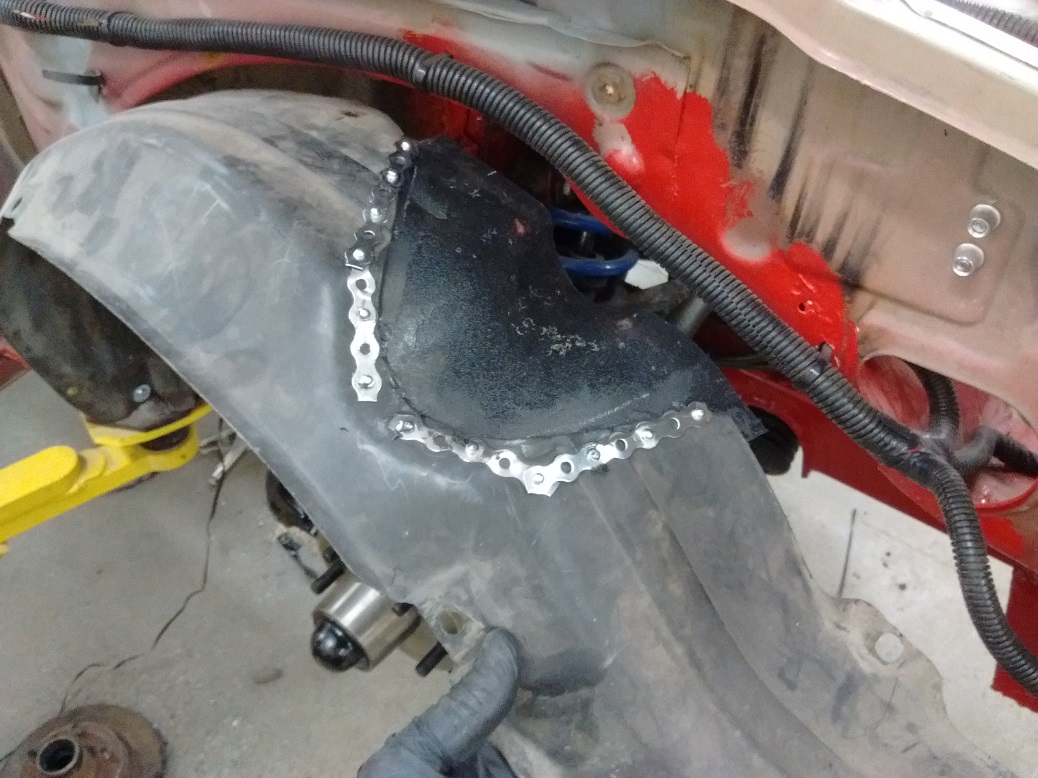
I finished attaching the front fender skirts.
I beat the inner fenders to death with a mallet to try and gain 3/4″ of tire clearance. Looks like more cutting is in order to reach full lock.
I finished attaching the back bumper. I needed the large rubber washers that cushion the nut and flat washer on the chassis side, but I can’t find the rubber washers. So I made my own.
But the telescoping thingies of the back bumper are damaged somehow – looks like the bumper got pushed in at some point, and I can’t seem to pull it back out. I’ll have to remove the bumper and have a look see. Bumper is about an inch too far in, and the mud flaps are rubbing the tires.
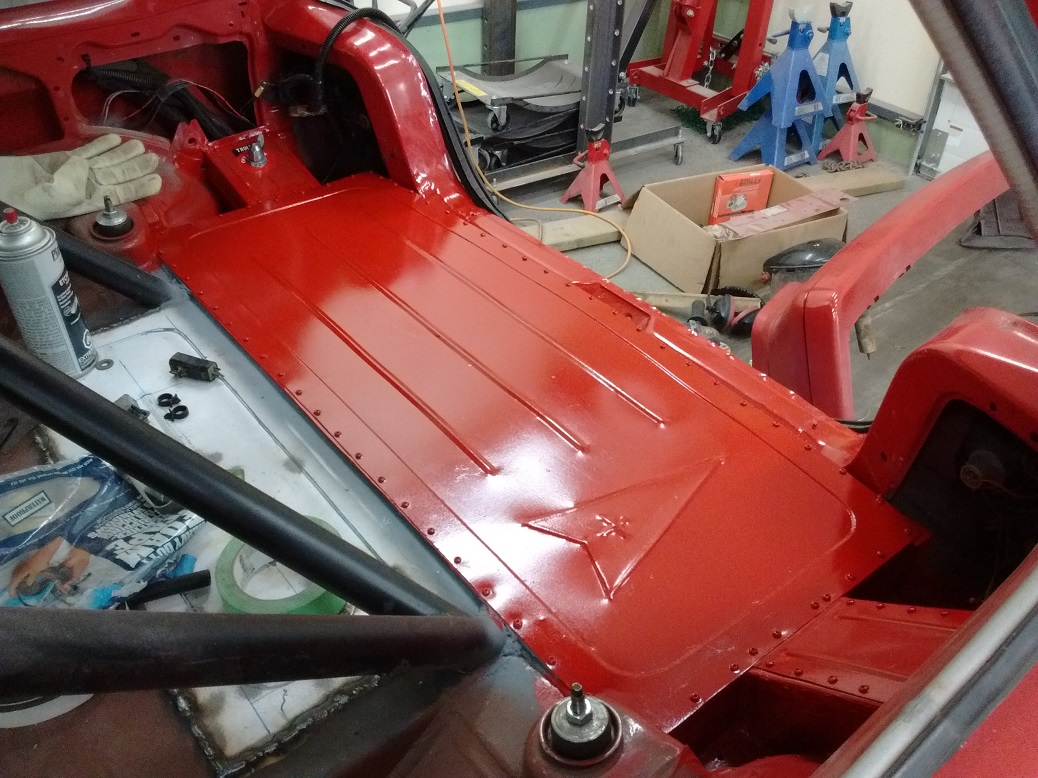
I have grossly under-estimated how long it will take me to do the floors. This may take more than a day.
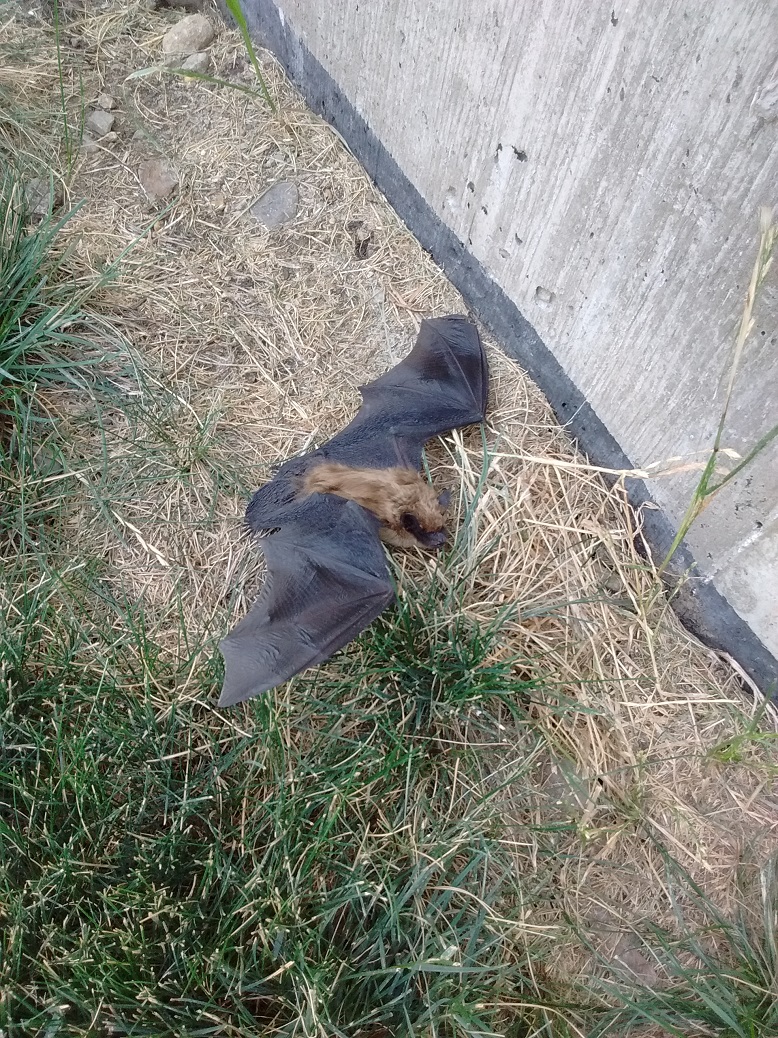
Also visited by an aviatory rodent. It was kinda fun in that any sound I made, it would chirp to echo locate me and whatever I was doing. Then it started wigging out, which made me start to wig out, so I left it.
Good progress today. Just have tranny tunnel and driveshaft tunnel to do. That means figuring out a shifter and the e-brake.
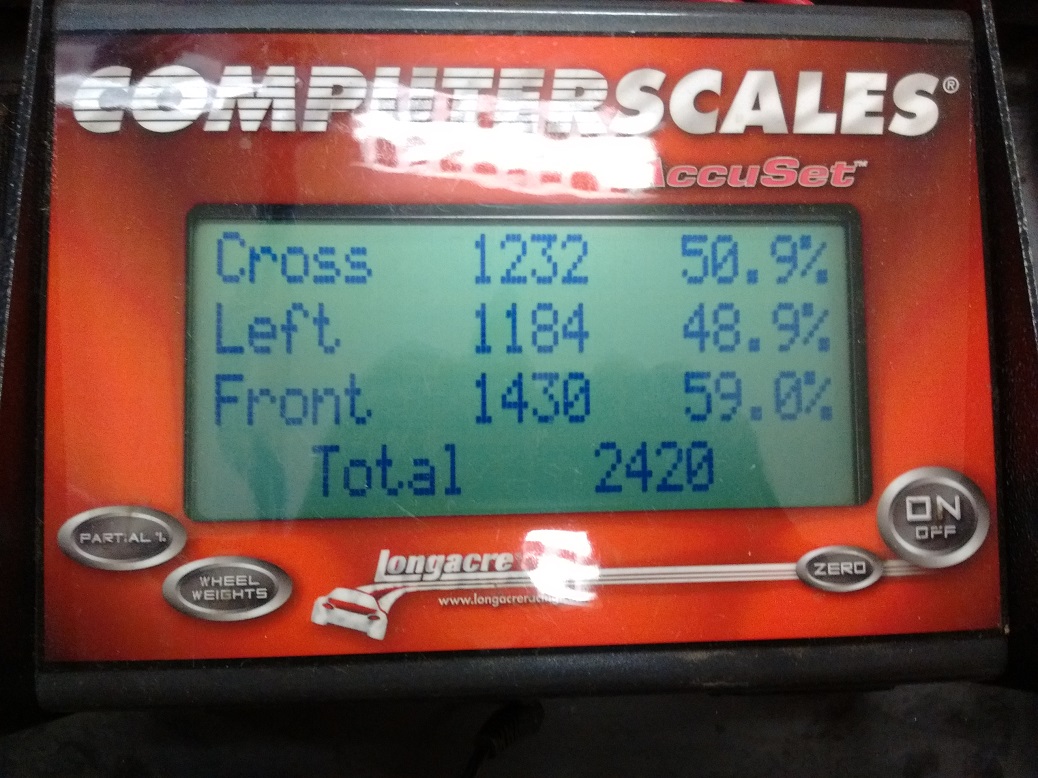
I weighed it today, with seats, wet, with 5gal. gas.
I’m reasonably pleased – it’s within my out-of-my-bum estimate.
Part 1 of tranny tunnel mostly done (still welding).
Part 2 began with a template (as did Part 1, not shown), then shaped using a multitude of bends on my Sheet Metal Brake.
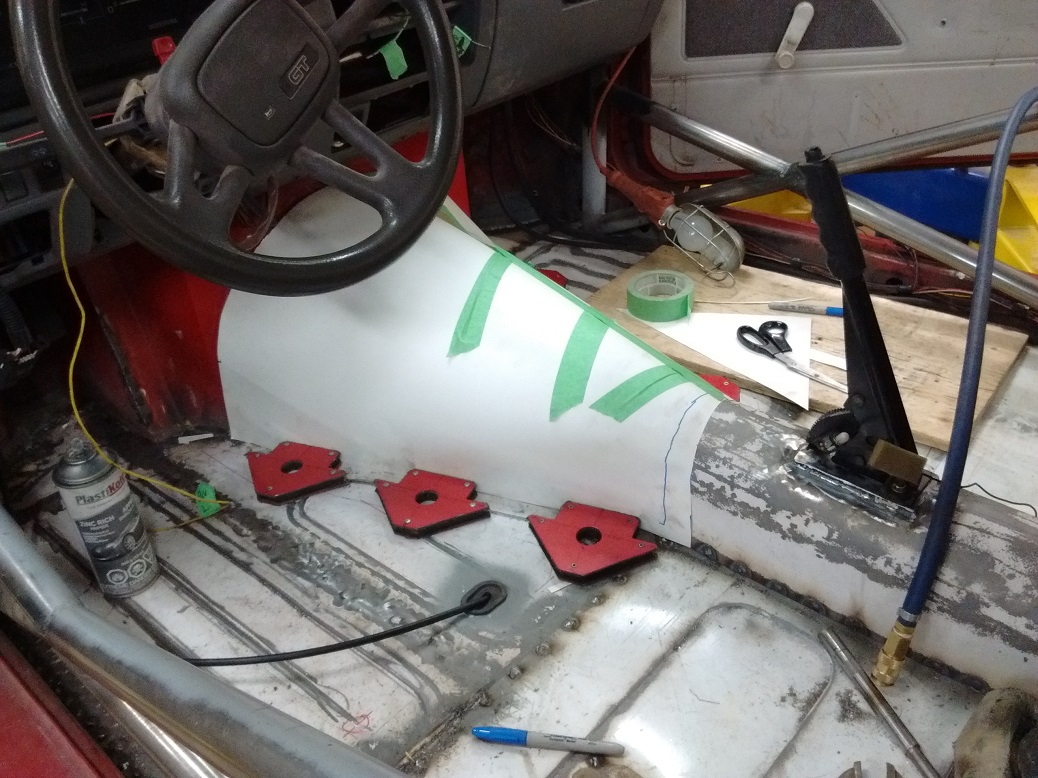
I thought I could cut down the original console, but I’d have to cut it down WAY too much. I may just make a spacer for the shifter and do no console at all.

Gotta hook up the e-brake, do the shifter, then tackle the seats.
My goal was to have this done my the end of the summer; before school starts. Methinks it ain’t going to happen. It’s Sept. 1st tomorrow.
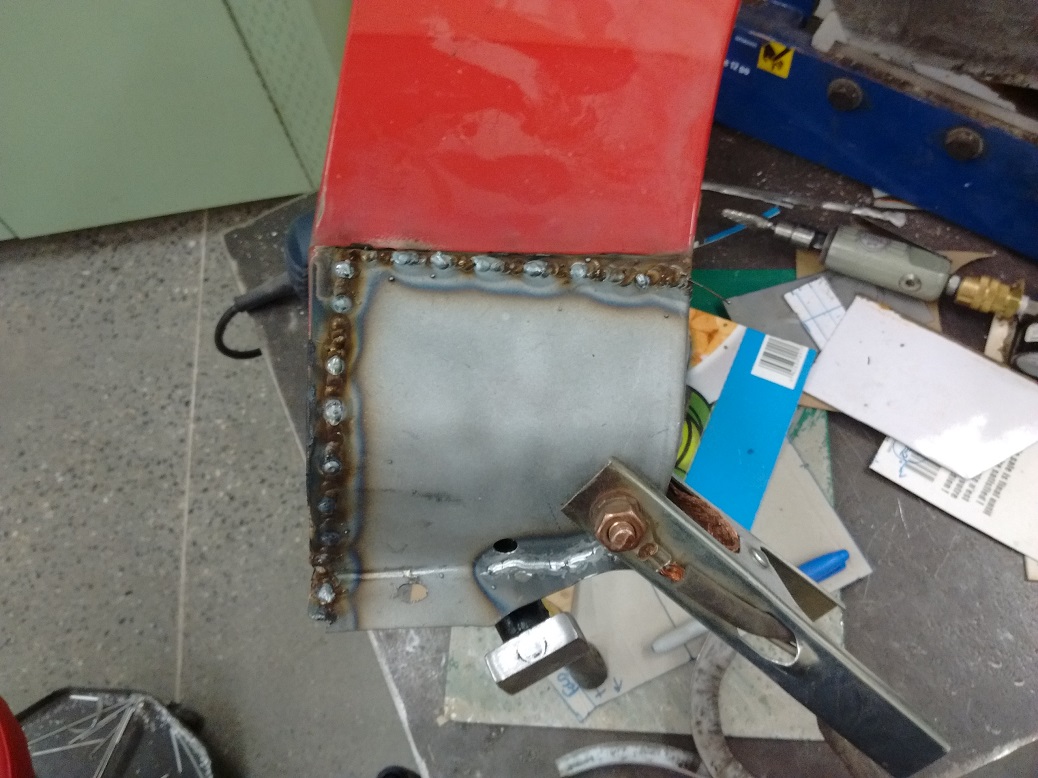
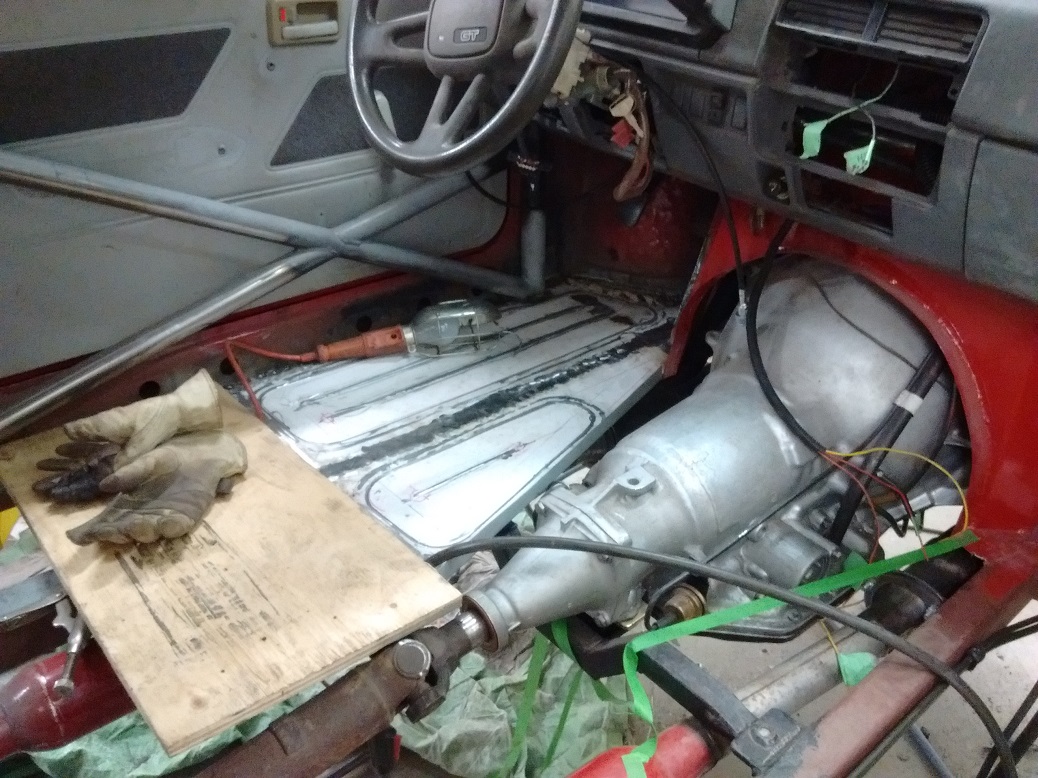
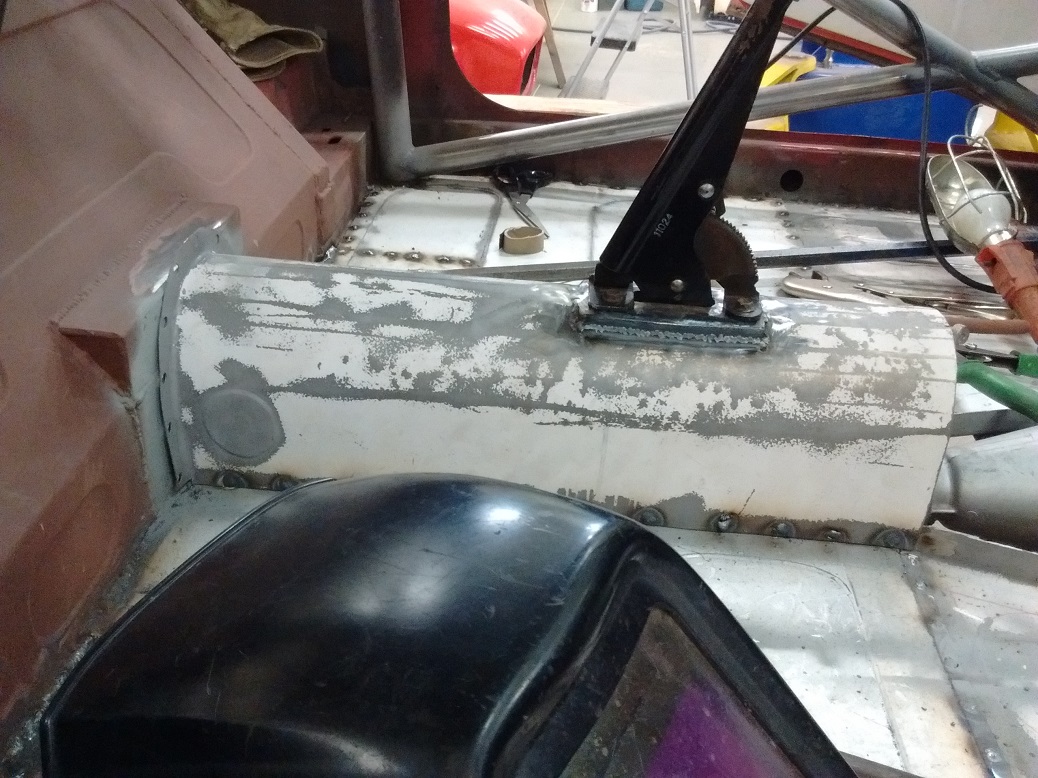
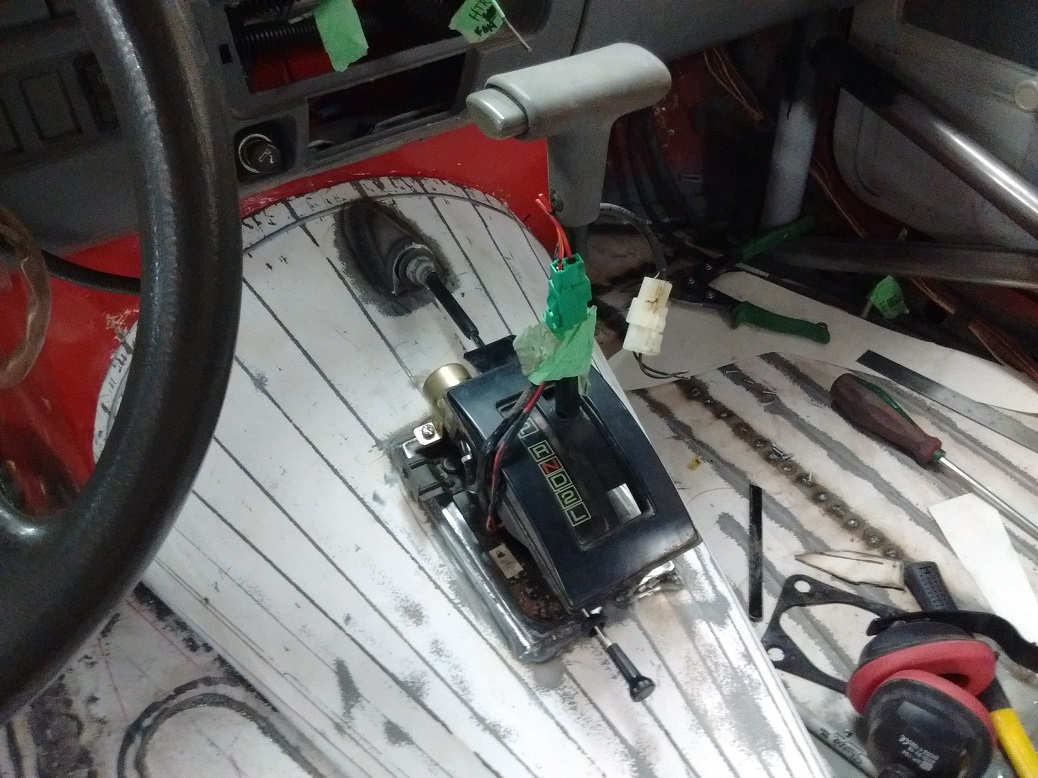
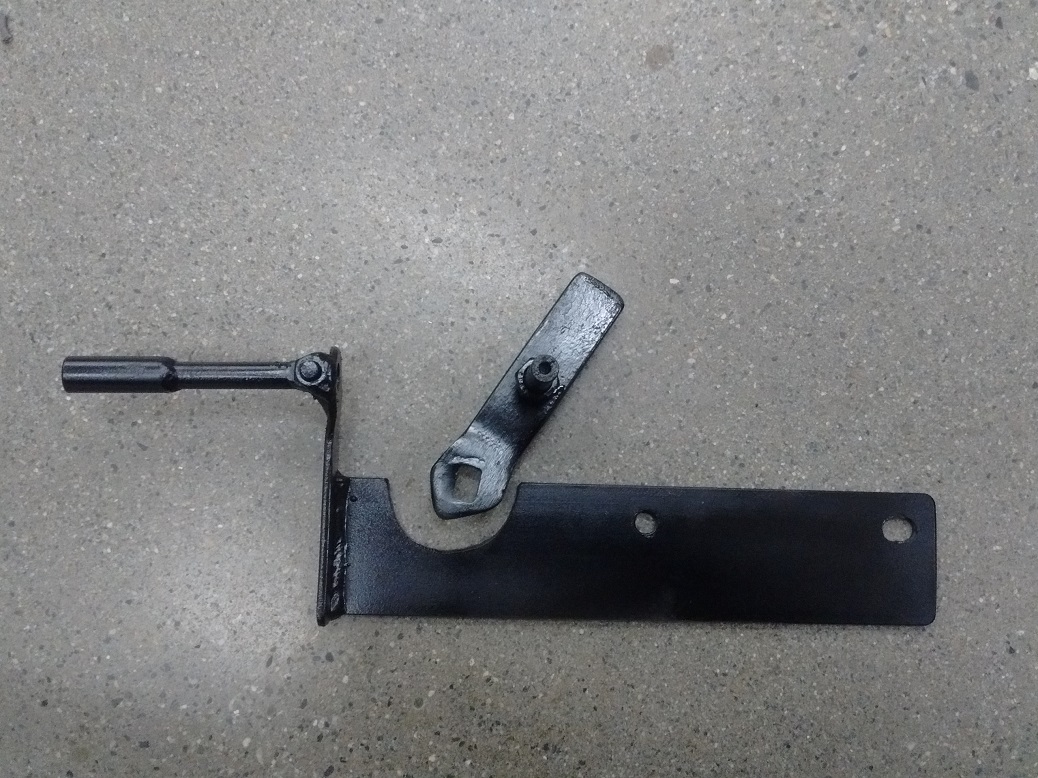
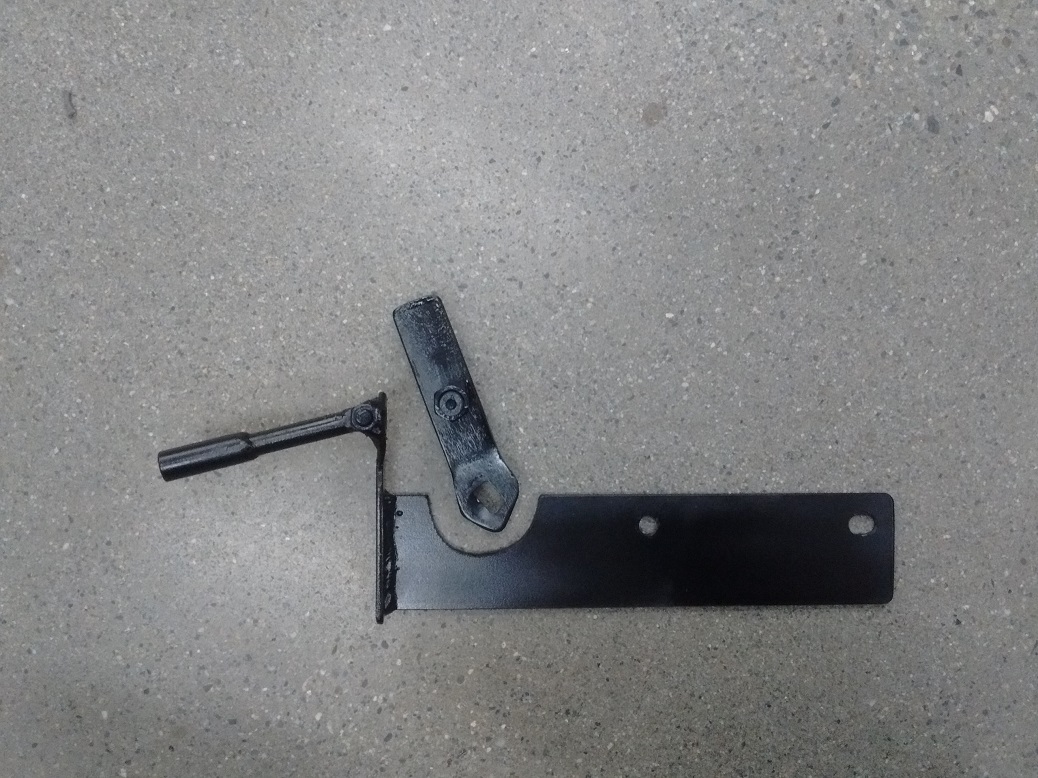
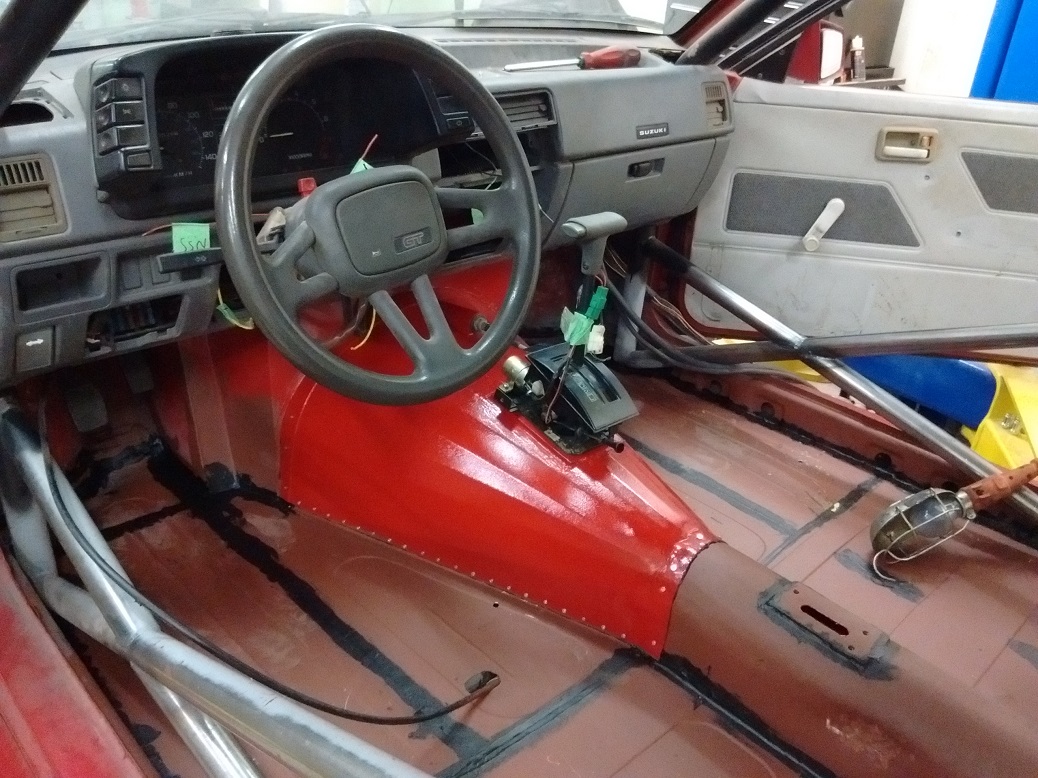
I modified the top of the trans tunnel to mount the flat-bottomed Chevy Sprint shifter. This shifter runs the cable inside the passenger compartment for a bit, so I had to fabricate a way to get the cable to the tranny.
Then make a lever on the tranny.
Then try to figure out what lever ratio I needed to make Park and Low on the shifter the same as that on the trans, all the while feeding a shifter cable through nowhere.
And then, horror of all horrors, I cut the damn cable sheath too short.
Here’s the stupid bracket, with modifications. There’s always modifications.
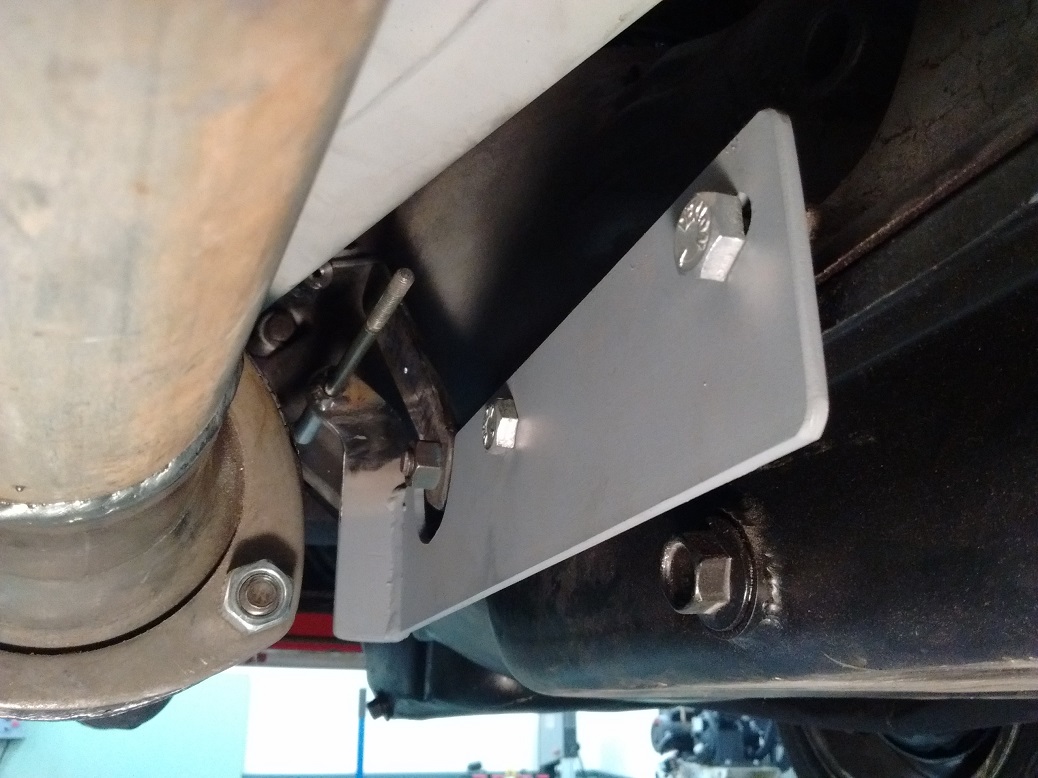
I have a plan up my sleeve, but that’s it for today. This took all day.
I can’t find the e-brake cables for the Firebird axle. I have the cables for the Firefly, but that only solves one end. I will go to my school shop and see if I have them tucked away somewhere.
I bought new e-brake cables from the Firebird. Actually – they look like the will fit p-e-r-f-e-c-t-l-y! This is a delight!
Just have to fab a little adapter for the lever, and boom!
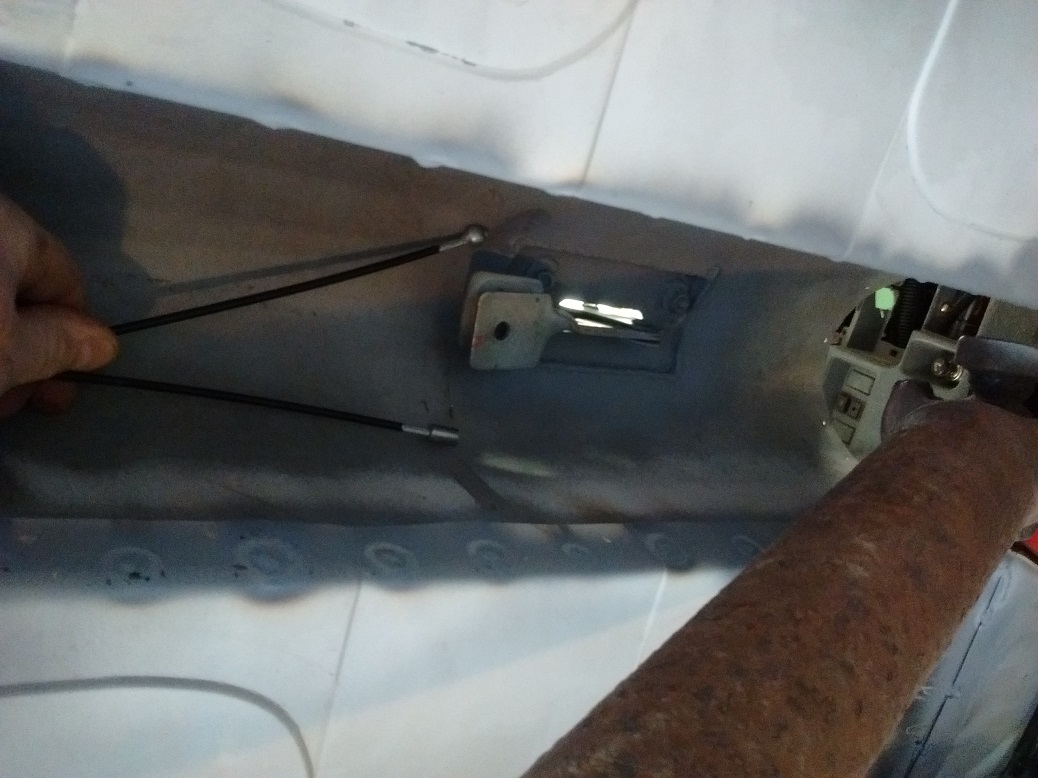
Speedo route through the floor.
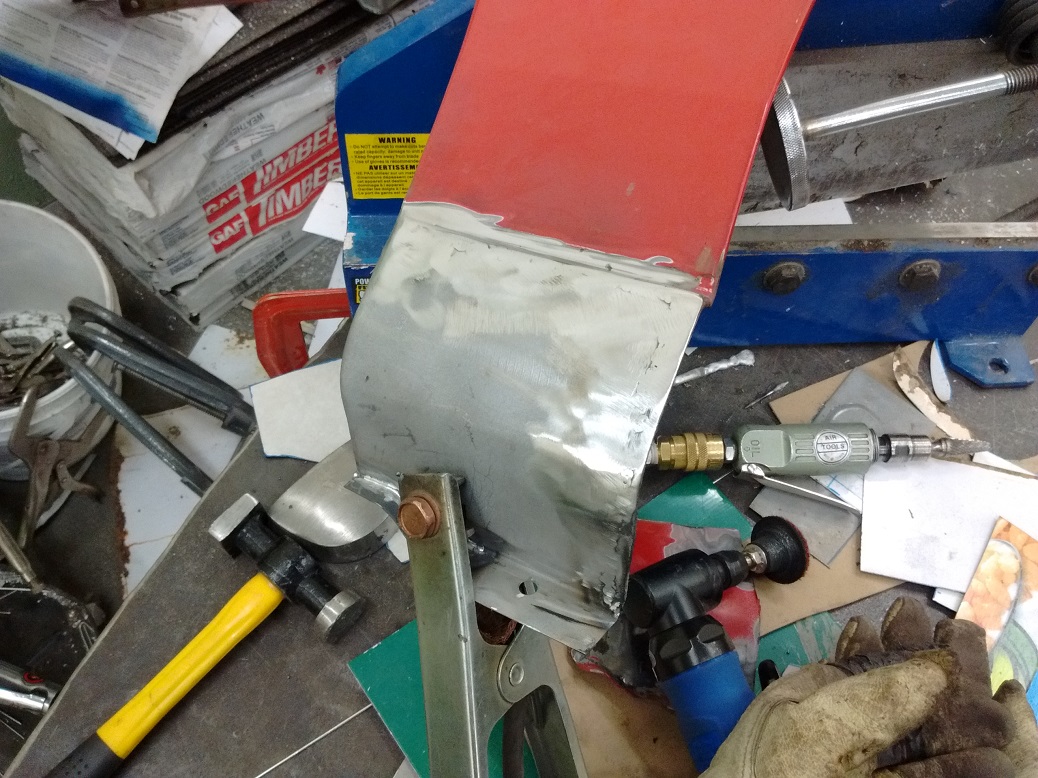
Had some evolution on the shifter cable. I had to make the end of the sheathing pivot, because the shifter moves linear, but the arm on the transmission moves in an arc, and there wasn’t enough slop to make that happen, so I modified the bracket for the fourth time, and it all works now!
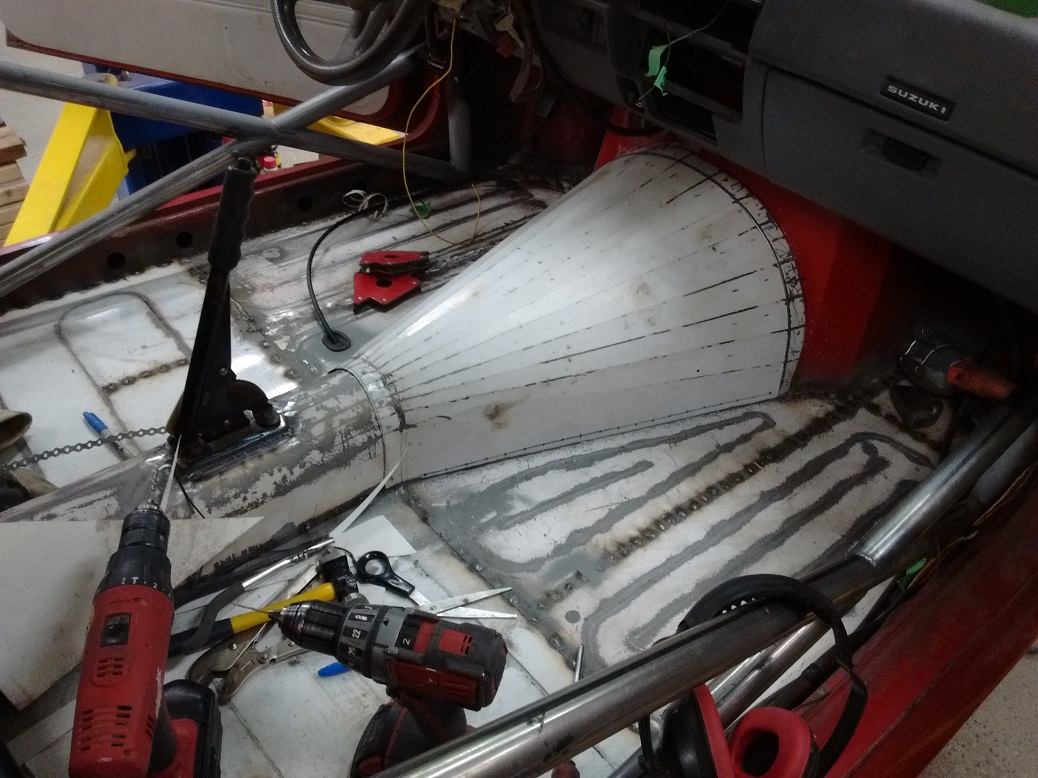
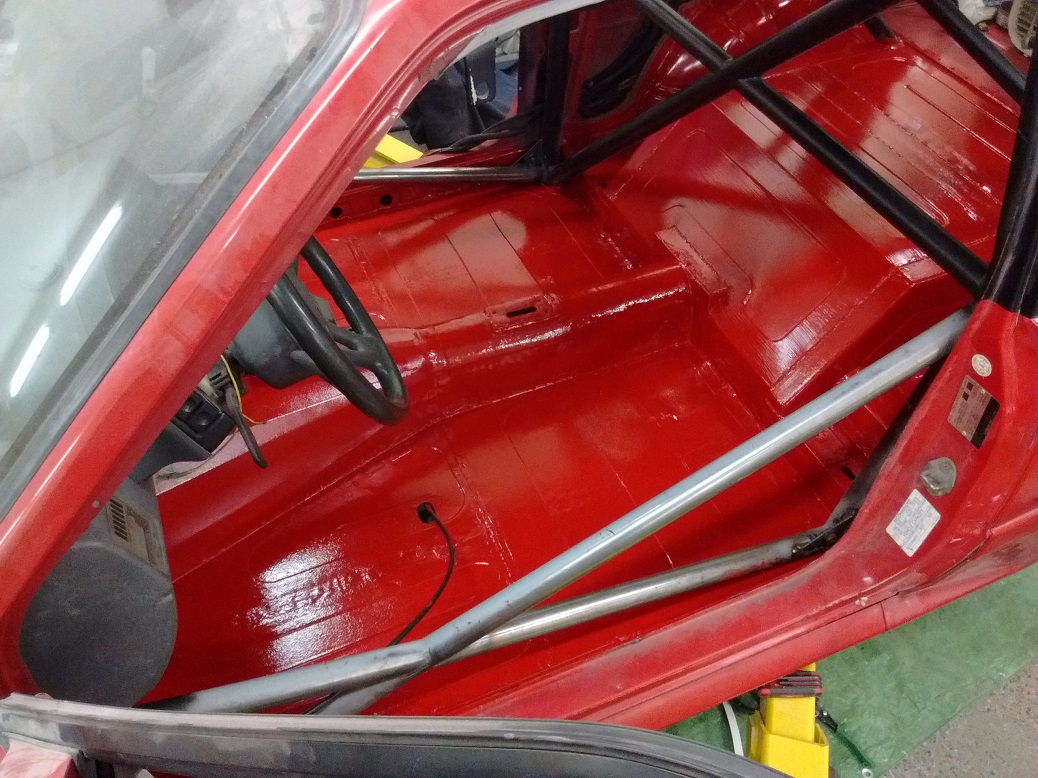
I’m so happy, I took the trans tunnel out and primered it!
Also primered under the car, so I could seam seal it in the morning.
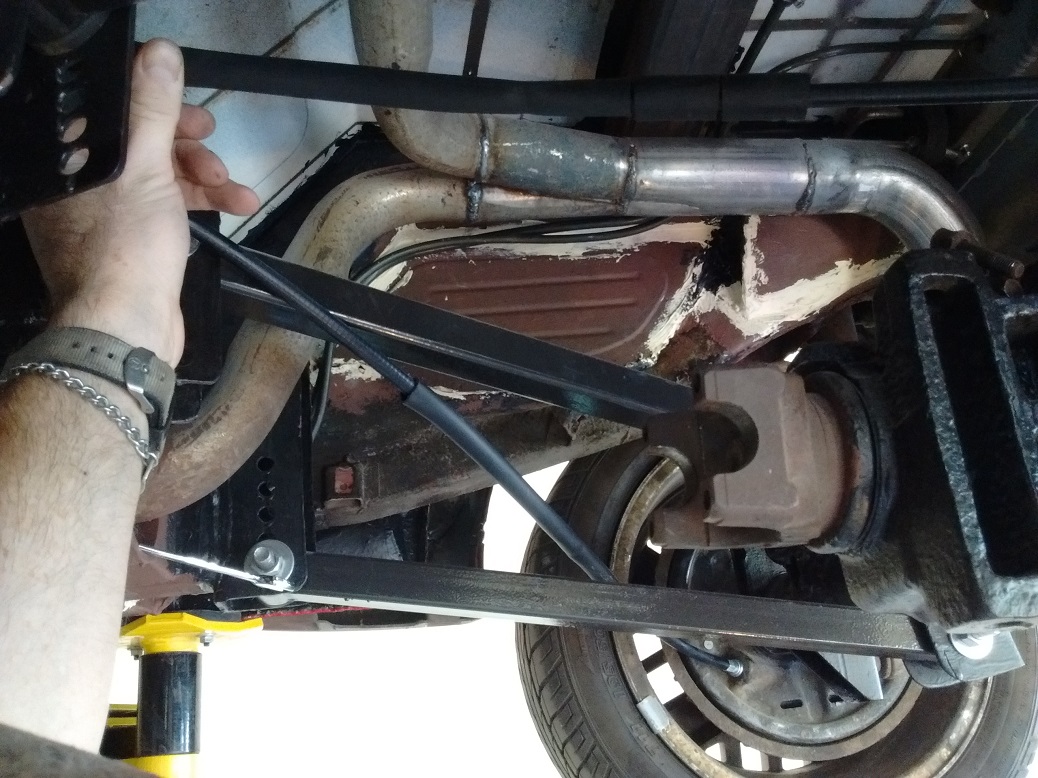
I’m so glad I bought new e-brake cables, because I found the old ones in the box of seat belts.
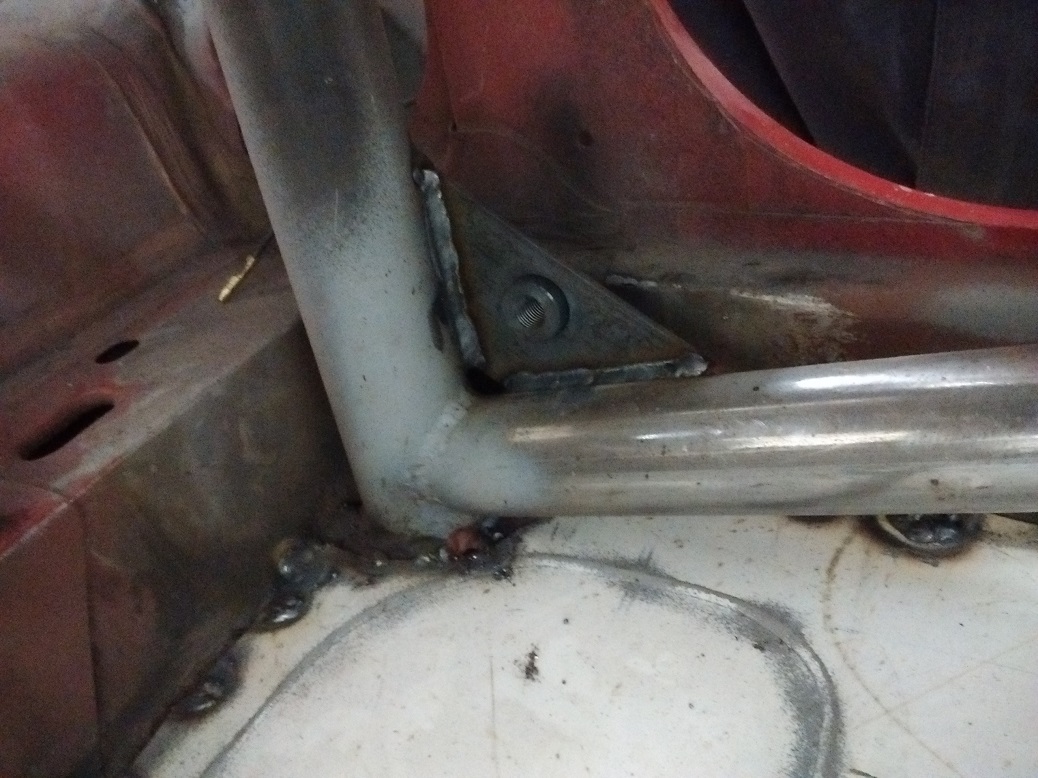
I lathed up some seat belt bolt bungs in 7/16UNF, welded them to large washers I made from 2″ flat stock using a hole saw, and welded them to the backside of the transmission tunnel. I had bead-rolled a raised area just for this, but got so excited about it, I had forgot to weld these in before installing the driveshaft tunnel.
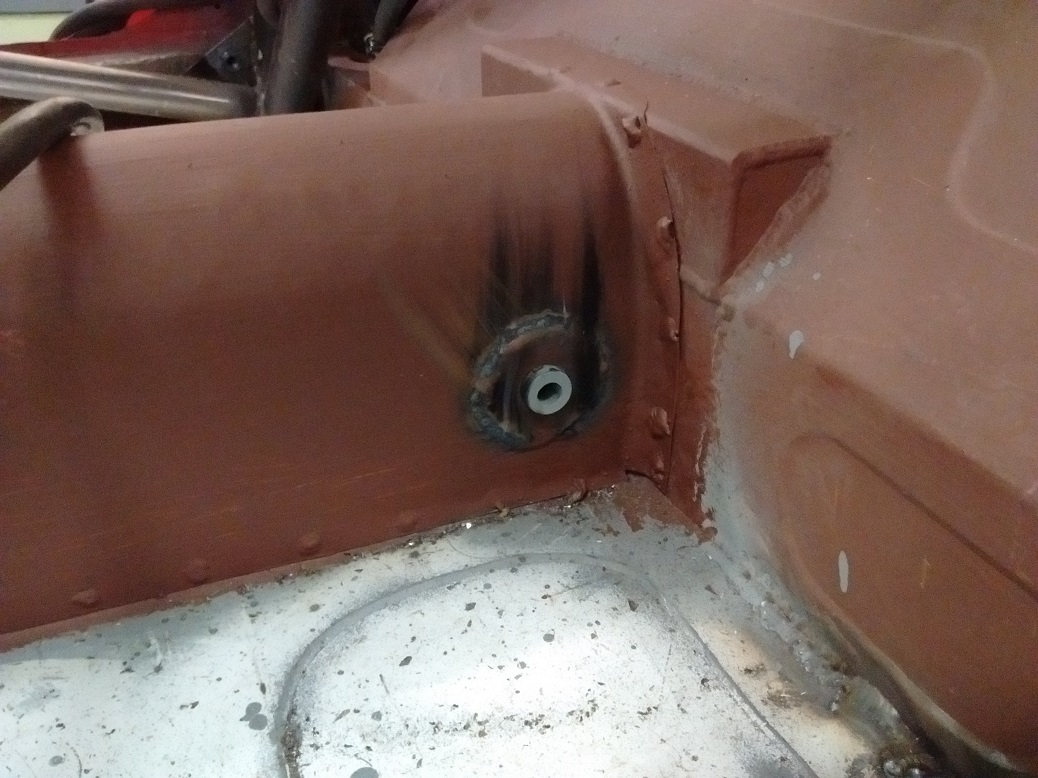
The outboard bungs were welded to gussets I put in the cage.
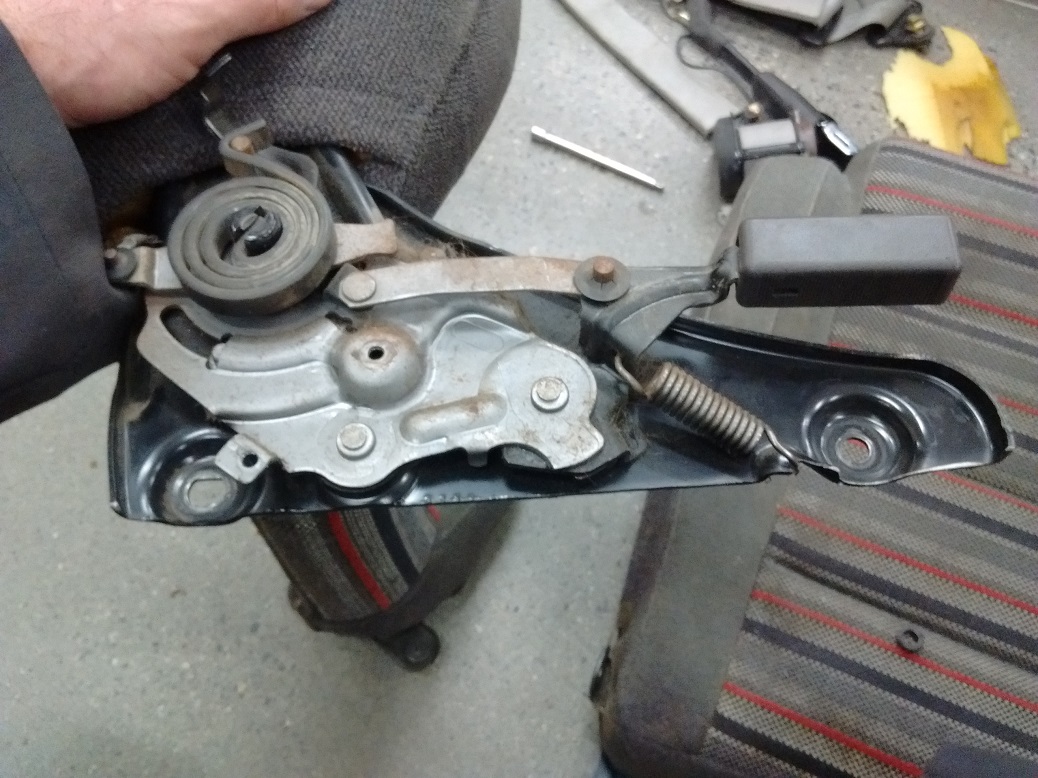
I also spent a long time figuring out the e-brake situation.
I cut the back off the original lever, channeled it to fit a piece of 1/4″ rod I threaded. This fit through the original cable connector, though I had to spread the middle a bit to fit the 1/4″ rod. This should allow enough adjustment for the cables. Not exactly the way the Firefly did it, but it’s done. Looks like you might have to remove the driveshaft to adjust the e-brake. Like that’s the only hardship in servicing this car.
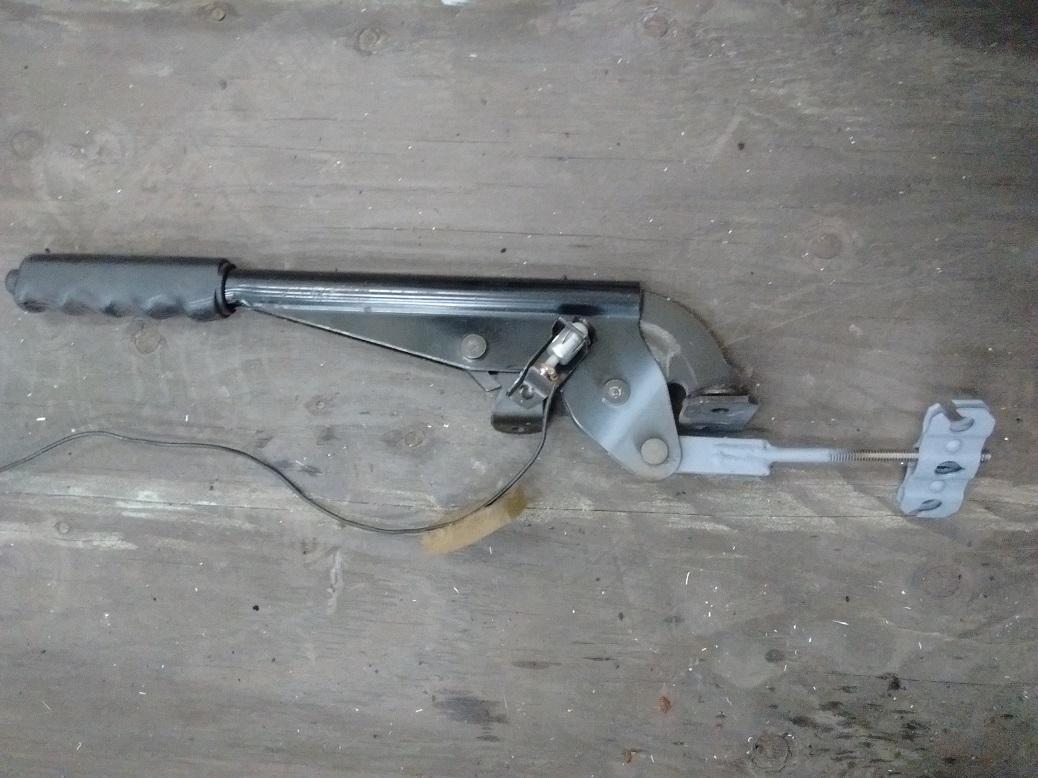
The ends of the Firebird cables were cut shorter, and I machined some ferrules/swedges/stops/??? that are secured with a REALLY tight set screw to the cable.
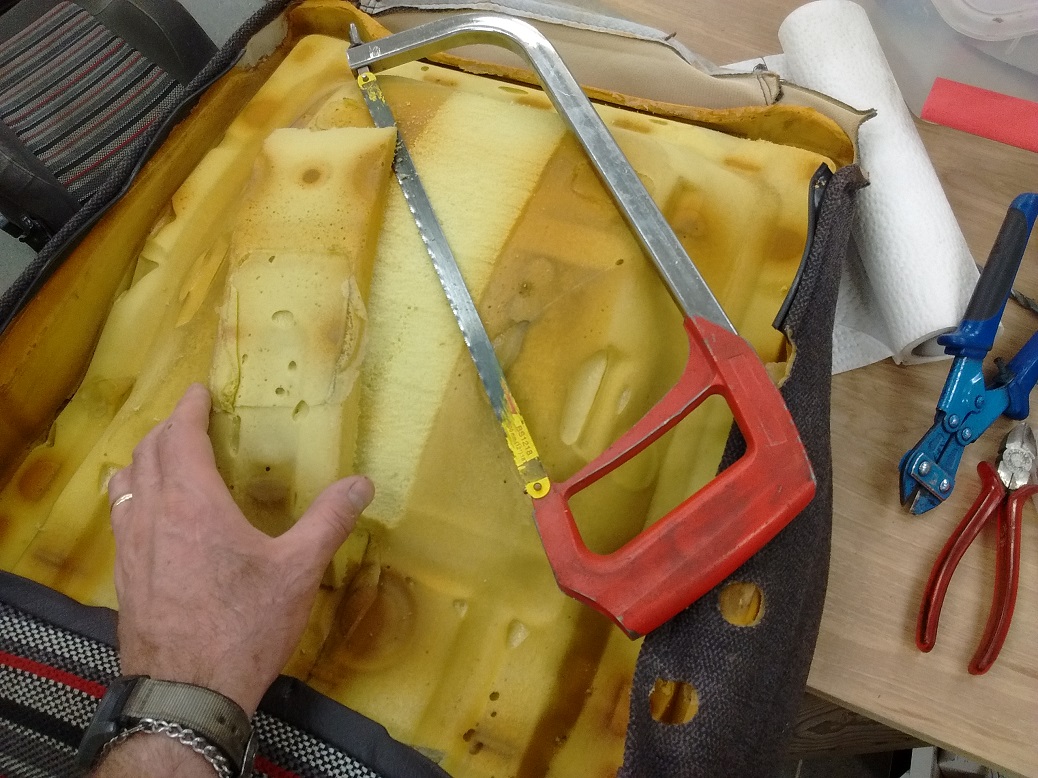
With a coat of primer drying on the passenger compartment floor, I butchered one of the seats.
The previous owner had attempted to adapt Suzuki Swift GTi (or equivalent) seats to the original seat rails. Since I no longer had the original anything to attach them to, and since my floor was arguably higher than before (to cover frame rails, and to clear dual exhaust, for example), I chopped the seat bottom down as low as I thought I could get away with.
Passenger seat is next.
(September 2017)
I can actually fit beautifully, with the seat lowered – and even fit my helmet under the cage tubes 🙂
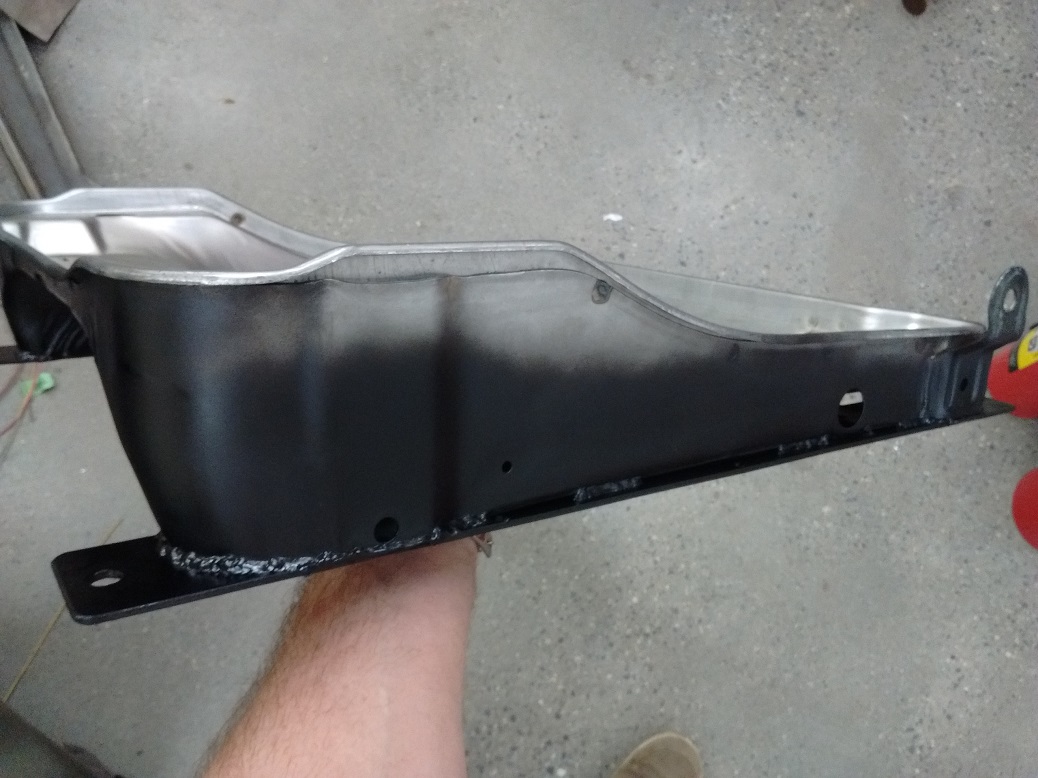
Once the seat bottom is stripped, hack any protrusions from the seat bottom.
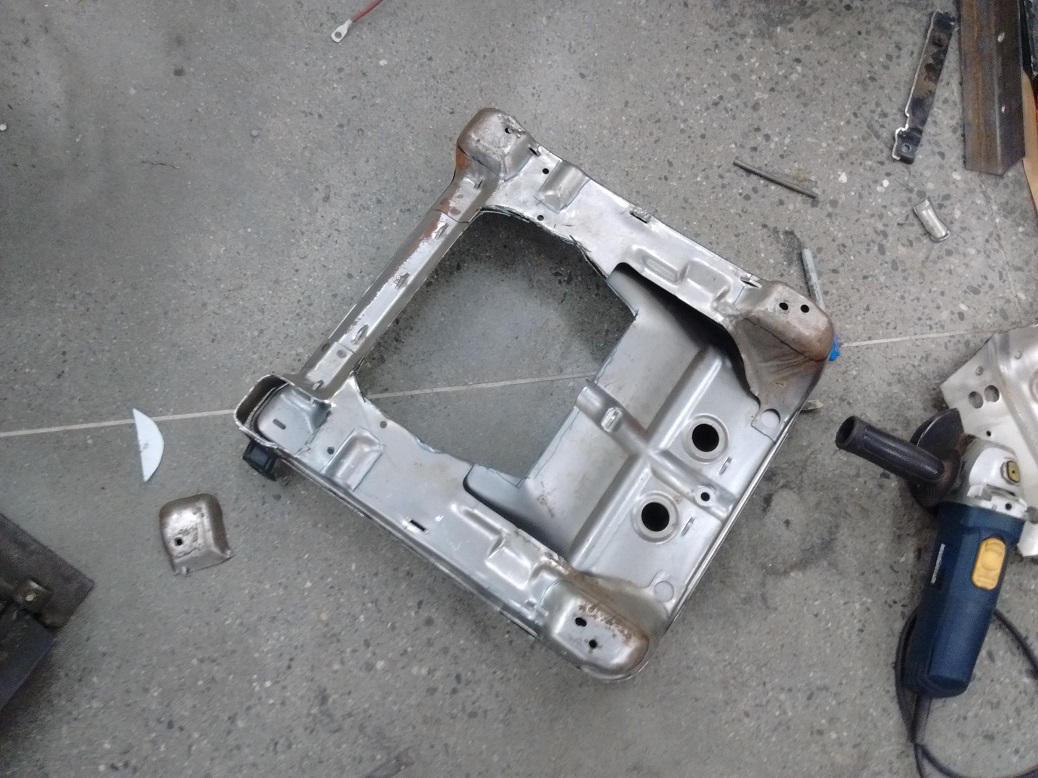
Weld some 2×1/8″ flat bar as mounting tabs. These run full length to give the butchered seat bottom some rigidity. The seats will now be fixed – no sliders.
Cut down the outer side of the hinge thingie so it’s flush too.
Hack the foam down so nothing hangs below (I actually cut it flatter after this pic was taken).
Ready to bolt in after the red paint dries.
Well that was odd. And not entirely unexpected.
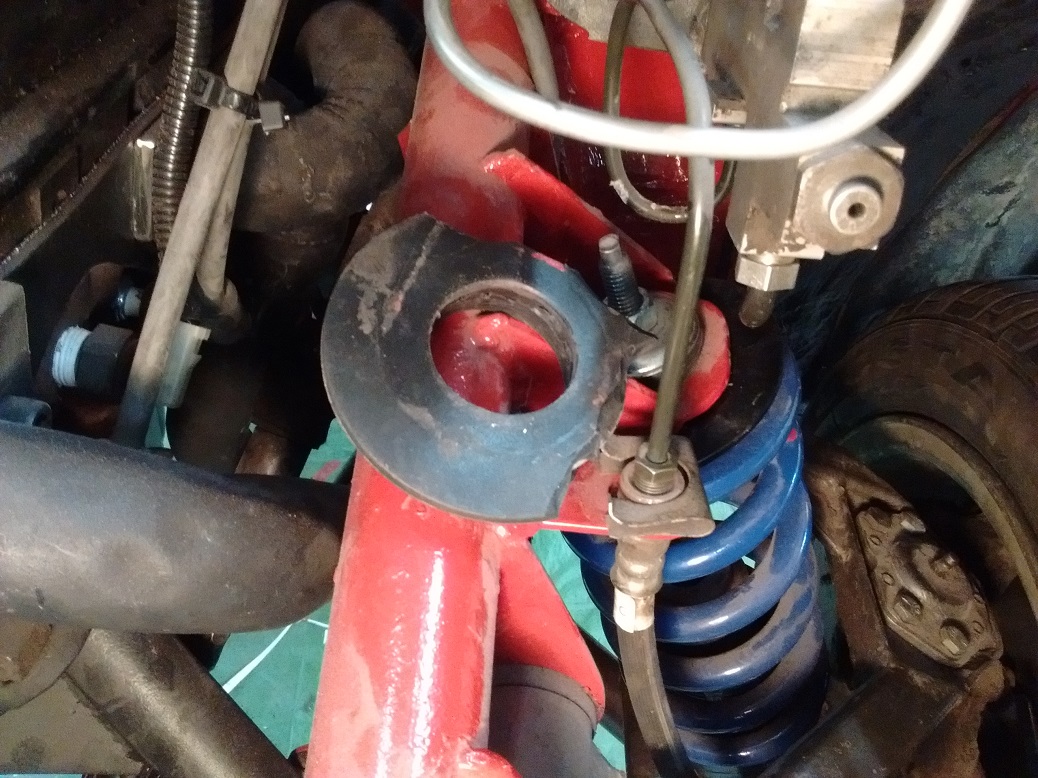
The cheap-as-sin eBay coilover I bought had plastic top hats. Ok, maybe China knows what they’re doing. Except they both broke, before the car even moves under it’s own power.
So, my 12-year-old son helped me fabricate new ones out of steel. Plasma cut out of 3×1/8″ flat. Lathed a hole in the center. Welded a locating ring out of 2-1/2″ exhaust tubing, sandblasted, etch primed, and painted. Then all put back together.
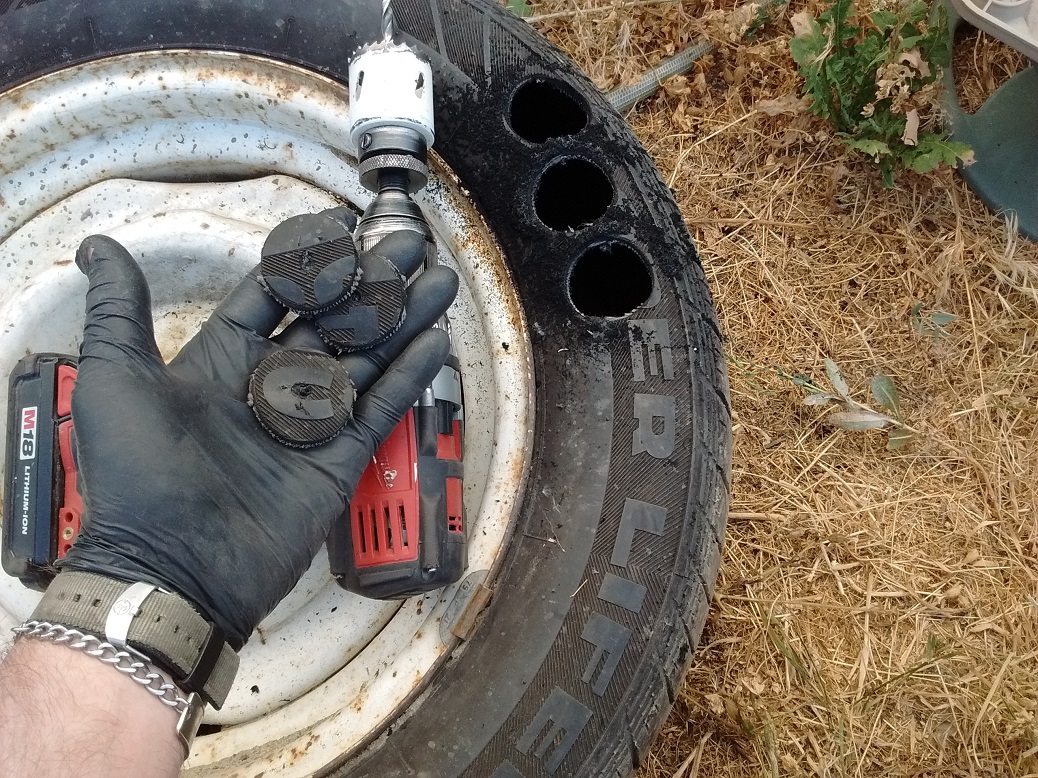
I also fixed the excessively-in rear bumper. I though the energy absorbers had absorbed too much energy, but I couldn’t figure out the simple fix I was overlooking.
In the end, I just welded a longer stud to the end of the mounting stud, and stacked a wack of cut-from-the-sidewall-of-my-wife’s-summer-tires washers. Now it sits perfect!
Hoping for a maiden voyage today…..